15 Charming Christmas Village Display Ideas That Look Like a Real Winter Town
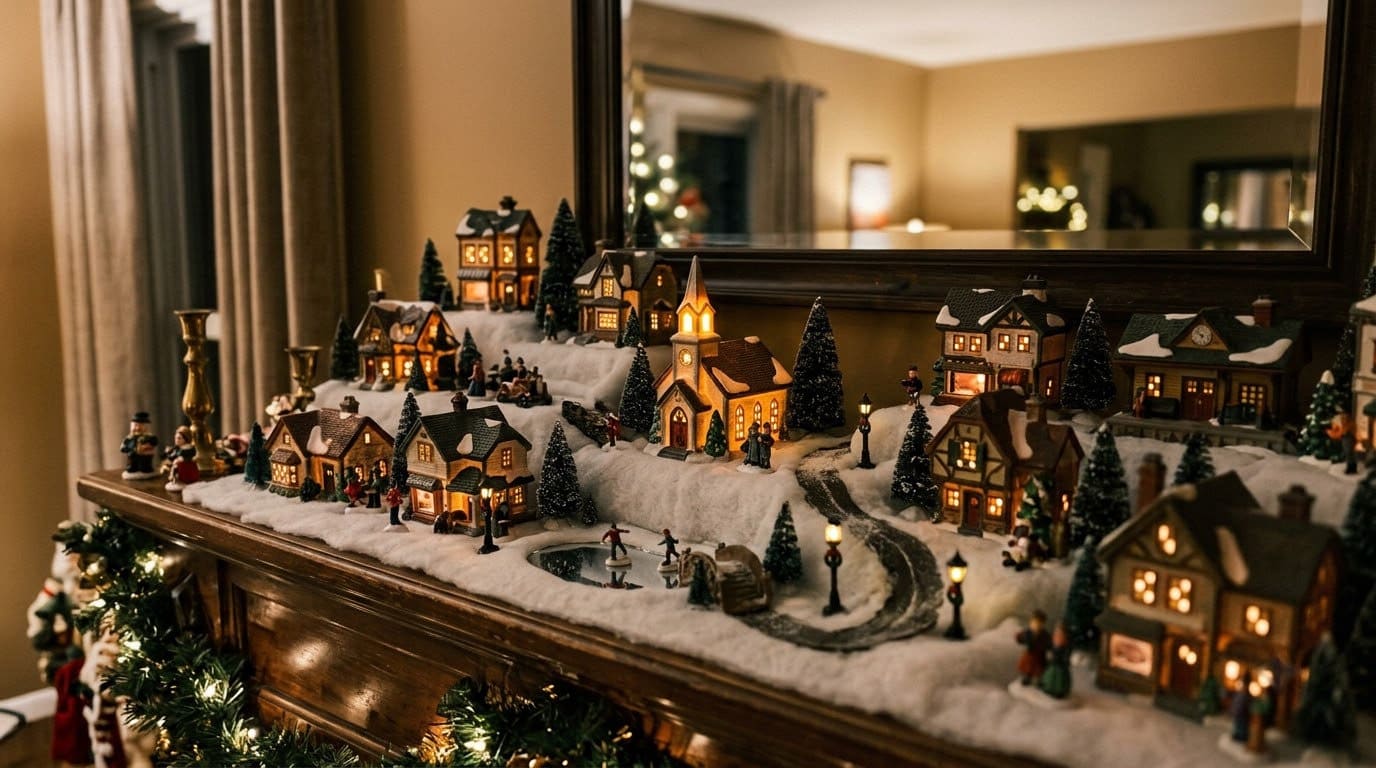
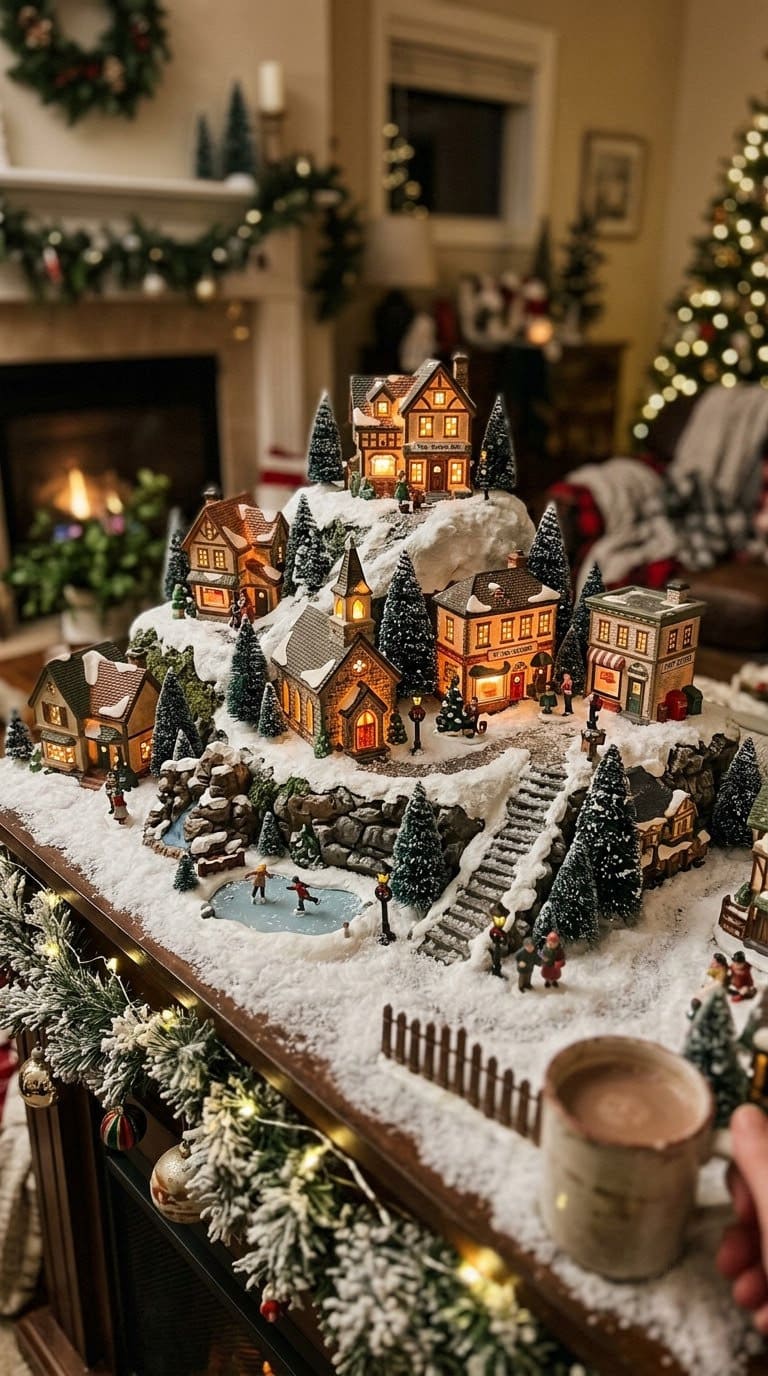
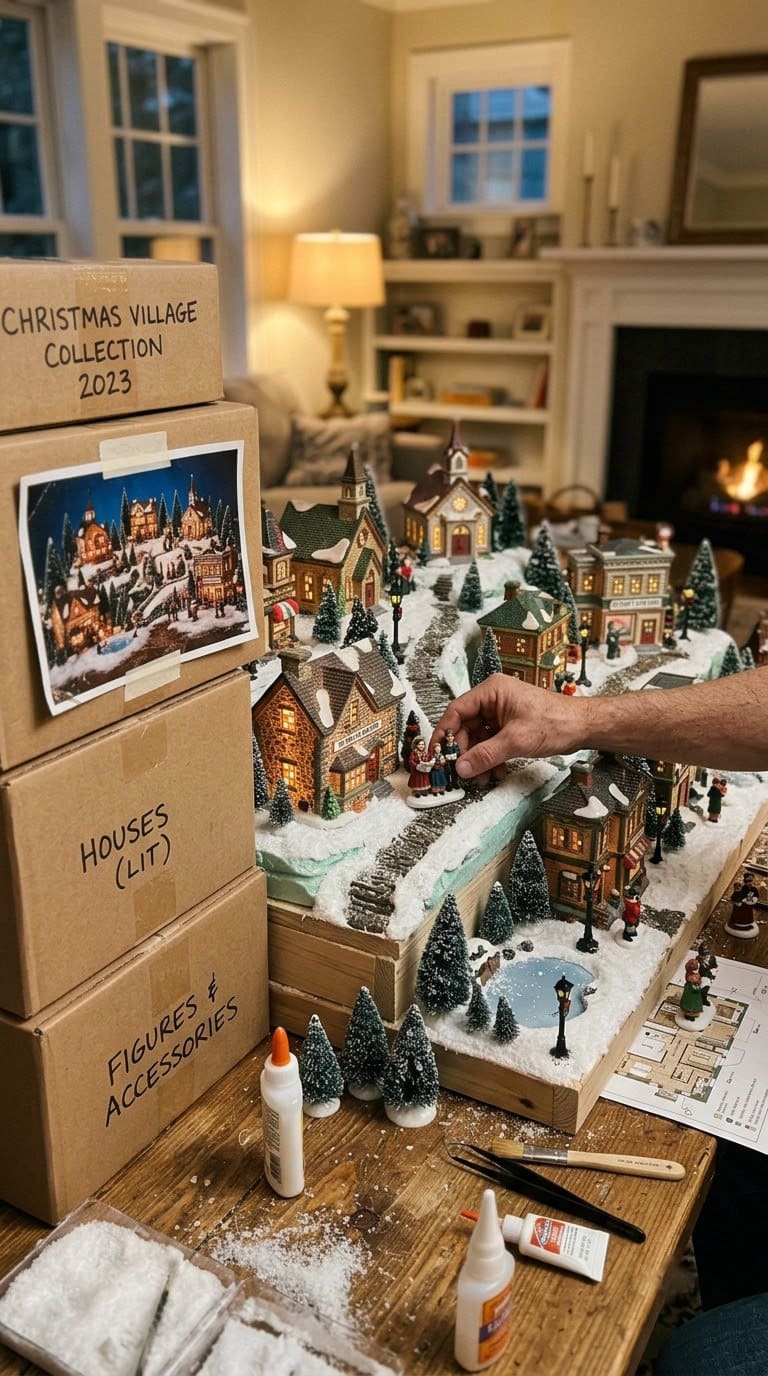
A Christmas village looks like a real town when it has height, a walkable path, and one clear focal point. It is not about cramming more buildings onto a flat table.

Never miss an update — choose FarmFoodFamily as your preferred source on Google.
How it works: Tap the button below to open Google’s settings page, then check the box next to FarmFoodFamily.
Tap the checkbox to turn it blue — that’s how you know it’s set.
Most Christmas village displays fail for the same reason. Every building sits at the same height, in a straight line, with no room to breathe.
Below are 15 ideas that fix that. Each one covers real layout technique, a lighting safety note, and a way to store the collection so next year is easier, not harder.
If you want the wider menu of styles first, there is a longer run of tree decorating tips for every theme on the site. This one is about the town under the tree, not the tree itself.
Quick Answer
A Christmas village looks real when you add height, not just more buildings. Elevate some pieces on hidden risers, like boxes or blocks, so the display has back rows and front rows instead of one flat line.
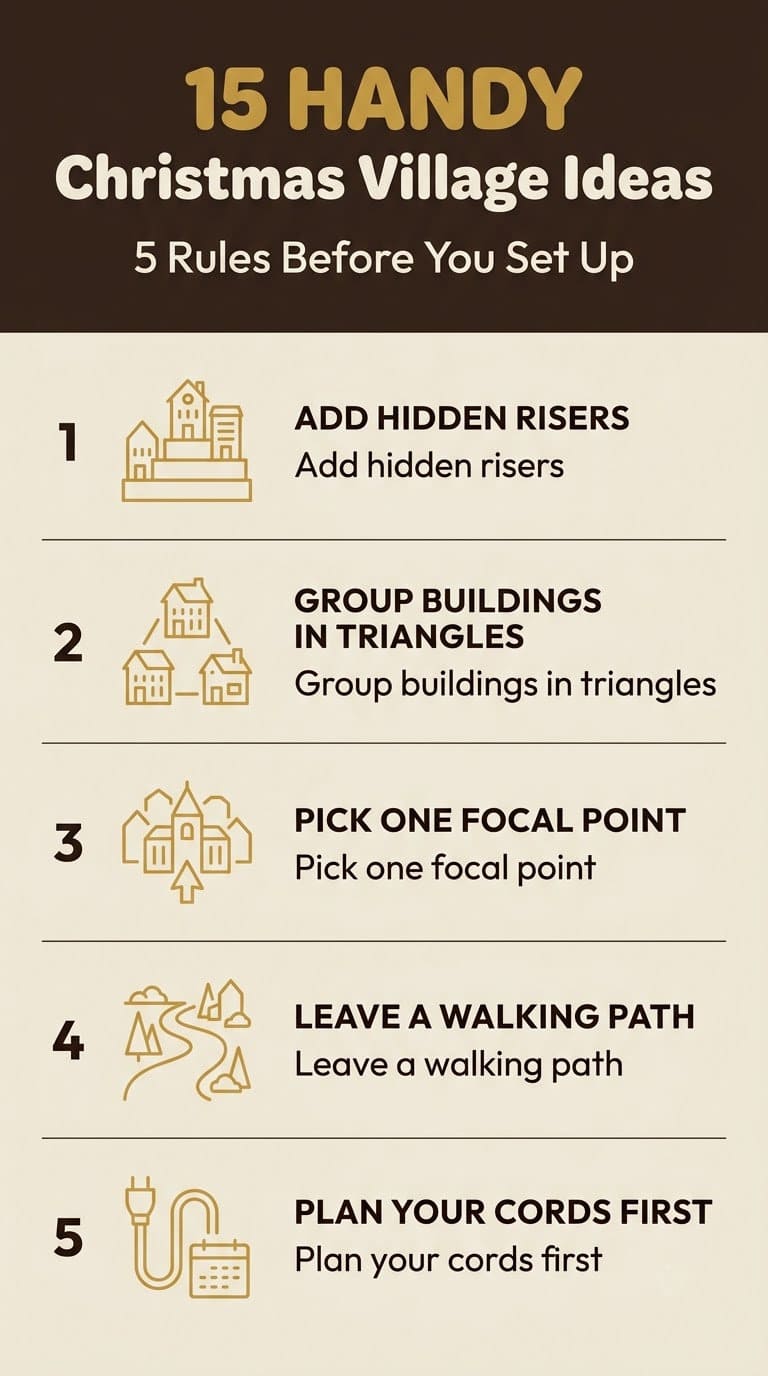
Give the village one focal point, such as your largest or most detailed building, and arrange everything else around it. Blogger Virginia Fynes of Fynes Designs says “by starting with a central piece, you can guide the eye and create a more dynamic layout.”


Then leave a gap for a path down the center. It is a small detail, but it is what makes a village feel walkable instead of just placed.
Plan the wiring before you place a single house. Map your outlets first, and use battery-operated lights for any building that ends up far from a plug.
Why Do Most Christmas Villages Look Flat?
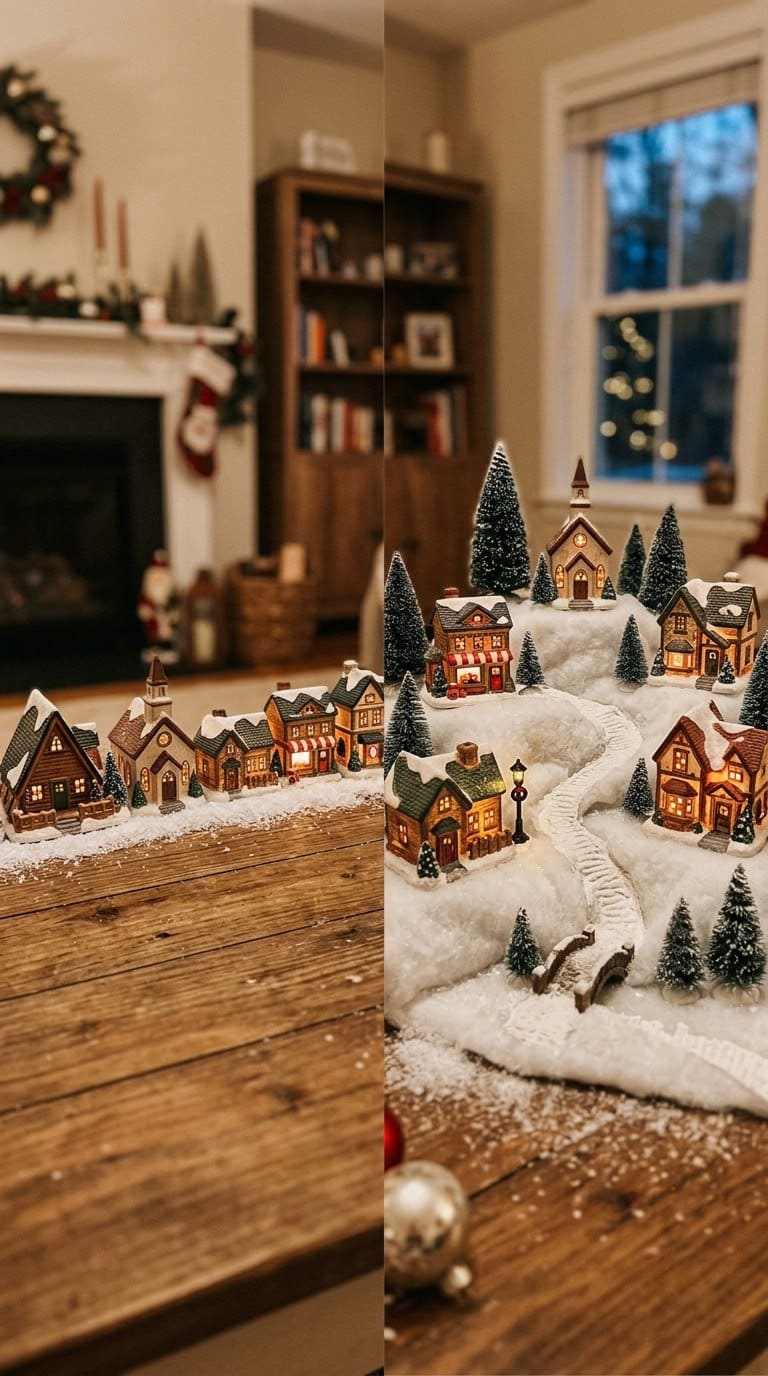
Because every building sits on the same surface, at the same height, usually in a row. That reads as a shelf of decor, not a town.
The fix is elevation. Fynes explains that for smaller houses, “you can easily elevate them by hiding a soup can, block of wood, or even a cardboard box under snow.”
Height alone is not the whole fix, though. Buildings lined up in a straight row still look posed, even at different heights.
| Problem | What it looks like | The fix |
|---|---|---|
| Everything on one flat surface | A shelf of houses, not a town | Add hidden risers for height |
| Buildings in a straight line | Posed, not natural | Group them in loose triangular clusters |
| No clear focal point | The eye does not know where to look | Pick one main building and build around it |
| No path through the scene | Feels staged, not lived-in | Leave a gap for a walkway |
| Cords visible everywhere | Breaks the illusion | Route cords under snow or batting first |
None of the 15 ideas below need new buildings. Most rework a collection you already own.
Where Should the Village Go?
Pick a surface that is out of a busy household’s path, like a mantel, a console table, or a wide windowsill. A high-traffic hallway table invites bumps.

The frozen-pond piece for idea 4, made by one of the two named collectible brands in this guide. Tuck the edges under snow so the glass line does not show
Shop NowThis post contains affiliate links. We may earn a commission on qualifying purchases at no extra cost to you.
| Location | Best for | Watch for |
|---|---|---|
| Mantel | Tiered, layered displays | Heat from a working fireplace below |
| Console or side table | Larger, multi-building scenes | Foot traffic and pets |
| Windowsill | Small collections, 3 to 5 buildings | Direct sun fading paint over years |
| Bookshelf | Vertical, multi-level towns | Cord routing between shelves |
| Under the tree | A snow-village base around the tree skirt | Real tree needles and water spills |
These are our own placement notes, based on the layout principles collectors describe, not a single retailer’s product recommendation.
15 Christmas Village Display Ideas
1. The Hidden-Riser Platform
Build height before you place a single building. Fynes suggests hiding “a soup can, block of wood, or even a cardboard box under snow” to elevate smaller houses instantly.
Stack risers of different heights across the display, tallest toward the back. Cover every riser completely with batting or faux snow before you add a single house, so no edge shows.
Budget: free, since risers reuse things you already have on hand.
2. Triangular Building Clusters
Skip the straight row. Group three buildings into a loose triangle, one slightly forward and two set back. Repeat that shape across the display instead of lining everything up.
This mirrors the same rule-of-three logic used in other holiday styling. Odd-numbered, staggered groupings read as natural, while a straight line reads as arranged.
Budget: free, since it only changes placement, not pieces.
3. One Clear Focal Point
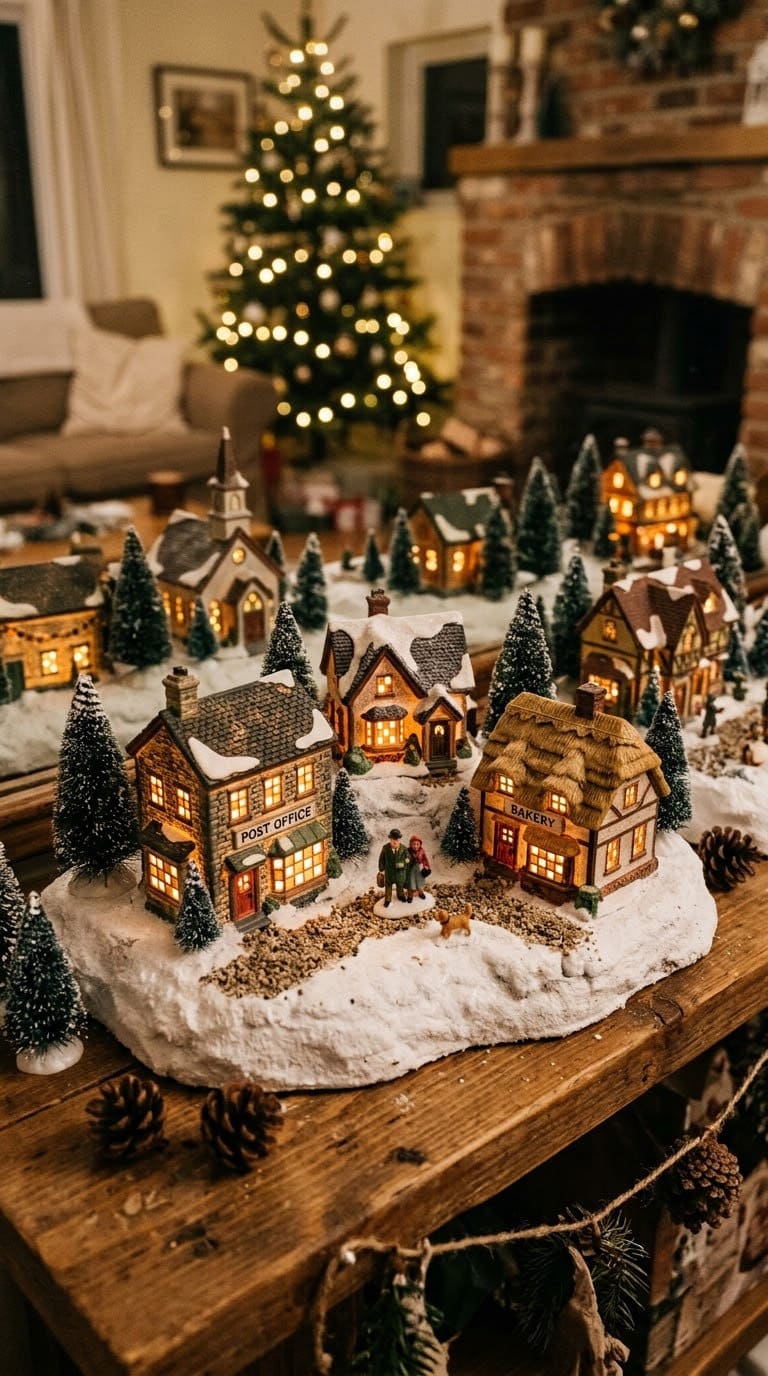
Choose your largest, most detailed, or most personally meaningful building, and give it the most prominent spot. Fynes calls this “a focal point within your village,” built out from there.



Every other building, path, and accessory should lead the eye toward that one piece. Resist adding a second building of equal size competing for the same attention.
Budget: free, using a piece you already own.
4. The Mirror-Pond Centerpiece
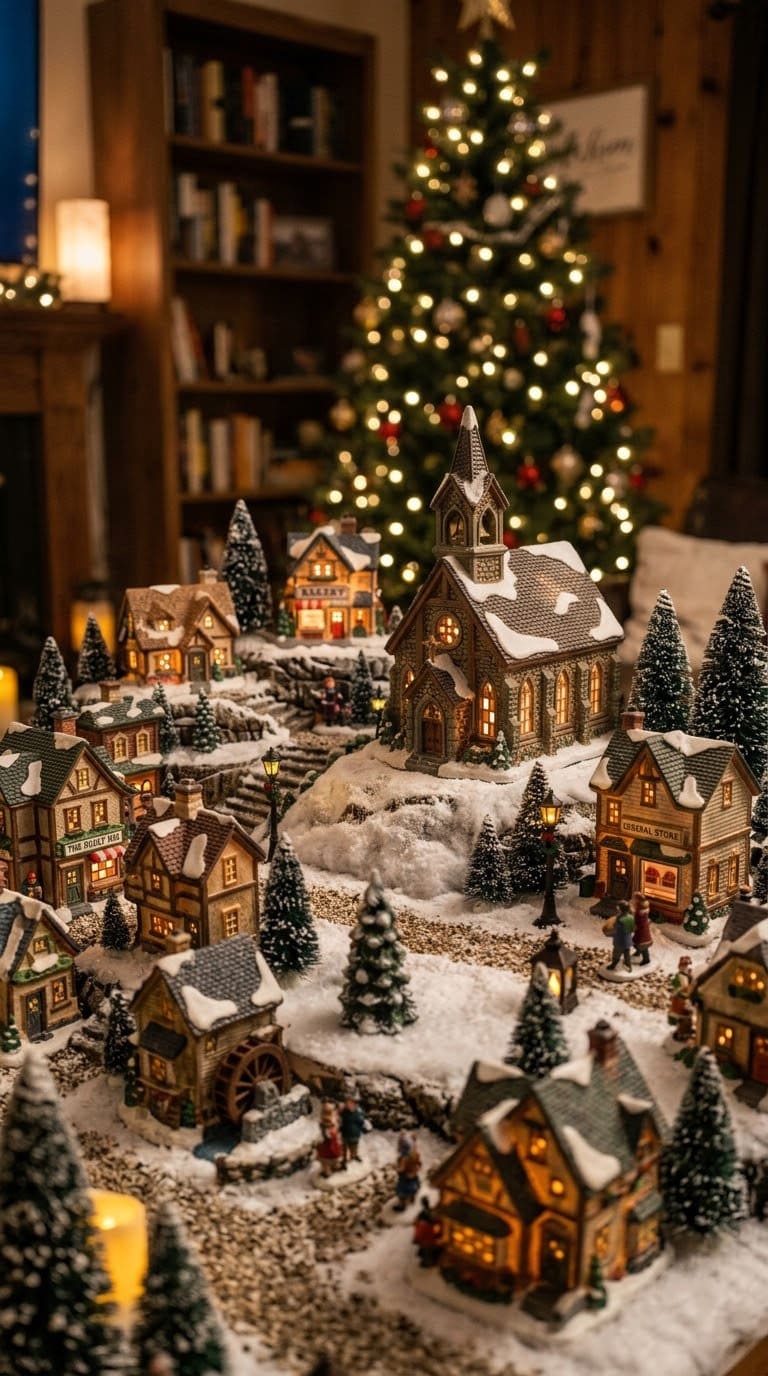
Add a frozen pond using a small mirror or a piece of reflective plexiglass set into the base. It doubles as a design feature and a lighting trick, since it reflects the glow from every lit building nearby.
Add a few miniature skaters or a tiny bridge at the edge for scale. Keep the mirror’s edges tucked under snow or batting so the glass edge does not show.
Budget: low, for a small mirror or acrylic sheet.
5. The Walkable Path
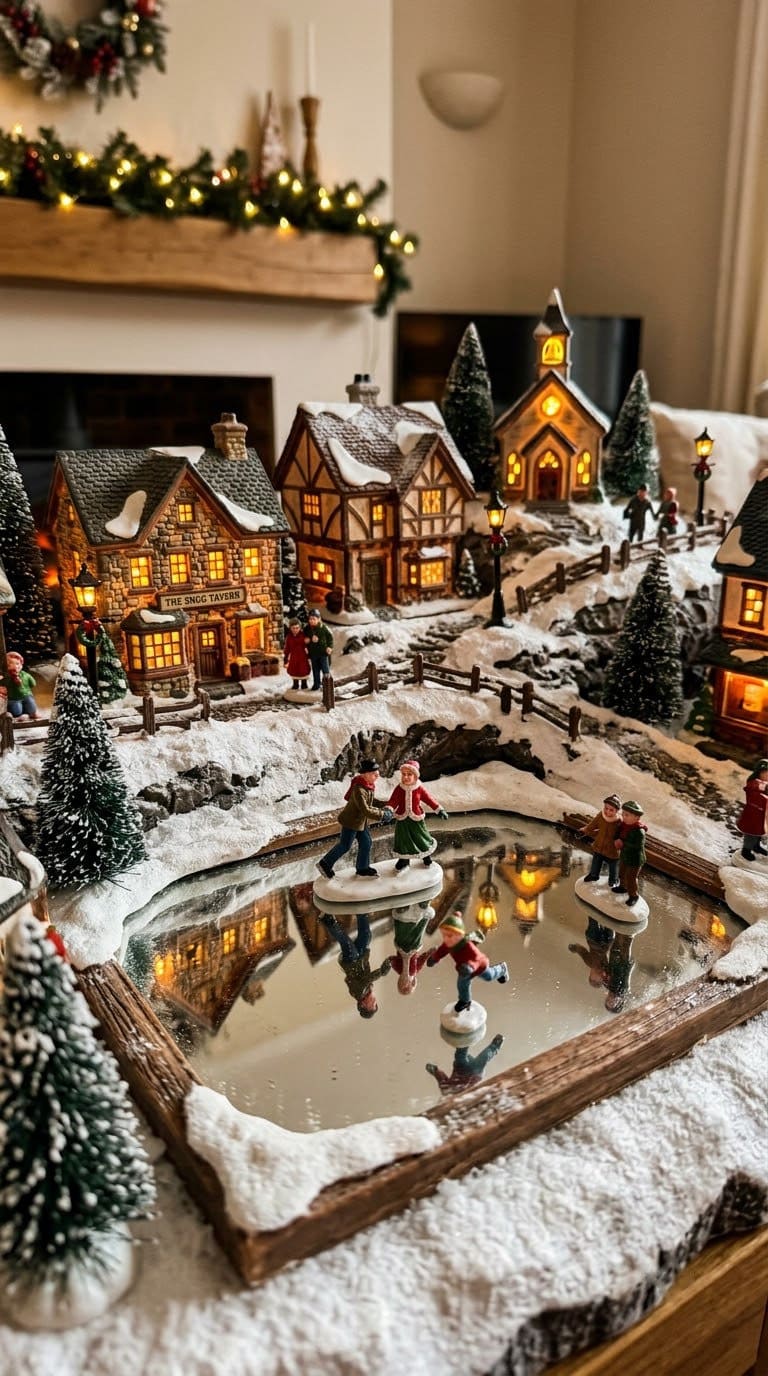
Leave a visible gap of bare “snow” winding between the buildings, wide enough to suggest a real street. Skip filling every inch with houses and trees.
Curve the path slightly rather than running it straight through the center, so it reads as a real road instead of a ruler line. Add tiny lamp posts along its edge.
Budget: free, since it is really a choice about what not to place.
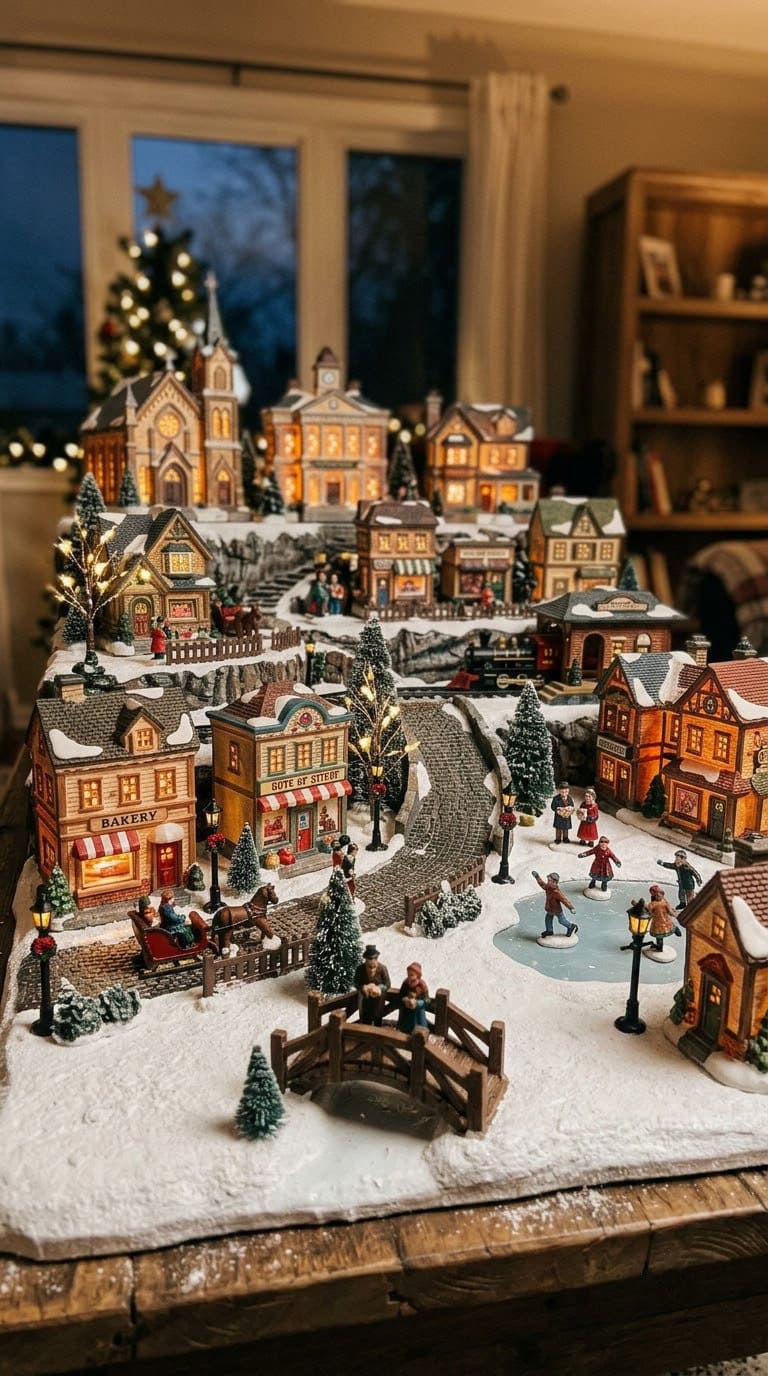
6. Staggered Depth, Big to Small
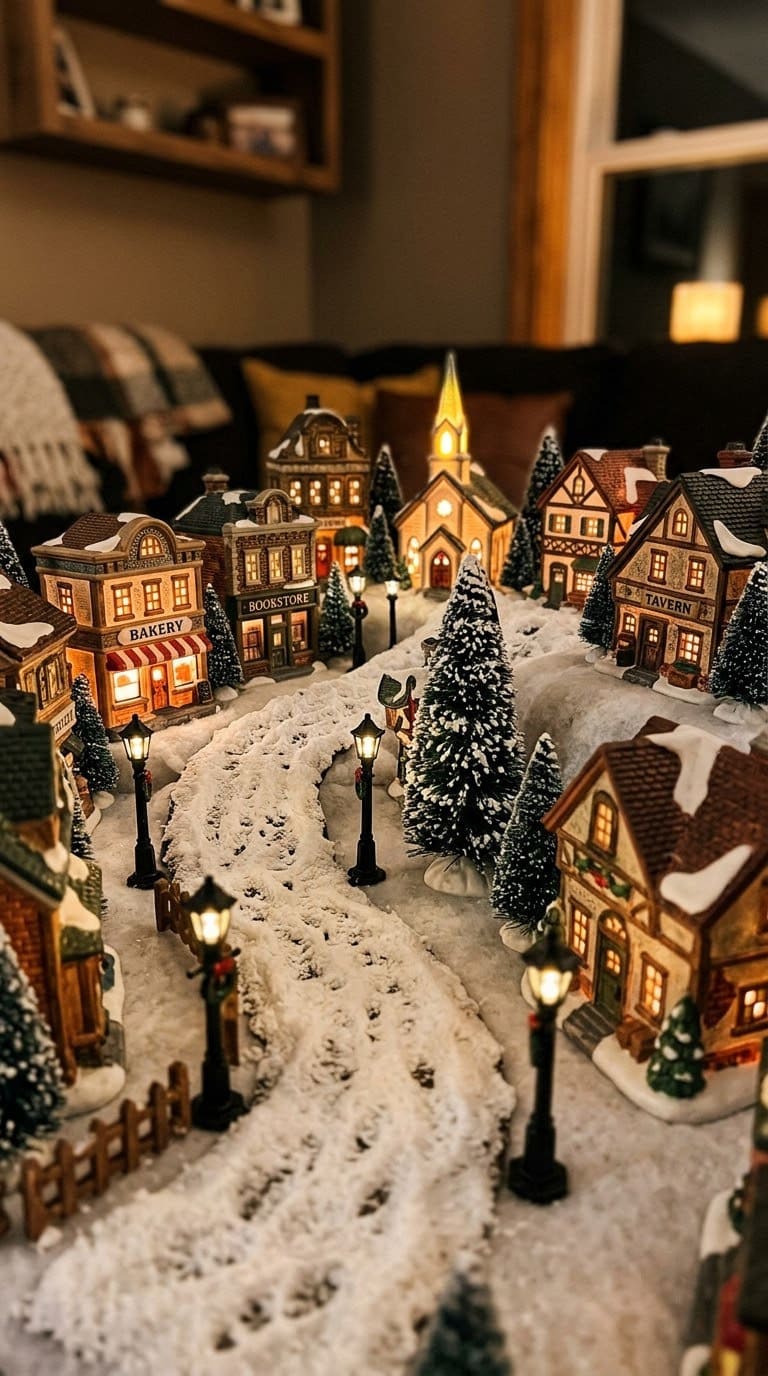
Place your largest buildings toward the back of the display and your smallest toward the front. This single choice creates a sense of distance, the same way a real town looks smaller on the horizon.
Match tree and figure sizes to the same logic, larger pine trees in back and small shrubs up front. Budget: free, using pieces you already own.
7. Wiring-First Planning
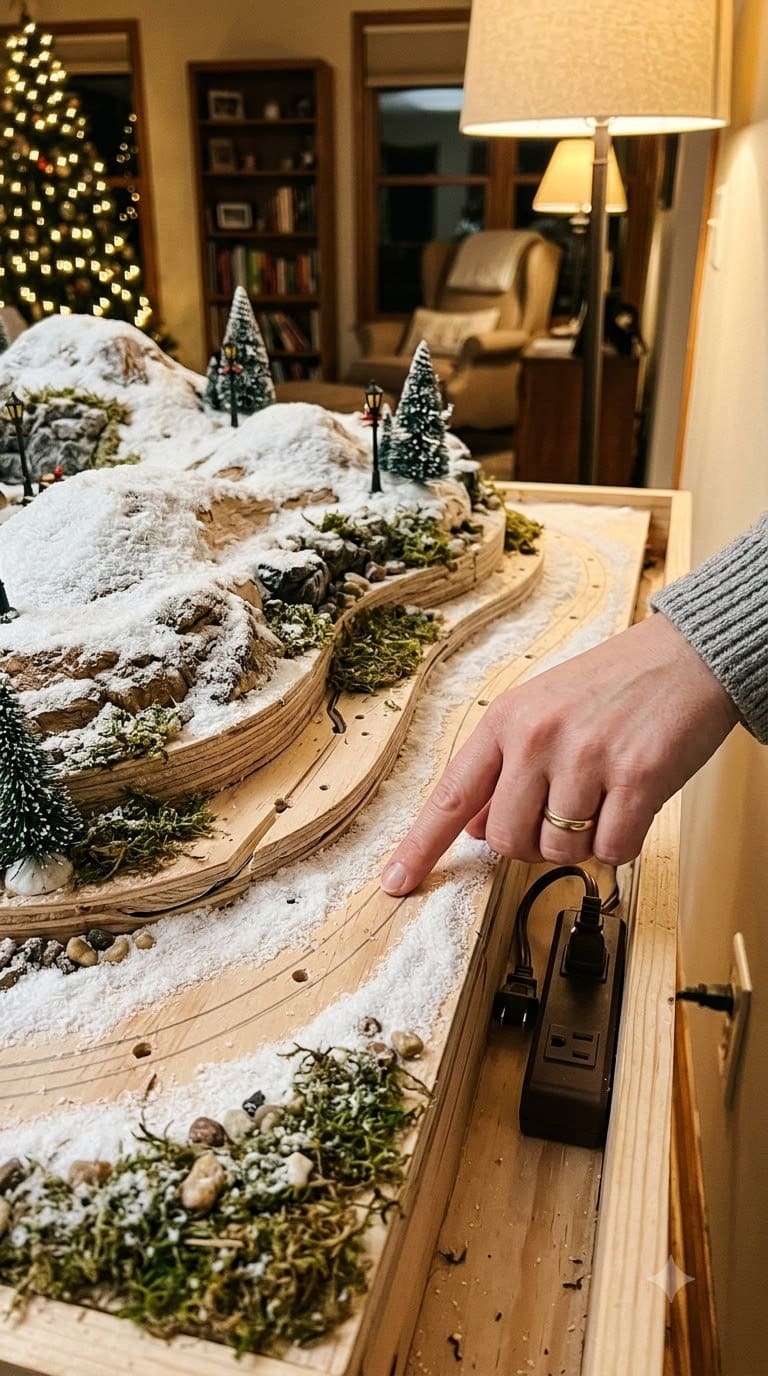
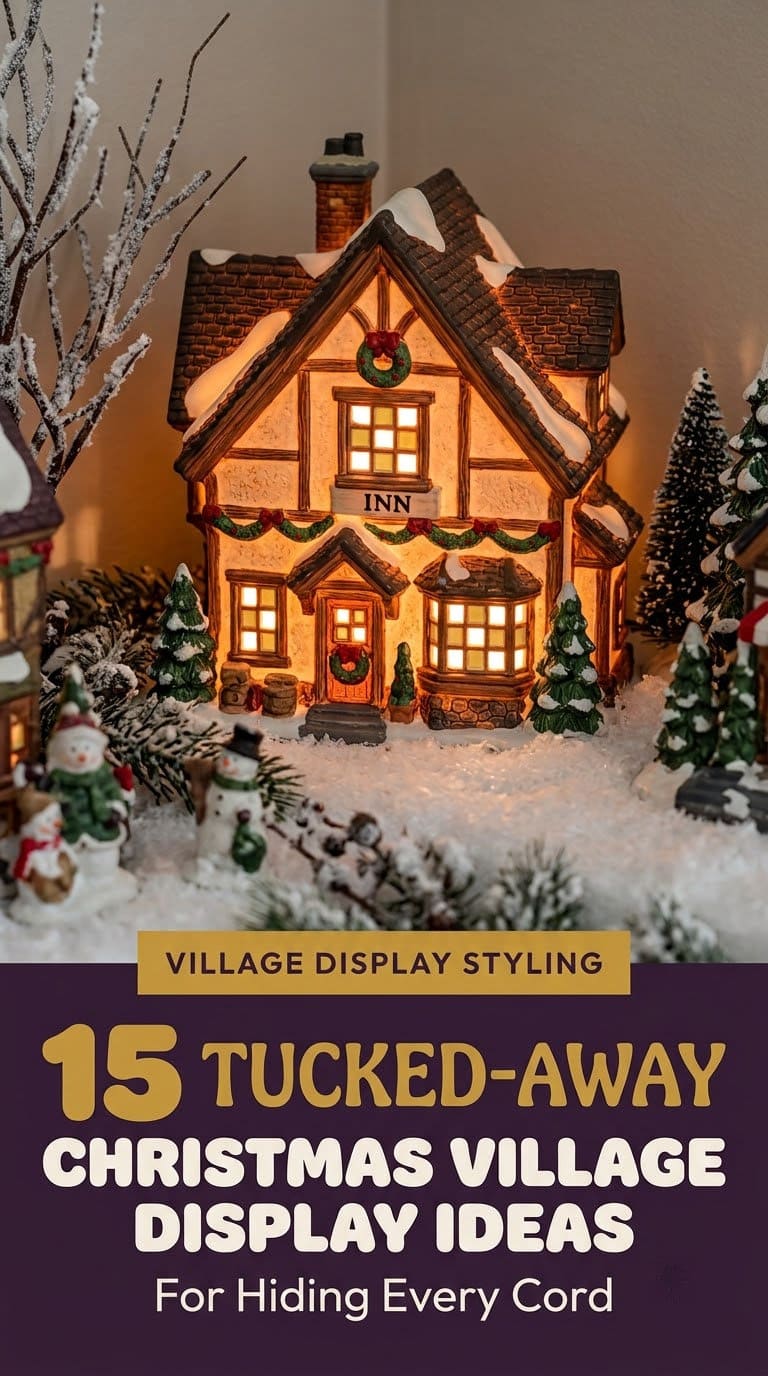
Map your outlets and plug locations before placing a single lit building. Fynes recommends planning “nearby power outlets” first, and using flat-plug extension cords so furniture can sit close to the wall.
Place any house that needs to be plugged in before deciding on its final spot, not after. The Consumer Product Safety Commission warns against overloading a single extension cord with multiple devices, since it can generate excessive heat.
Budget: free, and it prevents a rebuild later.
8. Battery-Operated Lights for Reach Buildings
For any building that lands far from an outlet, use battery-operated lights instead of running a cord across the display. Fynes lists this as a real alternative for exactly this problem.
Run any remaining cords under a layer of fake snow or cotton batting to hide them, per the same guidance. Budget: low to mid, for battery light inserts.
9. The Cotton-Batting Snow Blanket
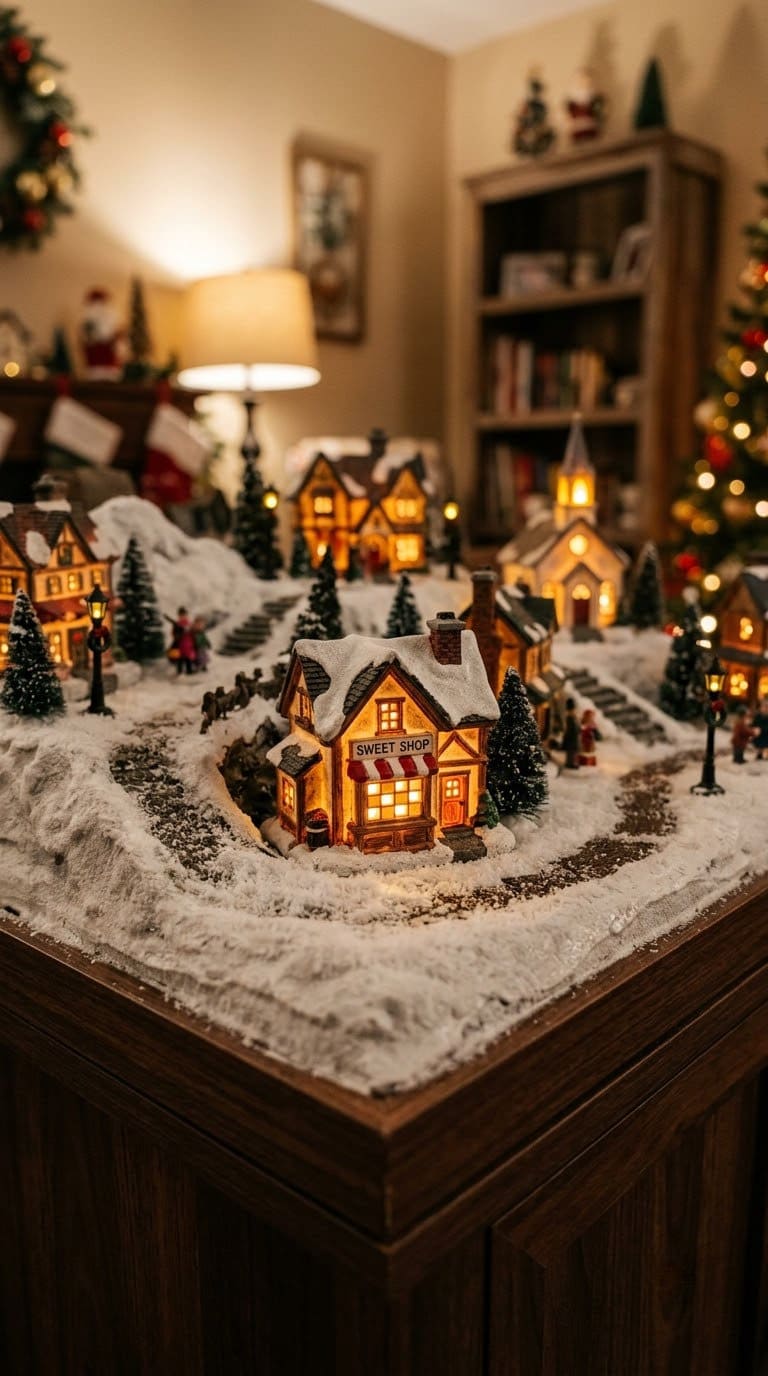
Cover the entire base in cotton batting or faux snow before placing a single building, not after. This hides risers, cords, and the base material in one step.
Layer it thicker in open areas and thinner where buildings sit flush, so the “snow” has natural drifts instead of one flat sheet. Budget: low, for a roll of batting.

10. One Cohesive Theme
Pick a single visual theme, like Victorian brick, alpine chalet, or candy-colored cottages, and keep every new piece within it. A mixed bag of styles reads as cluttered no matter how well it is arranged.
This does not mean buying an entirely new collection. Swap out the most visually different pieces first, and add new ones within the chosen theme going forward.
Budget: varies, since this is a multi-year plan, not a single purchase.
11. Mixing Department 56 and Lemax
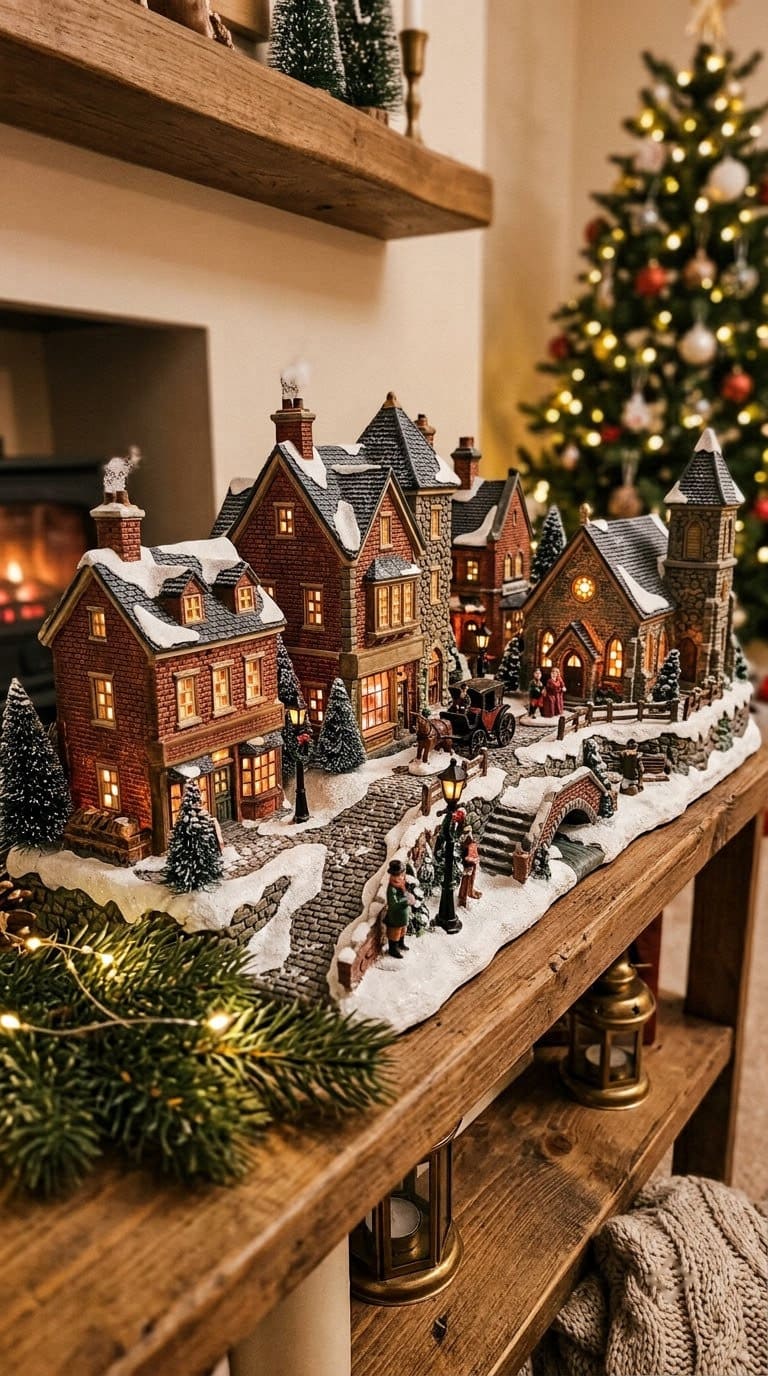
Combine pieces from both major collectible lines instead of sticking to just one. Department 56 was founded in 1976 by Edward Rudy Bazinet, and it launched with six ceramic buildings in its Original Snow Village line. Lemax followed in 1990, built to compete in that same market.
The two brands are generally compatible in scale, and mixing them widens your options for the “one cohesive theme” idea above. Budget: varies, since pieces from either line can be added gradually.
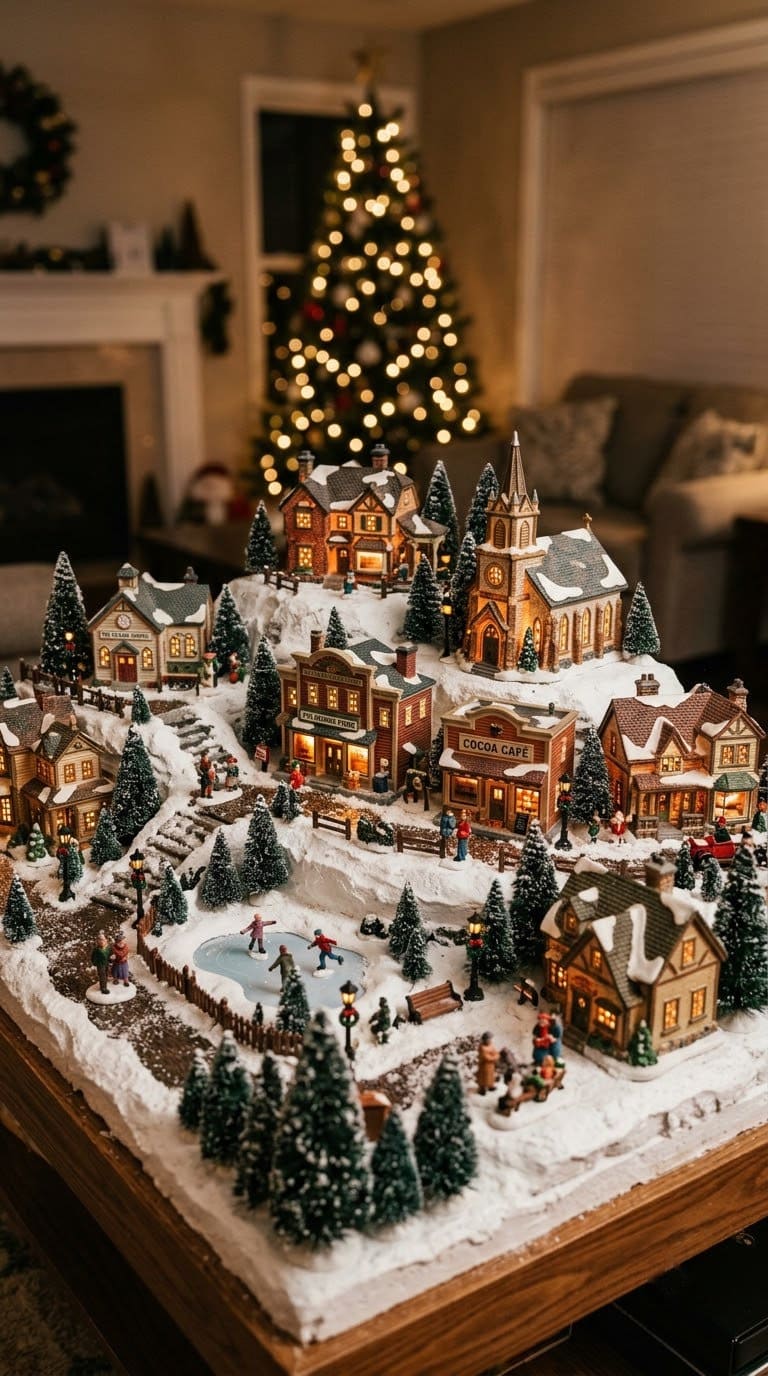
12. Life-Size Details: Lamp Posts and Figures
Add miniature street lamps, tiny benches, and a scattering of figures walking the path. These small details are what make a village feel inhabited instead of staged.
Keep the figures in scale with the buildings around them, and avoid clustering them all in one spot. Spread them along the path and near doorways instead.
Budget: low to mid, for a set of figures and lamp posts.
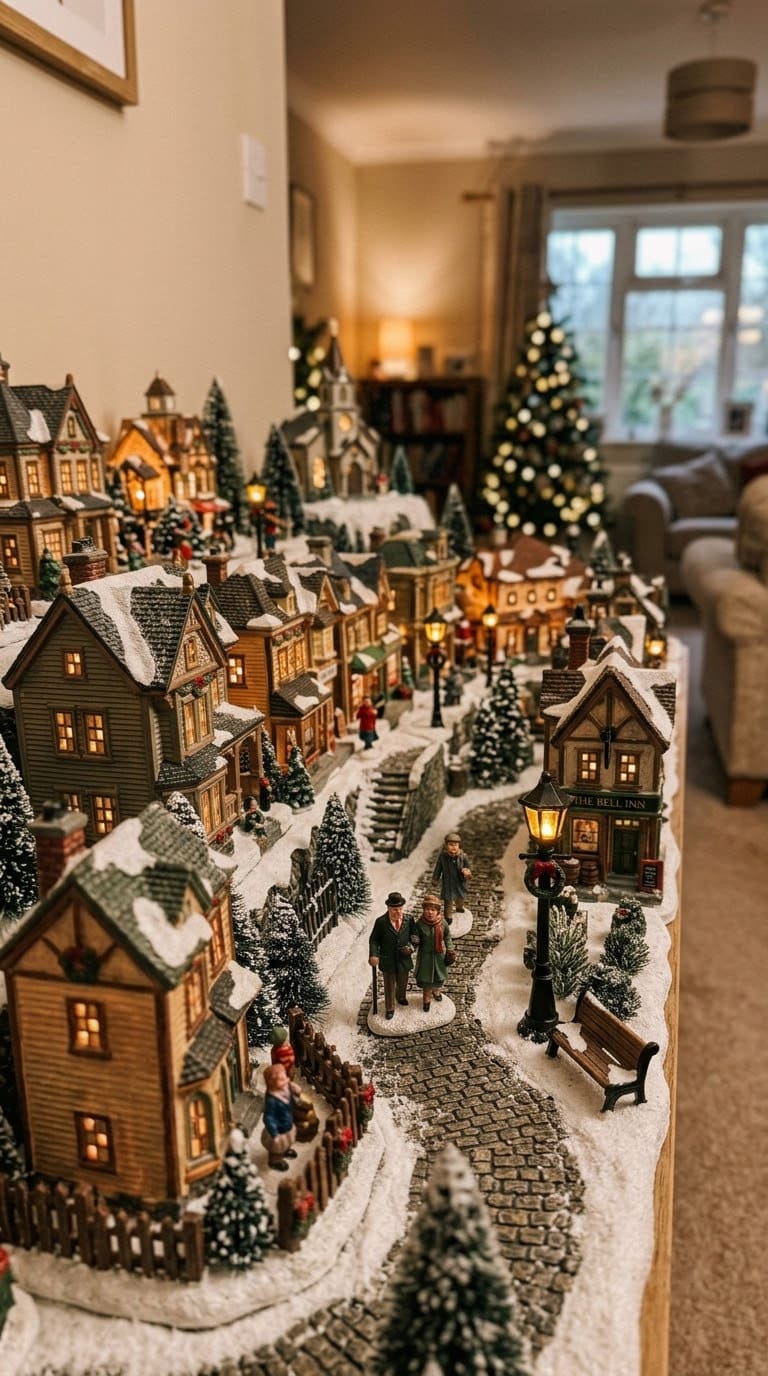
13. The Vertical Bookshelf Village
Build the display across a bookshelf’s tiers instead of one flat table, using each shelf as its own street level. This suits a small room where floor and table space are limited.
Route cords between shelves along the back edge, out of sight, and use battery lights for any shelf without a nearby outlet. Budget: free, using a bookshelf you already have.
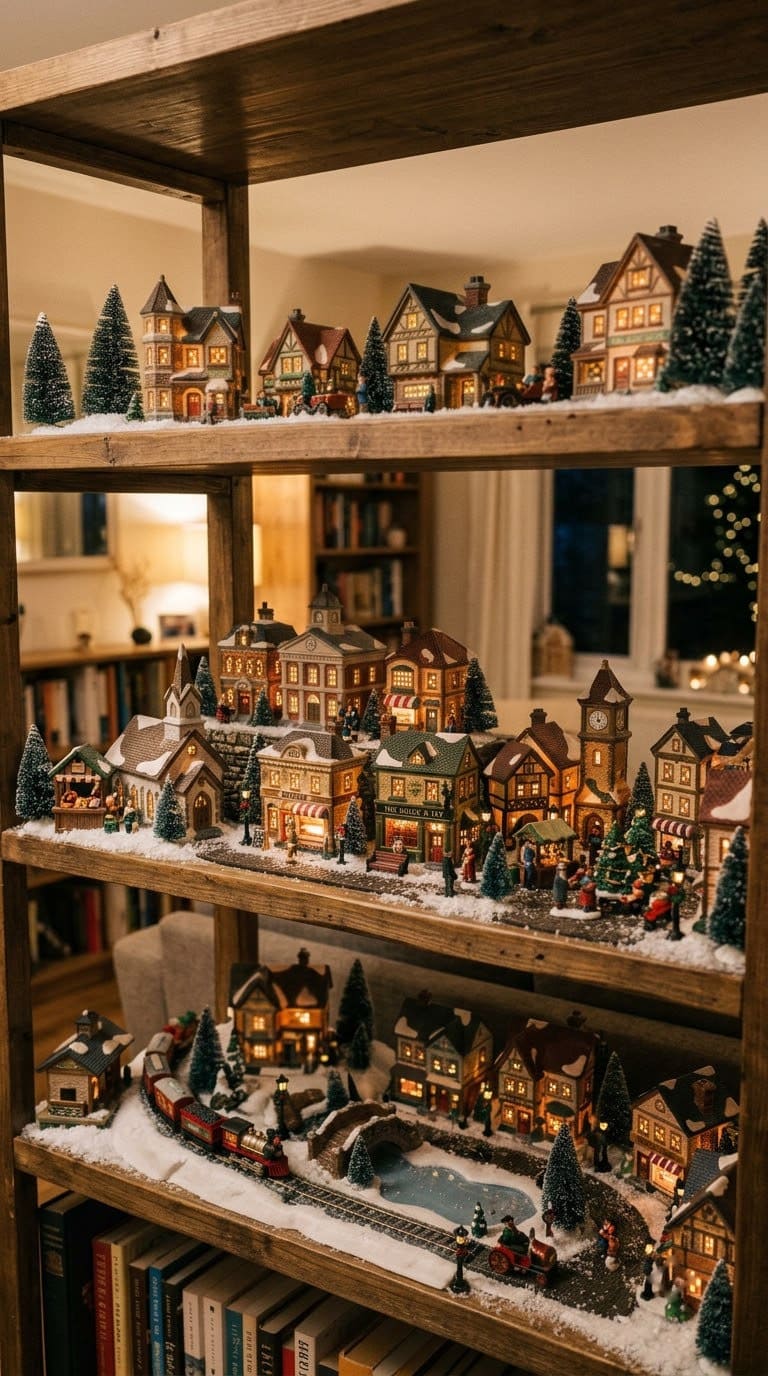
14. Bottle-Brush Trees as the Backdrop
Use a cluster of bottle-brush or miniature pine trees behind the buildings, tallest at the back. It gives the whole scene a sense of a real landscape instead of a bare tabletop.
Vary the tree heights and a few colors, like frosted white and deep green, so the backdrop does not look like one uniform row. Budget: low, for a bundle of bottle-brush trees.
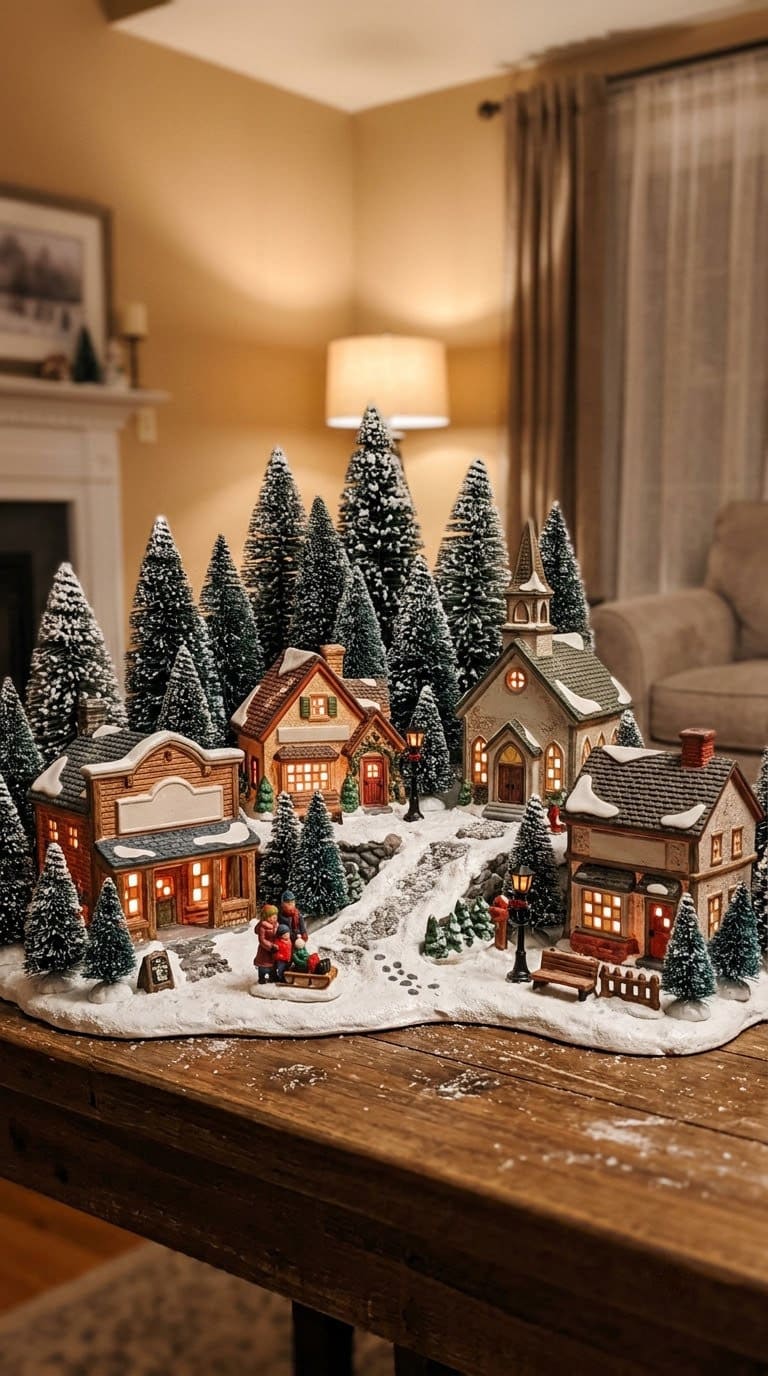
15. The Labeled Storage System
Pack the village away in labeled boxes by cluster, not by piece type, so next year’s setup matches a layout you already know works. Label each box by the triangle group or shelf tier it belongs to.
Photograph the finished display before you pack it up. Next year, that photo becomes your setup guide instead of starting from scratch.
Budget: free, and it saves real time every year after this one.
How Do You Keep a Large Collection From Looking Cluttered?
Group by cluster, not by category. Three or four buildings with their trees and figures, treated as one unit, read as a neighborhood. Scatter the same pieces individually and they don’t read the same way at all.
Leave visible gaps between clusters, the same way real blocks in a town are separated by streets. A display with no negative space anywhere starts to look like a toy store shelf.
And step back and look from across the room, not just up close. A village judged only at arm’s length can still look busy from a normal viewing distance.
Is There a Safety Note With All Those Lights?
Yes, and it is worth checking before the village goes up. The CPSC warns against overloading extension cords with too many plugged-in devices at once, since it can create excess heat.
Use one heavier-duty power strip with a built-in circuit breaker instead of daisy-chaining several small extension cords together. Keep any cord running under batting checked periodically for warmth, since a warm cord is an early warning sign.
Battery-operated lights remove this risk entirely for buildings far from an outlet. Save wired lighting for buildings close enough to a single, unshared strip.
What Most People Get Wrong
The biggest mistake is treating the village as a shelf display instead of a scene. Flat rows of buildings with no elevation, path, or focal point read as storage, not a town.
The second is skipping the wiring plan. Cords added as an afterthought end up crossing the display in visible, tangled lines.
The third is mixing too many themes without a plan. A candy cottage next to a stone church next to a log cabin looks chosen at random unless it is genuinely intentional.
Your Two-Weekend Plan
Weekend one is planning. Sort your collection into rough clusters, map your outlets, and decide on one focal-point building.
Weekend two is the build. Risers and batting first, then the largest buildings, then smaller ones, then paths and accessories last, working from the back of the display forward.
Photograph the finished village before storage day. It becomes next year’s setup guide.
Frequently Asked Questions
How do I make my Christmas village look more realistic?
Add height with hidden risers, group buildings in triangular clusters instead of rows, and leave a path through the scene. One clear focal point ties the whole layout together.
Do Department 56 and Lemax pieces work together?
Yes, the two collectible lines are generally compatible in scale, and many collectors mix pieces from both to widen their options within one theme.
How do I hide the cords in my Christmas village?
Plan your outlets before placing buildings, use flat-plug extension cords, and run any remaining cords under a layer of batting or faux snow.
What can I use for a Christmas village pond?
A small mirror or a piece of reflective plexiglass set into the base works well, with the edges tucked under snow so the glass does not show.
Is it safe to plug in that many Christmas village buildings at once?
Not on a single small extension cord. The CPSC warns against overloading a cord with multiple devices. Use one heavier-duty power strip with a circuit breaker instead, or battery-operated lights for buildings farther away.
How do I display a Christmas village in a small space?
Use a bookshelf’s tiers as separate street levels, or scale down to 3 to 5 buildings on a windowsill instead of a full tabletop scene.
What is the best surface for a Christmas village?
A mantel, console table, or windowsill that is out of a busy household’s path. Avoid a high-traffic hallway table where the display can get bumped.
How do I store my Christmas village so setup is easier next year?
Photograph the finished display first. Then pack pieces away in labeled boxes by cluster rather than by piece type, so the photo and boxes match next year’s layout.
Related Posts
Products We Recommend
This post contains affiliate links. We may earn a commission on qualifying purchases at no extra cost to you.
Lemax Christmas Village Mirror Lake Landscaping Accessory #34952
The frozen-pond piece for idea 4, made by one of the two named collectible brands in this guide. Tuck the edges under snow so the glass line does not show
Shop Now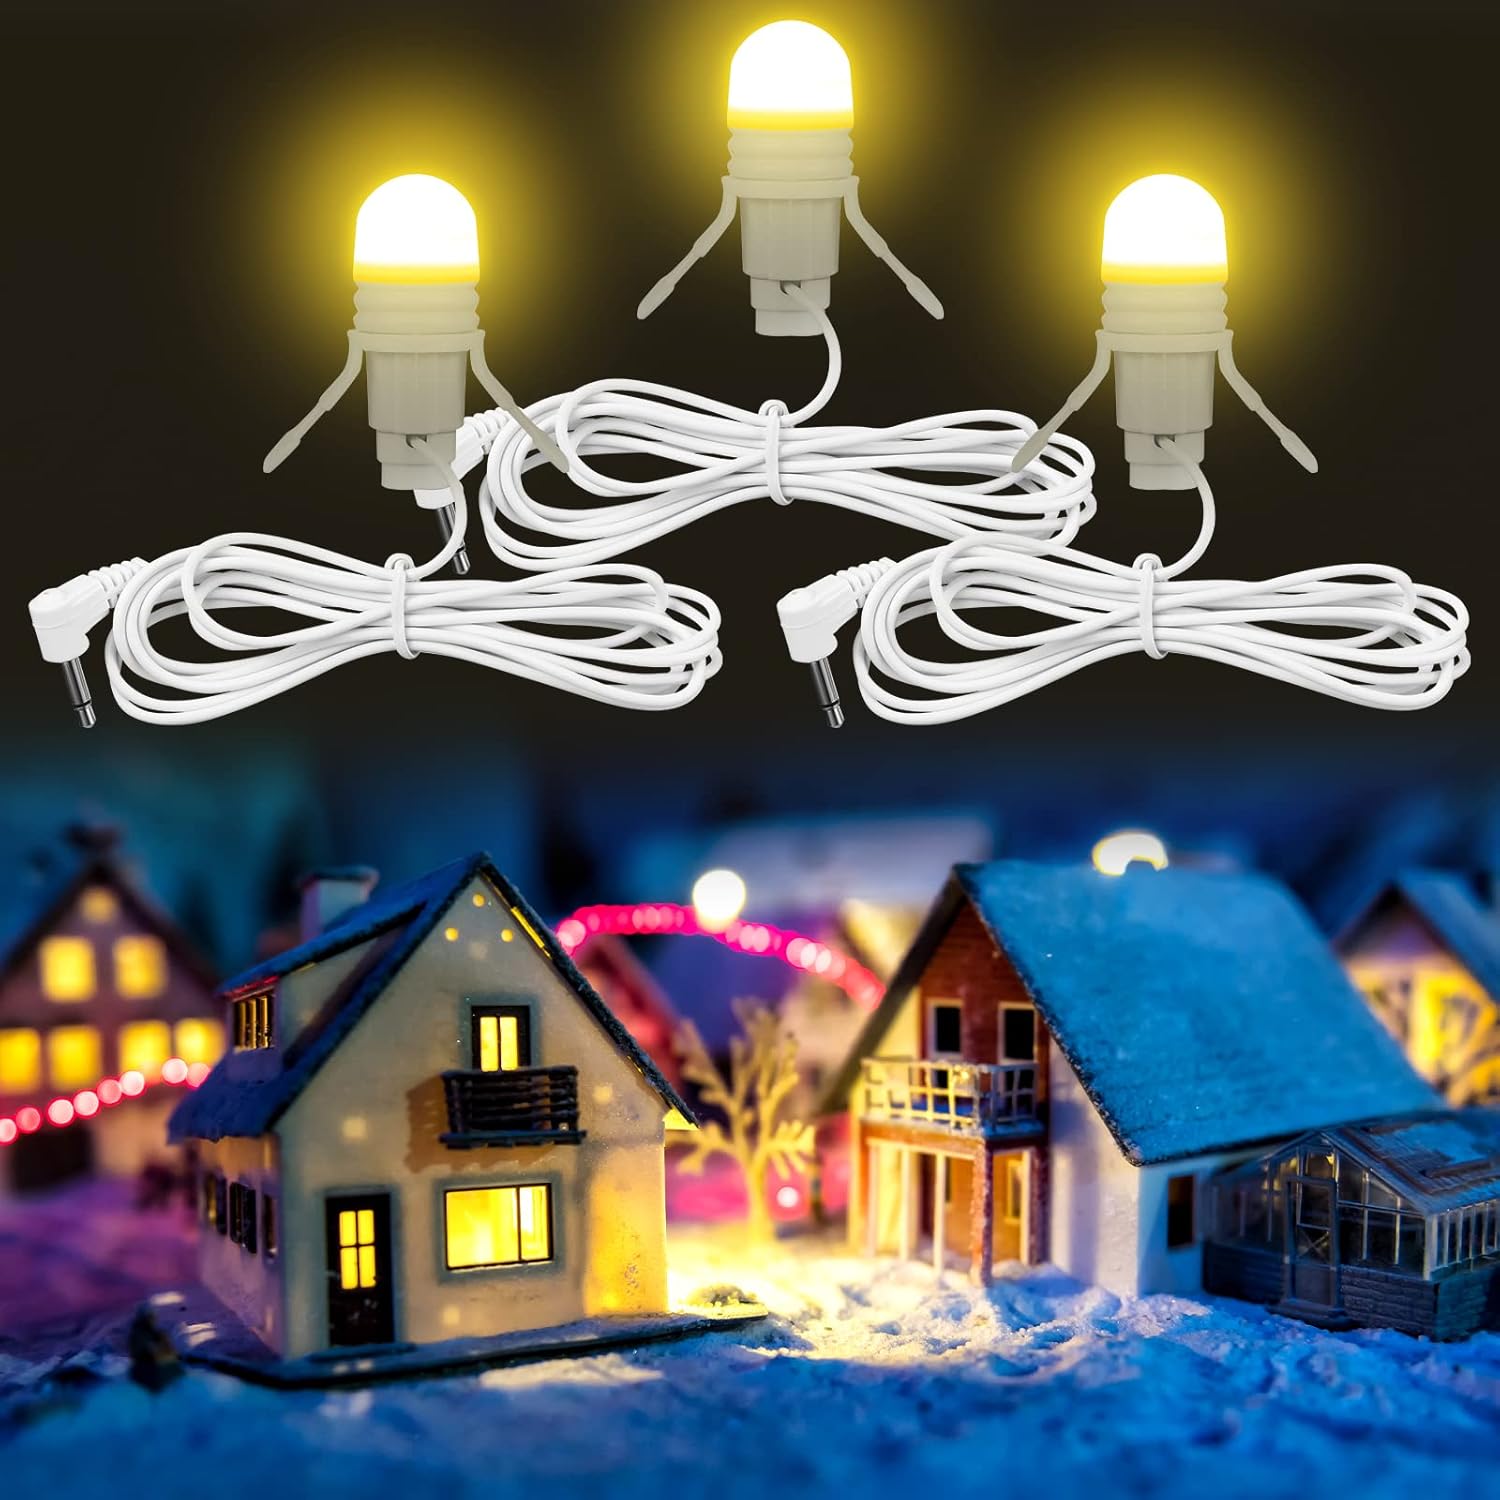
Kingdder 3 Pack Christmas Village Battery Operated LED Lights
The battery-powered light insert for idea 8, for any building that lands too far from an outlet. Comes with an on/off switch so it works without a visible cord
Shop Now
AerWo 24 Pc Mini Bottle Brush Trees with Wood Base
The backdrop trees for idea 14, enough pieces to vary height and depth behind the buildings. Set the tallest ones at the back of the display
Shop NowNever miss an update — choose FarmFoodFamily as your preferred source on Google.
How it works: Tap the button below to open Google's settings page, then check the box next to FarmFoodFamily.
Tap the checkbox to turn it blue — that's how you know it's set.