15 Genius Laundry Room Ideas That Look Expensive but Aren’t
A laundry room can look custom-built for very little money, as long as each cheap upgrade can handle heat, humidity, and the occasional leak.

Never miss an update — choose FarmFoodFamily as your preferred source on Google.
How it works: Tap the button below to open Google’s settings page, then check the box next to FarmFoodFamily.
Tap the checkbox to turn it blue — that’s how you know it’s set.
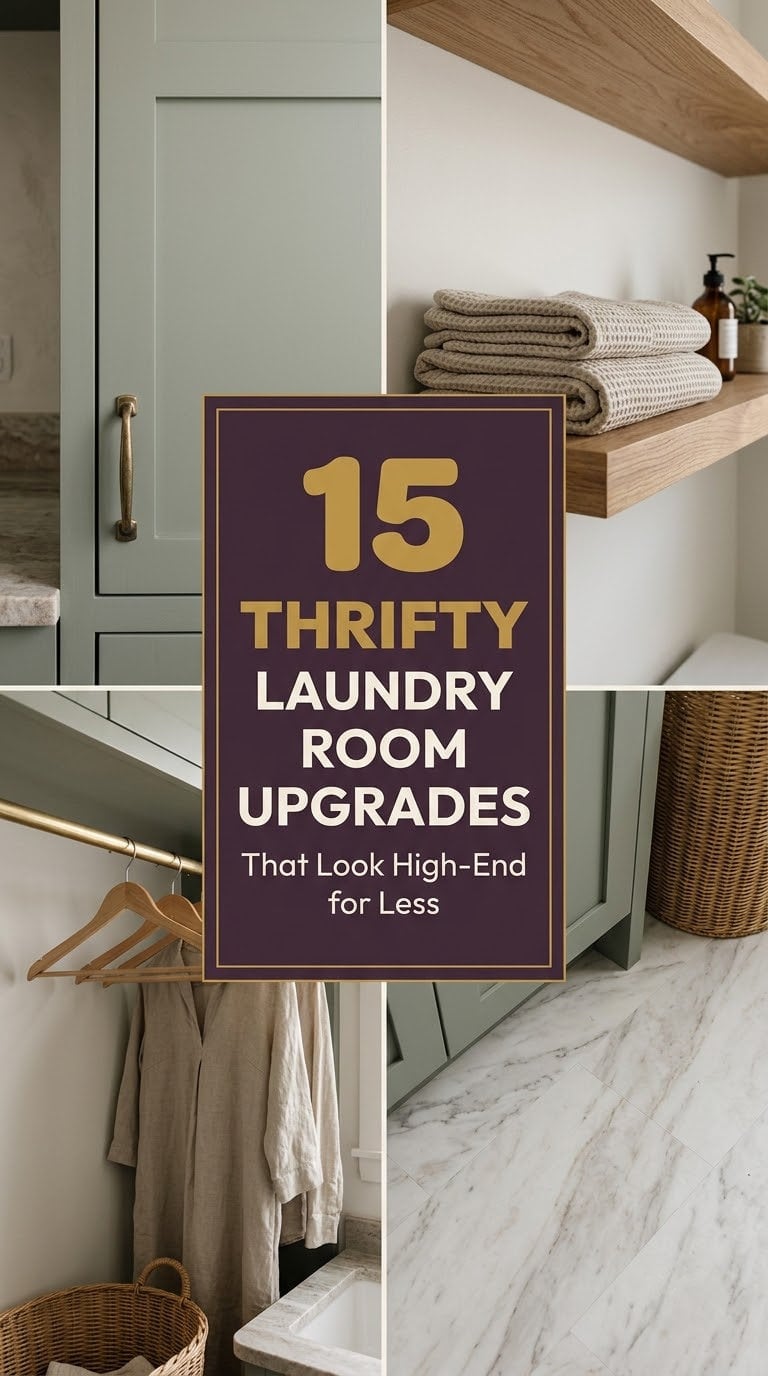
Expensive-looking laundry rooms mostly come down to five cheap moves. Paint the cabinets a deep color, swap the hardware, add a wood-look counter, dress one wall, and hide the clutter. Each costs far less than a new cabinet run.
Most take a weekend or less, and you don’t need a contractor for any of them.
But a laundry room is the hardest room in the house on a finish. It’s hot, damp, and full of vibration. So prep matters more than product.
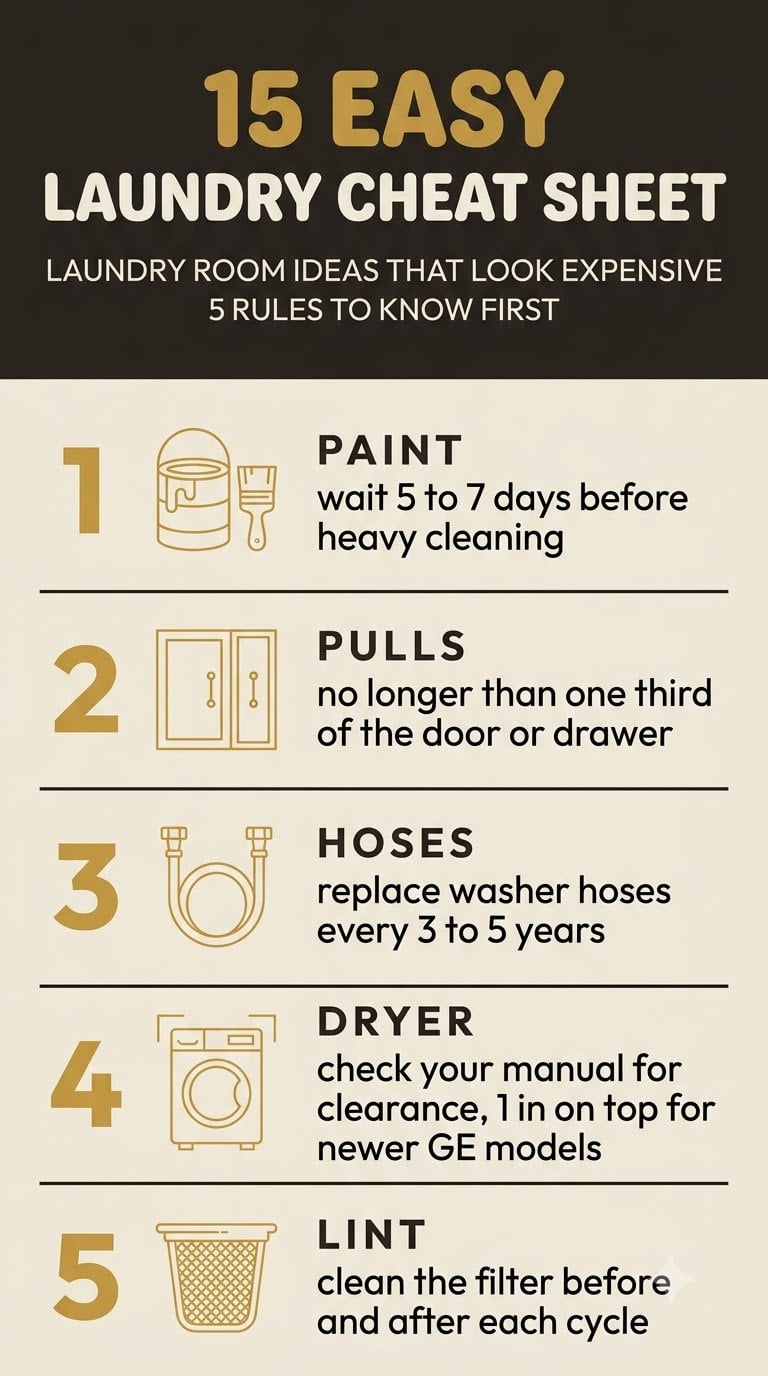
Prime and cure painted cabinets for at least five to seven days before scrubbing them. Keep anything stuck to a wall away from the dryer’s heat.
And swap old rubber washer hoses for braided steel, because a burst hose ruins a pretty room fast. Clean the dryer vent too, since a fire does the same.



Which upgrades pay off most?
Some upgrades change the whole look for a weekend and a small budget. Others look nice but fail in a damp room. Here’s how the fifteen compare.
| Upgrade | Effort | Renter-safe? | Biggest risk |
|---|---|---|---|
| Deep-color cabinets (1) | Weekend, plus cure time | Ask first | Peeling if you skip primer |
| Hardware swap (2) | One hour | Yes, keep the old pulls | Wrong size looks cheap |
| Faux butcher block counter (3) | Weekend | Not really | Water damage at edges |
| Board and batten (4) | Weekend | No | Gaps and cracked caulk |
| Peel-and-stick wallpaper (5) | Afternoon | Yes | Lifting seams in steam |
| Marble-look floor tile (6) | Afternoon | Yes | Water under seams |
| Curtain, shelf, rod, table (7 to 11) | An hour each | Mostly yes | Weak wall anchors |
| Hoses and vent (12, 13) | Under an hour | Yes | Skipping it |
| Light, art, runner (14, 15) | An hour | Yes | Wrong scale |
The ideas below run from the ones that change the room most to the small finishing touches. If you’d rather start from a floor plan, our guide to awkward laundry room layouts is the better first stop.
Who is this guide for?
Your situation changes which upgrades make sense. Renters need removable ones, and owners can commit to paint and trim.
| Your situation | Start with |
|---|---|
| Renting | 2, 5, 6, 7, 9, 10, 15 |
| Own it, tight budget | 1, 2, 4, 8, 12 |
| Own it, want the full look | 1, 3, 4, 6, 14 |
| Gas dryer or a closet install | 13 first, and call a pro for any venting change |
The 15 ideas, in order
1. Paint the cabinets a deep, moody color
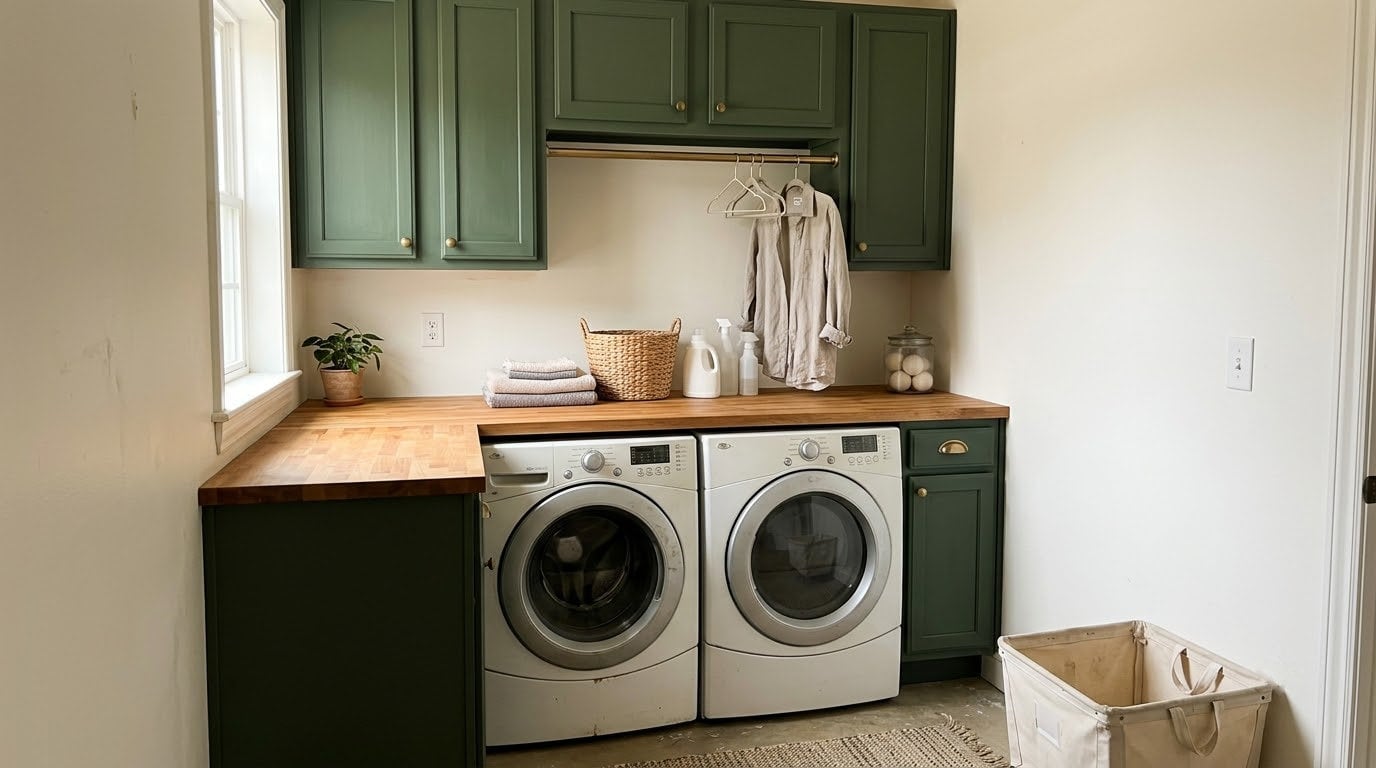
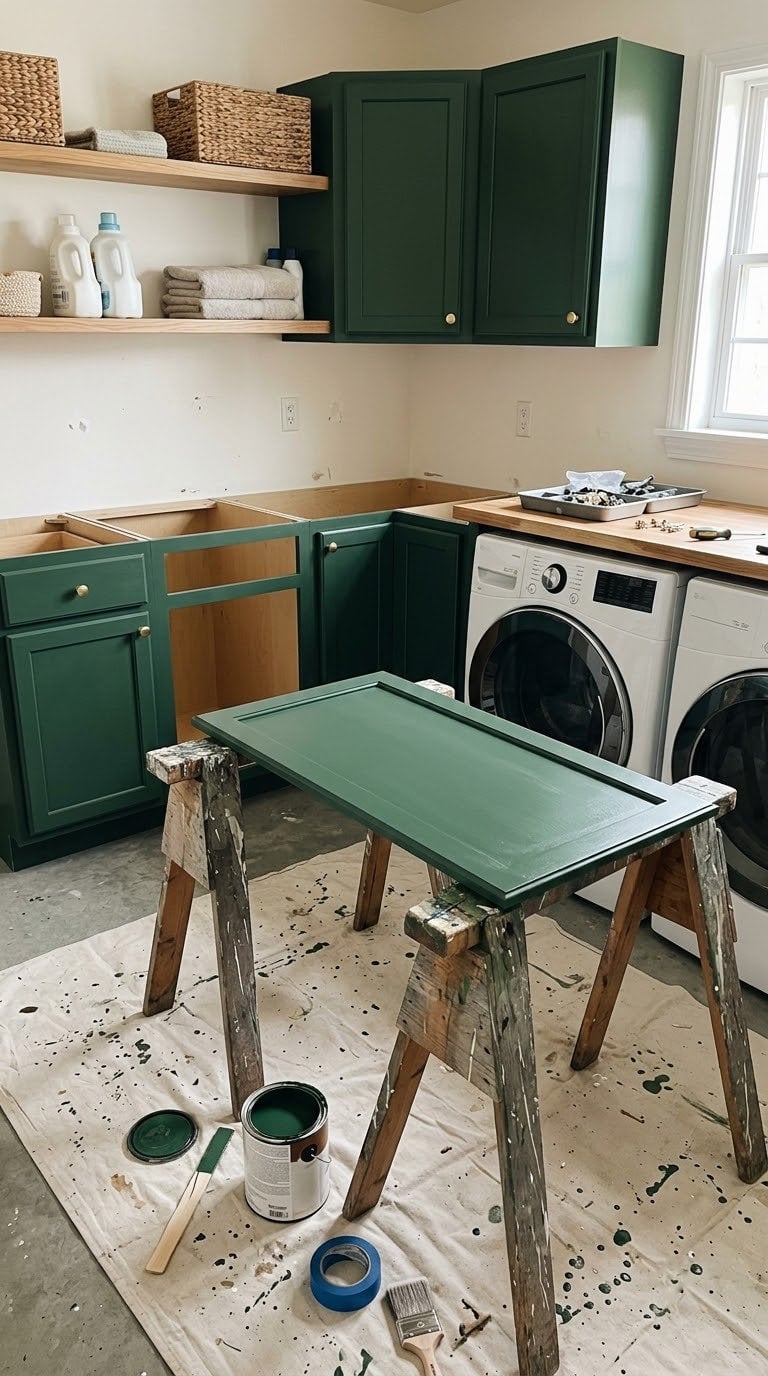
A dark green, navy, or charcoal reads as custom cabinetry. It also tends to hide scuffs better than white. Most of the effect comes from the color, not the cabinet.
Prep is the whole job. Benjamin Moore’s cabinet guide says to wipe the doors with a gentle grease remover and sand with 100 to 150 grit. Then prime with a high-hiding primer that isn’t lacquer-based, and let it dry for at least an hour.
Sand lightly with 220 grit between coats. Let the cabinets dry at least 24 hours, and two or three days is better. The same guide says not to expose new paint to heavy abrasion or cleaning for five to seven days.
Blogger Erin Zubot spent $90 on cabinet paint in her $405 laundry makeover. She also found her cabinets were installed with adhesive, so she painted them in place instead of replacing them.
Quick tip: if your house was built before 1978, test the old paint for lead before you sand. The EPA’s lead renovation page says the rule generally doesn’t cover homeowners working on their own home, but it does cover rentals.

Braided stainless steel supply hoses with 90-degree elbows and 3/4 inch fittings, the swap behind idea 12
Shop NowThis post contains affiliate links. We may earn a commission on qualifying purchases at no extra cost to you.
Either way, use lead-safe work practices.
2. Swap the hardware for something heavier
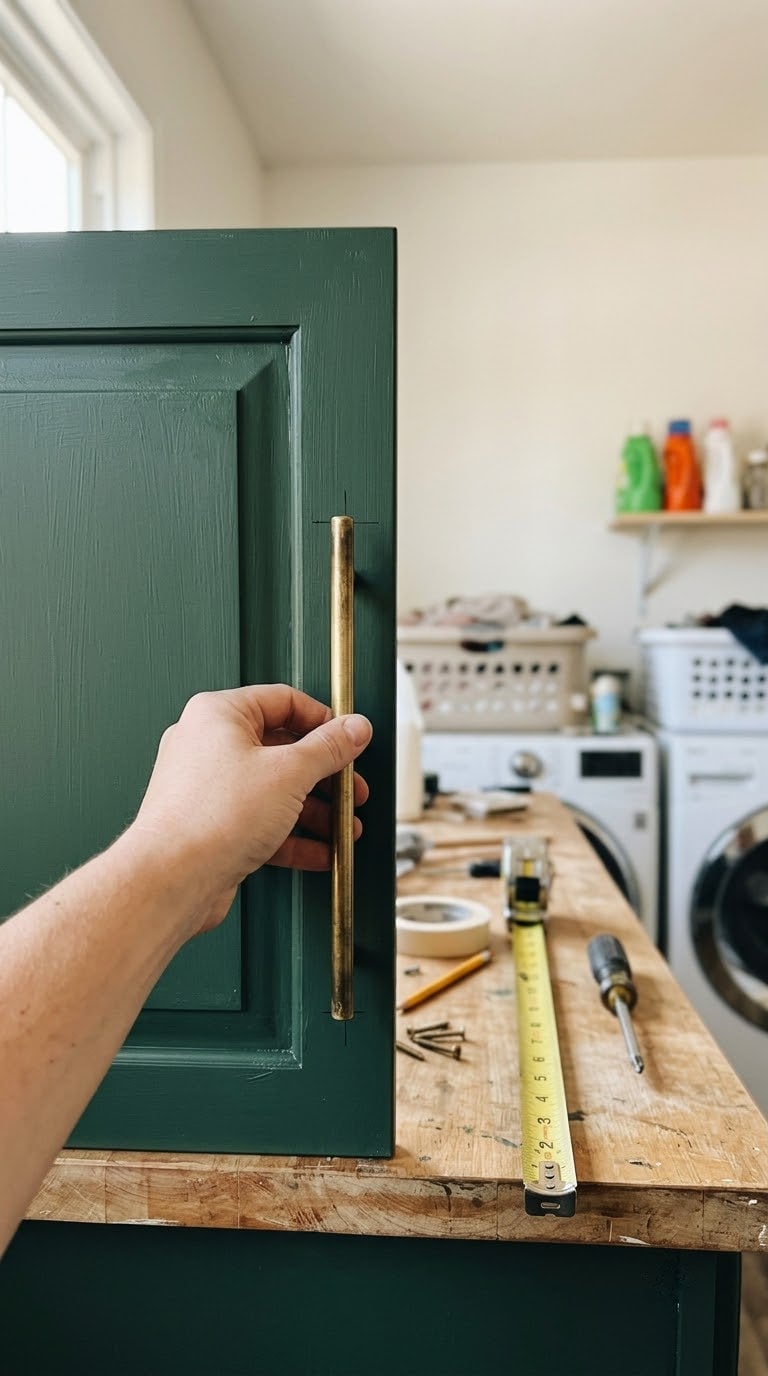
New pulls are the fastest upgrade in the room. Brass, black, or matte nickel makes builder-grade cabinets look like they came from a design showroom. Zubot spent $50 on vintage brass door knobs in her makeover.
Size is what separates expensive from cheap.
Top Knobs’ sizing guide says pulls on doors under 24 inches tall should run 3 to 7 inches long. Doors 24 to 36 inches tall want 7 to 12 inches. A pull should never exceed one third of the door’s length or a drawer’s width.
Measure center to center before you order. That’s the distance between the two screw holes, and it’s how every pull is sold.
Quick tip: keep the old pulls in a labeled bag if you rent. Swap them back before you move out, and no one will ever know.
3. Build a butcher-block-look counter over the machines
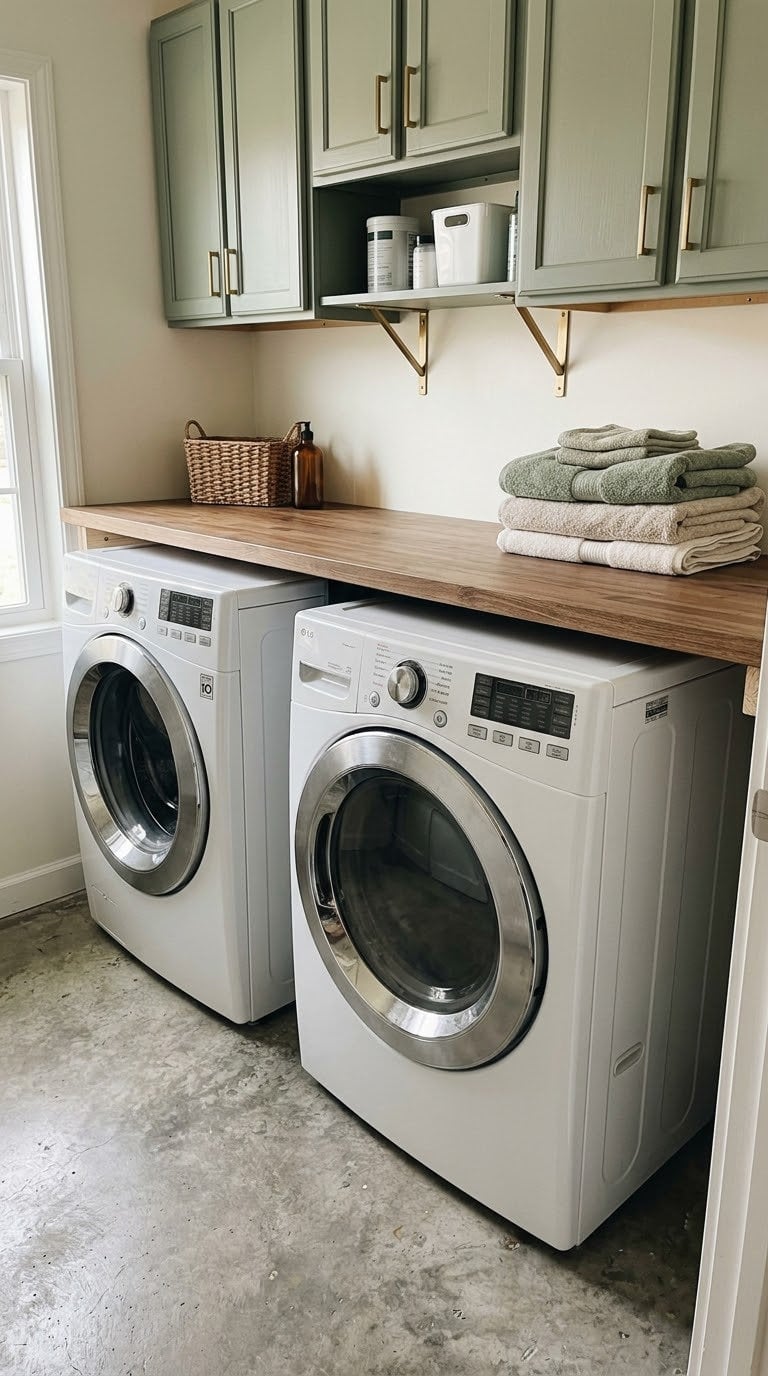
A wood counter over a washer and dryer makes the room look built in. It also gives you a folding surface. A faux butcher block costs a fraction of a real slab.
Pennies for a Fortune builds one from plywood, a 2×4 cleat, and iron-on veneer edging. The author suggests 3/4 inch plywood, not the 1/2 inch she used. She lightened her stain by sanding, then sealed it with two coats of polyurethane.

Here’s where a laundry room bites. Water splashes and detergent spills will find every raw edge, so seal the edges and the underside too.
Then check your dryer’s manual. GE’s clearance page says older dryers need 1 inch of clearance in front, behind, and above, and newer ones need 1 inch on top. Some need more.
Leave a gap, and don’t rest the counter on the machines. Support it from the wall cleat and side supports instead. And measure how far your top-load lid swings before you cut anything.
Quick tip: a front-load washer and dryer pair is much easier to cover than top-loaders.
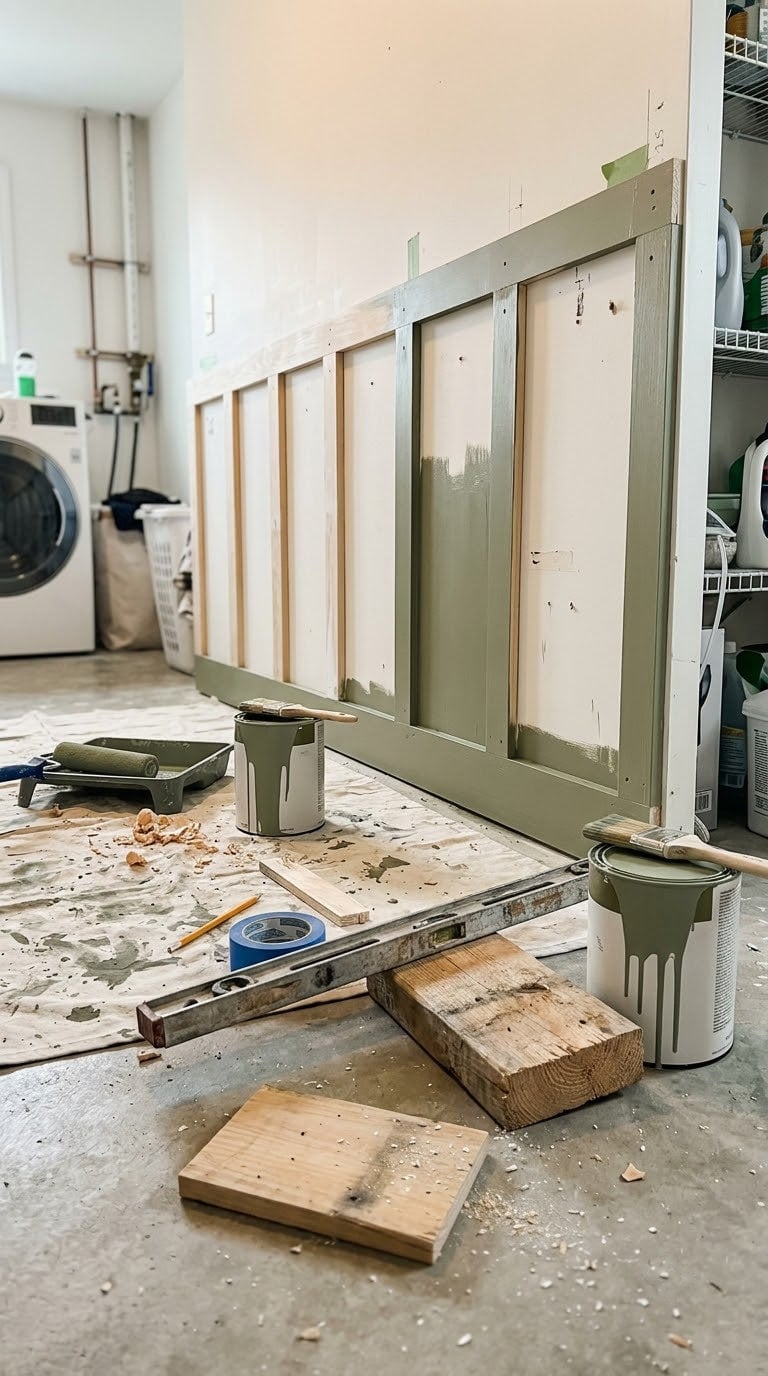
4. Add board and batten on one wall
Vertical strips of trim turn a flat wall into a paneled one. It’s one of the most copied looks in home decor, and it costs little. John Petersik of Young House Love put his laundry version at about $195, with a stated range of $50 to $650 depending on the space.
His build uses primed 1×3 battens, a 1×4 top rail, and a 1×2 ledge. He spaced the battens 18 inches apart and suggests staying between 12 and 20 inches. A scrap-wood spacer keeps every gap identical without re-measuring.
Caulk every seam, fill the nail holes, and prime before the final coat. Skip that step and you’ll see every gap in a damp room. Semi-gloss paint wipes clean, which matters near a machine.
Our own board and batten wall guide shows more layouts and heights.
Quick tip: paint the wall and the trim the same color. A one-color wall looks richer than a white grid on a beige wall.
5. Try peel-and-stick wallpaper on one accent wall
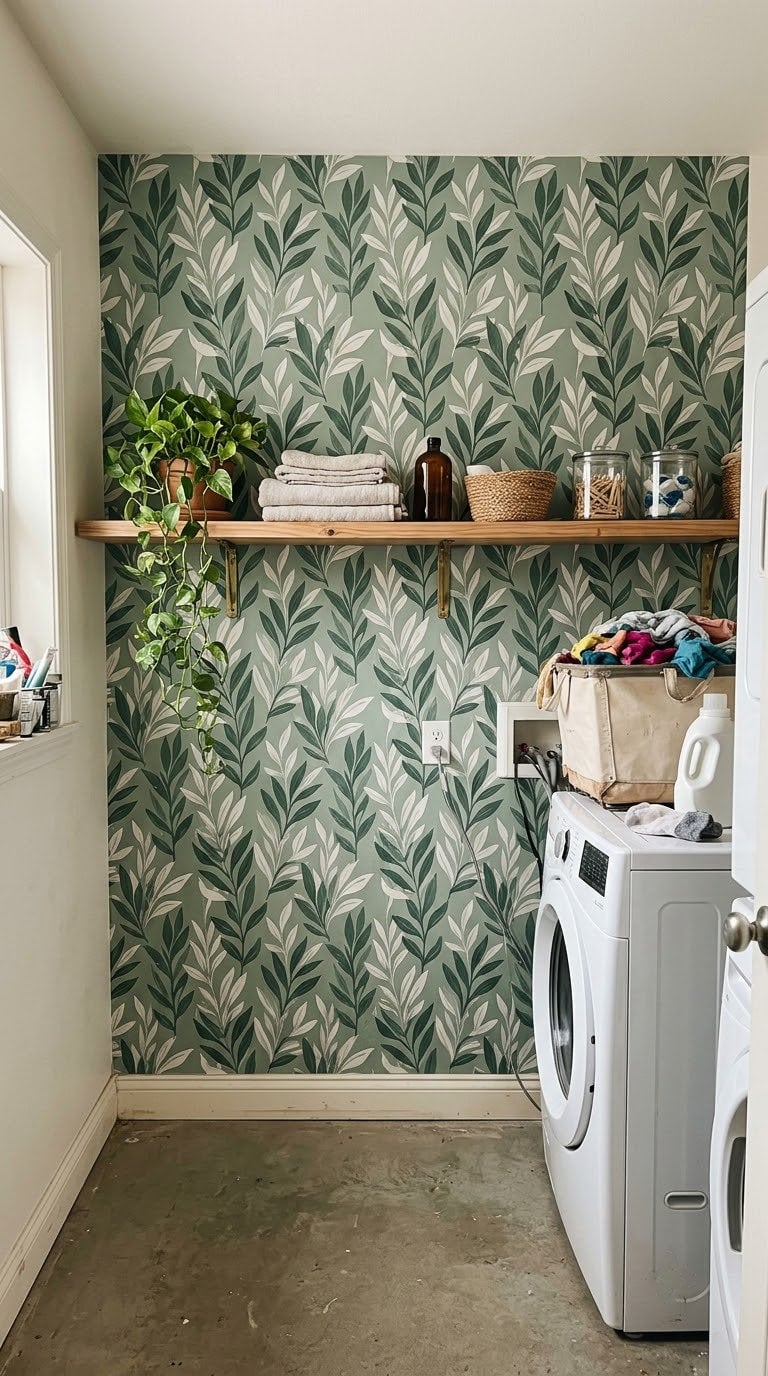
A bold pattern can carry a small room. Wallpaper is a fun choice here because laundry rooms are small, so a loud print doesn’t overwhelm. Fynes Designs recommends peel-and-stick for renters who want personality without commitment.
Choose a vinyl product made for humid rooms, and put it on the wall behind a shelf or hanging rod, not next to the dryer. Heat and steam soften adhesive, so a wall right behind the machines is a risk.
Wipe the wall clean and let it dry fully first. And keep the first roll for a test patch inside a cabinet.
Curious how far a temporary print can go? This ombre accent wall shows one done with removable wallpaper.
Quick tip: run the dryer once before you commit and feel the wall. If it’s warm, move the paper.
6. Lay a marble-look floor for very little
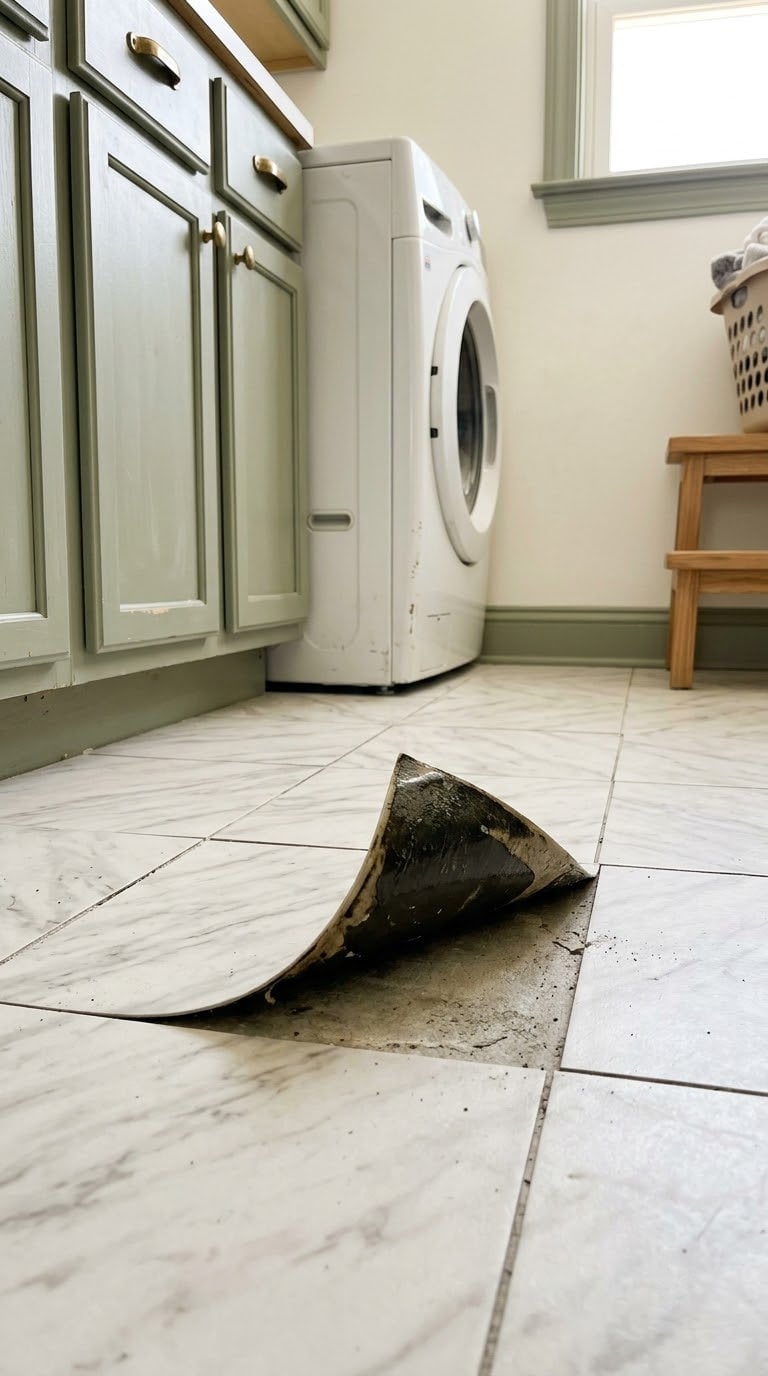
A veined floor makes a small room feel like a boutique. Zubot laid peel-and-stick marble tile from Home Depot for $35 in her laundry room. She said she gave herself a break by skipping real tile.
But water is the enemy. Seams and edges are where a leaking washer does its damage, and a leak is more than a spill.
If you rent or plan to sell soon, it’s a fine choice. If you own the house long term, click-together vinyl plank costs more but sits tighter. Either way, use a drain pan under the washer.
If a vinyl floor worries you, our explainer on whether vinyl flooring is toxic covers the health questions.
Quick tip: start the first tile from the center of the room. Cuts along the walls hide better than cuts in the middle.
7. Hang a curtain on a ceiling track
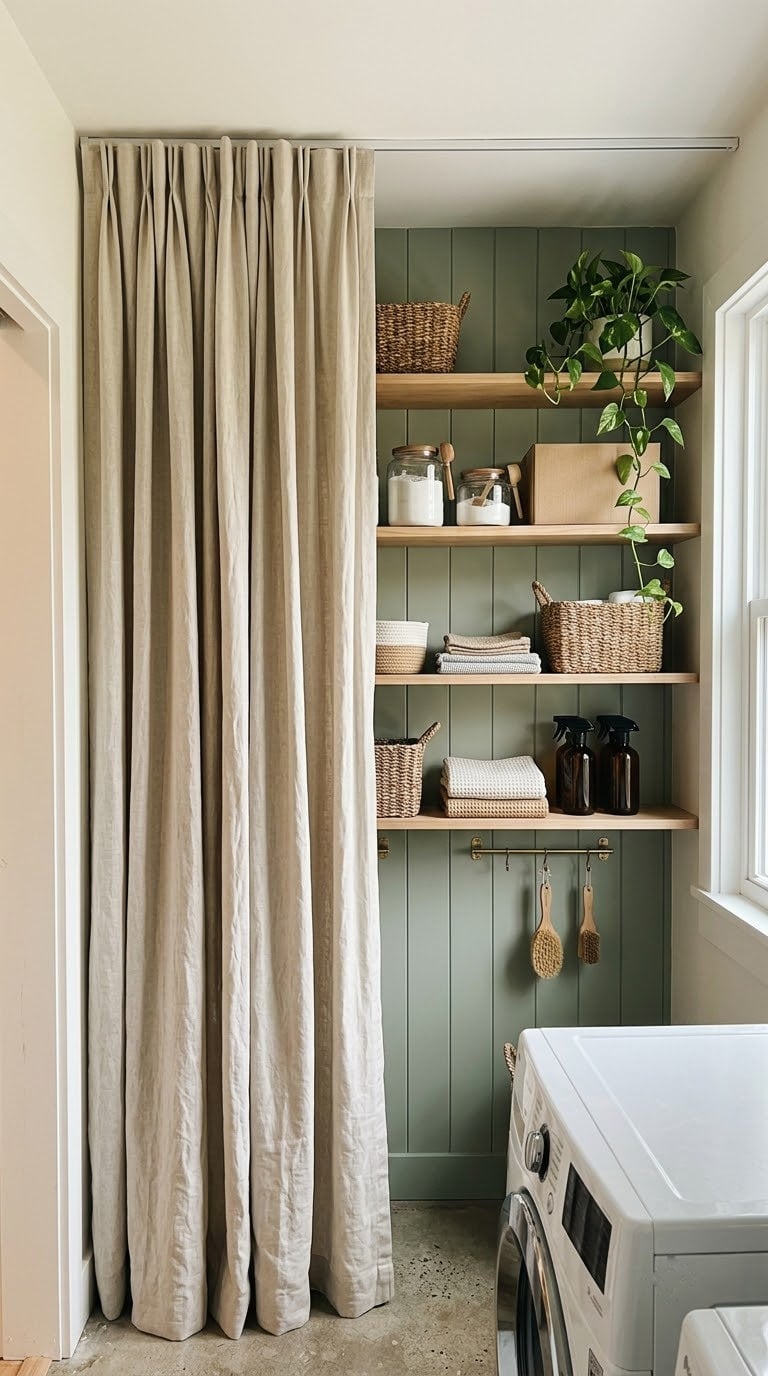
Fabric softens all those hard machines. A curtain on a ceiling-mounted track hides open shelves or a water heater in one pull. Zubot did this with two IKEA Vidga track sets for $30 and about $40 of William Morris quilting fabric.
Choose a fabric you can wash, since laundry rooms collect lint. Hang it just short of the floor so it doesn’t drag through spills. And leave the dryer vent and the water heater’s air space open.
If a gas water heater sits behind the curtain, don’t block its clearance. Call a pro if you’re unsure.
Quick tip: pinch-pleat the top. The fuller heading looks tailored, and it costs the same fabric.
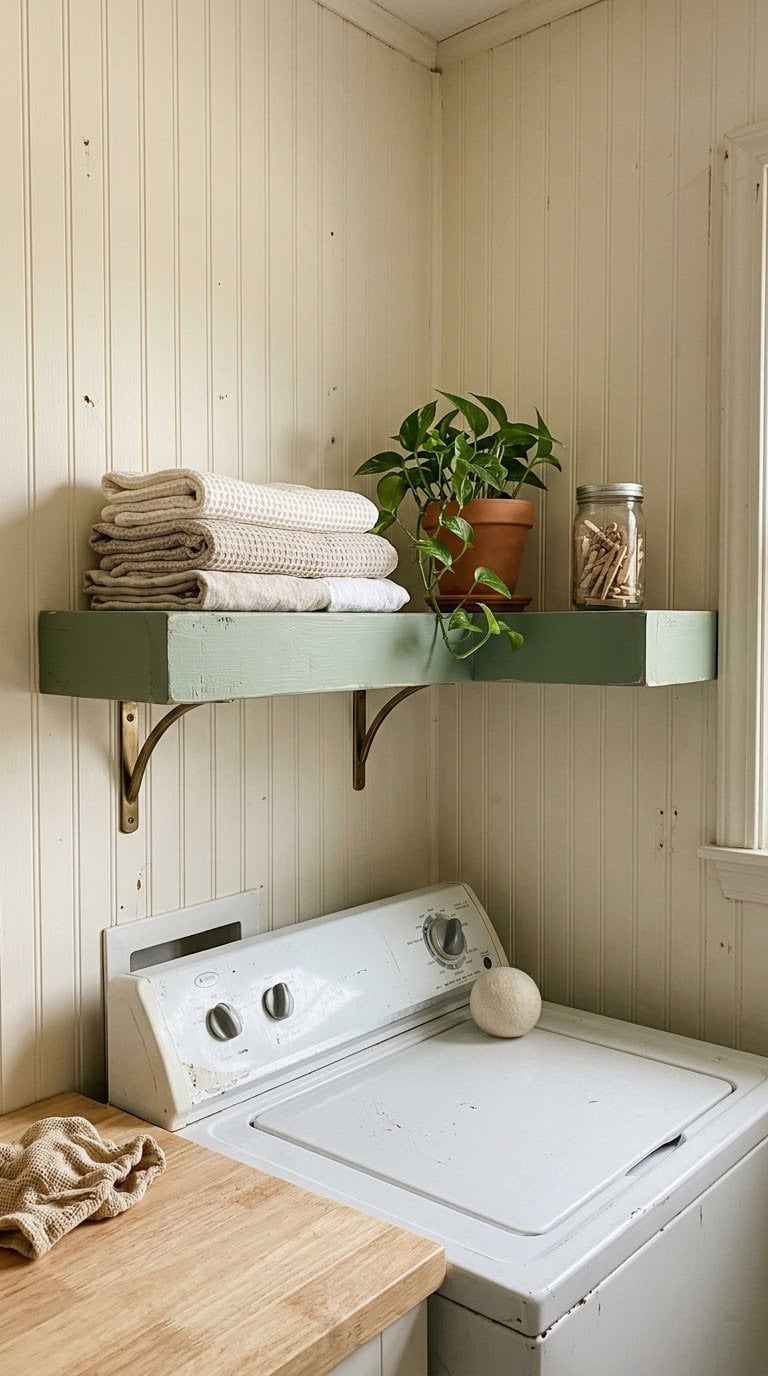
8. Add one thick floating shelf
A single deep shelf above the machines looks built in. Zubot made hers from 3/4 inch MDF for about $90. A thick edge looks far more expensive than a thin bracket shelf.
Find a wall stud before you hang it, since detergent jugs are heavy. Use heavy-duty brackets and screw into the stud, not just drywall anchors. Keep the shelf at least a hand’s width above the machines so you can open a top-load lid.
Style it with two or three things, not twelve. A folded towel, a small plant, and one jar reads as a shelf. A crowded shelf reads as storage.
Our laundry room storage guide has more ways to organize what goes on it.
Quick tip: paint the shelf the same color as the wall. It vanishes and looks built in.
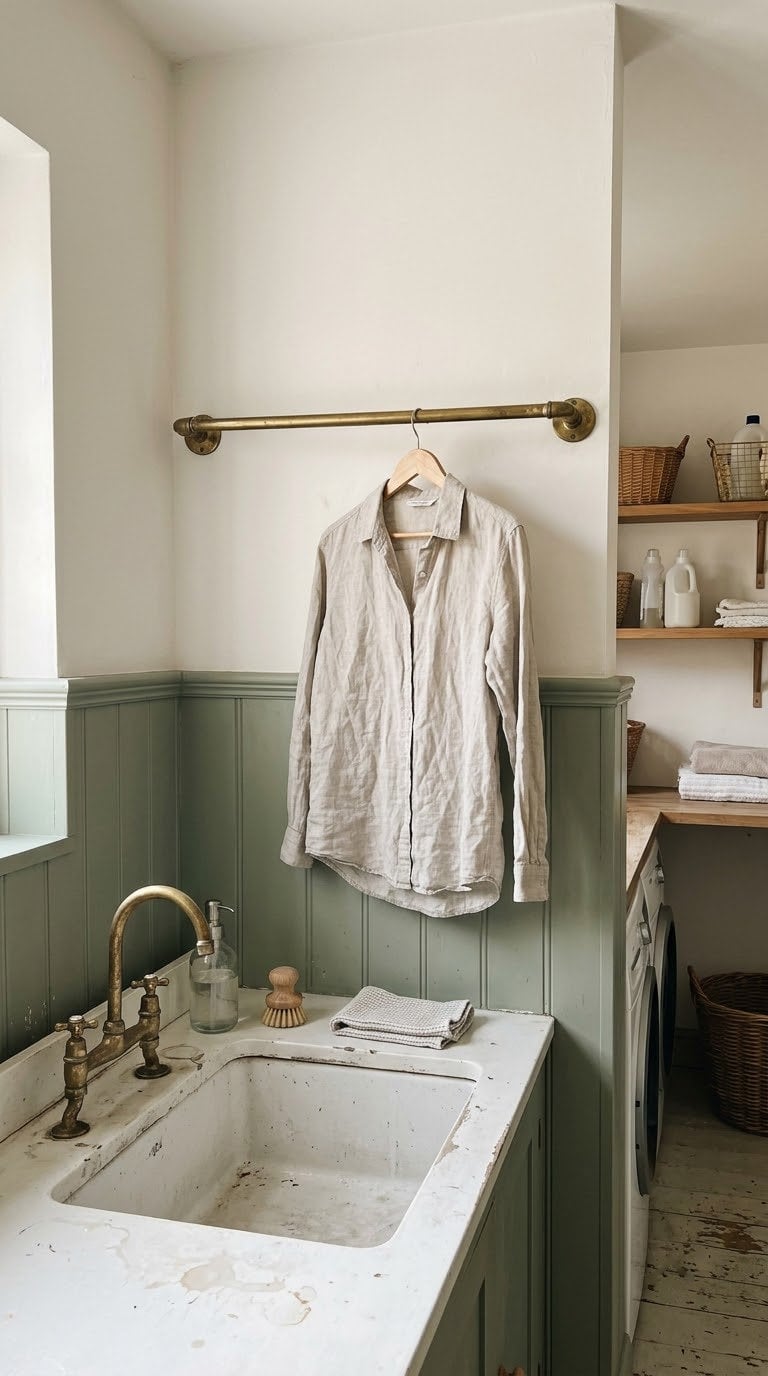
9. Mount a brass drying rod
A wall-mounted rod turns drip-dry clothes into a design feature. A simple brass or wood rod hangs on two brackets. A tension rod, which Fynes Designs suggests for hanging delicates between cabinets, works in a rental.
Mount a permanent rod into studs, because wet clothes weigh more than you’d think. Leave at least a foot of clearance above a sink or machine. And hang it at a height you can reach without a stool.
Quick tip: rub the rod with a cloth and a little furniture wax once a year. It keeps the finish from spotting.
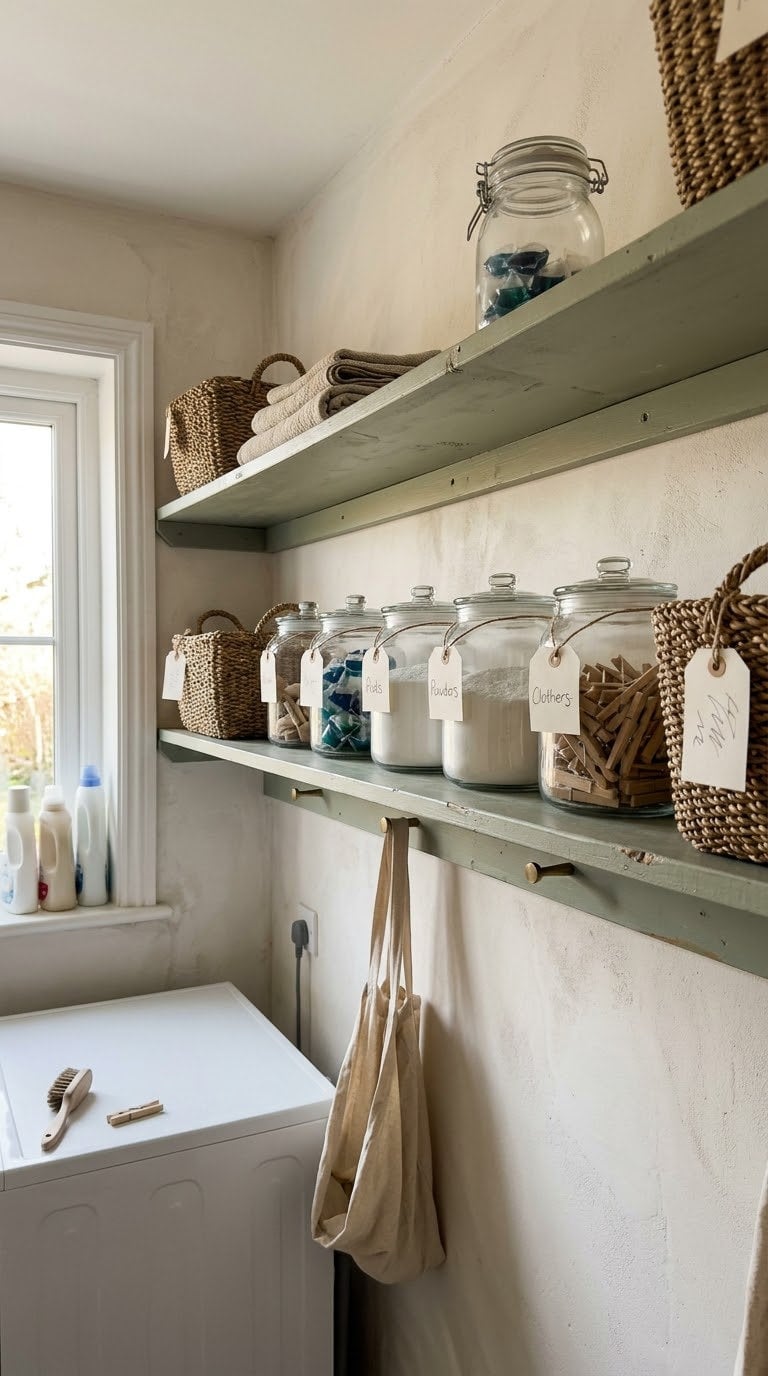
10. Match your bins and labels
Mismatched jugs and bottles are what make a laundry room look cheap. Matching baskets, jars, or painted bins fix that in an hour. Fynes Designs suggests painting plain dollar-store baskets and labeling them for detergent and supplies.
Keep the original label or a copy of it with any chemical you pour into a jar. It carries the safety and mixing information. And never mix bleach and other cleaners, however neat the jars look.
Store anything harmful up high, out of a child’s reach. A pretty jar is no substitute for a locked cabinet.
Quick tip: use one label style everywhere. Consistency reads as expensive, even with cheap jars.
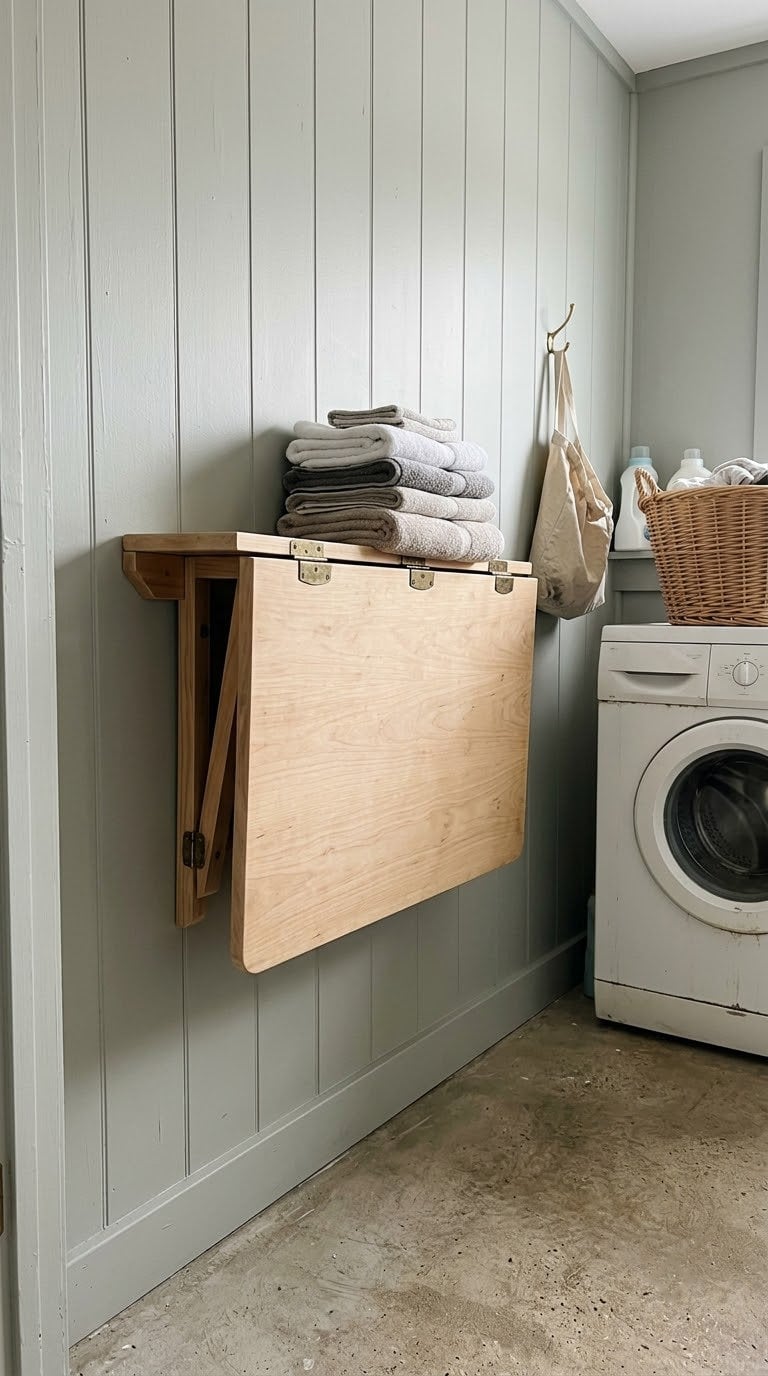
11. Fold-down drop-leaf table for folding clothes
A folding surface makes a tiny room feel designed. A wall-mounted drop-leaf table folds flat when you’re done. Fynes Designs suggests drop-leaf tables for exactly this reason.
Mount it into studs, and use brackets rated for well over the weight you’ll ever put on it. Leave 12 inches of counter or table beside the washer, which is the minimum Fynes Designs recommends. Stain the wood to match your shelf.
Zubot built a counter from a reclaimed door and stained it black after struggling to get a good teak color. That’s a useful warning. Test your stain on the back first.
Quick tip: hang a small hook under the table for a lint brush.
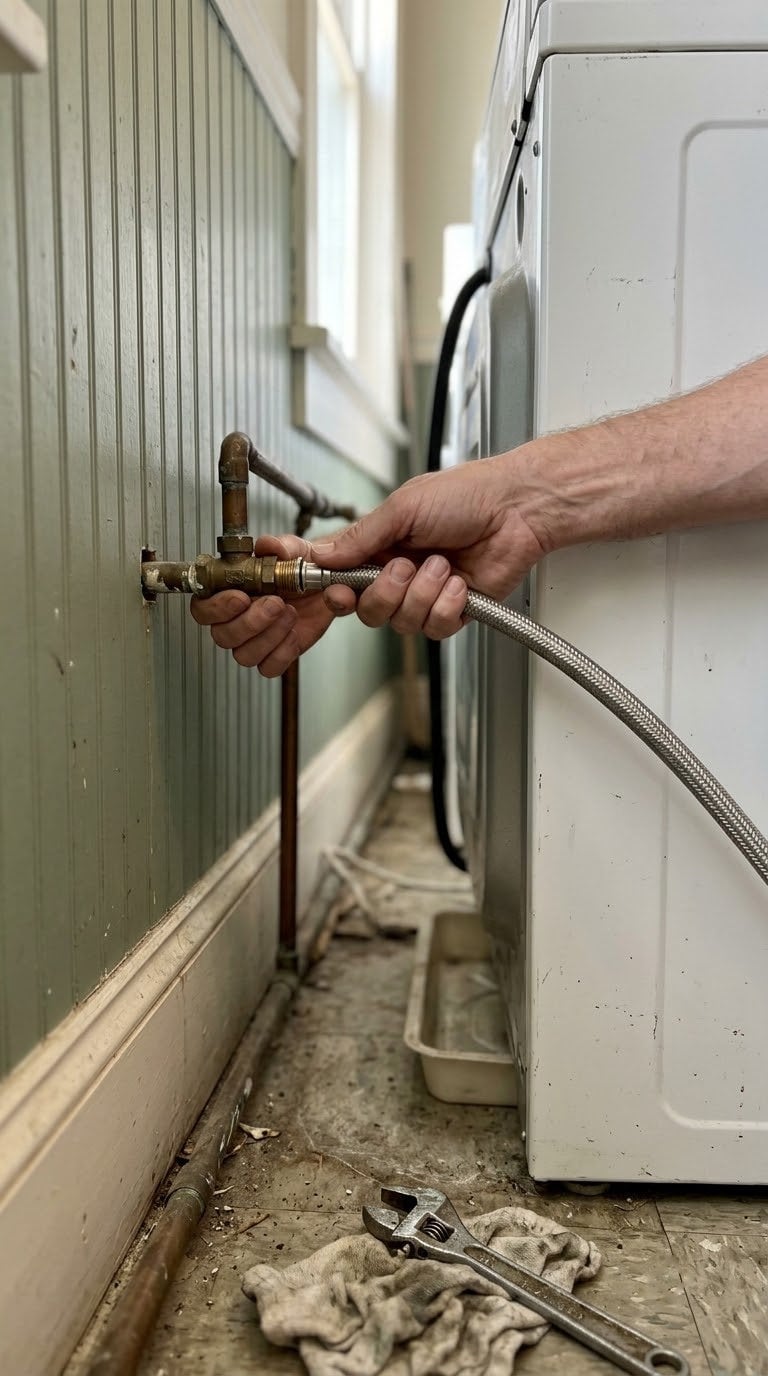
12. Swap rubber hoses for braided steel
This one won’t show up in photos. But it protects everything else you just built. Ullrich Insurance puts a braided steel hose at about $15 and says washing machine hoses should be replaced every 3 to 5 years.
The same agency says the average water damage claim runs $11,000 to $13,000, though that’s the agency’s own figure from industry averages. A new pair takes about ten minutes with a wrench. And a neat set of hoses looks better behind the machines, too.
Follow the package instructions for tightening. And write the install date on a piece of masking tape and stick it on the wall.
Quick tip: shut off the water valves at the wall after the last load if you’ll be away for a while.
13. Give the dryer a clean, rigid vent
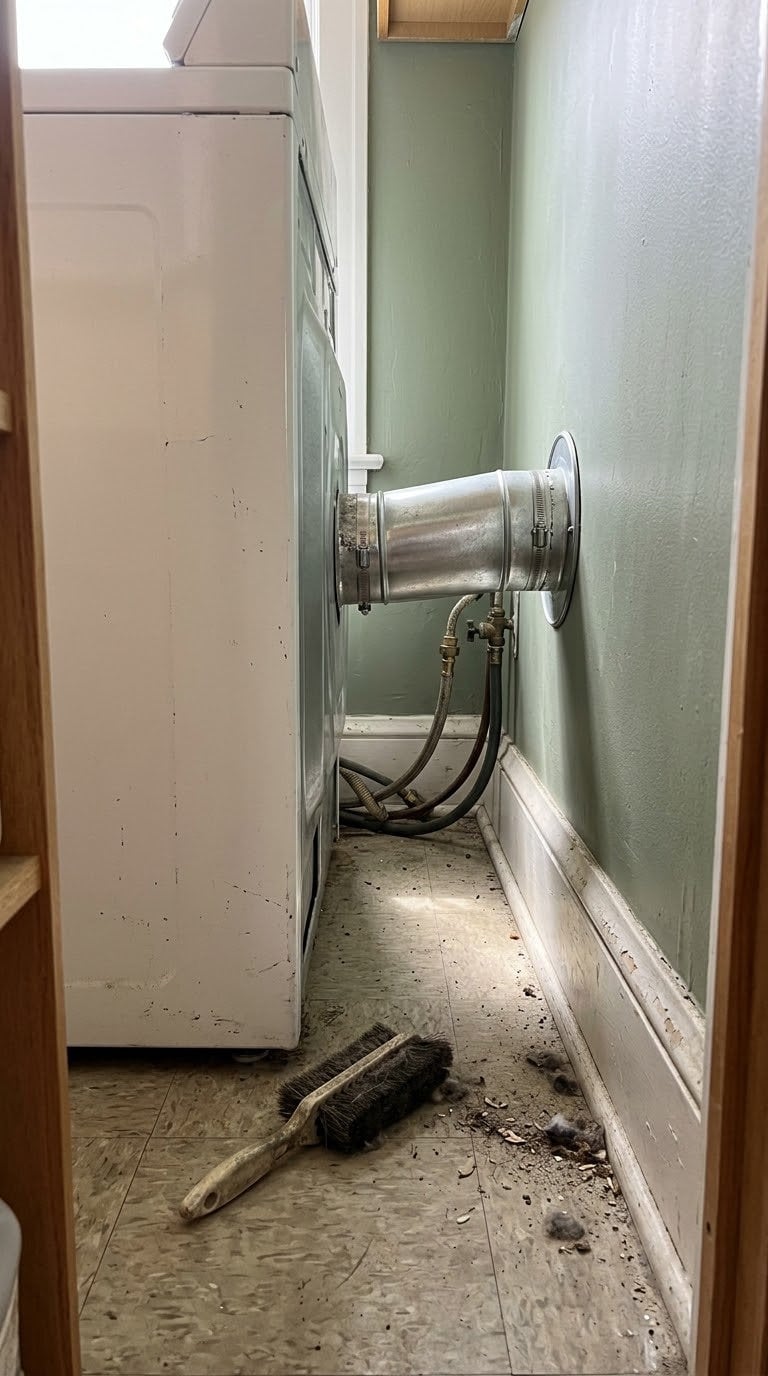
A tidy vent looks better, and it’s a safety fix.
The U.S. Fire Administration estimated about 2,900 dryer fires in homes each year from 2008 to 2010. They caused 5 deaths and 100 injuries, with $35 million in property loss.
Failure to clean was the leading factor, at 34 percent.
Their dryer safety flyer says to clean the lint filter before and after each cycle. It also says to clean the back of the dryer, and to check that the vent behind it isn’t damaged, crushed, or restricted. Make sure the outdoor cover opens when the dryer runs.
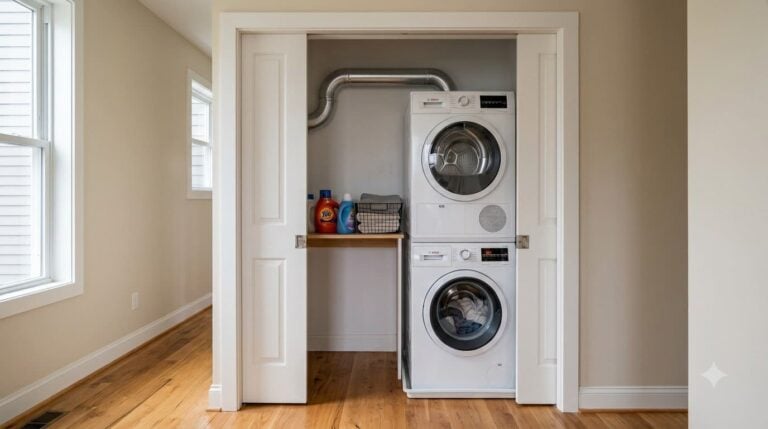
Pull the dryer out and look. A crushed foil duct is easy to fix, and a smooth metal duct looks like a pro did it. Have a pro handle a gas dryer or any change to the venting.
Quick tip: mark “vent check” on a calendar each spring.
14. Replace one dated light fixture
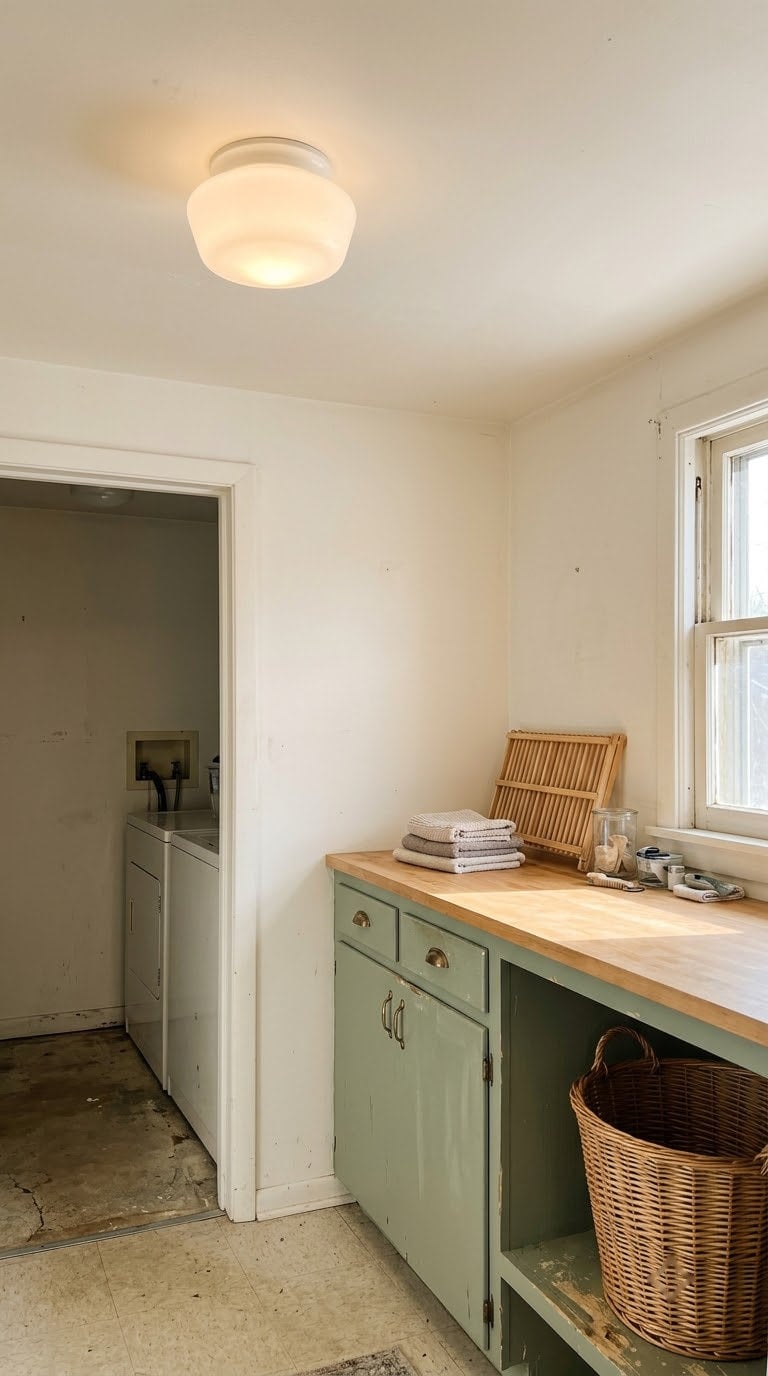
A single statement fixture sets the tone. Zubot swapped a closet light for a $15 LED flush mount. She also spent $155 on a Wayfair flush-mount fixture elsewhere in the house, so a good shade doesn’t have to cost much.
Pick a shade that’s easy to wipe, like glass or painted metal, and skip anything with deep crevices that collect lint. Fynes Designs suggests daylight bulbs in the 5000 to 6500 K range so colors read true when you sort. If the swap means touching wiring, hire an electrician.
Our laundry room lighting guide goes deeper on layering task lights.
Quick tip: turn the power off at the breaker, not just the switch.
15. Finish with one big piece of art and a washable runner
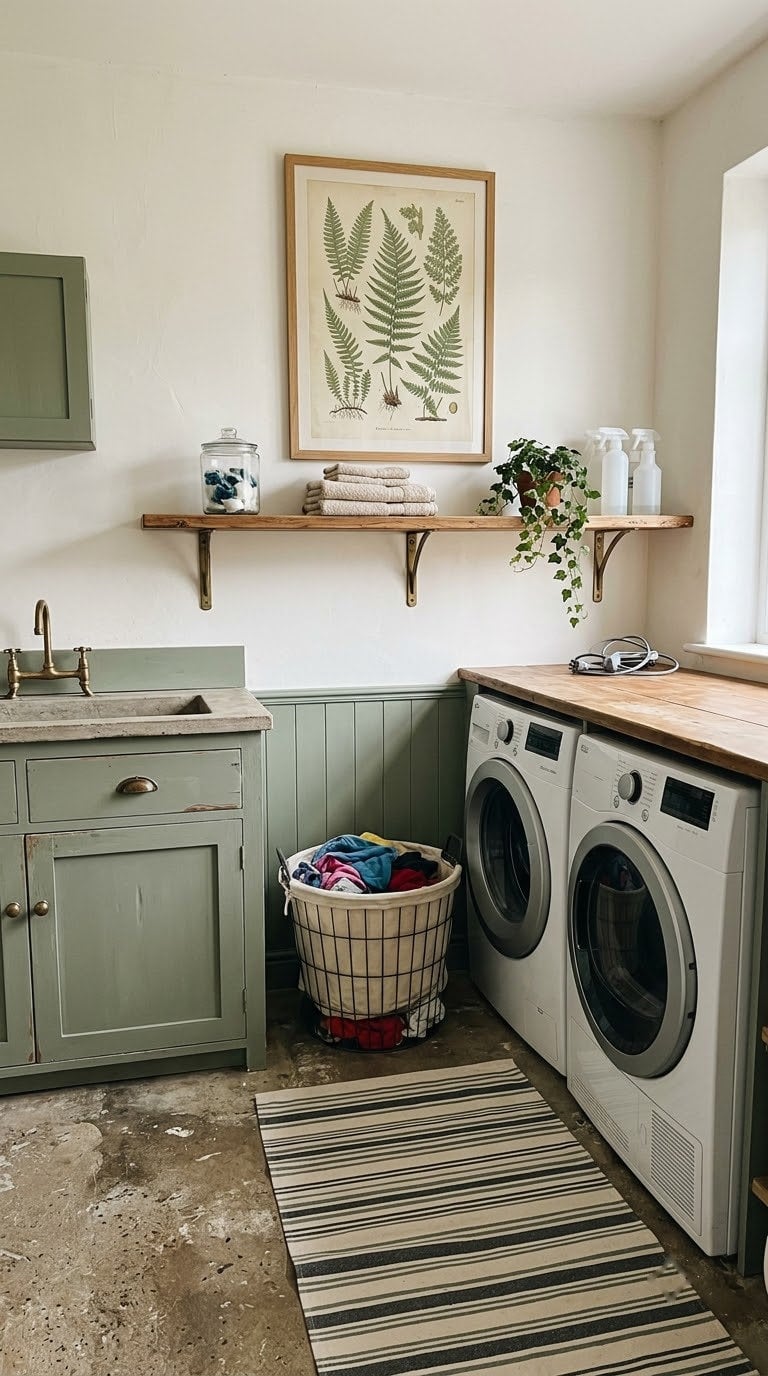
The last layer is what makes it look styled. A single oversized print or mirror does more than five small frames. A long washable runner grounds the room and warms the floor.
Choose a runner with a non-slip pad that’s rated for washing. Hang art high enough that splashes can’t reach it. And pick a frame with a real glass front, so you can wipe it.
Quick tip: match one color in the art to your cabinet paint. It ties the whole room together.
What we learned the hard way
We looked at the sources again, and three problems come up over and over.
The first is the cure. Painted cabinets feel dry in a day, but Benjamin Moore says to wait five to seven days before heavy cleaning.
Wipe them early, and the paint lifts in strips. I’d rather see someone wait a week and love the result.
The second is heat. Anything stuck to a wall behind a dryer gets hot and damp, so test before you commit. If it’s warm, put the pretty part somewhere else.
The third is the invisible stuff. A $15 hose and a clean vent feel boring. But a flood or a fire wipes out every upgrade above it.
If there’s one thing worth doing first, it’s idea 12.
FAQ
How much does it cost to make a laundry room look expensive?
It depends on the scope. In our sources, Erin Zubot spent $405 on the laundry space alone, and Young House Love’s board and batten came to about $195. Small swaps like pulls and jars cost far less.
What’s the single best upgrade for a small laundry room?
Painted cabinets with new hardware change the room most for the money. Do idea 12 the same weekend so the room is protected.
Can I put a countertop over my washer and dryer?
Yes, if you follow your manual. Some dryers need clearance above the top, so support the counter from the wall and leave a gap. Check the lid swing on a top-load washer.
Is peel-and-stick flooring good for a laundry room?
It works for a low-cost refresh, especially in a rental. But seams are the weak point if a leak happens. If you own long term, consider vinyl plank instead.
How often should I clean my dryer vent?
The USFA flyer says to clean the lint filter before and after each cycle and to check the venting behind the dryer. Have the duct inspected regularly, and call a pro for gas dryers.
Related Posts
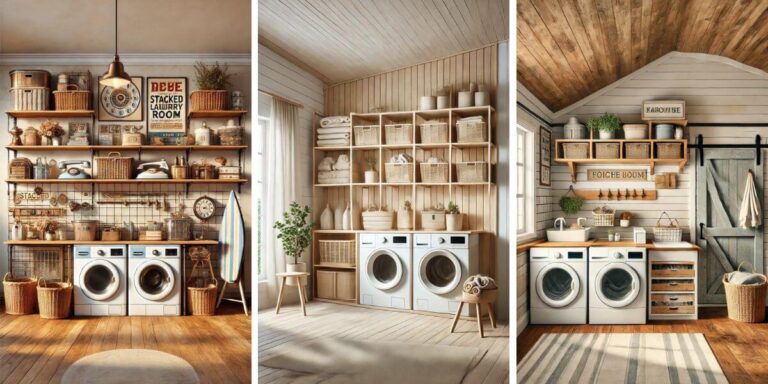
- 30+ Best Farmhouse Laundry Room Designs & Ideas
- 45+ Best Laundry Room Makeover: Before and After
- 33 Laundry Room Sink Ideas to Make Your Home More Efficient
Products We Recommend
This post contains affiliate links. We may earn a commission on qualifying purchases at no extra cost to you.
Eastman Braided Stainless Steel Washing Machine Hoses, 6 ft, 2 Pack
Braided stainless steel supply hoses with 90-degree elbows and 3/4 inch fittings, the swap behind idea 12
Shop Now
5 Inch Brushed Brass Cabinet Pulls, 10 Pack
Brushed brass bar pulls with 5 inch center-to-center spacing, the size and finish behind idea 2
Shop Now
Holikme Dryer Vent Cleaner Kit, 15 Ft Flexible Lint Brush
Flexible brush kit for clearing lint from the vent behind the dryer, the routine behind idea 13
Shop NowNever miss an update — choose FarmFoodFamily as your preferred source on Google.
How it works: Tap the button below to open Google's settings page, then check the box next to FarmFoodFamily.
Tap the checkbox to turn it blue — that's how you know it's set.