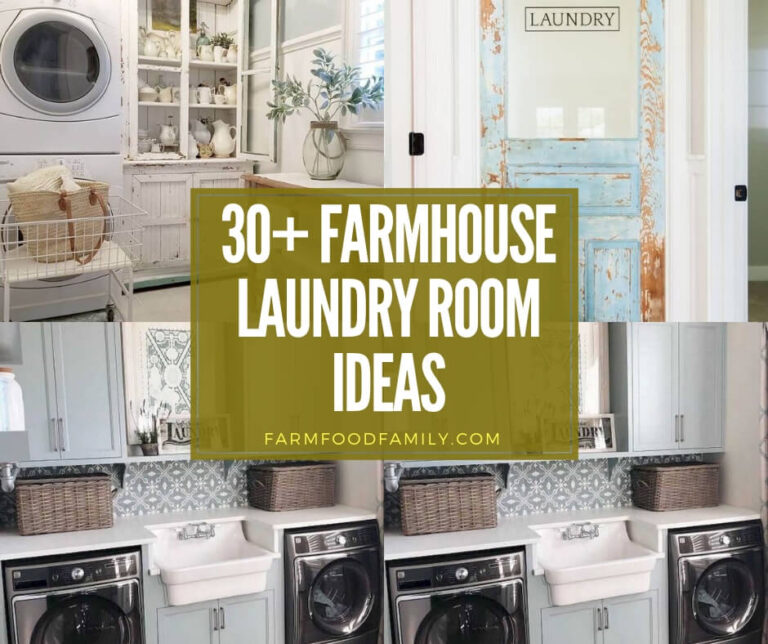
20 Awkward Laundry Room Layout Ideas (That Actually Vent Correctly)
Twenty real ways to make a narrow, boxed-in, or oddly-shaped laundry room function, plus the vent code and clearance numbers most laundry room galleries never mention.

Never miss an update — choose FarmFoodFamily as your preferred source on Google.
How it works: Tap the button below to open Google’s settings page, then check the box next to FarmFoodFamily.
Tap the checkbox to turn it blue — that’s how you know it’s set.
A laundry room almost never gets a real design budget. It’s usually a converted closet, a leftover strip off the garage, or a narrow nook wedged between the kitchen and a hallway.
The good news: an awkward laundry layout is genuinely fixable, but only if the plan respects both the room’s real shape and the venting requirements that keep a boxed-in dryer from becoming a real fire risk.
What Actually Makes an Awkward Laundry Layout Safe, Not Just Pretty?
Most laundry room galleries focus entirely on style and skip the one requirement that actually matters most in a converted or boxed-in space: where the exhaust air goes.
Quick answer: An awkward laundry room layout is safe once the dryer vents according to code and the appliances have real clearance, not just once it looks organized. The International Residential Code, Section M1502, requires dryer exhaust to vent outdoors and explicitly prohibits venting into an attic, crawlspace, or any interior room, a real requirement that a converted closet or under-stairs laundry nook can violate if the exhaust isn’t actually routed outside.
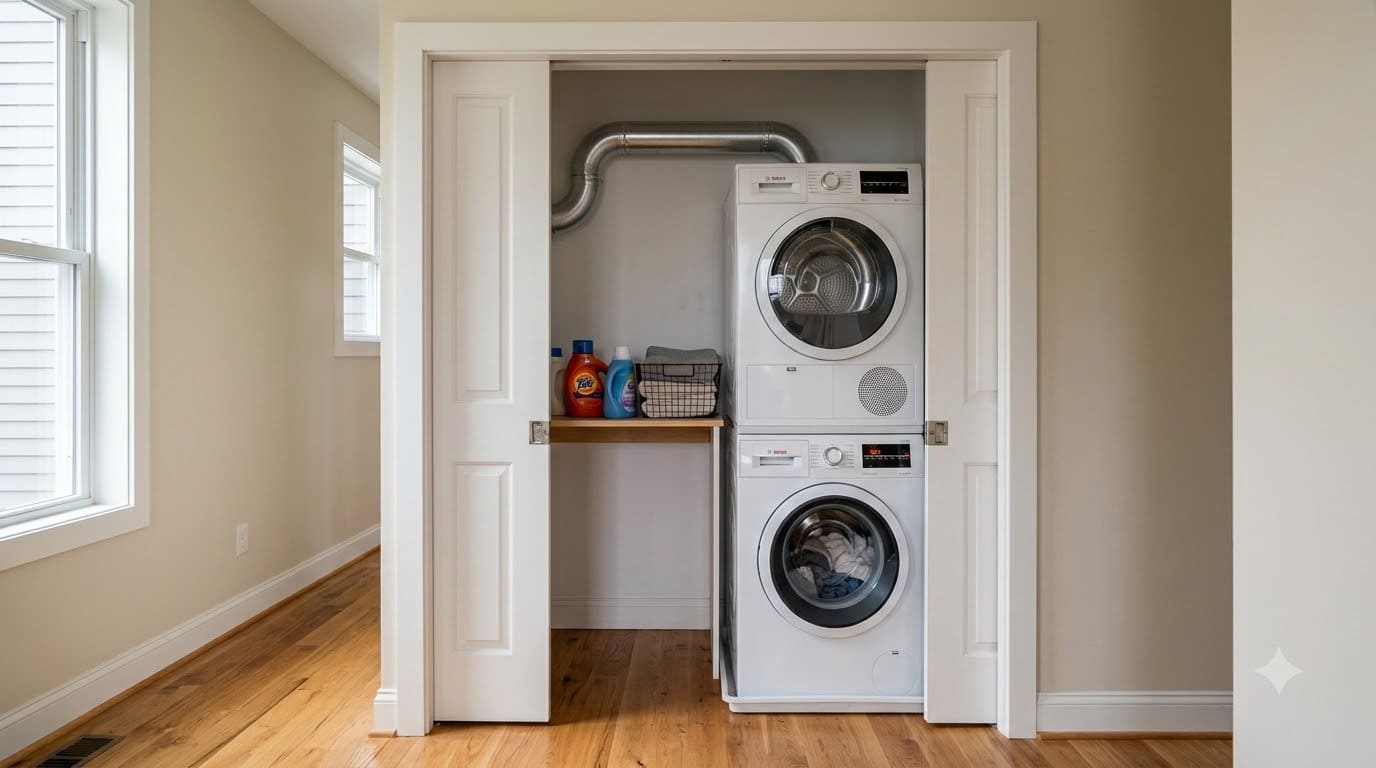
Stacked units, the go-to fix interior designer Janelle Blakely recommends for maximizing square footage in a tight layout, typically need 2 to 6 inches of rear clearance for the exhaust elbow and hose.
And since failure to clean the vent is the single leading cause of dryer fires (about 34% of them, per NFPA data) while annual cleaning cuts that risk by roughly 90%, vent access for ongoing maintenance matters as much as the initial installation.

Two more things worth knowing before you commit to a layout. First, if the fix involves adding a new exterior vent penetration or converting a closet’s structure, that’s often a permit-level change, not just a design decision, worth checking with your local building department before assuming it’s purely cosmetic.
Second, interior designer Carly Shafiroff, owner of Carly Jane Design, built her “laundry speakeasy” concept specifically around this kind of awkward-space problem: a custom built-in with a countertop and pocket cabinet doors that fully hide the units when not in use, proof that a boxed-in laundry room can still look intentional rather than apologetic.
Stacked, Single-Wall, Closet, or Corridor: Which Layout Fits an Awkward Room Best?
| Layout | Footprint Needed | Typical Cost | Vent Complexity | Best For |
|---|---|---|---|---|
| Stacked units | Smallest, tall rather than wide | Moderate | Higher, needs real rear clearance and ceiling height | Narrow closets, tight vertical spaces |
| Single-wall galley | Moderate width, minimal depth | DIY-cheap to moderate | Standard, straightforward rear venting | Long narrow rooms with one full wall available |
| Closet behind sliding/pocket doors | Smallest visible footprint | Moderate to bigger investment | Higher, must vent fully outdoors, never into the closet itself | Rooms needing full visual concealment |
| Corridor sequential layout | Longer, narrow floor plan | Moderate | Standard | Awkward hallway-shaped spaces |
Which Layout Fixes Work Best for Genuinely Odd-Shaped Rooms?
1. A single-wall galley layout
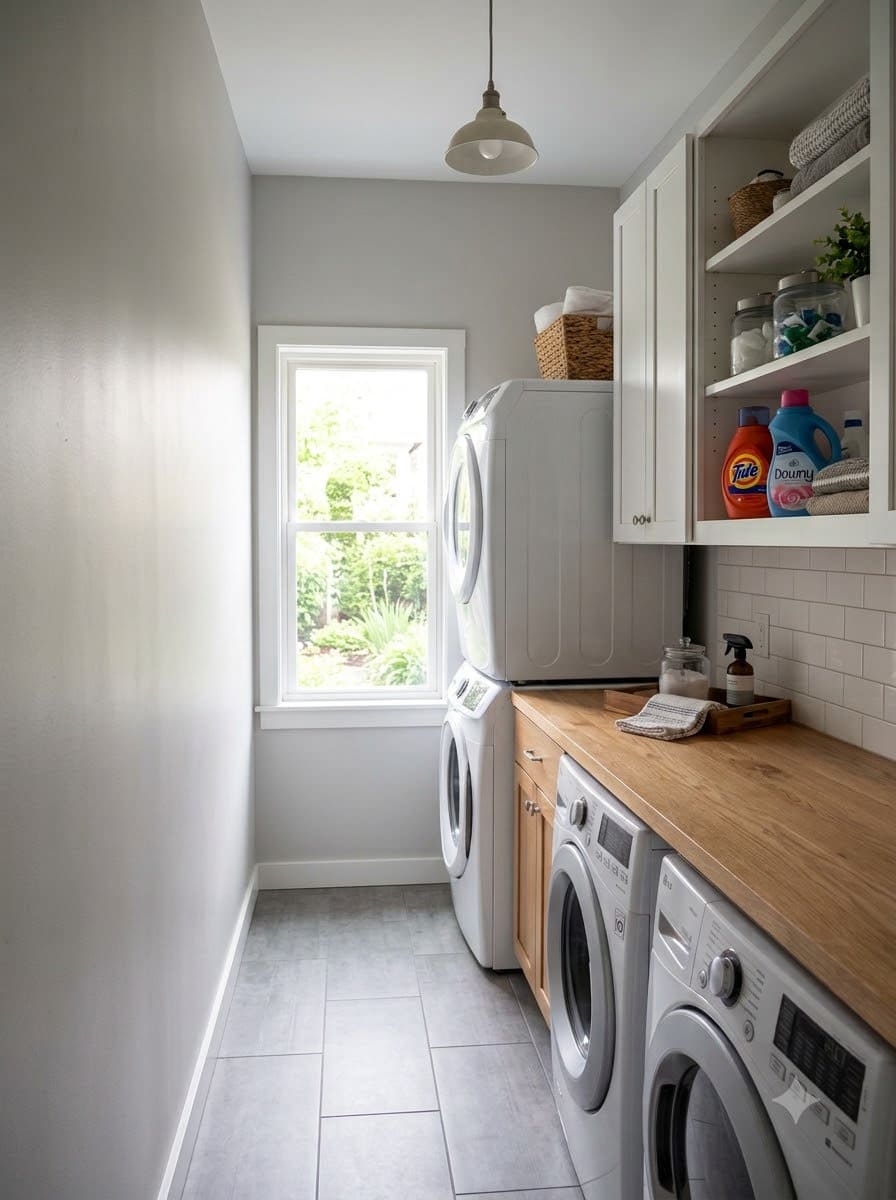
Everything, washer, dryer, counter, and storage, runs along one wall, leaving the opposite side fully clear for walking or folding. In practice this means measuring your narrowest point first: building code and comfortable use both call for at least 24-30 inches of clear floor space in front of the appliances so a washer door can fully swing open without hitting a wall or your knees.
Mount a single continuous countertop at 36 inches (standard counter height) spanning both machines if they’re side by side, or building code height for an accessible layout if that matters to your household.
This is the most straightforward fix for a long, narrow room where a full two-wall layout simply won’t fit, and it pairs well with idea 9’s floating shelves mounted directly above the counter run to recover the storage a second wall would have given you.
Budget tier: DIY-cheap to moderate.
2. A corner placement with vertical shelving
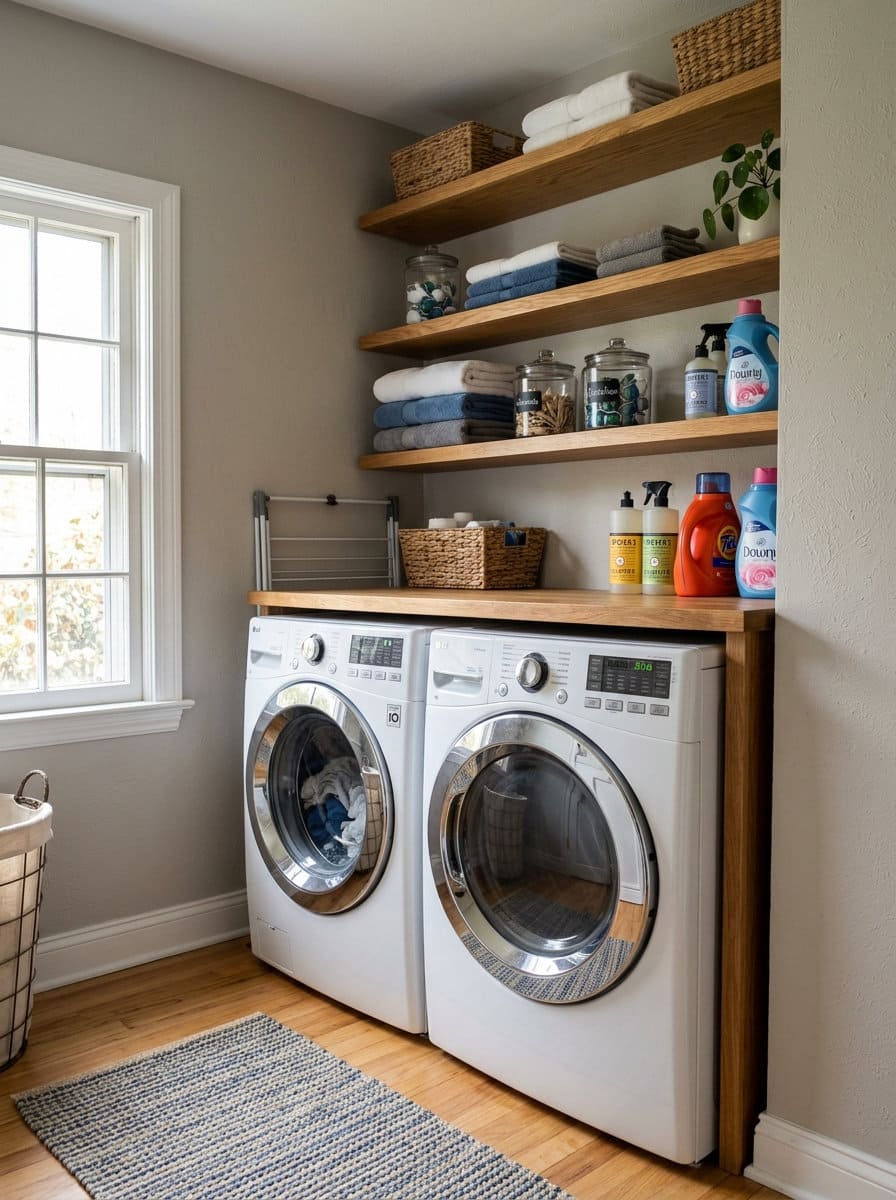
Tucking the appliances into a corner and running shelving straight up the adjacent wall makes use of a spot a straight-wall layout would otherwise leave empty, particularly effective in an L-shaped or irregular room where one true corner never gets used for anything.
Build the shelving in 12-16 inch deep sections (deep enough for detergent jugs and baskets, shallow enough not to intrude on the walking path) and stop the lowest shelf around 54-60 inches up so it clears the open washer or dryer door swing.
The corner itself is also the natural spot for idea 15’s mirror, since a corner mirror reflects two walls at once and reads as a bigger visual gain than one placed on a flat wall.
Budget tier: moderate.
3. A corridor sequential layout
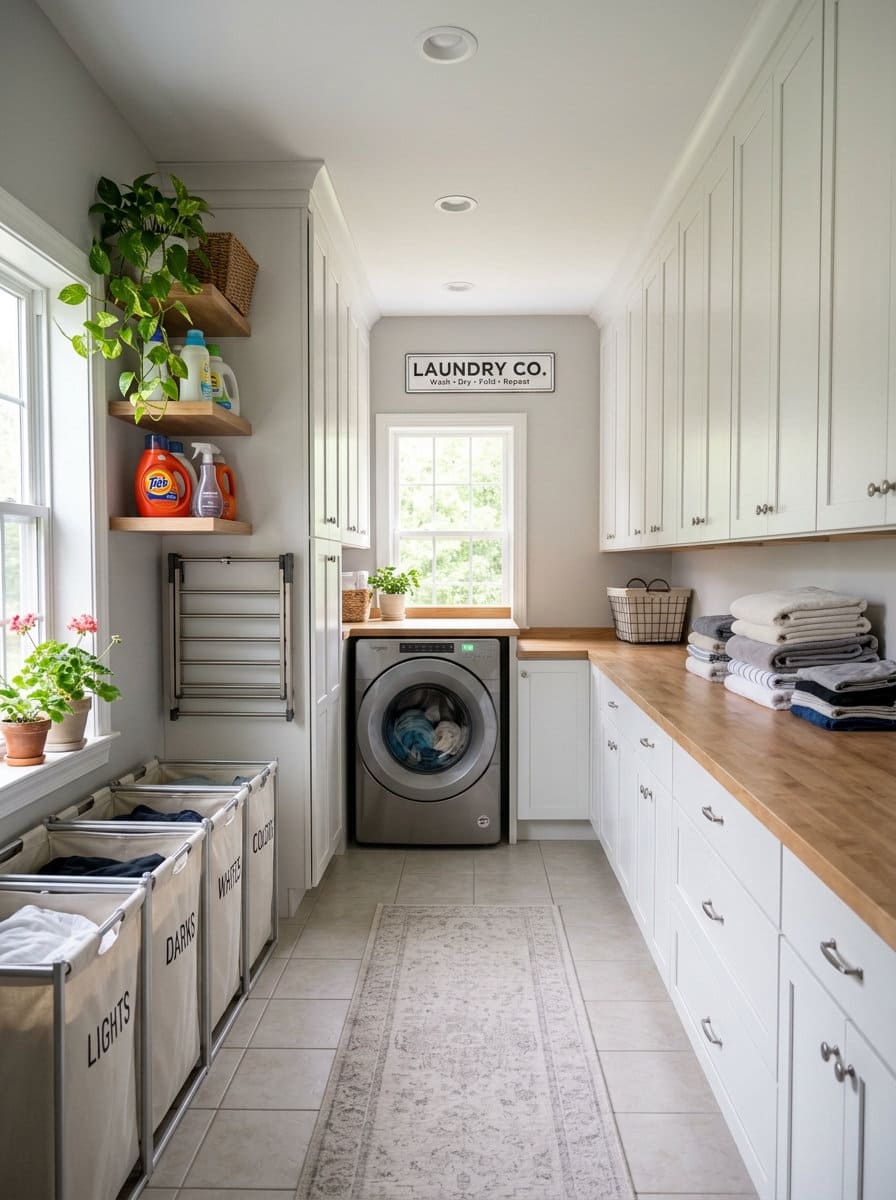
For a hallway-shaped laundry room, arranging the workflow, sorting bin, then washer, then dryer, then a folding surface, in that literal physical sequence along the room’s length turns an awkward shape into a logical process rather than a cramped afterthought.
This works because it matches how laundry actually moves through the room: you’re never doubling back or crossing your own path mid-task. If the corridor is under about 5 feet wide, keep storage entirely on one side (per idea 1’s single-wall principle) so the opposite wall stays a genuine walking lane, not just a narrower version of a two-wall layout.
Budget tier: moderate.
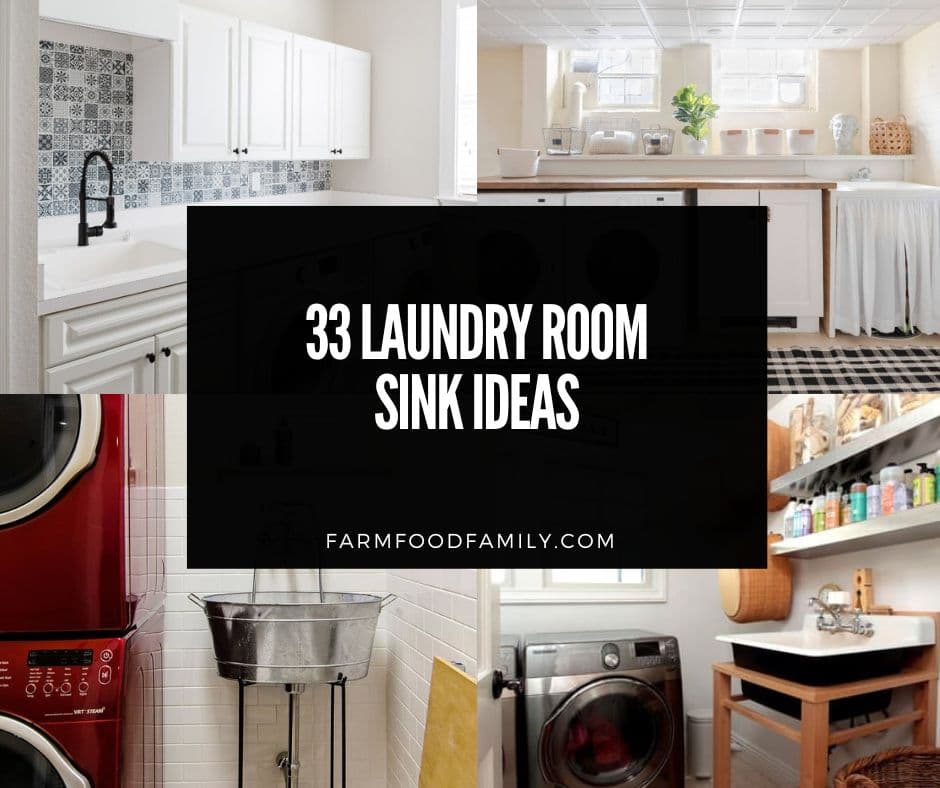
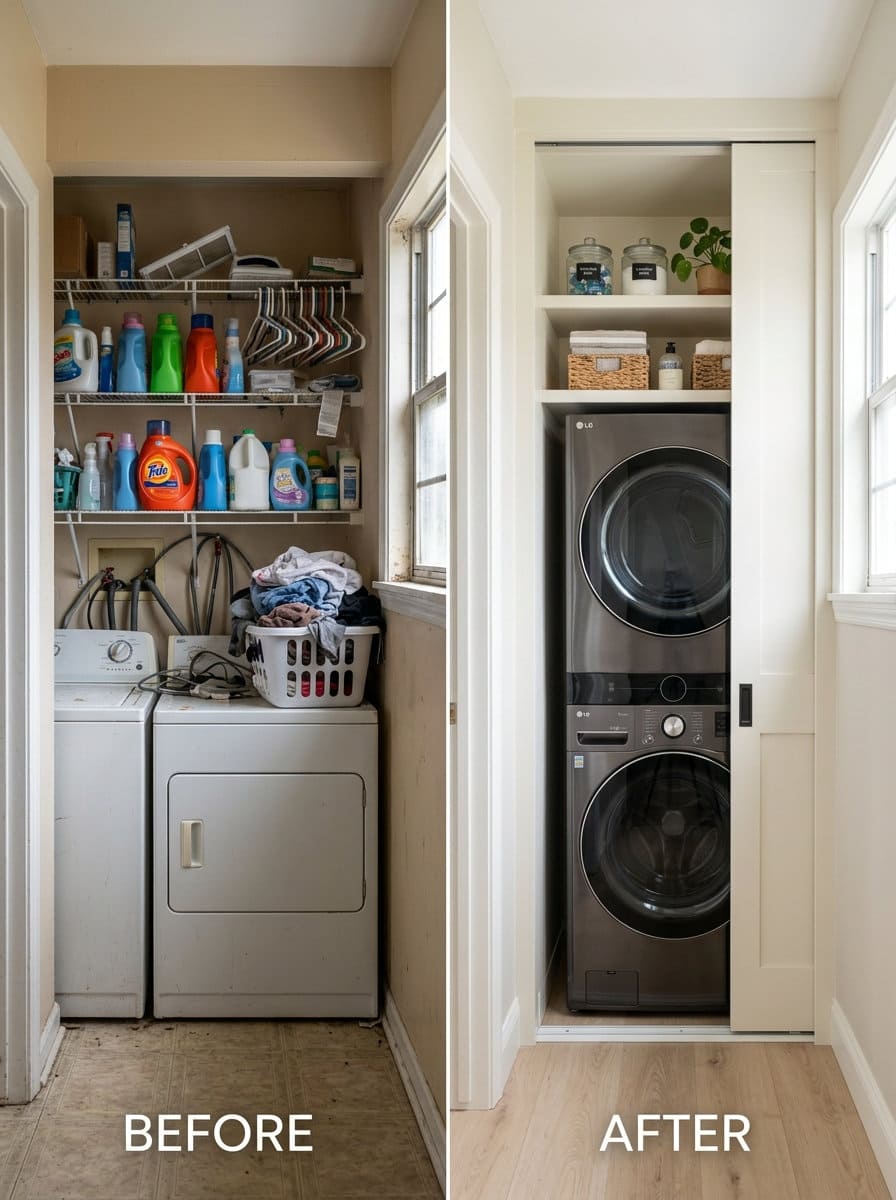
4. A laundry closet behind sliding or pocket doors
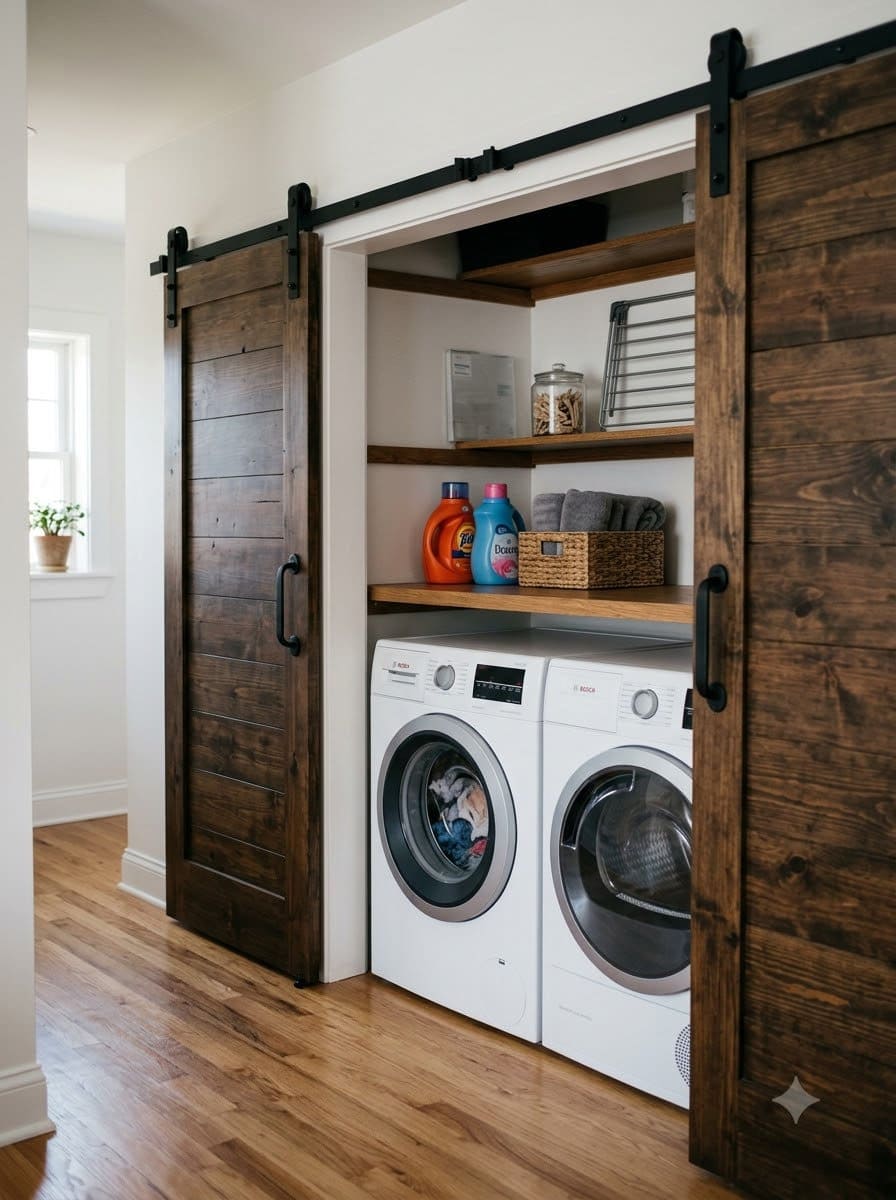
Fully concealing the laundry area behind sliding or pocket doors removes the door-swing problem a hinged door creates in a tight footprint (a standard 30-inch hinged door needs roughly 30 inches of swing clearance that a sliding door doesn’t), while keeping the appliances out of view entirely.
Size the door opening a couple of inches wider than the appliance footprint itself, not flush to it, so a full laundry basket can pass through without scraping the frame. The dryer’s exhaust still has to vent fully outdoors per code, never just into the closet cavity itself, that’s covered in depth in idea 6 below.


Budget tier: moderate to bigger investment.
5. Stacked appliances for a narrow footprint
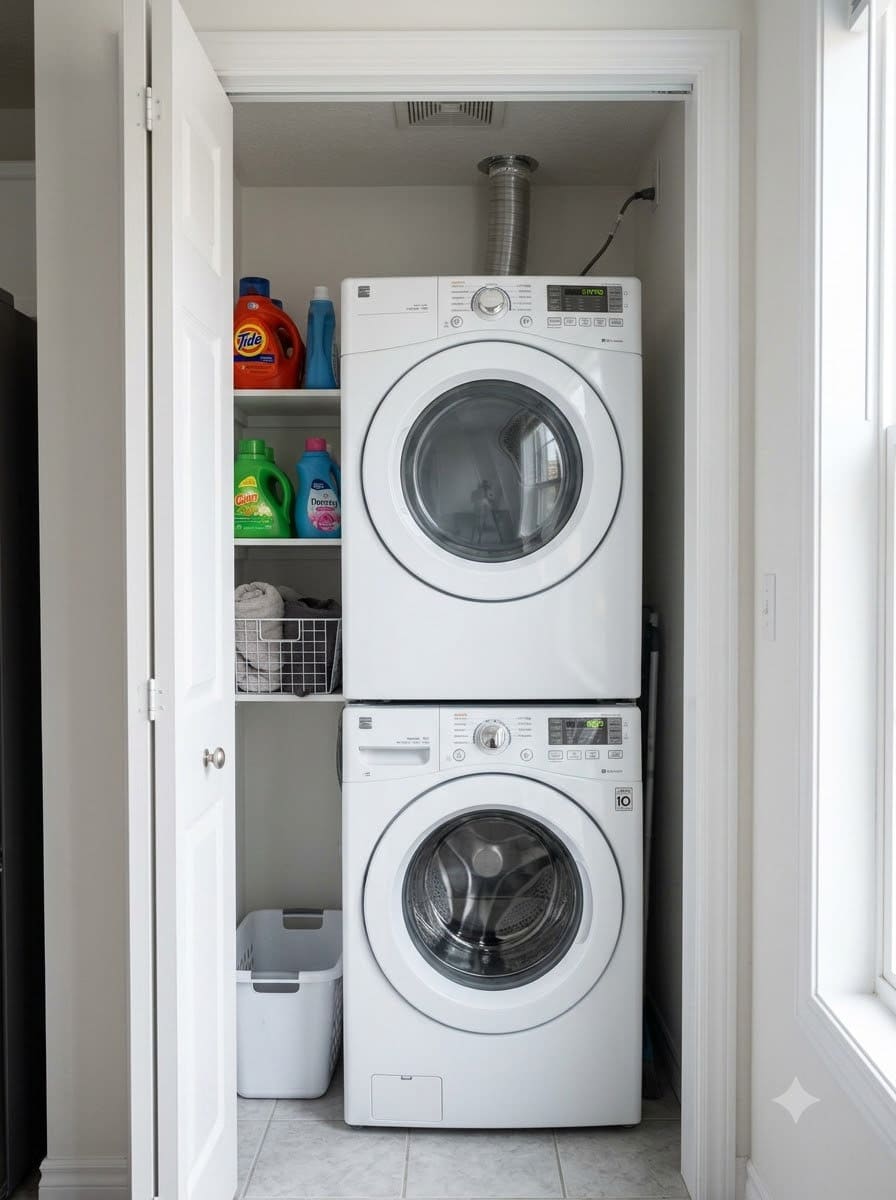
Interior designer Janelle Blakely’s go-to fix for tight square footage: stacking the dryer above the washer instead of placing them side by side, which can cut the footprint roughly in half compared to a side-by-side pair.
This is the single biggest footprint-saver on this list, but it needs real ceiling height, typically at least 74-76 inches of stacked-unit height plus a few inches of clearance above for the exhaust connection, and the rear clearance covered in idea 7 below.
Confirm your specific washer and dryer are rated stackable by the manufacturer before combining two units that weren’t designed as a pair, an unrated stack can shift or vibrate loose over time.
Budget tier: moderate.
Which Ventilation and Safety Fixes Matter Most?
6. Routing the dryer vent to a real exterior termination
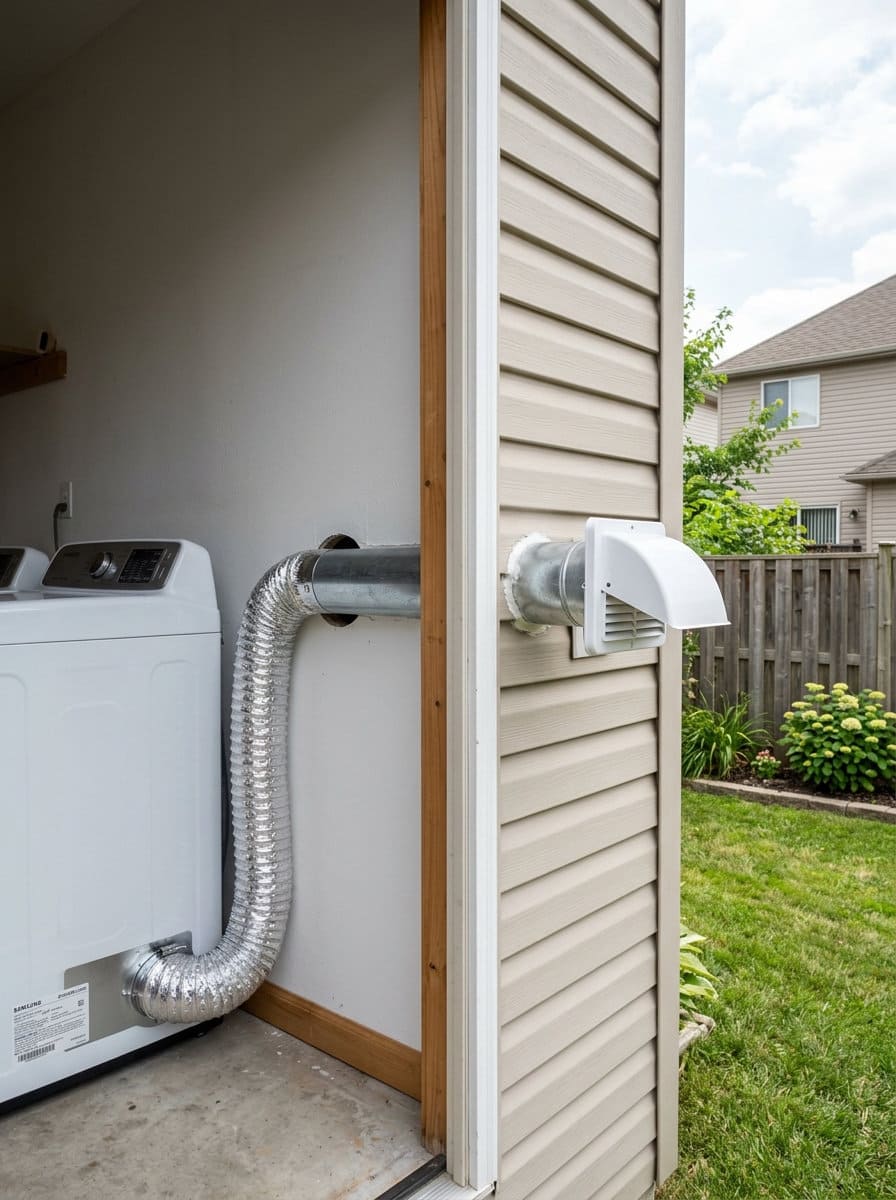
Per IRC M1502, the exhaust needs to actually reach the outdoors, not just exit the appliance into an enclosed closet or wall cavity, and the code also caps the exhaust duct at a maximum 35 feet of straight run (shorter if elbows are involved, each 90-degree elbow effectively “costs” several feet of allowable length).
Use rigid or semi-rigid metal duct, not the accordion-style foil duct that’s easy to buy but traps lint at every ridge and is a common cause of the code violations inspectors flag.
This is the single most important fix on this entire list for any boxed-in or converted-closet layout.
Budget tier: bigger investment if new exterior venting has to be added.
7. Real rear clearance behind stacked units
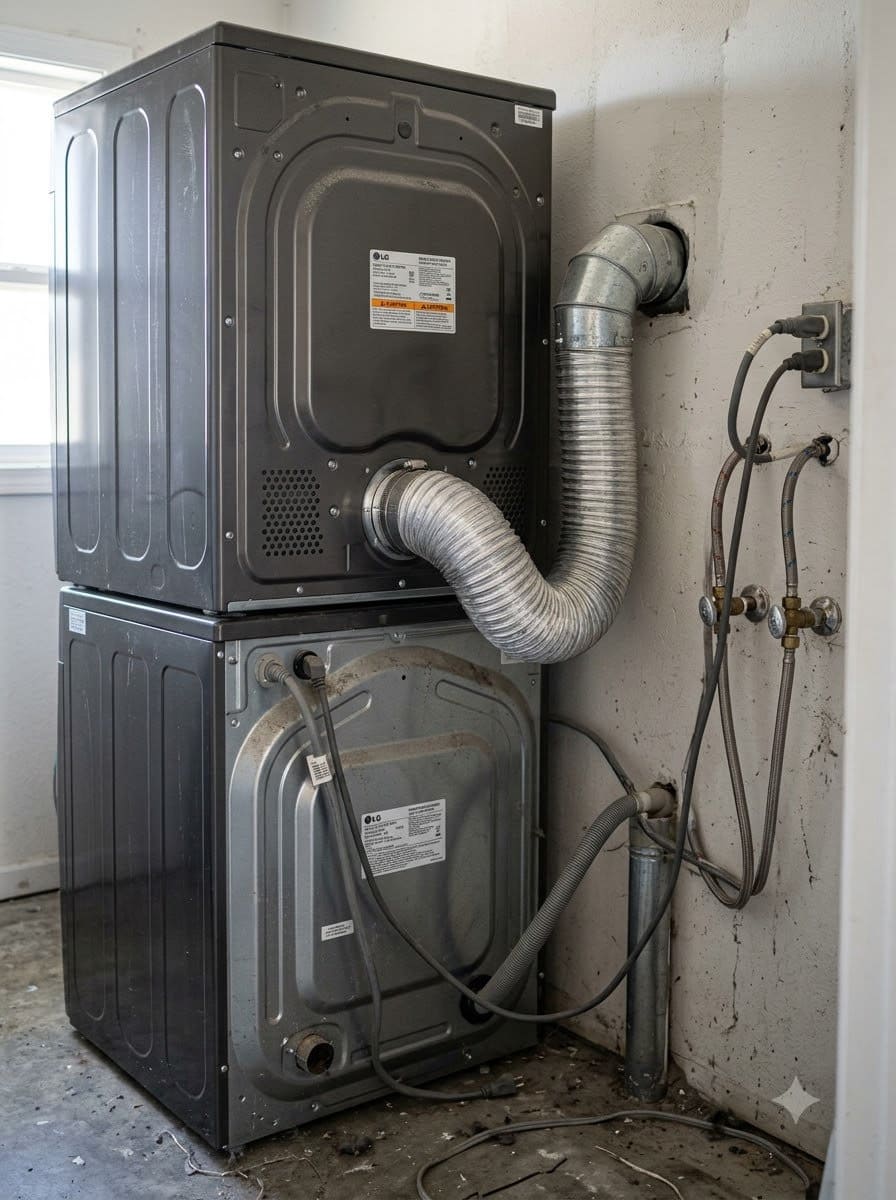
Leaving 2 to 6 inches behind a stacked washer/dryer for the exhaust elbow and hose (more if an access panel is needed) is the detail that makes idea 5 actually work instead of just looking compact.
Measure this with the actual exhaust elbow and hose test-fitted, not just an empty gap, a 2-inch clearance that looks fine on paper can still force a tight bend in the hose that restricts airflow the same way a too-small gap would.
Budget tier: no added cost, just planning.
8. An accessible vent-cleaning access point
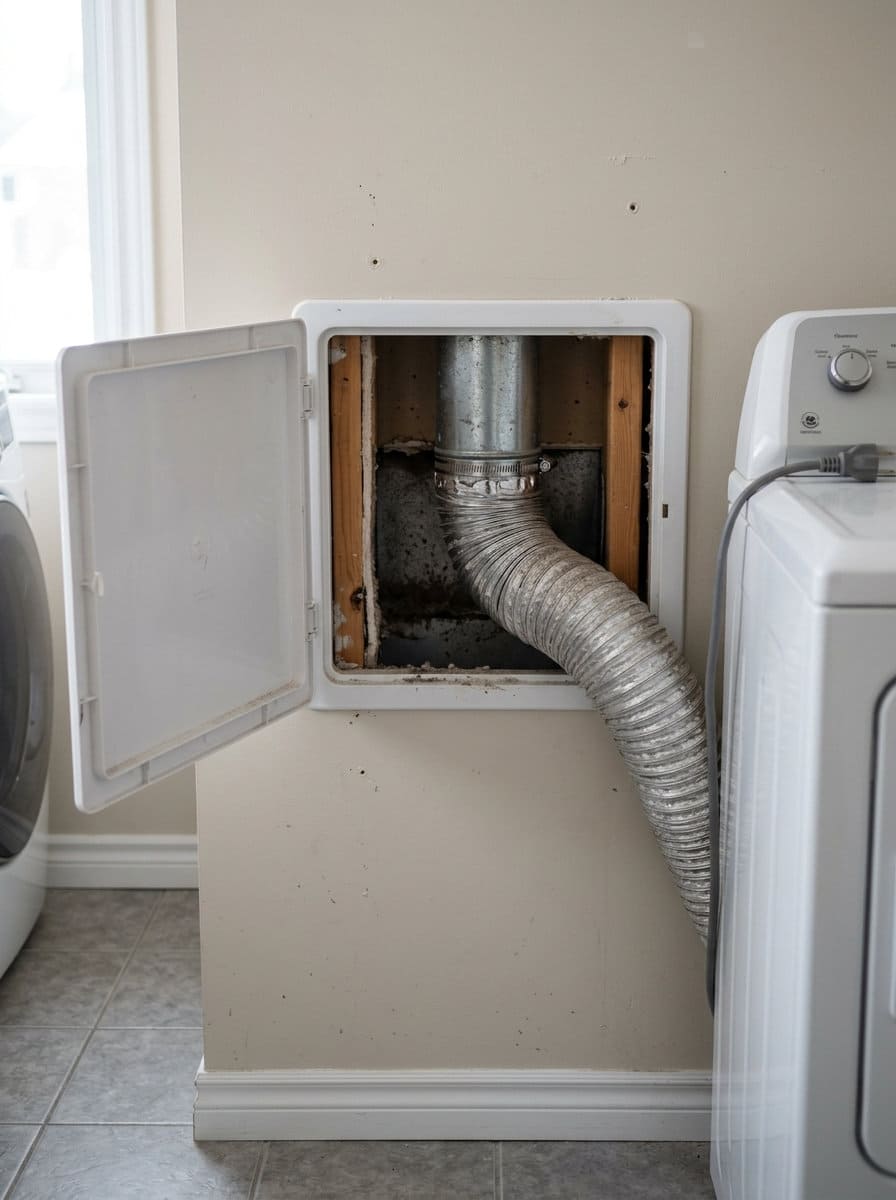
Building the layout so the vent connection can actually be reached for annual cleaning, rather than sealing it permanently behind a built-in, directly supports the NFPA’s real fire-prevention numbers instead of working against them.
A simple removable panel (even just a piece of trim held with turn-latches instead of nailed shut) behind idea 18’s speakeasy built-in preserves the clean look while keeping a genuine 10-15 second path to the vent connection for the annual cleaning idea 20’s vent-cleaner kit is meant for.
Budget tier: DIY-cheap, mostly a planning choice rather than a purchase.
Which Storage Solutions Fit a Tight Laundry Footprint?
9. Floating shelves above the machines
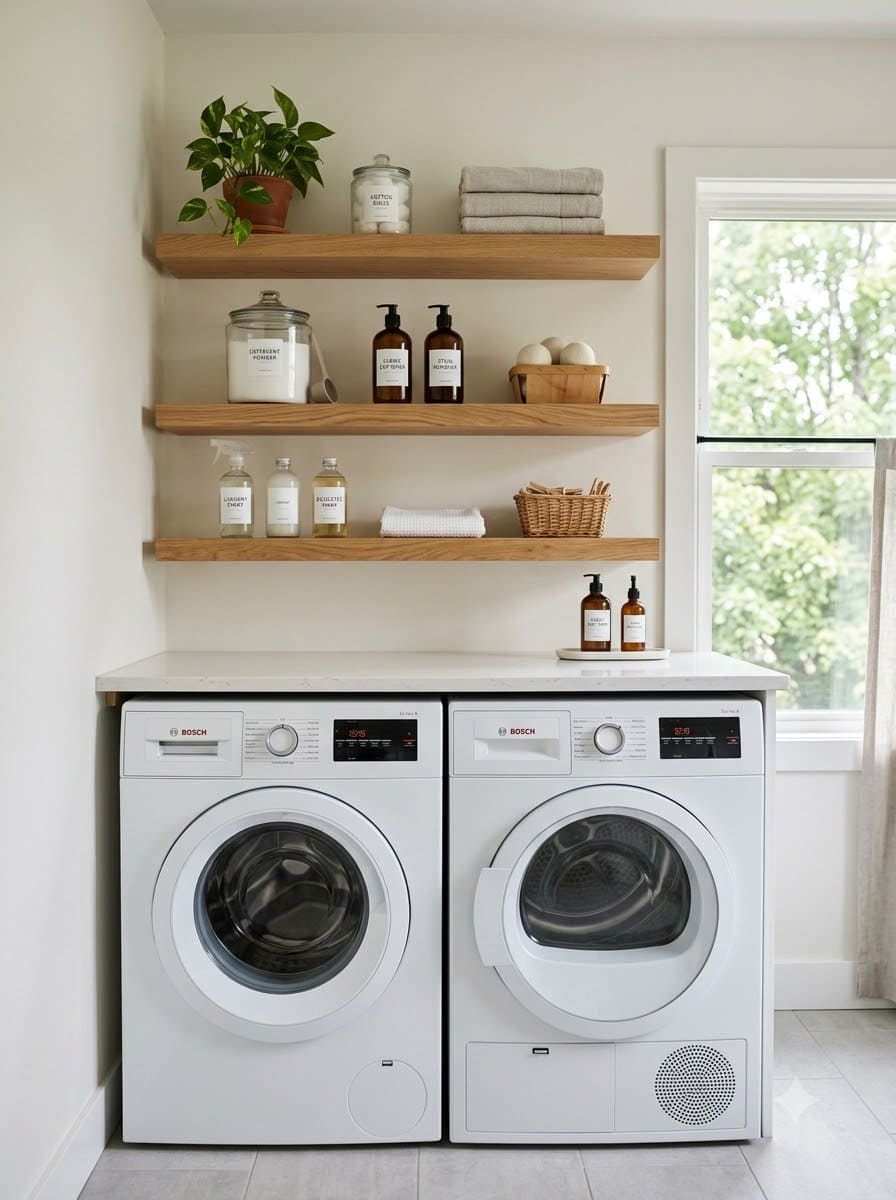
Shelves mounted directly above the washer and dryer add storage without using any floor space at all, the first thing most tight laundry layouts should add.
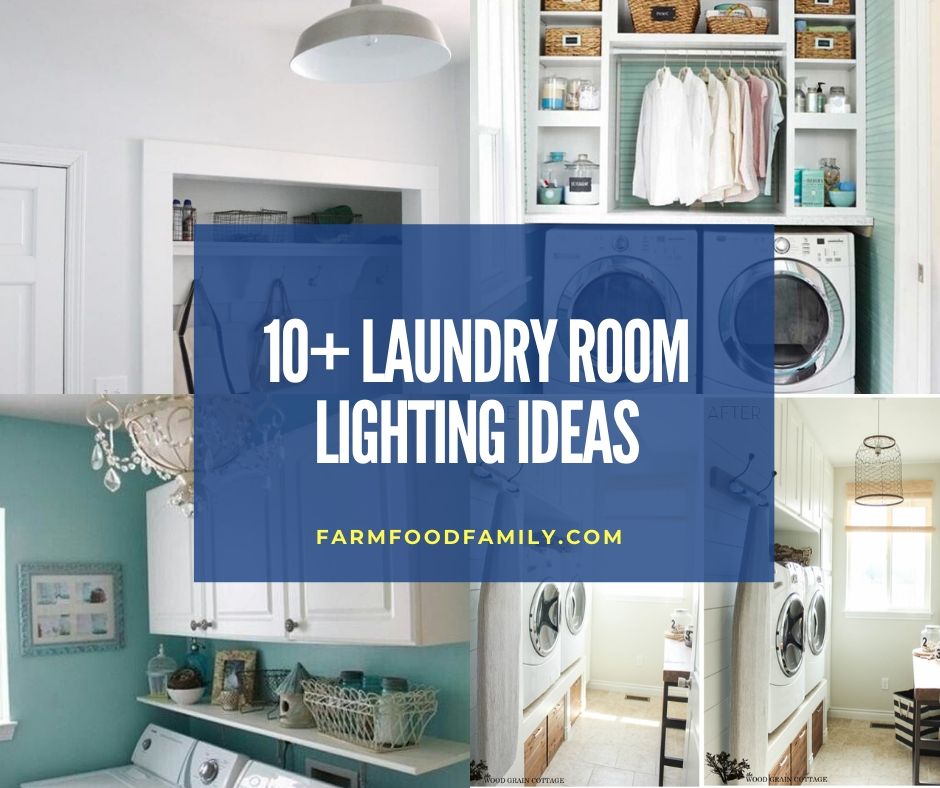
Mount the lowest shelf at least 18 inches above the appliance tops (more if it’s a top-load washer whose lid needs to open fully), and use a 10-12 inch depth, deep enough for a detergent jug and a basket, shallow enough to avoid head-height bumps in a narrow room.
Budget tier: DIY-cheap.
10. A pegboard organization wall
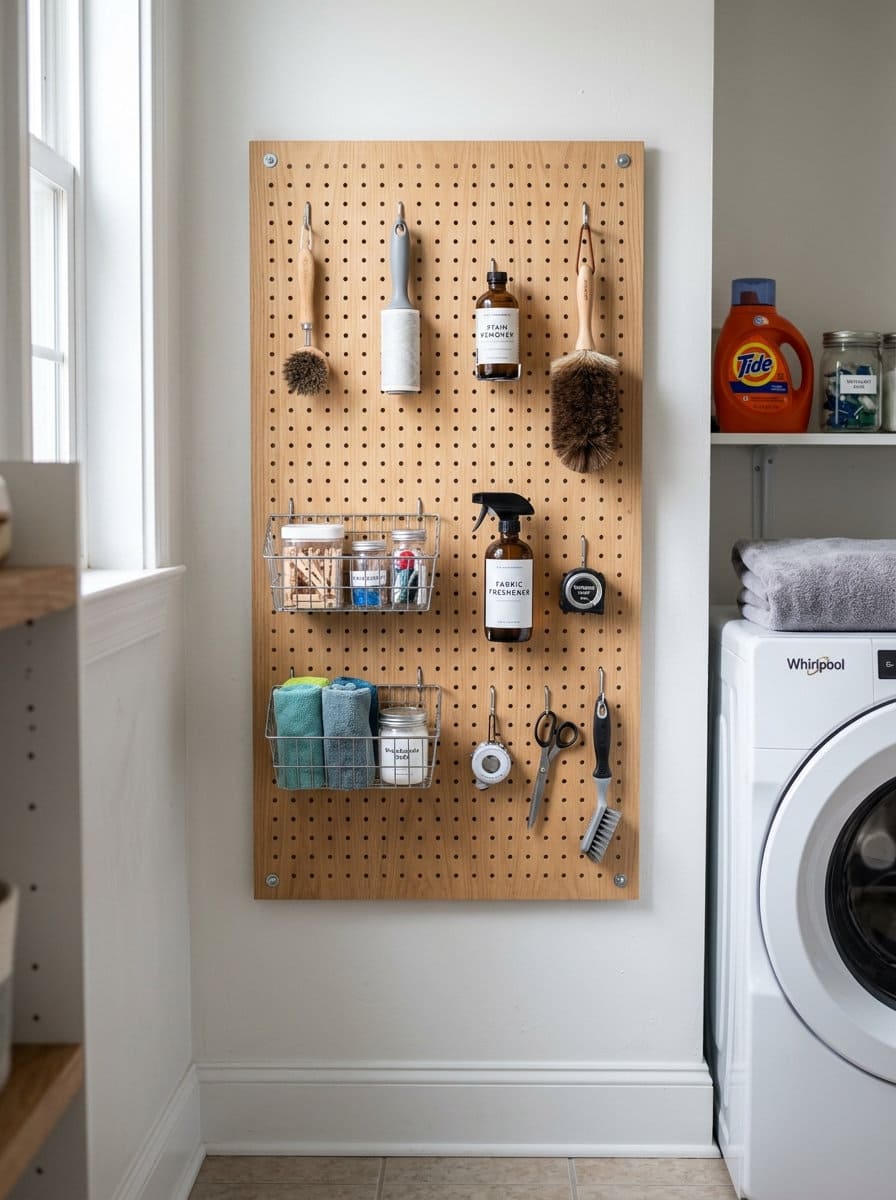
A pegboard panel holds brushes, hangers, and small supplies vertically, ideal for a narrow room where a full cabinet run won’t fit.
Mount it on a section of wall that’s otherwise wasted, next to a door swing or above a low appliance, and use a mix of hook depths (short hooks for hangers, deeper J-hooks for spray-bottle handles) so lightweight items don’t slide off during the vibration of a wash cycle.
Budget tier: DIY-cheap.
11. A rolling cart for supplies
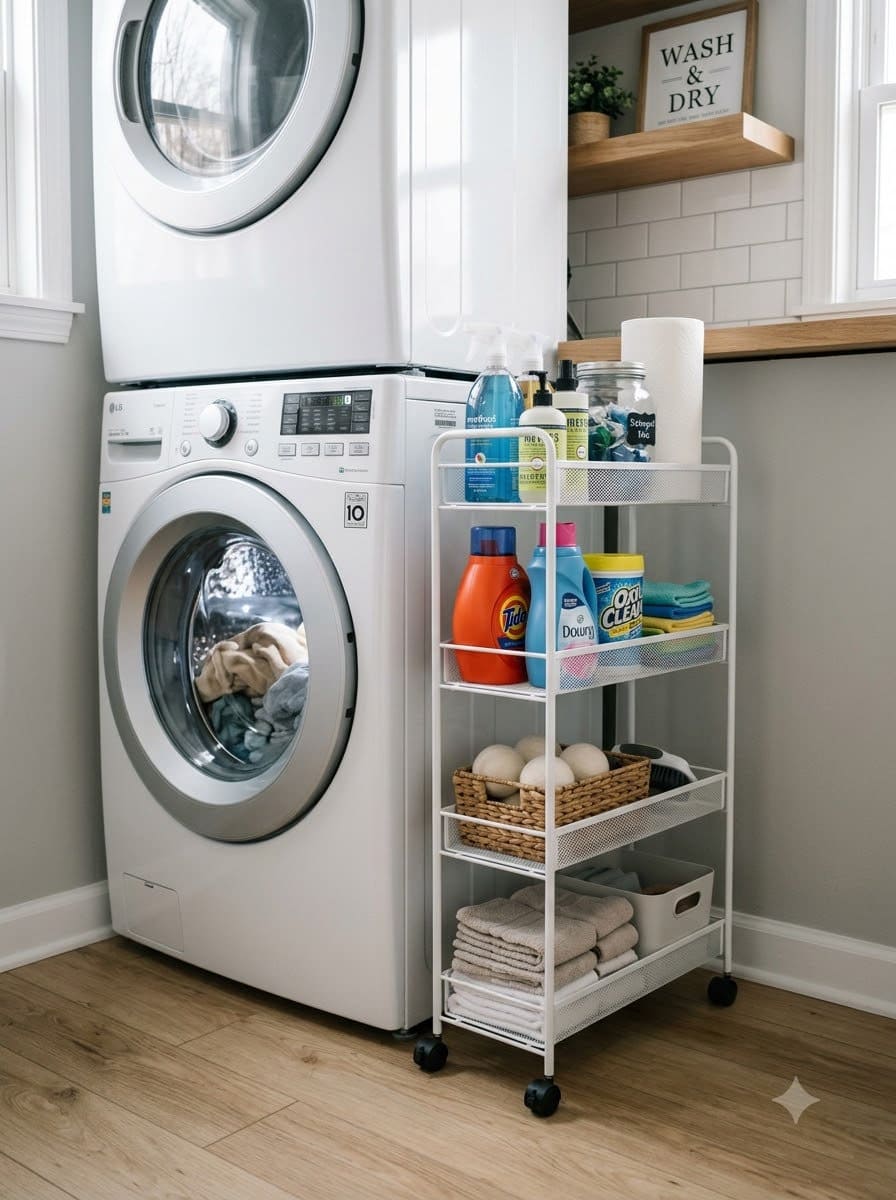
A slim rolling cart (many run as narrow as 6-8 inches wide, purpose-built to fit the gap beside a washer) tucks beside the machines and pulls out for access, useful in a footprint too tight for fixed cabinetry.
Look for one with a locking caster on at least one wheel, since a narrow cart in a frequently-walked lane needs to stay put when not actively being used, not roll into the walking path on its own.
Budget tier: DIY-cheap.
12. A tilt-out hamper
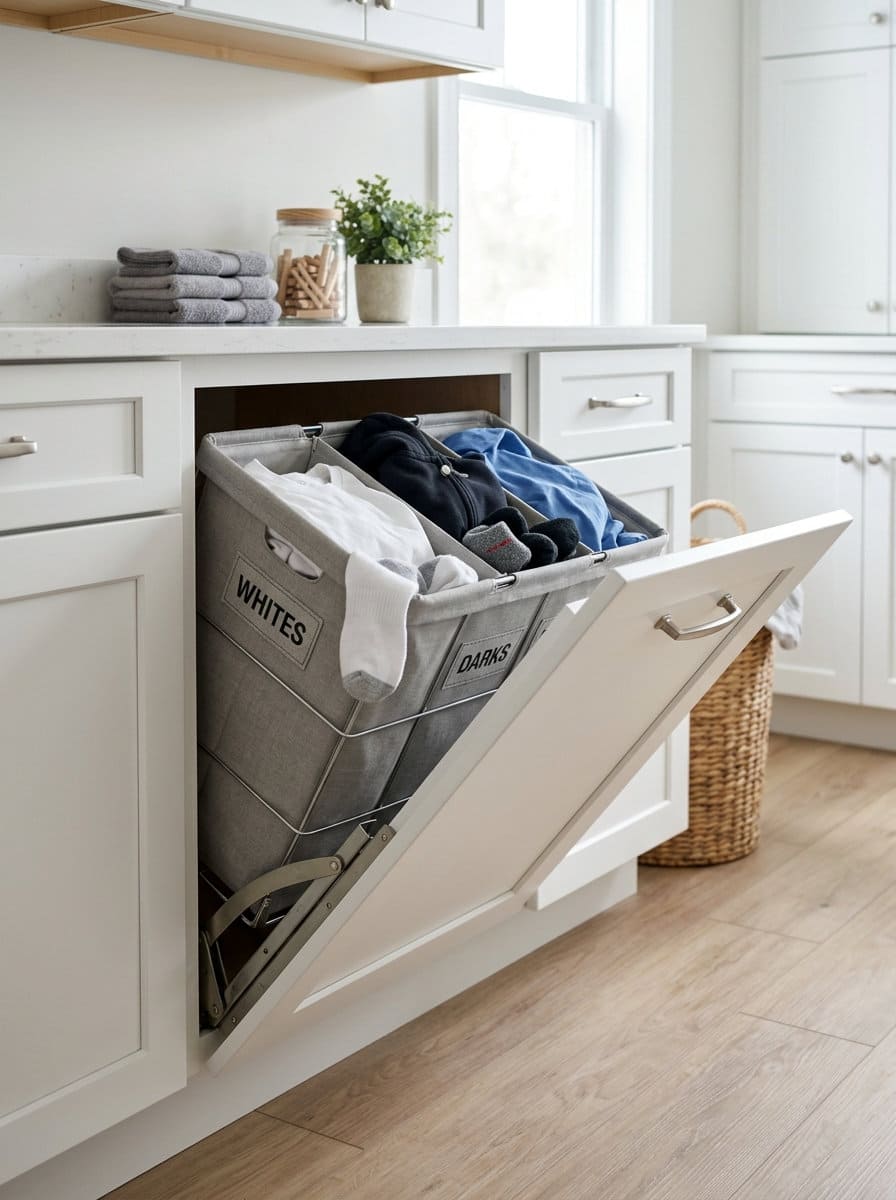
Built into cabinetry or a false-front panel, a tilt-out hamper hides sorting bins behind a flush face, useful when floor space can’t be spared for a freestanding hamper.
Size the interior bin to at least 12×16 inches for a genuinely useful capacity, and route it into idea 1’s single-wall counter run so the flush face reads as part of the cabinetry rather than an obvious add-on.
Budget tier: moderate.
13. A foldable countertop
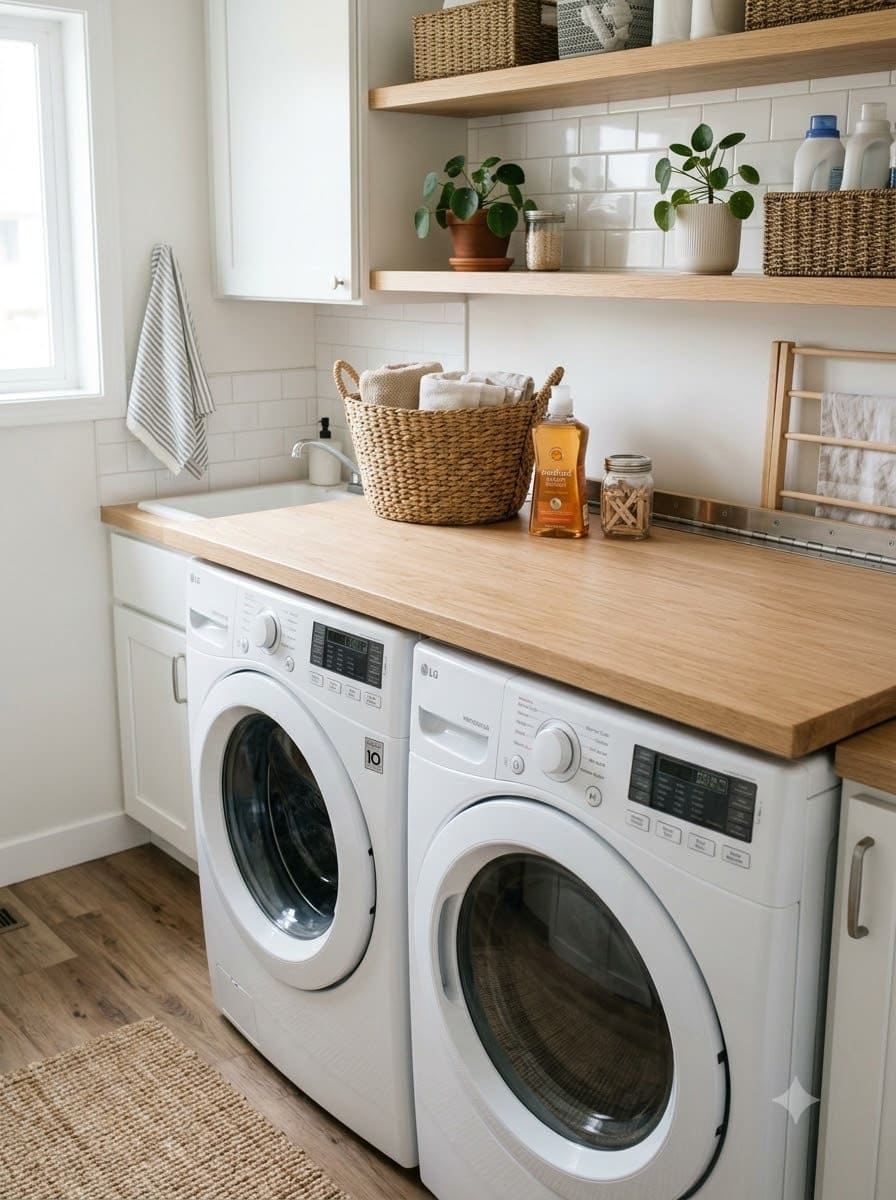
A hinged countertop that folds down over the washer and dryer when needed and flips up against the wall otherwise solves the real problem of losing walking clearance to a fixed folding surface in a narrow room.
Use a piano-style hinge along the full width (not just two small hinges) for even support, and add a simple fold-down leg or wall-mounted support bracket underneath so the surface doesn’t sag under a stack of towels.
Budget tier: moderate.
Which Design Tricks Make an Awkward Room Feel Bigger?
14. Light colors and vertical tile patterns
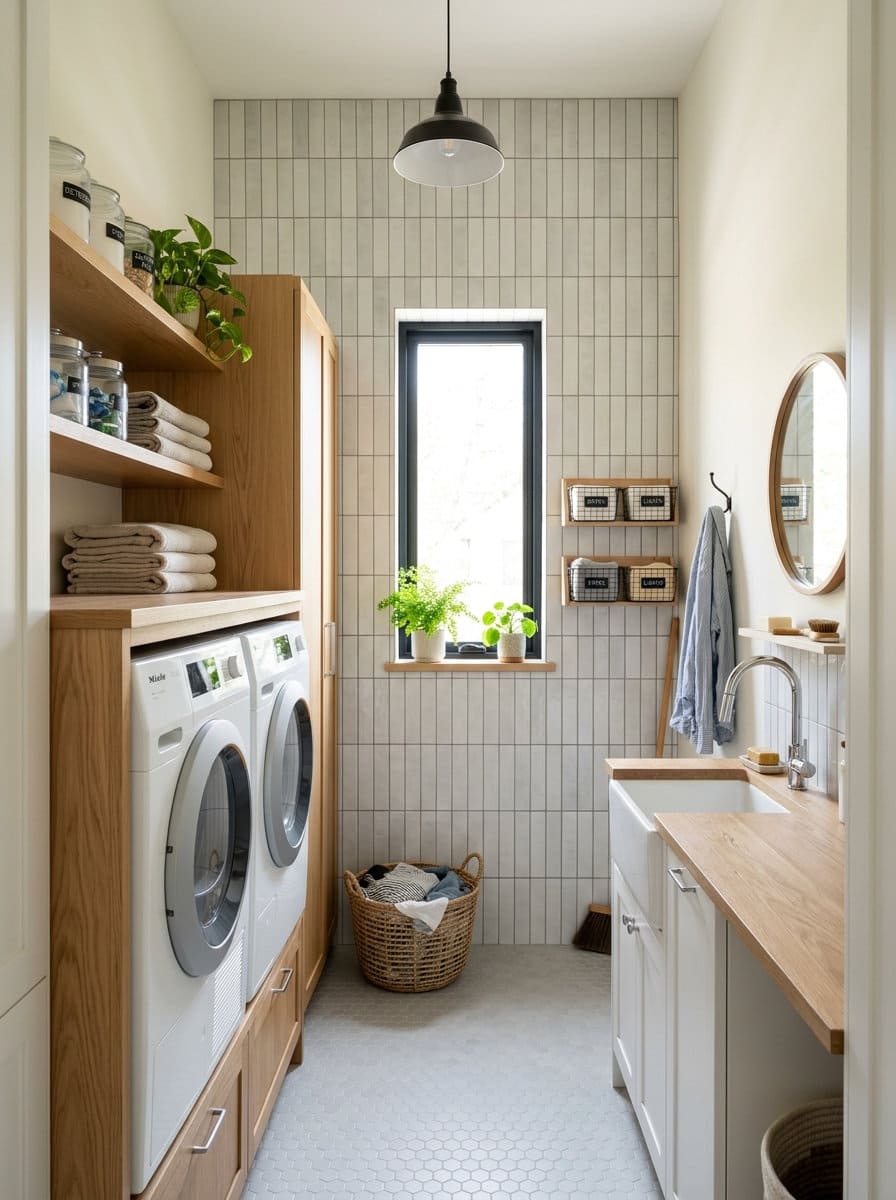
Light wall colors paired with a vertical-patterned tile or paint treatment draw the eye upward, a real visual trick for making a narrow or low-ceilinged laundry room feel taller and less cramped.
Vertical shiplap, a narrow subway tile installed in a vertical stack-bond rather than the standard horizontal running-bond, or even painted vertical stripes at a 6-8 inch width all use the same principle: continuous vertical lines read as height, broken horizontal ones read as width you don’t have.
Budget tier: DIY-cheap to moderate.
15. A well-placed mirror
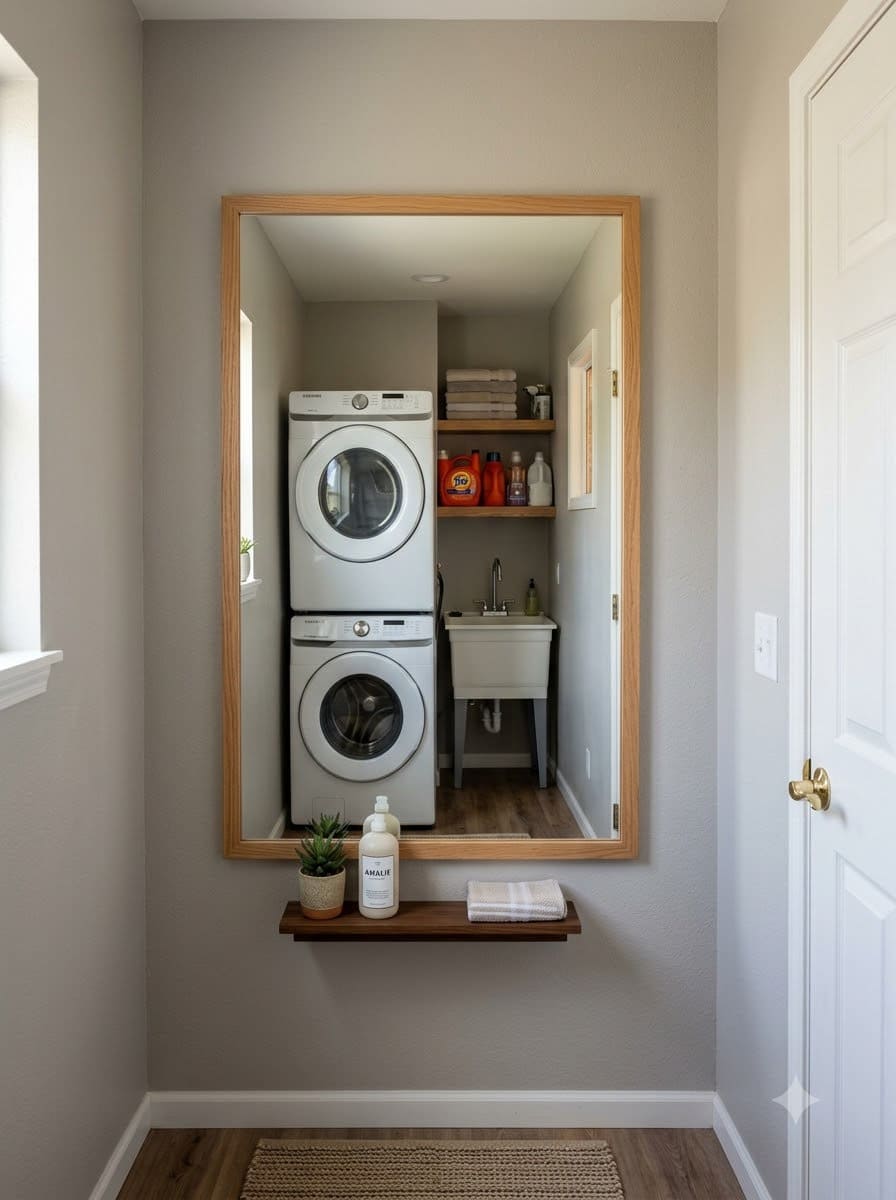
A mirror on the wall opposite the appliances reflects light and visually doubles the sense of depth in a genuinely tight room.
A single large mirror (rather than several small ones) reads as more intentional and creates a cleaner doubled reflection; position it to reflect a window or light source if possible rather than a blank wall, since the light bounce is doing as much visual work as the size illusion itself.
Budget tier: DIY-cheap.
16. Two-tone cabinetry
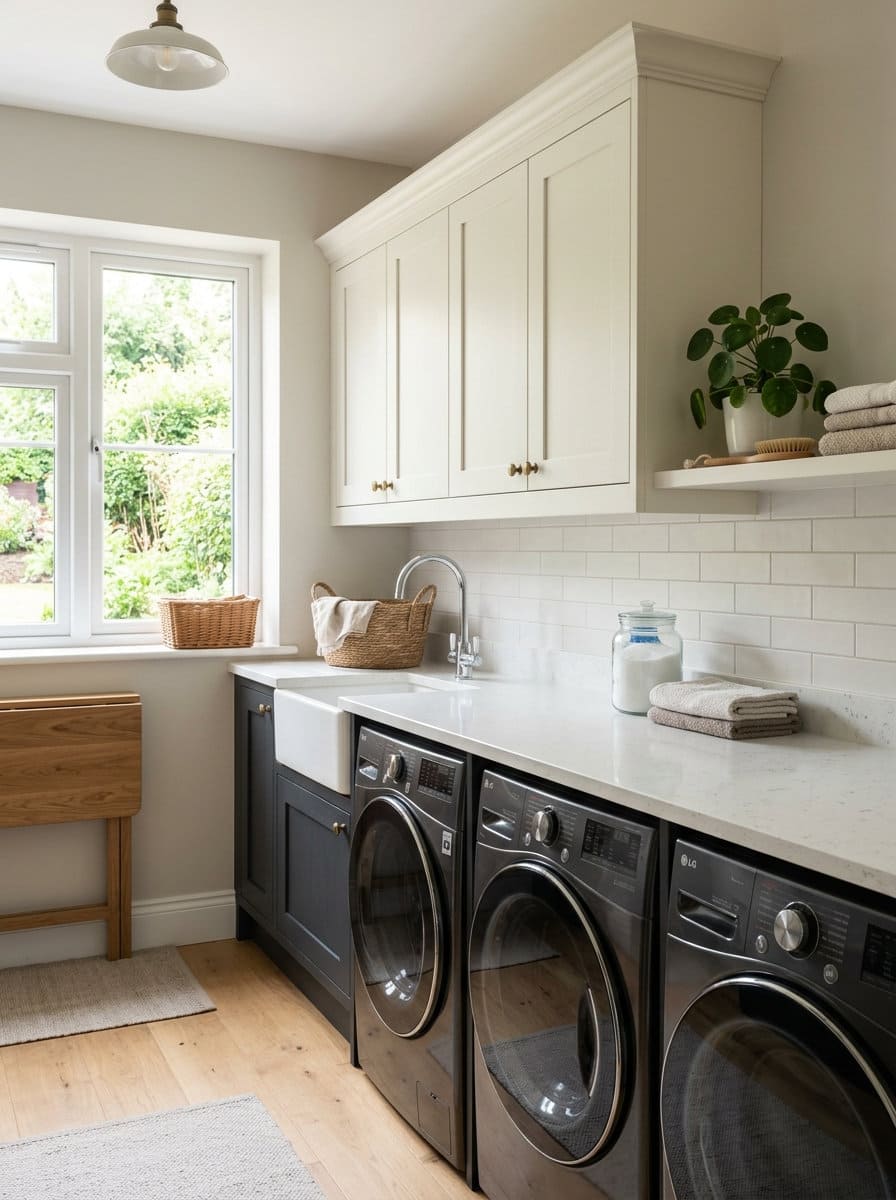
Pairing a darker lower cabinet run with a lighter upper section breaks up a narrow room’s proportions better than a single flat color across every surface.
The visual logic: a dark lower half grounds the room the way a dark floor does, while the lighter upper half keeps the ceiling line from feeling like it’s closing in, the opposite effect of painting the whole room one dark, moody color.
Budget tier: moderate.
17. Patterned wallpaper for personality
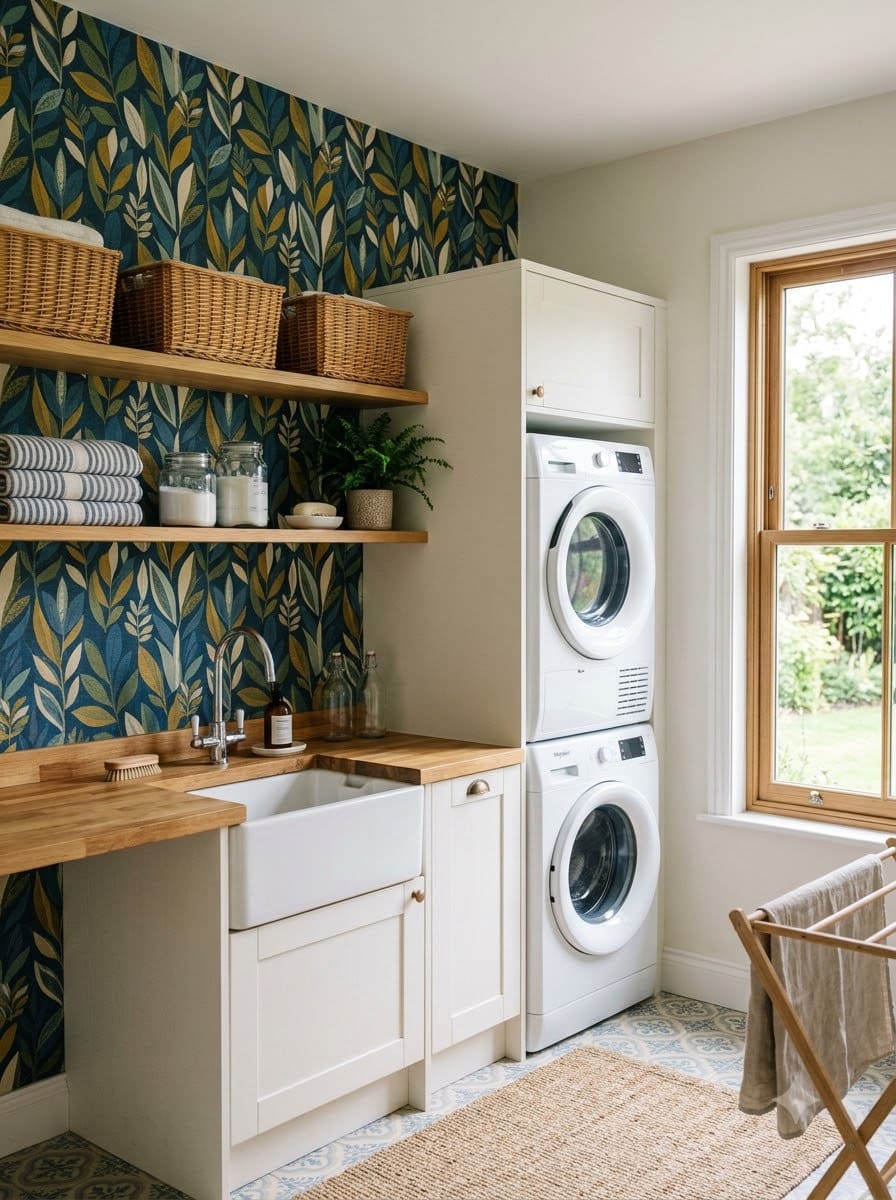
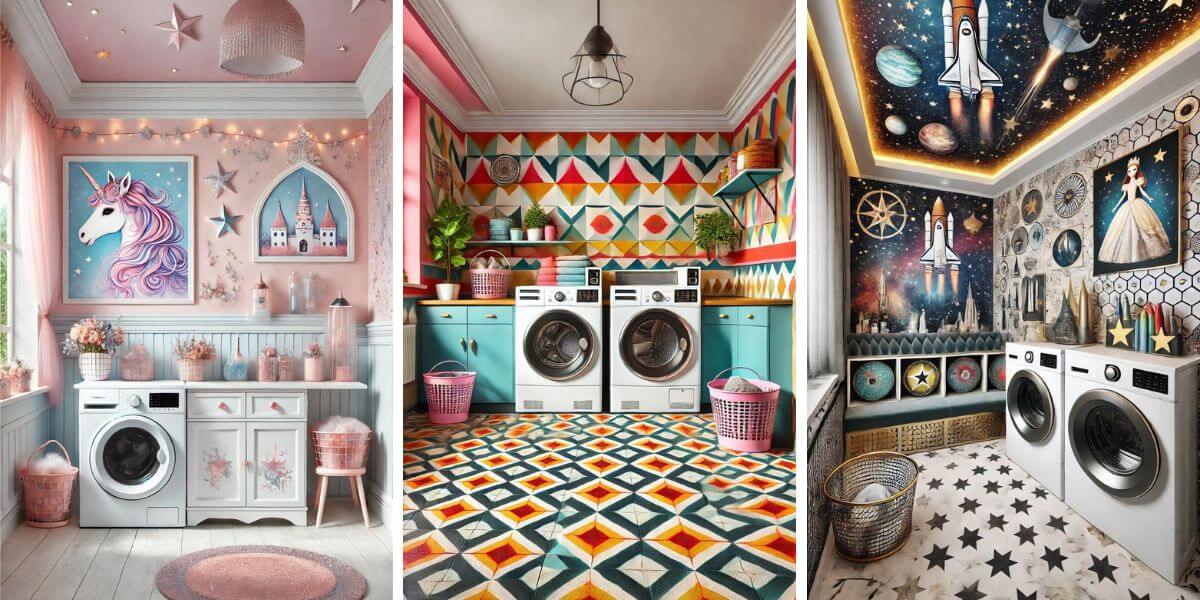
Interior designer Gray Walker, founder of Gray Walker Interiors, takes the position that a hardworking, mundane room still deserves real design attention: a bold patterned wallpaper on just one wall (typically the wall you see first when entering, or the one behind open shelving where the pattern peeks through) gives an awkward laundry room genuine personality without competing with the appliances for attention.
Choose a scrubbable, moisture-rated paper rather than a standard residential wallpaper, given the humidity a laundry room routinely generates.
Budget tier: DIY-cheap to moderate.
Which Custom Built-In Solutions Are Worth the Investment?
18. A laundry speakeasy built-in
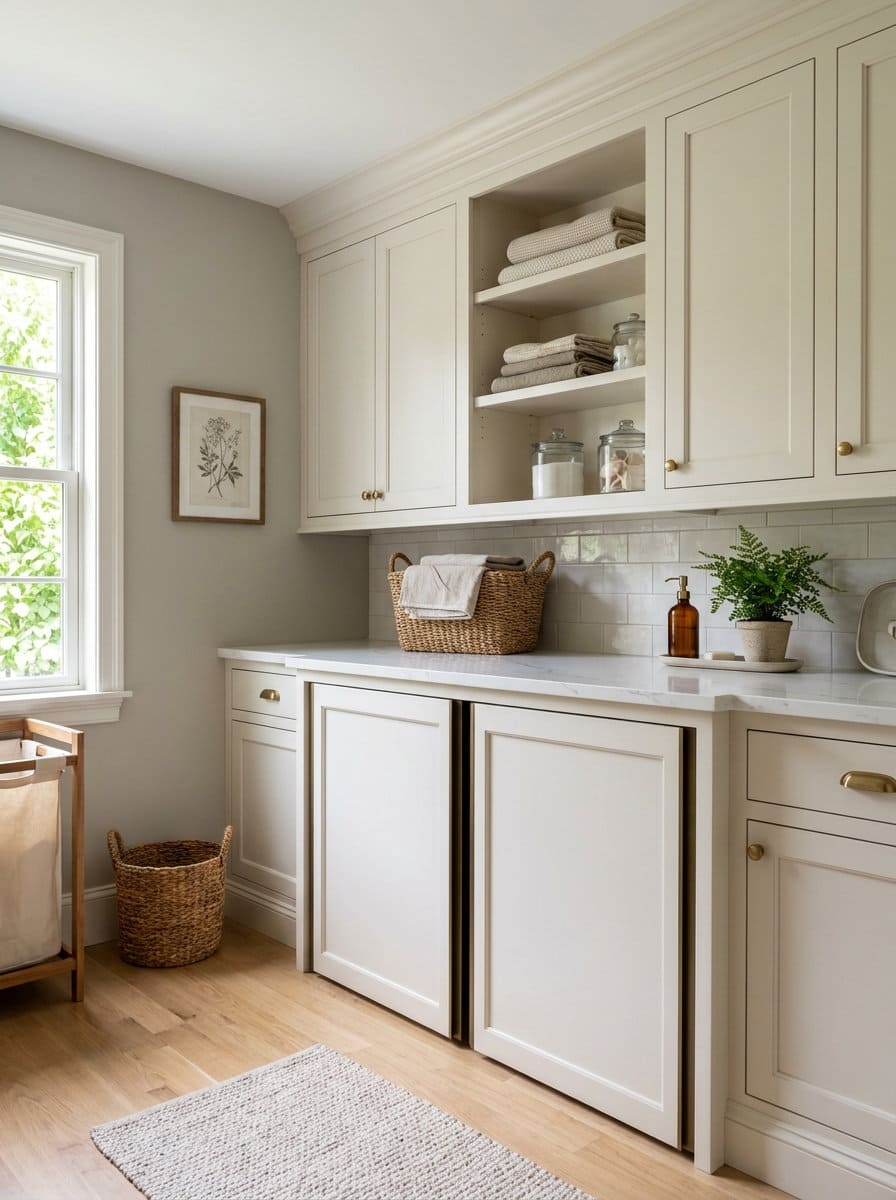
Carly Shafiroff’s concept: a custom cabinet with a countertop and pocket doors that fully close over the washer and dryer, turning an awkward utility space into something that looks intentional even when the doors are shut.
Build the interior cavity a full 2-3 inches larger than the appliance footprint on every side (not just the rear clearance from idea 7) so the doors can close without scraping the machines, and finish the interior in the same paint or laminate as the exterior so a half-open door doesn’t reveal a rough, unfinished cavity.
Budget tier: bigger investment.
19. A stacked tower with a folding counter above
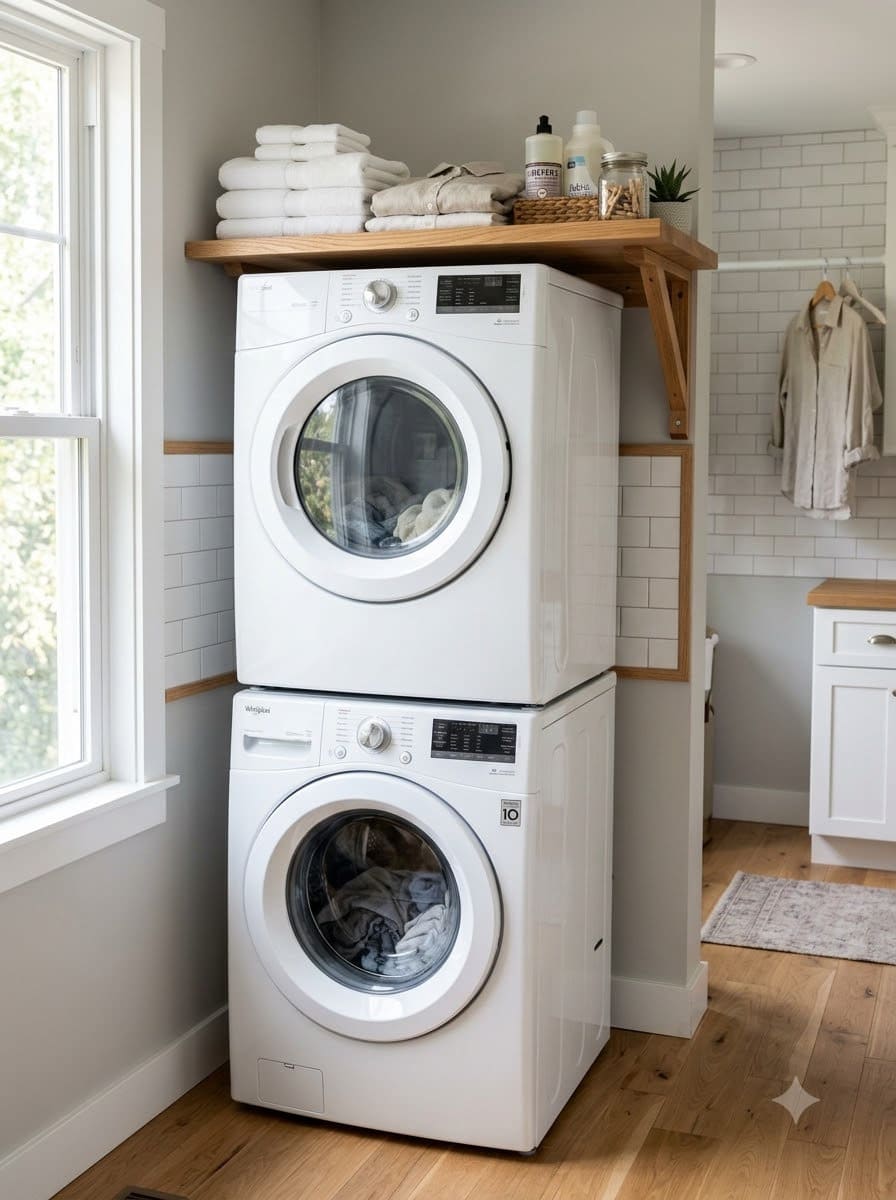
Combining idea 5’s stacked units with a folding counter mounted above (rather than beside) the appliances recovers usable counter space in a footprint too narrow for a separate folding station.
Because this counter sits well above standing-eye-level clearance concerns, it can run a full 15-18 inches deep, deeper than a wall-mounted shelf could, without feeling like it’s closing in the room, since it’s positioned above the stacked tower’s own footprint rather than eating into open floor area.
Budget tier: bigger investment.
20. A sink positioned at the far end
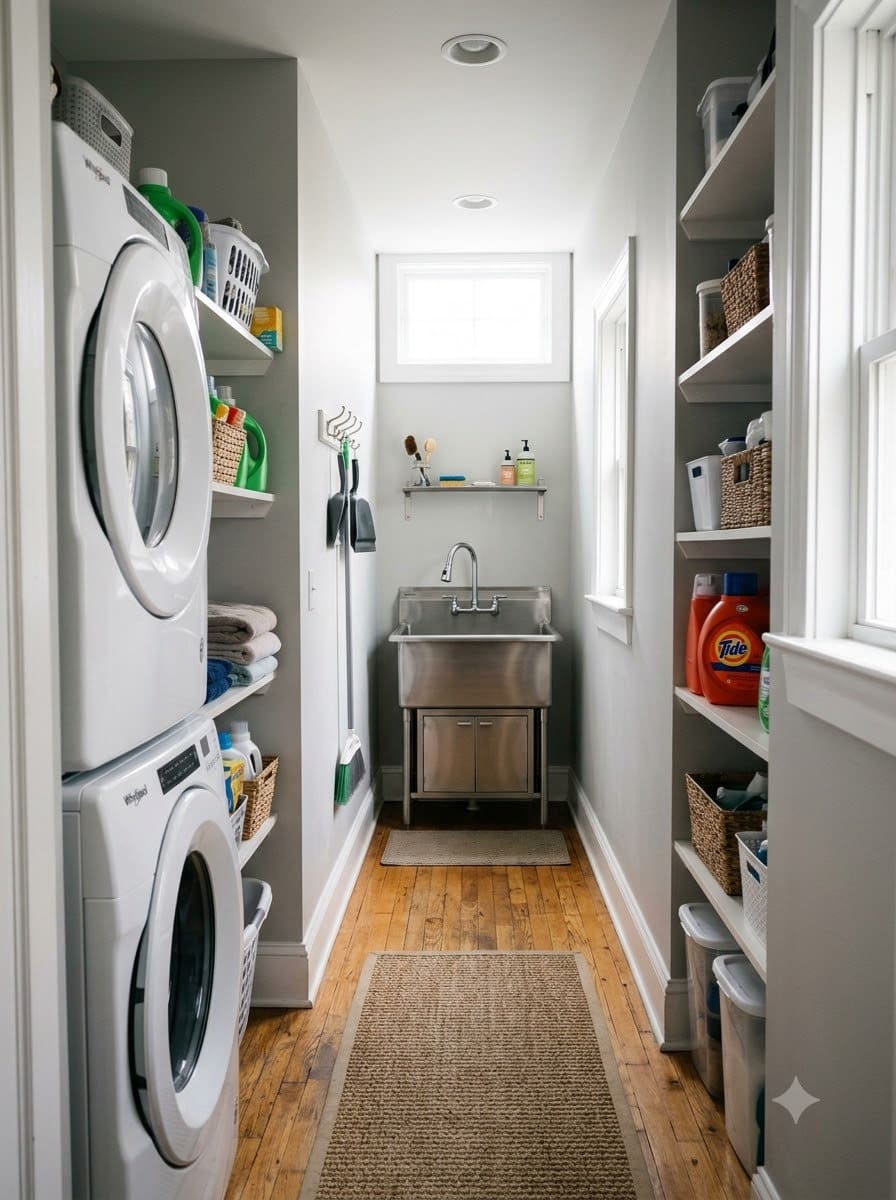
Placing a utility sink at the far end of a narrow laundry room, rather than adjacent to the machines, visually elongates the space and gives the room a clear beginning-to-end workflow, wash at one end, rinse or hand-treat at the other.
A 22-25 inch wide utility sink with a raised backsplash handles stain pre-treating and mop-bucket filling without splashing the wall behind it, and positioning it at the room’s far end also means its plumbing run doesn’t compete with the washer’s own supply and drain lines along the same wall.
Budget tier: bigger investment if new plumbing is required.
What We Learned the Hard Way
The most common mistake in an awkward laundry conversion isn’t the layout itself, it’s the vent. We’ve seen closets converted into laundry space where the dryer’s exhaust was routed into the wall cavity or the closet itself rather than genuinely outdoors, exactly what IRC M1502 prohibits, and exactly the kind of setup that creates real fire and moisture risk.
If there’s one thing worth confirming before finishing any awkward laundry project, it’s that the exhaust actually terminates outside the house, not just out of sight.
The second mistake is skipping rear clearance to save an inch or two of floor space. A stacked unit crammed flush against the wall looks tidy on installation day, but without the 2-6 inches needed for the exhaust elbow, either the install fails inspection or the hose gets kinked in a way that restricts airflow, quietly recreating the same fire risk the code clearance exists to prevent.
And the one that gets forgotten entirely: vent access for cleaning. A beautiful built-in that fully seals the connection behind cabinetry looks great until vent-cleaning day arrives and there’s no way to reach it.
Since annual cleaning cuts dryer-fire risk by roughly 90 percent per NFPA’s numbers, build in a real access point from the start rather than treating maintenance as an afterthought.
FAQs
Can a dryer vent into an interior closet instead of outdoors? No. The International Residential Code (Section M1502) requires dryer exhaust to vent outdoors and explicitly prohibits venting into an attic, crawlspace, or interior room, including the closet the dryer sits in.
How much clearance do stacked washer/dryer units need behind them? Typically 2 to 6 inches for the exhaust elbow and hose, more if an access panel is needed for maintenance or inspection.
How often should a dryer vent actually be cleaned? At least once a year, per NFPA guidance. Annual cleaning reduces dryer-fire risk by roughly 90 percent, and failure to clean the vent is the single leading cause of dryer fires.
Can I fully hide my washer and dryer in a converted closet? Yes, as long as the exhaust still vents genuinely outdoors and not just into the closet cavity itself, and as long as there’s real clearance and access for maintenance behind the concealed units.
What’s the cheapest way to make an awkward laundry room more functional? Floating shelves and a pegboard organization wall cost very little and add real storage without touching the appliances or the vent setup at all.
There’s a closer look at stacking a washer and dryer specifically if idea 5 is the direction, and more on organizing storage in a tight laundry footprint worth checking for ideas 9 through 13. If a utility sink is part of the plan, placing and styling a laundry room sink covers idea 20 in more depth.
Related Posts
- Stacked Laundry Room Ideas
- Laundry Room Storage Ideas
- Laundry Room Sink Ideas
- Basement Laundry Room Ideas
Never miss an update — choose FarmFoodFamily as your preferred source on Google.
How it works: Tap the button below to open Google's settings page, then check the box next to FarmFoodFamily.
Tap the checkbox to turn it blue — that's how you know it's set.