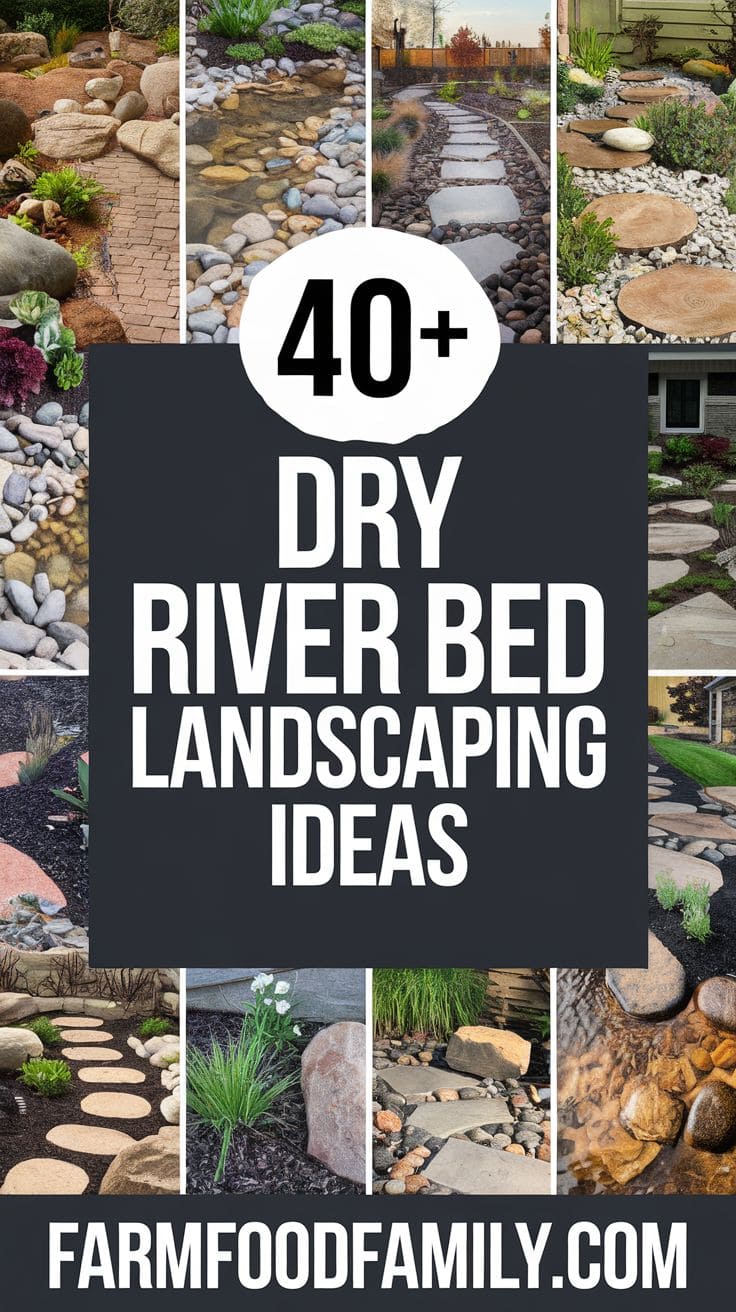
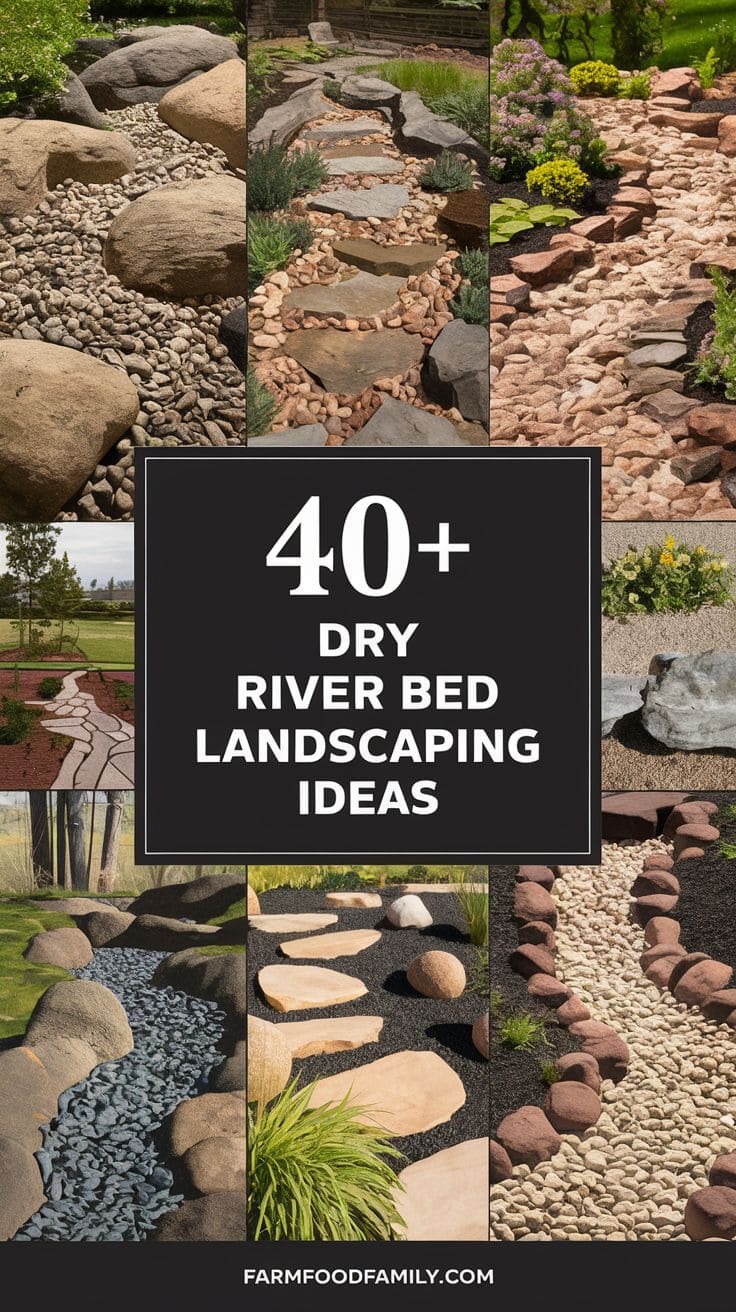
17+ Stunning Dry Creek Bed Ideas That Actually Drain When It Rains
Most dry creek bed guides treat the whole project as decoration, rake out a stream-shaped trench, dump some rock in it, done. A lot of them even suggest lining the trench with solid plastic and poking a couple of holes through it for drainage, which is close to the opposite of what actually works. If…

Never miss an update — choose FarmFoodFamily as your preferred source on Google.
How it works: Tap the button below to open Google’s settings page, then check the box next to FarmFoodFamily.
Tap the checkbox to turn it blue — that’s how you know it’s set.
Most dry creek bed guides treat the whole project as decoration, rake out a stream-shaped trench, dump some rock in it, done.
A lot of them even suggest lining the trench with solid plastic and poking a couple of holes through it for drainage, which is close to the opposite of what actually works.
If the bed doesn’t follow where water in your yard genuinely wants to go, it looks fine on a dry afternoon and does almost nothing the next time it actually rains.
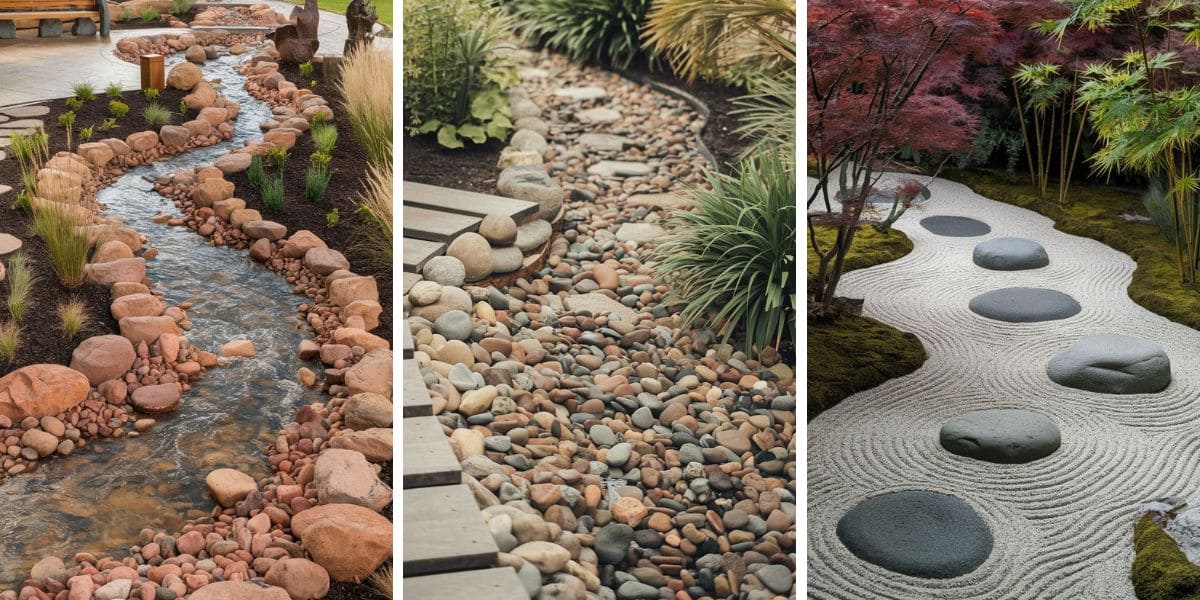
Seventeen ideas below. The first one isn’t a style, it’s the part that determines whether any of the others actually function once the weather turns.
Related: 19+ Types Of Gravel For Driveways and Landscaping
1. Make it actually drain, not just look like it does
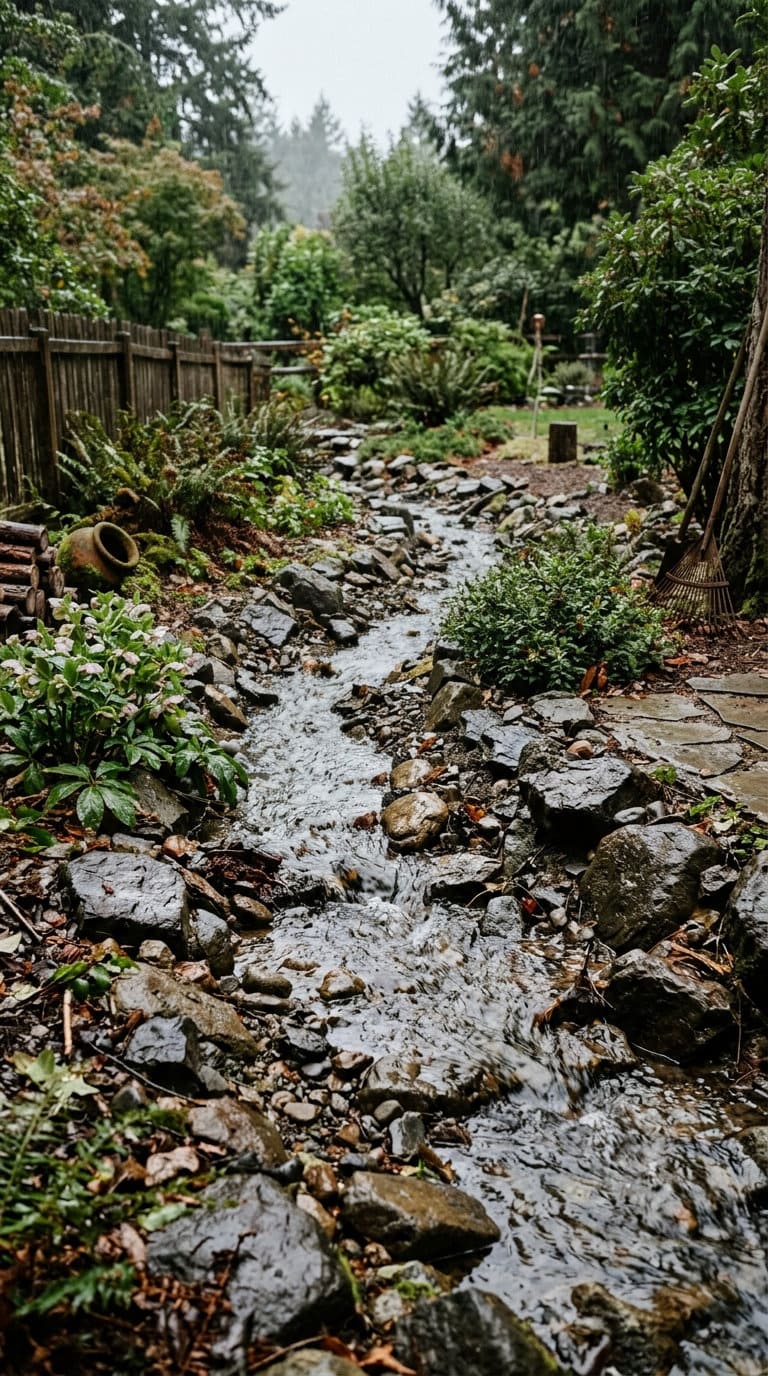
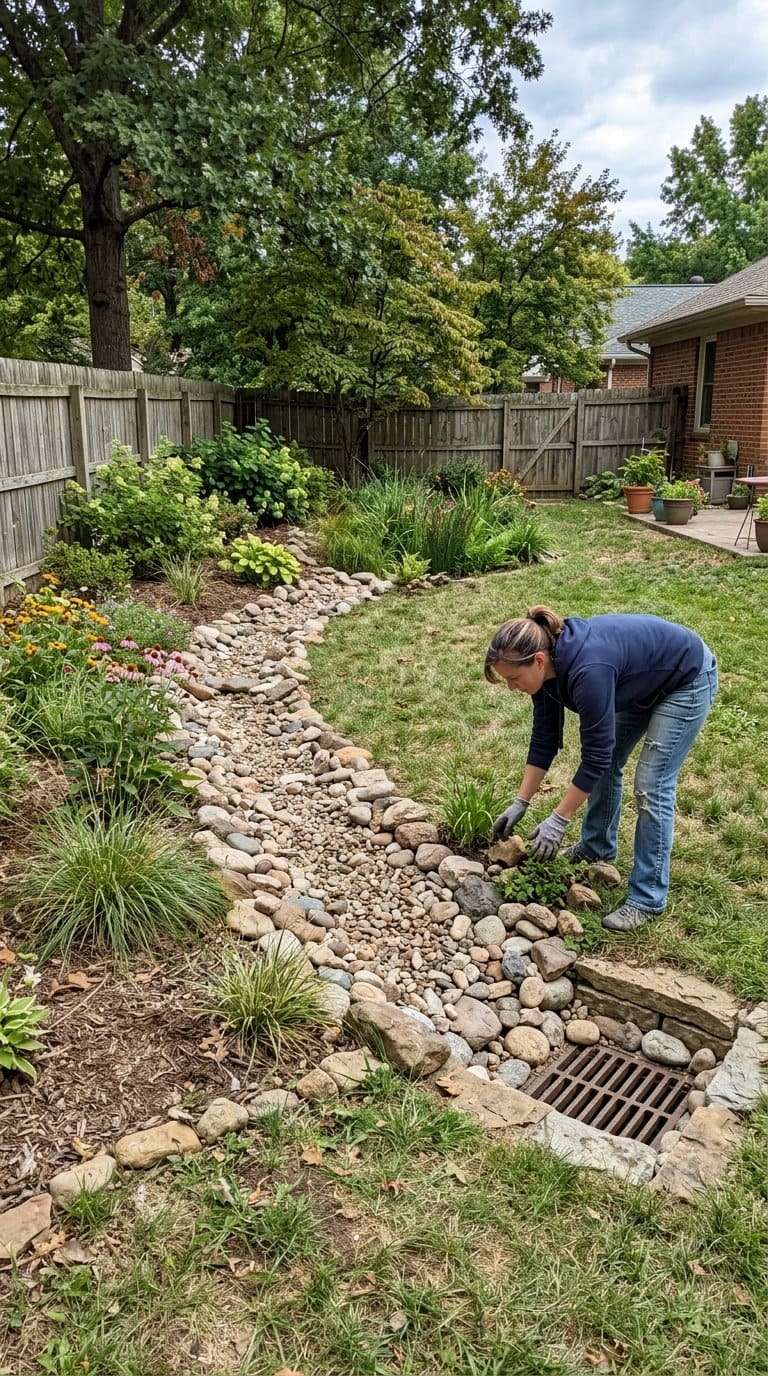
Start with the honest distinction: a decorative dry creek bed follows the eye, a functional one follows the water. If you place a beautiful stream shape somewhere water in your yard never naturally flows, it does almost nothing during an actual storm, it just looks like a creek.
Answer 4 quick questions and get matched to the exact fix for your yard — drainage, budget, layout, or something else entirely.
Take the Free QuizA functional bed needs the real route your water already takes, a controlled entry point, correctly sized stone, and somewhere for the water to actually go.
On lining the trench: skip the solid plastic sheeting with a couple holes punched through, that traps water underneath rather than letting it drain, the opposite of the goal. A permeable, decent-quality geotextile fabric works better, though the honest caveat is that fabric quality and correct installation matter more than the fabric-vs-no-fabric choice itself, cheap fabric with silt building up on top of it fails the same way bare soil would within a couple seasons either way.
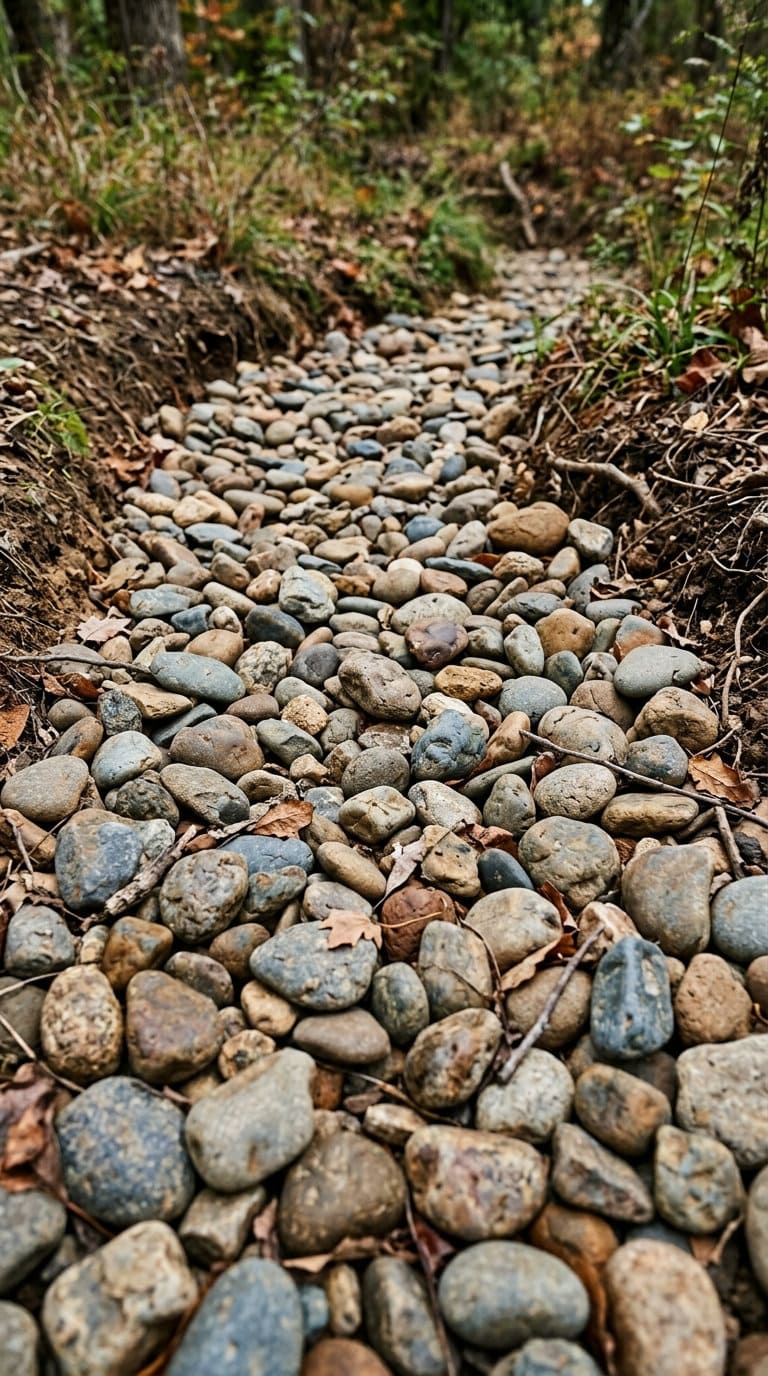
Rock size matters for real water flow, not just looks. Two-inch river rock is the standard workhorse size for a residential drainage feature, big enough gaps for water to move fast, heavy enough that a typical storm won’t wash it downstream. If your yard sees heavier runoff, step up to 2 to 3 inch stone or larger, and plan on 3 to 5 inches of depth depending on the rock size and expected flow.
Slope is the part decorative-only builds skip entirely. Grade should fall at least 6 inches within the first 10 feet near a foundation, and the creek bed itself needs at least a 1% downward slope leading away from the house, following the yard’s actual contours rather than a straight aesthetic line. Skip this and the bed can look right while doing nothing to move water where it needs to go.
And to be direct about a risk nobody mentions in the pretty-photo roundups: a poorly graded bed that holds water instead of draining it is a genuine mosquito risk, not an exaggerated one, it takes only about an ounce of standing water to support mosquito larvae. A properly sloped bed drains fully within a day or so of a storm and never gives them that chance.
A few real, specific details from people who’ve actually built these: curve the bed’s edges the way a real stream wanders rather than running it in a straight line, real streams “wave back and forth and so do their stream beds.” Set a few large, flatter rectangular rocks perpendicular to the direction of water flow, one builder found this made “a huge difference” in slowing erosion at the bends.
Cone-shaped drain caps at outlet points keep stones from shifting and migrating over time. And never put weed killer directly on a bed that’s meant to handle real water flow when it rains, it’s a drainage feature, not a gravel patio.
Most yard problems trace back to one specific, fixable cause. Find yours in 4 quick questions.
Take the Free Quiz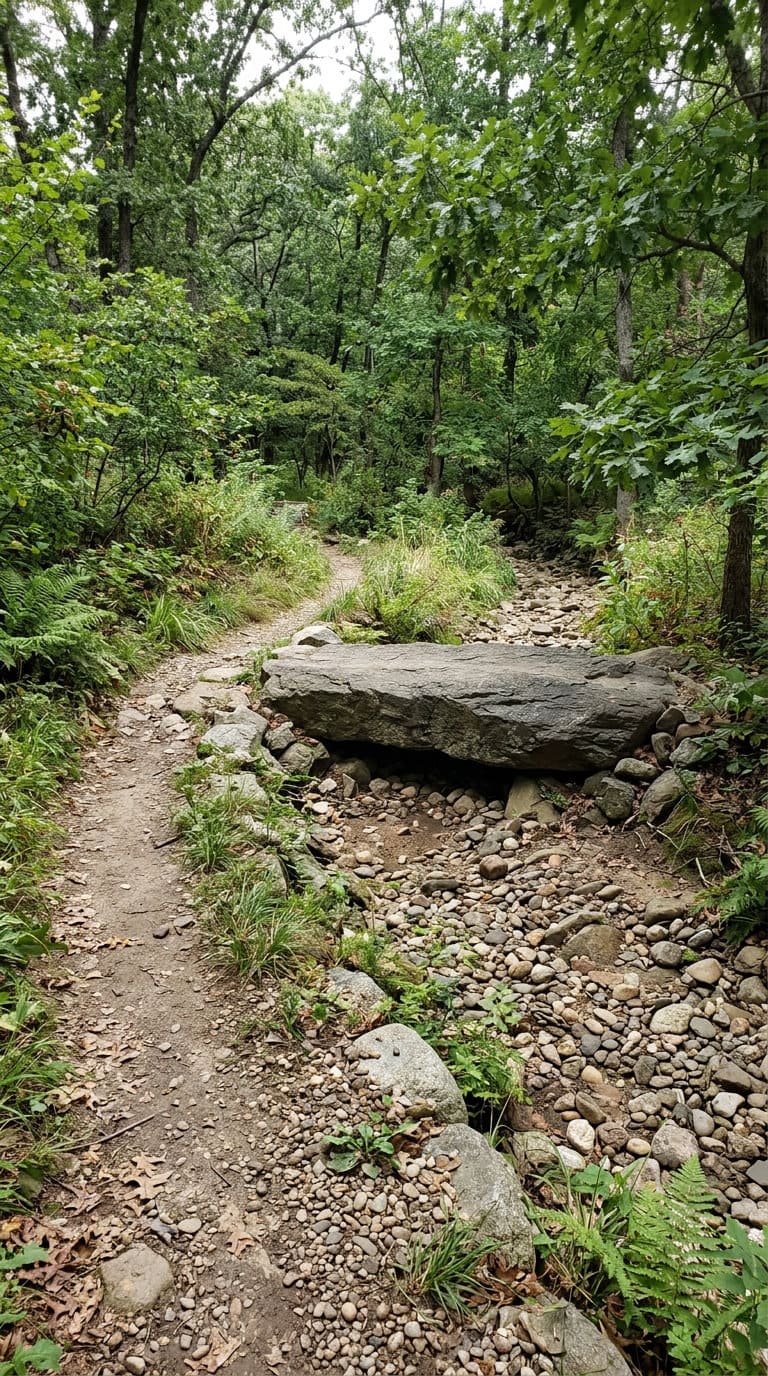
For the styling side once the function is sorted: a few ornamental grasses or ferns at the edges soften the look of bare rock without much added maintenance, just avoid invasive spreading varieties, keep anything that tends to take over contained in a hidden pot instead of planted directly.
A solar fountain, a hidden garden statue, or a rustic bench near a shady spot all work as accent details, just keep to one consistent theme rather than mixing an elegant bird statue with a jokey garden gnome in the same sightline.
How to Start Making a Dry Creek Bed
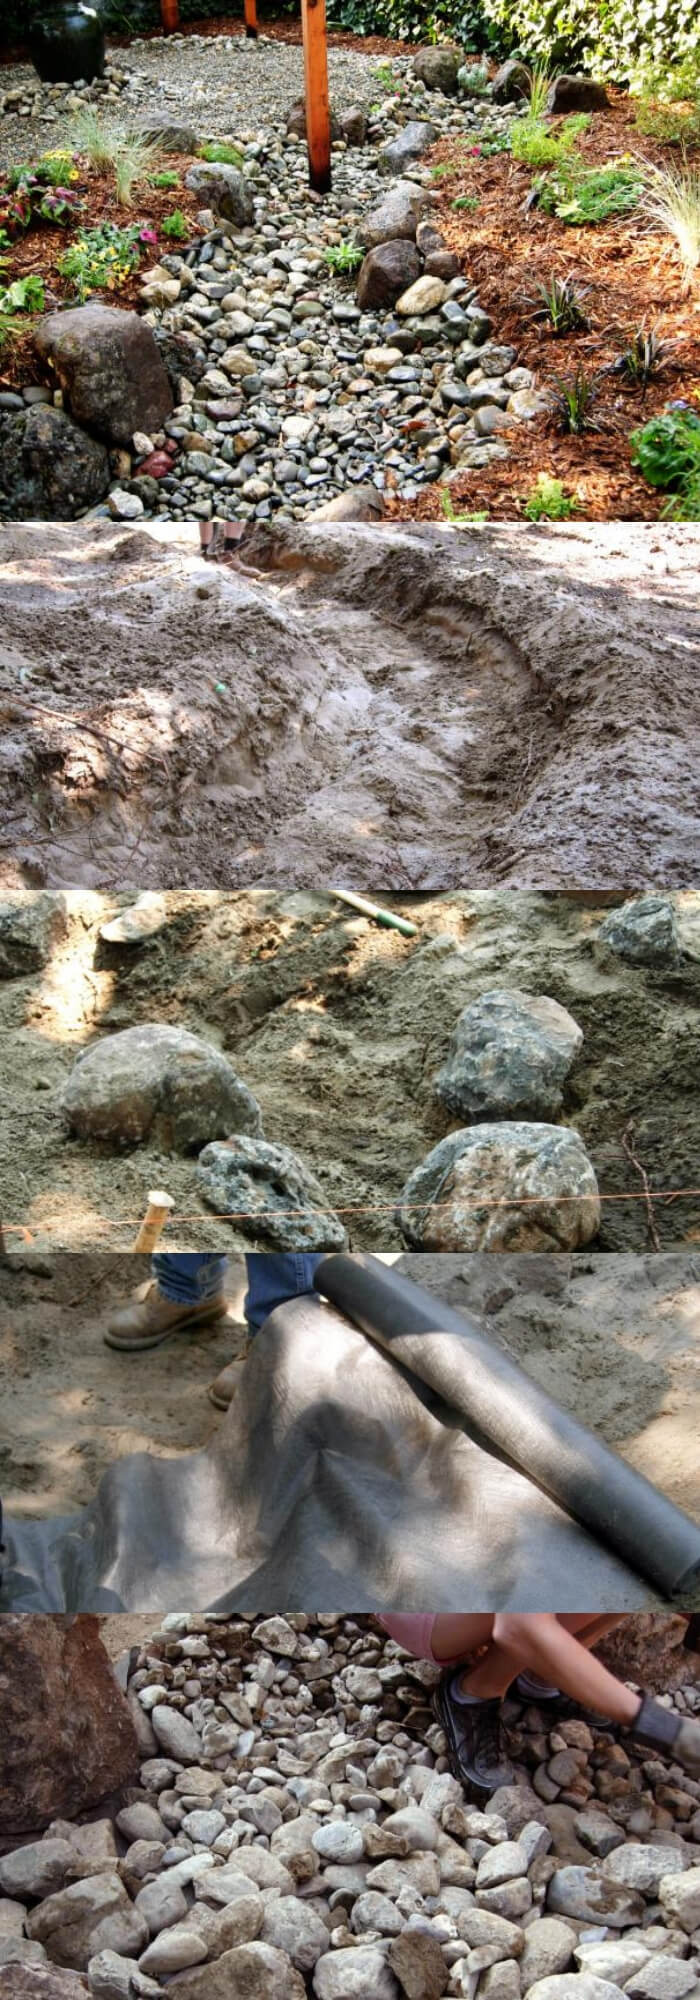
Use a hose or rope to outline the edges for the best effect. This can be changed from one place to another until a firm decision as to site has been made. It can be removed as the project progresses.
Rake out a shallow shape in the yard where the dry creek bed is to go. The shape should emulate that of a stream, so it will need to be rather longer than it is wide. But the shape will be partly dictated by your block of land.
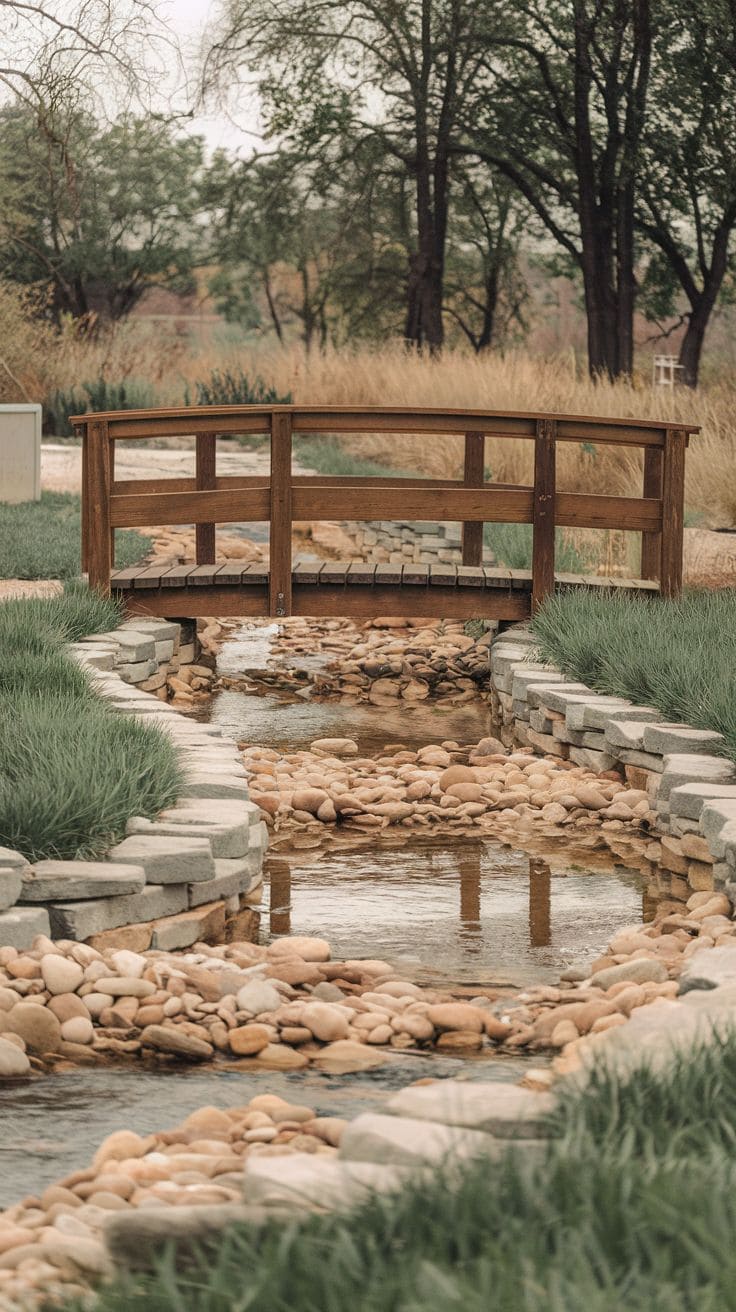
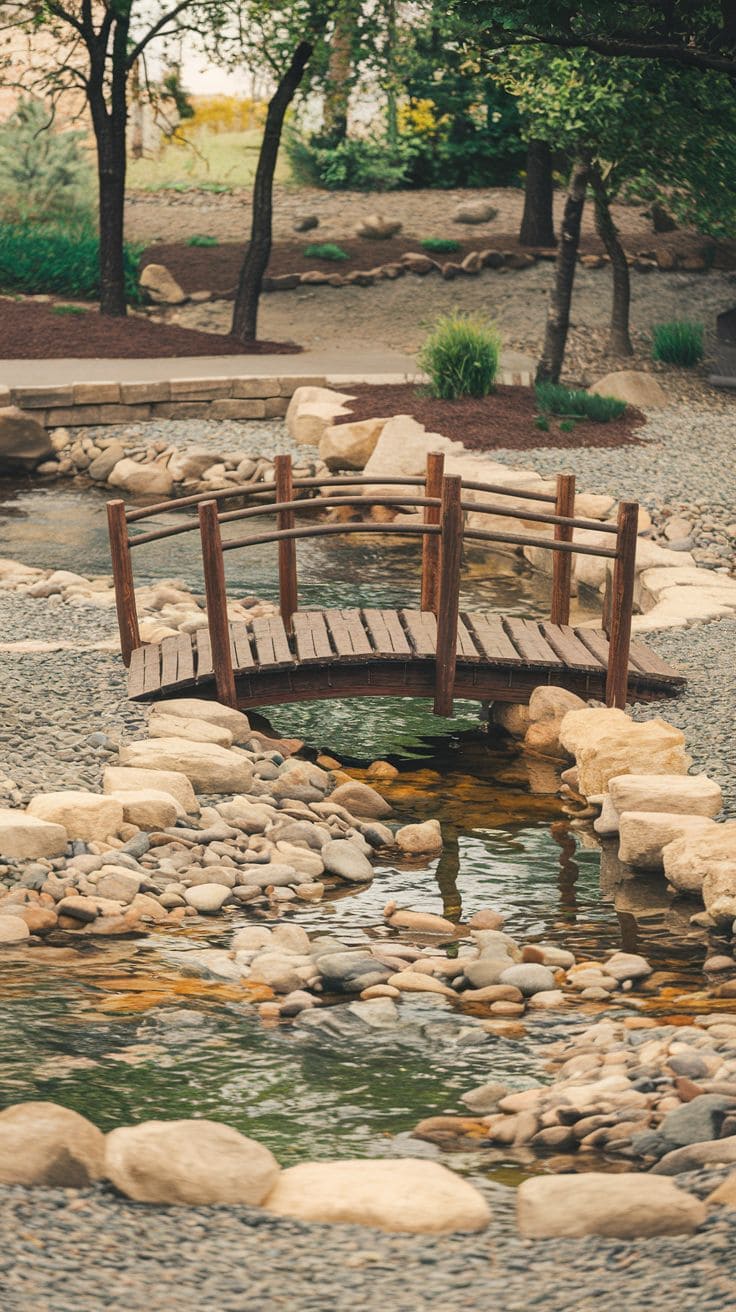
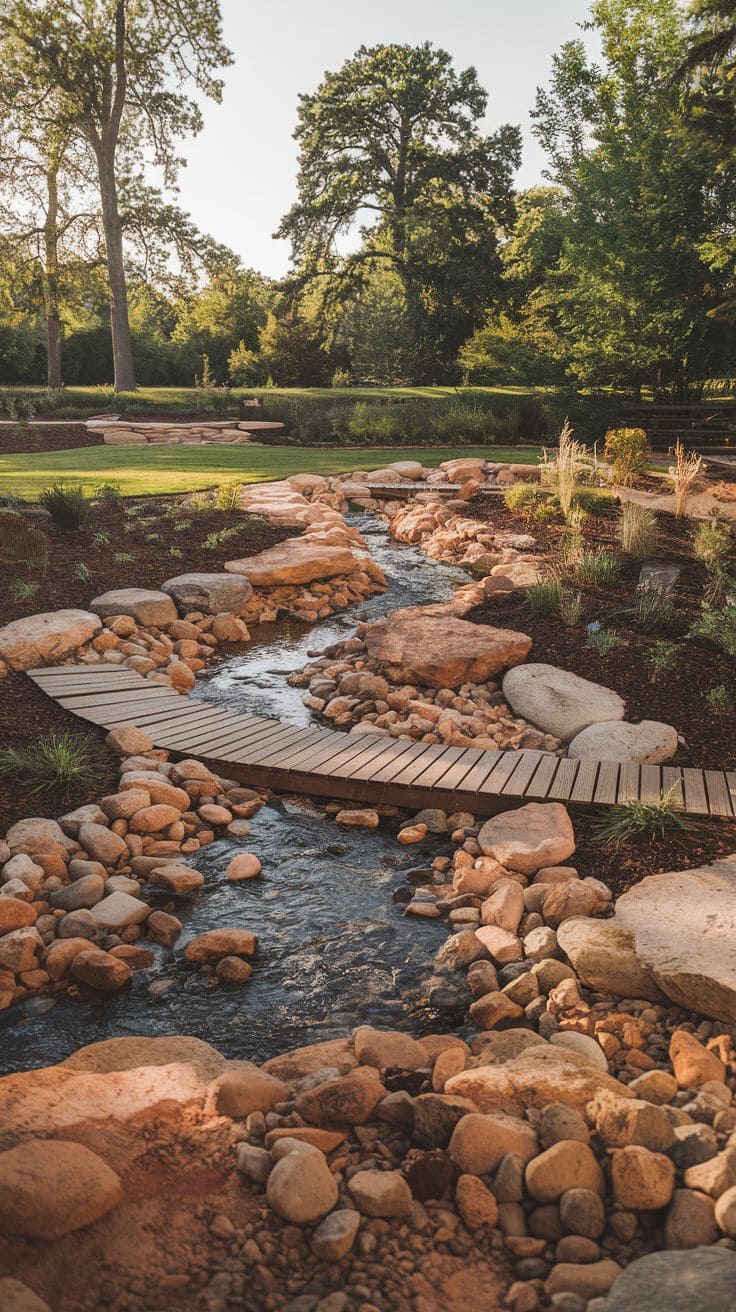
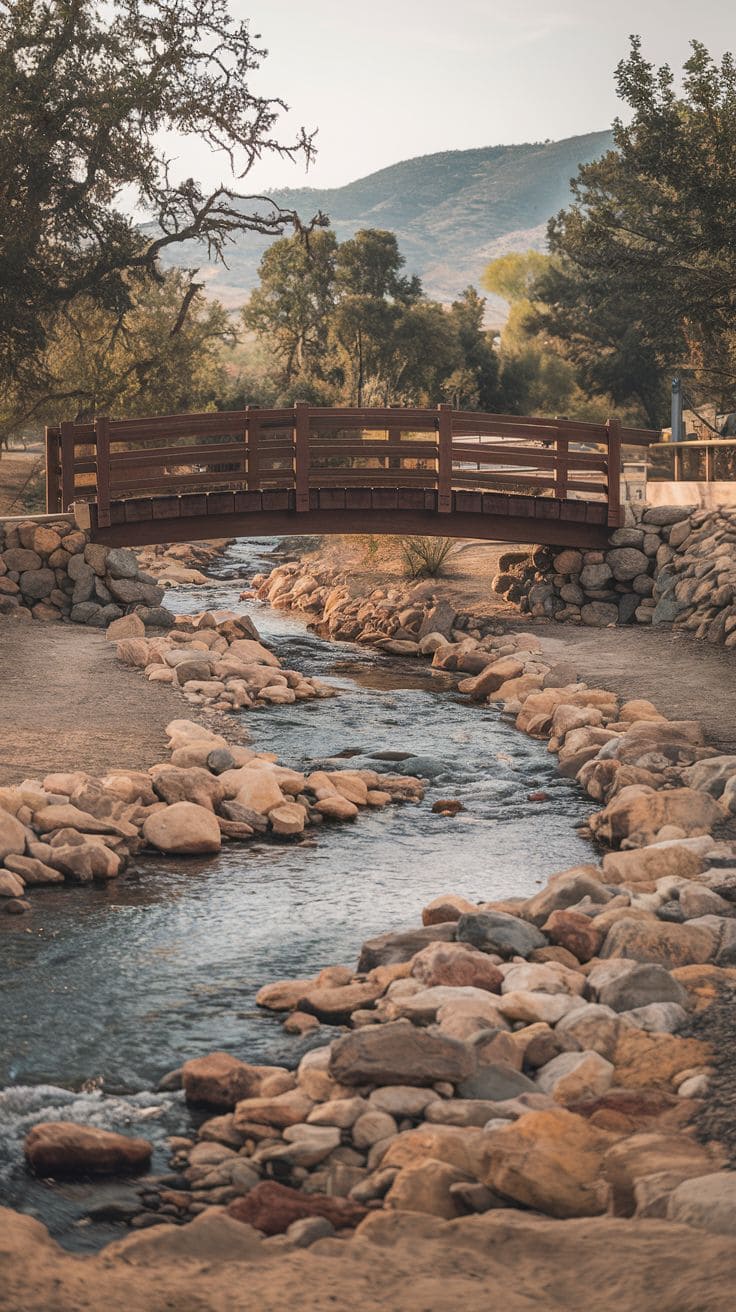
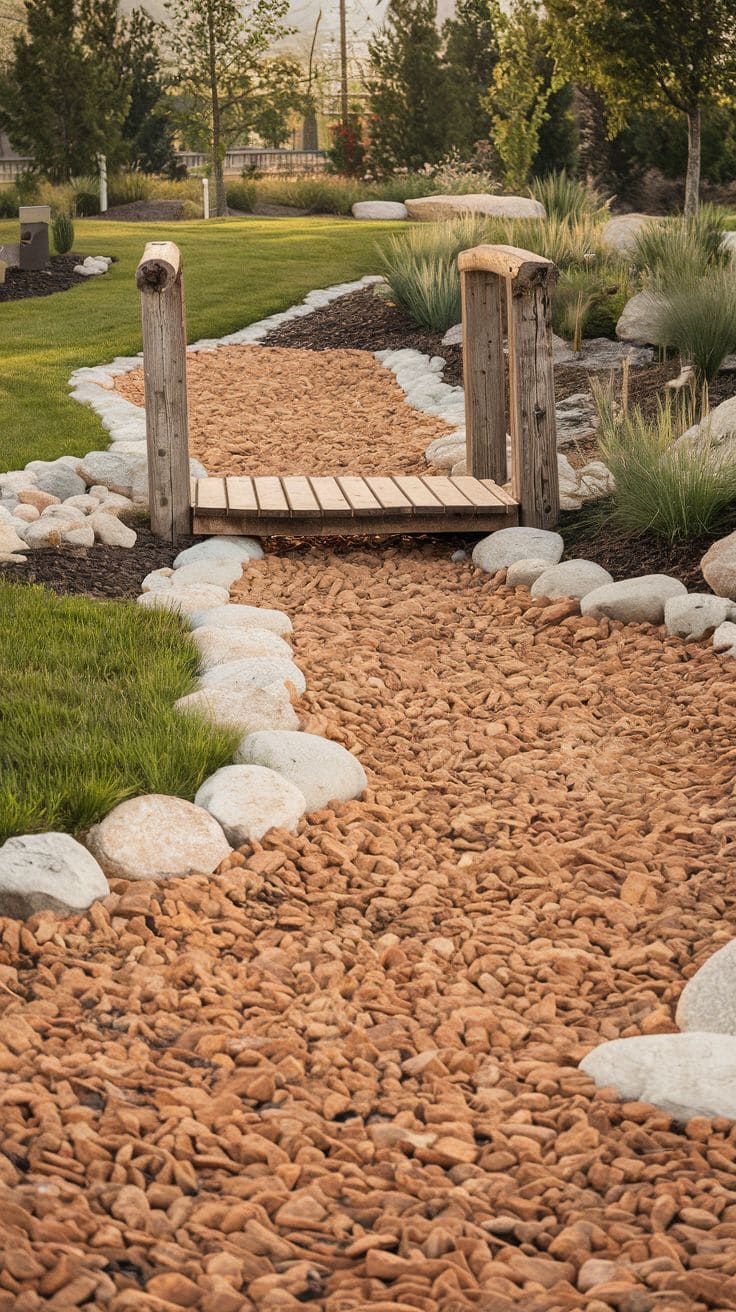
Once the best position and shape has been decided on, place black plastic to fit and poke a few drainage holes through at the lowest part so it will not become a pond when it rains. Cover the plastic with a mix of river sand, small and larger pebbles and rocks. Add a small wooden bridge if liked, or some driftwood collected on a trip.
Place the sand and pebbles in drifts rather than just scattering them anyhow. If possible take a look at a stream in the natural and envisage how it would look without water.

A bank could be made by heaping up earth under the plastic and then over the top. A few rocks over or around it will create a more natural effect, especially if natural grasses are left to grow around them.
How to Soften the Harshness of Rocks and Gravel
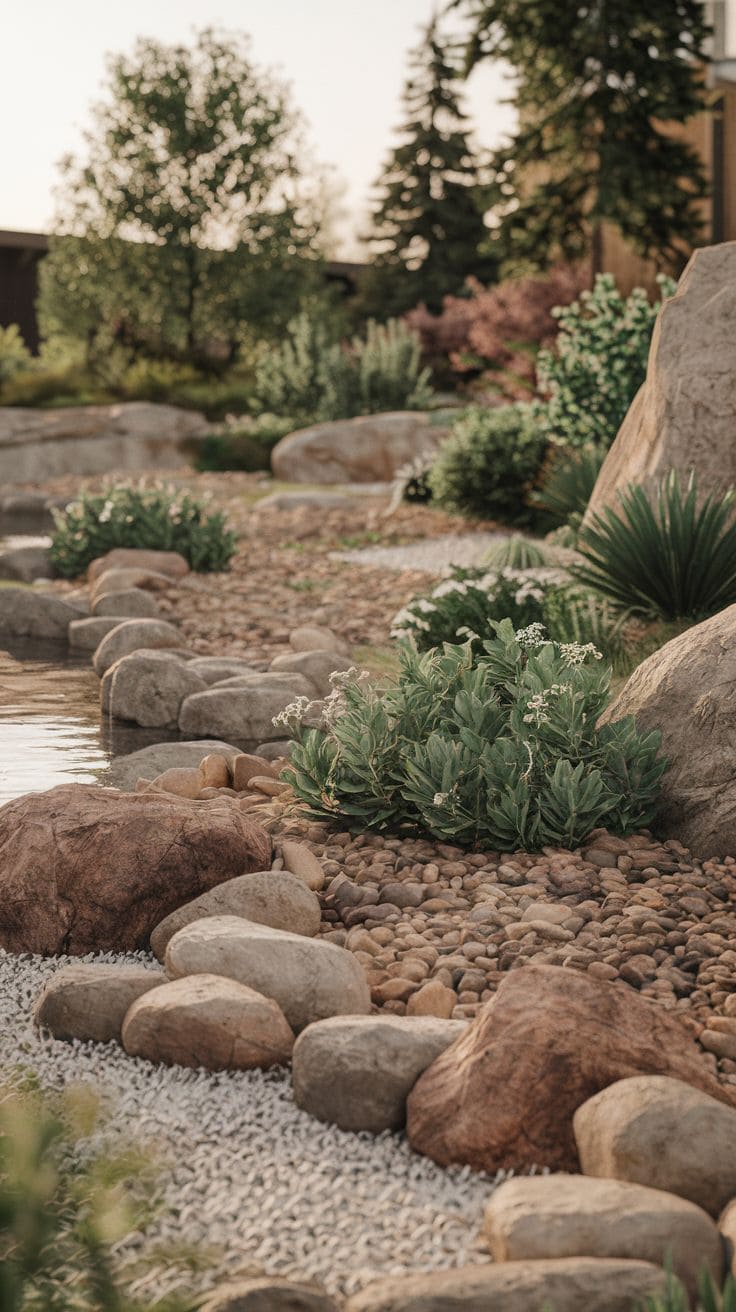
Some plants may be used for this project if wished. A few grasses or ferns at the edges will aid a soft and natural look. These need not be native grasses, though naturally those would grow well in the area. But using ornamental grasses as well will add a touch of graceful elegance that is likely to be missing in the natural setting.
A few other hardy perennials will also enhance the look of the area. But remember the whole idea of creating this unusual feature is low maintenance so be careful in your choice.
The average homeowner spends $616/year on yard fixes that don't address the real problem. Find out what yours actually is — before you spend another dollar.
Take the Free QuizA pot holding a rambling vine may look attractive near to the bridge or just at the side of the creek bed. A little wisp of greenery clambering around those bridge rails, or over a log will relieve and soften the browns and ochres of natural rock – especially if it flowers sometime through the season.
When choosing grasses, make sure they are not the kind that tend to invade the place or problems of keeping them under control will occur. These can be grown in pots and the pot hidden behind rocks.
Other Hardware Features to Use
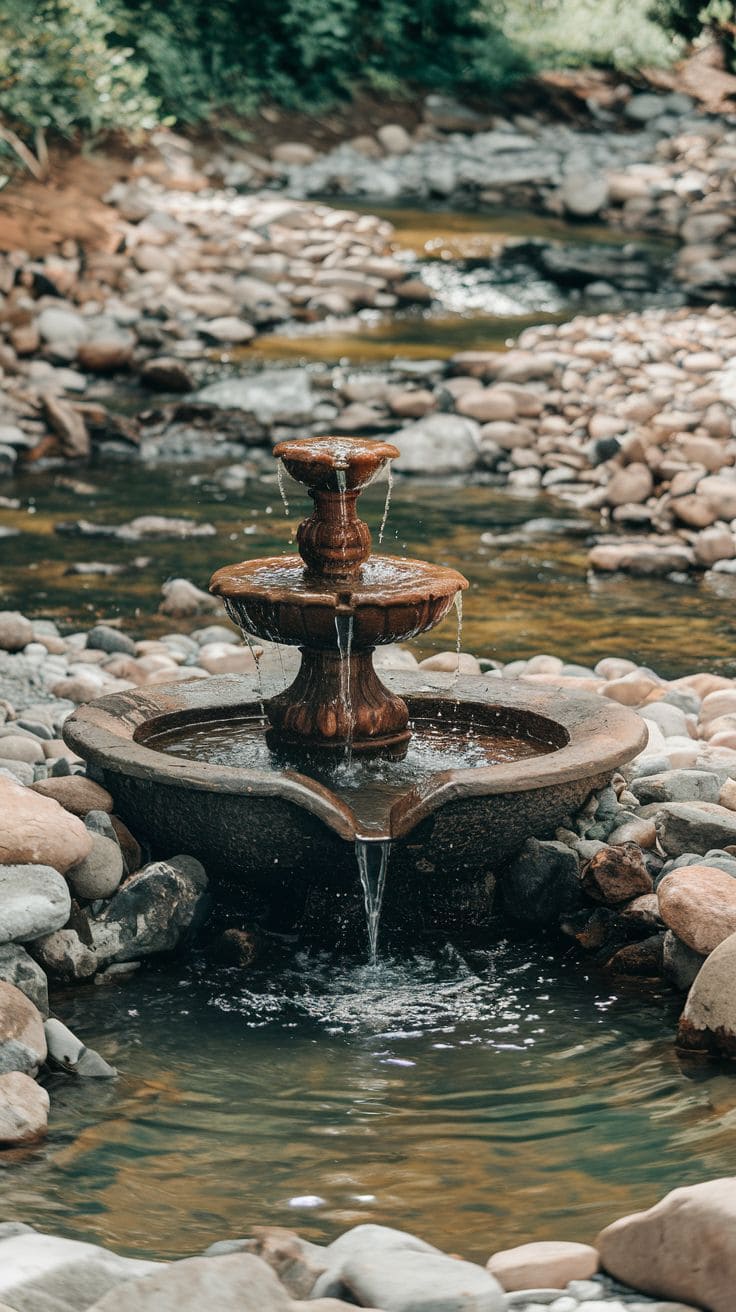
A solar fountain will add a cool touch to your landscaped area, but if there is no water to spare then adding a few statues can give more interest and appeal. A native bird, a stone lantern or a few rabbits or ducks hidden amongst the grass or stones will surprise and delight visitors to the area.
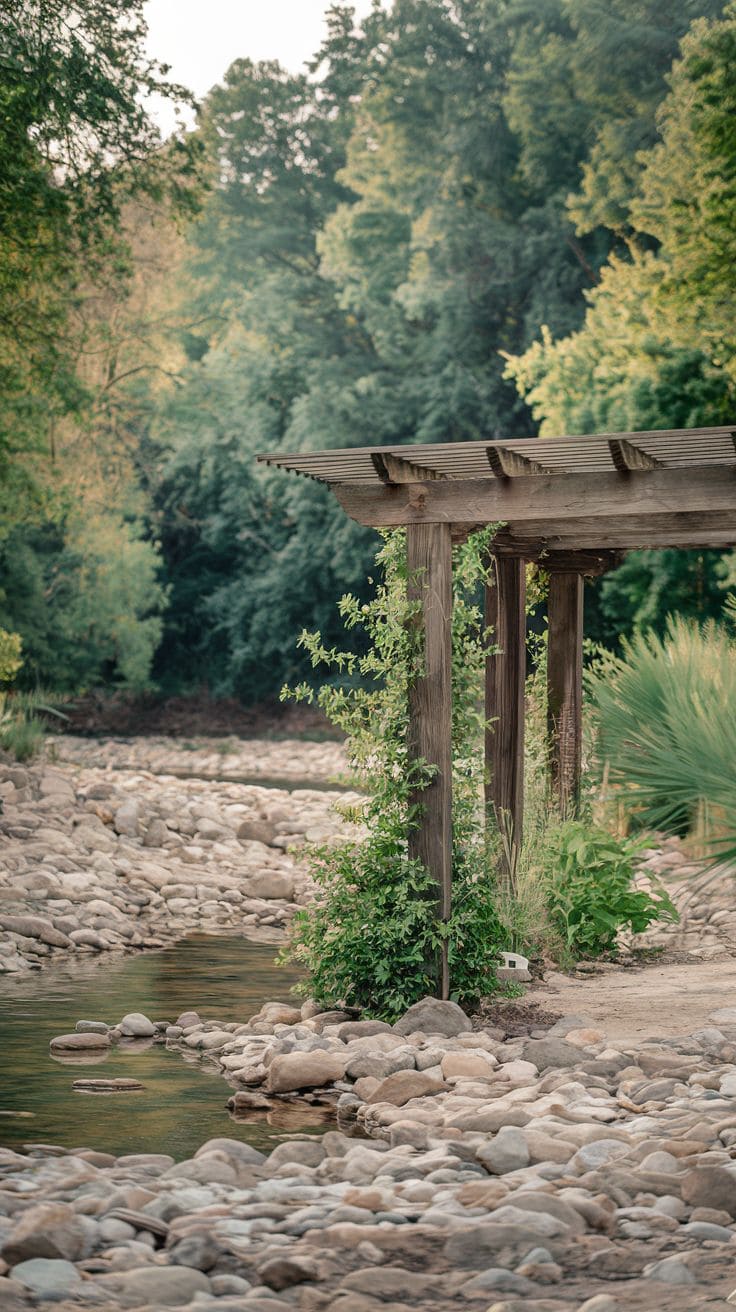
If there is to be a shady tree or shrub nearby, adding a rustic timber seat will encourage people to linger. Bird baths or feeders may also be added. In fact, any additions that are desired will help to make this area unique. However, try and keep to one theme for a look of unity. An elegant bird statue would not look too good next to a jolly gnome.
Signposts can add interest and humor to your dry stream area. For instance, if you have a small bridge or log, a sign proclaiming, “Gnomes Cross Here” would make visitors smile. “Beware of Crocs” could be another humorous addition – especially if a crocodile statue was added. The details of such a project need only be limited by the imagination.
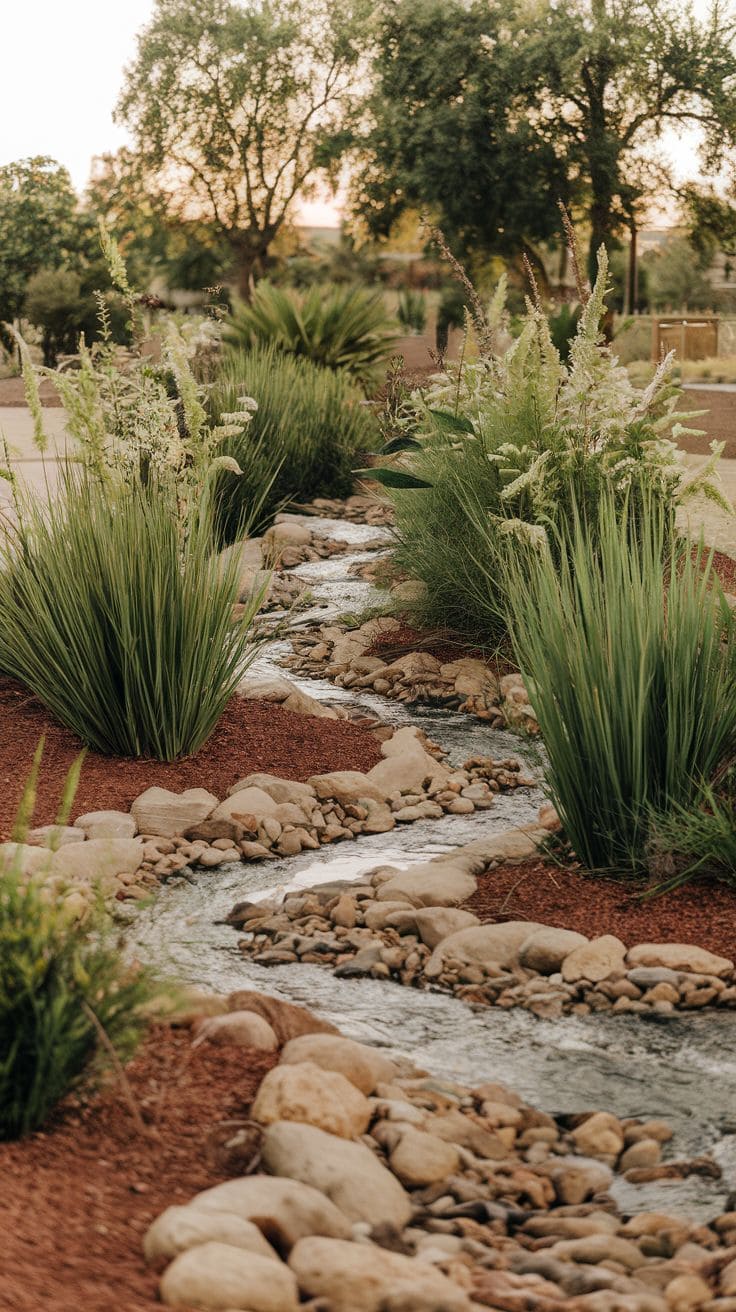
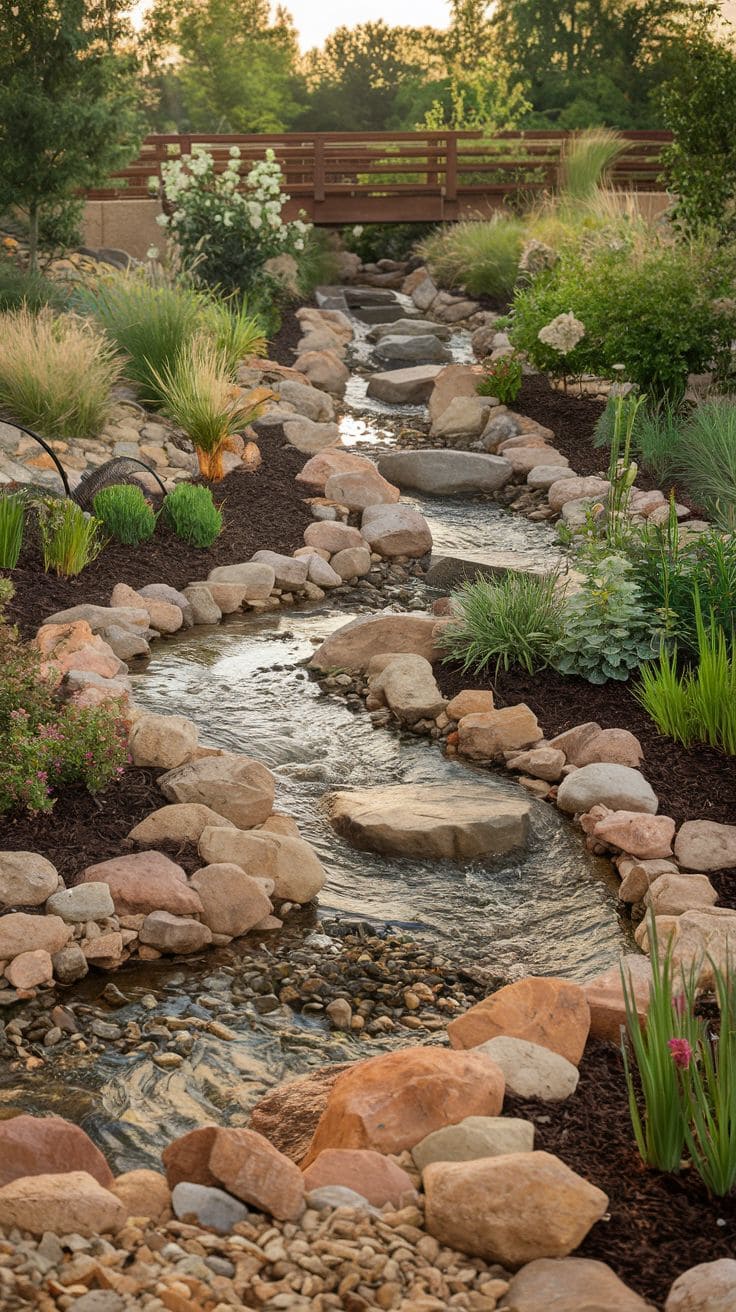
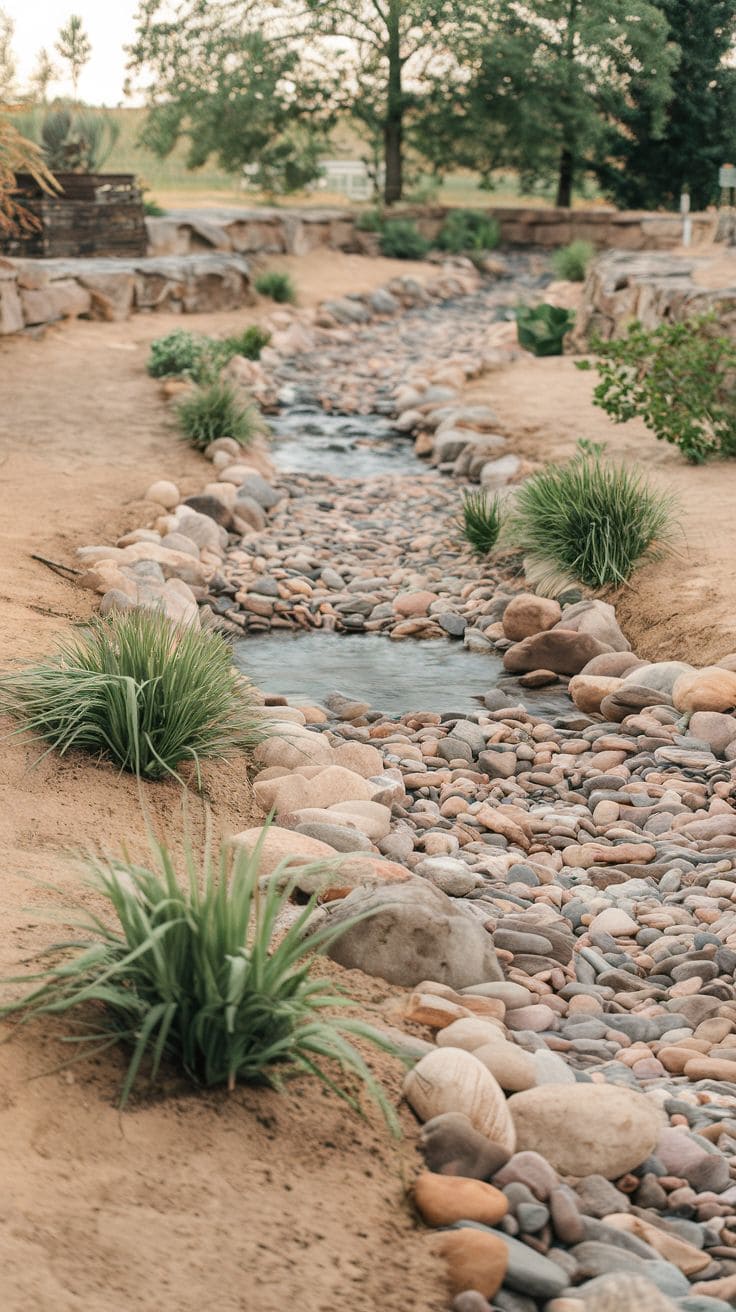
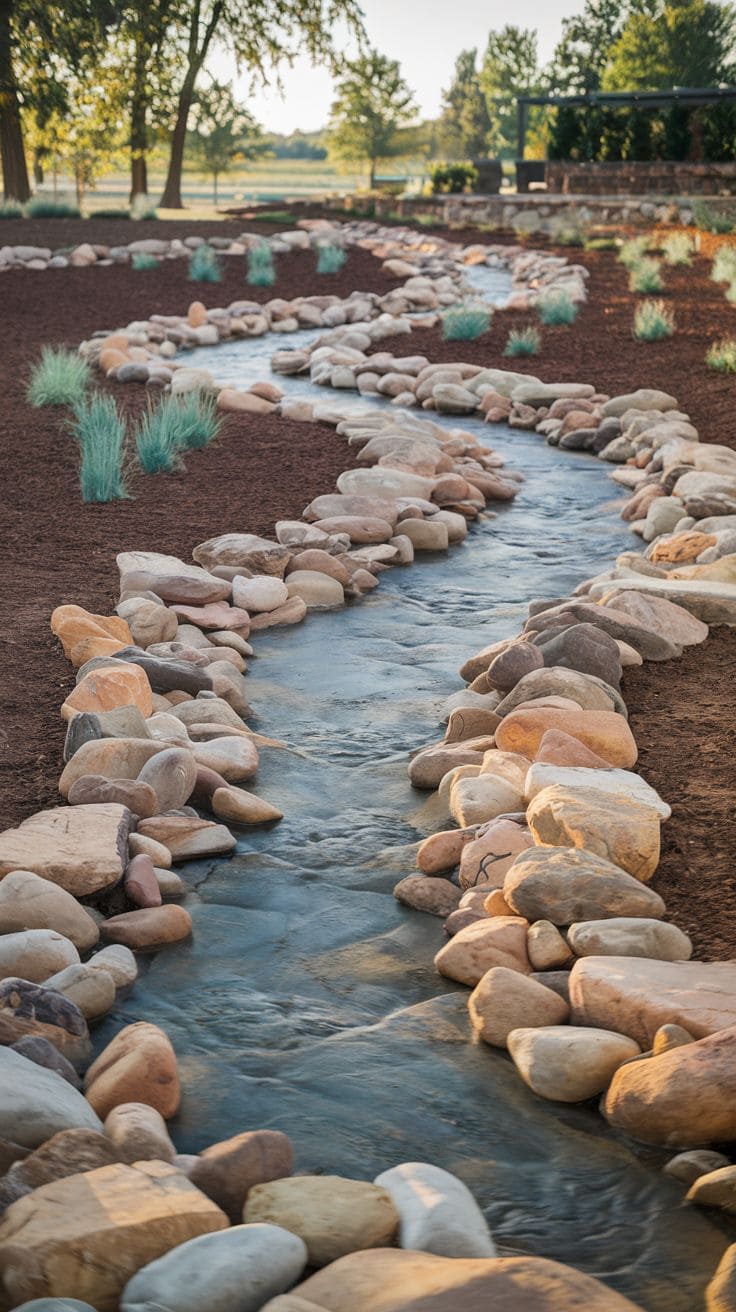
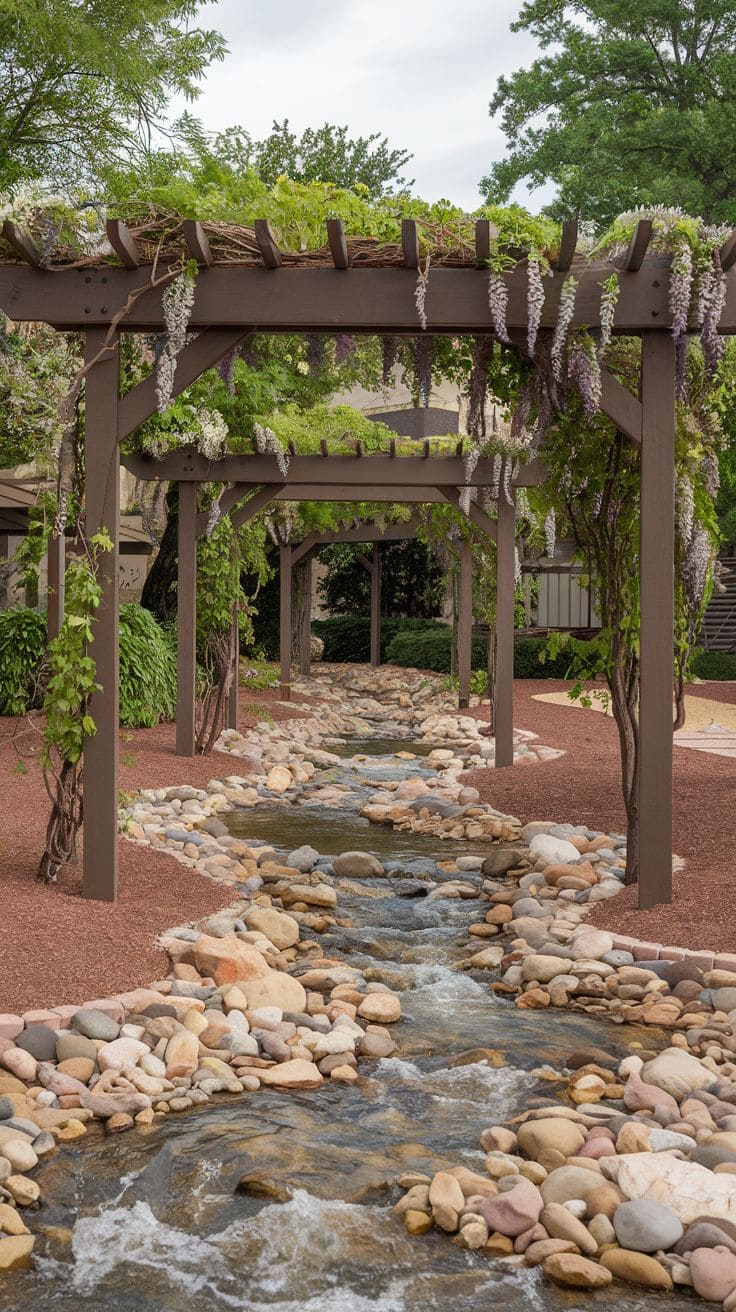
1. Naturalistic Flowing Pathway
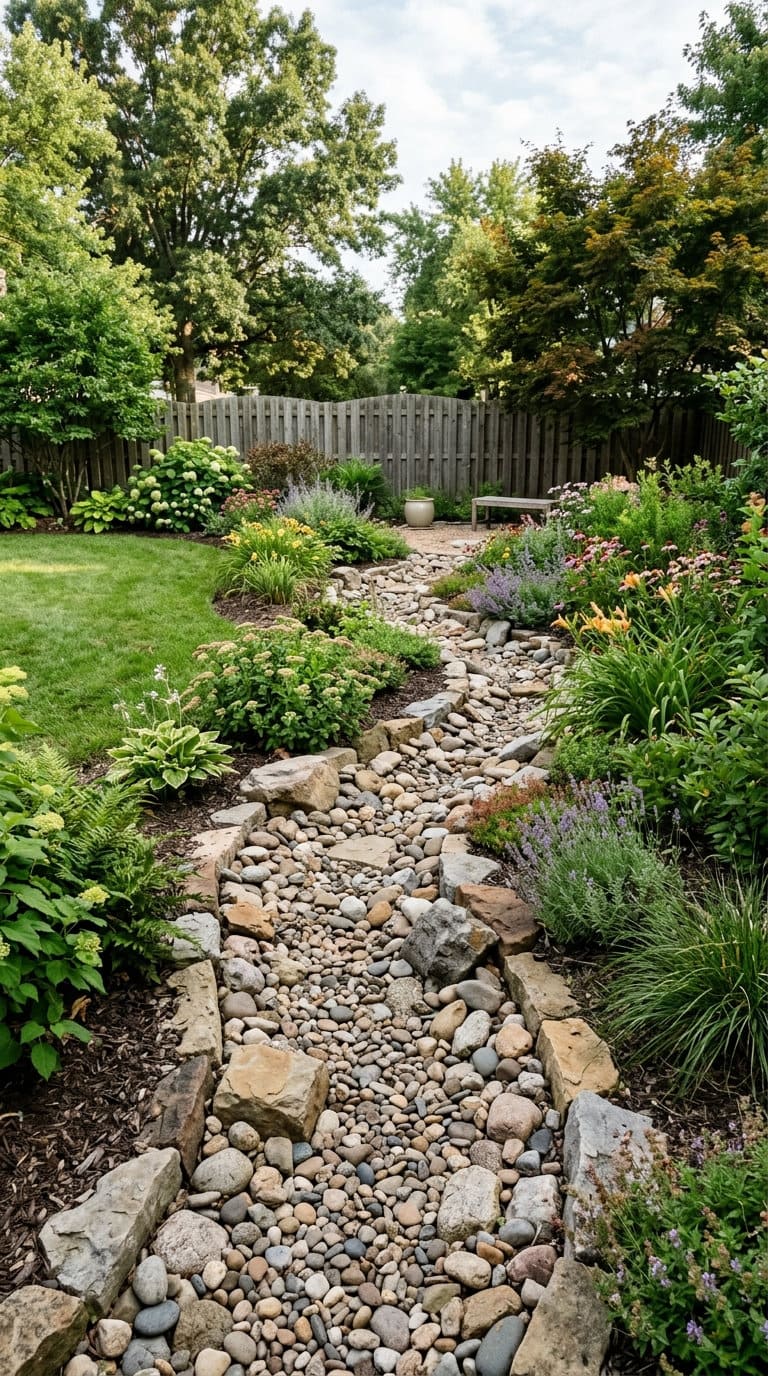
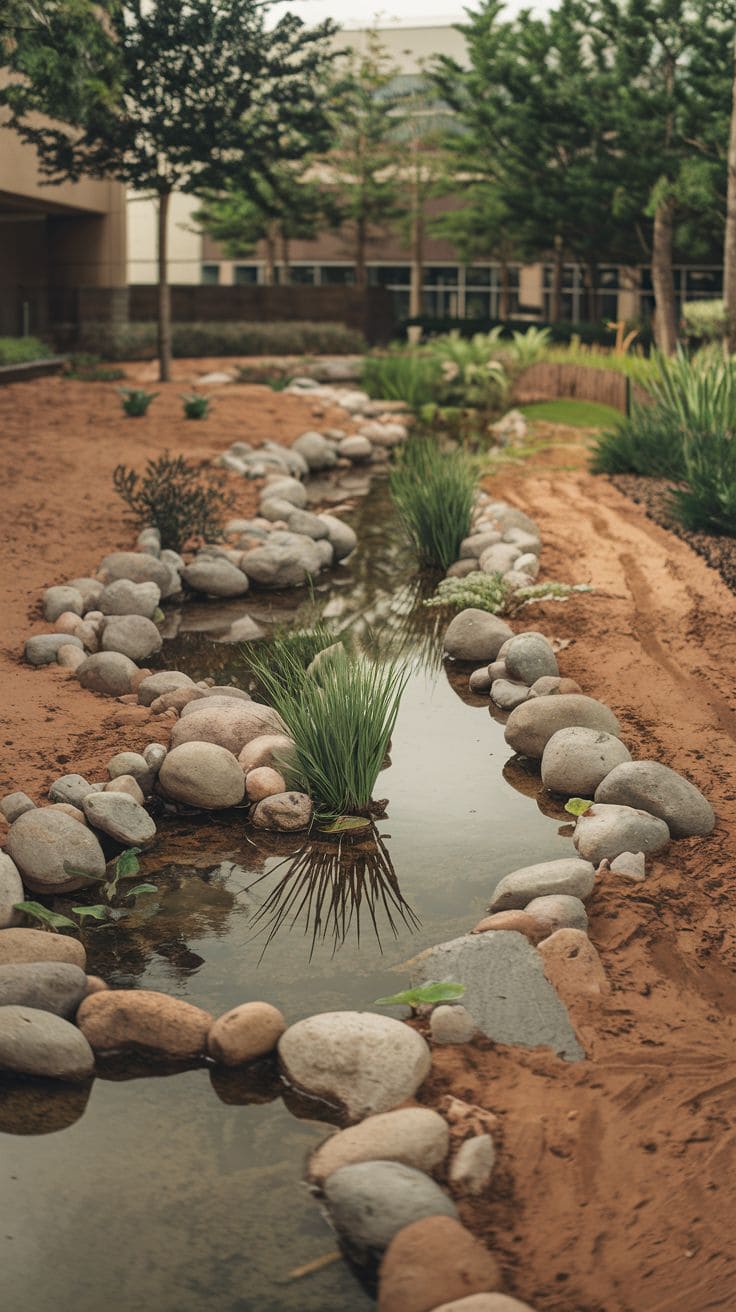
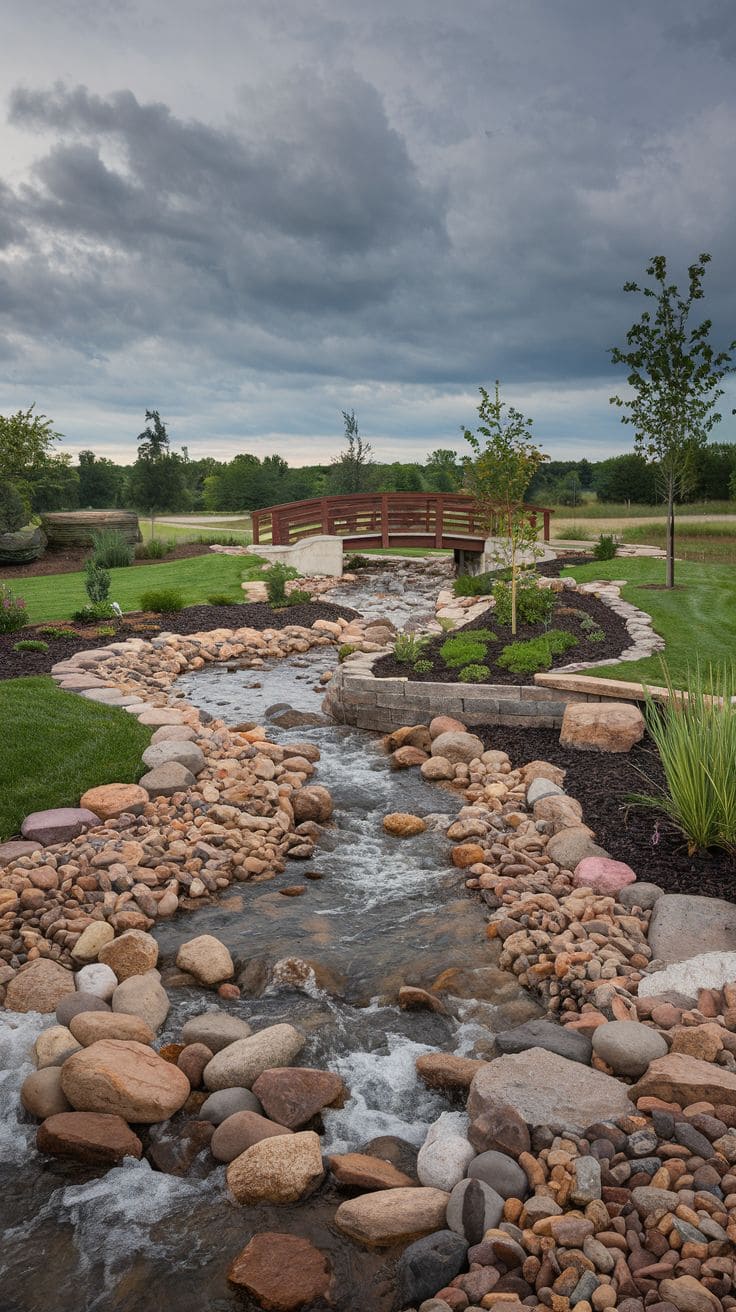
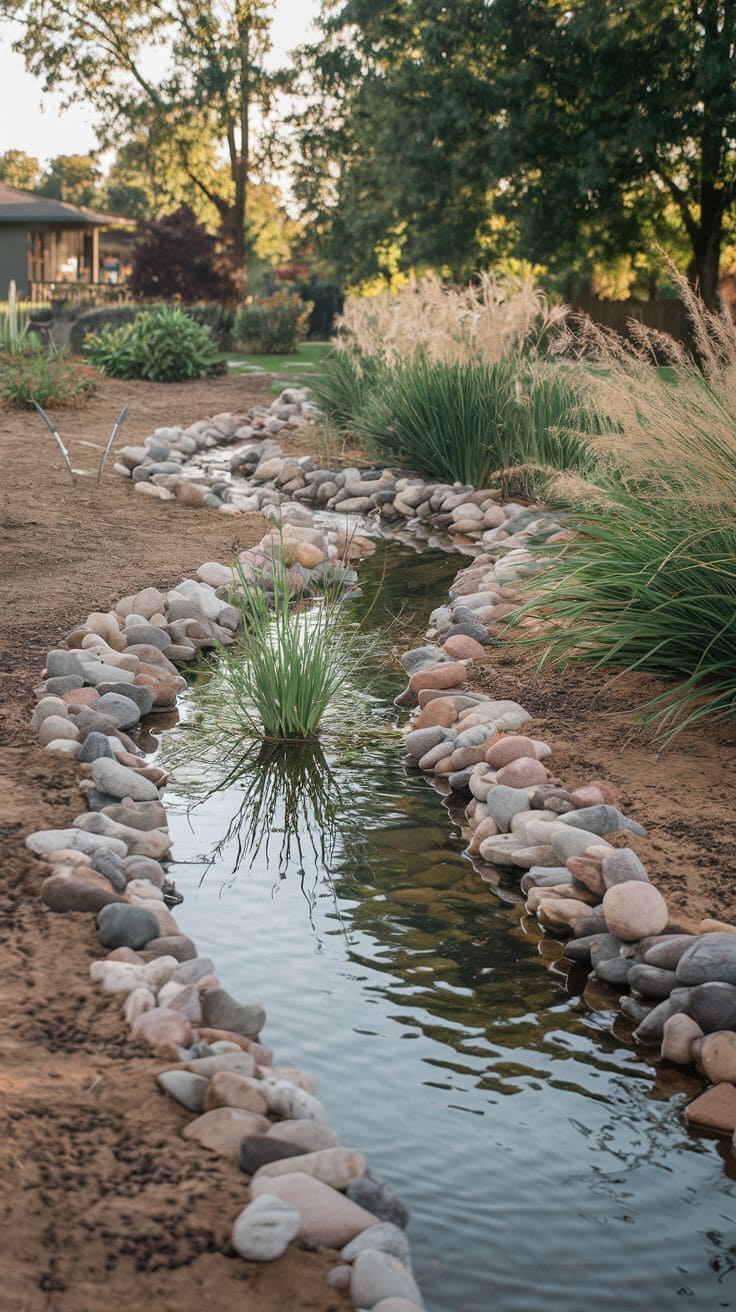
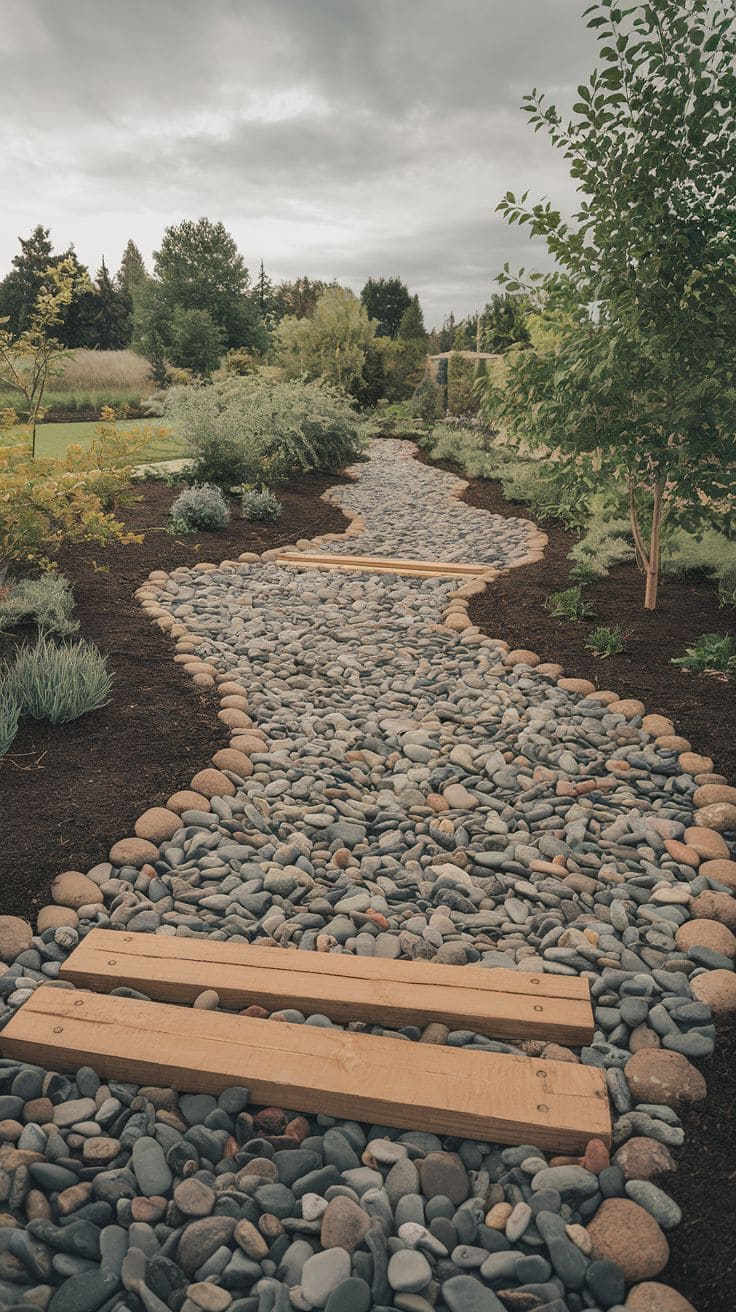
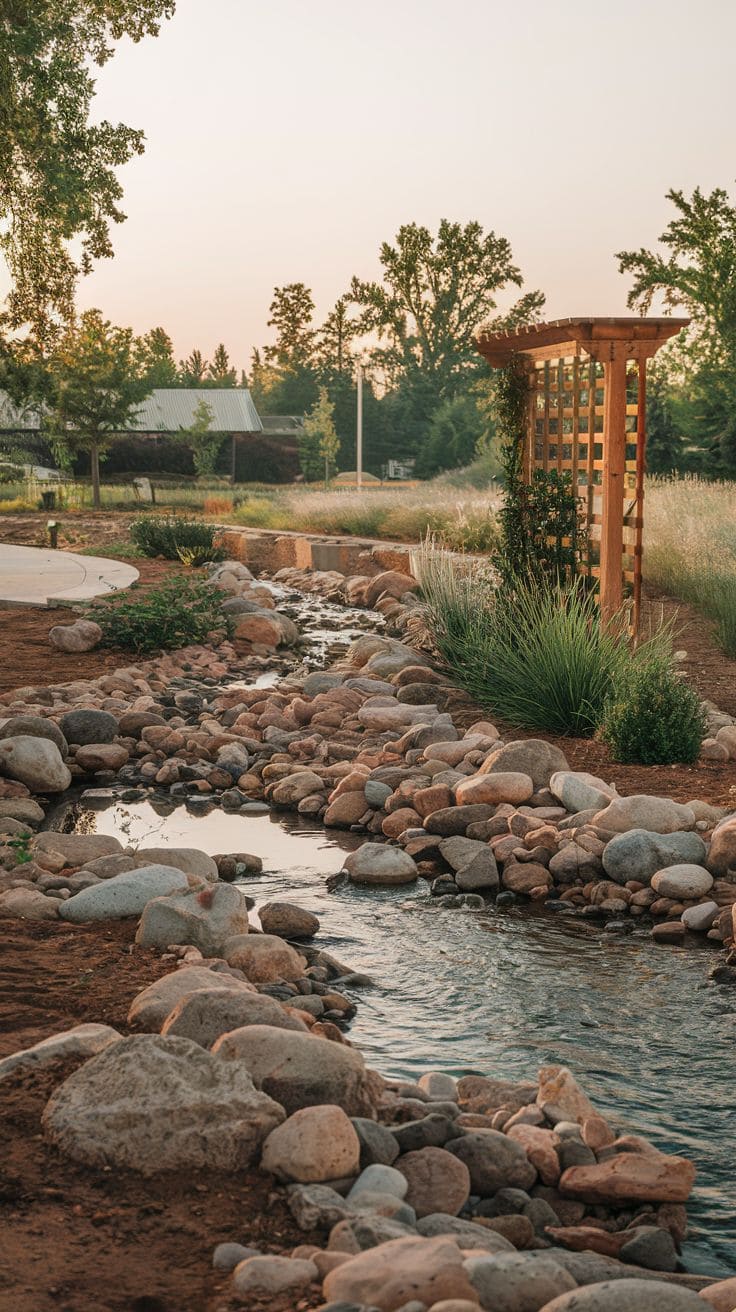
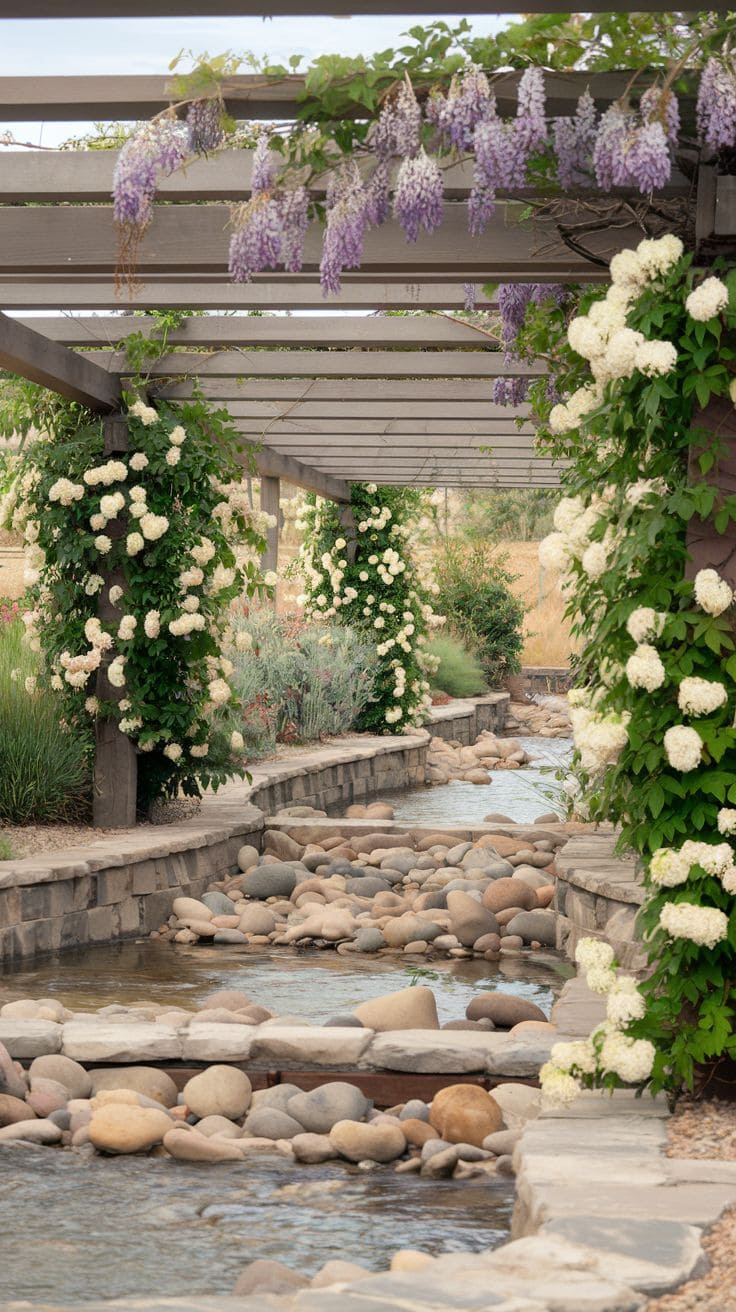
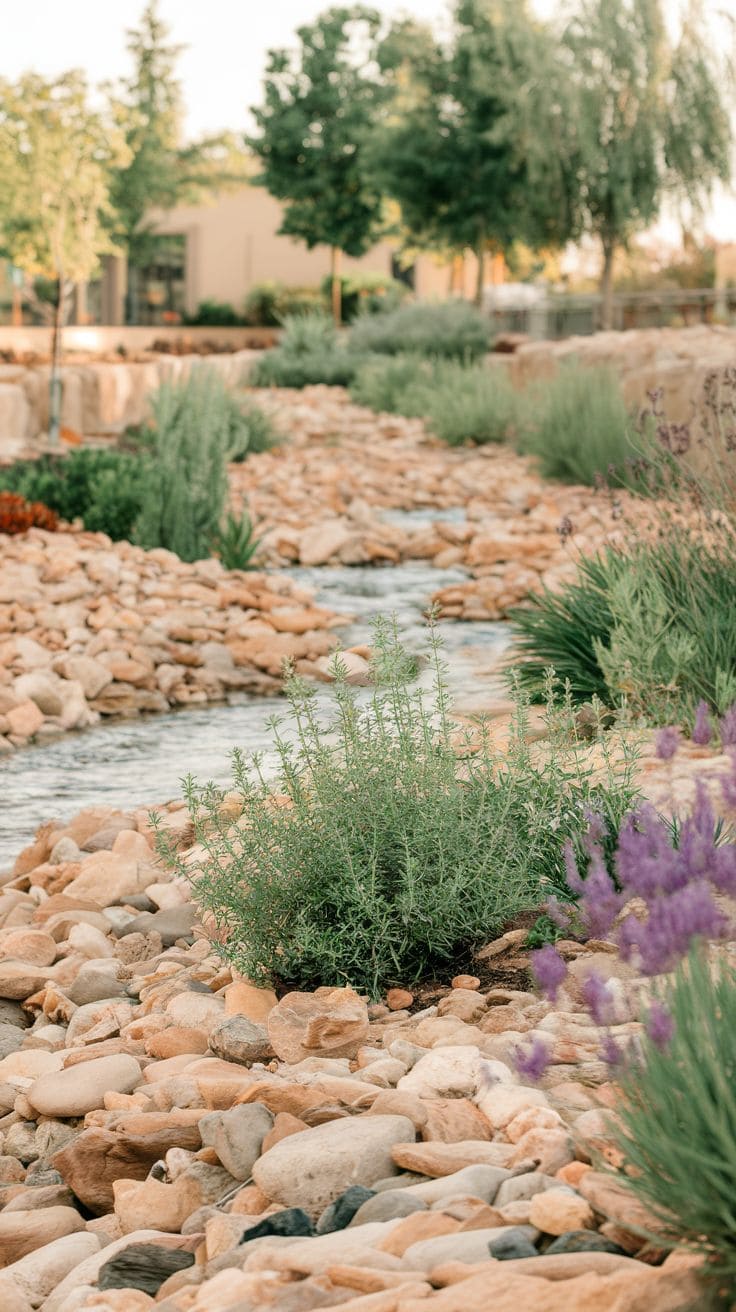
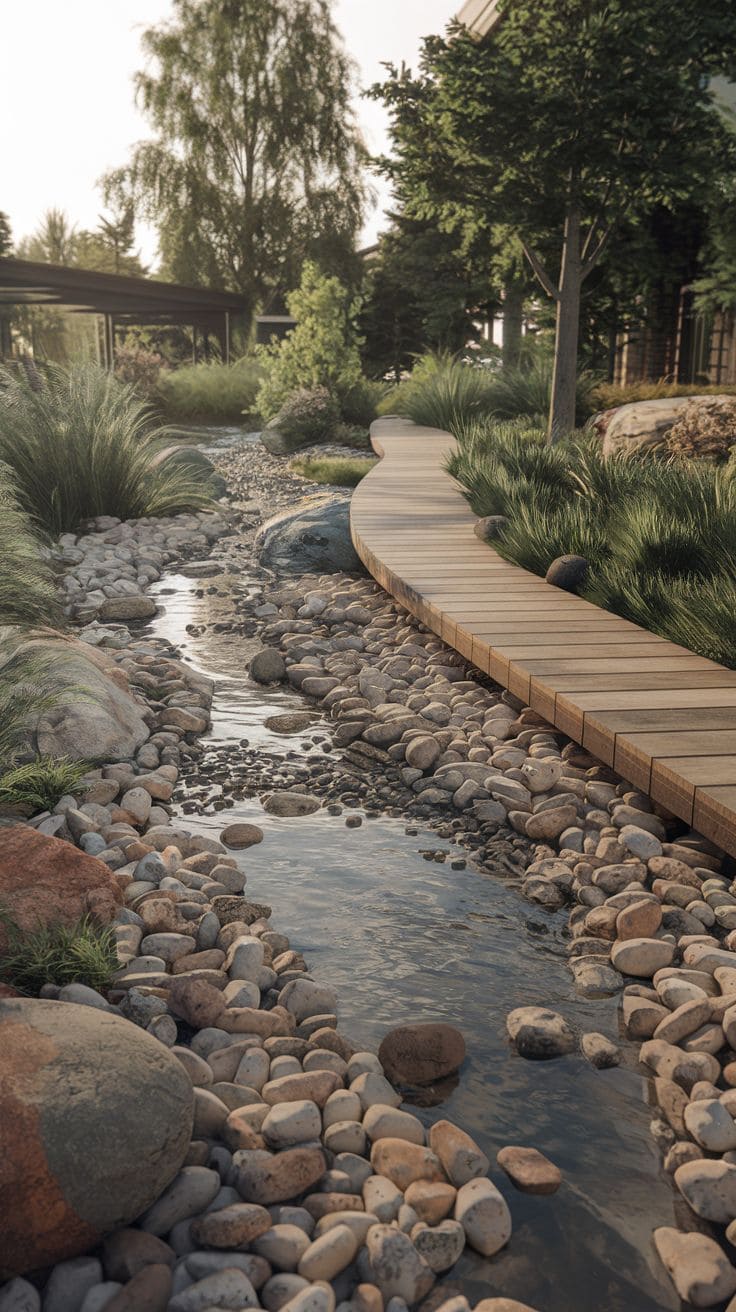
The most convincing dry creek beds mimic an actual stream’s path, curving and narrowing the way real water does rather than running in a uniform-width straight line.
Vary the width slightly along the run and let it bend around existing yard features instead of cutting a straight trench through them.
2. Accent with Decorative Grasses
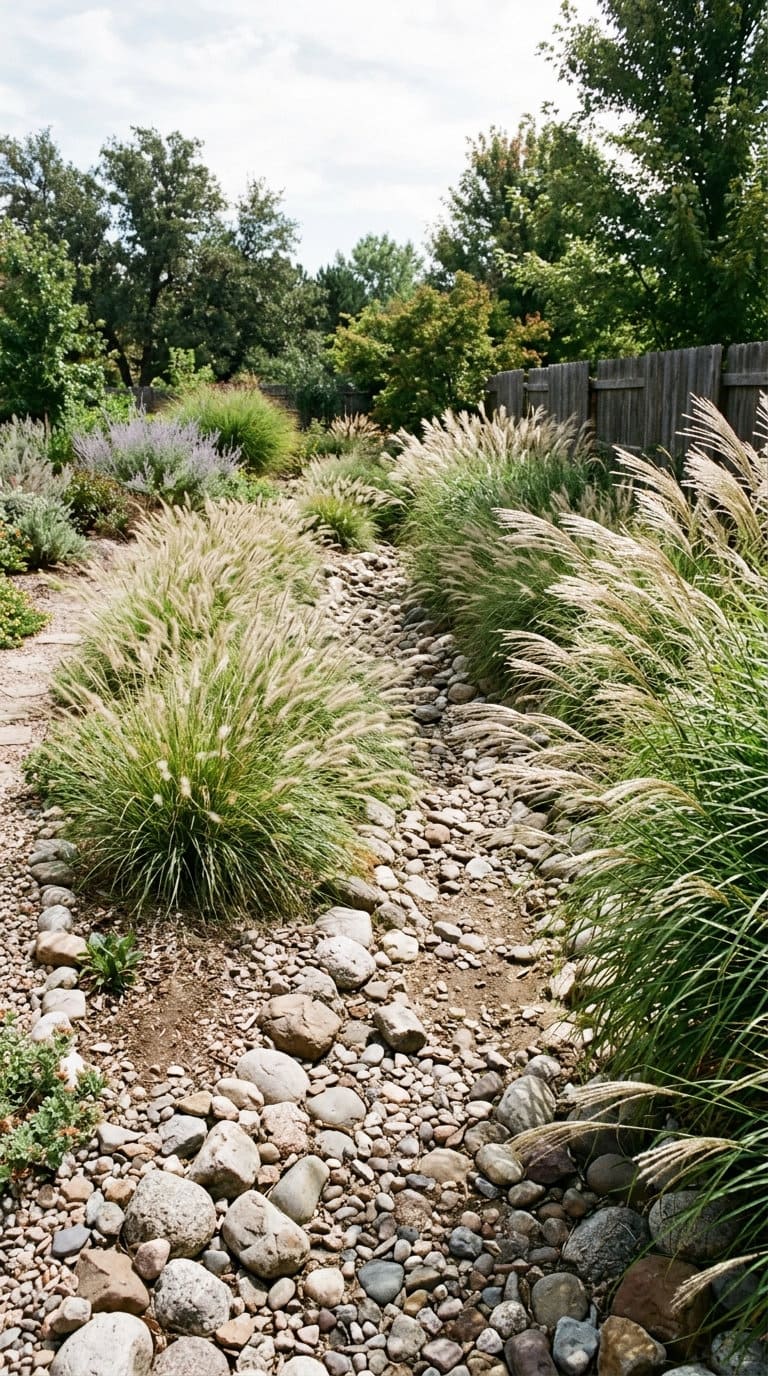
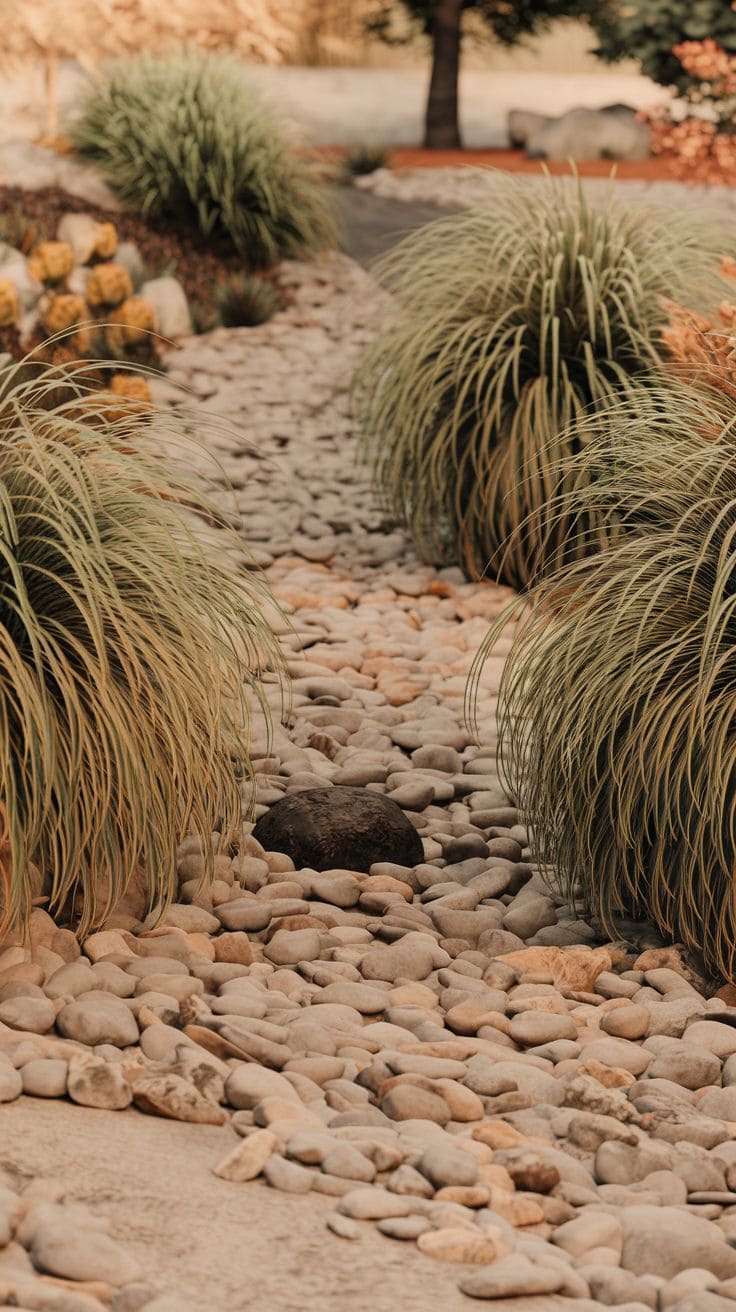
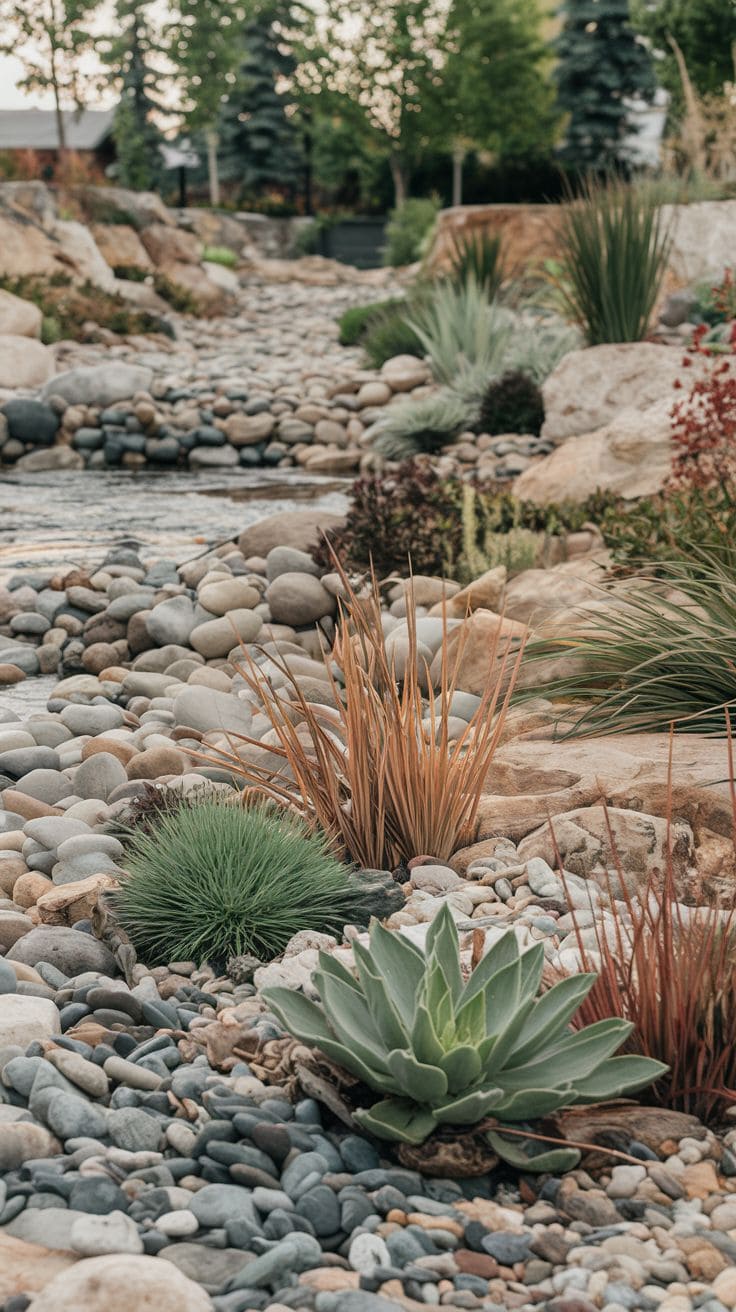
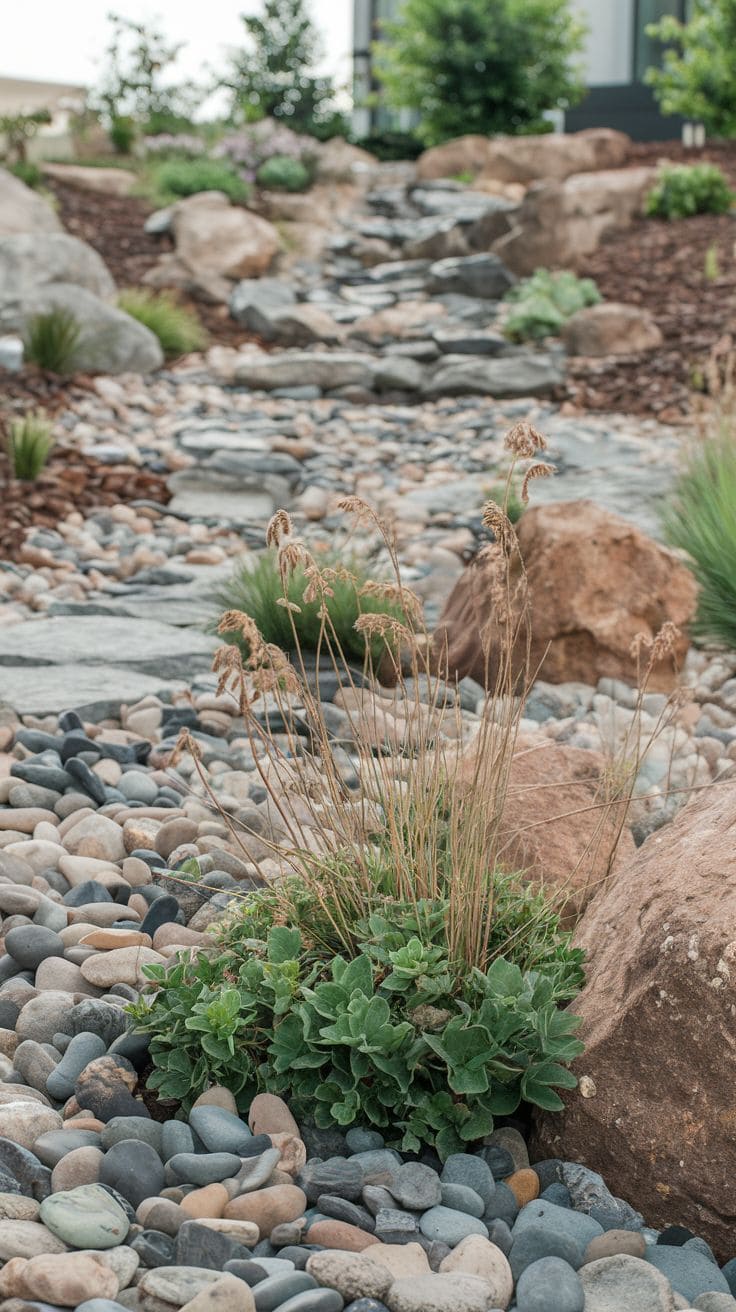
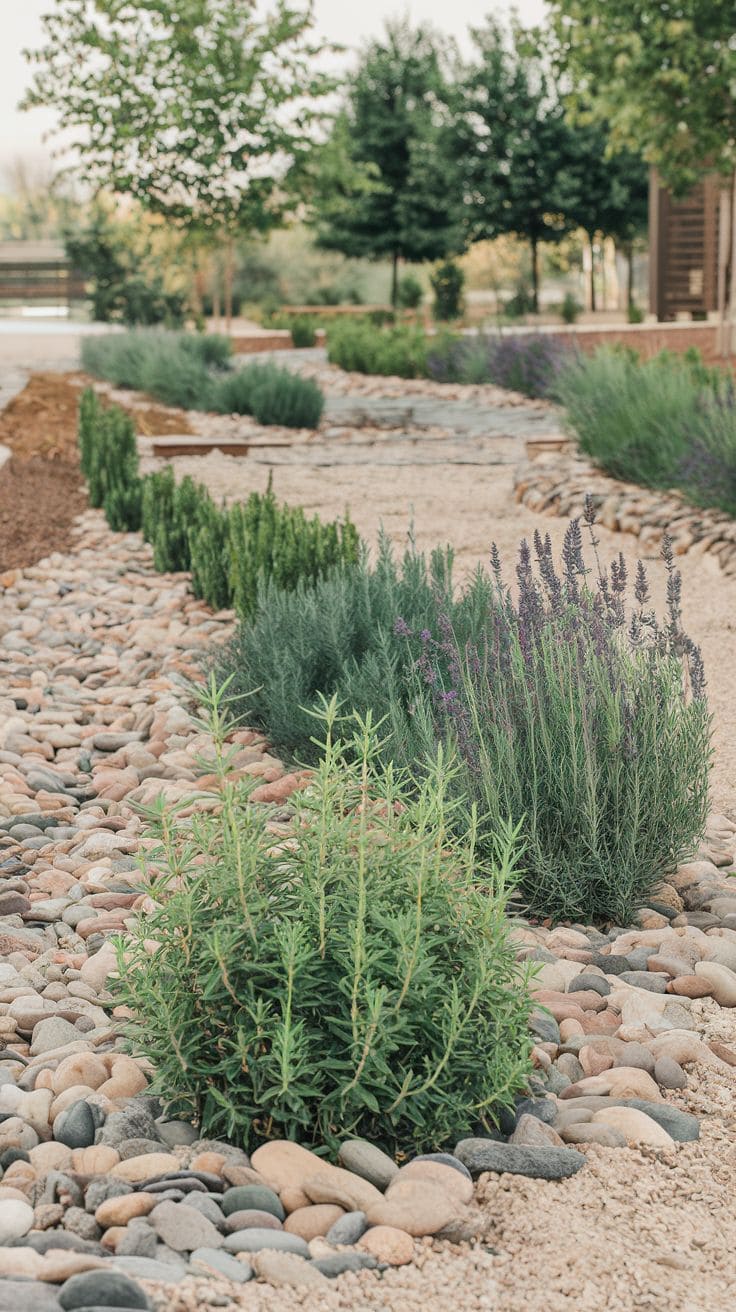
Ornamental grasses planted at the edges of the bed soften the visual transition between rock and lawn, and add movement that plain gravel doesn’t have.
Pick non-invasive varieties specifically, per section 1’s caution, since a spreading grass here becomes a maintenance problem rather than an accent.
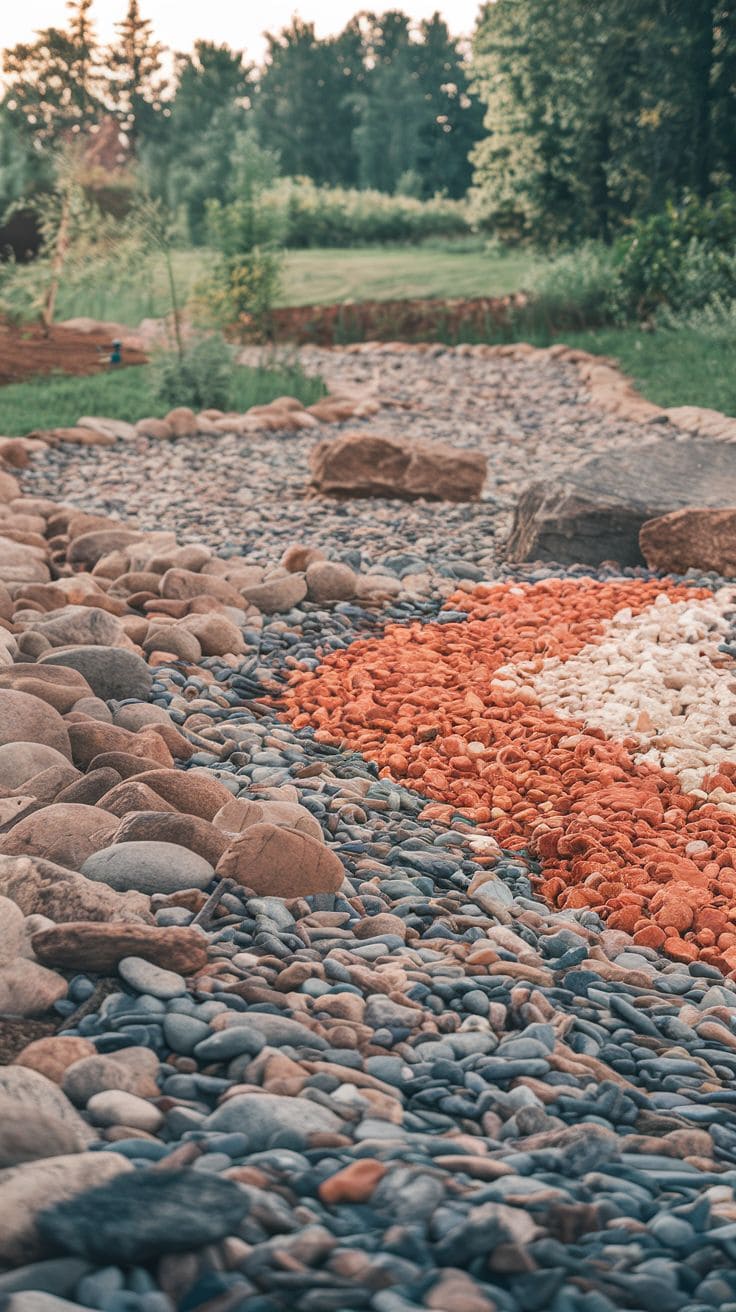
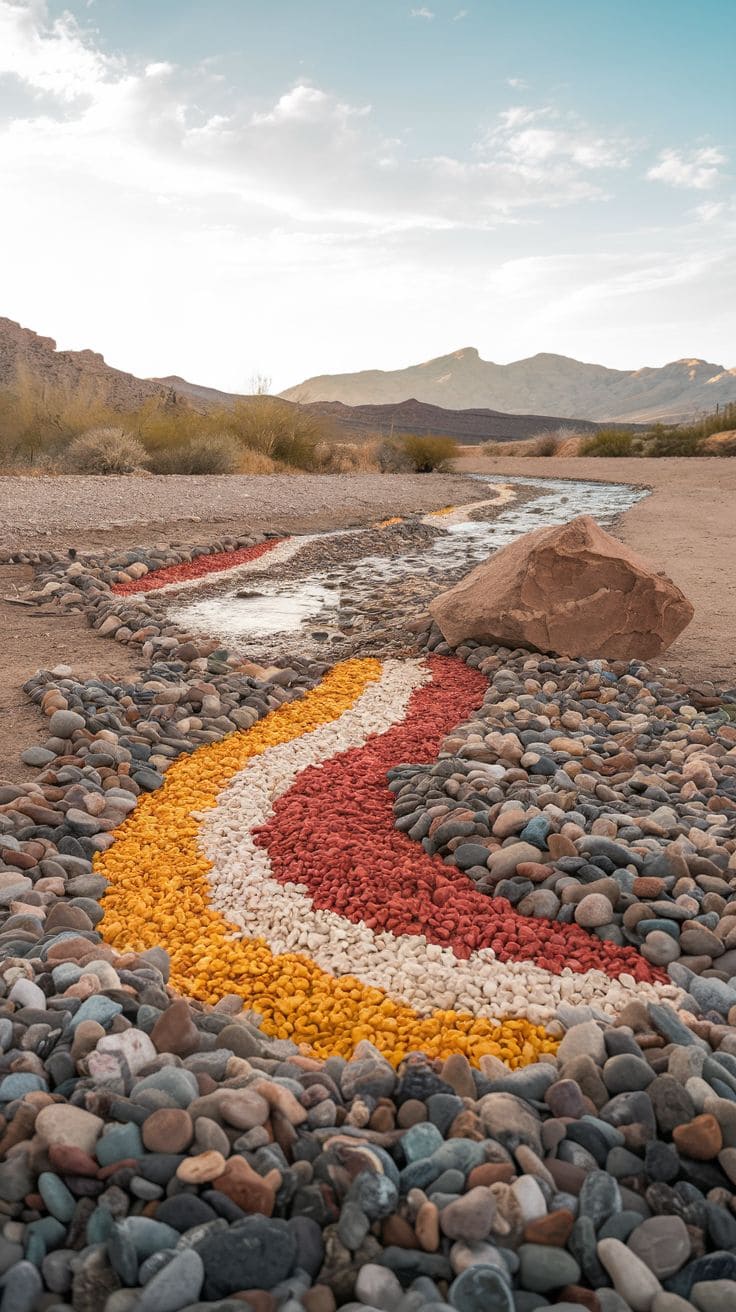
3. Use Pebbles and Colorful Gravel Together
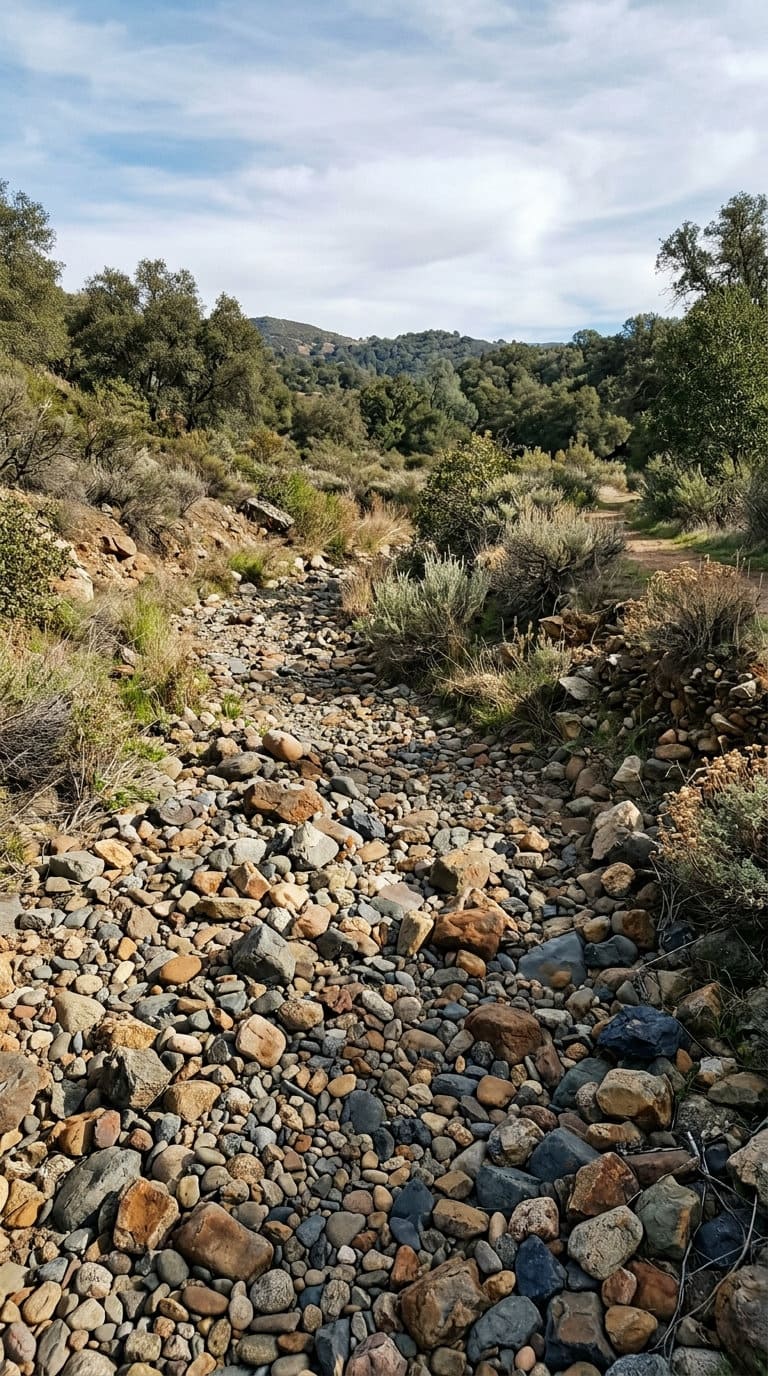
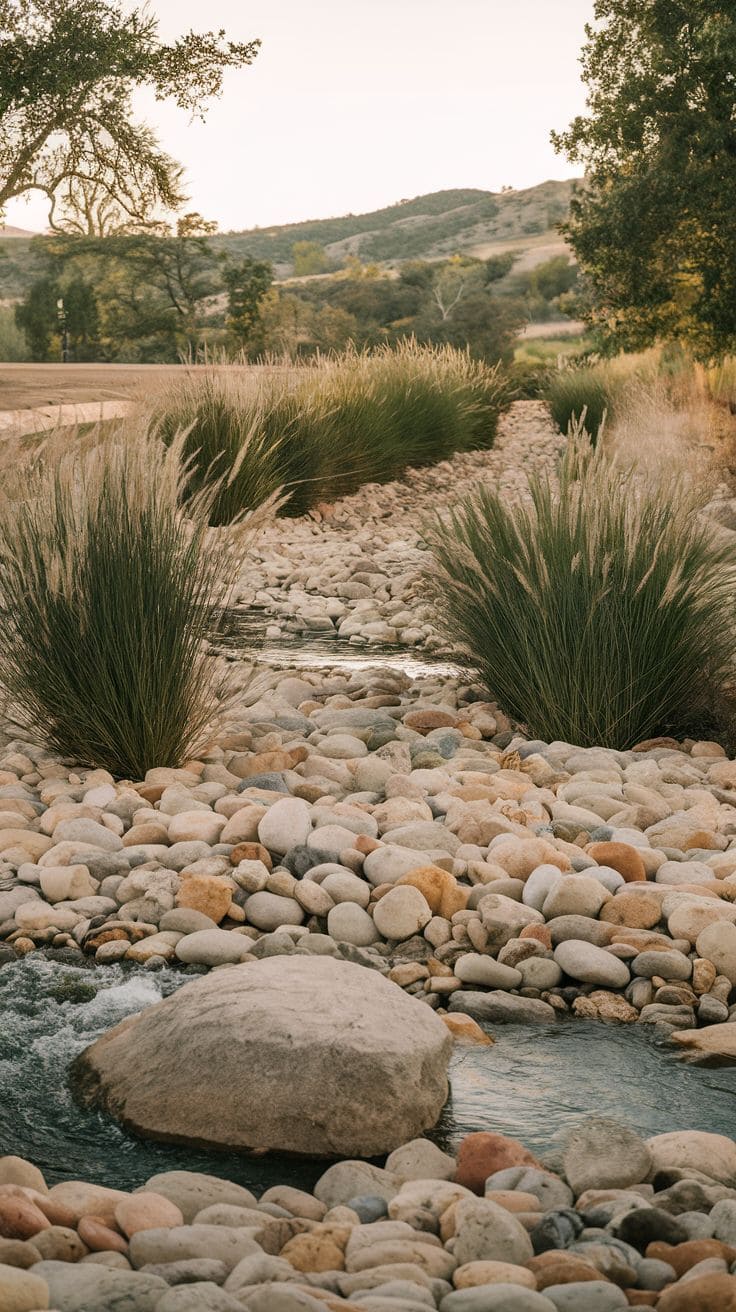
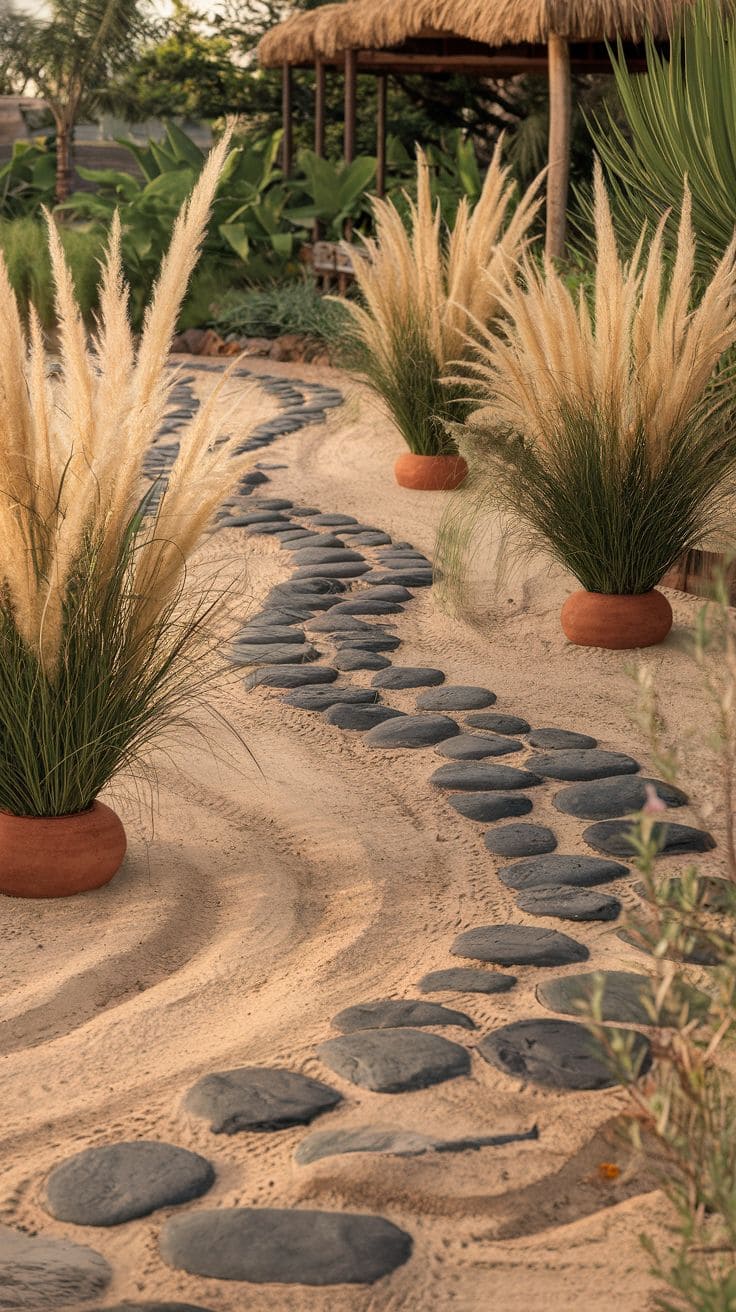
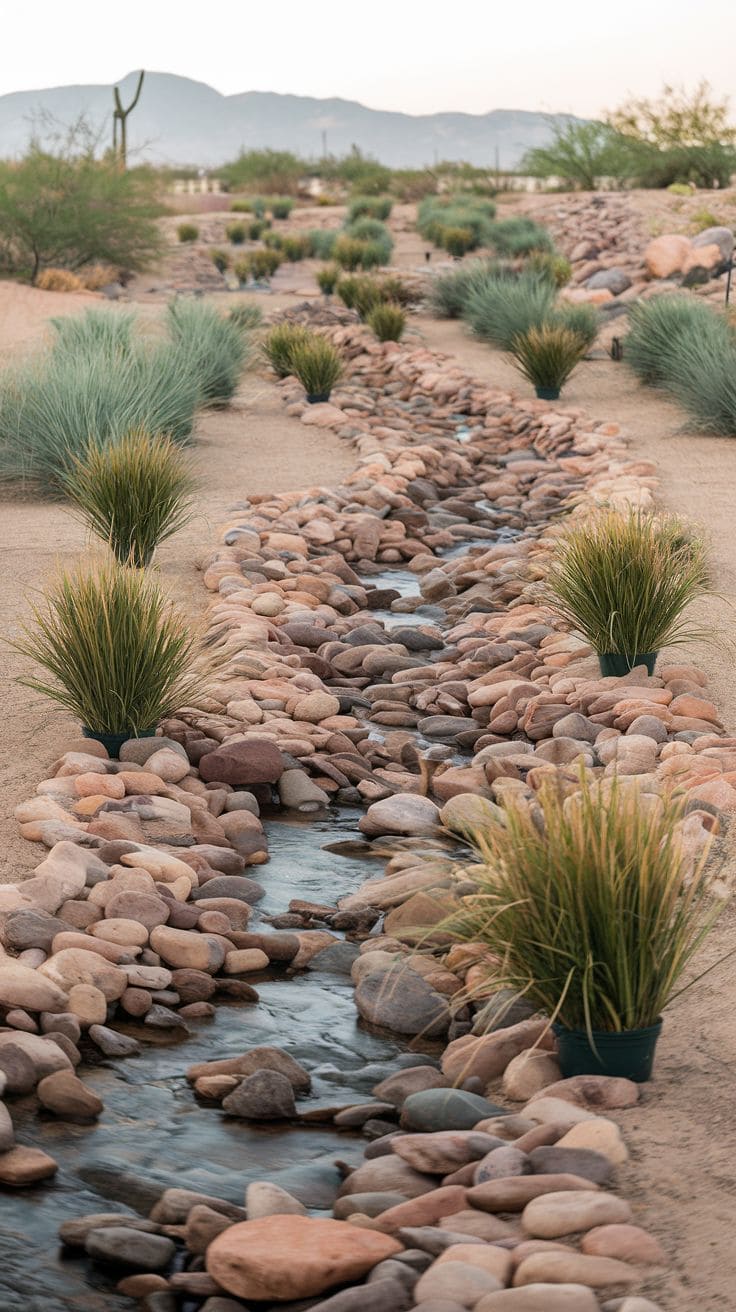
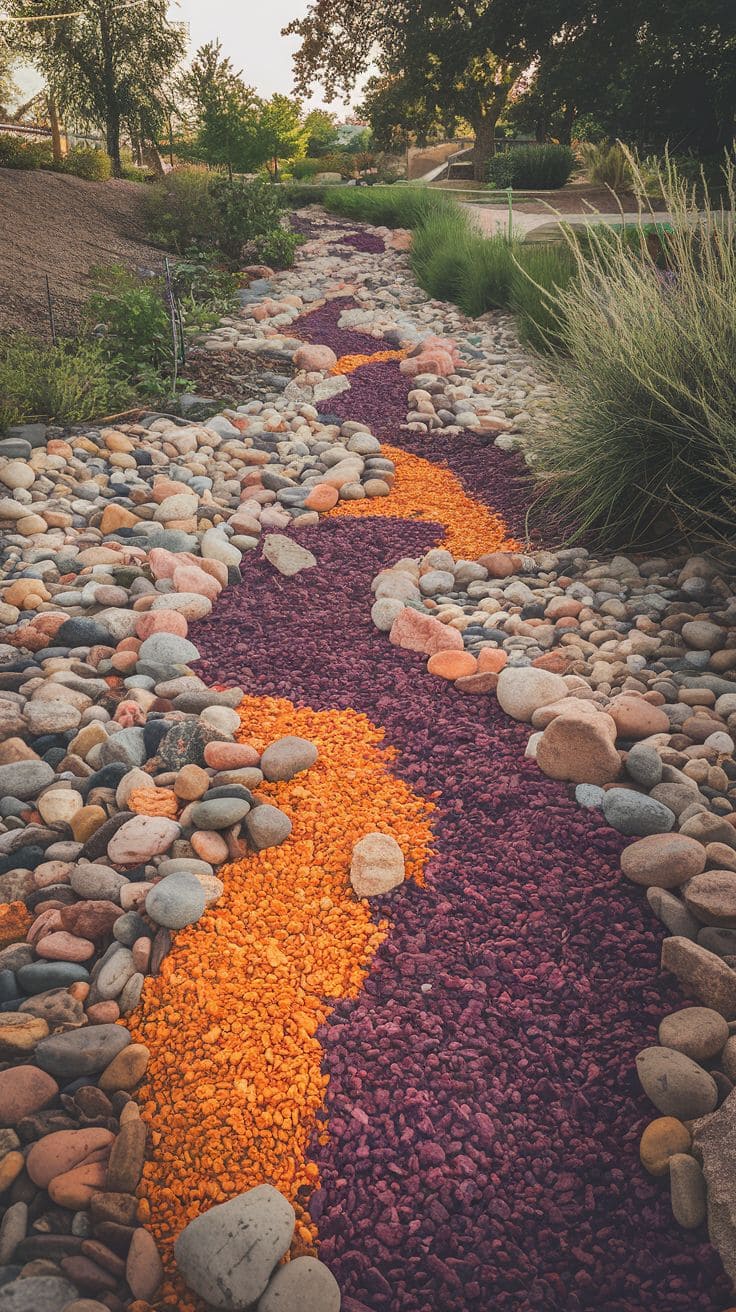
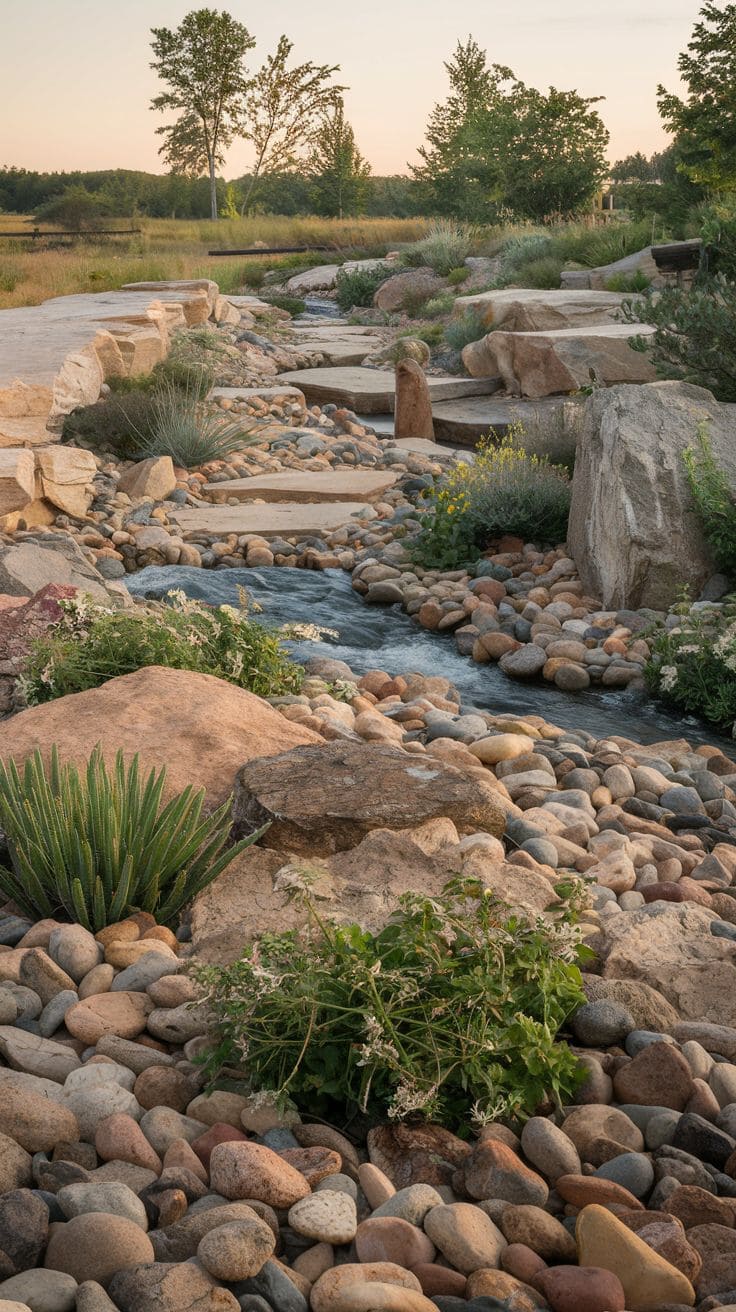
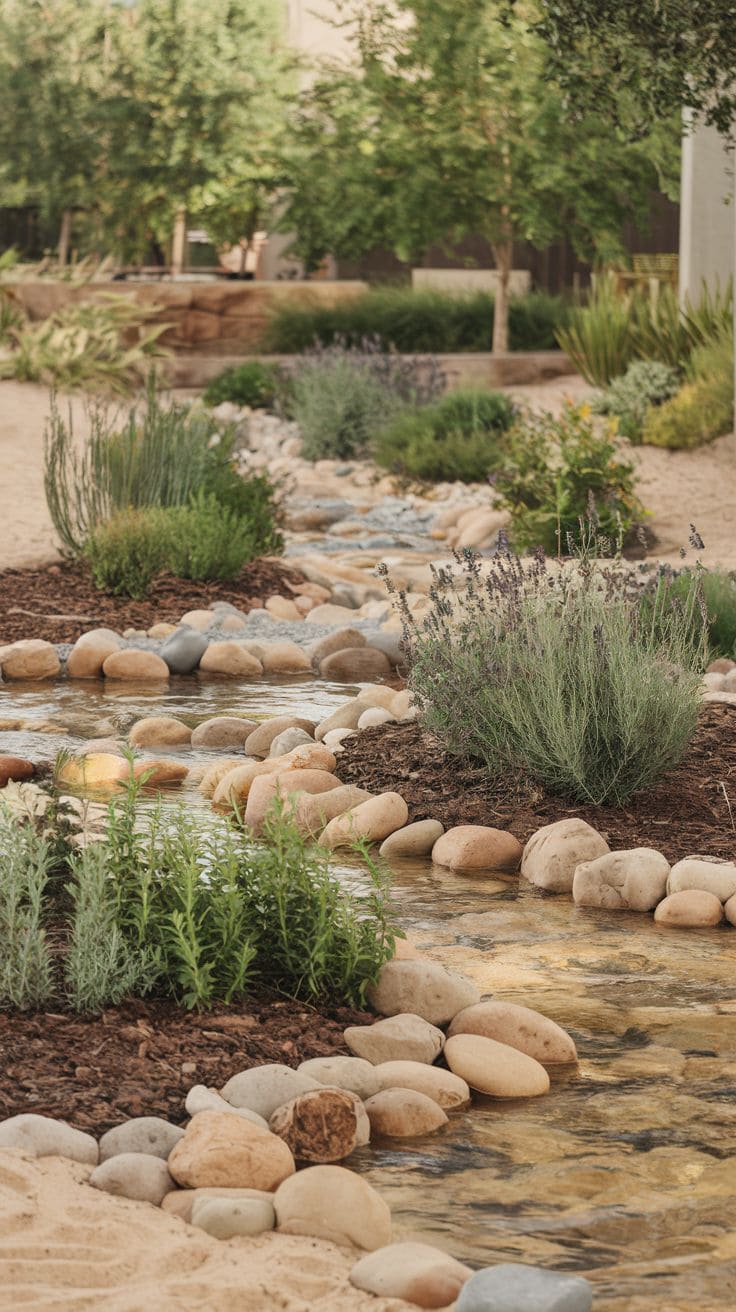
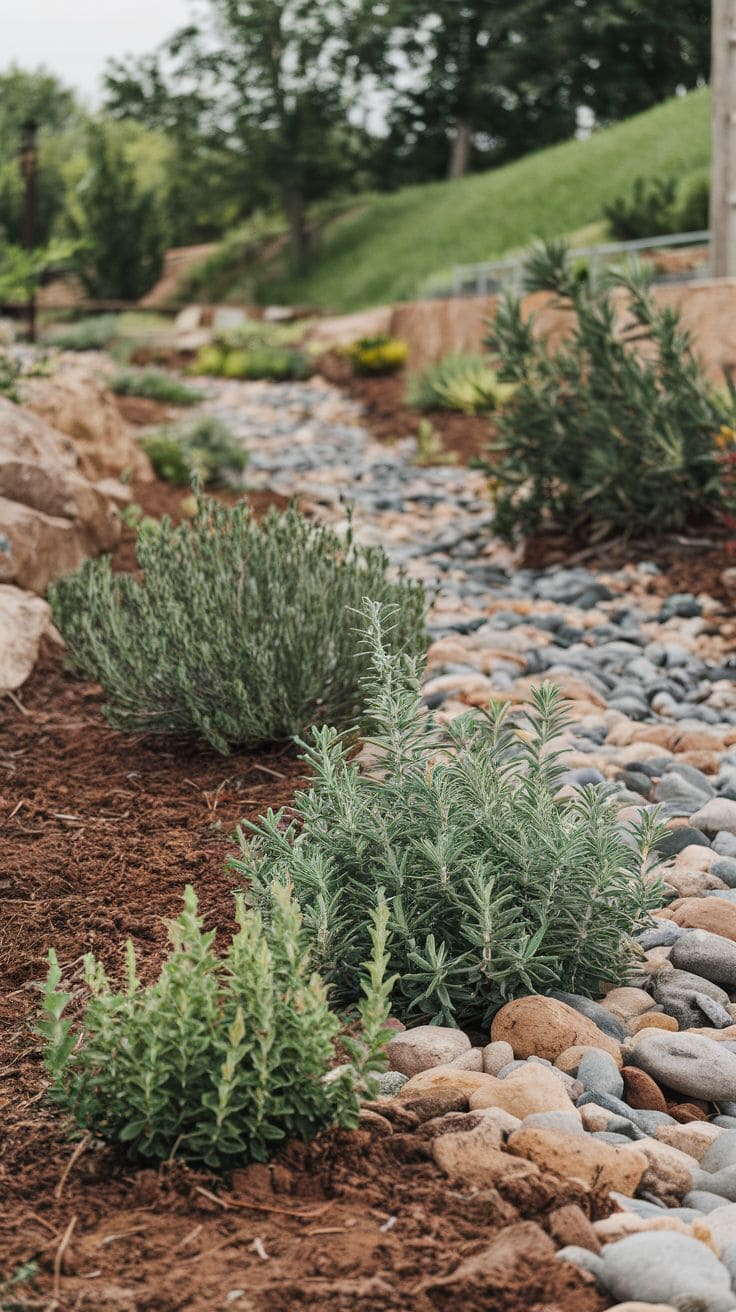
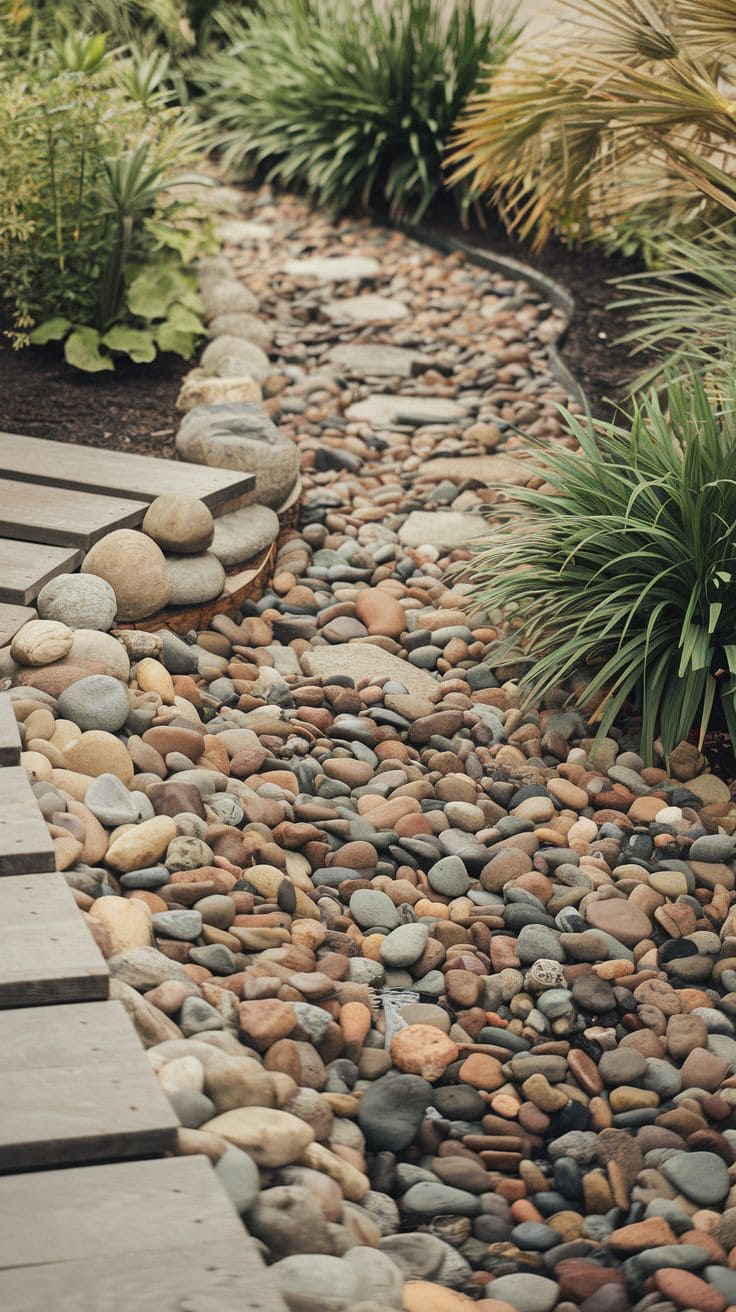
Mixing pebble sizes and slightly varied stone colors within the same bed reads as more natural than a single uniform gravel type, real streambeds don’t sort themselves into one consistent rock size.
Layer smaller pebbles toward the shallower edges and larger stones toward the center where real water would move fastest.
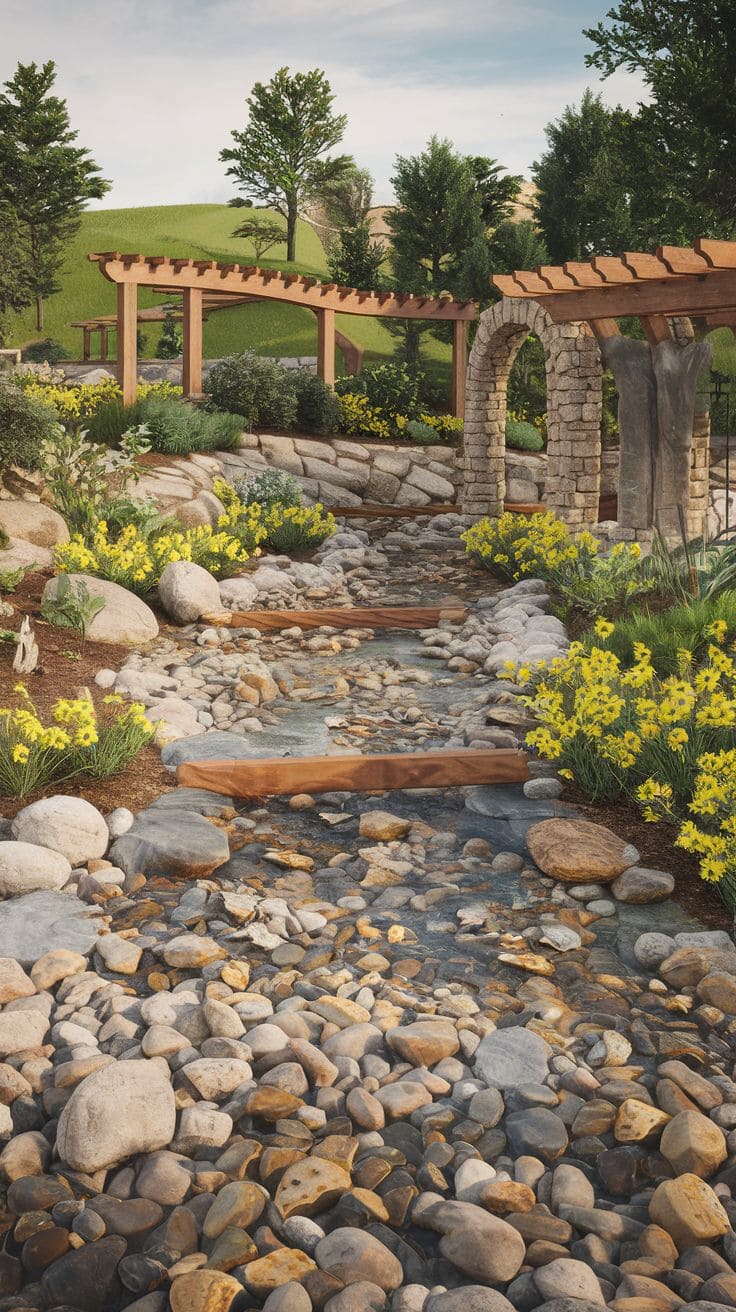
4. Incorporate Driftwood and Large Boulders
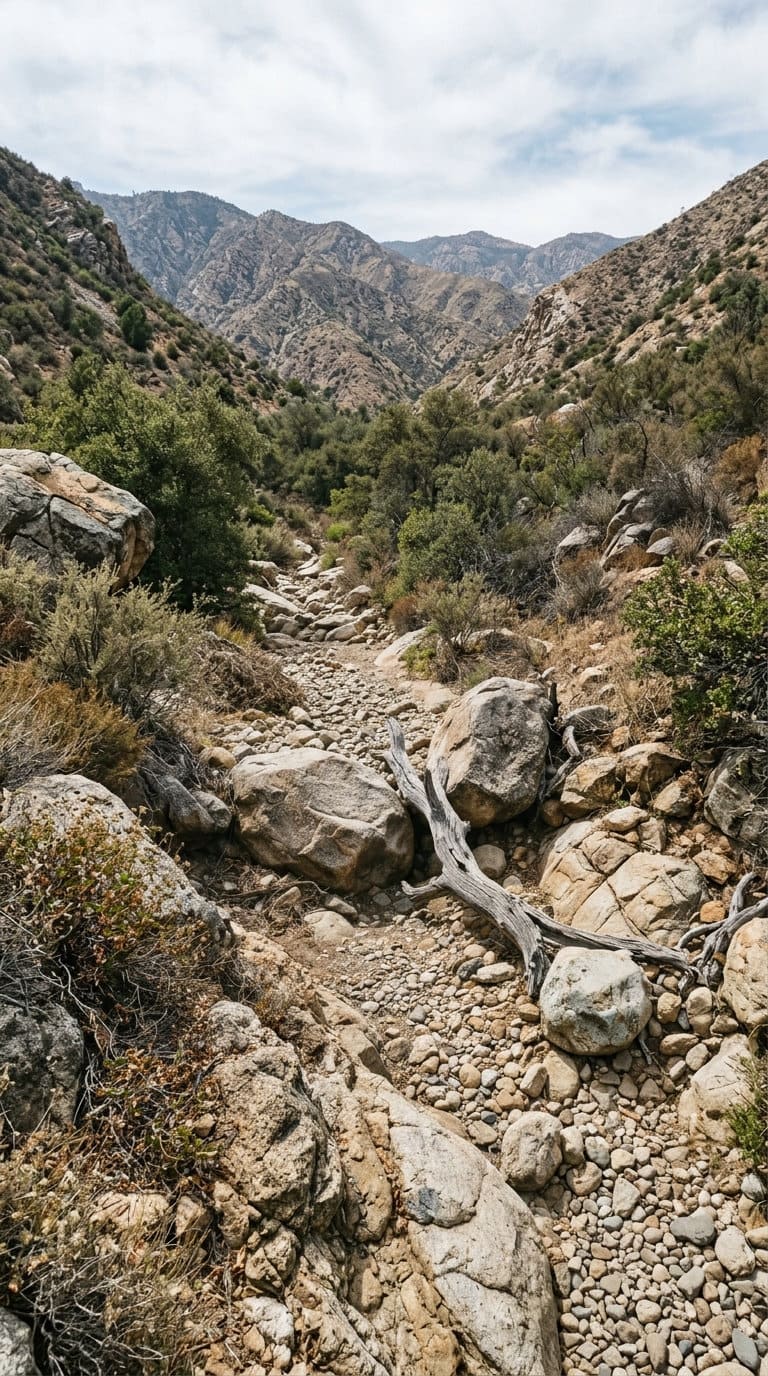
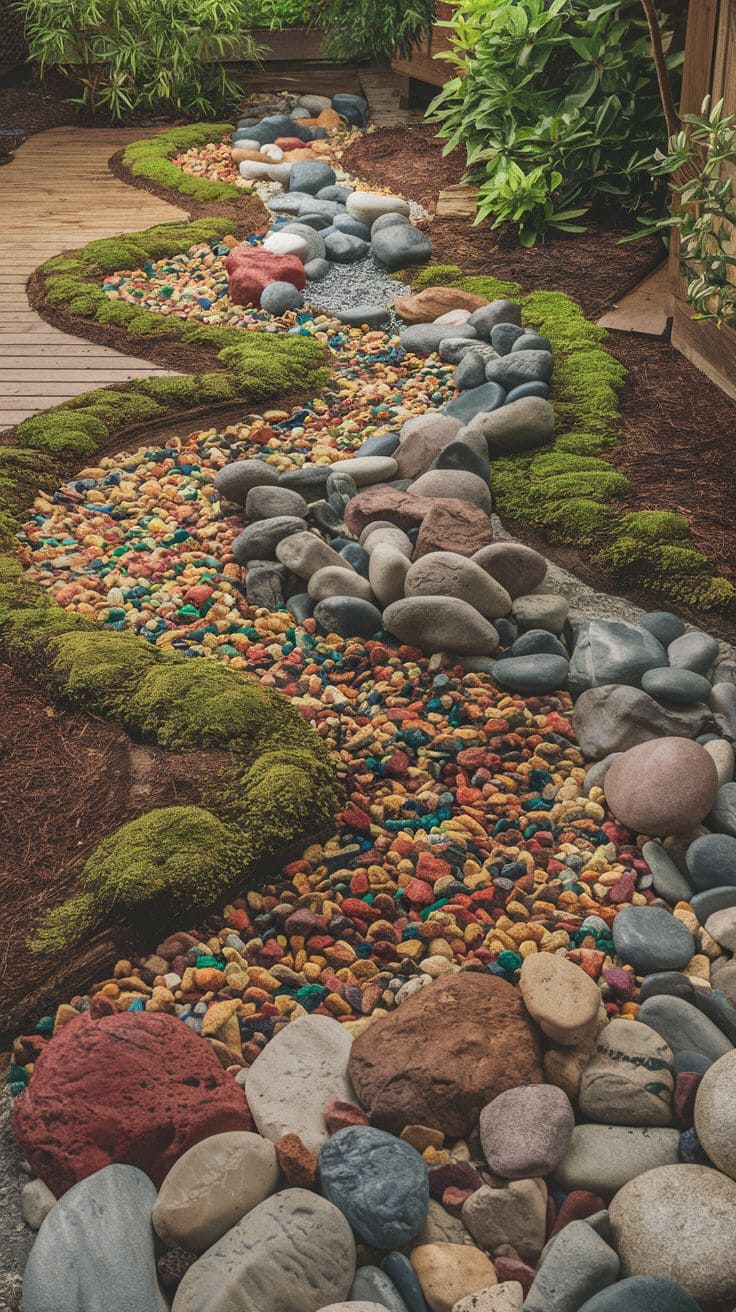
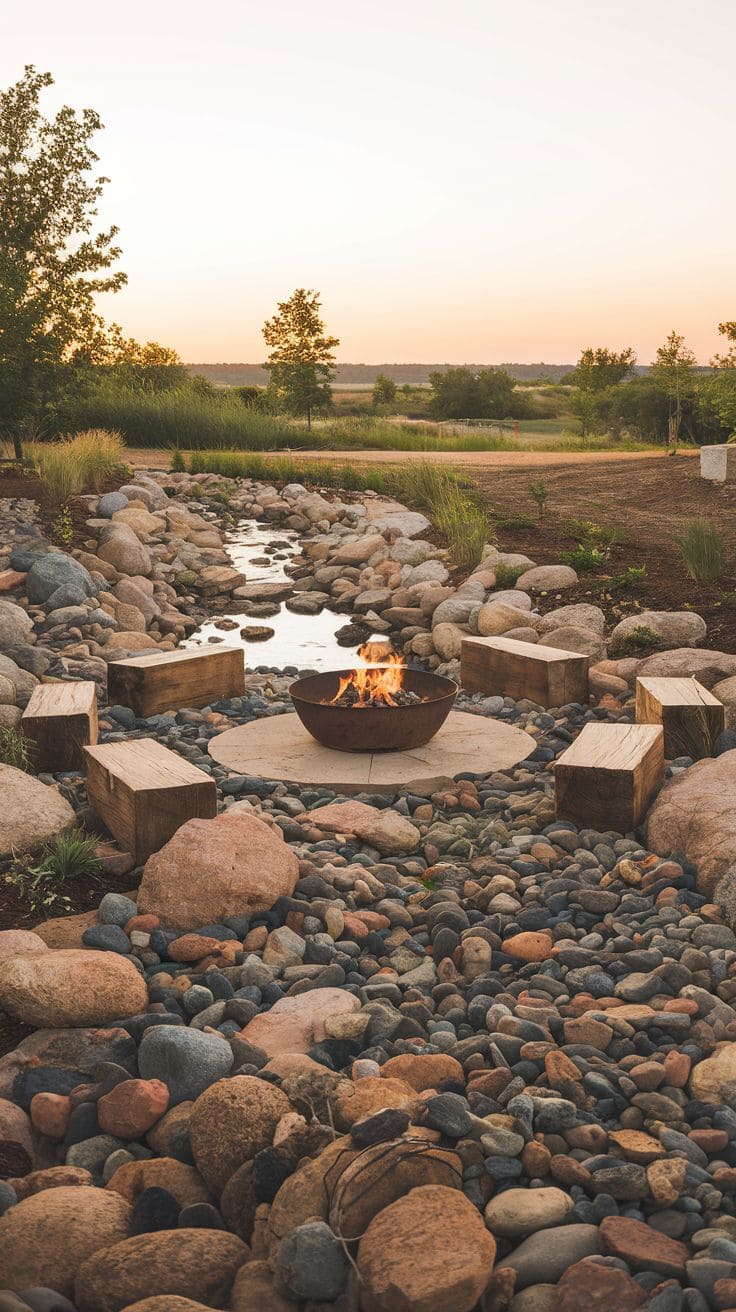
A few larger boulders or a piece of real driftwood set into the bed break up what would otherwise be a uniform rock field, and give the eye a natural focal point.
Set boulders partially into the rock bed rather than resting on top of it, a half-buried look reads as settled and natural rather than placed.
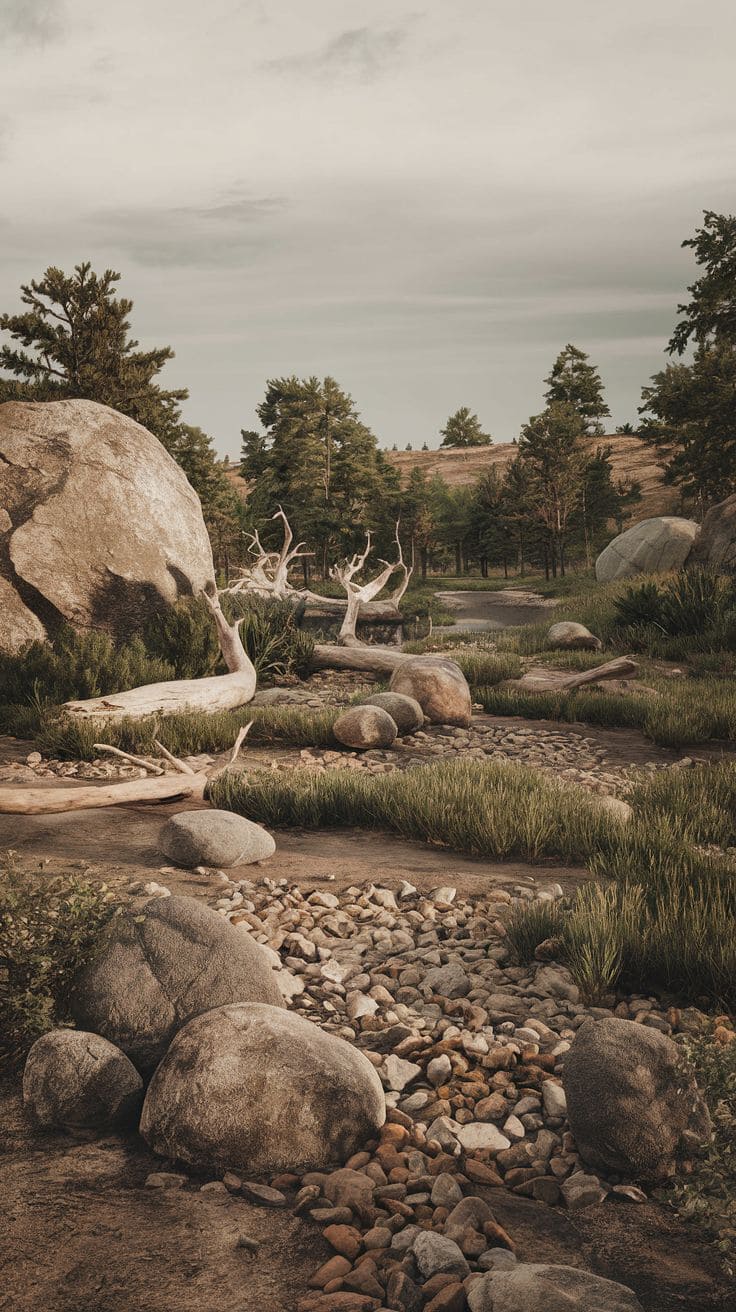
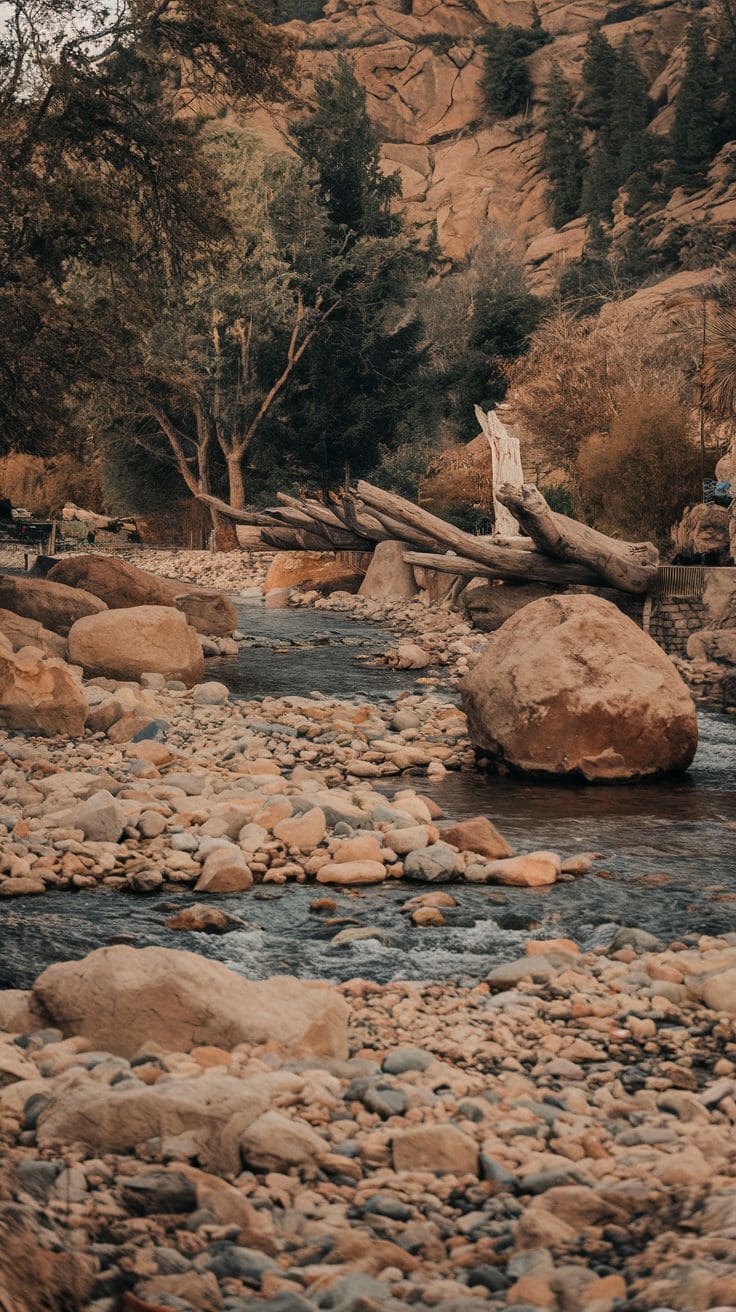
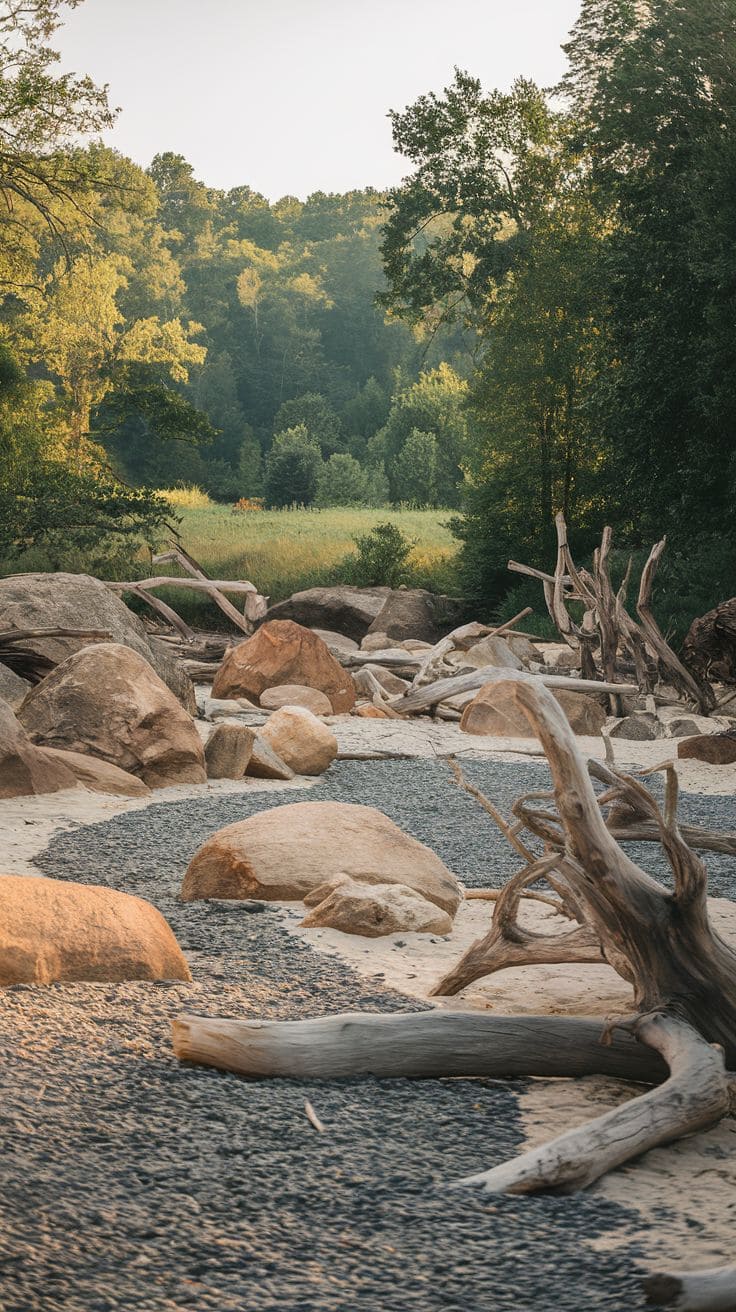
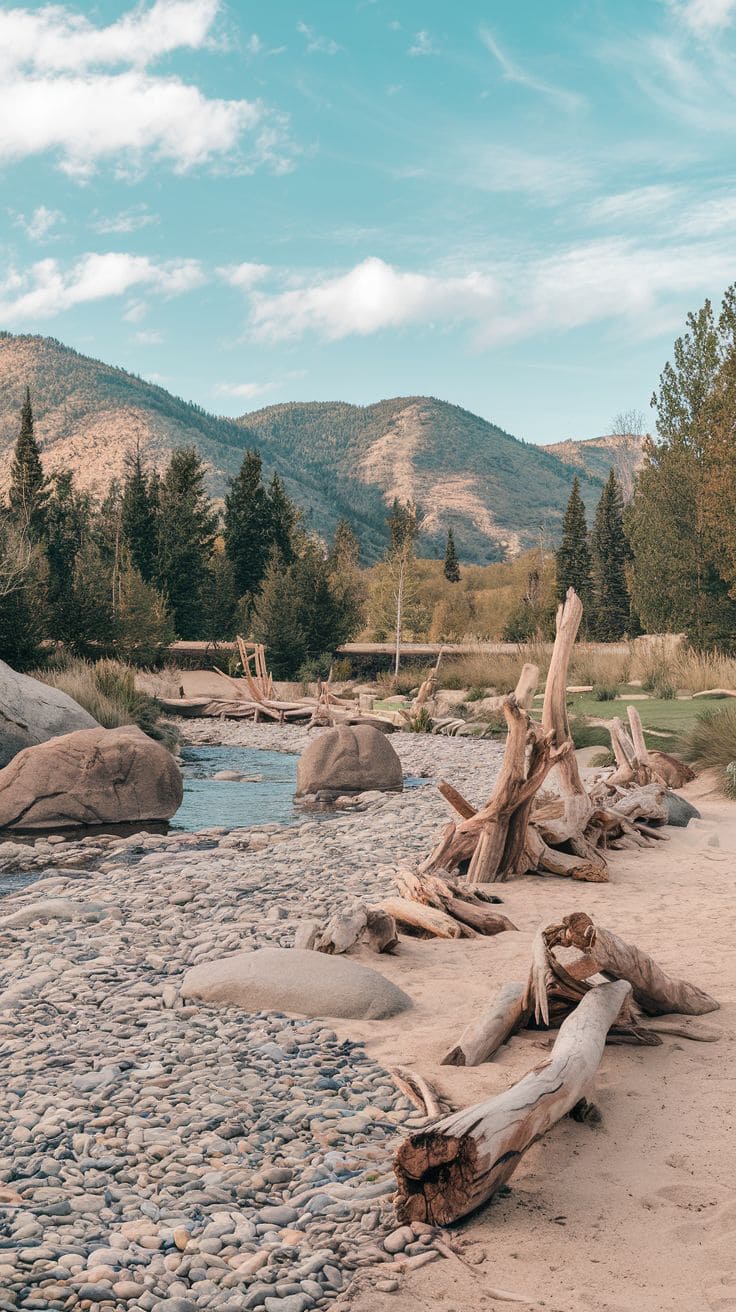
5. Dry River Bed and Rain Garden
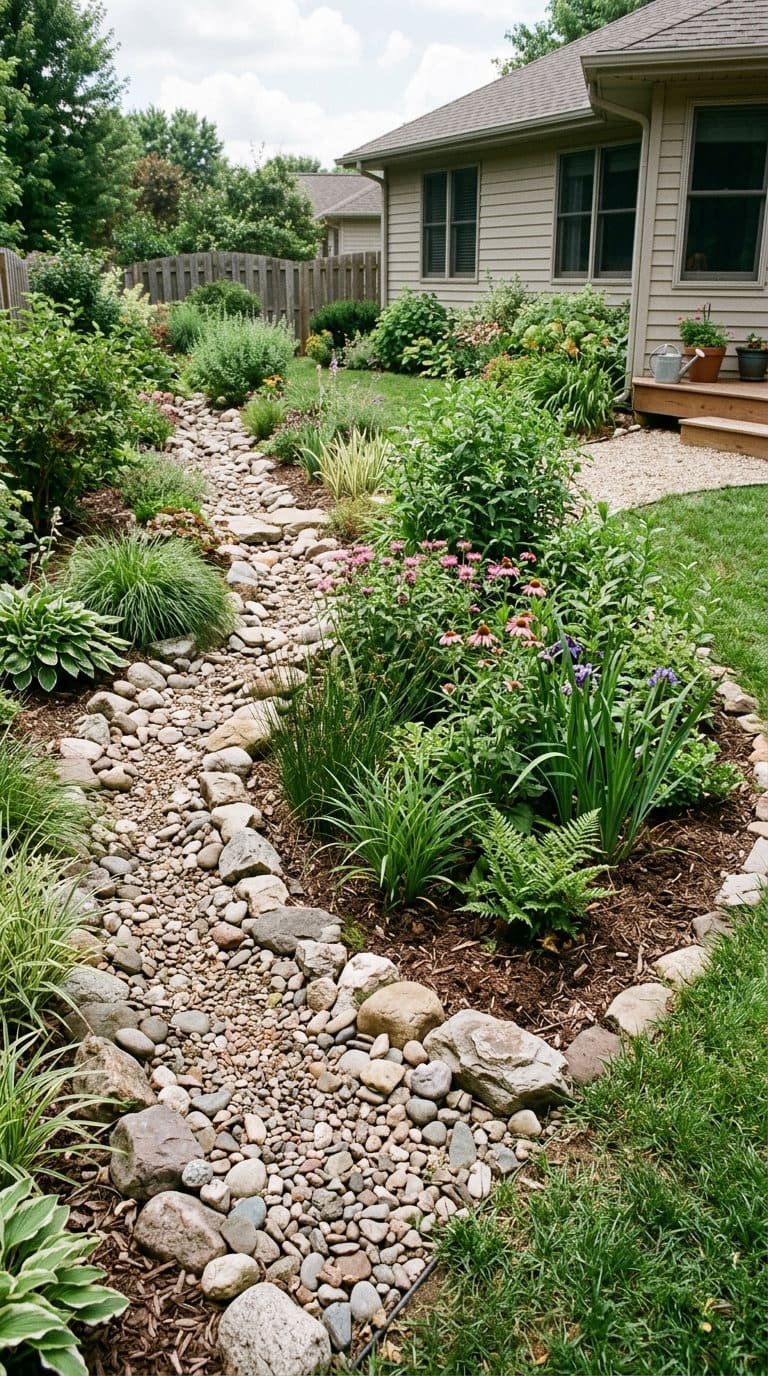
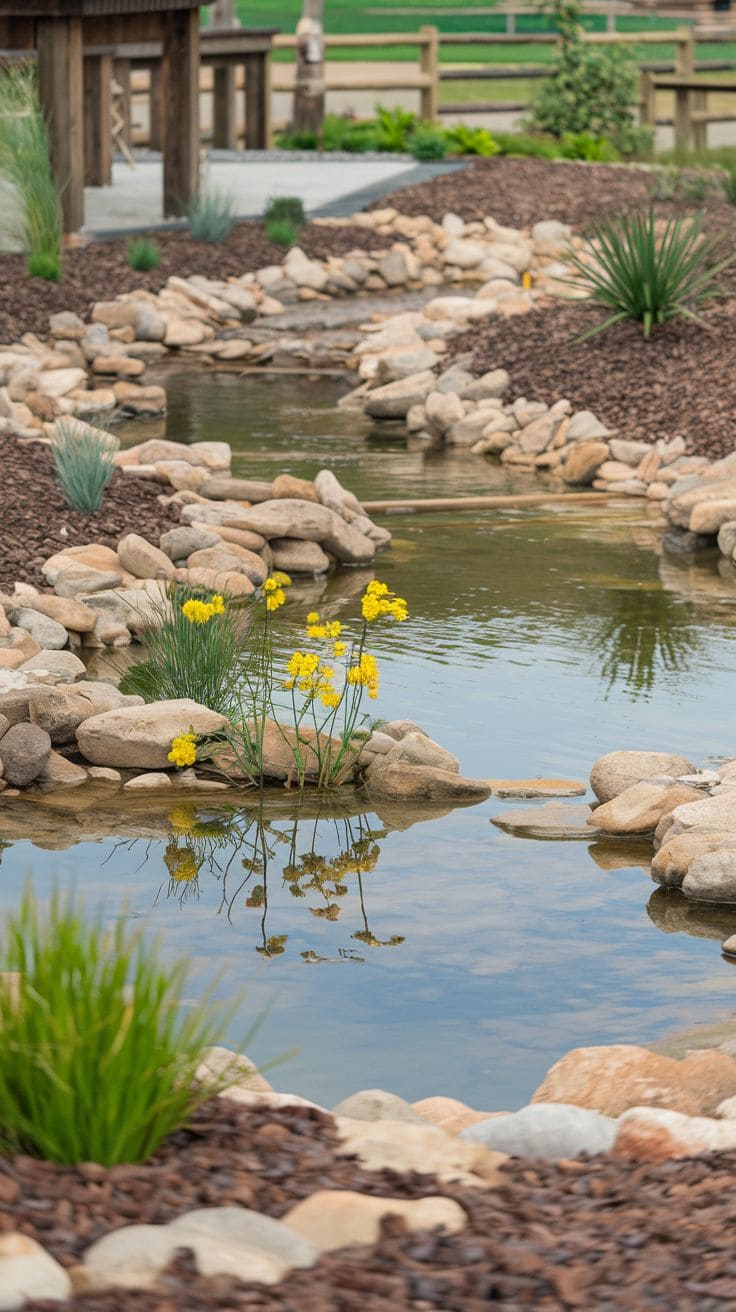
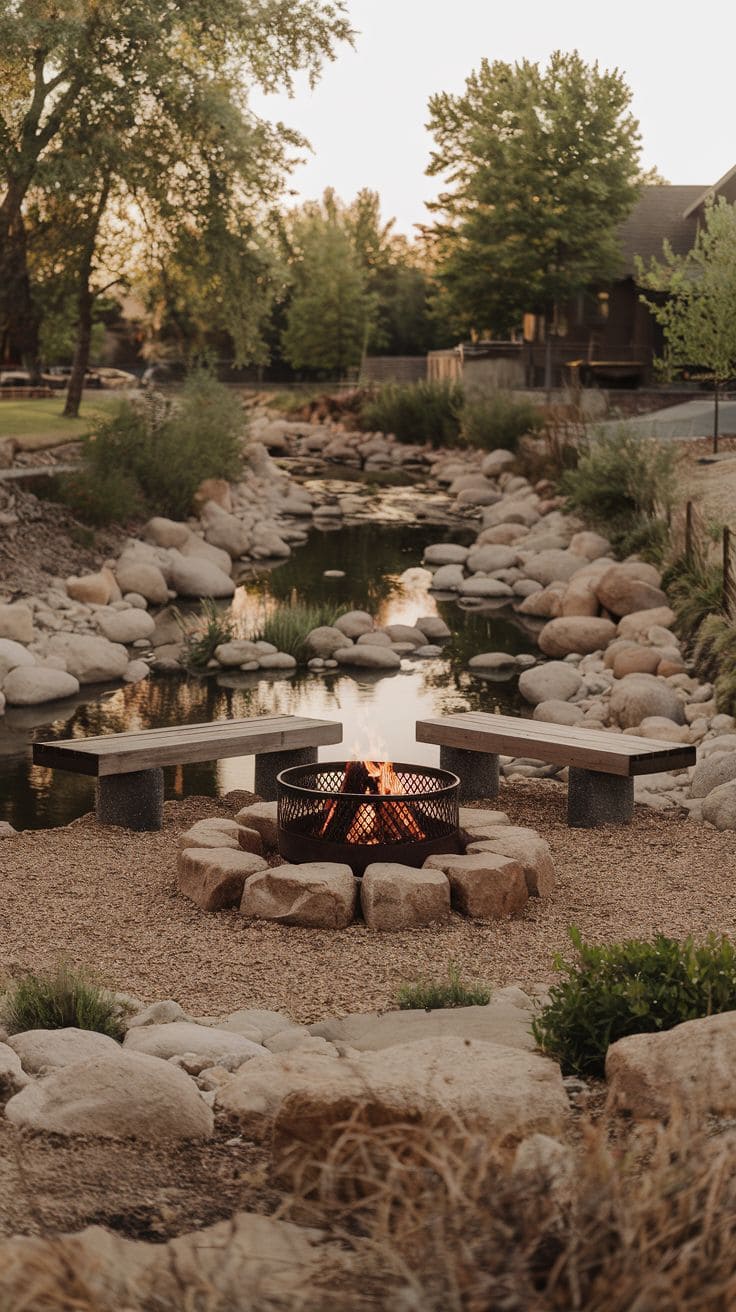
Ending a dry creek bed in an actual rain garden, a shallow, planted depression designed to hold and slowly absorb runoff, gives the whole system a real destination for the water it’s moving.
This is one of the ideas on this list where section 1’s outlet requirement matters directly, a creek bed with nowhere real for the water to go is decorative regardless of how good it looks.
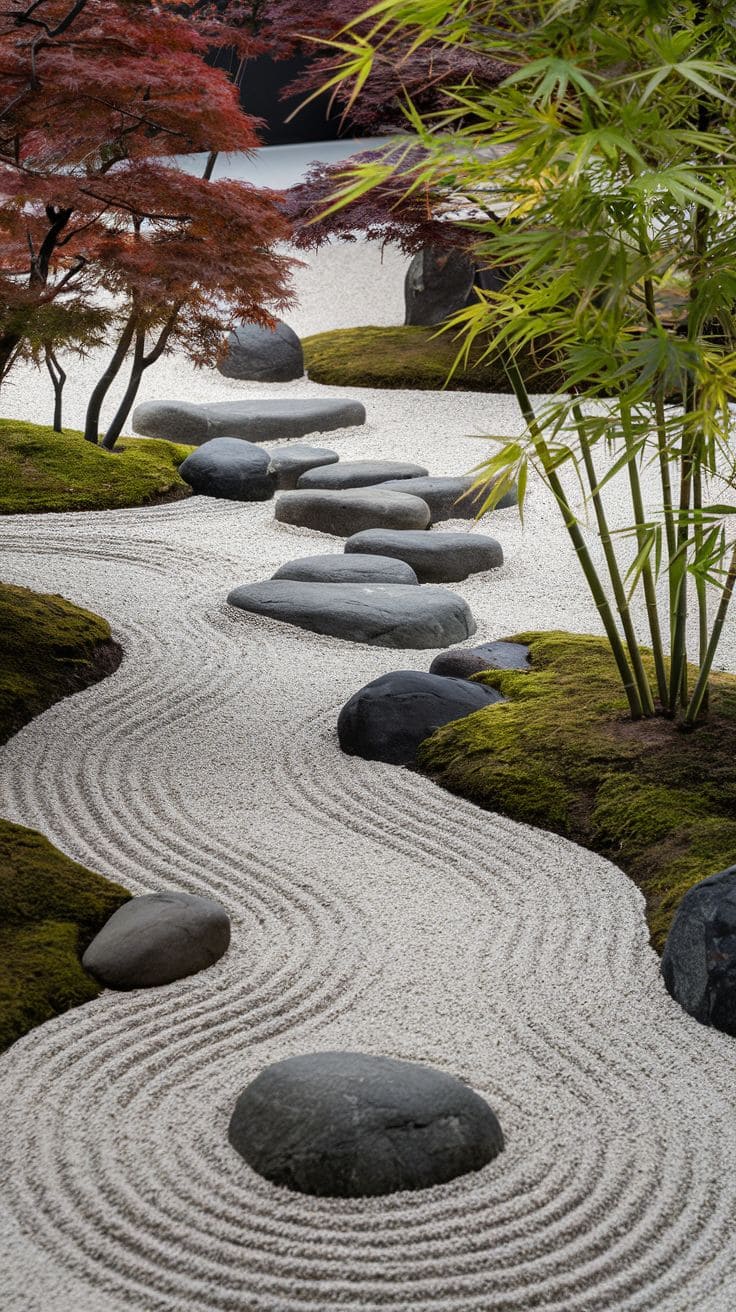
6. Zen Garden Inspiration
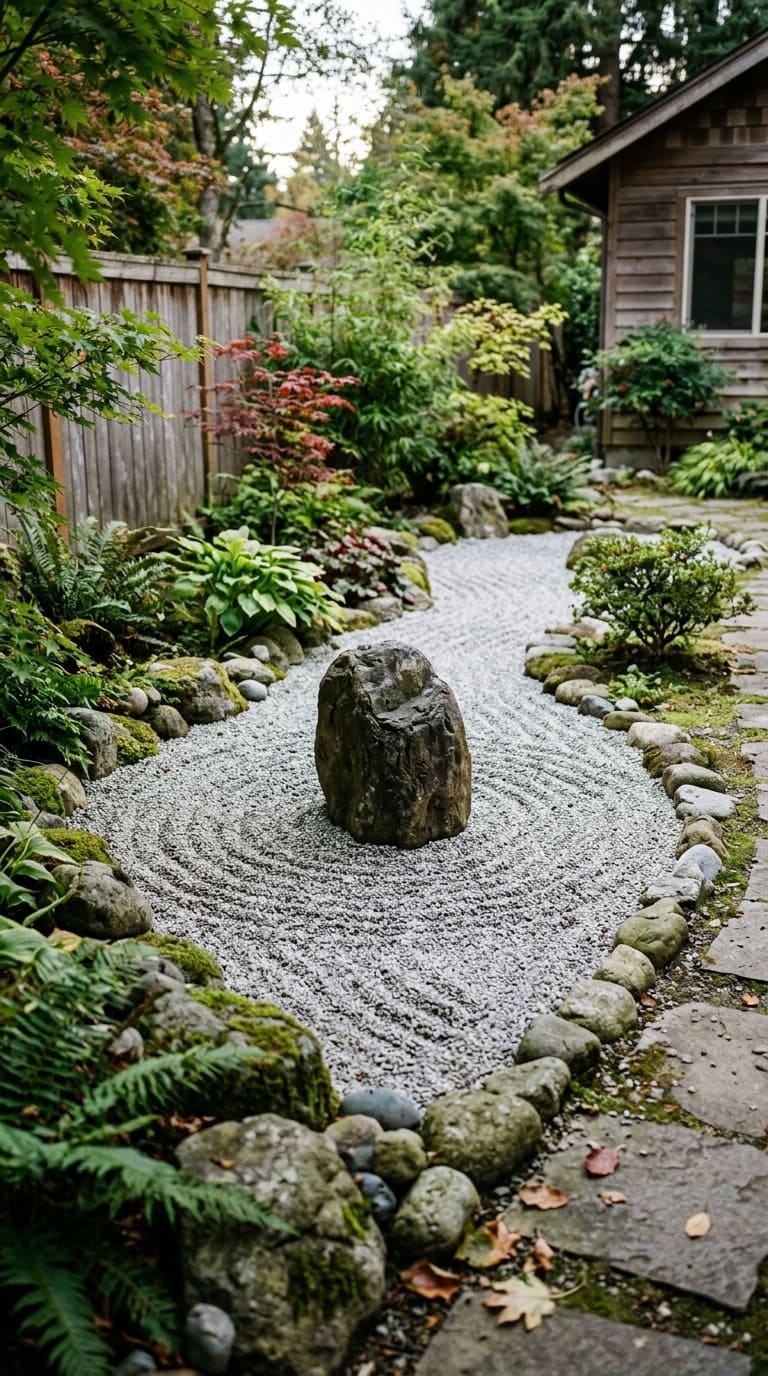
A more minimal, raked-gravel approach borrowed from Japanese garden design pairs well with a dry creek bed’s inherent stillness, fewer plants, more deliberate stone placement, and often a single specimen tree or large stone as a focal point rather than a busy mix of materials.
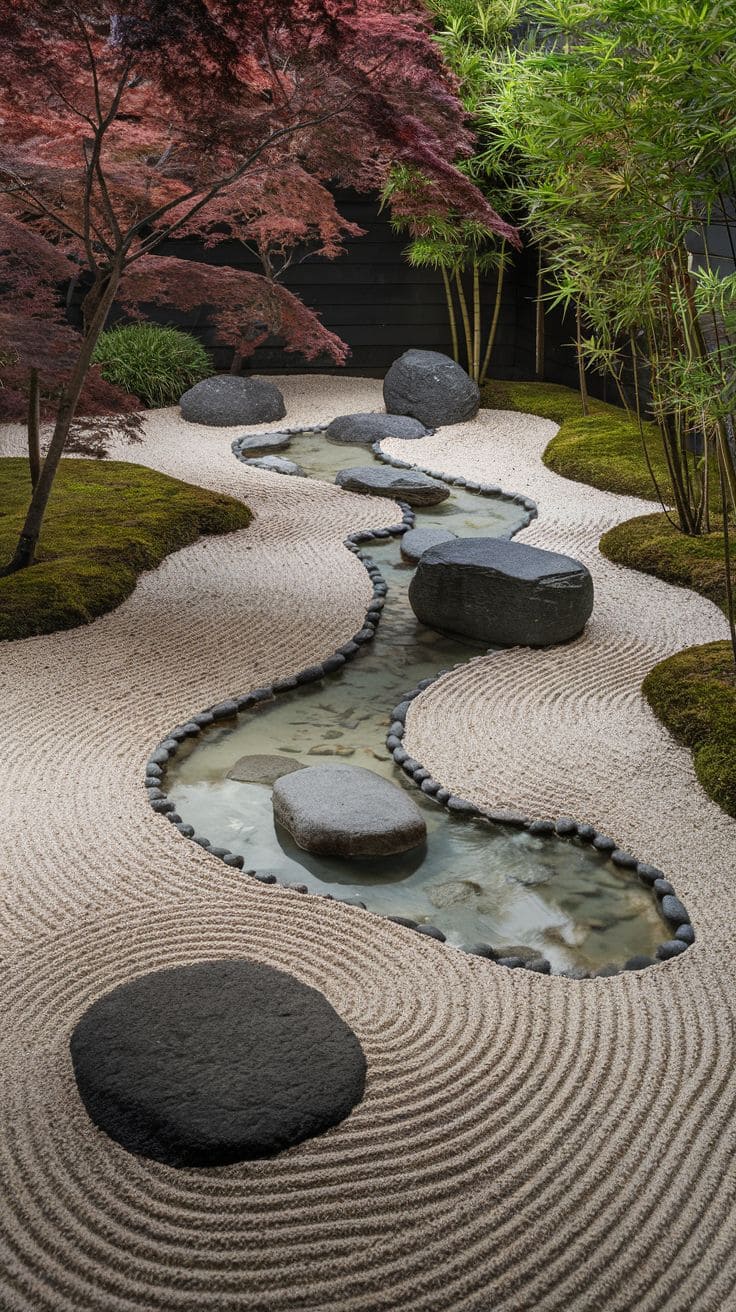
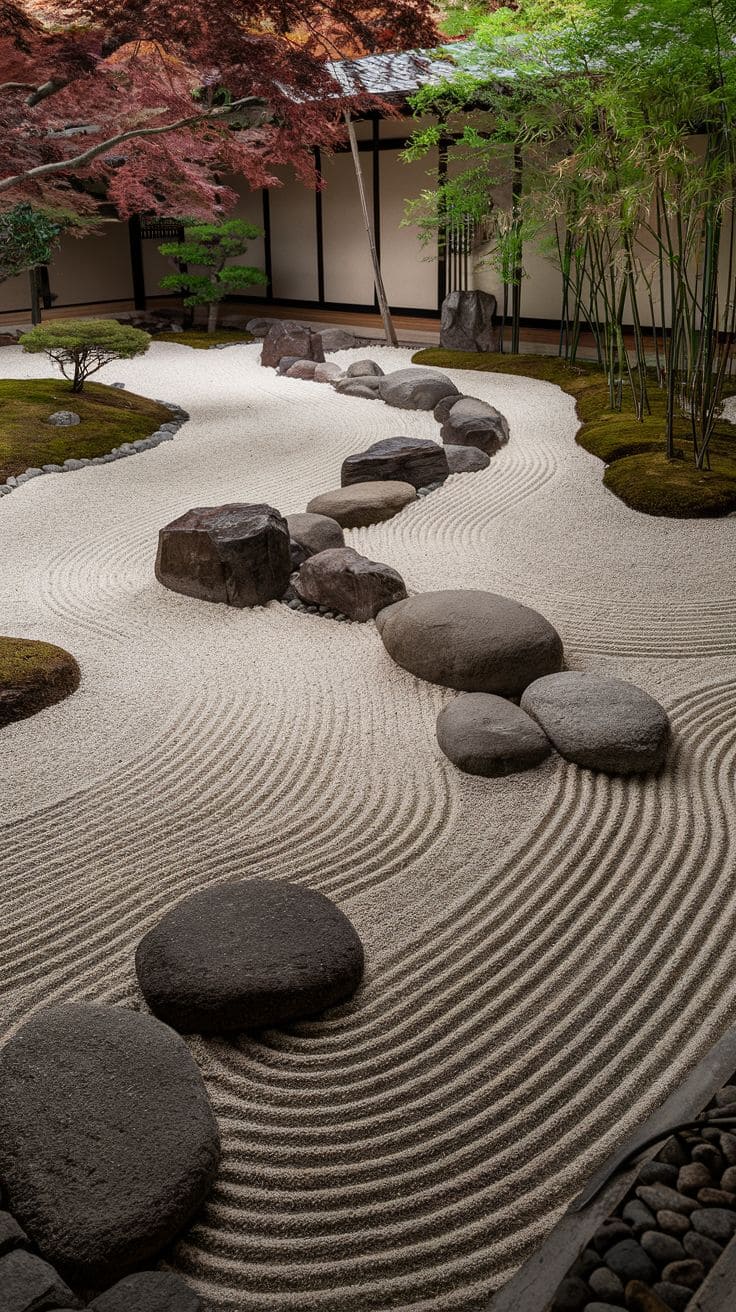
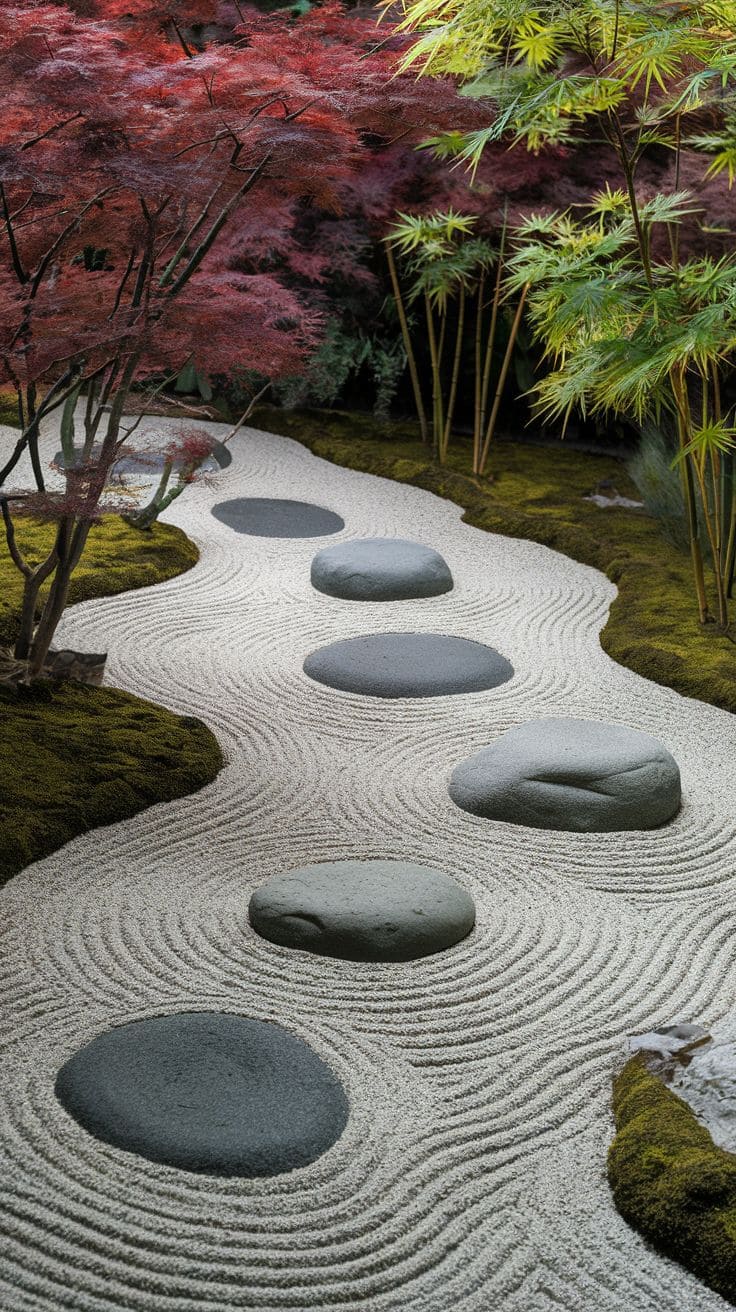
7. Adapt to the Hardscape’s Current Features
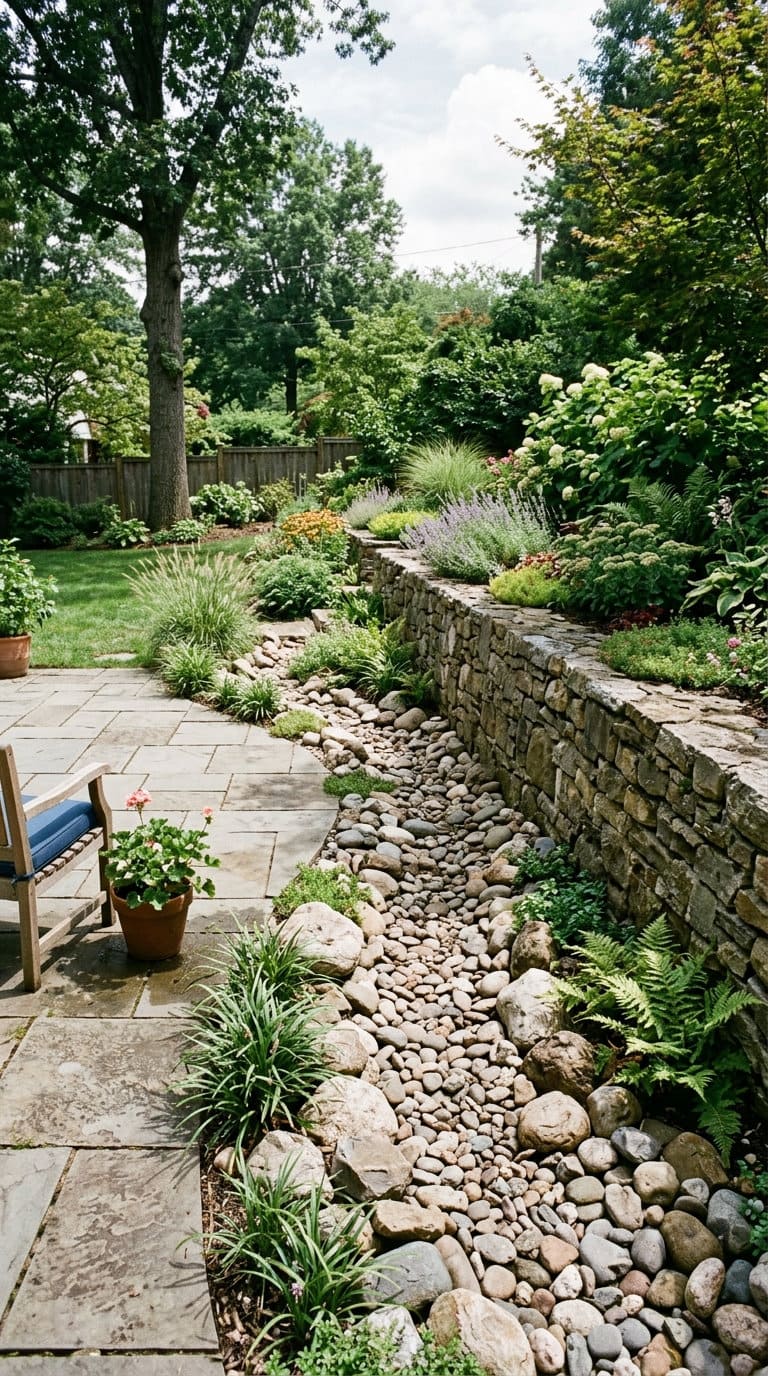
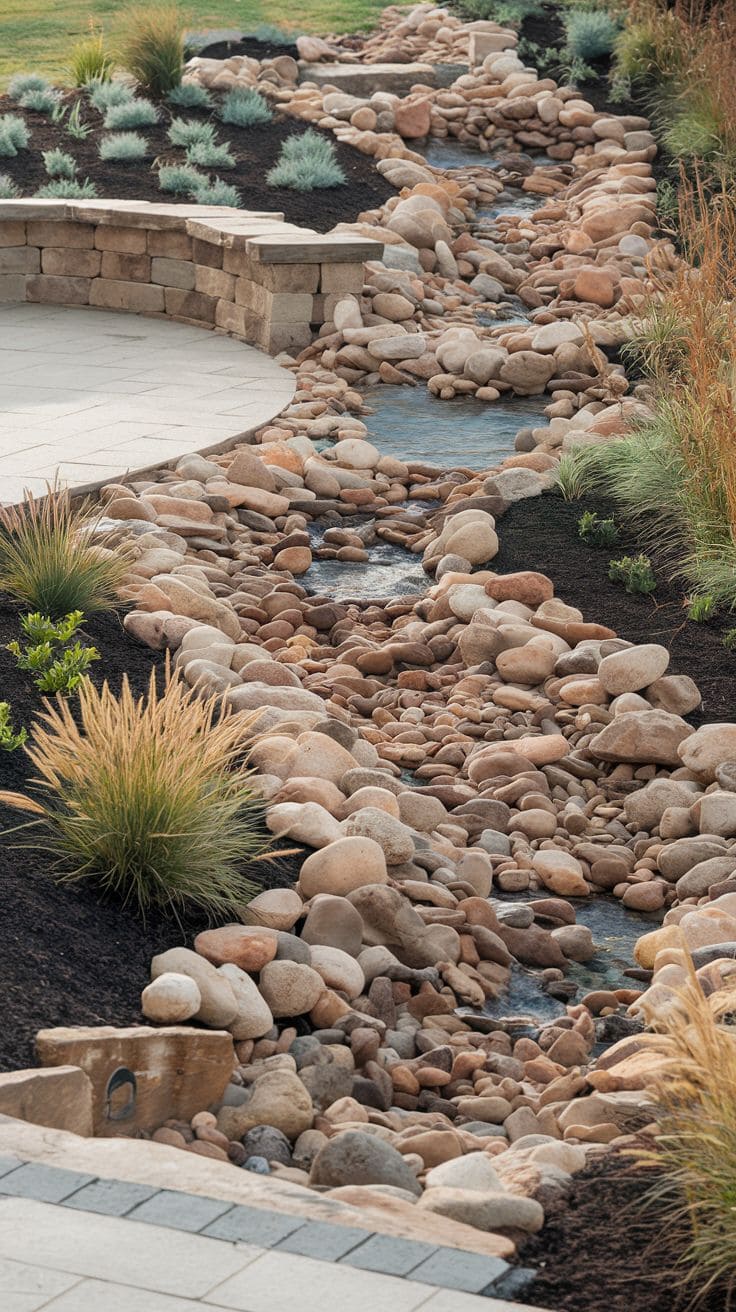
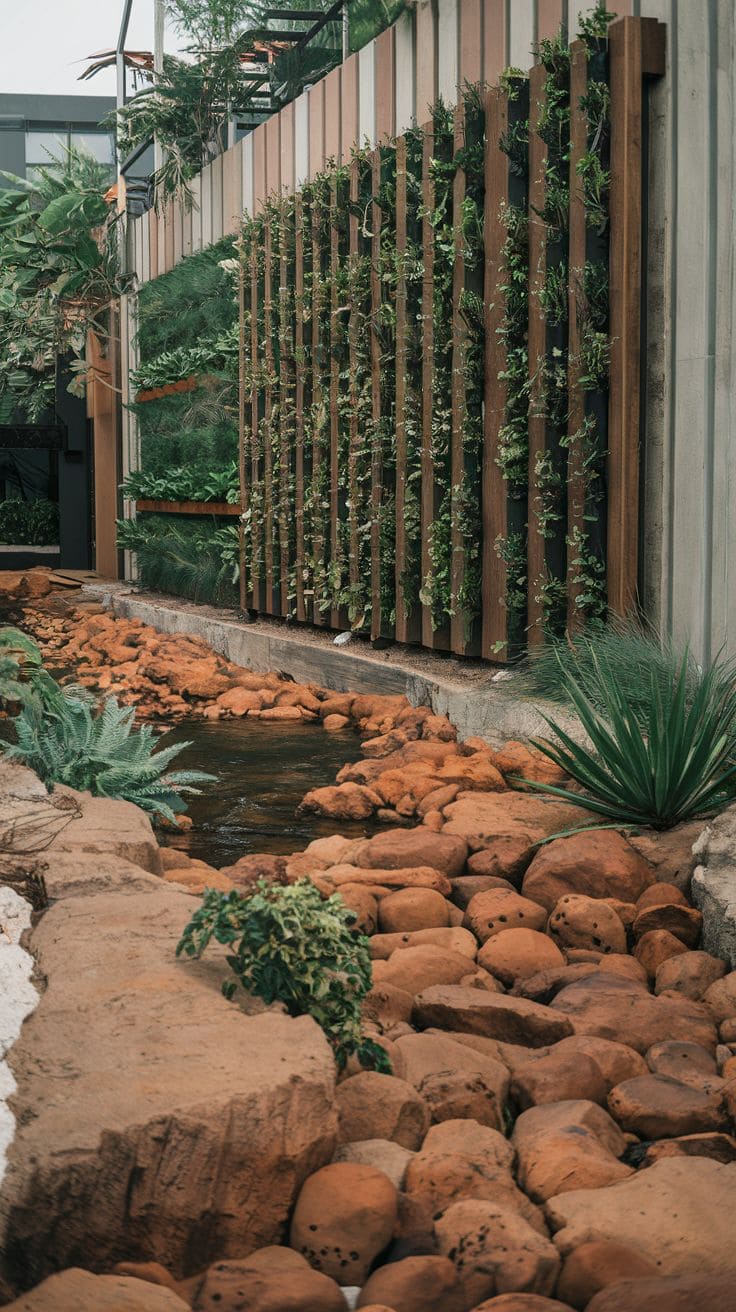
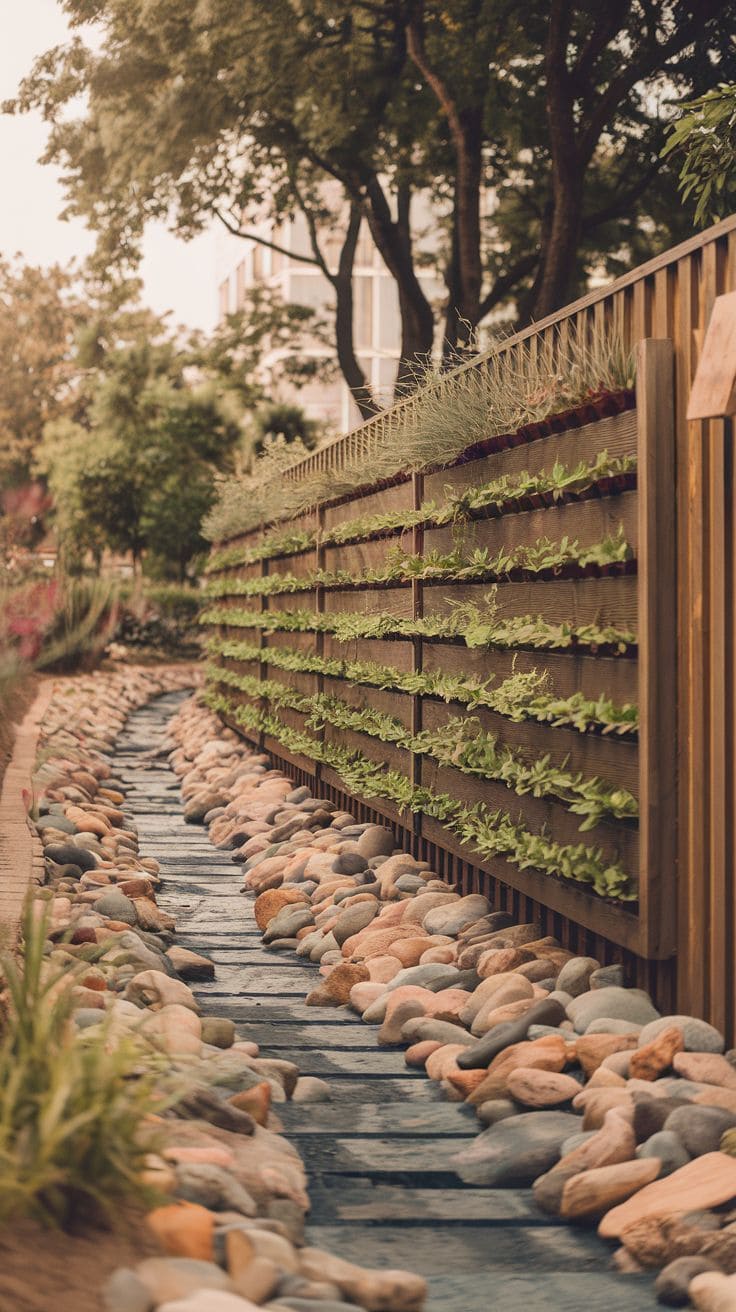
Rather than treating the creek bed as an isolated feature, route it to interact with existing patio edges, retaining walls, or garden bed borders already in the yard.
A creek bed that appears to originate from under a deck or disappear behind an existing wall reads as more integrated than one that starts and stops in open lawn for no visible reason.
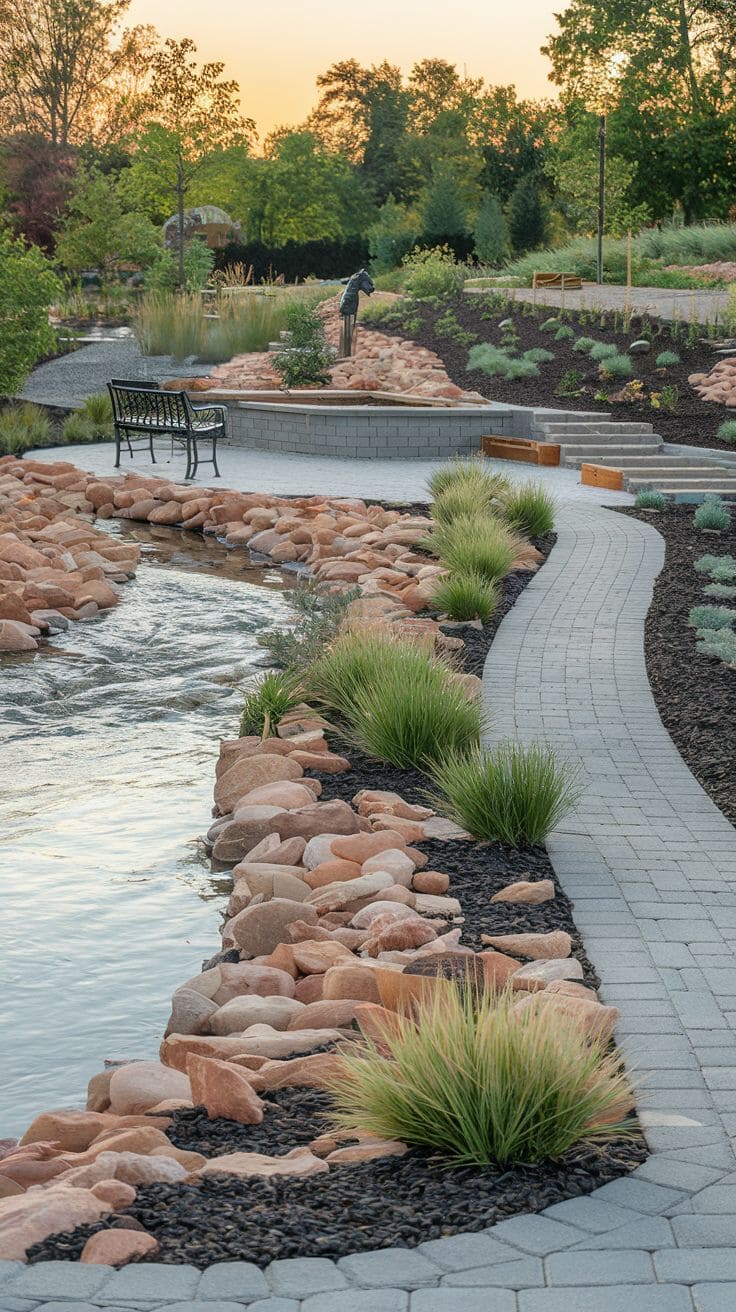
8. Solving water problems with Dry Creek Bed
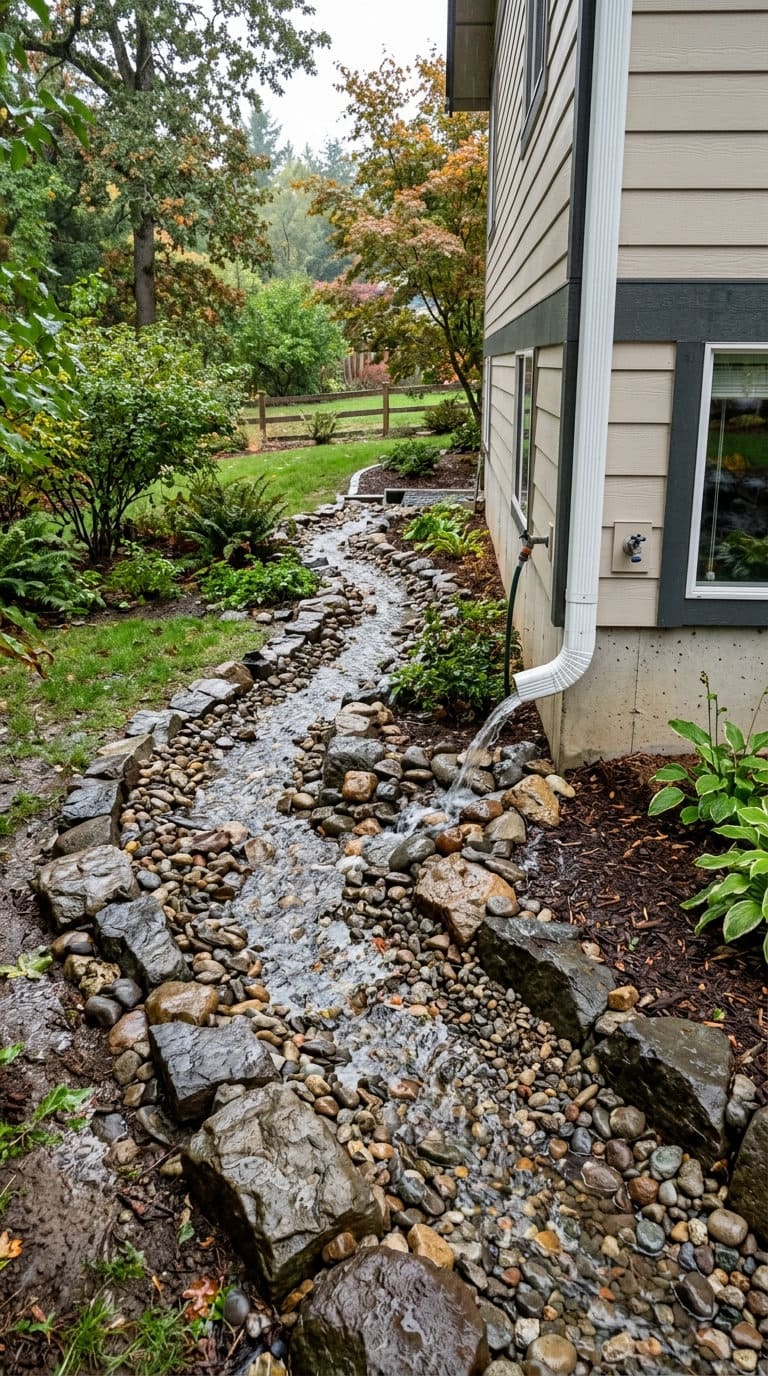
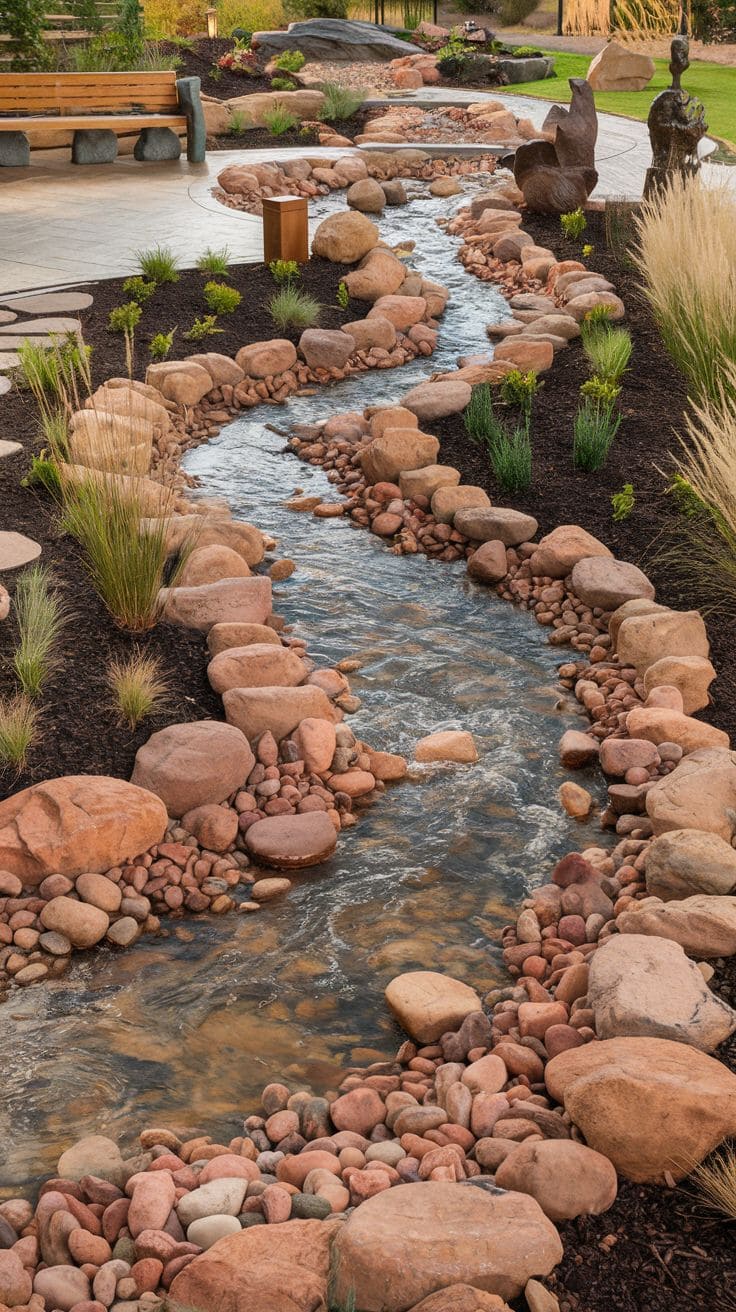
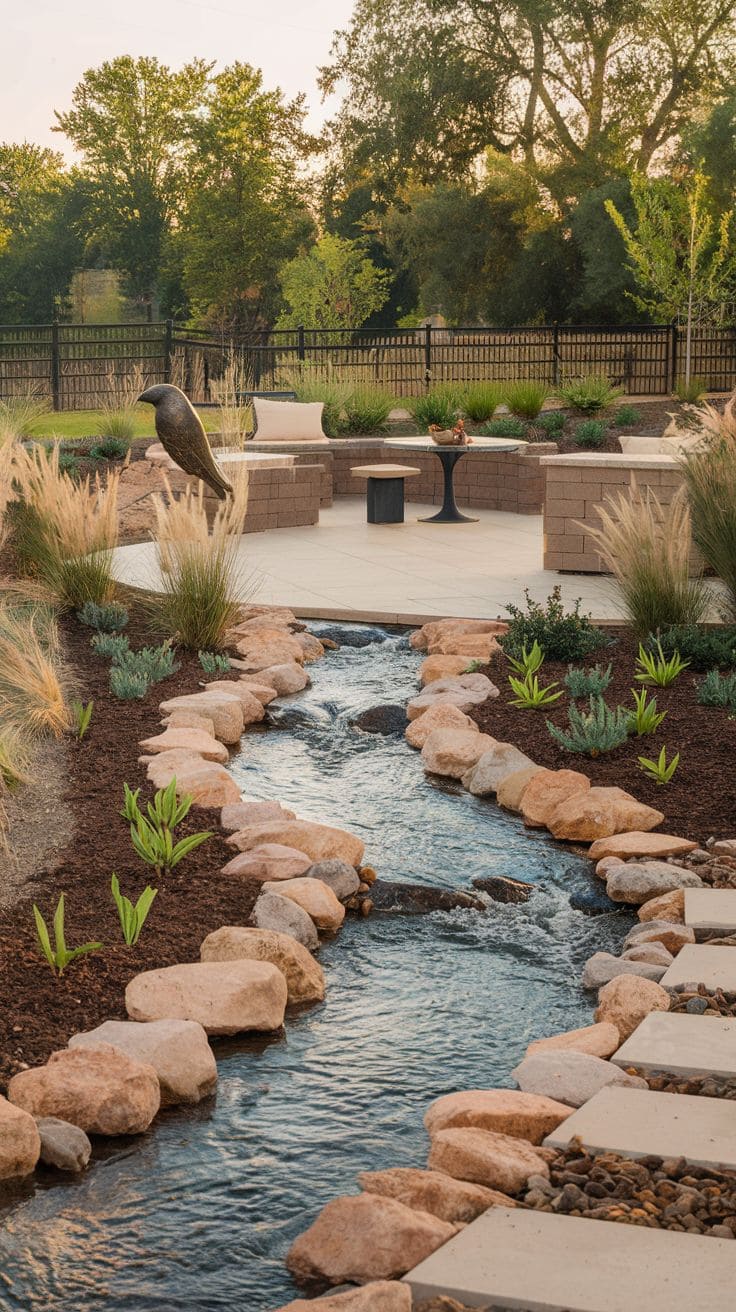
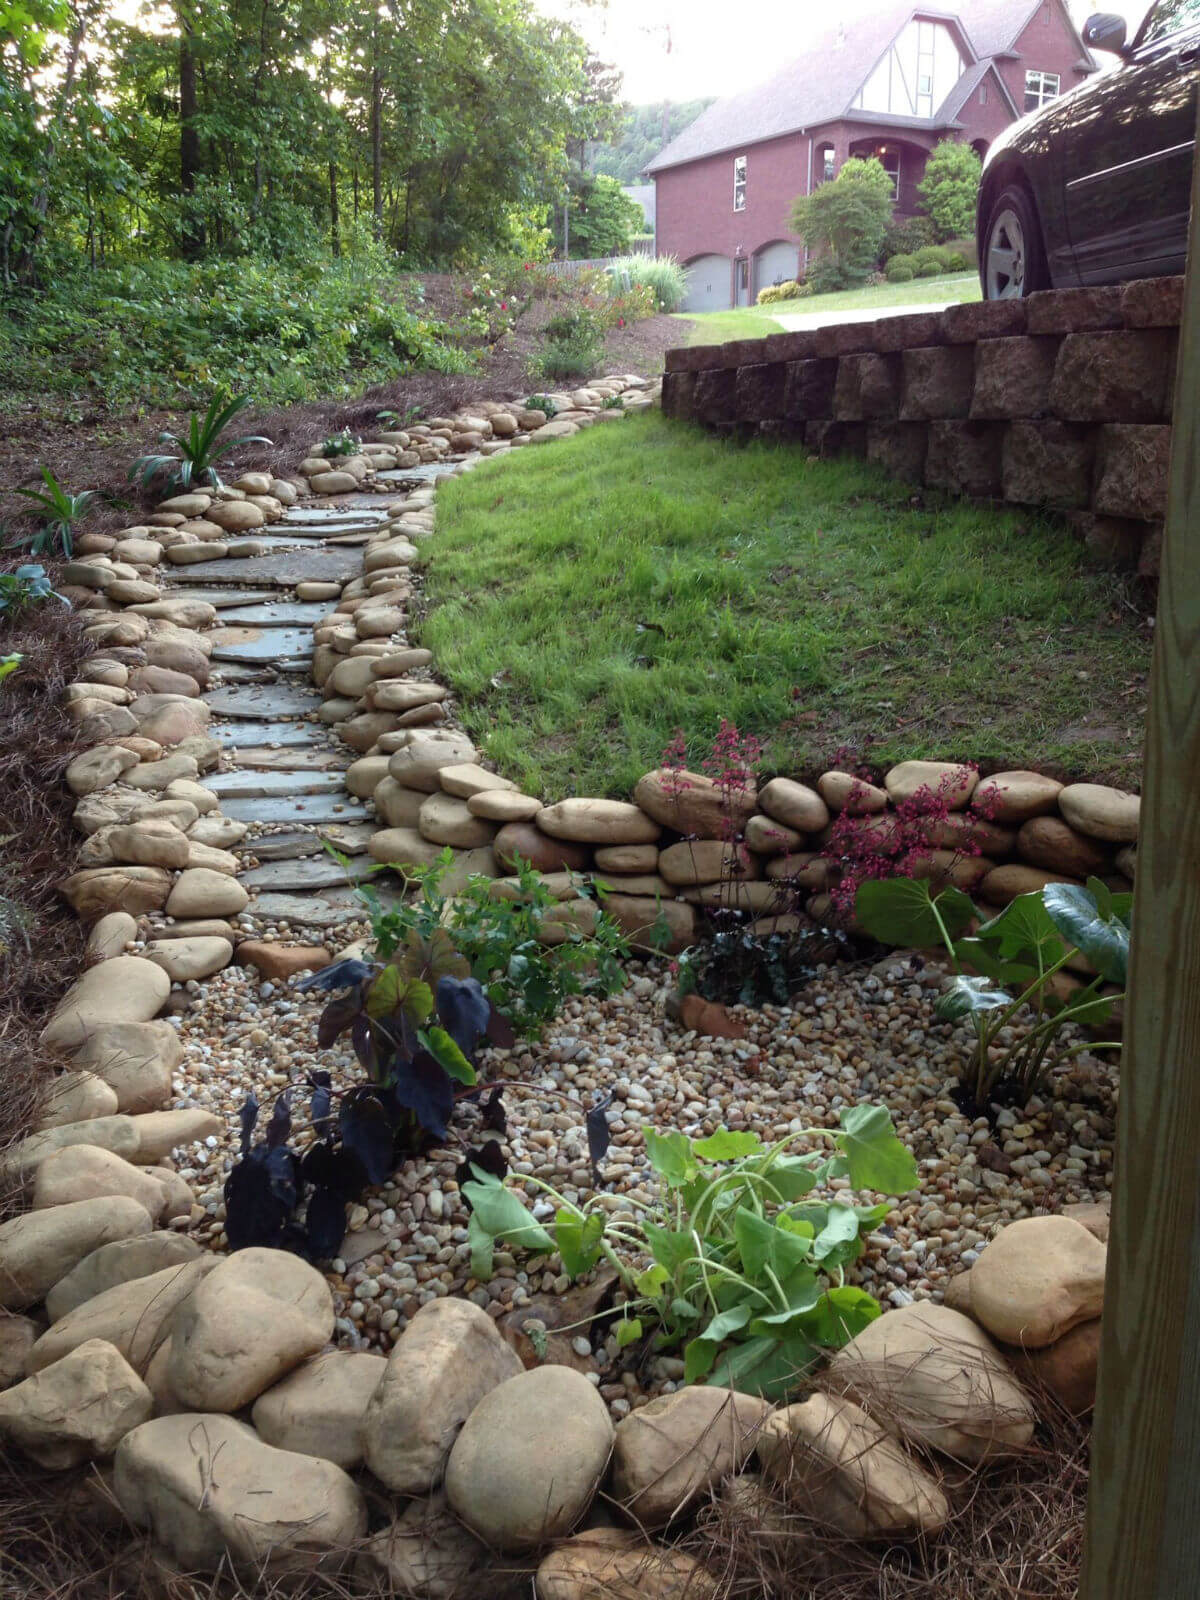
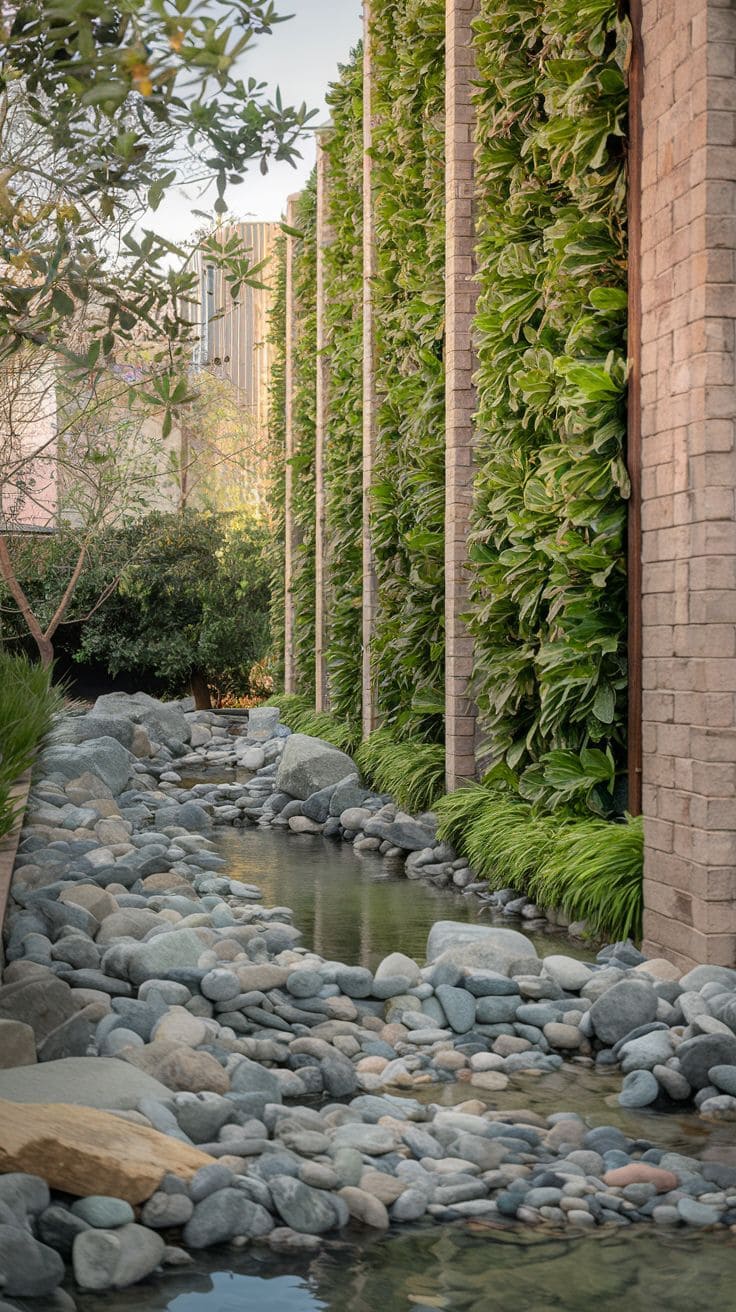
This is the most directly functional idea on the list, using a creek bed specifically to redirect runoff away from a problem area, a soggy lawn patch, a downspout with no real discharge point, or water pooling against a foundation.
Follow section 1’s slope and outlet guidance closely here specifically, this is the use case where “looks nice but doesn’t actually drain” causes a real, ongoing problem rather than just an underwhelming feature.
9. Small backyard with black rocks
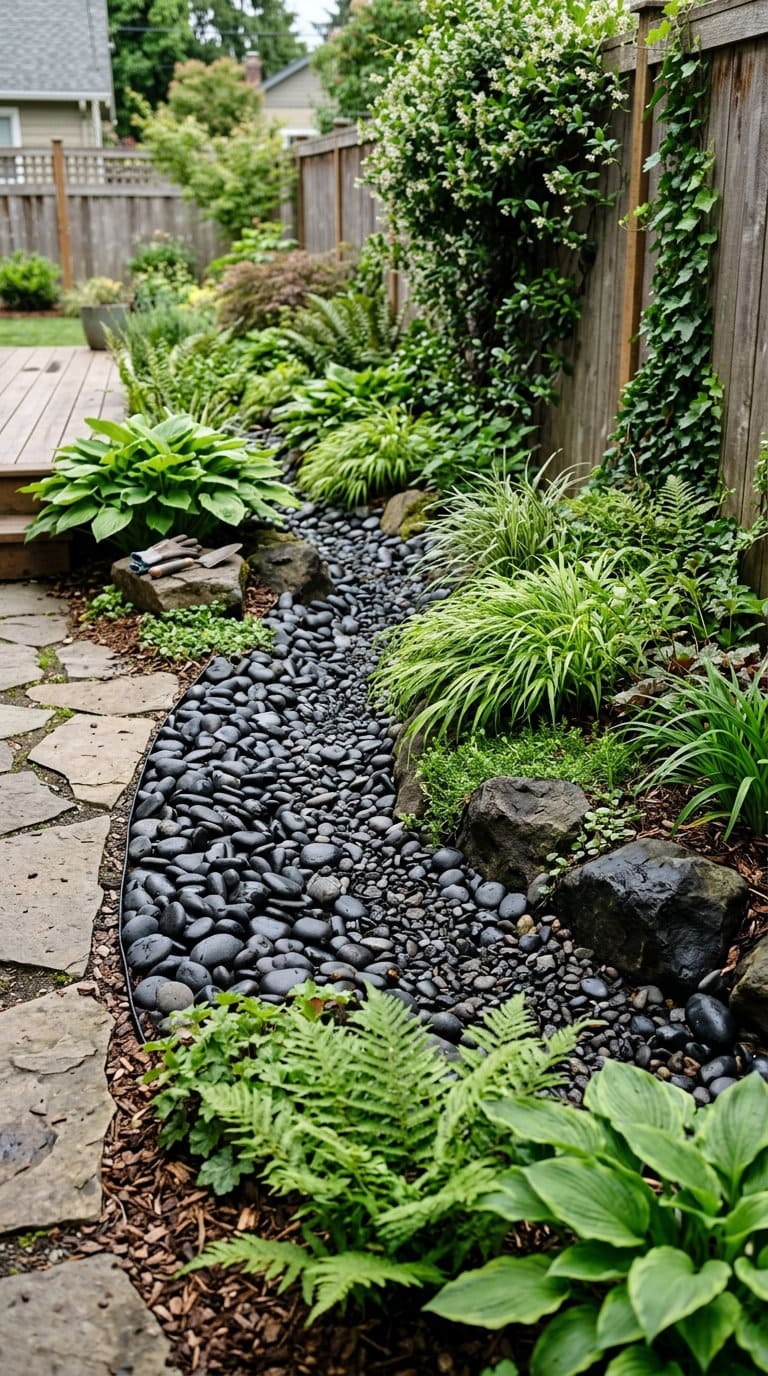
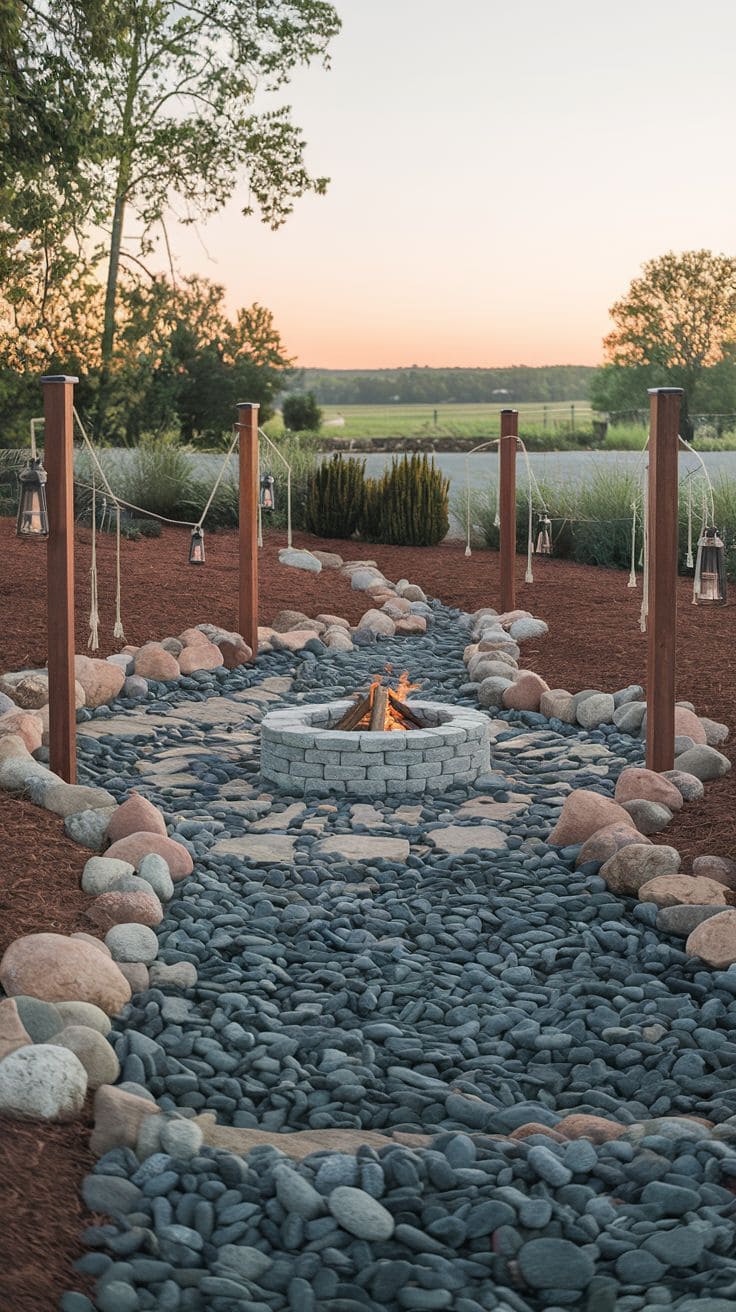
Dark-toned river rock in a small backyard reads as more contemporary than the typical tan or gray palette, and creates strong visual contrast against green lawn or plantings.
In a smaller space, a tighter, more compact bed shape avoids the creek bed overwhelming the whole yard.
10. DIY dry river bed
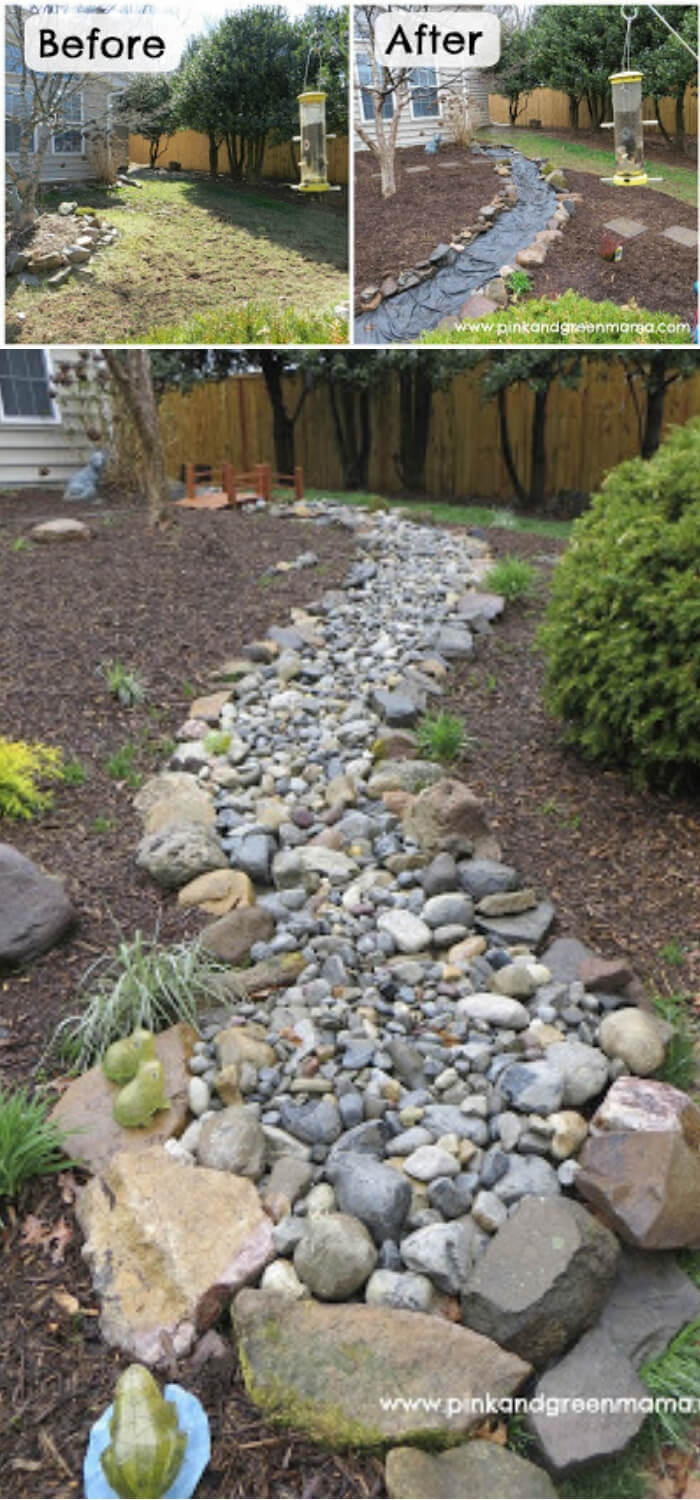
A budget-conscious build on a smaller scale is genuinely achievable as a weekend project once the section 1 basics (real slope, correct rock size, quality fabric or none at all with a clear plan for weeds) are handled.
Start with a shorter test section before committing to a full-yard run, it’s easier to correct grading on a 10-foot section than to discover a slope problem after finishing 60 feet of rock.
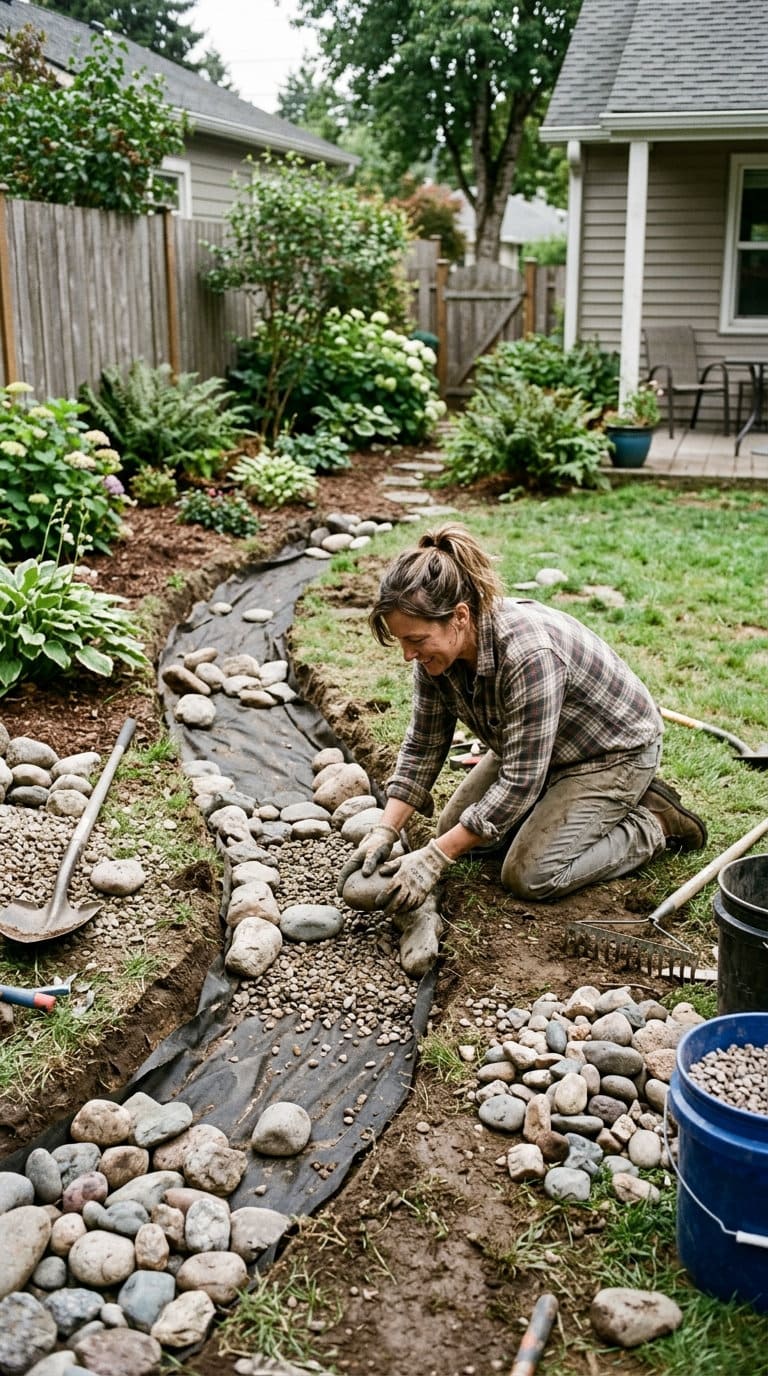
11. Winding creek contemporary farmhouse
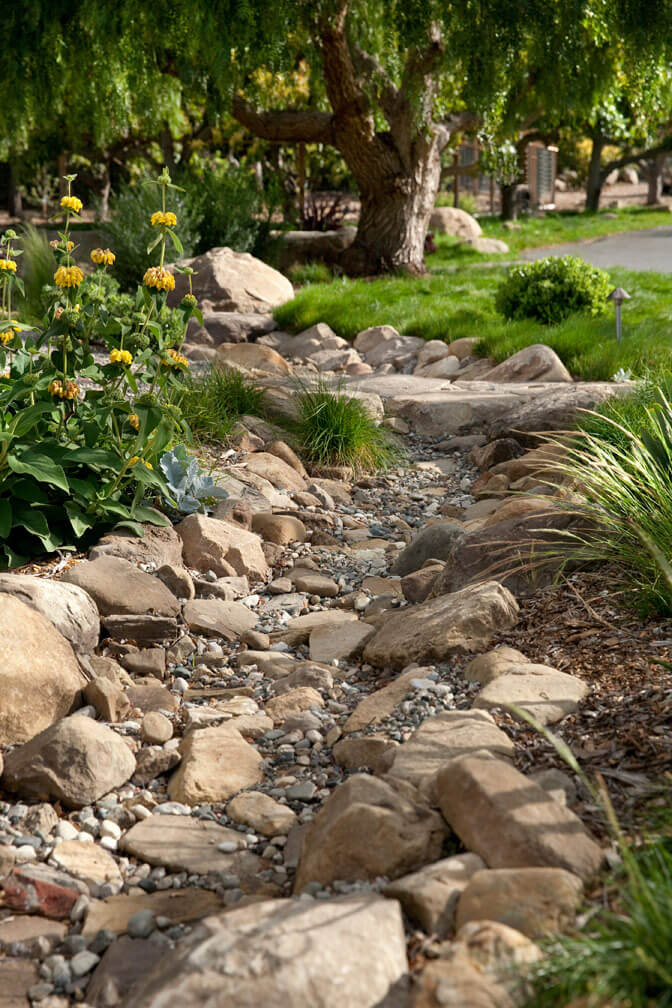
Pairing a winding, naturalistic creek bed shape with the cleaner lines and neutral palette typical of contemporary farmhouse landscaping bridges rustic and modern in a way a purely rustic or purely minimal design doesn’t.
Keep the stone palette limited to two or three tones to avoid the design reading as too busy against an otherwise simple architectural style.
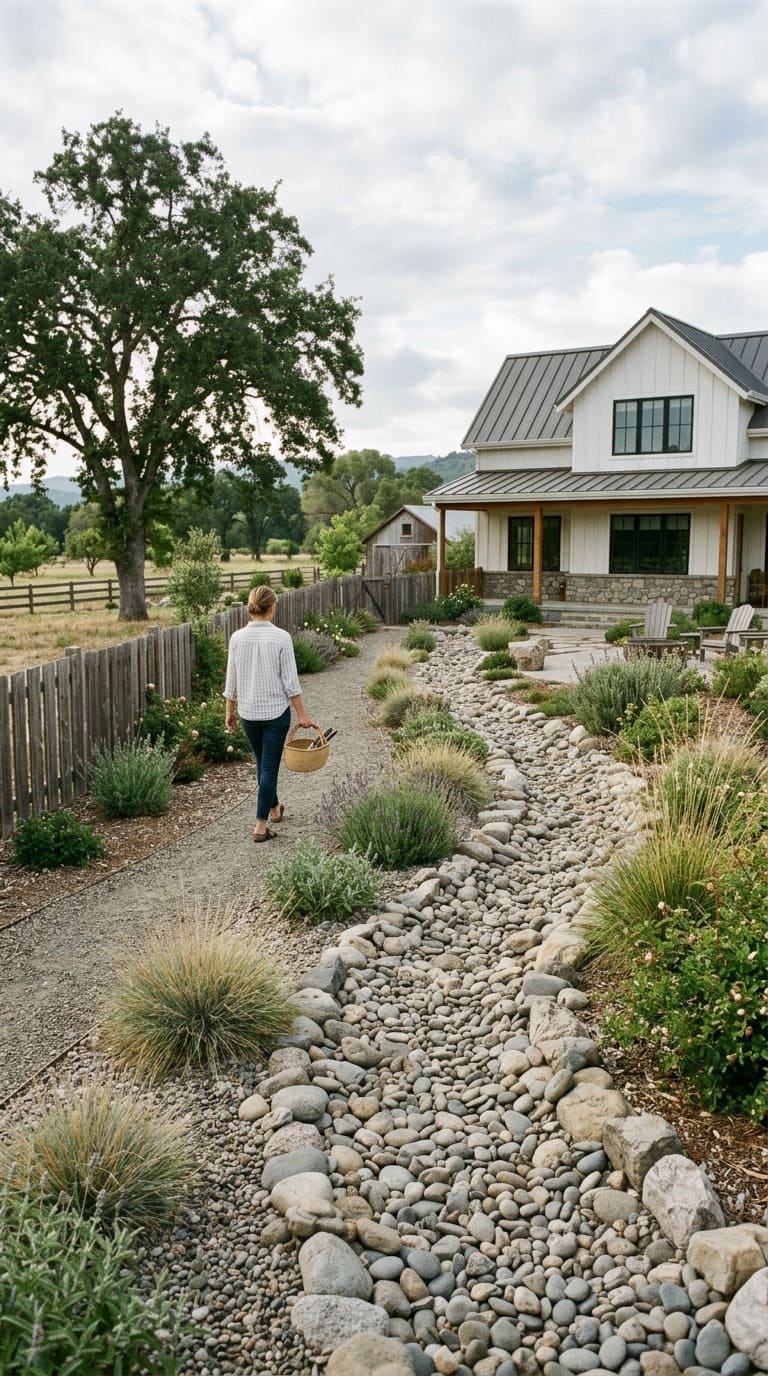
12. Dry Stream Does Double Duty
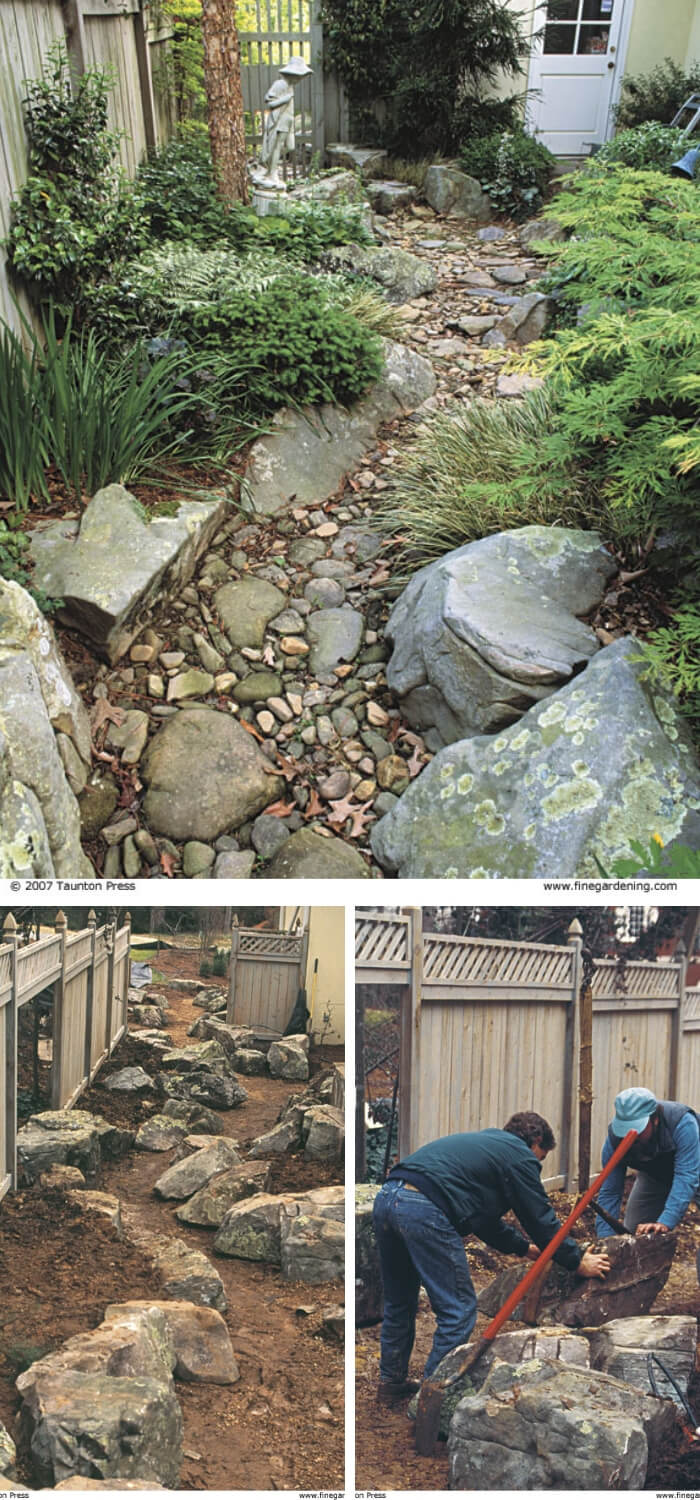
Like idea 9, this is a genuinely functional application, a creek bed that handles real drainage while also serving as the yard’s main visual landscaping feature, rather than treating drainage and design as separate problems solved separately.
Get the grading and outlet right first per section 1, then layer the styling choices (rock color, plant edging, focal boulders) on top of a bed that was already going to work structurally.
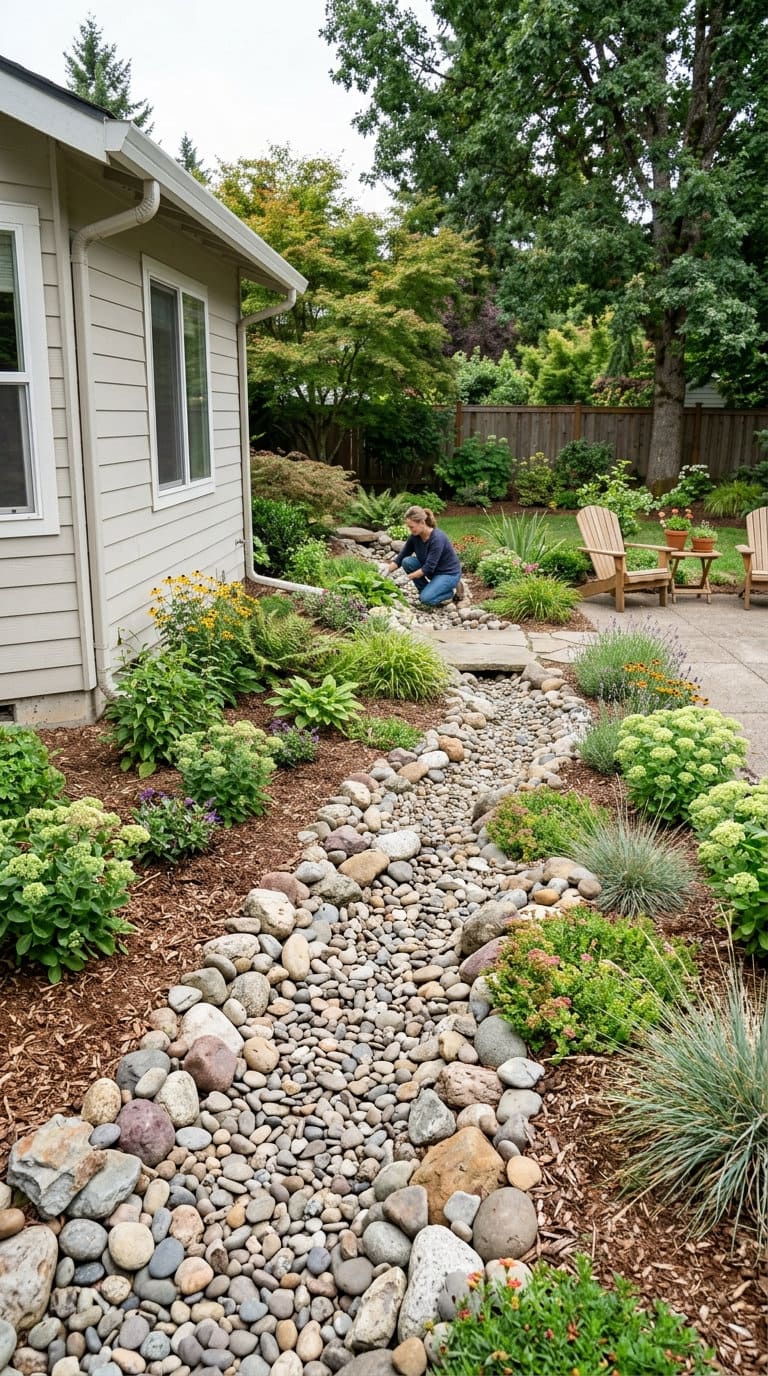
13. Rockery and dry creek beds combined
Pairing a rock garden or rockery feature with an adjacent dry creek bed lets the two share a cohesive stone palette while serving different visual roles, the rockery as a raised, textured planting feature, the creek bed as the lower, flowing line connecting or bordering it.
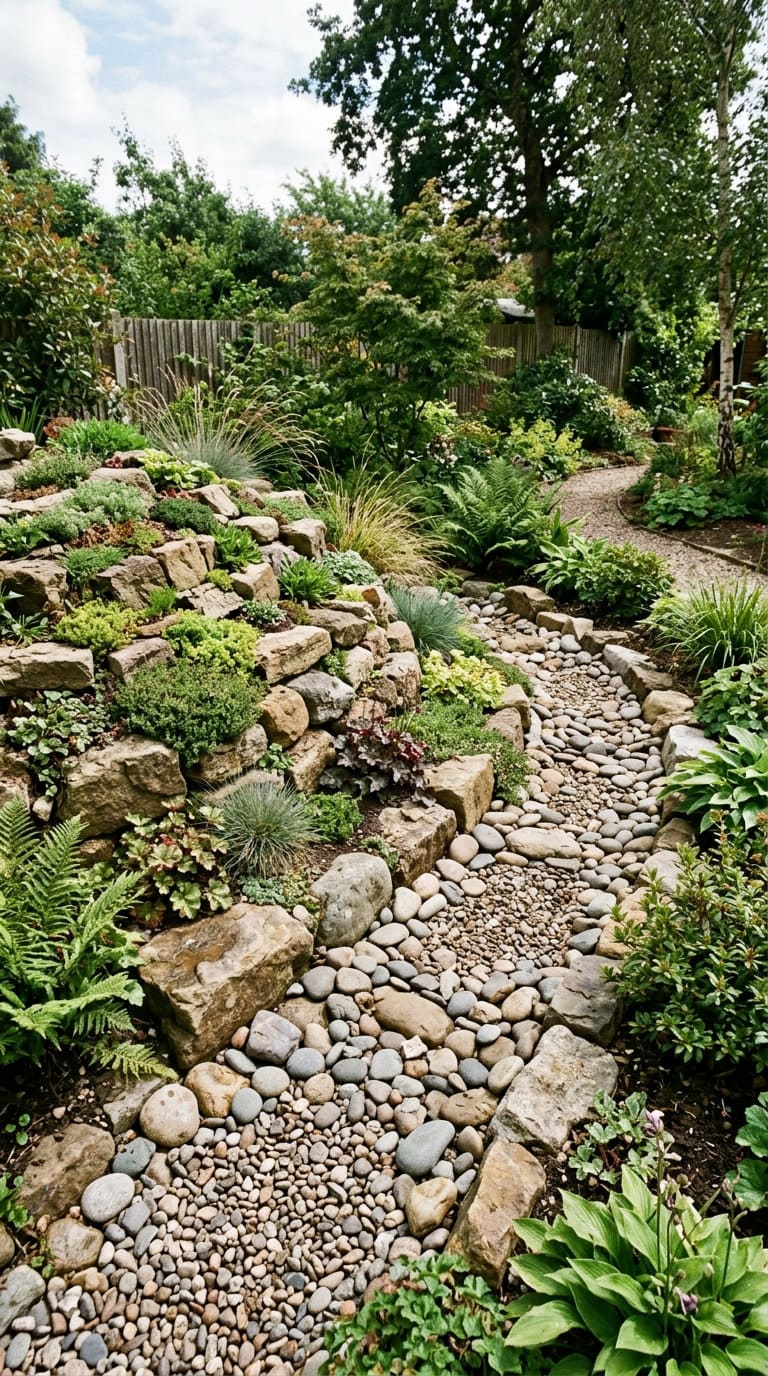
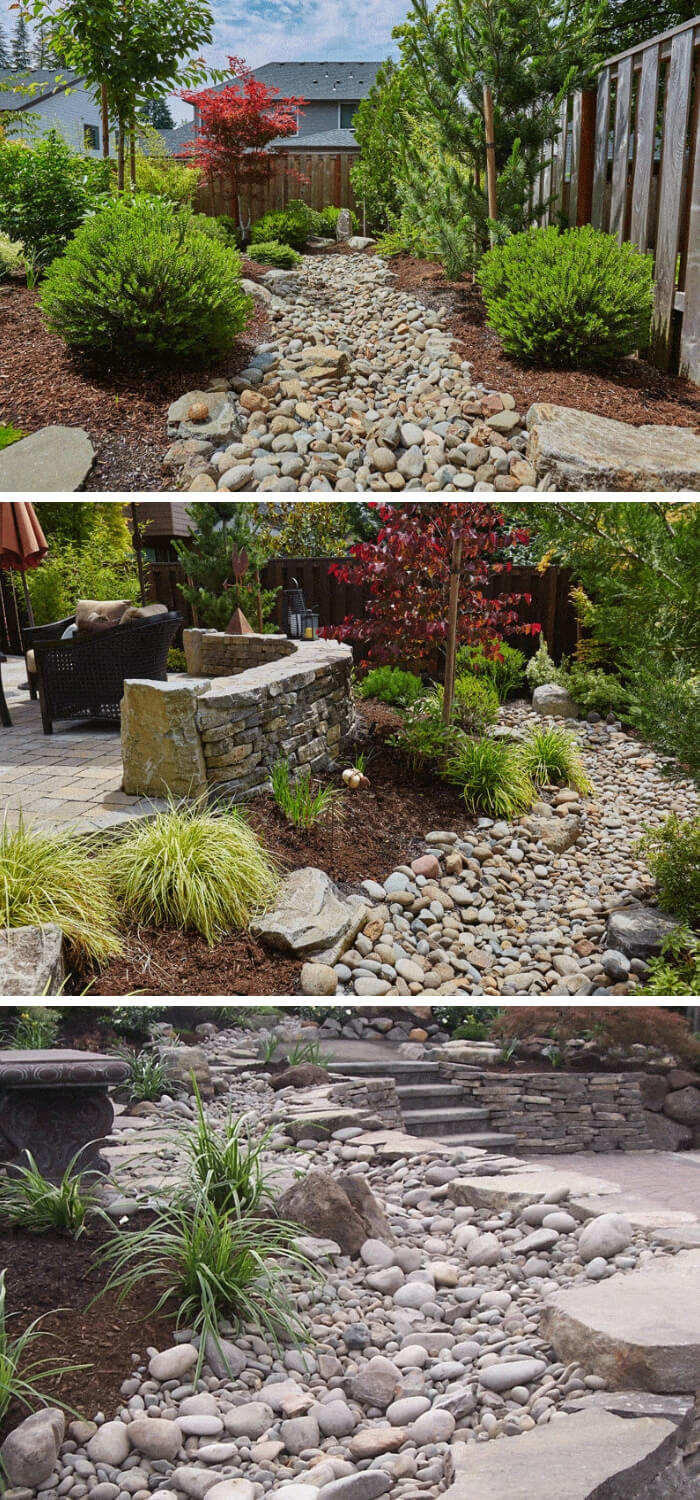
14. Gorgeous dry creek bed styling ideas
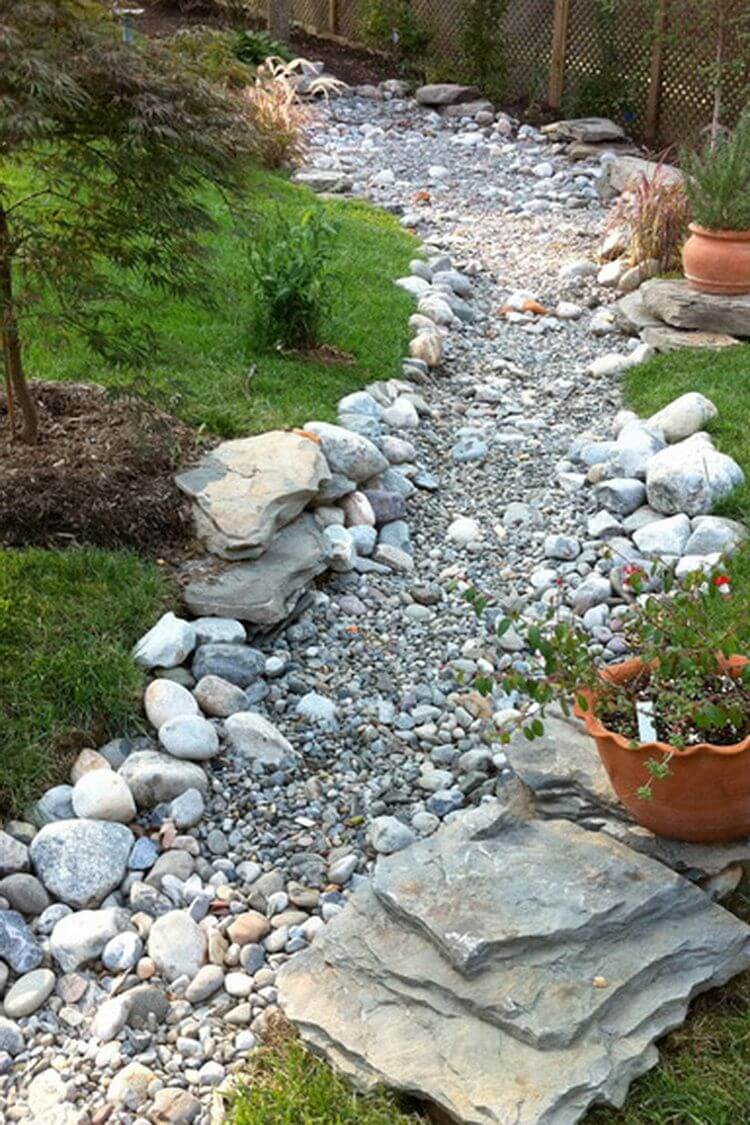
Beyond the specific applications above, general styling choices, stone color palette, plant selection at the edges, and how visible the bed’s start and end points are, do most of the work in making a technically correct creek bed also look genuinely good.
A bed that drains perfectly but looks like a construction trench full of rock still misses half the point.
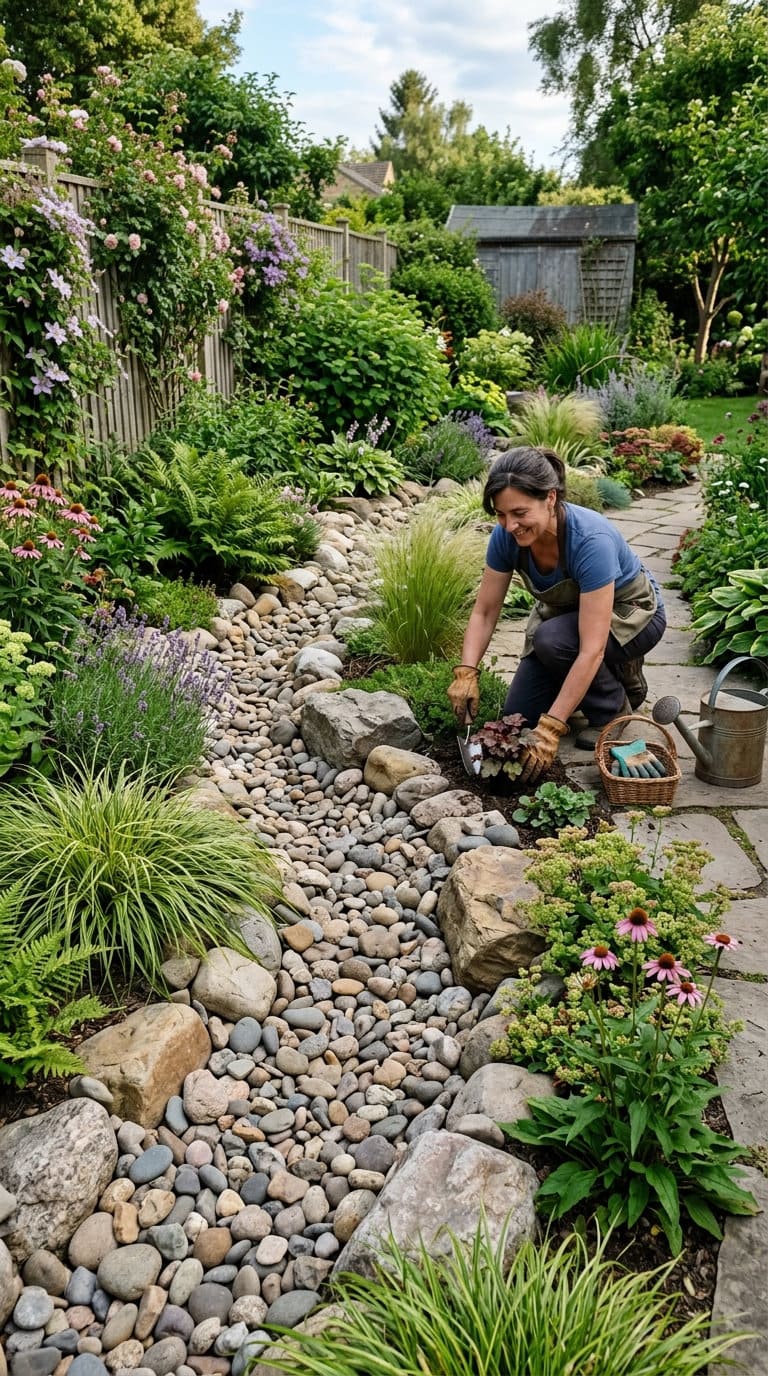
15. Run-off solution dry creek bed
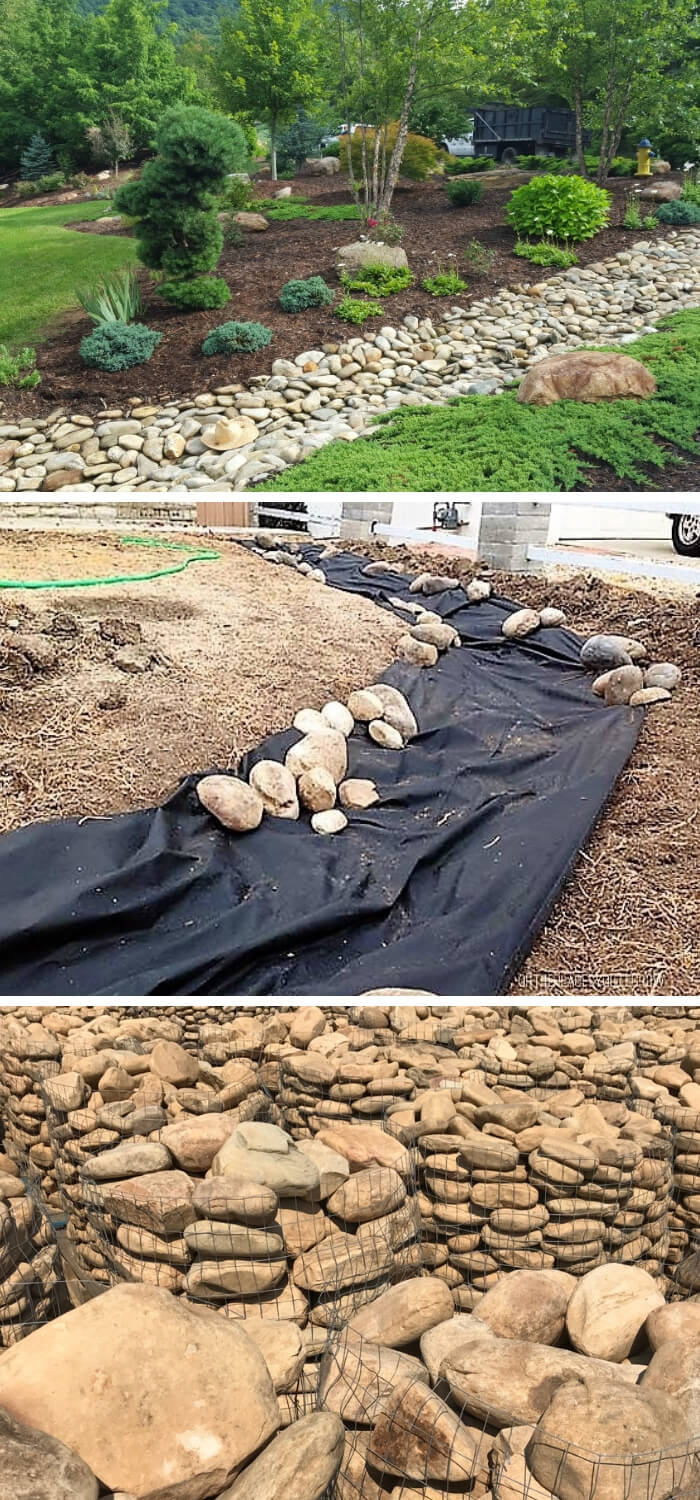
Specifically for a yard dealing with real runoff from a sloped neighboring property or a hard-surfaced area like a driveway, a creek bed positioned to intercept that runoff before it reaches a problem area is one of the more practical applications on this list.
This is another idea where section 1’s slope and sizing guidance isn’t optional, it’s the entire point of the feature.
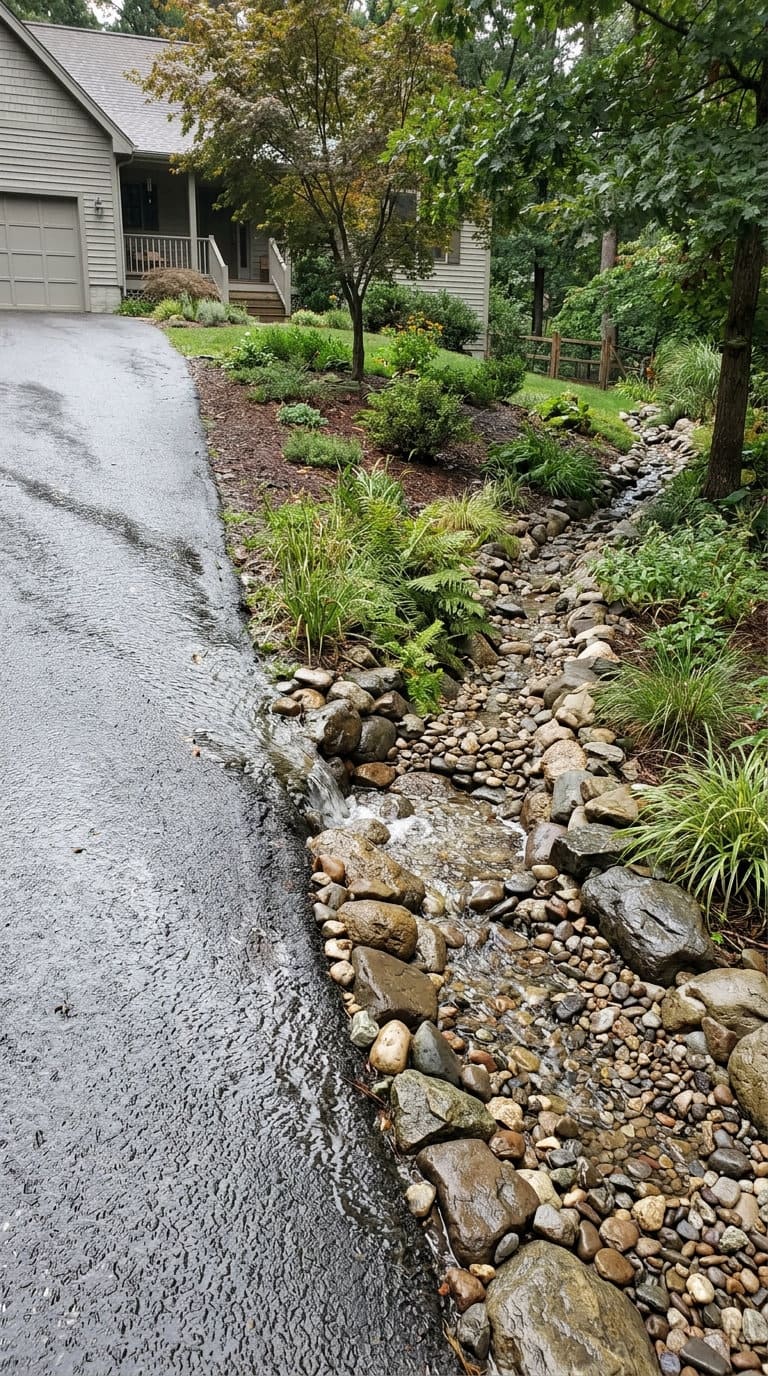
16. Dry creek bed that ends in a rain garden
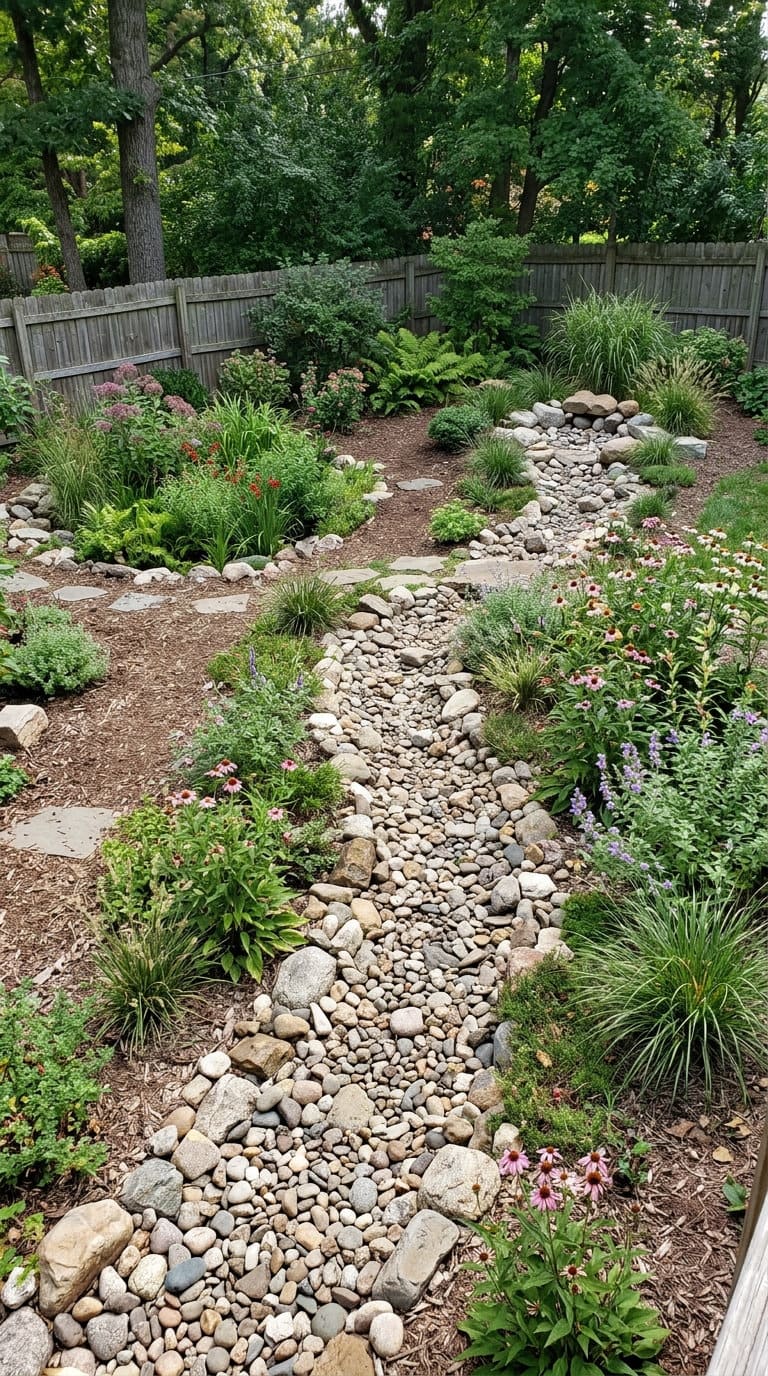
Similar to idea 6 but treated as its own complete system: a creek bed that begins at a runoff source and terminates in a real rain garden gives the whole feature an actual destination for the water, closing the loop that a purely decorative, dead-end creek bed leaves open.
This is the clearest example on this list of section 1’s “needs a real outlet” point put into practice end to end.
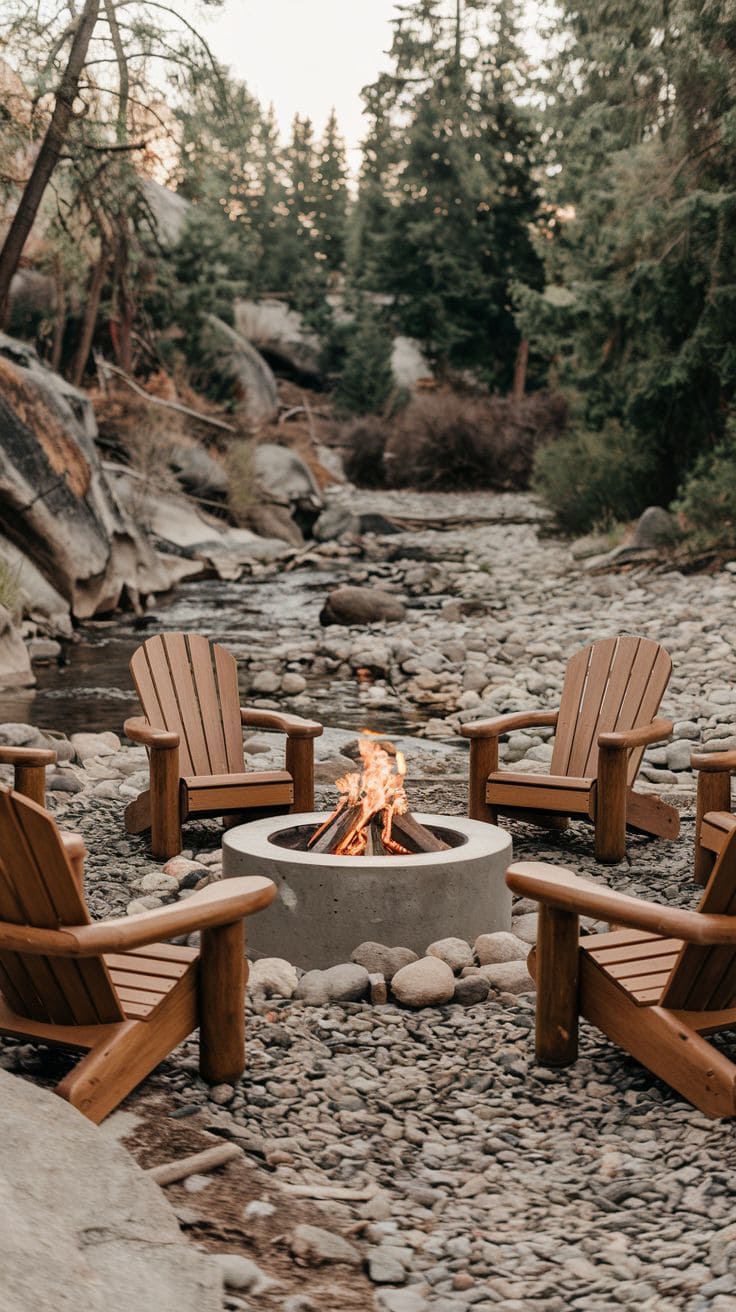
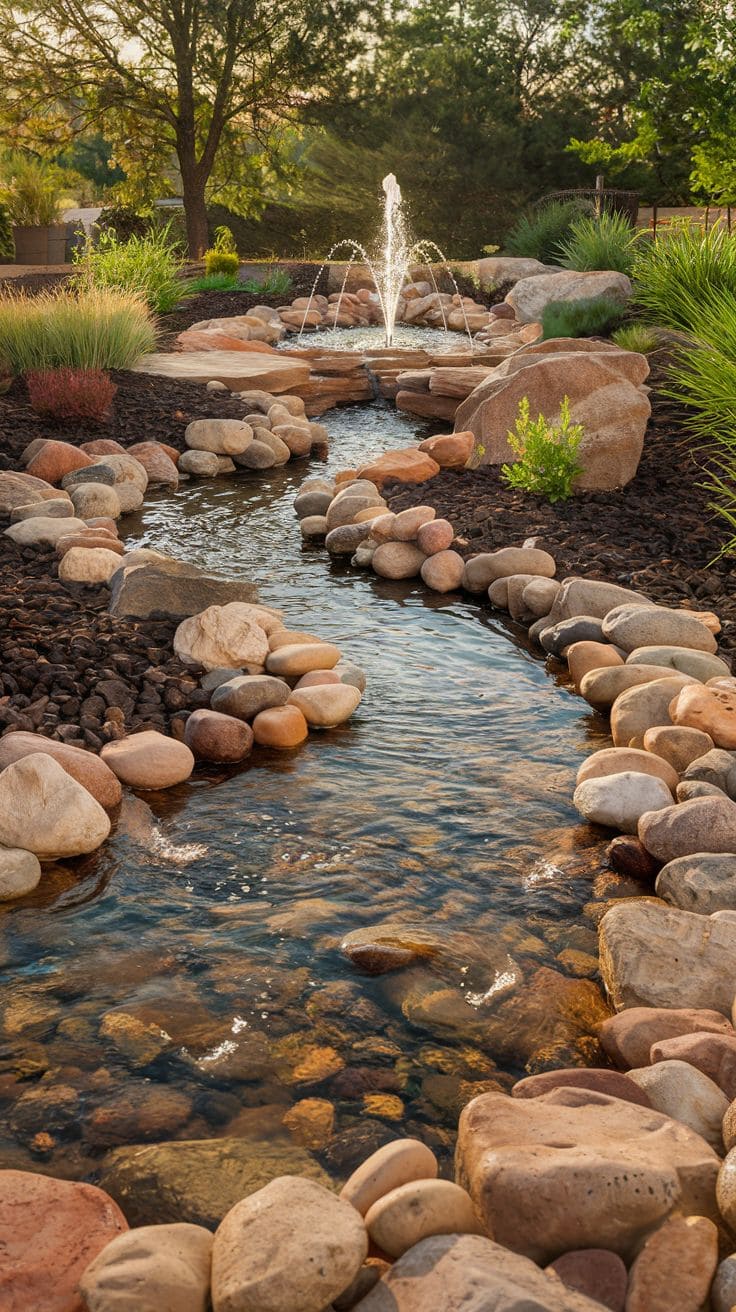
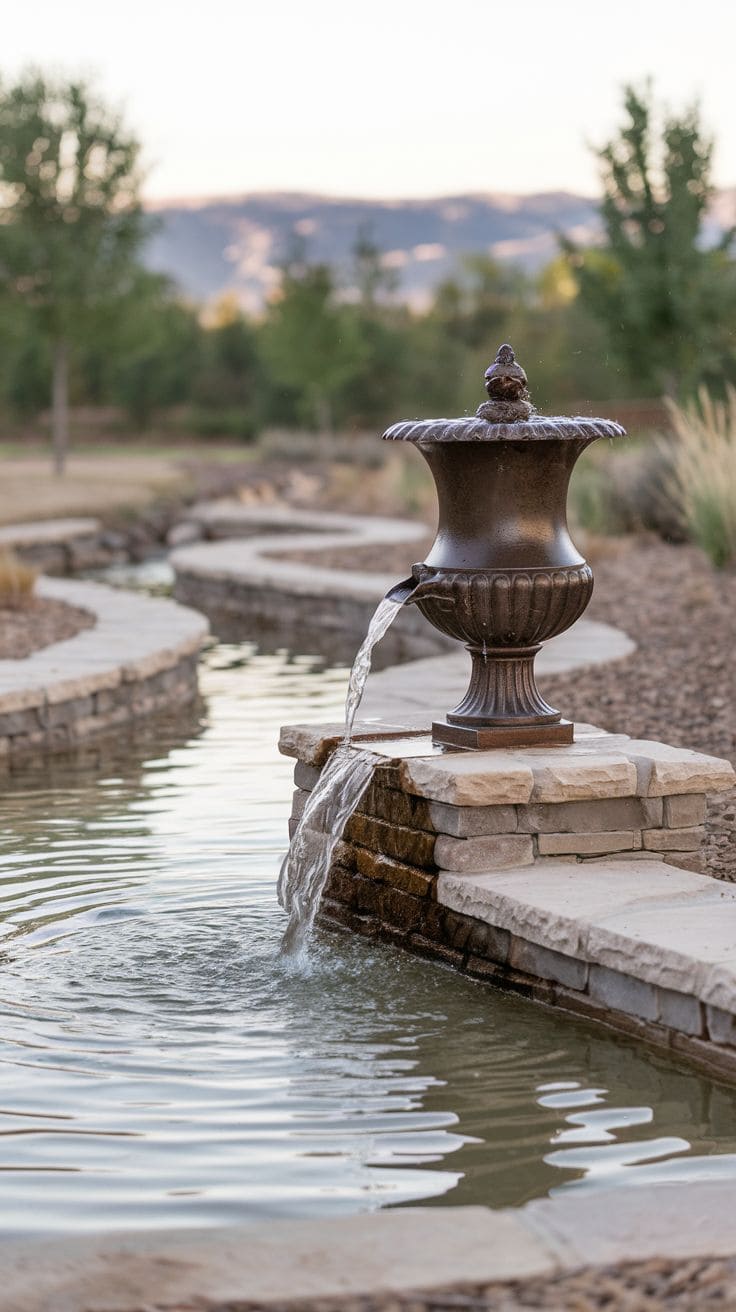
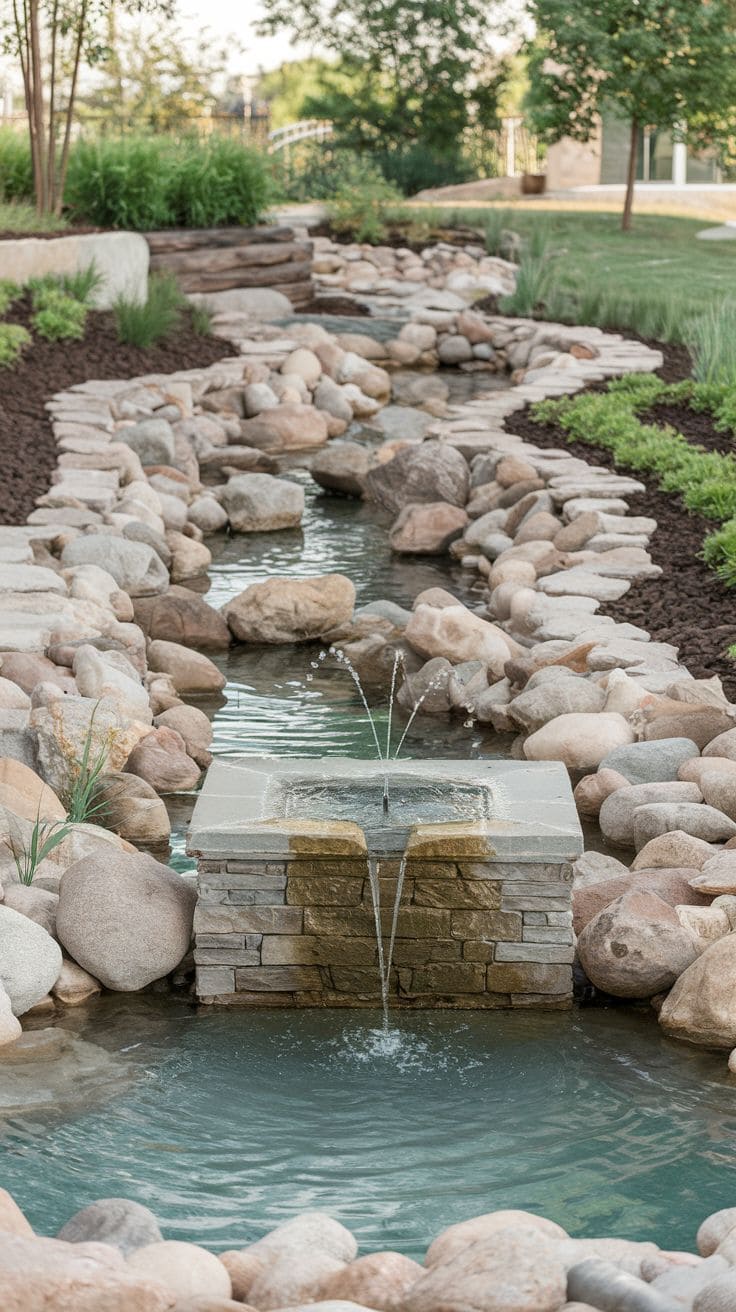
A few more things worth planning around
If drainage is the actual driving concern behind this project, not just the look, drainage ideas for sloped yards and how to fix a muddy backyard cover related solutions worth comparing against a dry creek bed specifically. And if a rock-lined drainage ditch might solve the problem more directly than a naturalistic creek bed would, drainage ditch landscaping ideas is worth a look before committing to the creek-bed approach.
FAQ
Is a dry creek bed just decorative, or does it actually help with drainage?
It can do both, but only if it’s built for the second one. A creek bed placed without regard for the yard’s real water path looks fine in dry weather and does almost nothing during a storm. A functional one follows the yard’s actual low points, has correctly sized rock, real slope, and an actual outlet, not just an aesthetic line of stone.
What size rock should I use for a dry creek bed?
Two-inch river rock is the standard size for handling typical residential water flow without washing away. For heavier runoff, step up to 2 to 3 inch stone or larger, with bed depth around 3 to 5 inches depending on the rock size and expected flow volume.
Do I need landscape fabric under a dry creek bed?
It depends who you ask, and both sides have a real point. Real homeowner reports describe fabric failing within a season or two as silt builds on top of it and weeds root in that silt layer regardless. Other professional guidance argues the real variable is fabric quality and installation, a proper non-woven geotextile installed correctly holds up much better than a cheap roll from a hardware store. Either way, expect some maintenance, no fabric choice makes a creek bed permanently weed-free.
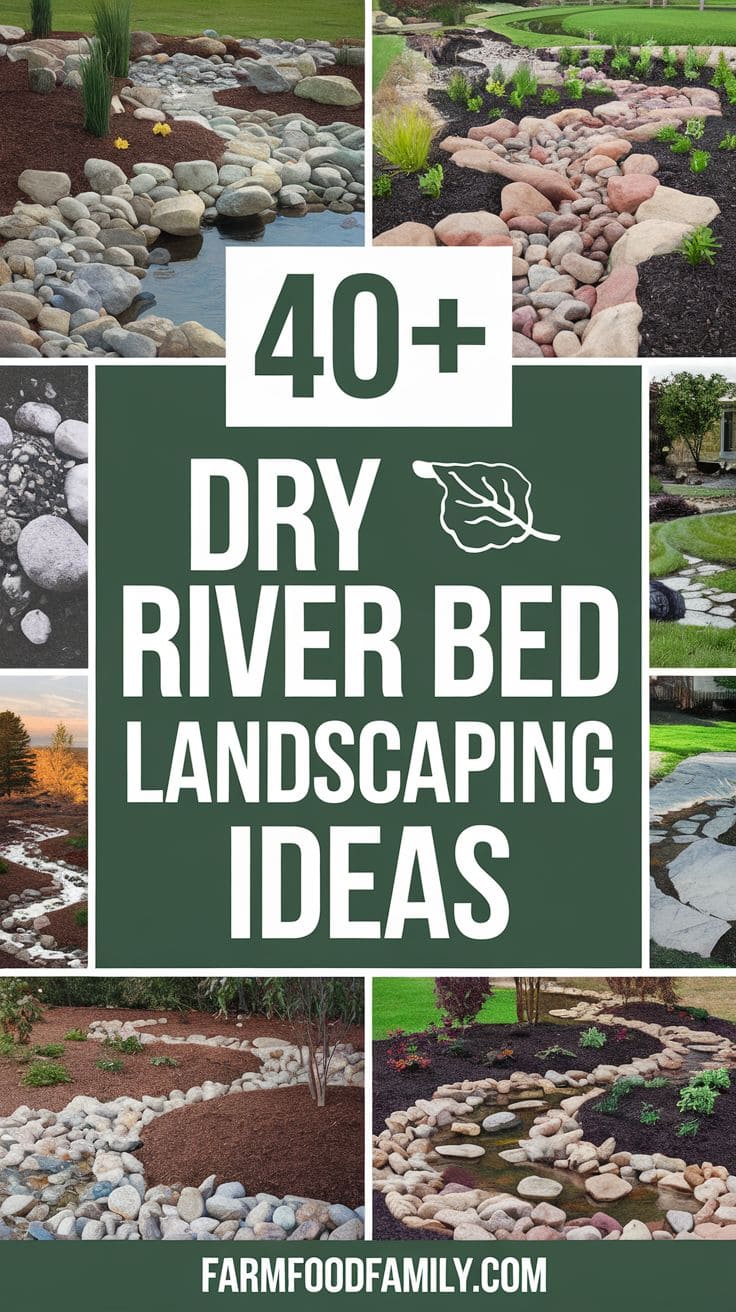
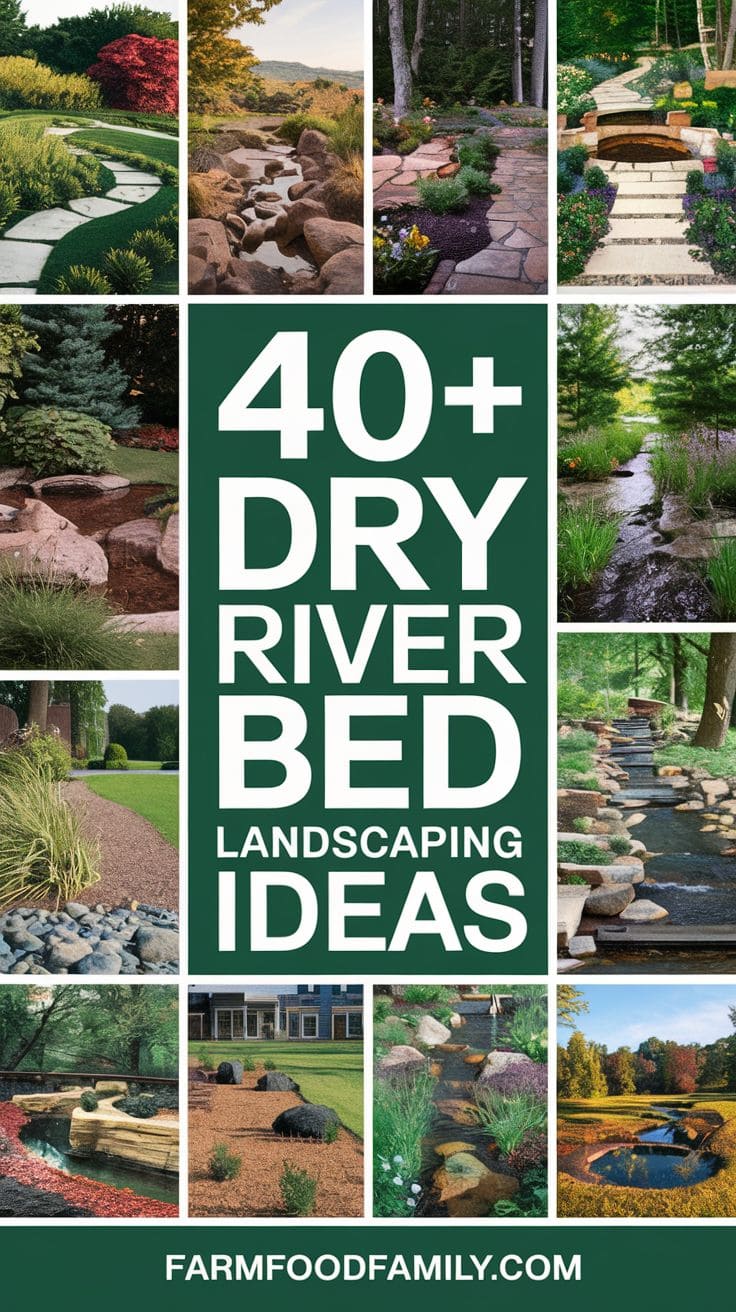
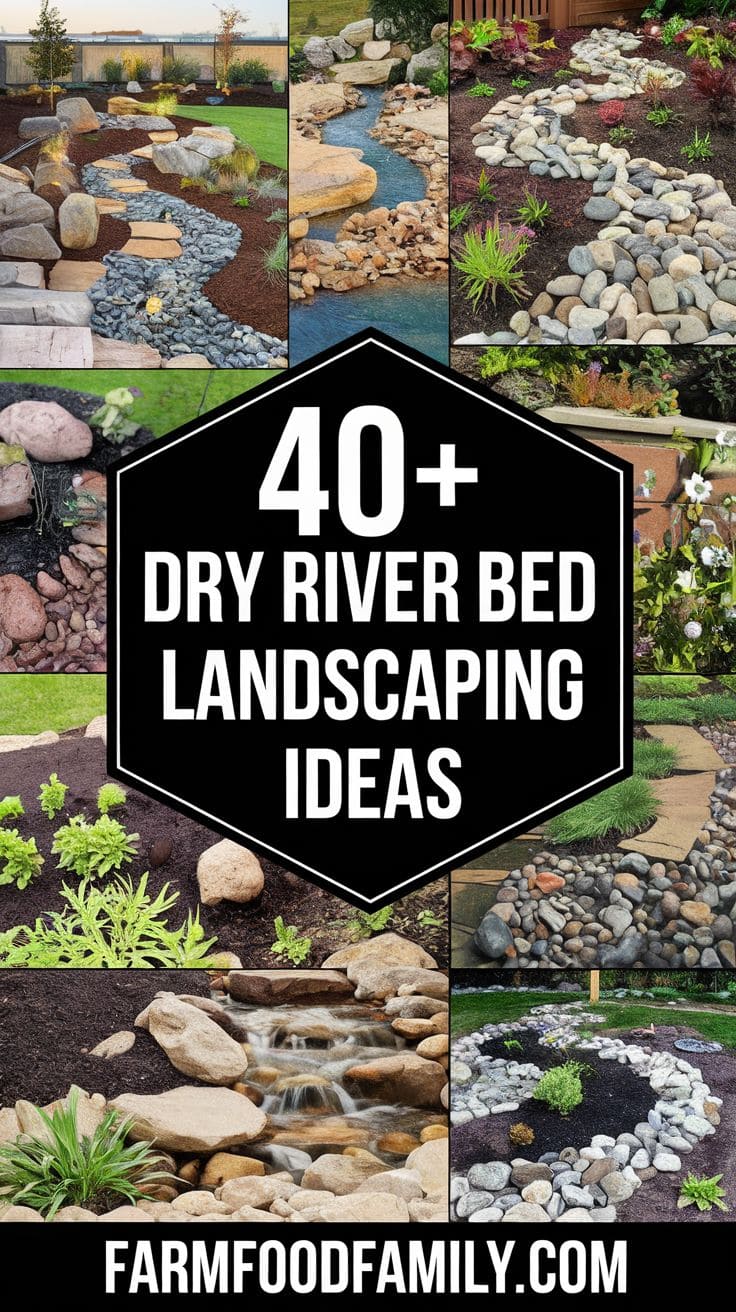
A dry river bed is a versatile landscaping feature that combines beauty and functionality. By combining rocks, plants, and creative elements like bridges or waterfalls, you can design a unique and captivating landscape that enhances both form and function.
Whether you’re looking to manage drainage, add texture, or create a stunning focal point, these ideas showcase the wide range of possibilities for incorporating a dry river bed into your outdoor space. Like the article? Comment down below and share the list with your friends!
Never miss an update — choose FarmFoodFamily as your preferred source on Google.
How it works: Tap the button below to open Google's settings page, then check the box next to FarmFoodFamily.
Tap the checkbox to turn it blue — that's how you know it's set.