How to Level Ground for Pavers: A Foolproof Guide for Patios, Paths, and Driveways
Skip the base compaction step, and your $2,000 patio starts sinking within two seasons. Here’s the exact depth, slope, and layering order that keeps pavers flat for good.

Never miss an update — choose FarmFoodFamily as your preferred source on Google.
How it works: Tap the button below to open Google’s settings page, then check the box next to FarmFoodFamily.
Tap the checkbox to turn it blue — that’s how you know it’s set.
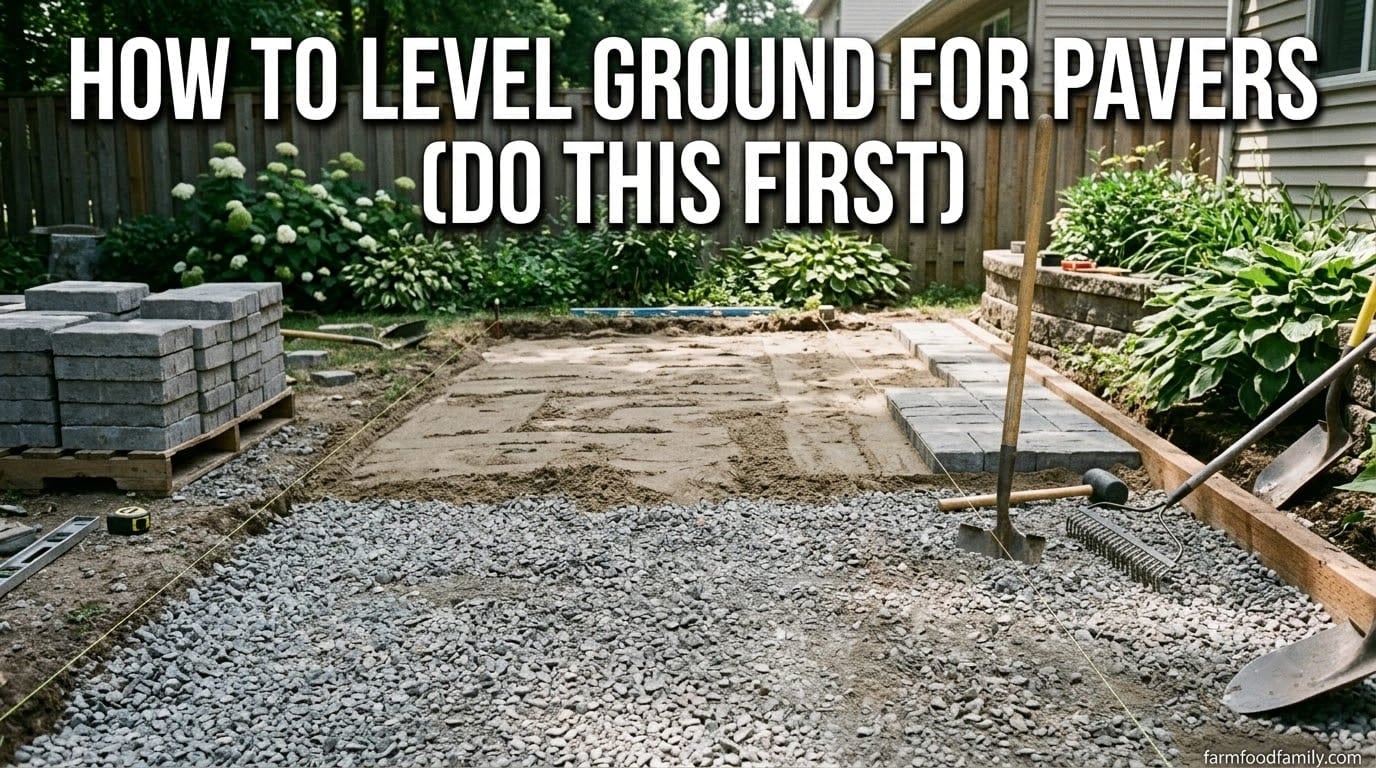
Quick Answer: To level ground for pavers, mark the area, then excavate 6–8 inches deep for patios and walkways, or 8–10 inches for driveways (deeper still in freeze-thaw climates). Build the base back up in compacted layers: 4–6 inches of crushed gravel base, then 1 inch of coarse bedding sand, screeded flat before pavers go down. Grade the base to slope at least 1.5%, roughly 2 inches of drop over every 10 feet, per Interlocking Concrete Pavement Institute (ICPI) standards, so water runs away from structures instead of pooling under the pavers.
Compact every layer on its own with a plate compactor, since skipping compaction is the single biggest reason pavers sink or shift within a year or two. Light-traffic garden paths on ground that’s already close to flat can use a faster minimal-digging method instead, removing under an inch of soil and laying a thin compacted sand bed straight over it.
Why Most DIY Paver Projects Fail Within Two Years
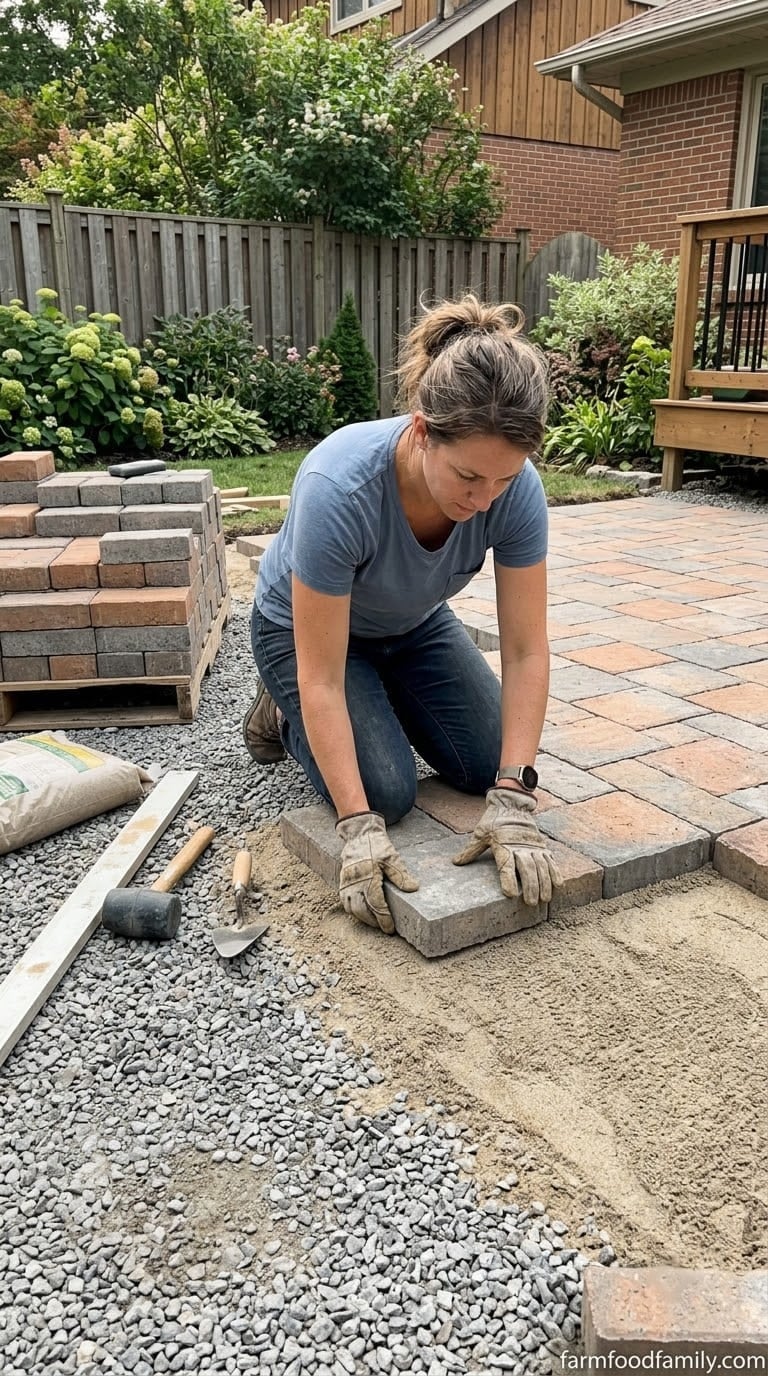
If you’ve ever walked a paver patio that rocks under your feet or watched a walkway sink into puddles after rain, the ground underneath was never actually leveled. It was just eyeballed flat and covered up. Pavers themselves rarely fail. The base underneath them does.
This guide walks through the real prep work: how deep to dig, how to grade for drainage, how to handle clay soil and freeze-thaw climates, and how to compact the base in layers so the surface stays flat for 15-plus years instead of 2. Every step includes the tips a first-timer usually only learns after redoing the project once.
Tools and Materials Checklist
Gathering everything before you start saves multiple hardware-store trips mid-project, and running out of gravel halfway through a compacted layer is a common reason people rush the job.



Tools:
Answer 4 quick questions and get matched to the exact fix for your yard — drainage, budget, layout, or something else entirely.
Take the Free Quiz- Tape measure, stakes, and mason’s string (or a garden hose for curved layouts)
- Flat spade and a mattock or pick for hard or rocky soil
- Wheelbarrow for moving spoil and base material
- Plate compactor (rent one, don’t try to substitute a hand tamper on anything larger than a small path)
- Long level, laser level, or a line level on string
- Screed rails (¾-inch to 1-inch PVC pipe, sold in pairs) and a straight 2×4
- Rubber mallet and a torpedo level
- Wet saw or angle grinder with a diamond blade, for cutting pavers around edges and obstacles
- Push broom, for sweeping sand into paver joints
Materials:
- Crushed, angular gravel (¾-inch minus, sometimes labeled road base, Class II base, or dense-grade aggregate)
- Coarse, sharp bedding sand (not play sand or mason’s sand)
- Non-woven geotextile fabric, recommended between subgrade and gravel base on clay or poorly draining soil
- Edge restraints (plastic with spikes, or a poured concrete curb) and the pavers themselves
- Polymeric sand for the joints
Pro tip: Order 10 to 15% more gravel and sand than your calculated volume. Base material compacts down more than most calculators account for, and running short mid-compaction means a delivery delay with your project half-finished and exposed to rain.
Full Excavation vs. Minimal-Digging: Which Method Do You Need?
Not every paver project needs the same amount of digging. The right method depends on what’s walking or driving on top.
| Method | Best for | Depth removed | Base built up |
|---|---|---|---|
| Full excavation | Patios, driveways, anywhere with vehicle or heavy foot traffic | 6–10 inches | 4–6 in. compacted gravel + 1 in. sand |
| Minimal digging | Stepping-stone paths, light foot traffic only, on ground that’s already close to flat | Under 1 inch | Thin compacted sand bed only |
The minimal-digging shortcut is a real, workable method for a casual garden path. Using it under a patio or driveway, though, is exactly how you end up with pavers that heave and sink after the first freeze-thaw cycle or the first car parks on them.
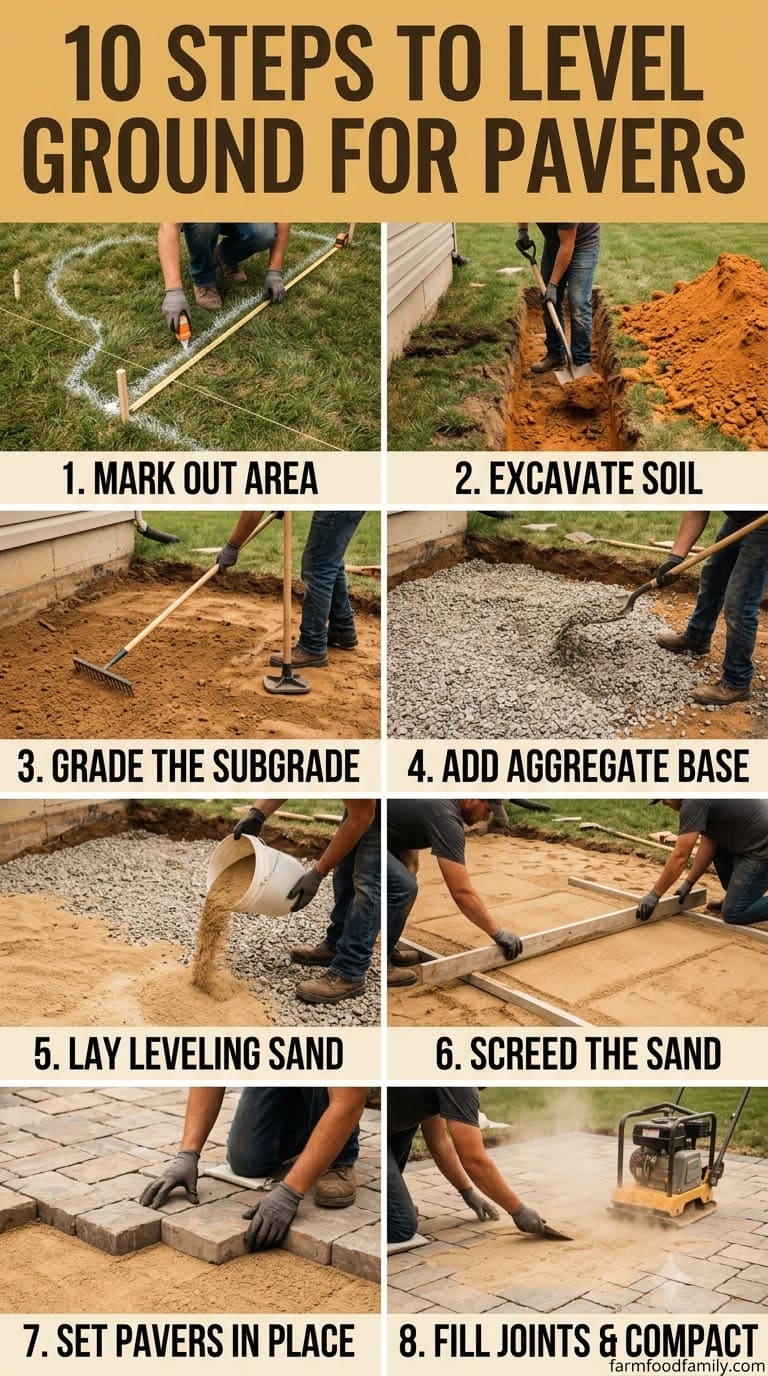
Step 1: Mark and Measure the Area
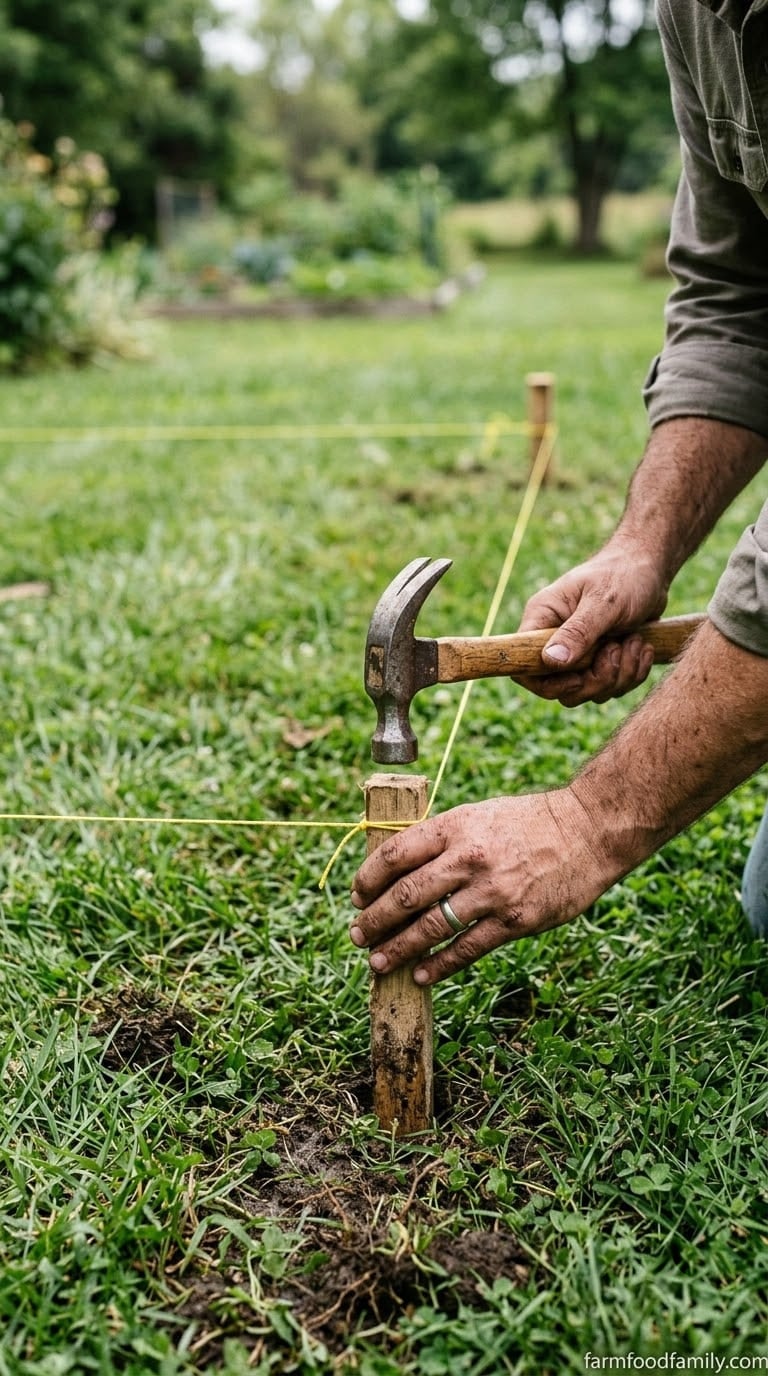
Use stakes and mason’s string to outline the exact footprint, adding 6–12 inches of margin on every side for edge restraints. Measure the square footage now, since it’s what determines how much gravel and sand to order.
Pro tip: Photograph the marked layout from a second-story window or a ladder before you dig. Straight lines and curves are much easier to judge from above, and it’s a lot cheaper to fix string placement than to re-excavate a crooked edge.
Step 2: Decide Your Excavation Depth
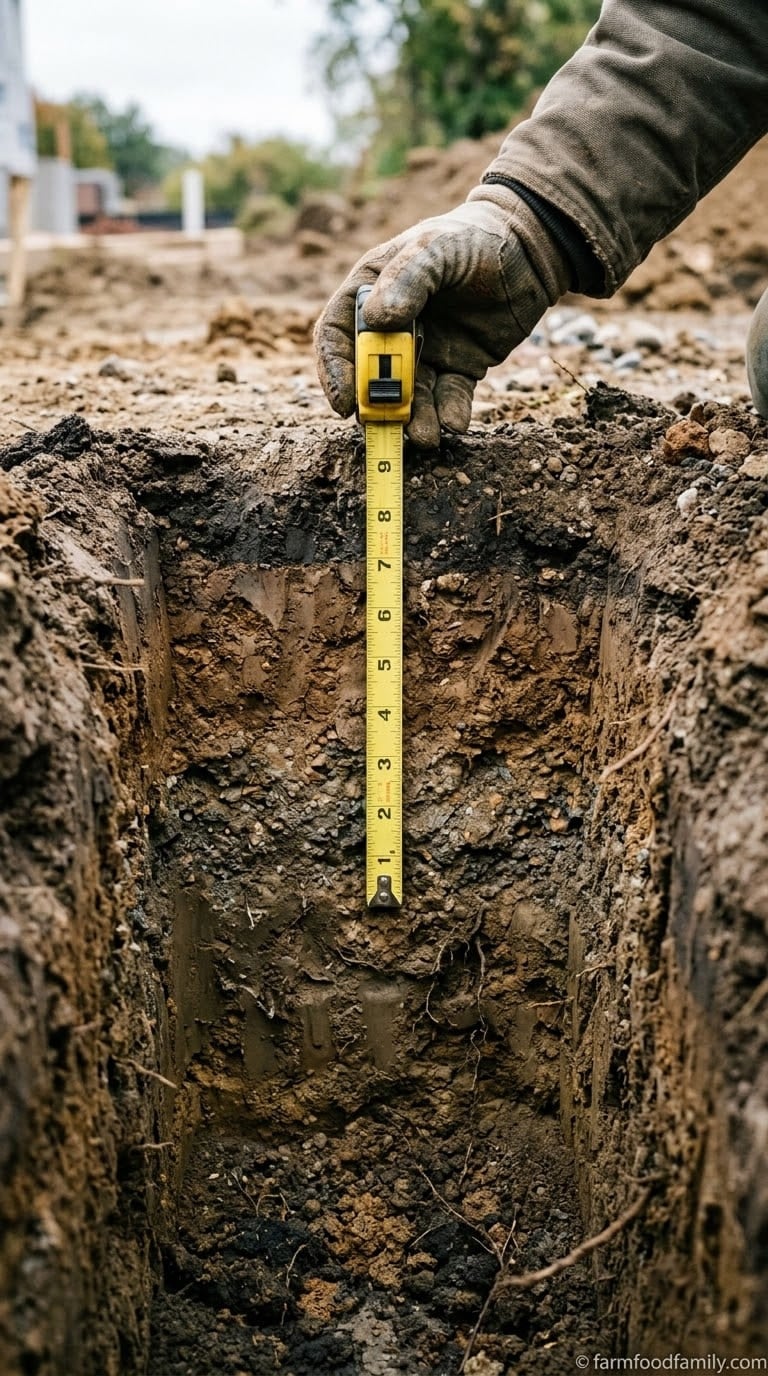
This is the step most DIY guides skip past, and it’s the one that actually determines whether the project holds up.
Most yard problems trace back to one specific, fixable cause. Find yours in 4 quick questions.
Take the Free Quiz
Gas-powered plate compactor for compacting gravel base and sand in layers, ships bundled with the protective pad needed to compact finished pavers without chipping them.
Shop NowThis post contains affiliate links. We may earn a commission on qualifying purchases at no extra cost to you.
- Patios and walkways (foot traffic only): excavate 6–8 inches total
- Driveways or anywhere a vehicle will park: excavate 8–10 inches total
- Freeze-thaw climates (regular hard freezes in winter): add 2–4 inches to the totals above, since a compacted aggregate base needs to sit deep enough to resist frost heave, not just support the surface load
- Light garden paths (minimal-digging method): remove under 1 inch of topsoil
These depths match the minimum base thickness the Interlocking Concrete Pavement Institute specifies for pedestrian pavements, roughly 4 inches of compacted base over well-drained soil, before adding bedding sand and pavers on top. Sandy, well-draining soil can sit at the lower end of these ranges. Heavy clay soil that stays wet should go deeper.
Why frost depth matters: Water trapped in the base expands by roughly 9% when it freezes. That expansion pushes upward against everything above it, a phenomenon called frost heave, and it’s the reason a patio built to summer-only depth in a cold climate can crack or shift by the following spring.
In regions with a deep frost line, a full frost-depth excavation isn’t always practical for a DIY patio, but going a few inches deeper than the bare minimum and making sure drainage is genuinely working (not just graded on paper) does most of the same protective work.
Soil-type tips:
- Sandy or loamy soil: drains well on its own, can generally use the lower end of the depth ranges above
- Heavy clay soil: holds water and expands when wet, add 1–2 inches of extra base depth and strongly consider the geotextile fabric layer below
- Rocky or compacted fill: may need a mattock or pick, not just a spade, budget extra time for excavation
Step 3: Excavate and Clear the Base
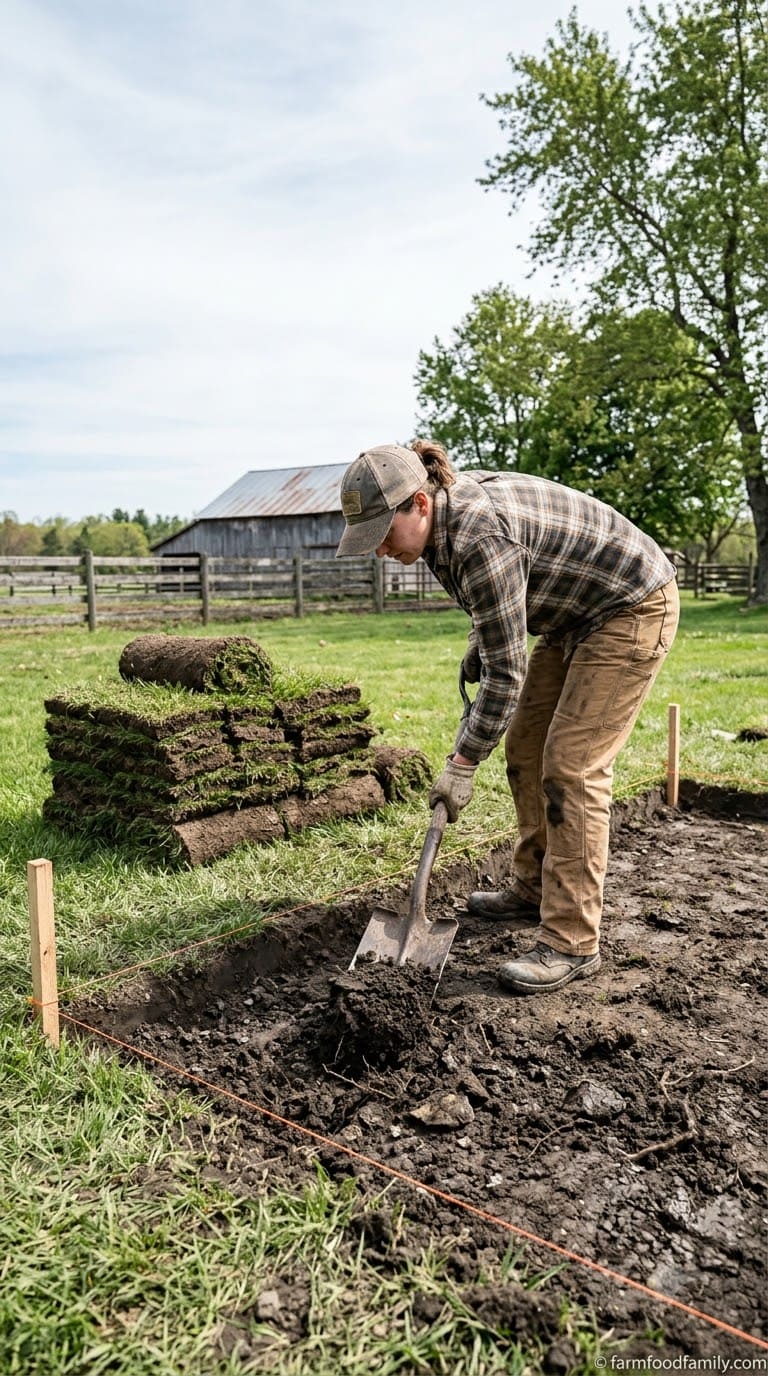
Remove all sod, roots, and topsoil down to subsoil across the marked area. Any organic material left behind (grass, roots, mulch) will decompose over time and create a soft spot that sinks. Rake out rocks and debris as you go.
If the exposed subsoil looks soft or squishes underfoot, compact it now before adding any base material. A soft subgrade will telegraph through every layer above it no matter how well you compact the gravel later.
Pro tip for clay or poorly draining soil: Roll out a non-woven geotextile fabric directly over the compacted subgrade before adding any gravel. It keeps the gravel base from slowly working its way down into the clay over time (a process called migration, or pumping, that hollows out the base from underneath) and separates the layers so each one stays doing its own job.
Step 4: Grade the Slope Before You Add Anything
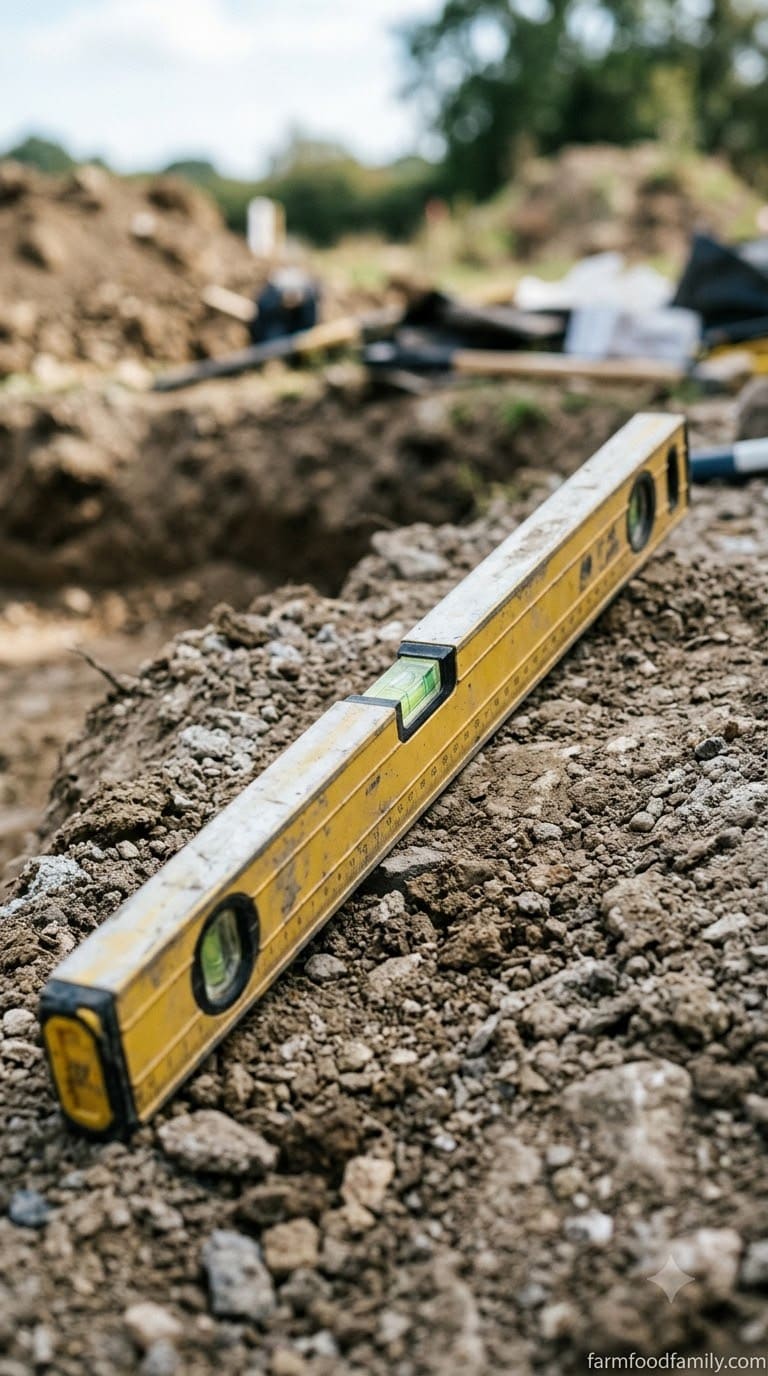
This is the step that separates a patio that drains from one that becomes a shallow pool every time it rains.
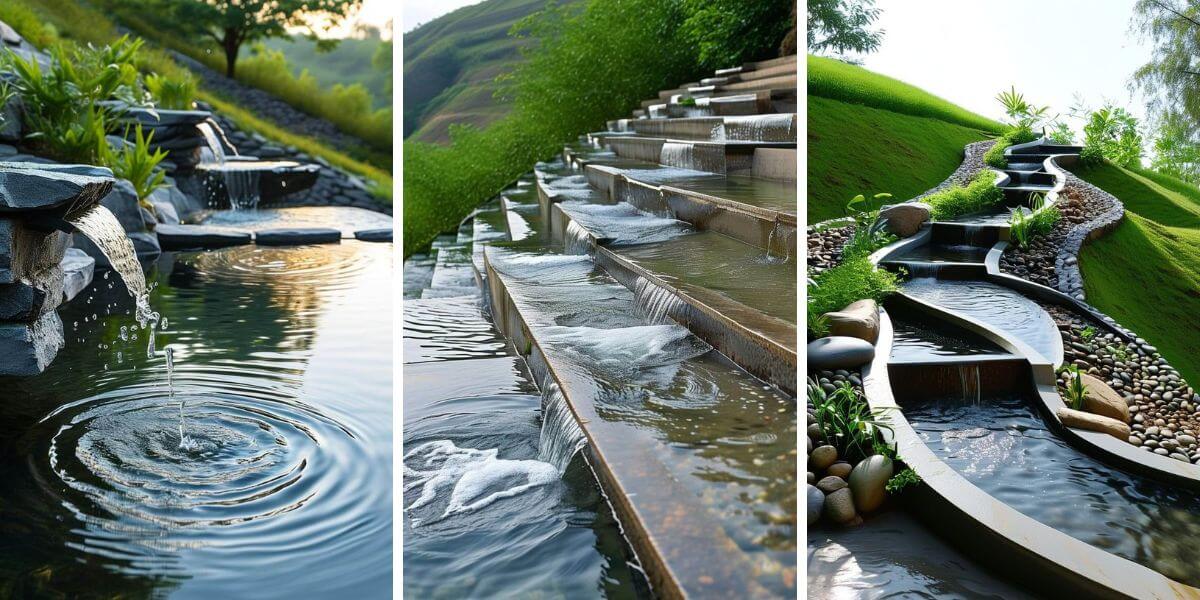
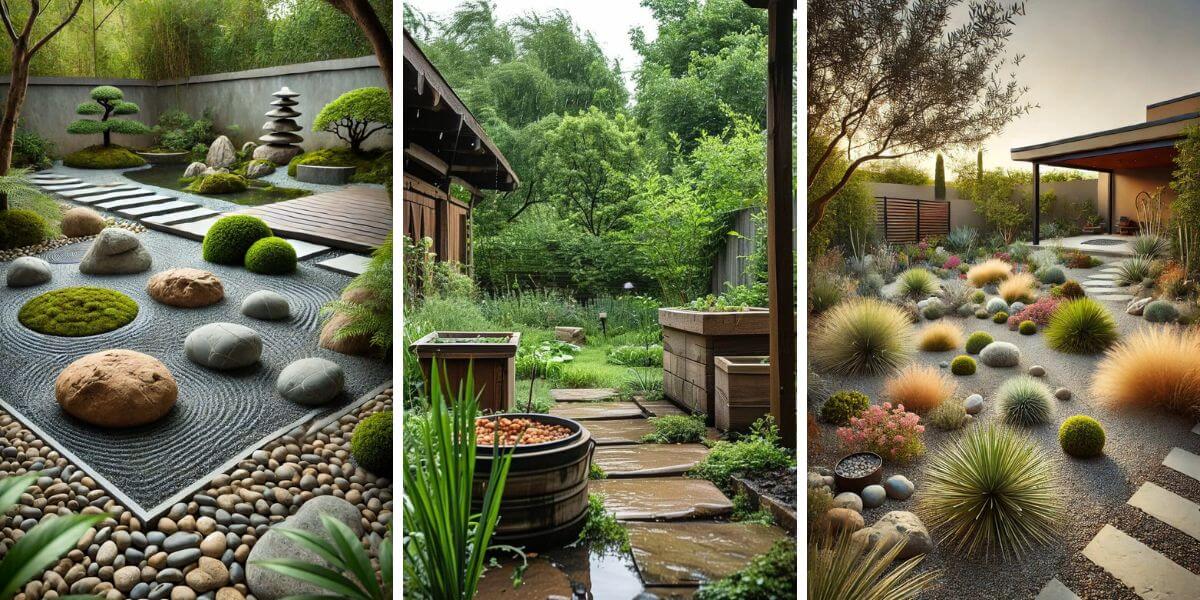

ICPI’s installation standard calls for a minimum slope of 1.5% away from any structure, about 2 inches of drop for every 10 feet of run. University of Missouri Extension’s grading guidance for yards more broadly recommends at least a 2% slope (roughly 2.4 inches over 10 feet) directing water away from foundations, with never less than 2% immediately next to the house.
The average homeowner spends $616/year on yard fixes that don't address the real problem. Find out what yours actually is — before you spend another dollar.
Take the Free QuizUse a long level, a laser level, or string lines with a line level to check the slope as you go, not just at the end. Correcting a slope after the base is compacted means starting over.
| Area | Minimum slope | Direction |
|---|---|---|
| Patio touching the house | 2% (per foundation-drainage guidance) | Away from the house |
| Freestanding patio or path | 1.5% (ICPI standard) | Toward a drainage point, not toward structures |
| Driveway | 1.5–2% | Toward the street or a drain, never toward the garage |
Pro tip: Set grade stakes at every corner and at the midpoints of long runs, marked with the target height at that spot, then run a string line between them pulled taut. As you spread and compact each layer, check it against the string instead of eyeballing it. This is the single easiest way to catch a low spot before it’s buried under gravel.
Step 5: Add and Compact the Gravel Base in Layers
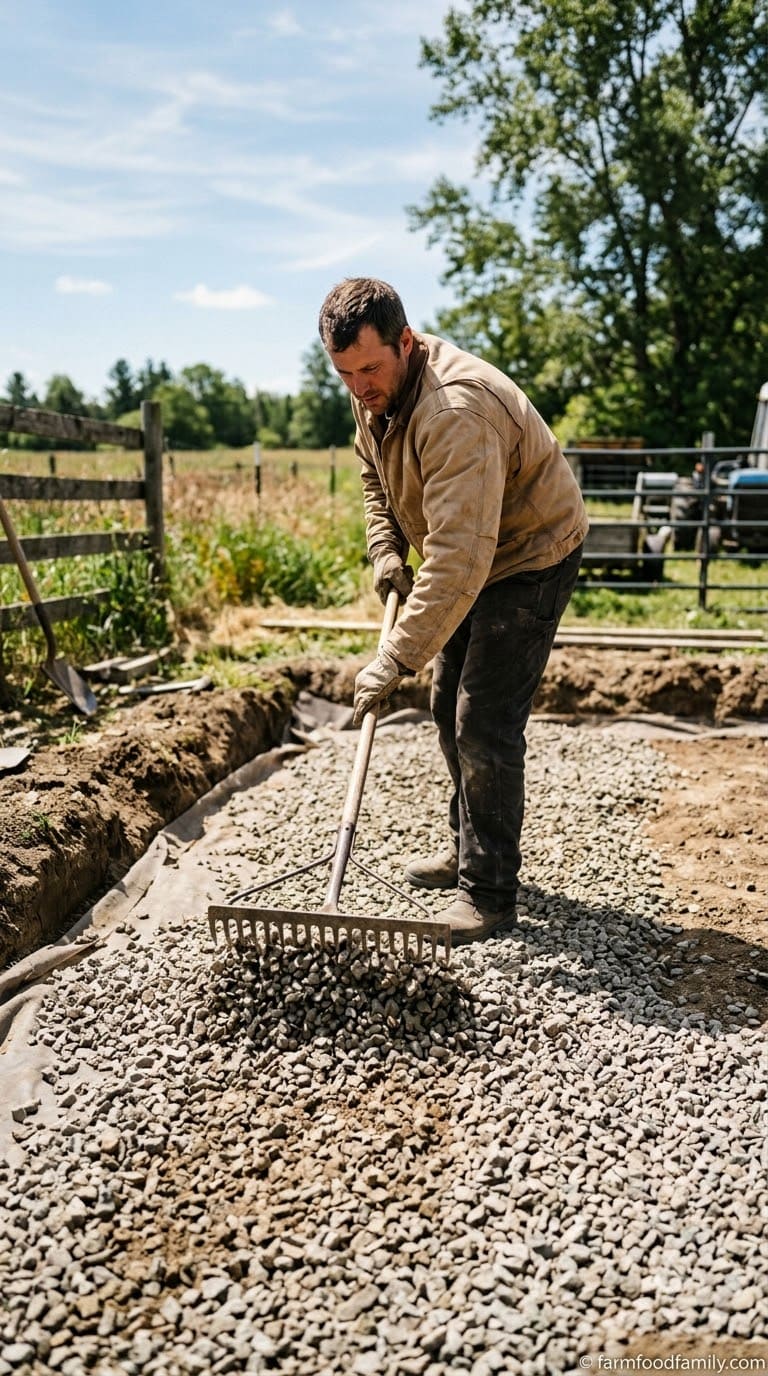
Spread crushed, angular gravel (¾-inch minus, sometimes sold as road base or Class II base) rather than smooth pea gravel, which won’t lock together the same way.
- Add the gravel in 2-inch lifts, not all at once
- Compact each 2-inch layer fully with a plate compactor before adding the next
- Check slope and level after every compacted lift, not just at the end
- Repeat until you reach your target base depth (4–6 inches for patios/walkways, 6–8 for driveways, more in freeze-thaw climates)
Skipping the layered compaction and just running the compactor once over a deep pile of loose gravel is the single most common shortcut that causes settling. Air pockets trapped deep in the base don’t compress at the surface. They collapse months later, once the ground has been rained on and driven or walked on repeatedly.
Pro tip: Lightly mist the gravel with water before each compaction pass (not soaking it, just damp). Moisture helps the aggregate particles lock together under the compactor instead of sliding past each other, which is part of why professional crews compact in the morning after dew or a light watering rather than on bone-dry gravel.
Step 6: Add the Bedding Sand Layer
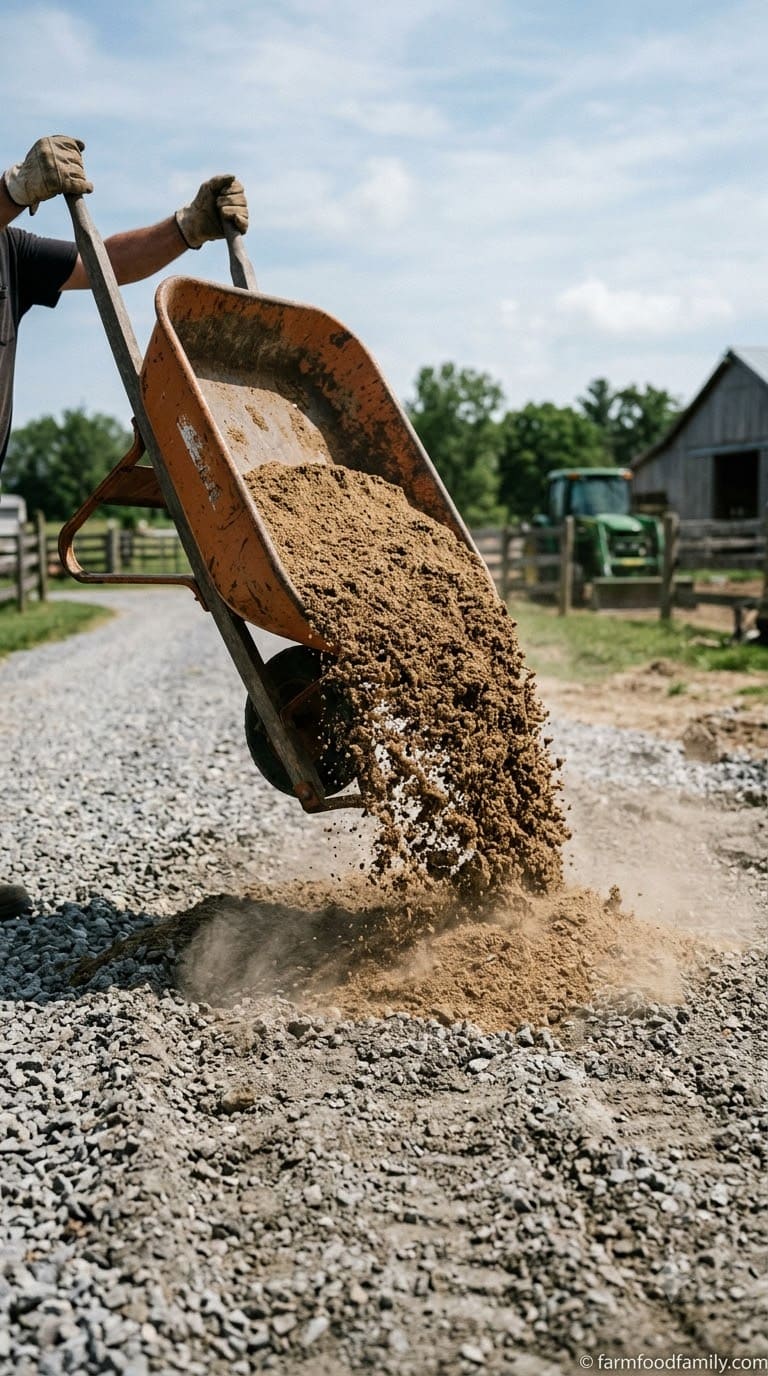
Spread 1 inch of coarse, sharp bedding sand (not play sand or mason’s sand, which are too fine and won’t drain) evenly over the compacted gravel base.
Pro tip: Don’t compact the sand layer itself before setting pavers. It only needs to be screeded flat, since compacting it separately can create an overly dense bed that won’t let the pavers settle evenly when you compact the finished surface in Step 10.
Step 7: Screed the Sand Flat
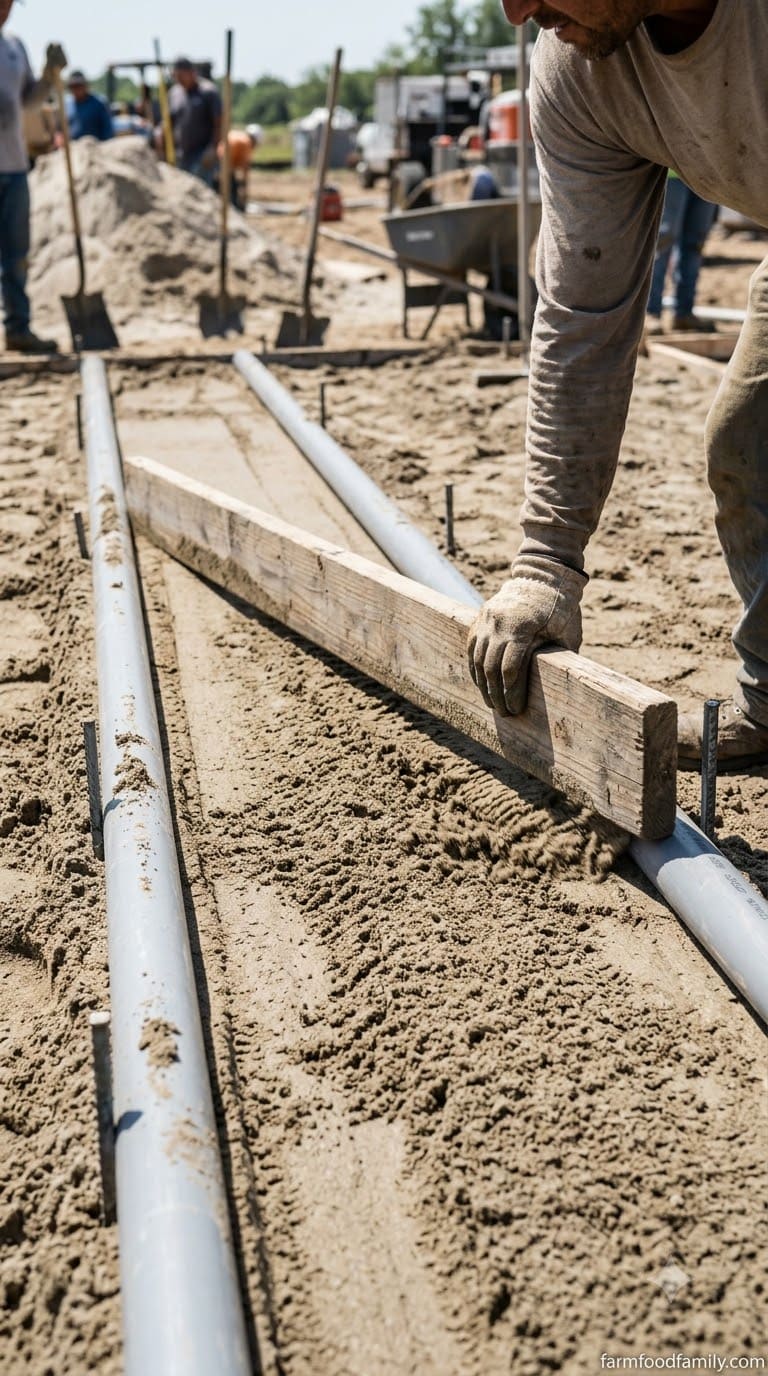
Lay two lengths of ¾-inch or 1-inch PVC pipe or metal screed rails on the sand, spaced apart to match a straight board, then drag a straight 2×4 across the rails to level the sand to a uniform depth. Remove the rails and carefully fill the small grooves they leave behind with a bit more sand, smoothed by hand, before setting pavers.
Do not walk on the screeded sand before laying pavers. Footprints create low spots that show up as dips once the pavers are down.
Pro tip: Screed and set pavers in small sections, roughly 4 to 6 feet at a time, rather than screeding the entire patio and then walking across it to place pavers. Working section by section means you’re always stepping on gravel or already-set pavers, never on bare screeded sand.
Step 8: Set the Pavers, Working Outward from a Fixed Point
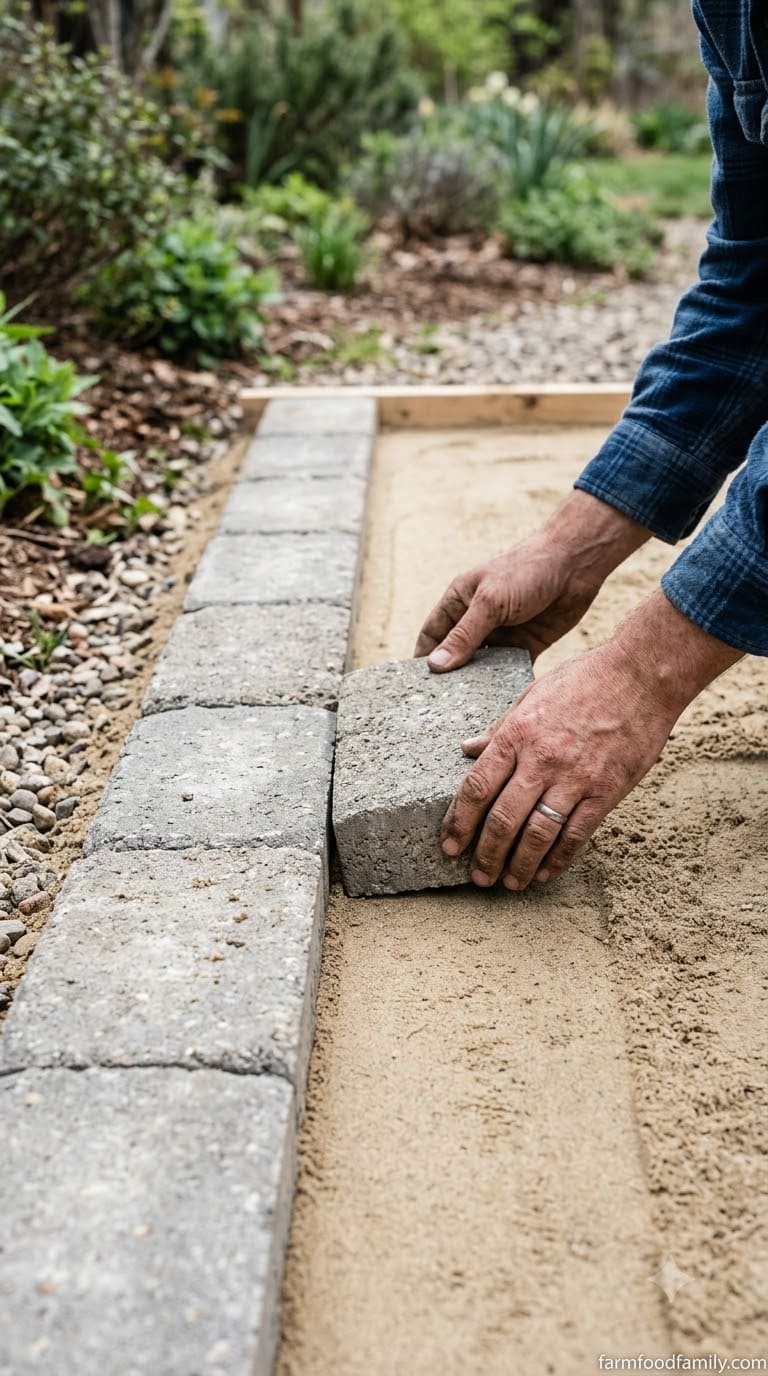
Place pavers directly on the screeded sand, working from a fixed edge or corner (typically the house or a straight boundary) and checking level every few rows with a torpedo level, tapping high spots down with a rubber mallet.
Cutting pavers around obstacles: For edges, curves, and spots around drains, posts, or steps, mark the cut line directly on the paver, then score and cut with a wet saw or an angle grinder fitted with a diamond blade. A wet saw gives a cleaner edge and controls dust better on a bigger project. Always wear eye and hearing protection, and never force a paver into a gap that’s slightly too small, since it stresses the surrounding pavers and can crack them later.
Pro tip: Keep joint spacing consistent (most pavers are manufactured with built-in spacer lugs, or aim for roughly ⅛ inch) across the entire field. Inconsistent joint width is one of the most common things that makes a DIY paver job read as amateur even when the leveling underneath is done correctly.
Step 9: Install Edge Restraints
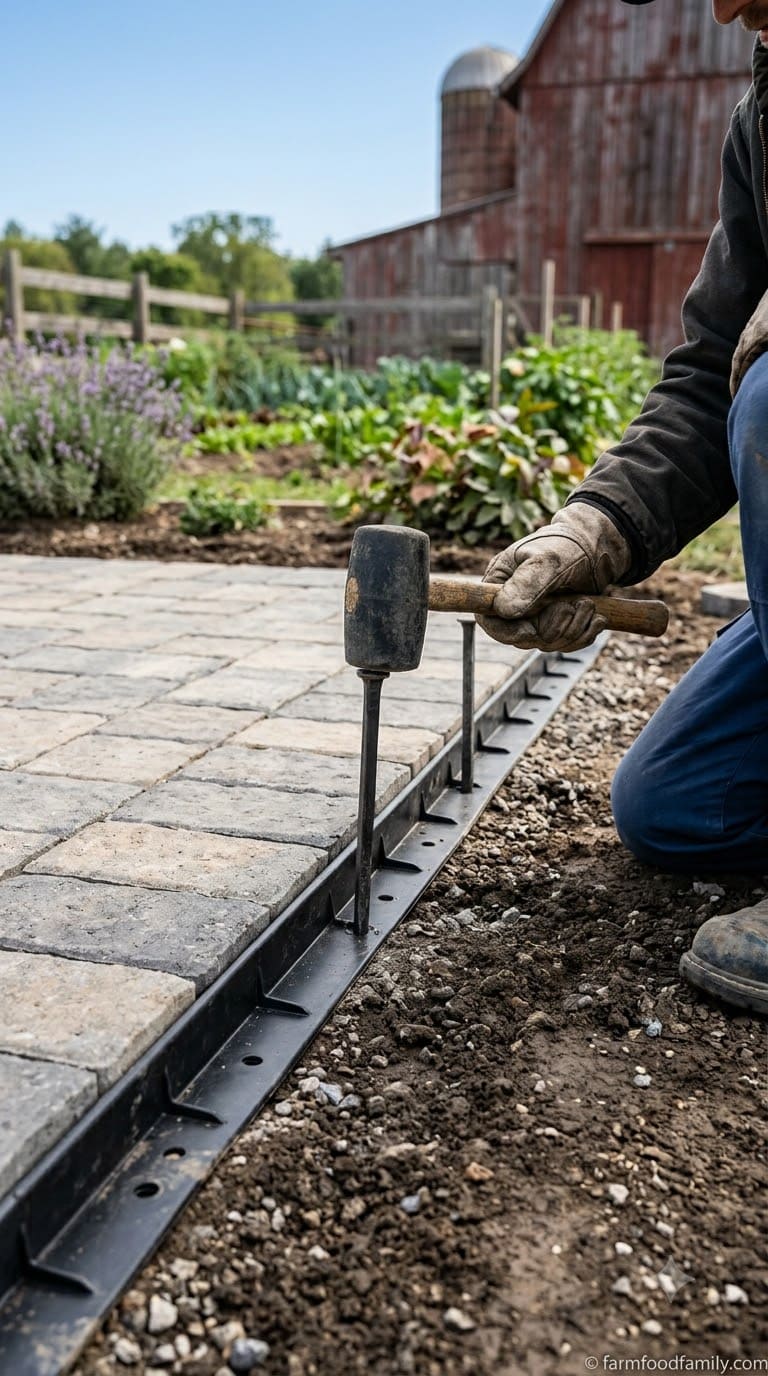
Edge restraints lock the outer border of pavers in place so the whole field can’t slowly spread outward under foot or vehicle traffic, undoing all the leveling work over time.
Per the Concrete Masonry & Hardscapes Association’s technical guidance, plastic edge restraints with non-galvanized spikes work well for patios and walkways on a standard gravel-and-fines base, and the slight rusting of the spikes actually helps them grip and lock into the base over time. Driveways and other vehicle-load areas generally call for a stronger restraint, such as a poured concrete curb, since plastic restraints alone can be pushed up and exposed by repeated freeze-thaw cycles under heavier loads.
Set restraints tight against the outermost row of pavers and stake them into the compacted base every 12 inches, closer together on curves.
Step 10: Compact the Field and Fill Joints with Polymeric Sand
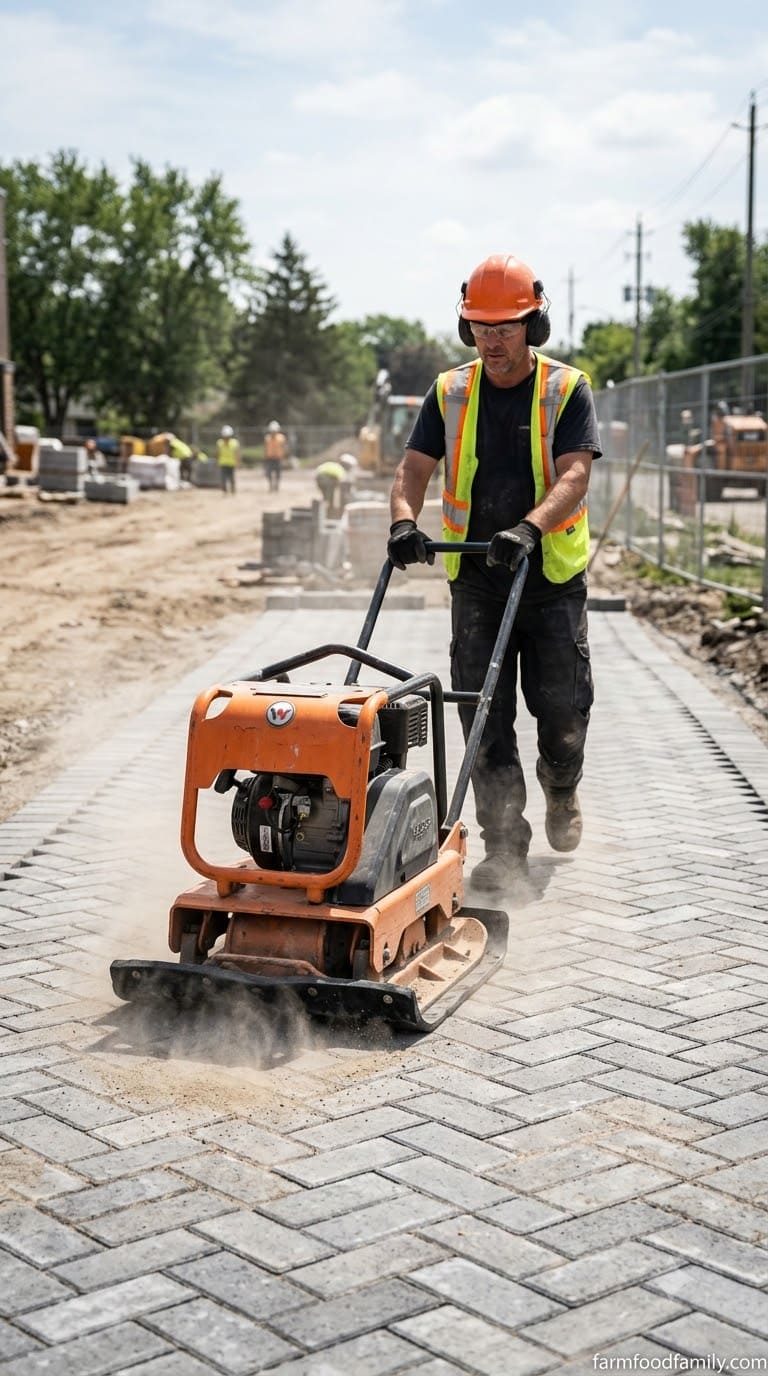
Once the full field is set, run the plate compactor over the pavers themselves (fitted with a protective pad to avoid chipping the surface) to seat them into the sand bed.
Sweep polymeric sand into the joints until they’re completely full, then blow or sweep the excess off the paver surface before misting the area with water in the specific pattern the product’s instructions describe (usually a fine mist repeated 2 to 3 times, never a heavy soak). The polymer in the sand activates when it dries, locking the joints and helping resist weed growth and ant intrusion, but leftover sand dust left sitting on the paver surface when it’s misted can leave a hazy film that’s genuinely hard to remove.
Pro tip: Work polymeric sand into the joints on a dry day with no rain in the forecast for at least 24 hours. Sand that gets rained on before it’s properly activated can wash out of the joints or cure unevenly on the surface.
Common Problems and How to Fix Them
A few pavers sink or wobble after a season. This usually means a void formed under those specific pavers, either from a soft spot that wasn’t compacted or from erosion under a poor drainage path. Pull the affected pavers, add and compact fresh bedding sand underneath (checking the gravel base beneath that for the same issue), then reset and re-level them.
Weeds keep coming up in the joints. Polymeric sand resists this far better than regular joint sand, since it hardens into a semi-solid layer once activated. If weeds are already established, pull them, clean out the joint, and refill with fresh polymeric sand rather than fighting the same weeds every season.
A white, chalky film appears on the pavers. This is efflorescence, mineral salts rising to the surface as moisture evaporates from concrete pavers. It’s cosmetic, not structural, and typically fades with normal weathering and rain within a season or two. A dedicated efflorescence cleaner speeds it up if it bothers you sooner.
The patio holds standing water after rain. This points back to Step 4. Either the original slope was too shallow, or it was lost during compaction. Check the grade with a level, and if a section has gone flat or reverse-sloped, that area needs to be pulled up and reset with the correct fall restored.
Timing the Project Around the Weather
Compaction works best when the base material is slightly damp, not soaked and not bone-dry, so avoid starting right after heavy rain when the subgrade is saturated. In regions with real winters, most professional crews avoid setting the final paver surface in the weeks leading into the first hard freeze, since polymeric sand and any mortar-set edge work need time to cure properly before facing freeze-thaw cycling.
Should You DIY This or Hire a Pro?
| Factor | Lean DIY | Lean pro |
|---|---|---|
| Project size | Small patio or path, under 200 sq ft | Large patio, full driveway |
| Soil condition | Sandy or loamy, drains well | Heavy clay, standing water, or a known drainage problem |
| Equipment access | Comfortable renting and running a plate compactor for a weekend | No easy compactor rental nearby, or physically demanding excavation |
| Slope complexity | Simple, mostly flat yard | Steep grade, retaining walls, or drainage routed near the foundation |
A straightforward patio on decent soil is a genuinely doable weekend-and-a-half DIY project for someone comfortable with basic tools. A driveway, a yard with real drainage problems, or a slope that needs engineering judgment is where the cost of hiring a pro usually pays for itself in avoided redo work.
What Happens When You Skip a Step
I learned the base-depth lesson the expensive way on a first paver walkway: 3 inches of gravel instead of 6, no layered compaction, just one pass with a hand tamper. It looked flat for exactly one summer. By the following spring, three pavers near the middle had dropped almost half an inch, and water was pooling in the dip every time it rained. Pulling those pavers back up, digging out the shallow base, and redoing it properly with a rented plate compactor took a full weekend. It would have taken the same weekend the first time around if the base had been built right from the start.
Level Ground for Pavers FAQ
How deep should I dig to level ground for pavers? Dig 6–8 inches deep for a patio or walkway that only carries foot traffic, and 8–10 inches for a driveway or any area a vehicle will use, per standard base-thickness guidance from the Interlocking Concrete Pavement Institute. Add 2–4 inches in regions with regular hard winter freezes to help resist frost heave.
What slope should the ground have under pavers? Grade a minimum 1.5% slope (about 2 inches of drop per 10 feet) away from any structure, per ICPI’s installation standard, or at least 2% directly next to a house foundation per university extension grading guidance.
Can I level ground for pavers without digging? Yes, but only for light-traffic garden paths on ground that’s already close to flat. Remove under an inch of topsoil, add a thin compacted sand bed, and set stepping pavers directly on it. This shortcut isn’t rated for patios, driveways, or anywhere carrying regular foot traffic or vehicles.
Do I need gravel under pavers, or is sand enough? You need both, in layers. Compacted gravel (4–6 inches for patios, more for driveways) provides the structural base and drainage. A 1-inch sand layer on top is only the leveling bed for the pavers themselves, not a substitute for the gravel base underneath.
Do I need landscape fabric under a paver base? Not always, but it’s strongly recommended over clay or poorly draining soil. A non-woven geotextile fabric between the subgrade and the gravel base keeps the two layers from mixing together over time, which otherwise slowly hollows out the base from underneath.
What’s the most common mistake when leveling ground for pavers? Skipping layered compaction: spreading the full gravel depth at once and compacting it in a single pass instead of compacting it in 2-inch lifts. Trapped air pockets in an under-compacted base are the leading cause of pavers sinking or shifting within the first year or two.
Related Posts
- 30+ Easy Paver Patio Ideas and Designs On A Budget for Small Backyards
- 20+ Best Driveway Ideas on a Budget, With 2026 Cost Data
- 20+ Stunning Patio Extension Ideas for Stylish Outdoors
Products We Recommend
This post contains affiliate links. We may earn a commission on qualifying purchases at no extra cost to you.
WEN 56035T 7 HP 4,500-lb. Plate Compactor with paver protective pad
Gas-powered plate compactor for compacting gravel base and sand in layers, ships bundled with the protective pad needed to compact finished pavers without chipping them.
Shop Now
Bosch GLL50-20G Self-Leveling Cross-Line Laser
Checks slope and grade accuracy across the full base in one sweep, not just at a few spots with a hand level
Shop Now
VEVOR Non-Woven Geotextile Fabric, 3 ft x 100 ft
Separates subgrade from gravel base on clay or poorly draining soil, prevents the base from migrating down into the clay over time
Shop Now
DOMINATOR Polymeric Sand, 10 lb.
Locks pavers in place in the joints, resists weed growth and ant intrusion far better than regular joint sand
Shop NowNever miss an update — choose FarmFoodFamily as your preferred source on Google.
How it works: Tap the button below to open Google's settings page, then check the box next to FarmFoodFamily.
Tap the checkbox to turn it blue — that's how you know it's set.