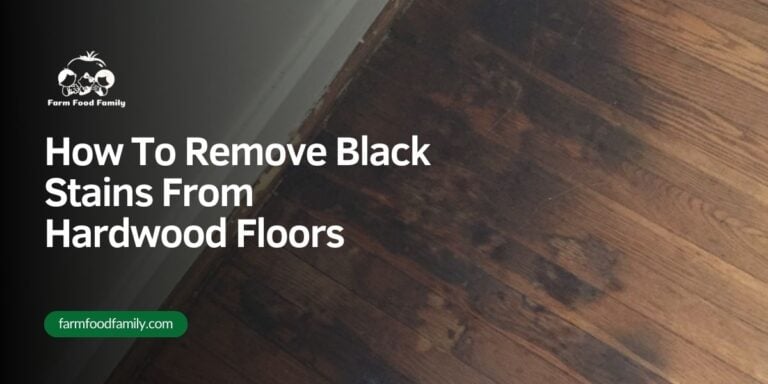
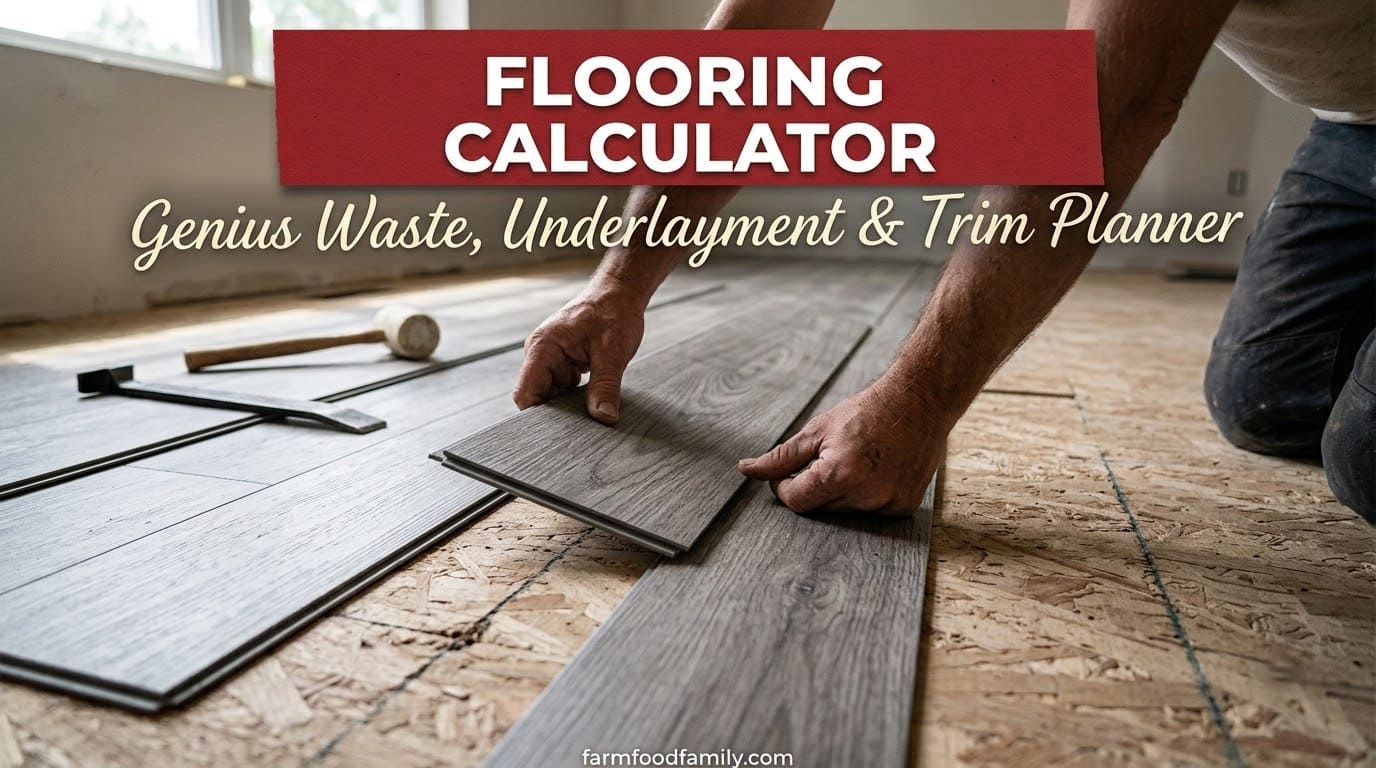
Flooring Calculator: Genius Waste, Underlayment & Trim Planner
Find out exactly how many boxes to buy, whether you need underlayment, and how much trim and transition strip to grab, before you make one trip to the store.

Never miss an update — choose FarmFoodFamily as your preferred source on Google.
How it works: Tap the button below to open Google’s settings page, then check the box next to FarmFoodFamily.
Tap the checkbox to turn it blue — that’s how you know it’s set.
Flooring Calculator
Add every room, pick your material and pattern, and get a waste-adjusted box count plus underlayment, transition strip, and trim estimates in one pass.
What to Order
| Cost item | Amount |
|---|
Waste-factor guidance by installation pattern and the waste-before-box-rounding sequencing follow trade-press and manufacturer installation-guide conventions (Shaw, NWFA-aligned sources). Box coverage, underlayment roll size (100 sq ft is the standard roll), and per-material acclimation times are industry-standard figures aggregated from manufacturer product listings, not a single universal spec, since exact coverage varies by SKU. Box coverage and prices are editable defaults, always confirm against the label of the product you actually buy. This tool is a planning estimate, not a substitute for a professional measurement.
Quick Answer: A flooring calculator estimates how much material to buy by measuring your room’s square footage, then adding a waste factor for your specific installation pattern, straight lay typically needs 10 percent extra, diagonal about 15 percent, and herringbone or chevron patterns 20 percent or more. Complex rooms with several closets, alcoves, or extra corners need an added 5 percent per feature on top of that. The correct order matters too: apply the waste percentage first, then round up to whole boxes, not the other way around. Beyond the flooring itself, most projects also need underlayment (sold in rolls covering about 100 square feet), one transition strip per doorway, and baseboard or quarter-round trim measured around the room’s perimeter. Getting all of this from one calculation avoids the most common flooring mistake: running short mid-install and reordering from a different dye lot that doesn’t match.
Why Most Flooring Calculators Run You Short
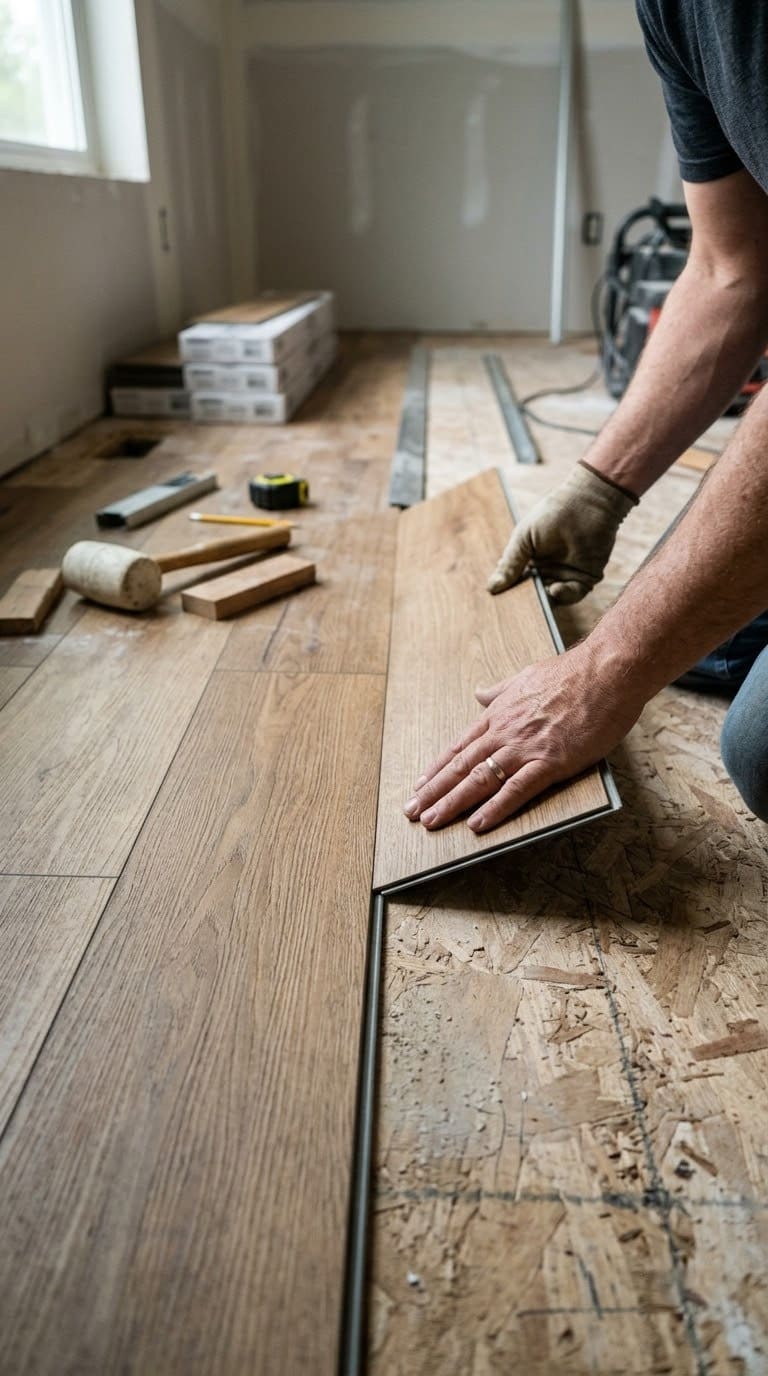
Most flooring calculators, including the ones built into major retailer websites, use one flat waste percentage no matter what you’re installing or how you’re installing it. Type in your room size, and you get a single 5 to 10 percent bump regardless of whether you’re laying planks straight across the room or in a herringbone pattern.
That flat number is the problem. Herringbone and chevron patterns can waste twice as much material as a straight lay, since every plank gets cut at an angle and the offcuts rarely reuse cleanly.
This calculator builds in a real waste matrix instead, based on your material, your pattern, and how many closets or extra corners your room has. It also handles the box-rounding math in the right order, applying waste before rounding up, not after, which is where flat-percentage tools tend to quietly overshoot or undershoot.



How This Calculator Works
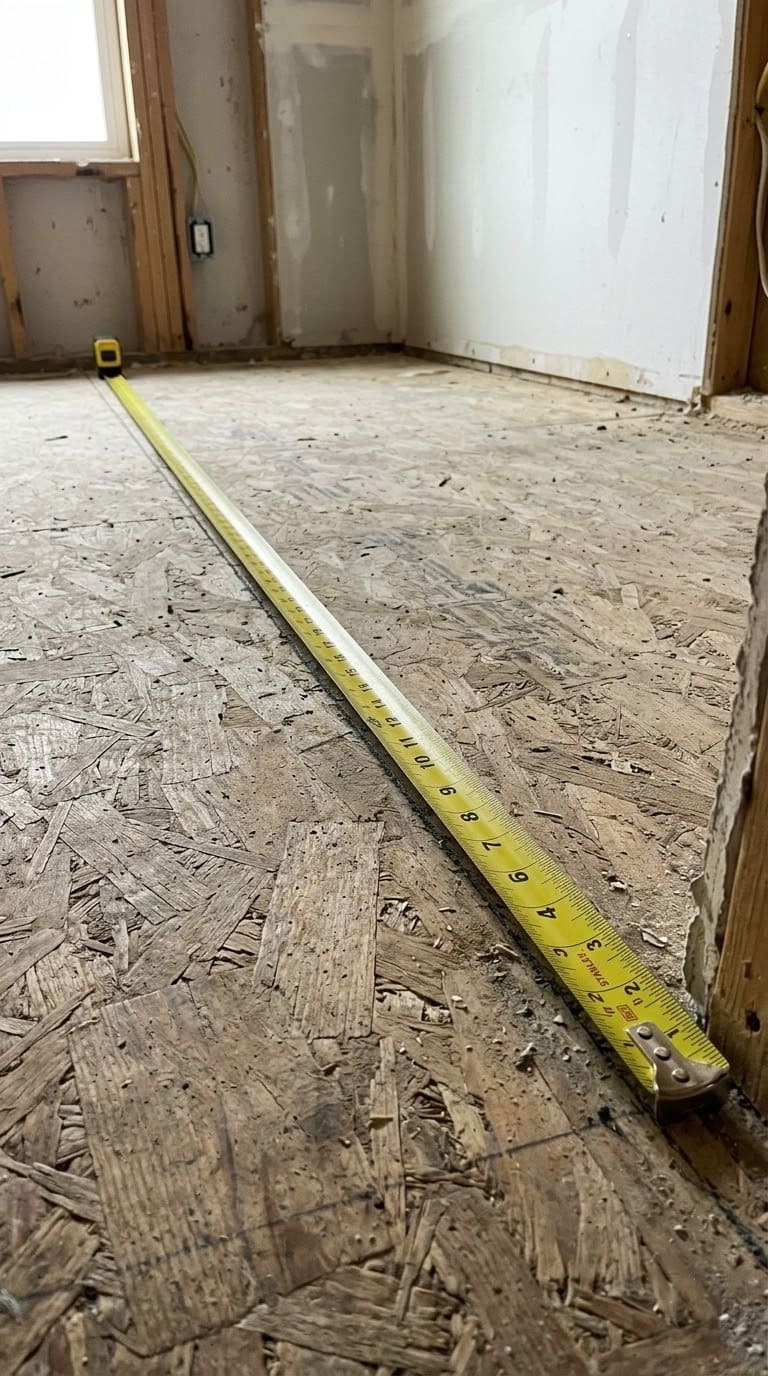
Step 1: Enter your room dimensions. For an L-shaped or irregular room, split it into rectangles at the inside corner and enter each one as a separate room. This is the standard measuring method used across flooring trade guides.
Step 2: Pick your material and pattern. Box coverage, default pricing, and acclimation guidance all update automatically based on your material choice, and you can adjust any of them.
Step 3: Add doorways and extra features per room. Doorways drive your transition strip count. Closets, alcoves, and extra corners each add 5 percent to that room’s waste factor, since more corners mean more cuts and more scrap.
Step 4: Review your full order list. The calculator adds waste to your net square footage first, then rounds up to whole boxes, and separately calculates underlayment, trim, and transition strip needs.
Waste Factor by Pattern and Material
| Installation pattern | Typical waste factor |
|---|---|
| Straight / parallel lay | 10% |
| Diagonal | 15% |
| Herringbone / Chevron | 20% (higher in small rooms) |
Material shifts this baseline too. Vinyl plank and laminate waste a bit less than hardwood or tile in a straight lay. Click-lock systems forgive small measurement errors better.
Large tile, 12 inches and up, pushes waste higher. So does natural stone. Bigger pieces mean bigger offcuts when a cut doesn’t land clean.
Every extra closet, alcove, or corner adds about 5 percent more waste on top of the pattern baseline. A plain rectangular bedroom and an L-shaped room with two closets need very different amounts, even at the same square footage.
Why Underlayment Isn’t One-Size-Fits-All
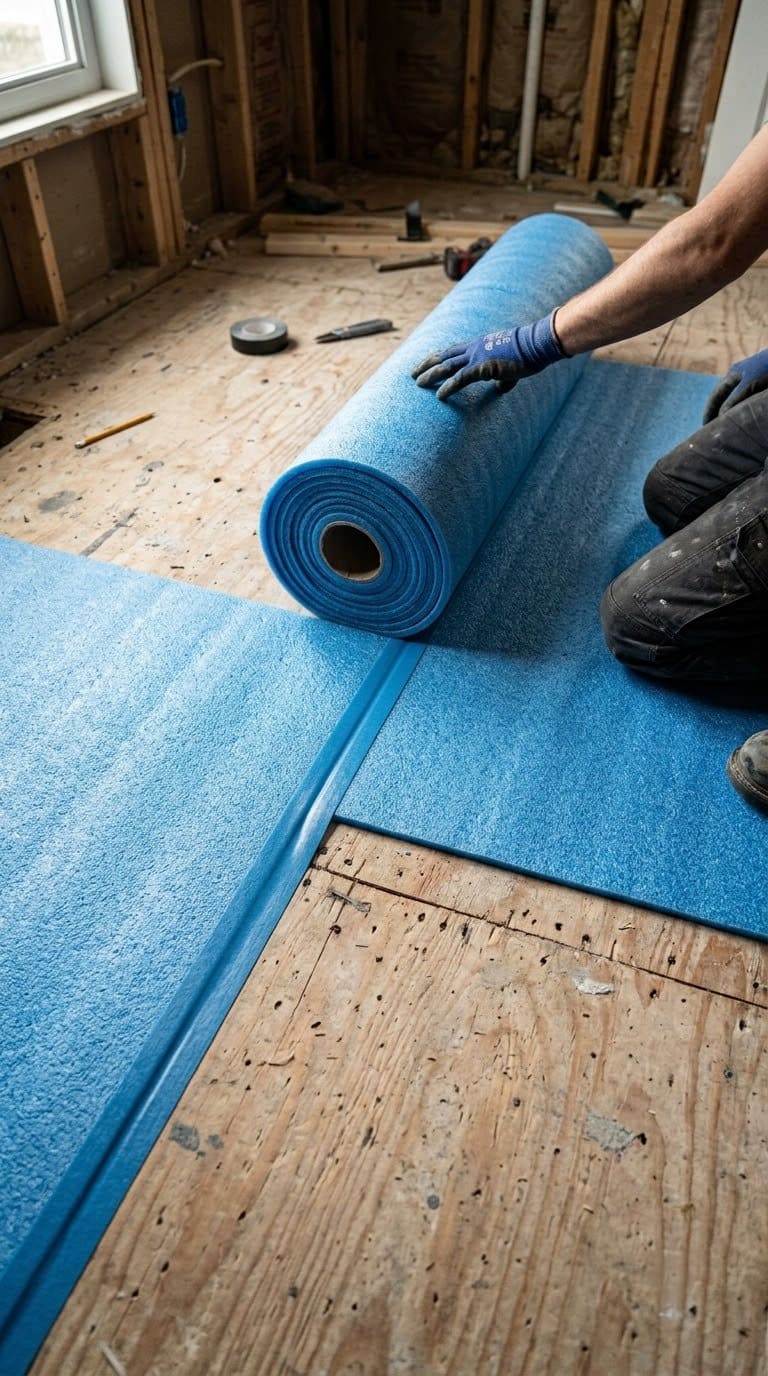
Underlayment needs vary more by material than most people expect. Laminate almost always needs it underneath. Laminate itself has no cushioning or moisture barrier built in.
Vinyl plank is the exception that trips people up. If your product has a factory-attached pad, you can often skip separate underlayment over a wood subfloor. A vapor barrier is still worth adding over concrete, though.
Tile doesn’t use foam underlayment at all. Over a wood subfloor, it needs cement backer board instead. That’s a different product with its own thickness and coverage math.
Underlayment itself is sold in rolls. Almost every brand covers about 100 square feet per roll. This calculator rounds your room’s net area up to whole rolls, with a small allowance for seam overlap.

Don’t Forget Transition Strips and Trim
Transition strips do two jobs. They cover the seam between two different flooring types at a doorway. And for floating floors like laminate or vinyl plank, they give the floor room to expand and contract.
The standard practice is one strip per doorway. But floating floors also need an expansion break roughly every 30 to 40 feet of continuous run, even with no doorway in between. This calculator adds that automatically on longer rooms.
Baseboard and quarter-round trim follow a simpler rule. Measure the room’s full perimeter, subtract a few feet for each doorway opening, then add about 10 percent for miter cuts and mistakes.
This calculator runs that math for every room you add.
Acclimation: The Step That Voids Warranties If You Skip It
Solid and engineered hardwood need to sit inside your home first, unopened or loosely stacked, for at least 3 days before installation. This lets the wood’s moisture content adjust to match your home’s humidity, which prevents gaps or buckling after install.



Laminate needs a shorter window, typically 48 hours minimum. Vinyl plank, tile, and carpet generally don’t need acclimation at all. Many installers still rest vinyl boxes for a day anyway, just as a precaution.
Skipping this step on wood or laminate isn’t just a shortcut. It’s often a warranty violation. Manufacturers can and do deny claims for gapping or warping when acclimation wasn’t followed.
Build this into your project timeline from the start. Don’t treat it as optional.
Why Doesn’t My Reordered Flooring Match the Original Batch?
Running short on flooring mid-project is more than an inconvenience. Reordering the same product, even the exact same SKU, often means getting material from a different batch.
Small things shift over time. Raw material sourcing, firing temperature, finish batches, all of it. Two boxes of the “same” tile or plank made months apart can look visibly different once they’re side by side on your floor.
The fix is simple. Order everything for the whole project in one purchase, using a waste-adjusted total like the one this calculator gives you. Don’t buy exactly what you think you need and hope you guessed right.
Mixing pieces from different boxes as you install helps too. It blends any small natural variation within the same batch, so no single spot on the floor looks off.
Measuring Tips That Prevent a Second Trip to the Store
Measure wall to wall, not baseboard to baseboard. Interior wall surfaces give you the real floor area. Measuring outside the baseboard overstates the room by an inch or two on every side, which adds up across a whole house.
Always include closets in your total. A walk-in closet often runs 30 to 40 square feet on its own, and skipping it is one of the most common reasons people come up short. Enter it as its own small room in the calculator rather than trying to eyeball it into the main room’s number.
For a room with a bay window, angled wall, or other odd feature, break it into rectangles just like an L-shaped room. Measure each piece, enter each as a separate room, and let the totals add up on their own.
Choosing the Right Material for the Room
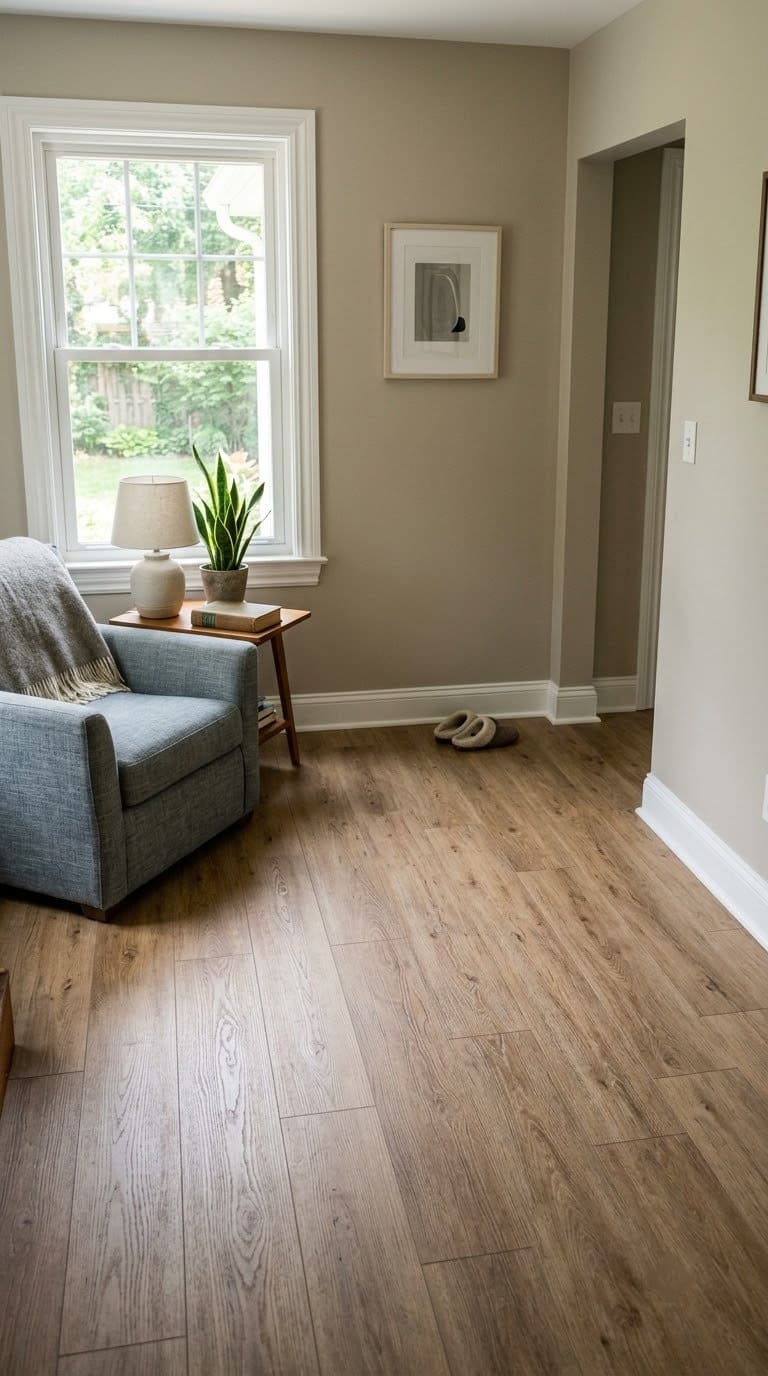
Every material handles moisture, foot traffic, and daily wear differently. Picking the wrong one for a given room causes more regret than any waste-factor miscalculation ever could. Laminate versus hardwood breaks down cost, durability, and look side by side for rooms where either could work.
High-traffic areas need a different lens than a quiet guest room. How foot traffic impacts flooring choice covers which materials actually hold up in hallways, kitchens, and entryways over years of daily use.
Set on hardwood specifically? Species matters more than most buyers realize going in. Maple versus oak flooring compares hardness, grain, and cost between the two most common domestic hardwood choices.
Bathrooms and other wet-prone rooms deserve extra scrutiny before you commit. Is laminate flooring waterproof? explains the real difference between water-resistant and waterproof. That distinction matters a lot in a room like this.
Kitchens are their own case. Spills and heavy foot traffic overlap there in a way few other rooms deal with. Kitchen floor tile ideas covers material and pattern choices built for that exact combination.
None of this changes the math this calculator runs. Waste factor, box count, underlayment, and trim work the same way no matter which material wins out. But choosing the right material first means you only run these numbers once, instead of redoing them after a rushed decision you end up regretting six months in.
Frequently Asked Questions
How much extra flooring should I buy for waste? It depends on your pattern: about 10 percent for a straight lay, 15 percent for diagonal, and 20 percent or more for herringbone or chevron. Complex rooms with several closets or extra corners need additional waste on top of that baseline.
Do I need underlayment under vinyl plank flooring? Only if your product doesn’t already have an attached pad. If it does and you’re installing over wood, you can typically skip separate underlayment, though a vapor barrier is still worth adding over concrete.
How long does hardwood flooring need to acclimate? At least 3 days indoors before installation, sometimes longer depending on the moisture-content gap between the flooring and your subfloor. Skipping this step can void the manufacturer’s warranty.
How many transition strips do I need? Generally one per doorway between rooms or flooring types. Floating floors like laminate or vinyl plank also need an expansion break roughly every 30 to 40 feet of continuous run, even without a doorway.
Why does my new flooring order not match my existing floor? It’s very likely a different dye lot or production batch, even if it’s the same product SKU. Manufacturing variables shift slightly over time, which is why ordering your full project amount in one purchase matters.
Should I apply waste factor before or after rounding to whole boxes? Before. Calculate your waste-adjusted square footage first, then round that number up to the nearest whole box. Applying waste after rounding tends to overshoot your actual need.
What direction should flooring planks run in a room? Most commonly parallel to the room’s longest wall, which tends to make the space feel larger. If a room is close to square with no dominant long wall, running planks toward the main light source is the next best default.
How do I measure an L-shaped or irregular room for flooring? Split it into rectangles at the inside corner, measure each rectangle separately, and add the areas together. This calculator supports that directly by letting you enter each rectangle as its own room.
Glossary
Acclimation: The period a flooring product, especially wood or laminate, spends inside the installation environment before install, allowing its moisture content to adjust and preventing gaps or warping afterward.
Dye lot: A batch of flooring material produced together, which can vary slightly in color or finish from other batches of the same product line.
Floating floor: A flooring installation method where planks connect to each other but aren’t fixed to the subfloor, common with laminate and many vinyl plank products.
Transition strip: A trim piece covering the seam between two different flooring types or rooms, also used to allow floating floors room to expand and contract.
Underlayment: A thin layer installed beneath certain flooring types to add cushioning, sound dampening, or a moisture barrier.
Waste factor: The extra percentage of material added to a room’s actual square footage to account for cuts, offcuts, and installation pattern.
Sources & References
- Shaw Floors: Solid Hardwood Installation Instructions
- Wood Floor Business: How to Calculate Install Waste Factors
- Wagner Meters: How Long to Acclimate Wood Flooring
Never miss an update — choose FarmFoodFamily as your preferred source on Google.
How it works: Tap the button below to open Google's settings page, then check the box next to FarmFoodFamily.
Tap the checkbox to turn it blue — that's how you know it's set.