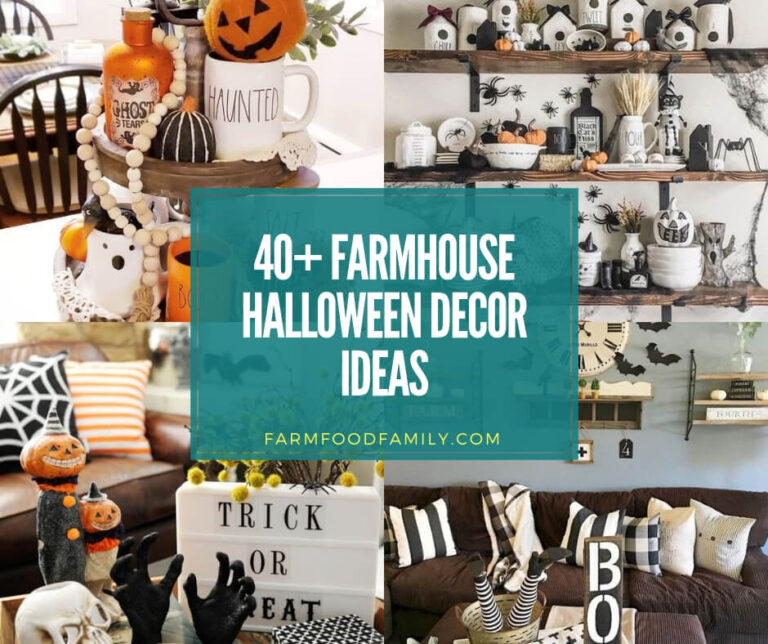
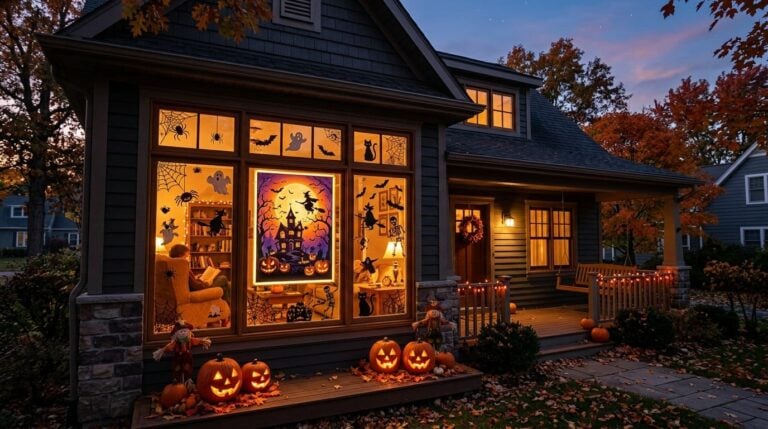
30 Clever Halloween Kitchen Decor Ideas (With Real Fire and Food Safety Notes)
Your kitchen has more flammable decor risk than almost any other room in the house, and it’s the one room where “decor” and “food” genuinely overlap, so a couple of things almost no other Halloween kitchen roundup mentions actually matter here. Below are 30 real ideas organized by area (countertops, cabinets and walls, lighting, table…

Never miss an update — choose FarmFoodFamily as your preferred source on Google.
How it works: Tap the button below to open Google’s settings page, then check the box next to FarmFoodFamily.
Tap the checkbox to turn it blue — that’s how you know it’s set.
Your kitchen has more flammable decor risk than almost any other room in the house, and it’s the one room where “decor” and “food” genuinely overlap, so a couple of things almost no other Halloween kitchen roundup mentions actually matter here.
Below are 30 real ideas organized by area (countertops, cabinets and walls, lighting, table and dining, and food-as-decor), each with a budget tier, plus the real safety basics most competitor lists skip entirely.
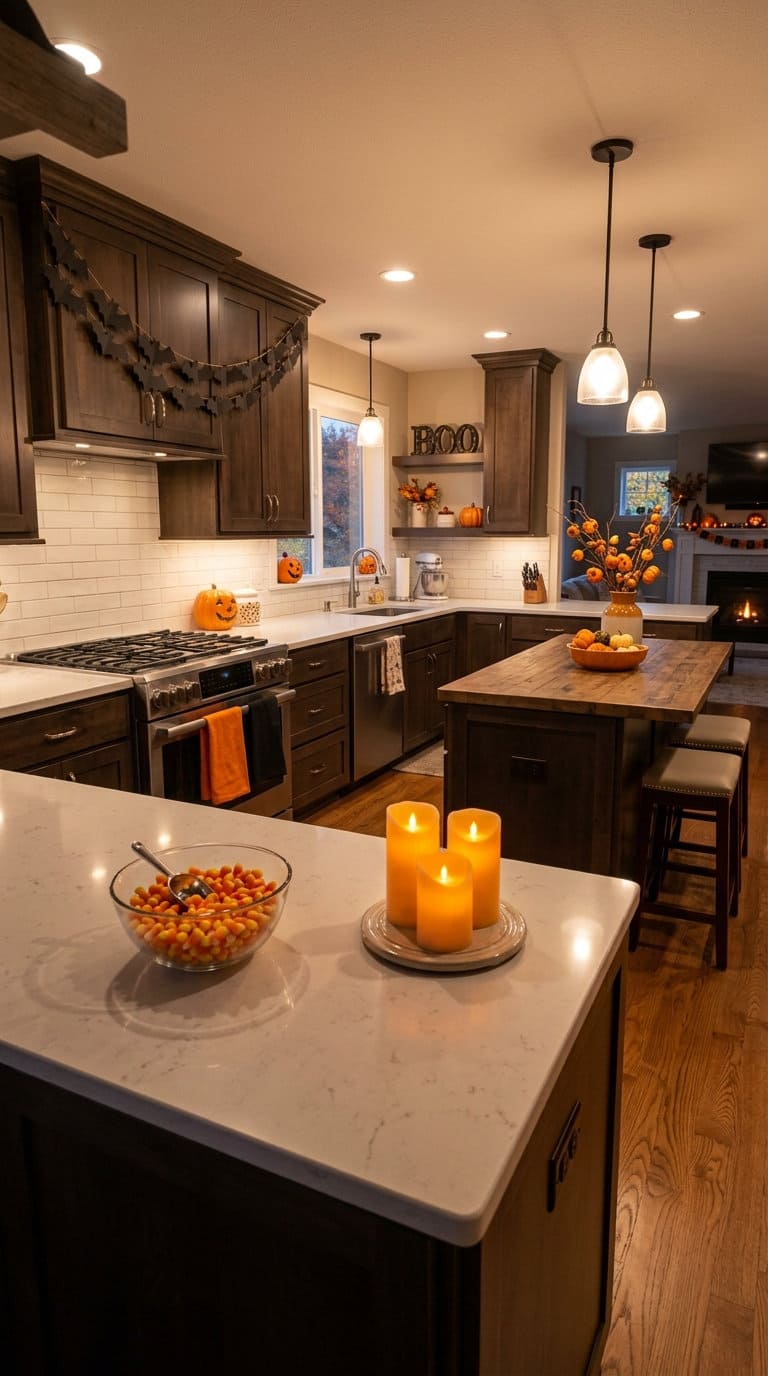
Before You Start: Real Fire and Food-Coloring Safety Basics
Candles near kitchen decor
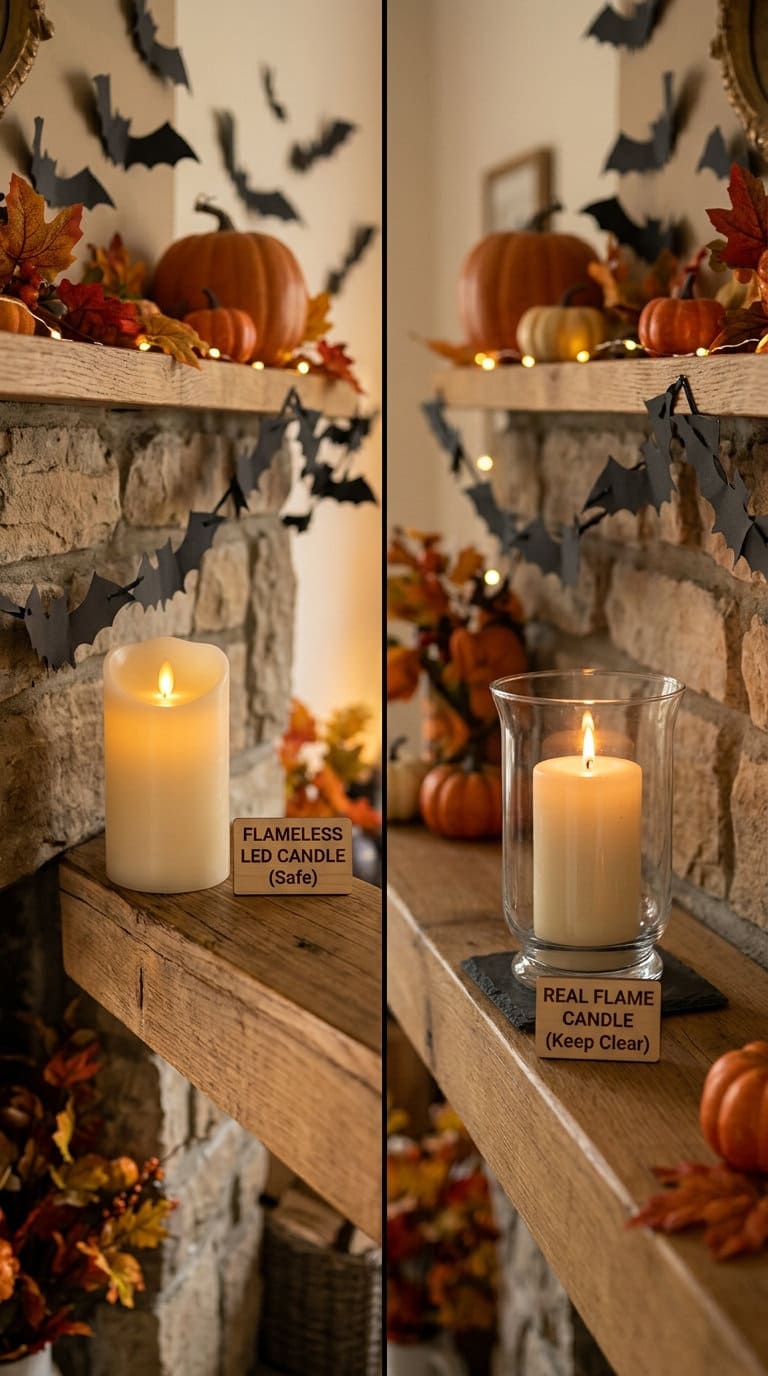
Kitchens are full of paper garlands, dish towels, fake cobwebs, and dried corn stalks, exactly the kind of flammable decor the National Fire Protection Association (NFPA) warns about.
NFPA data shows candles are the heat source in 2% of home fires and 5% of home fire injuries, and over half of all candle fires started when a flammable piece of decor, paper, curtains, or a decoration, was placed too close to the lit candle.
In a kitchen specifically, that means keeping any real candle well clear of paper bat garlands, hanging cobwebs, and towel displays, and choosing battery-powered LED candles for anything near stacked napkins or dried decor instead.



Is black or orange food dye safe for Halloween treats?
A lot of Halloween kitchen decor doubles as food, black frosting, orange-tinted drinks, dyed rice or pasta in decor jars.
The FDA requires evidence that any color additive is safe at its intended use level before approving it for food, and the certified “FD&C” dyes used for black and orange Halloween coloring go through that same approval process as any other food color.
That’s a genuinely honest answer (regulated and tested, not an unregulated free-for-all), which is more than most competitor roundups bother to say at all.
Budget reality check
Most ideas below fall into one of three tiers: DIY-cheap (under $15, stuff from your pantry or a dollar-store run), moderate ($15-40, a specific decor piece or set), or bigger investment ($40+, a larger display or multi-piece set). Tiers are flagged per idea.
Countertops and Open Surfaces
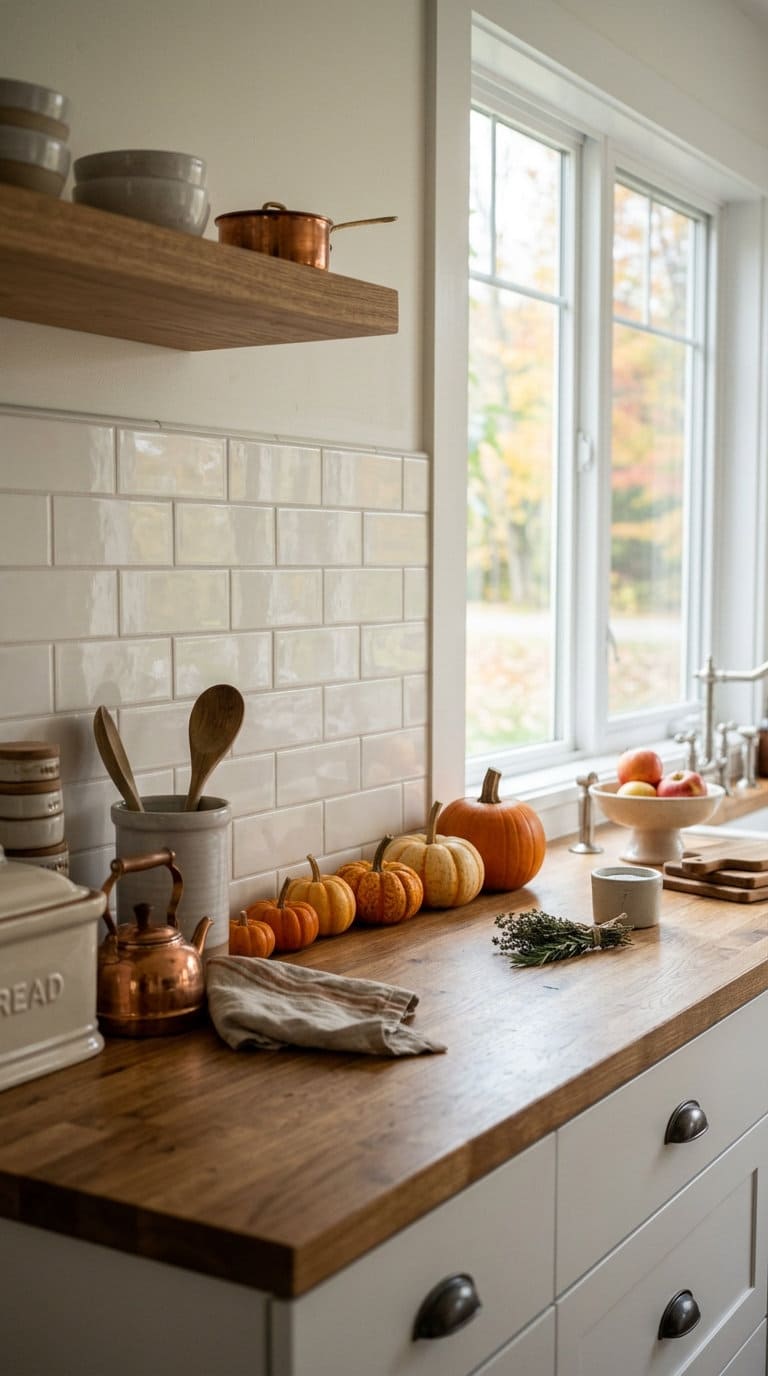
1. Line Up a Row of Mini Pumpkins Along the Backsplash
Budget: DIY-cheap.
Pick 5-7 mini pumpkins in graduated sizes (roughly 3in to 6in) so the row reads as a deliberate arrangement rather than a random cluster, and alternate 1-2 white or pale “ghost” pumpkins in with the classic orange ones for real visual contrast against a tile backsplash.
Real mini pumpkins cost next to nothing at a farm stand or grocery store in October, but they will start to soften after 2-3 weeks at room temperature, so if you’re decorating early in the season, faux foam pumpkins (widely sold in craft stores) hold their shape for the full month and can be reused next year.
Either way, keep the row a few inches back from the edge of the counter nearest the stove so a stray pot handle doesn’t knock one into a burner.

Black 21cm apothecary-style potion bottle, styles well on an open counter or windowsill
Shop NowThis post contains affiliate links. We may earn a commission on qualifying purchases at no extra cost to you.
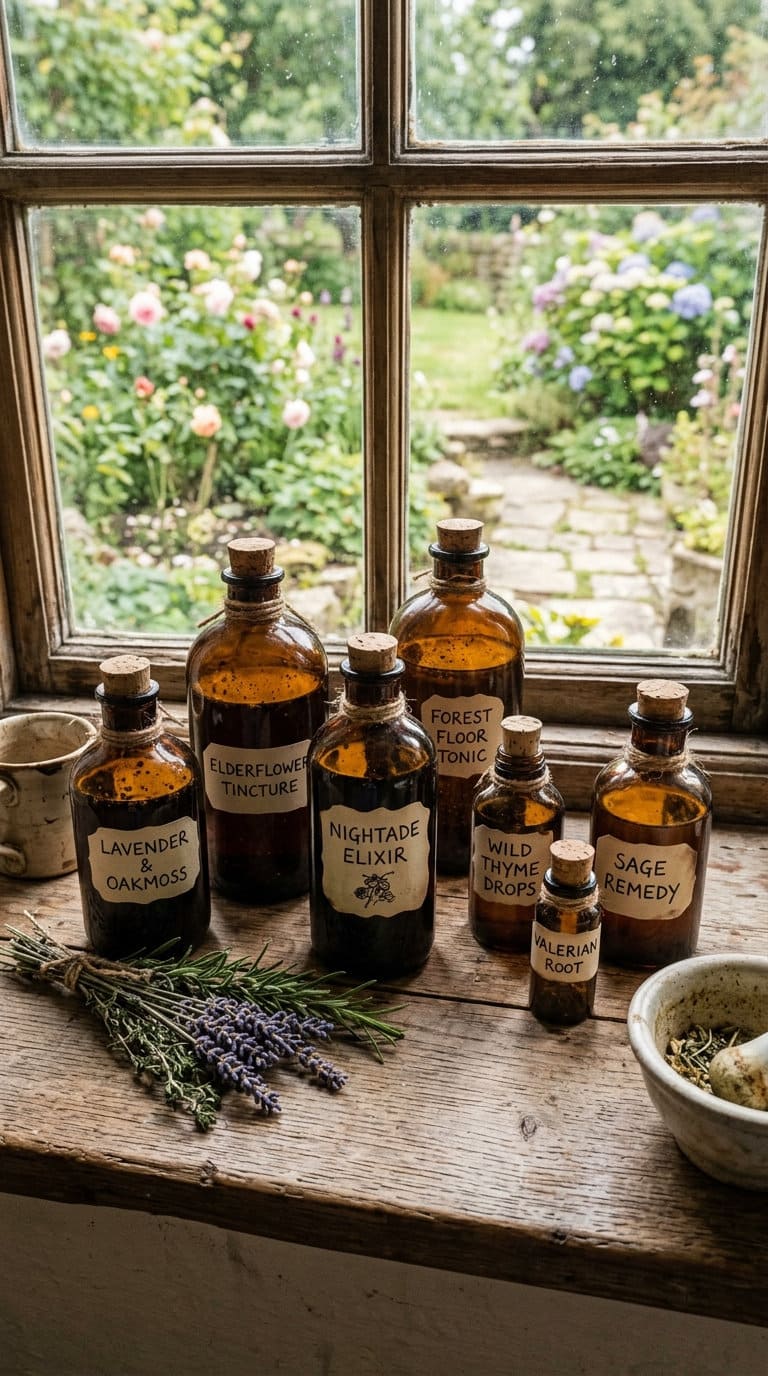
2. Set Up a Witch’s Potion Bottle Display
Budget: moderate.
Save 4-6 empty glass bottles of different shapes (wine bottles, small apothecary jars, an old syrup bottle) and fill them with colored water, dish soap for a cloudy effect, or dry rice dyed with food coloring for a solid-look potion.
Print or hand-letter small labels (“Wolfsbane,” “Nightshade,” “Dragon’s Blood”) on kraft paper or cardstock and tie them on with twine rather than tape, which peels and looks cheap after a few days.
Group the bottles at slightly different heights using a small stack of books or a tiered stand underneath the shortest ones, and keep any bottle with a real cork or stopper away from the stovetop if it’s near an open flame burner, since a cork can be surprisingly flammable if it catches a stray flame.
3. Fill Glass Jars With Candy Corn as Counter Decor
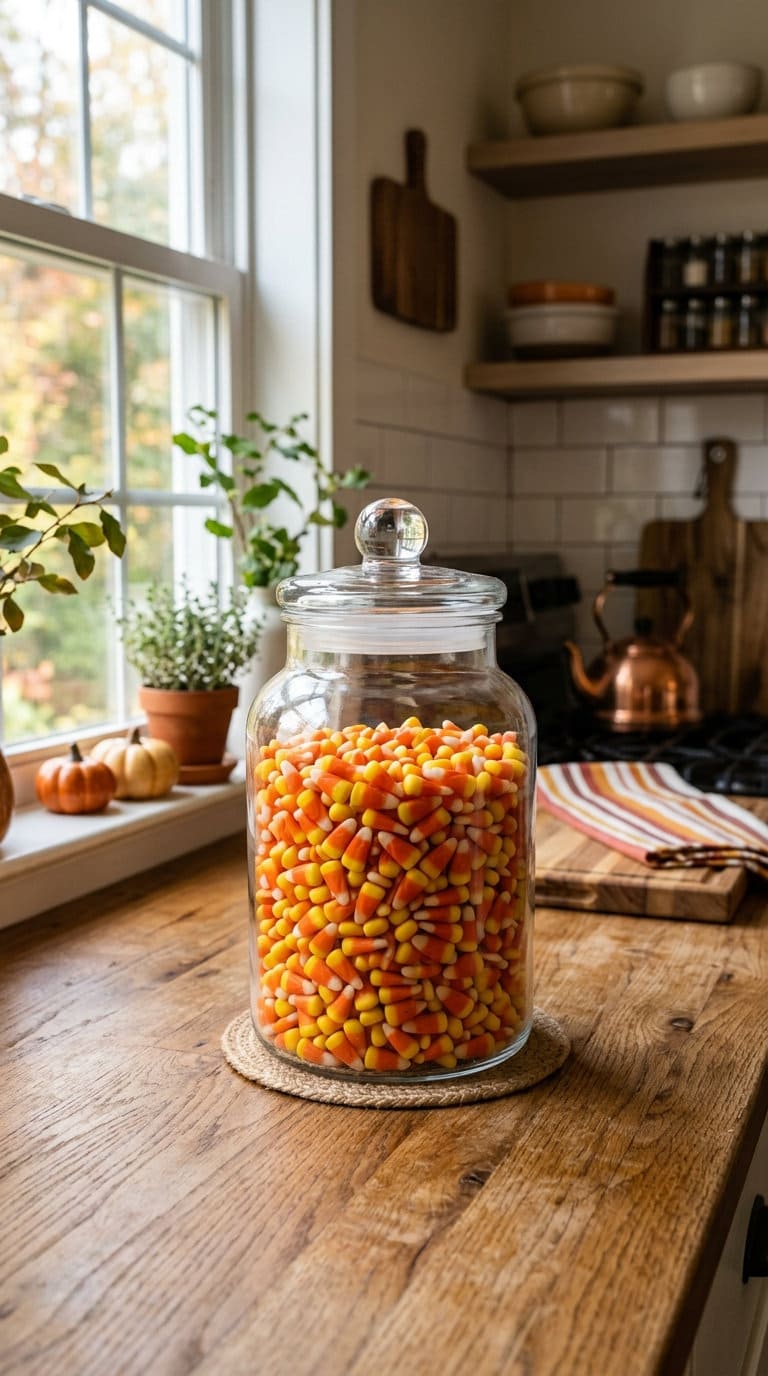
Budget: DIY-cheap.
A wide-mouth apothecary jar (the kind with a glass lid, not a screw-top) shows off the candy corn’s layered color better than a narrow jar and makes scooping out a handful far easier for guests.
If you want the display to look full without buying pounds of candy, fill the bottom third of the jar with dried black beans or dried corn kernels first, then top with just enough candy corn to cover the filler, a trick that also means less candy goes stale if the display sits out for weeks.
Since this is edible decor sitting at room temperature, candy corn itself is shelf-stable and doesn’t carry the same spoilage risk as dairy or fresh-cut items, so it’s genuinely fine to leave out for the whole season, just give the jar a quick wipe if it’s near the stove and picking up any grease film.

4. Style a Small Pumpkin and Gourd Centerpiece Near the Sink
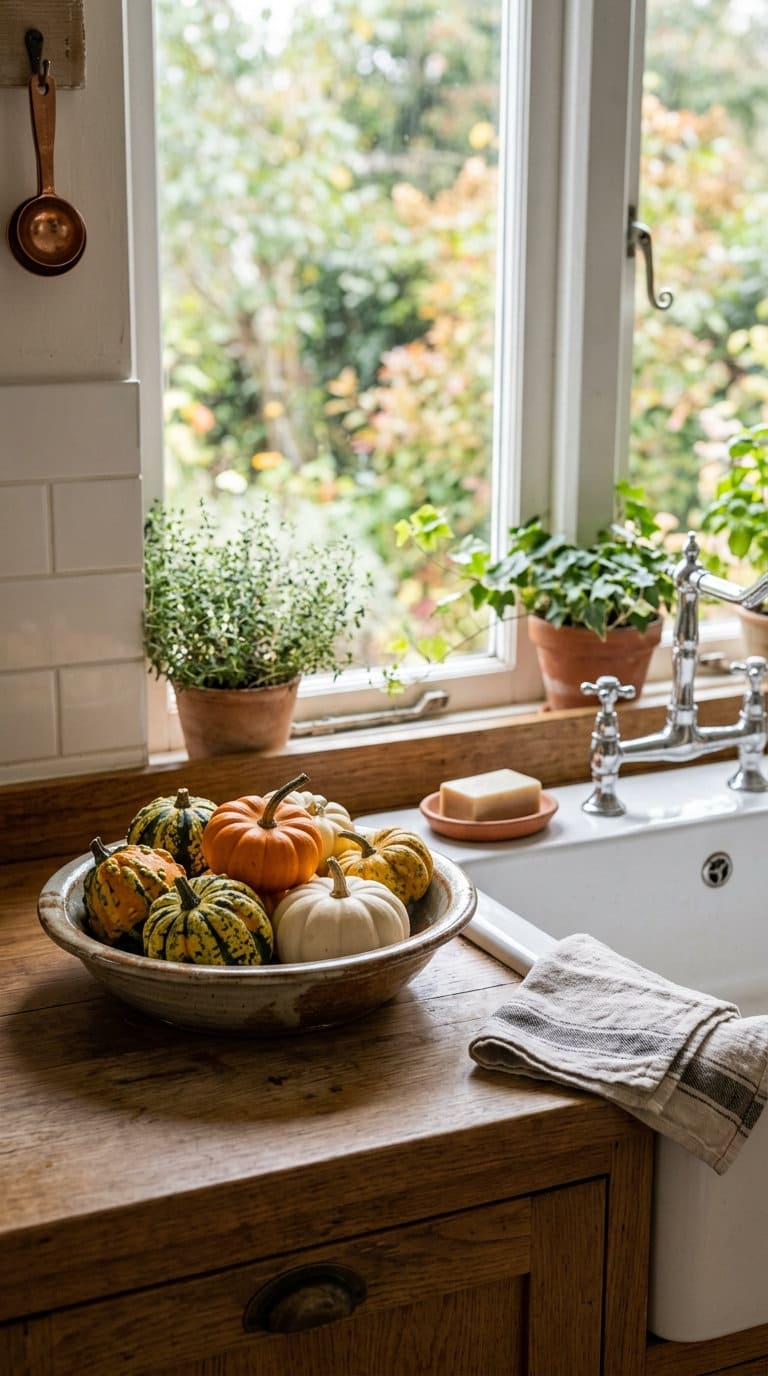
Budget: DIY-cheap.
Choose a shallow, wide bowl (a bread bowl or a low ceramic dish works better here than a deep fruit bowl, since you want the gourds visible from above, not stacked) and mix at least 3 different gourd shapes, a classic pumpkin, a turban squash, and a few small warty gourds give real textural variety instead of everything reading as “orange and round.”
Tuck in a few sprigs of dried wheat or bittersweet branches at the edges for height. Because this sits right at the sink, expect some splash exposure, so skip anything with paper elements here specifically and stick to real gourds or sealed faux ones that won’t warp if they get wet.
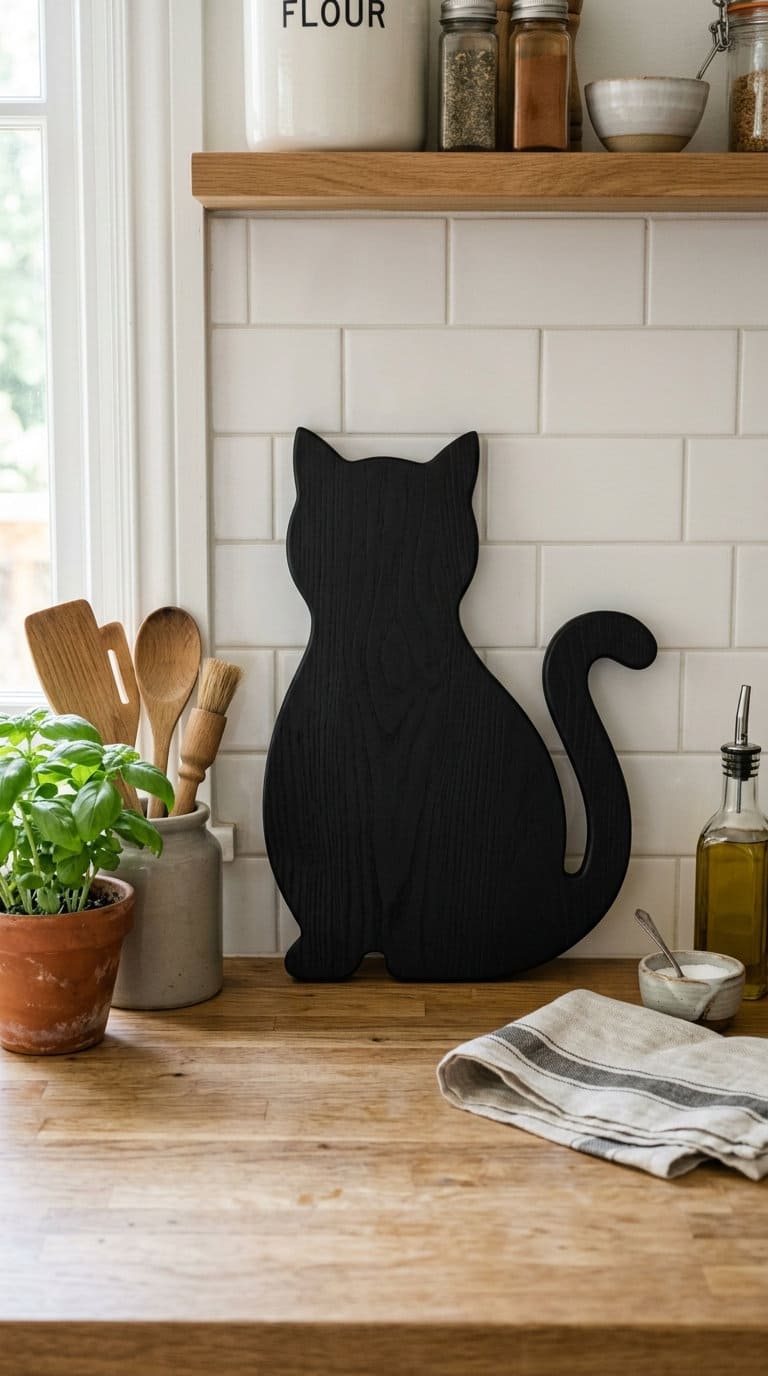
5. Add a Black Cat Silhouette Cutting Board as Display
Budget: moderate.
Look for a solid maple or acacia wood board (rather than a thin plywood one) since the weight helps it stay upright when leaned against the backsplash instead of sliding down.
Lean it at a slight angle behind a small stack of cookbooks or a plant so it has something to rest against, rather than propping it flat against the wall where it can slip.
Since this one genuinely doubles as a real cutting board come November, avoid ones with painted-on designs that would wear off with actual knife use, an engraved or laser-cut silhouette holds up to real kitchen use much better than a printed one.
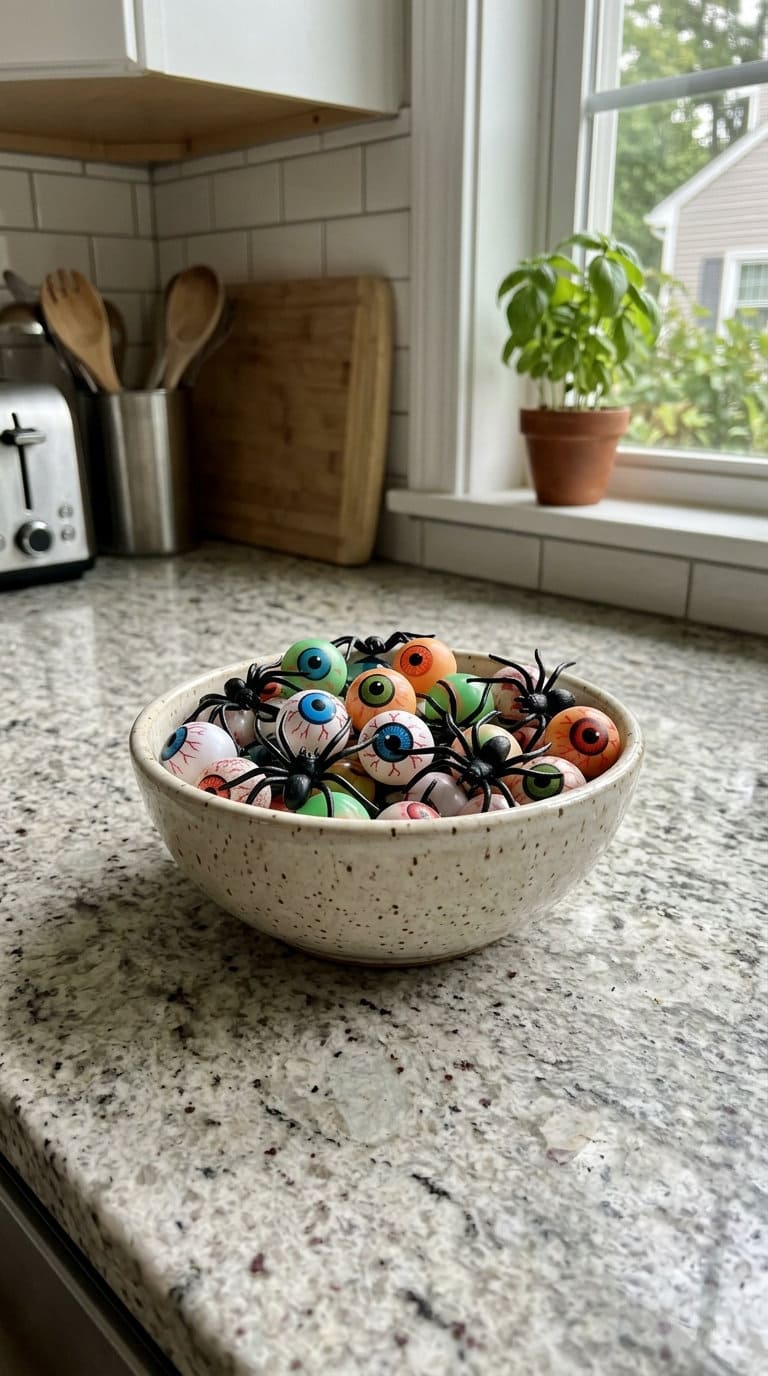
6. Set Out a Bowl of Faux Eyeballs or Spider Rings
Budget: DIY-cheap.
A small, shallow dish (a ring dish or a shot-glass-sized bowl) keeps this from reading as clutter, since the whole point is a quick, contained detail rather than a sprawling display.
Rubber eyeballs with a slight bounce/squish texture read more tactile and fun than hard plastic ones, worth the extra dollar or two if you’re buying new.
If young kids are in the house, keep this one on a higher shelf or counter rather than a low one, small rubber eyeballs and plastic rings are a genuine choking hazard for toddlers, the same category of small-parts risk you’d apply to any small toy.
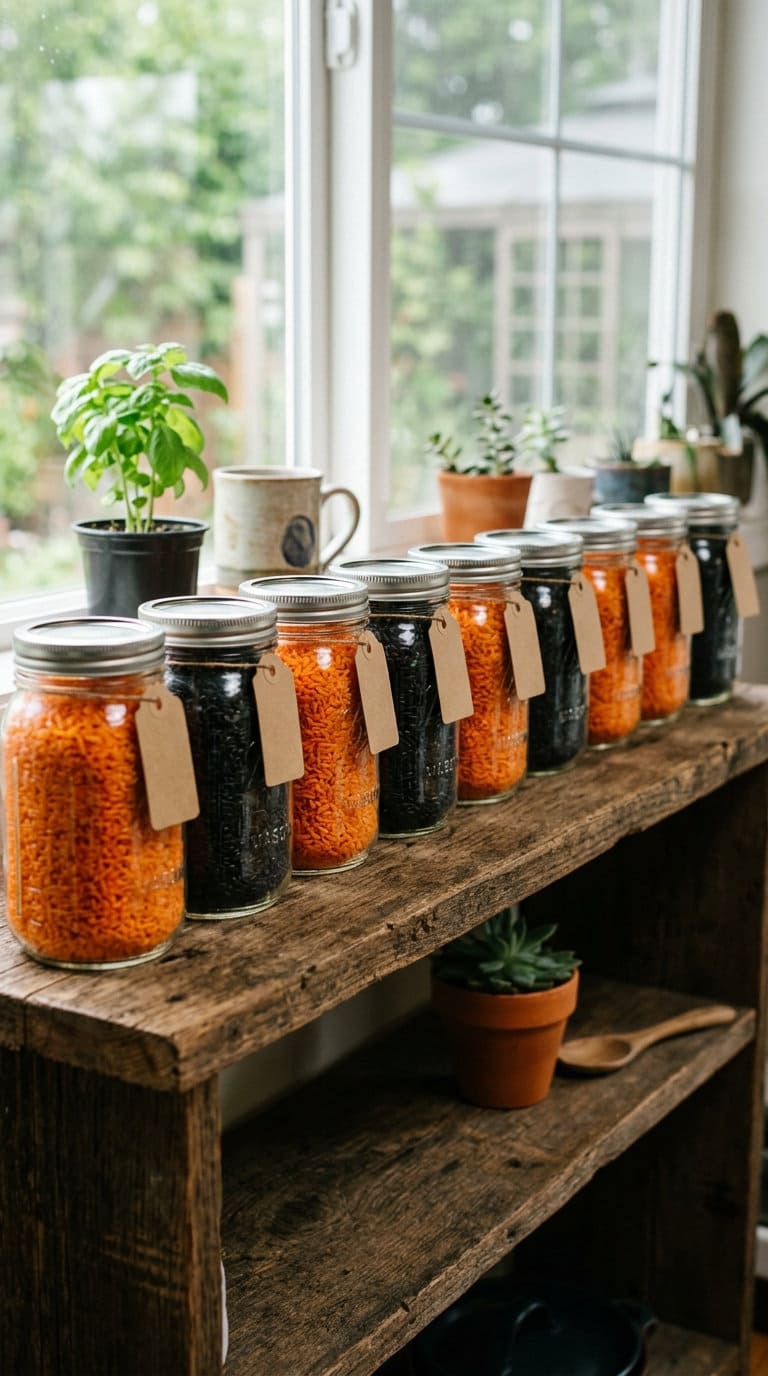
7. Display a Row of Mason Jars With Dyed Rice or Pasta
Budget: DIY-cheap.
To dye the rice, add a few drops of the FDA-approved food coloring discussed above to a sealed bag with a cup of dry rice, shake until evenly coated, then spread it on a baking sheet to air-dry for a few hours before jarring, this keeps the color from transferring to your hands or the jar’s glass.
Layer black and orange dyed rice in the same jar in bands for a striped “potion” look, or keep each jar a single solid color and line up 3-4 jars in a graduated row.
This is genuinely food-safe if a curious kid gets into the jar since it uses the same approved dye discussed above, but the rice itself isn’t meant to be eaten raw, so treat it as a display material, not a snack.
Cabinets, Walls, and Hanging Decor
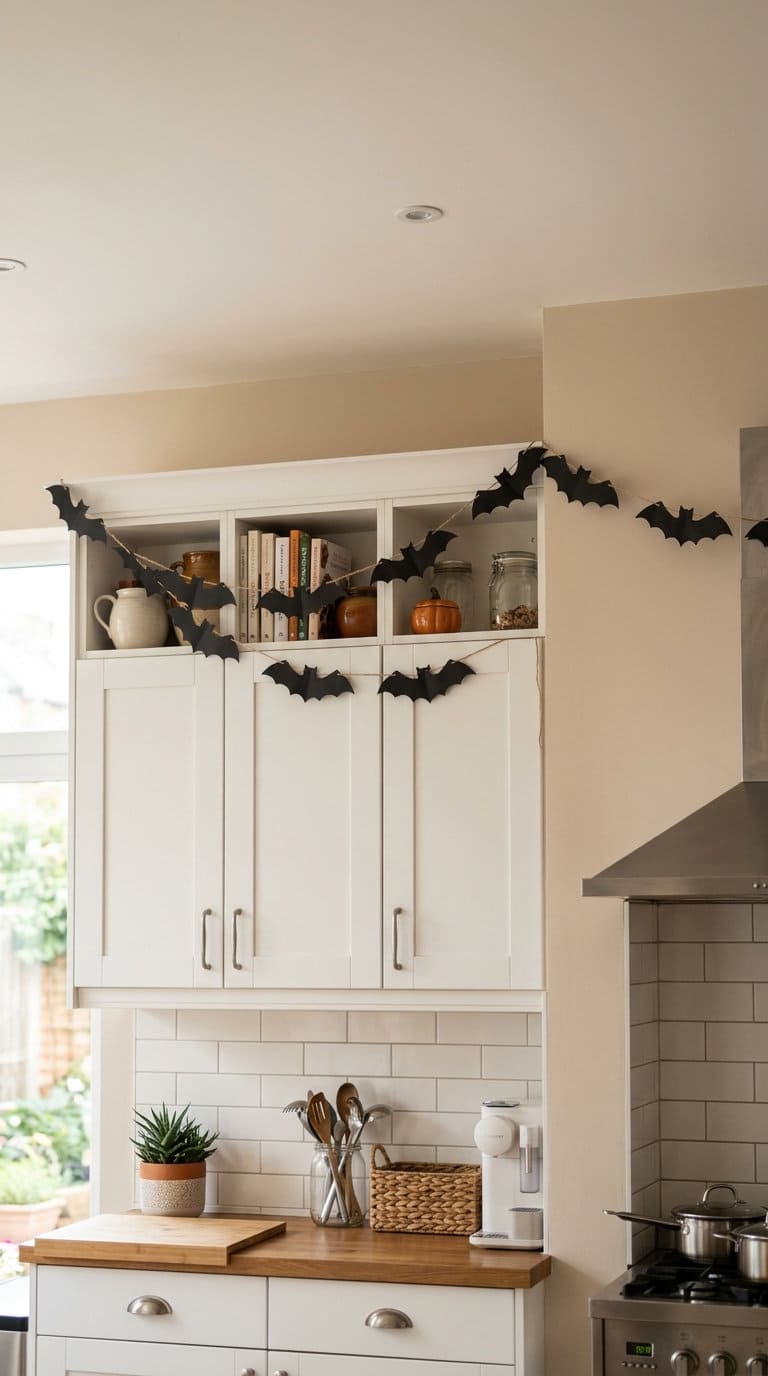
8. Hang a Paper Bat Garland Across the Cabinets
Budget: DIY-cheap.
Pre-made garlands run $5-10 for a 6-8ft strand, or cut your own bats from black cardstock using a simple template (a body with two wing shapes, roughly 3-4in wingspan) strung on black thread or twine at varied spacing rather than perfectly even intervals, which reads more like a scattered flock and less like a printed pattern.
Use removable adhesive hooks (the kind rated for a few pounds) rather than tape directly on cabinet finish, tape can pull paint or lacquer off when removed in November.
Keep the garland’s lowest point well clear of any under-cabinet lighting that runs warm, and route it away from the stove hood entirely, paper this close to a heat source is exactly the flammable-decor-near-heat scenario worth avoiding.
9. Add Cobweb Stretch Material to Cabinet Corners
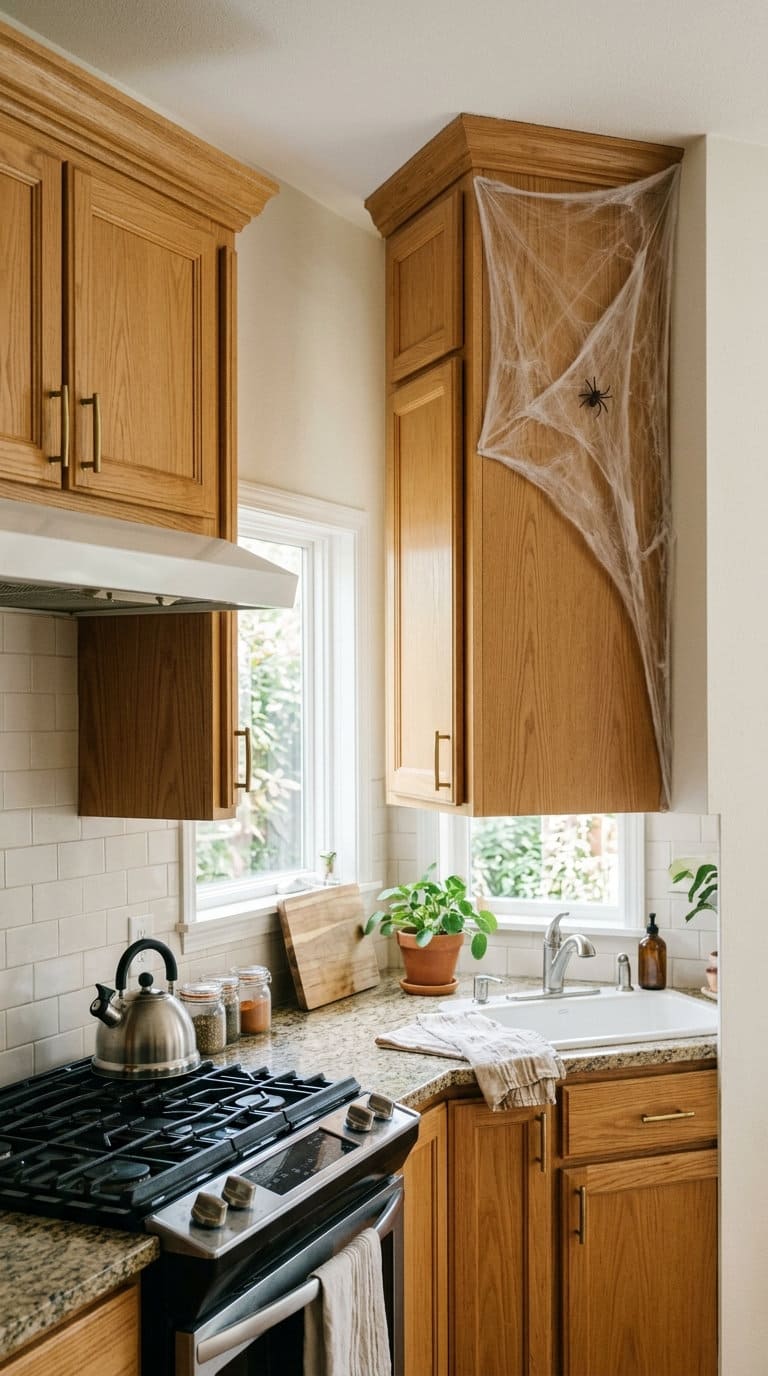
Budget: DIY-cheap.
One bag of stretch cobweb material (sold in most Halloween aisles for a few dollars) covers 2-3 cabinet corners if you pull it thin rather than leaving it in a dense clump, thin, wispy webbing genuinely looks more realistic than a thick white blob.
Pin it at 2-3 points with small push pins or removable hooks so it holds its shape instead of sagging, and tuck 2-3 small plastic spiders at different depths in the web rather than all at the same level.
Keep it away from the stovetop and any open burner entirely, synthetic web material is not flame-resistant and can melt or catch quickly if it drifts near a burner.
10. Hang a Wreath With Fall and Halloween Elements on the Pantry Door
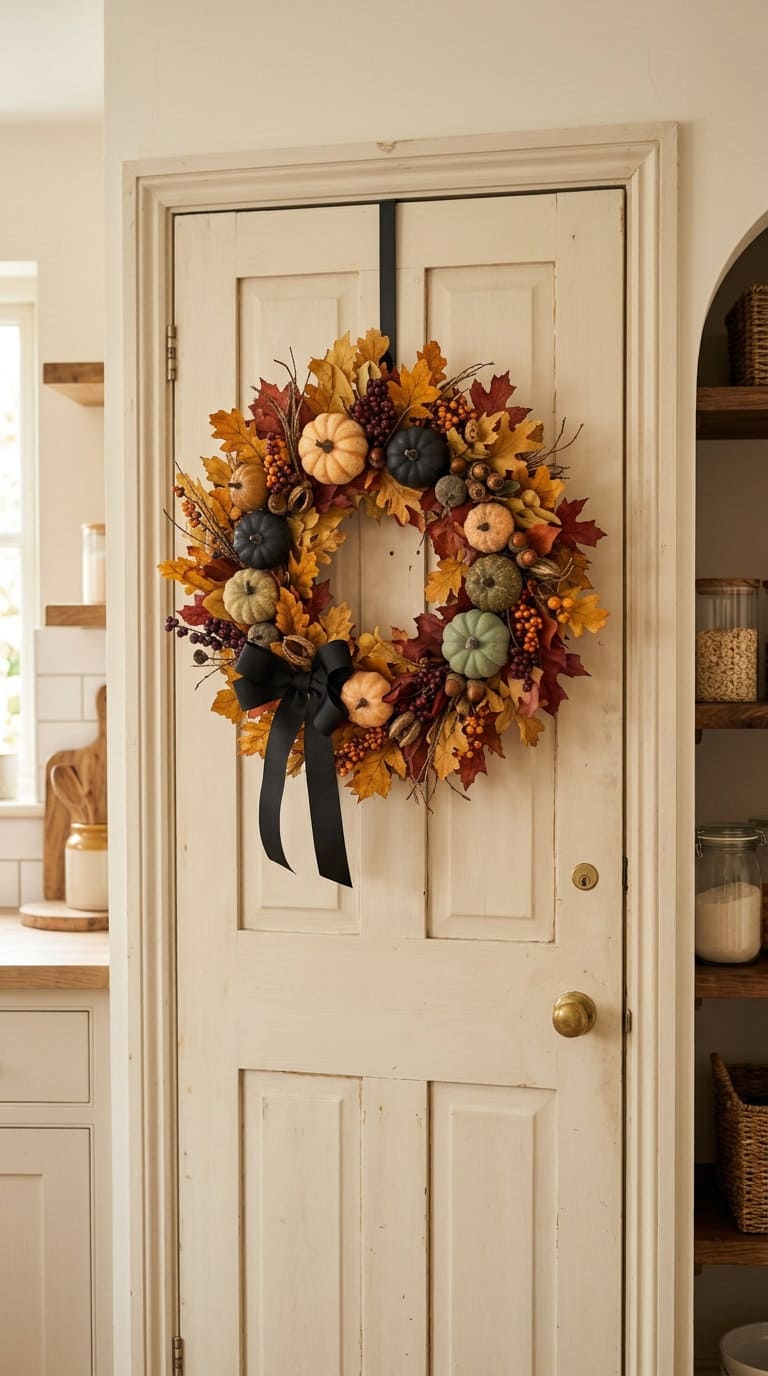
Budget: moderate.
Start with a plain grapevine or foam wreath base (12-16in works well on most standard doors) and hot-glue on dried leaves, 2-3 small faux pumpkins, and a black or burnt-orange ribbon bow at the top or bottom, whichever side has more visual weight already.
Mixing genuinely dried, real botanicals (not silk) with the faux pumpkins gives real texture contrast and a more expensive-looking result than an all-faux wreath.
Hang it with an over-the-door hook rather than a nail, so it comes down cleanly in November without any patching needed on the pantry door.
11. Add Halloween-Themed Wall Decals or a Removable Silhouette
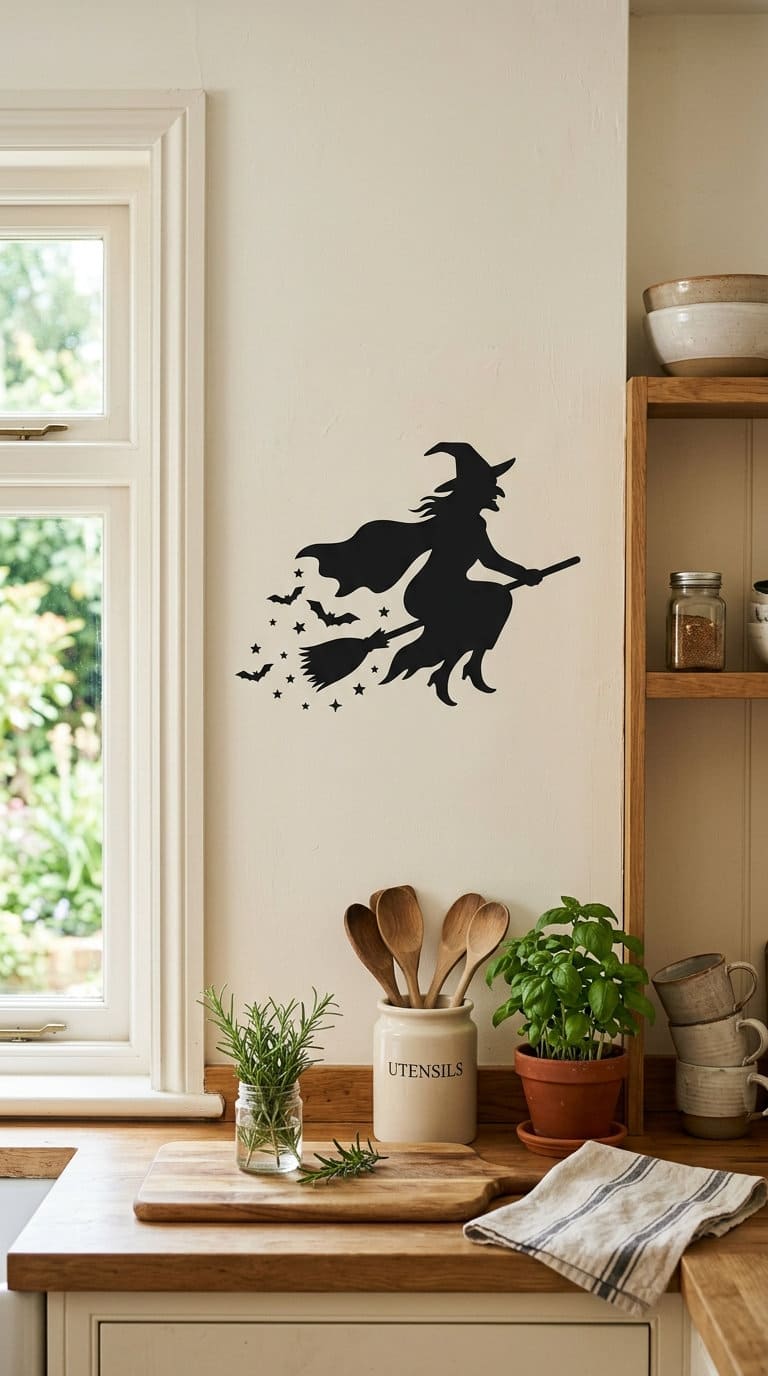
Budget: moderate.
Test any removable vinyl decal on a small, hidden section of wall first (behind a cabinet or in a corner) and leave it for 24 hours before committing to the main wall, some kitchen wall paints and finishes react differently to adhesive than a bedroom or living room wall would, especially anything with a grease-resistant or semi-gloss kitchen-specific finish.
A single large silhouette (a witch on a broom, a spooky tree branch) reads as more intentional than several small scattered decals. Peel decals off slowly at a low angle, pulling straight back can take paint with it even on a “removable” product.
12. Display a Chalkboard Sign With a Spooky Pun
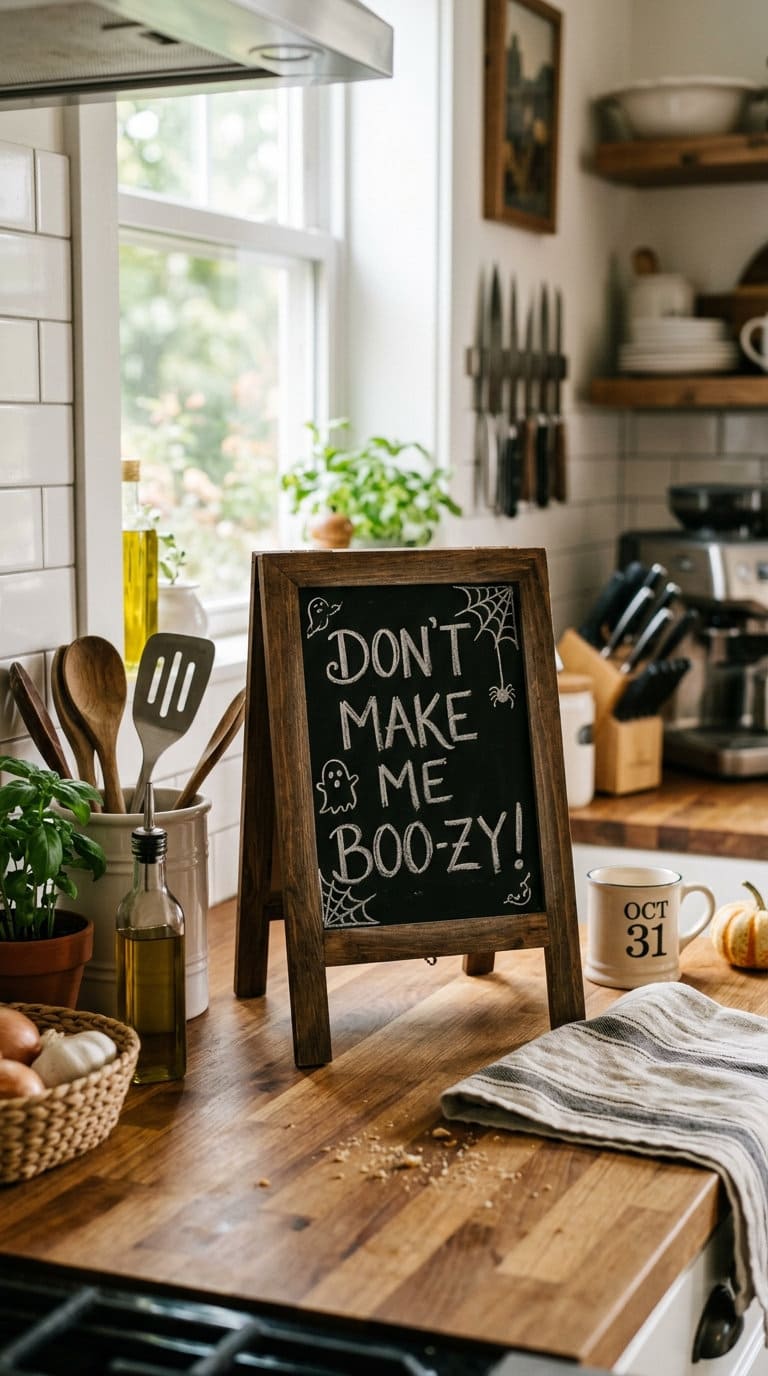
Budget: DIY-cheap.
A small tabletop chalkboard easel (8x10in or so) works better here than a large one, since it’s meant to sit on a counter or shelf as an accent, not dominate the room. Use chalkboard chalk markers rather than traditional chalk stick for cleaner lines and less dust on the counter below.
Keep the pun short enough to read at a glance (“Witch Kitchen,” “Boo-tiful Bakes,” “Fright This Way”) since a long sentence gets lost as background clutter rather than read as a fun detail.
13. Hang Halloween-Themed Kitchen Towels as a Feature
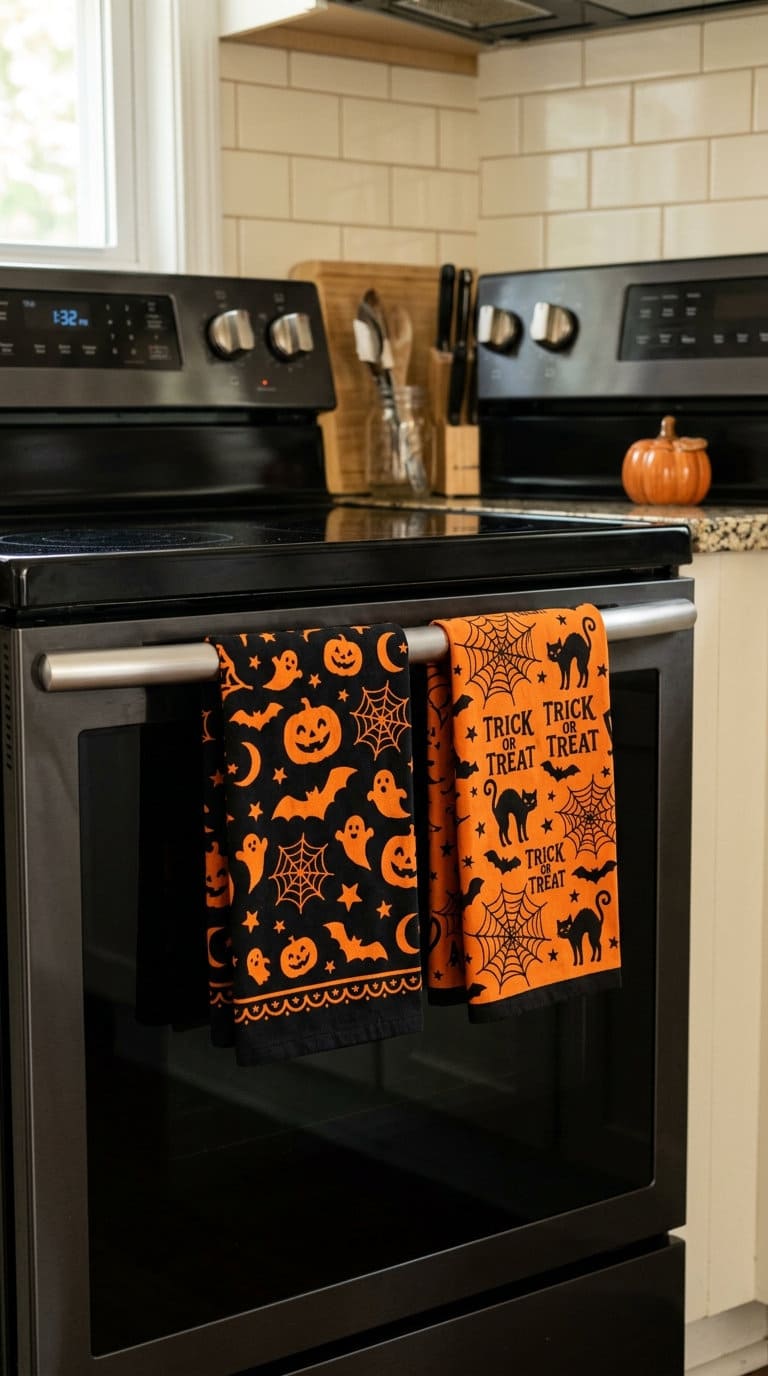
Budget: DIY-cheap.
Buy or make at least 2 towels so you can rotate a clean one in without leaving the display bare on wash day, a single towel looks intentional for about a week and then just looks like laundry.
Look for 100% cotton flour-sack style towels over a synthetic blend, they absorb better for actual use and also drape more naturally over an oven handle instead of looking stiff.
This is genuinely one of the few ideas on this list that’s decor and function at the same time, more practical than most purely decorative items here.
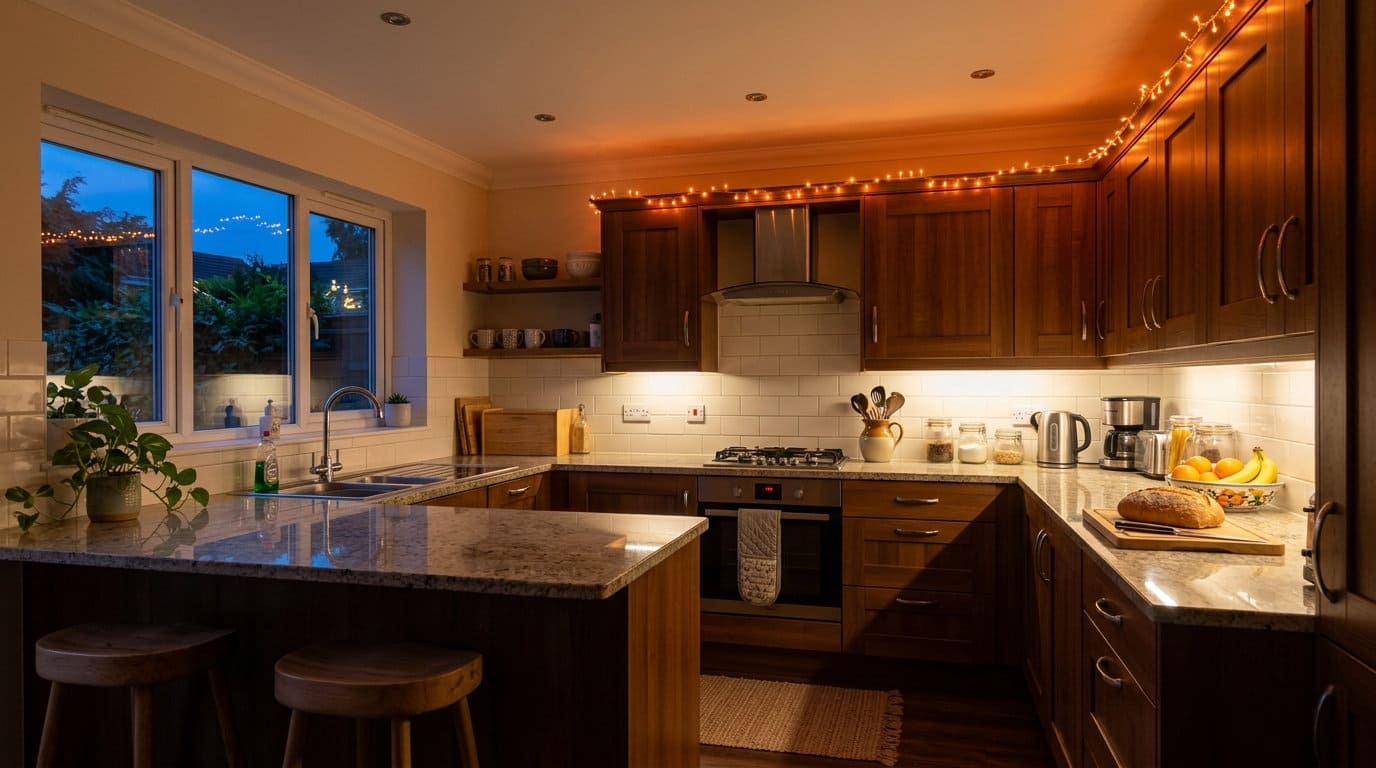
14. Add a String of Battery-Powered Orange Fairy Lights Along the Cabinet Tops
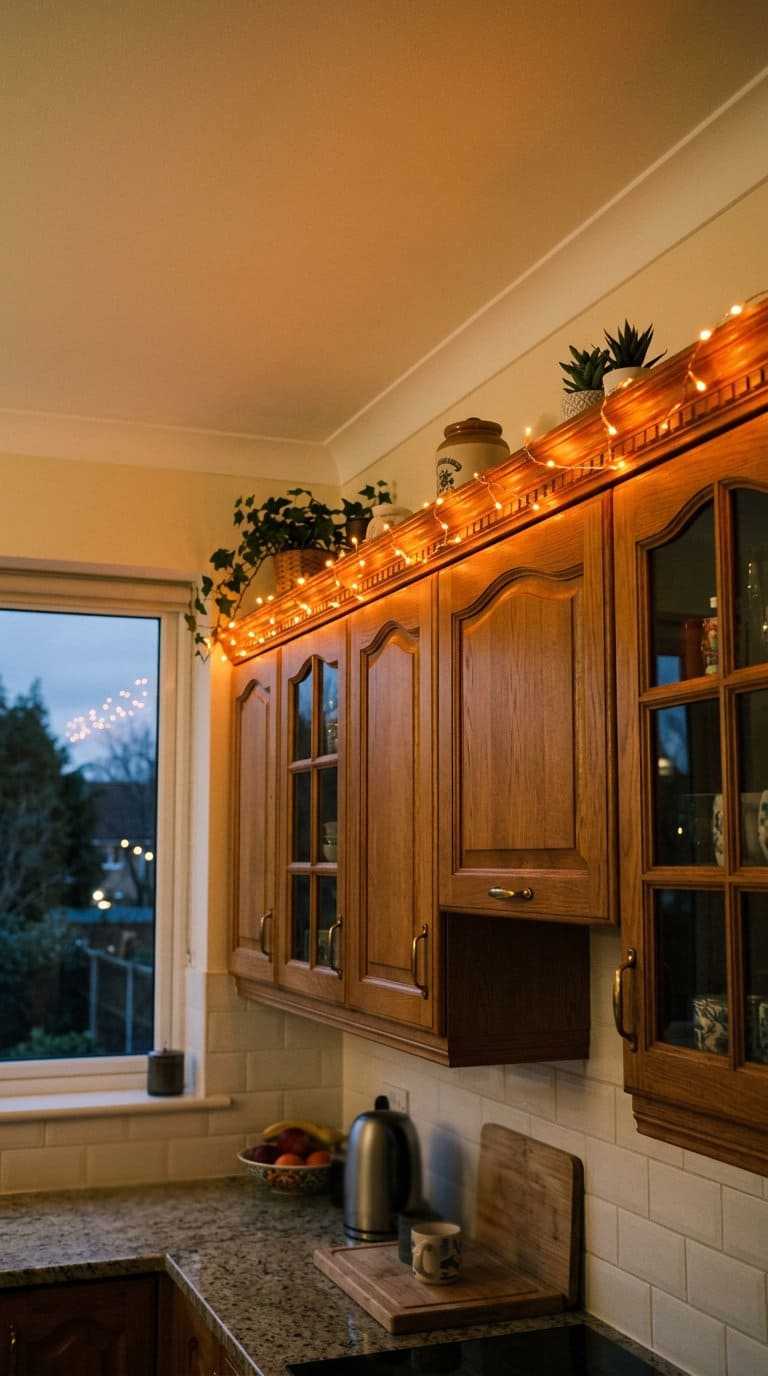
Budget: DIY-cheap to moderate.
Look specifically for a battery pack with a built-in timer (widely available for a few dollars more than a basic on/off set) so the lights turn on automatically each evening without you remembering to flip a switch.
Run the strand loosely rather than taut along the cabinet tops, a slight sag between mounting points reads more like ambient string lighting and less like a straight, stiff line.
Battery power means no cord running across counters where it could get wet or pulled, a genuine advantage over a plug-in set in a room with this much counter traffic.
Lighting and Ambiance
15. Swap to Flameless LED Pillar Candles on the Counter
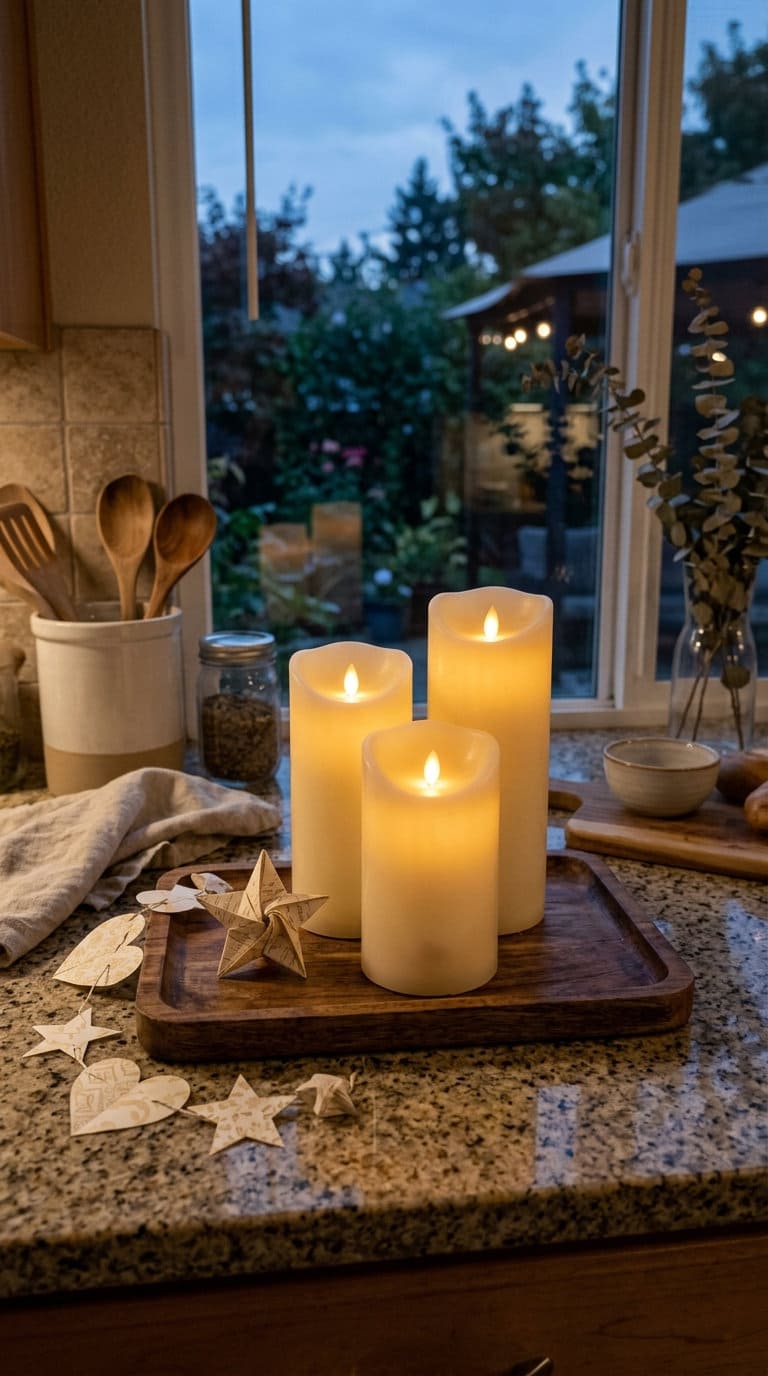
Budget: moderate.
Look for a set with a realistic flickering flame effect (not just a steady glow) and a built-in timer, the flicker genuinely reads as more convincing from across the room than a solid light.
Group 3 candles of varying heights (a 4in, 6in, and 8in pillar) rather than a single candle for a fuller look.
LED candles give the same warm glow as real candles without the fire risk NFPA’s candle-fire data describes, genuinely the safer choice for anything sitting near paper garlands, towels, or dried decor, and unlike a real candle they can safely sit directly on a paper placemat or next to a stack of napkins.
16. Add a Small Fog Machine Tucked Near the Kitchen Doorway
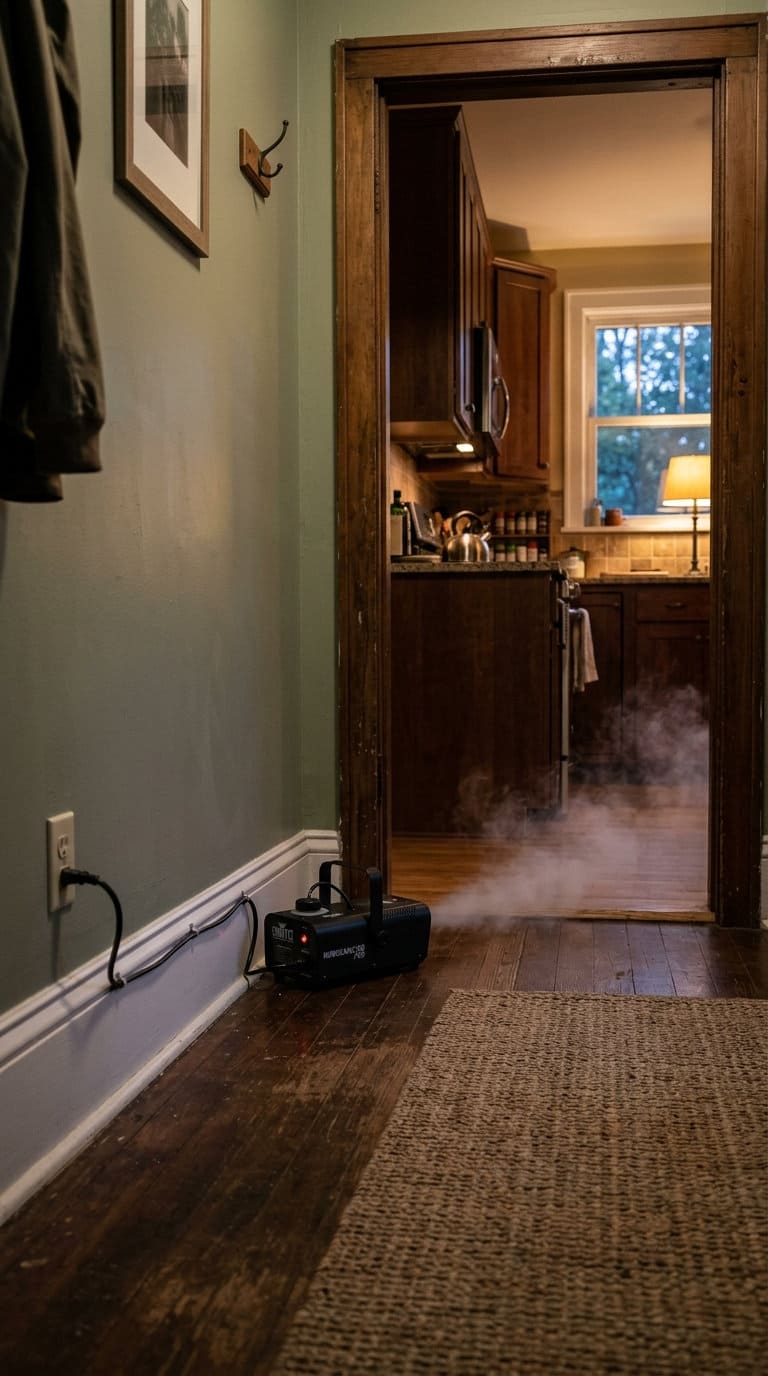
Budget: moderate.
A compact, low-output fog machine (the mini party-favor size, not a full haunted-house unit) is plenty for a doorway effect and produces less overall smoke to manage than a larger model.
Set it at floor level rather than counter height so the fog naturally pools low and rolls outward, which reads more eerie than fog drifting from above.
Keep its cord routed along the wall, not across the walking path, and never run it directly under a smoke detector, crack a window nearby if you’re running it for more than a few minutes at a stretch to keep the room from feeling hazy for guests with the food out.
17. Use Colored Light Bulbs in Existing Fixtures
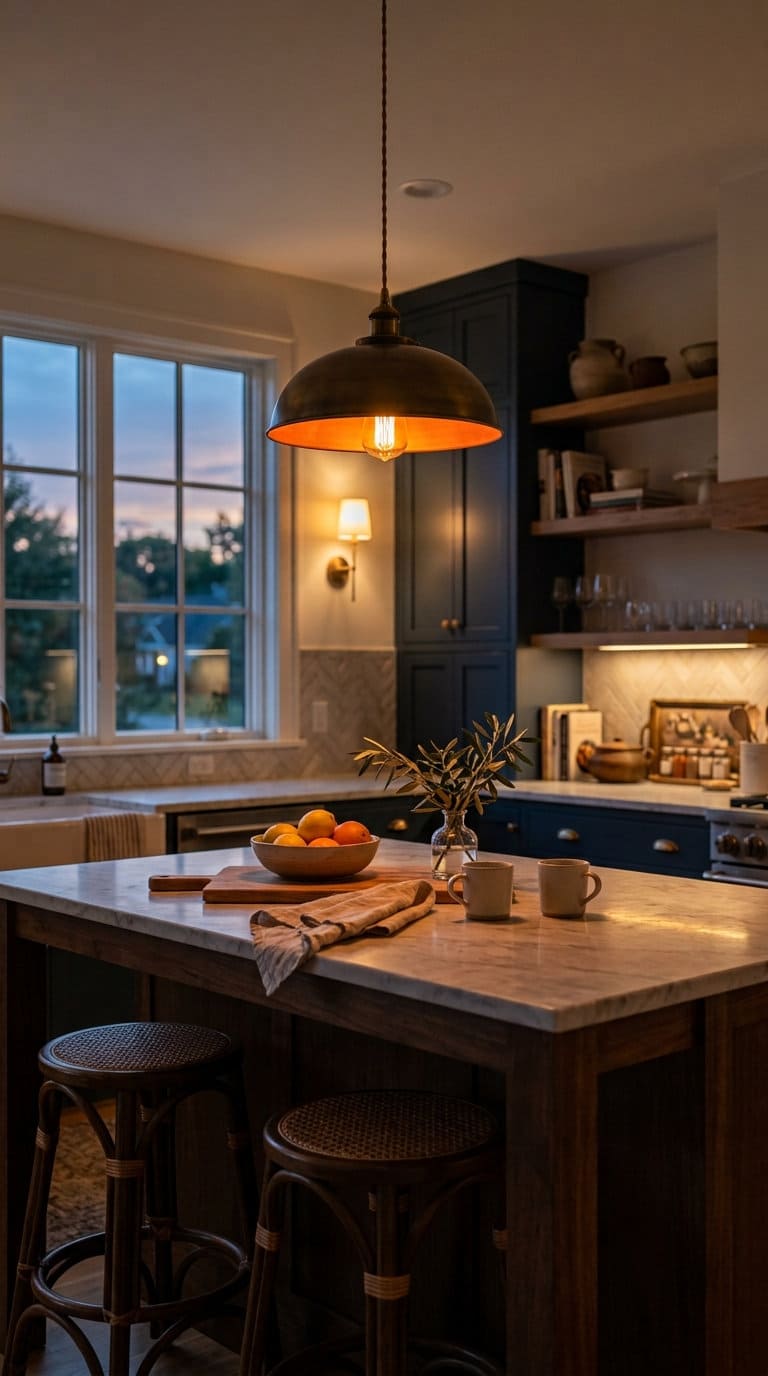
Budget: DIY-cheap.
Orange bulbs in a warm-toned fixture (like a pendant over an island) read as cozy-spooky, while purple bulbs in a cooler fixture (recessed cans or a flush-mount) read as more eerie, choose per-fixture rather than making every bulb in the room the same color, which can look flat.
Standard-base LED colored bulbs screw into any existing socket with no rewiring, and they come right back out in favor of your regular bulbs come November, a genuinely reversible swap that changes the whole room’s mood for a few dollars.
18. Add Battery Tea Lights Inside Mason Jars for a Soft Glow
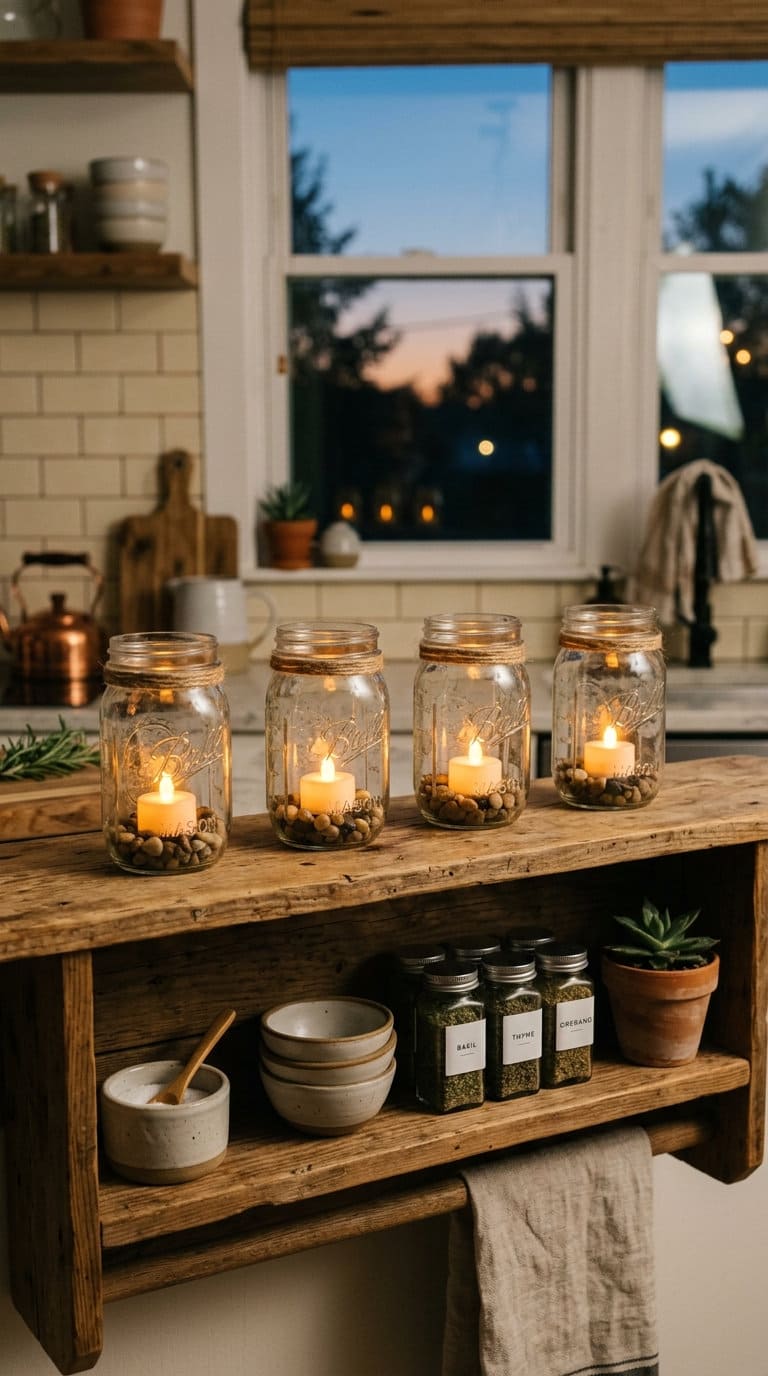
Budget: DIY-cheap.
Drop 2-3 tea lights into each jar rather than just one for a fuller glow, and if you want a colored-glass effect, wrap a thin layer of orange or black tissue paper around the inside of the jar before adding the lights (keep it a few inches from the light itself so it doesn’t look scorched, even with an LED that runs cool).
Scatter jars at varied heights along open shelves or the windowsill rather than lining them up perfectly even, which reads more natural after dark. Battery power means zero open-flame risk near your other decor, a genuine plus over real tea lights in a room with this much paper and fabric decor already up.
Table and Dining Area
19. Set a Black and Orange Table Runner
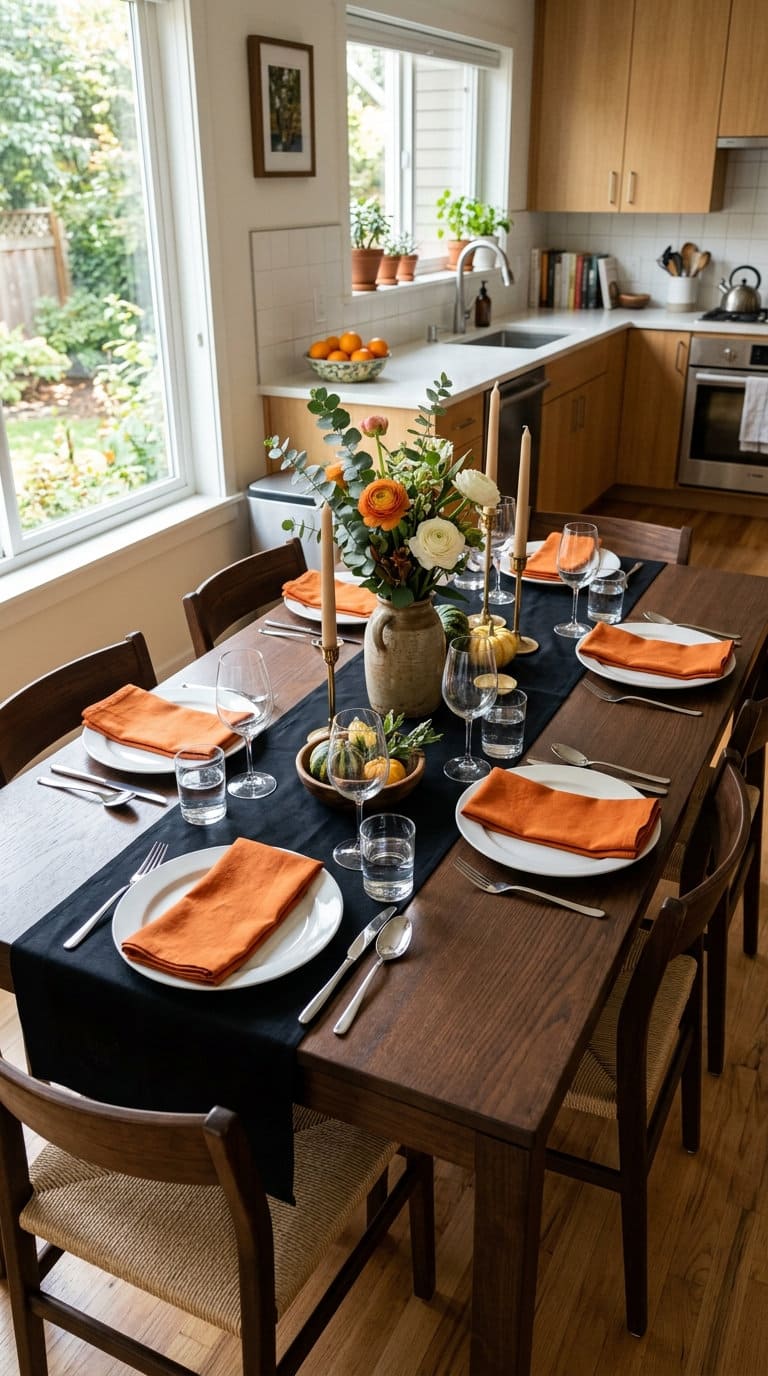
Budget: DIY-cheap.
A black runner in a slightly textured fabric (burlap or a linen blend) reads as more intentional than a flat, shiny polyester one, and orange accent napkins folded into a simple triangle or pocket fold (rather than a plain flat square) add a bit more visual interest for zero extra cost.
If your everyday tablecloth is a busy pattern, swap to a plain white or cream base under the runner so the black-and-orange combination stays the visual focus rather than competing with the tablecloth underneath.
20. Build a Centerpiece With Pumpkins, Candles, and Greenery
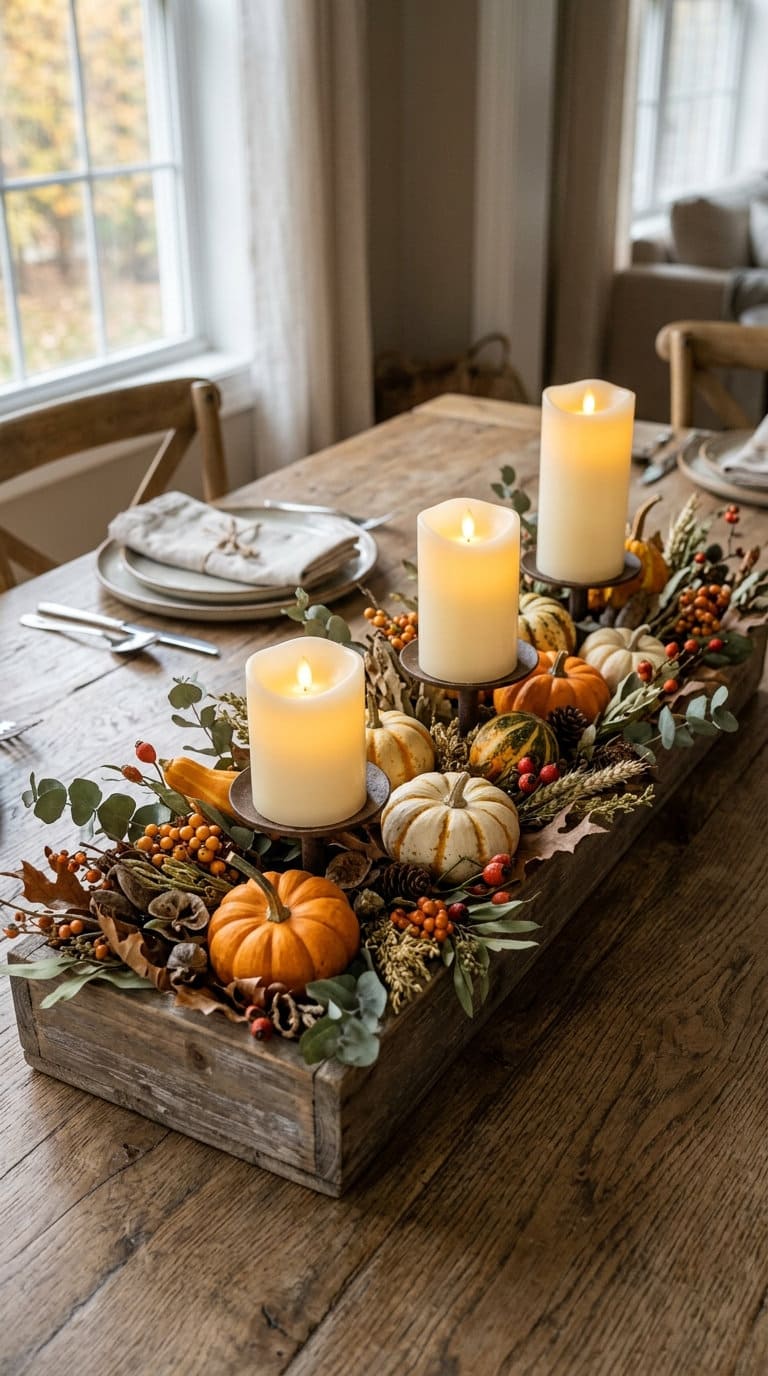
Budget: moderate.
Build in layers: a low, wide dish or wooden tray as the base, 2-3 small pumpkins of different heights, a few sprigs of real or faux eucalyptus or dried wheat tucked between them, and then either real taper candles kept clear of anything flammable or the LED alternatives from idea 15 in the center.
Keep the whole arrangement low enough that guests can still see each other across the table, a common centerpiece mistake is building it so tall it blocks conversation. This makes a genuinely nice dinner-table focal point that photographs well too.
21. Use Spider Web Placemats or a Table Overlay
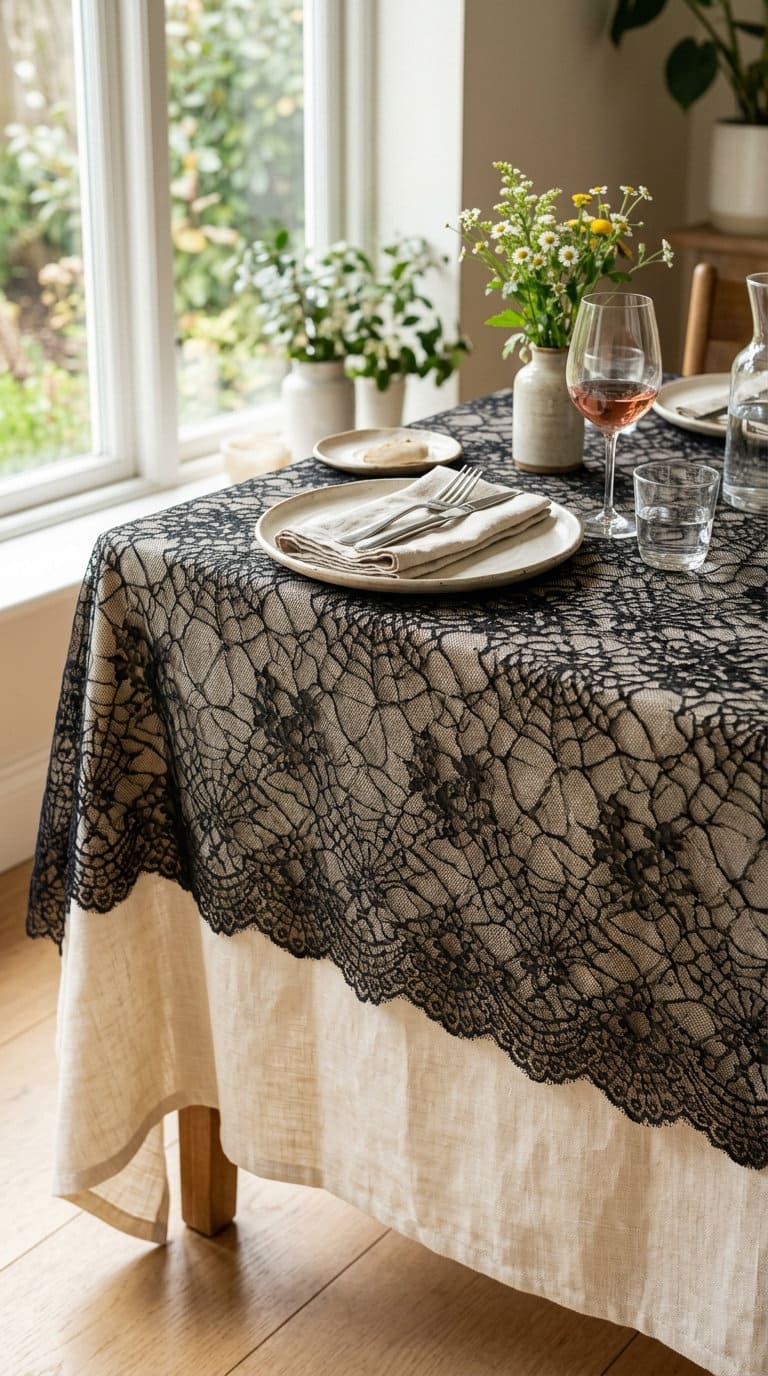
Budget: DIY-cheap.
A sheer black lace or web-pattern overlay works best layered over a solid-color tablecloth (white, cream, or deep orange) rather than a patterned one underneath, so the web texture actually reads instead of getting visually muddled.
If you’re using individual placemats instead of a full overlay, one per place setting plus a matching table runner ties the look together without needing to cover the whole table.
22. Set Out Halloween-Themed Napkin Rings
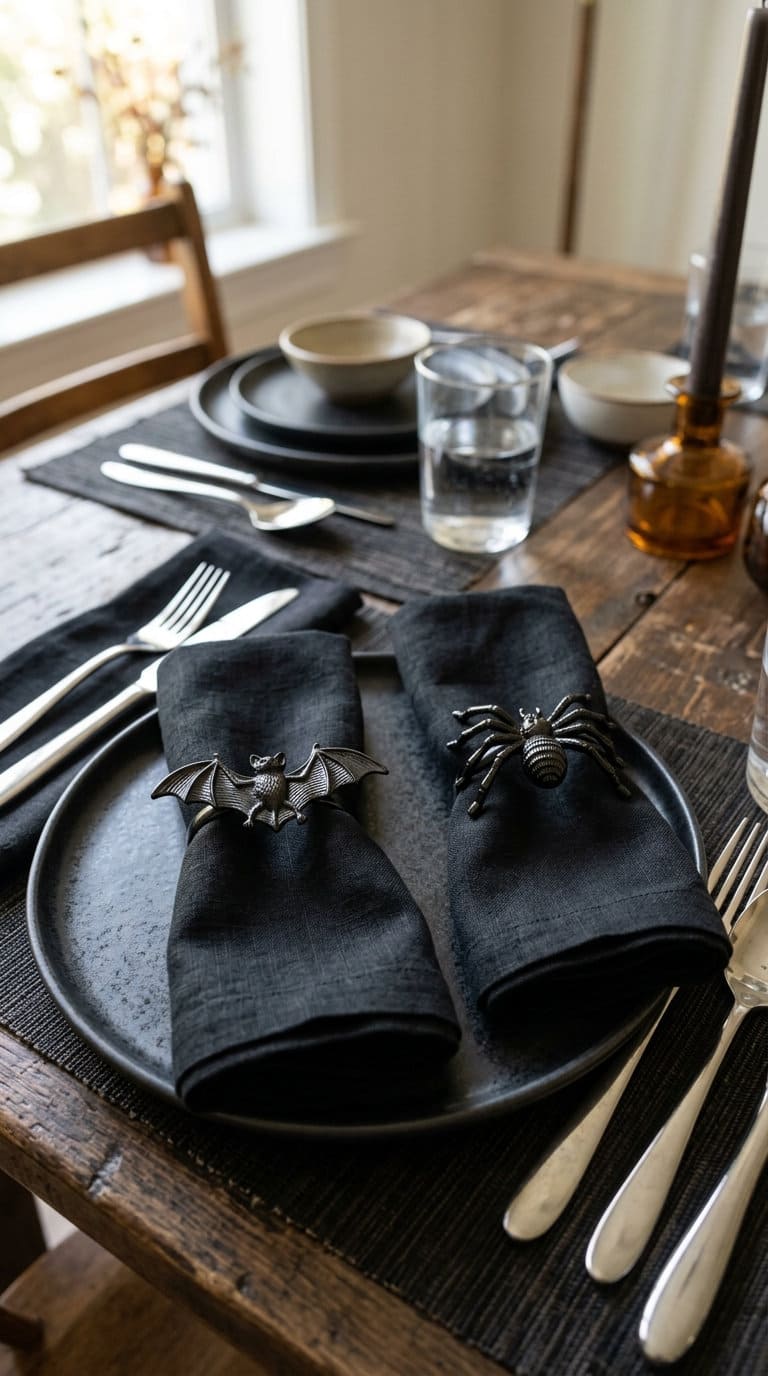
Budget: DIY-cheap.
Small bat, spider, or pumpkin-shaped rings in a matte black or metallic gold finish read as more elevated than a plain plastic set, gold especially pairs well against a black napkin for real contrast.
If you’re setting a table for a mixed group of kids and adults, a slightly larger or different-colored ring at the kids’ places doubles as an easy, no-cost place-setting guide.
23. Add Individual Place Cards With a Spooky Font
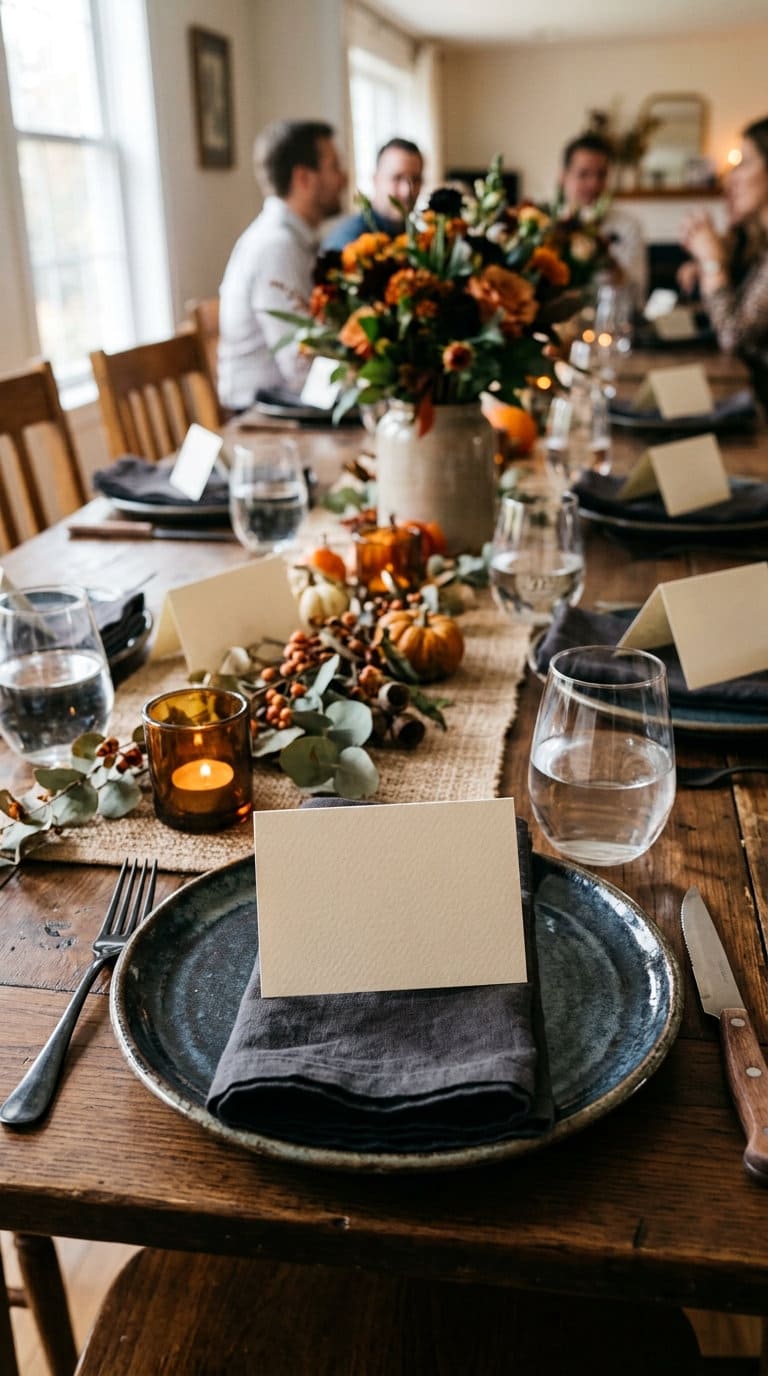
Budget: DIY-cheap.
A simple black cardstock cut into a tombstone or bat shape, with names hand-lettered in a metallic gold or silver paint pen, reads as more finished than a plain printed card.
Fold a small tent-style base rather than trying to prop a flat card upright, flat cards tend to slide or fall over on a tablecloth. This is a small detail but genuinely elevates a dinner party’s finished feel for the cost of some cardstock and 15 minutes of lettering.
24. Style a Dessert Stand With Halloween Treats as the Centerpiece
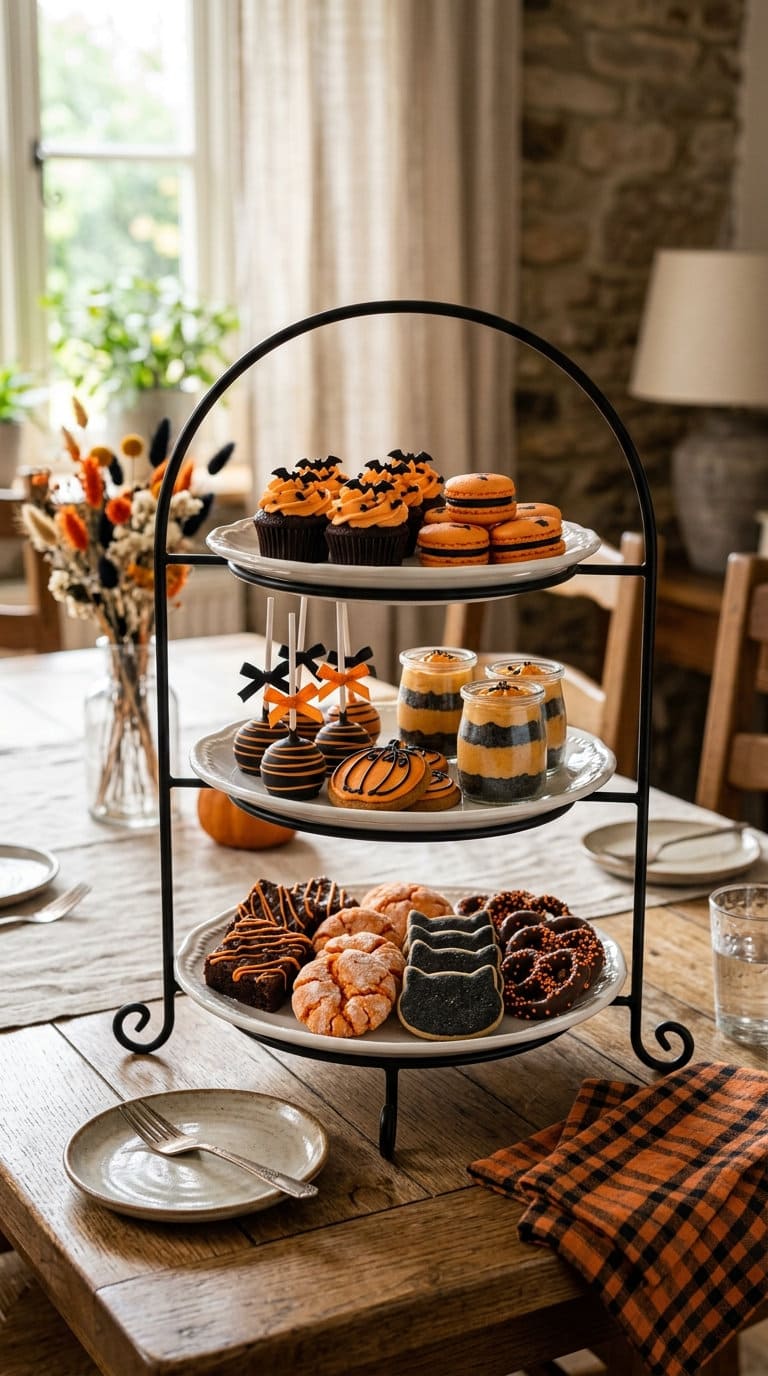
Budget: moderate.
A 2-3 tier stand lets you separate treats by type (cookies on top, cupcakes in the middle, candy on the bottom) rather than piling everything together, which both looks more intentional and makes it easier for guests to grab what they want without digging.
Treats made with the FDA-approved black and orange dyes discussed above are genuinely safe for the stand’s whole display window, just remember that anything with real dairy or fresh frosting still needs the same 2-hour room-temperature limit as any other perishable food, swap those specific items out rather than the whole stand if the party runs long.
Food-as-Decor and Finishing Touches
25. Carve a Small Pumpkin Into a Serving Bowl
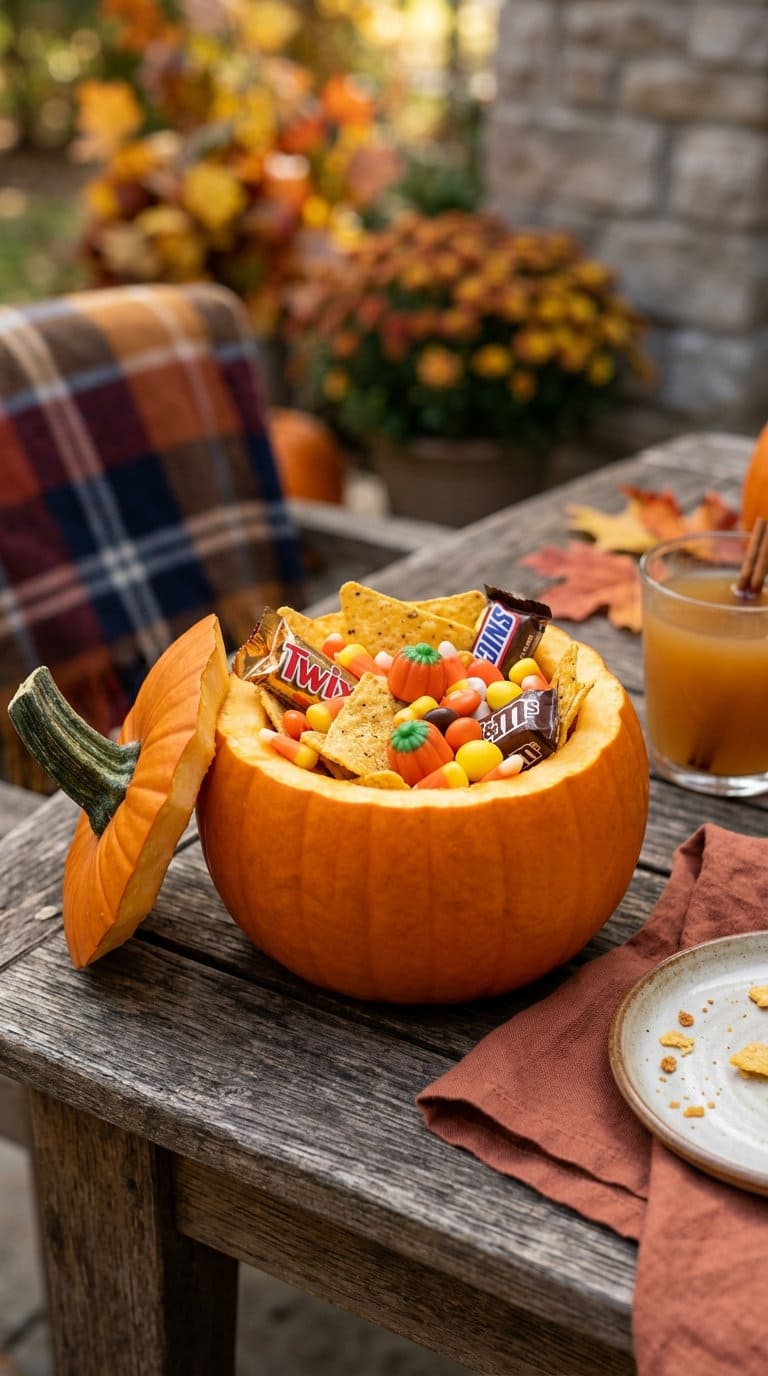
Budget: DIY-cheap.
Cut the top off at a wide enough angle that you can actually get a serving spoon or hand in easily, a narrow opening looks nice but is frustrating to serve from.
Line the inside with a plastic liner or a small bowl set inside the pumpkin if you’re serving something wet (dip, punch) so the pumpkin flesh doesn’t start breaking down from moisture contact.
This makes a genuinely striking one-time serving bowl for chips, dip, or candy, just don’t reuse it once it’s been sitting out carved for more than a day, the cut flesh starts to soften and mold noticeably faster than an intact pumpkin.
26. Set Out a “Mummy” Wrapped Bottle or Jar
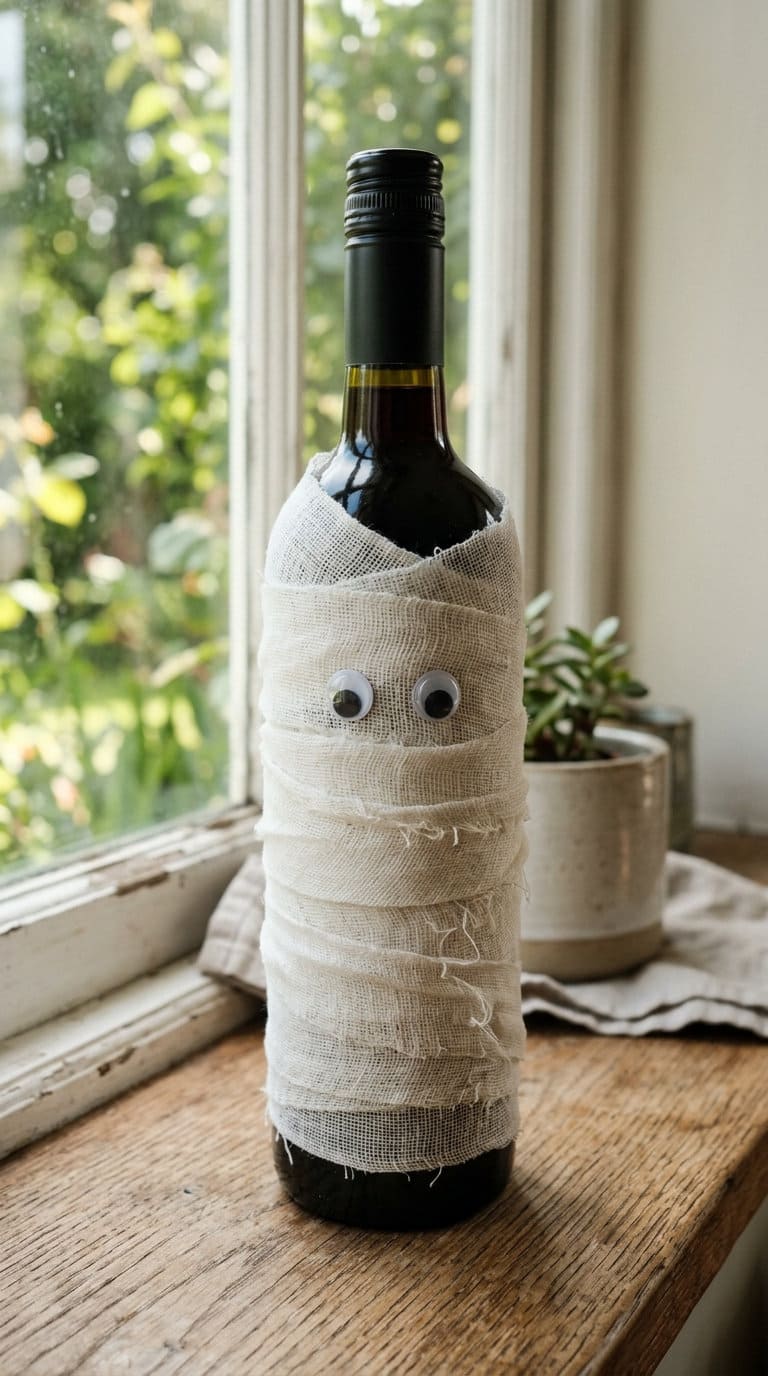
Budget: DIY-cheap.
Wrap gauze strips (medical gauze roll or cheesecloth both work) around the bottle at a slight diagonal rather than straight around, which reads more like authentic mummy wrapping and less like a bandage.
Leave small gaps between wraps here and there rather than covering every inch, so a bit of the bottle’s original color peeks through.
Glue two small googly eyes peeking out near the top for the finishing touch, a five-minute project that works as both a gift presentation and standalone decor.
27. Display a Bowl of Black and Orange Popcorn
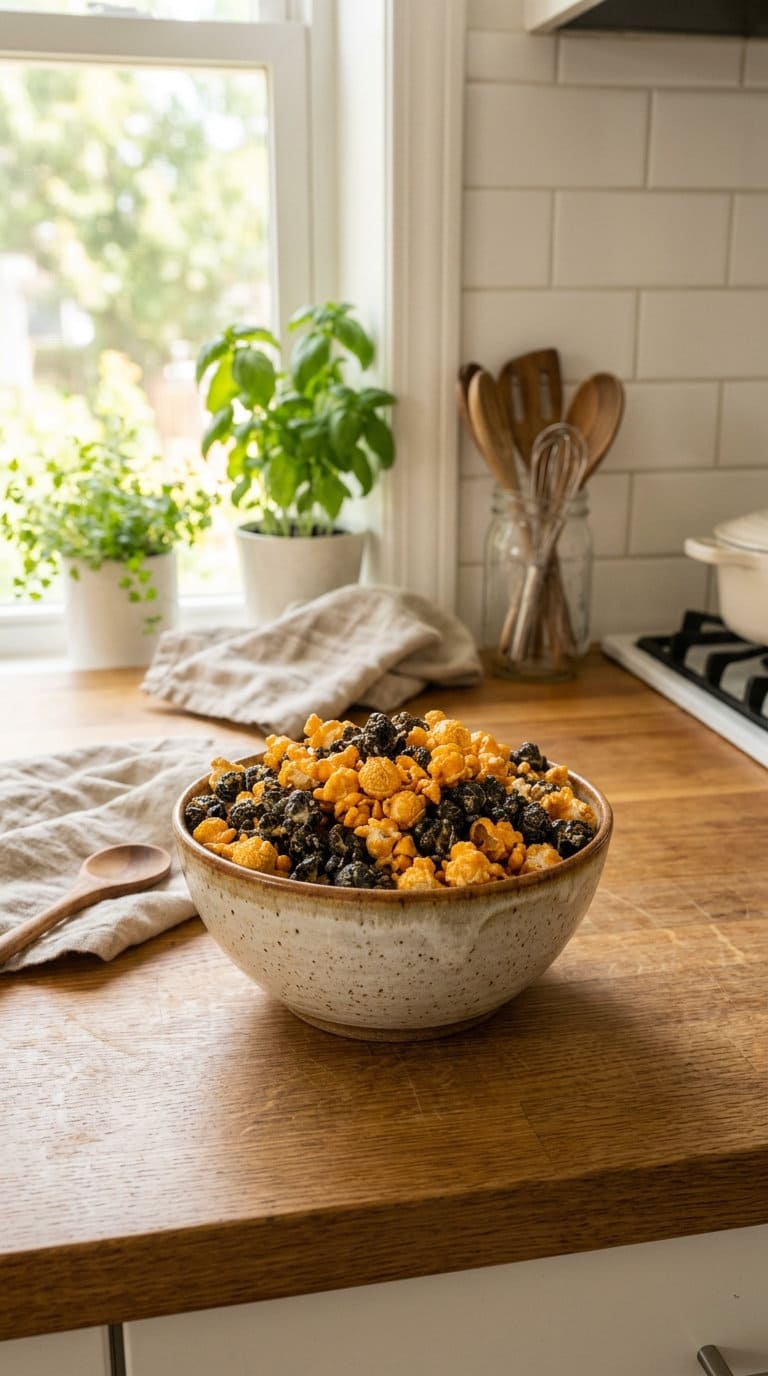
Budget: DIY-cheap.
Toss freshly popped popcorn with a few drops of FDA-approved food coloring mixed into melted white chocolate or a light corn-syrup glaze rather than dry coloring directly on the popcorn, which tends to clump and color unevenly.
Spread it on a baking sheet to set for 20-30 minutes before piling into a serving bowl, this is a shelf-stable, genuinely safe snack-as-decor option that holds up better than fresh baked goods left out for hours.
28. Add a Small Chalkboard Menu for Halloween-Themed Drinks
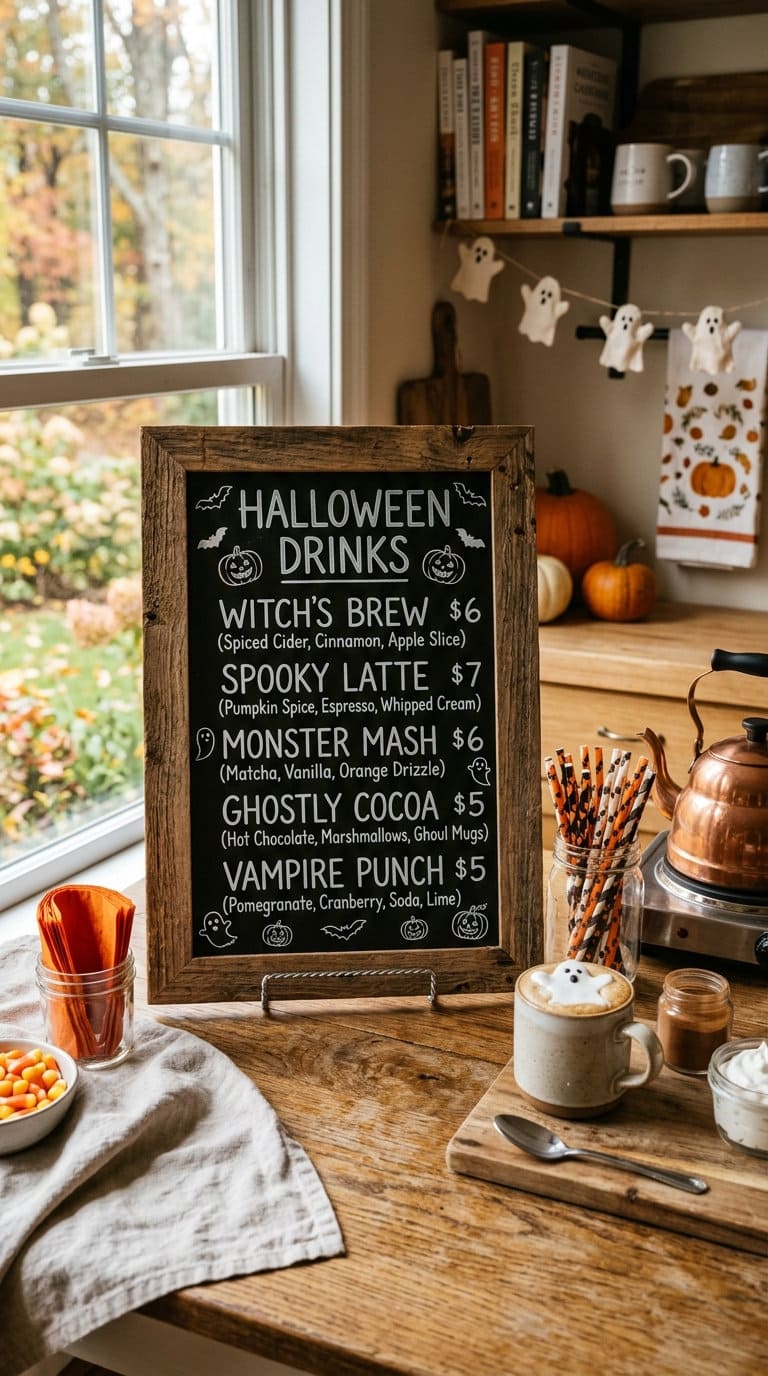
Budget: DIY-cheap.
List 2-3 drink names max (“Witch’s Brew,” “Goblin Punch”) rather than a long cocktail menu, which is easier to read at a glance near a drink station and genuinely useful signage rather than decorative clutter.
Prop it directly behind or beside the drink dispenser itself so guests connect the sign to the actual drink without having to guess which pitcher is which.
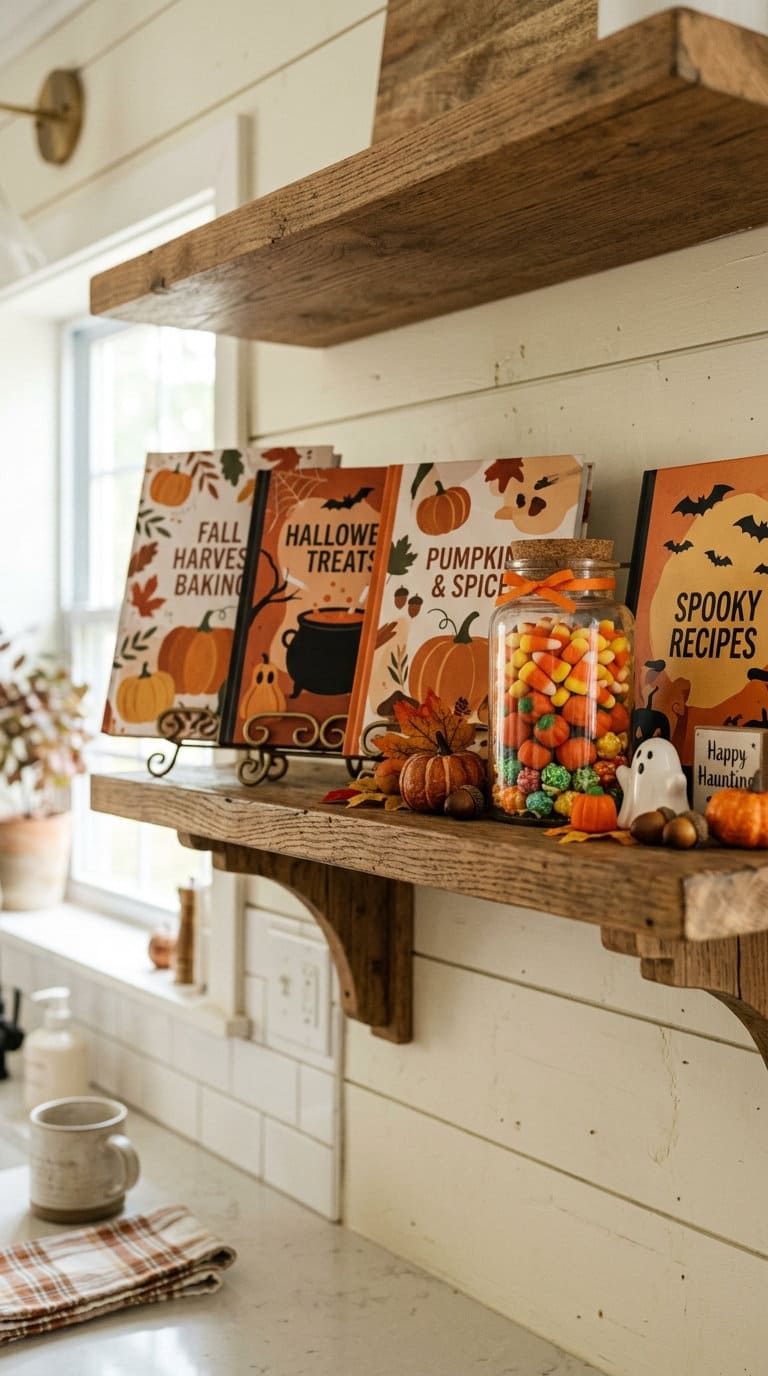
29. Style Kitchen Shelves With Halloween-Themed Cookbooks and Jarred Treats
Budget: DIY-cheap.
Prop books face-out rather than spine-out (a small plate stand or bookend angled forward works if the shelf doesn’t have a built-in ledge) so the cover art itself becomes part of the decor.
Pair one or two books with a jar of dyed treats or candy corn from idea 3 on the same shelf rather than scattering single items across every shelf, a small grouped vignette reads more intentional than decor spread thin across the whole kitchen.
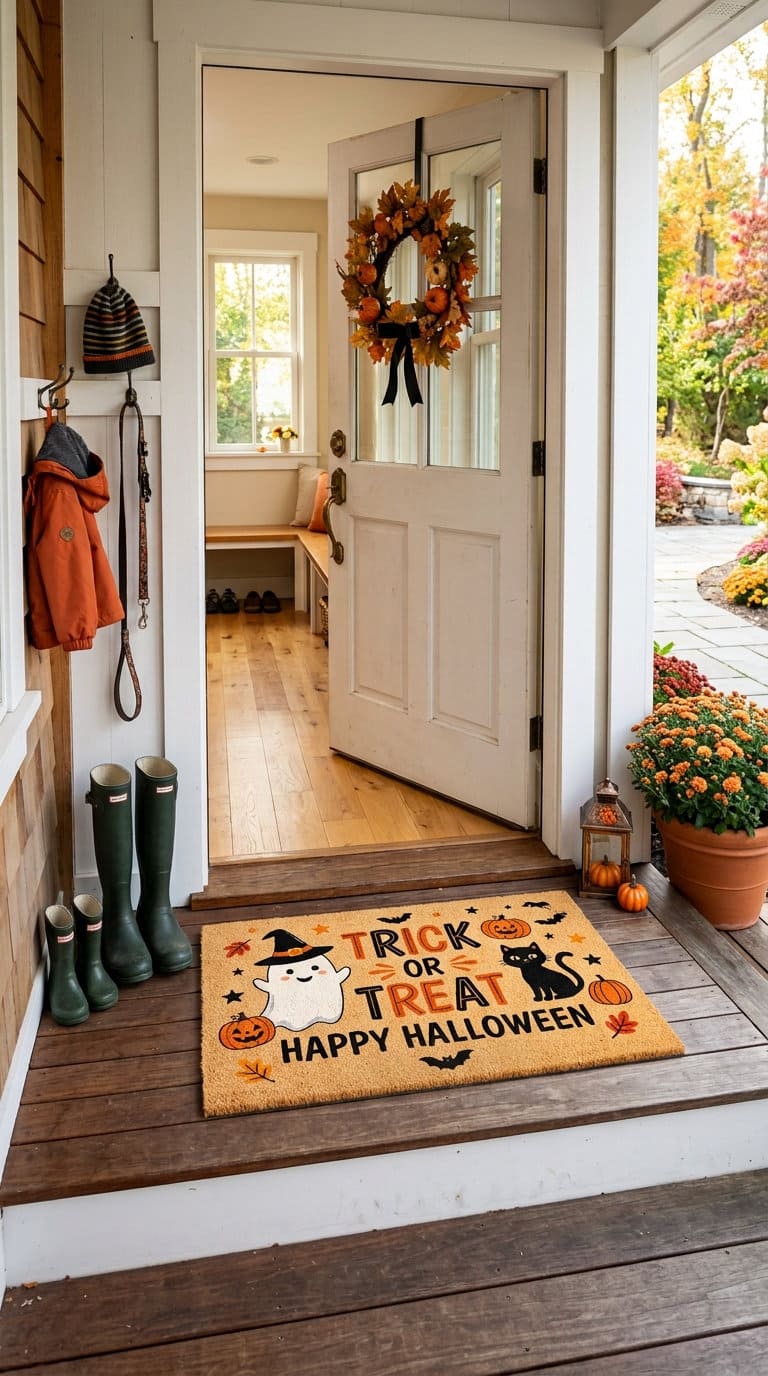
30. Finish With a Doormat or Rug Swap at the Kitchen Entrance
Budget: moderate.
Choose a low-pile, washable mat for a high-traffic entry point like a mudroom or back door, since this spot will see more foot traffic and potential spills than a purely decorative rug elsewhere in the house.
A simple graphic (a black cat silhouette, a row of pumpkins, a “Trick or Treat” script) reads better underfoot than a busy, detailed print that gets visually lost. This extends the theme into the room’s main traffic path without touching any counter or cabinet space, a nice finishing touch after the 29 ideas above.
FAQ
Is it safe to use real candles in a kitchen full of Halloween decor? It can be, if you keep any lit candle well clear of paper garlands, dish towels, and dried decor, since NFPA data shows over half of all candle fires start when flammable decor is placed too close to the flame. For anything near paper or fabric decor, a battery-powered LED candle is the safer choice.
Is black or orange food dye safe for Halloween treats? Generally yes. The FDA requires evidence that a color additive is safe at its intended use level before approving it, and the certified dyes used for black and orange Halloween coloring go through that same approval process as any other food color additive.
How long can Halloween-themed food sit out as kitchen decor? Shelf-stable items like candy corn, dyed rice, or popcorn are fine to leave out all season. Anything with real dairy, fresh frosting, or perishable ingredients should follow the standard 2-hour room-temperature rule (1 hour if your kitchen runs warm from oven use), the same guidance covered in this site’s backyard Halloween party ideas piece.
What’s the cheapest way to decorate a kitchen for Halloween? Paper bat garlands, a bowl of candy corn, and battery tea lights in mason jars (ideas 8, 3, and 18 above) together cost under $20 and take less than 30 minutes to set up, genuinely the fastest, cheapest combination on this whole list.
Products We Recommend
This post contains affiliate links. We may earn a commission on qualifying purchases at no extra cost to you.
Nemesis Now Wolfsbane Potion Bottle
Black 21cm apothecary-style potion bottle, styles well on an open counter or windowsill
Shop Now
DII Happy Halloween Dishtowel Collection
3-count black "All Hallows Eve" cotton kitchen hand towel set, functional and decorative
Shop Now
Halloween Spider Web Decor
Stretchable fake cobweb with spider props, ideal for cabinet corners (keep clear of the stovetop per the safety note above)
Shop NowNever miss an update — choose FarmFoodFamily as your preferred source on Google.
How it works: Tap the button below to open Google's settings page, then check the box next to FarmFoodFamily.
Tap the checkbox to turn it blue — that's how you know it's set.