How to Level a Sloped Garden the Bulletproof Way (Cost, DIY Limits, and When to Terrace Instead)
Flattening a slope is a real fix for a real problem, but it only holds up if you get the cut-to-fill ratio, the drainage pitch, and the compaction right, and know when terracing would honestly serve you better.

Never miss an update — choose FarmFoodFamily as your preferred source on Google.
How it works: Tap the button below to open Google’s settings page, then check the box next to FarmFoodFamily.
Tap the checkbox to turn it blue — that’s how you know it’s set.
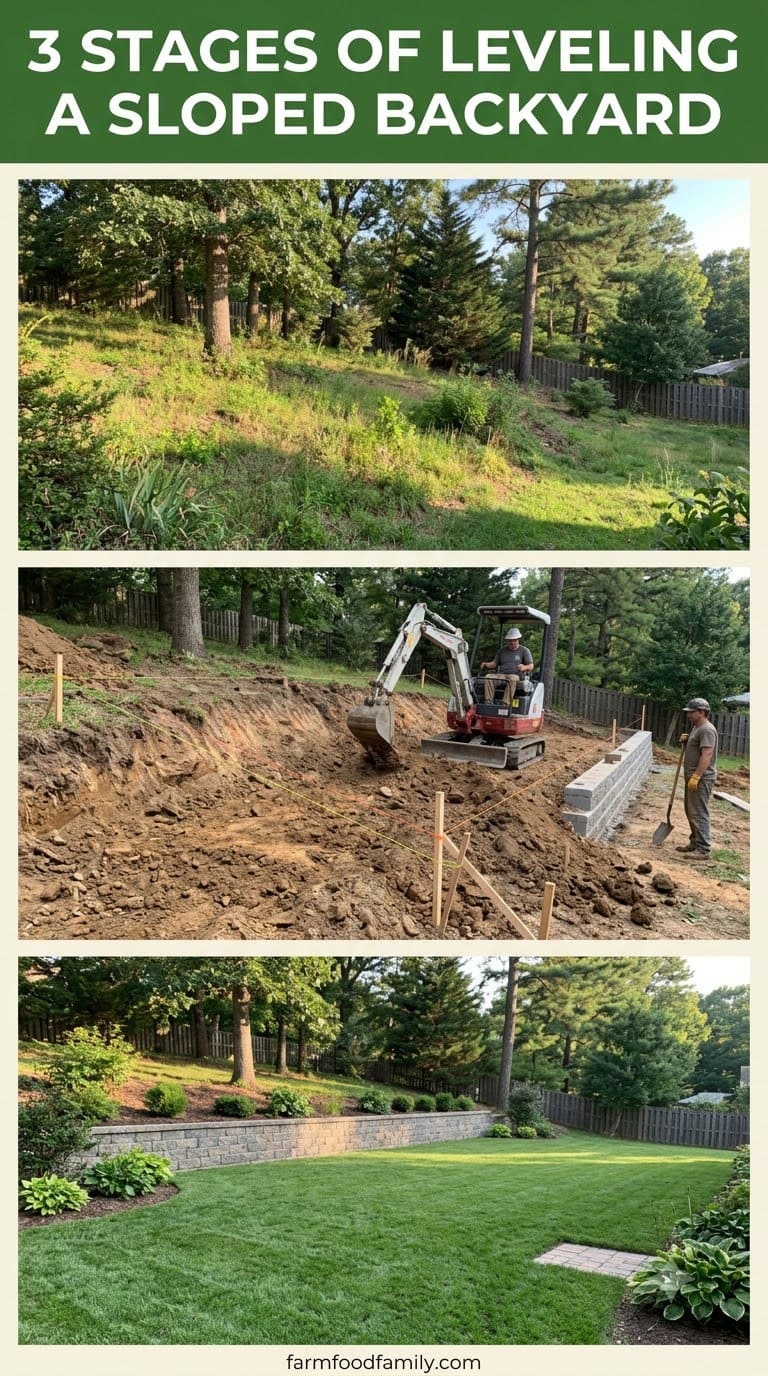
Leveling a sloped garden means cutting soil from the high side and using it to fill the low side until the ground reads flat, a process landscapers call cut-and-fill grading.
A whole-yard leveling job averages around $2,179, typically landing between $1,023 and $3,335, while a small hand-tool touch-up can run as little as $120 to $280 in tools and rental (Fixr/HomeGuide cost-guide consensus).
The technique only works long-term if the new grade still pitches away from your house at roughly a 5 percent grade, about a 6-inch drop per 10 feet according to Lee Gilliam, landscape contractor for This Old House, if fill soil is compacted rather than dumped and left, and if you plan for a retaining wall wherever the cut or fill face gets steep enough to need one.
Anything beyond a gentle slope is usually a job for an excavator and a contractor, not a rented tiller and a weekend.
Most articles about leveling a sloped yard are really just cost calculators wearing a how-to headline. They’ll tell you excavation runs $60 to $200 a cubic yard and stop there, no mention of what actually happens to the dirt, why a “flattened” yard sometimes drains worse than the slope it replaced, or why your neighbor’s DIY regrade job needed a permit halfway through. This one covers the actual technique.
I want to be upfront about something before we go further: leveling isn’t always the right move. If your slope is steep, or you want the yard to do several different things (a dining spot, a garden, a play area), terracing into stepped levels is often the smarter call, and our guide to turning a sloped backyard into a usable multi-level garden makes that case in detail.

This article is for the other situation: when you genuinely want one continuous flat surface, whether that’s the whole yard or a defined section of it, and you’re trying to figure out how to do that correctly instead of ending up with a “flat” yard that puddles by the back door every spring.
If your slope is mainly going to grow food, our vegetable garden on a slope guide walks through the raised-bed-versus-terrace math for that specific use case.
Answer 4 quick questions and get matched to the exact fix for your yard — drainage, budget, layout, or something else entirely.
Take the Free Quiz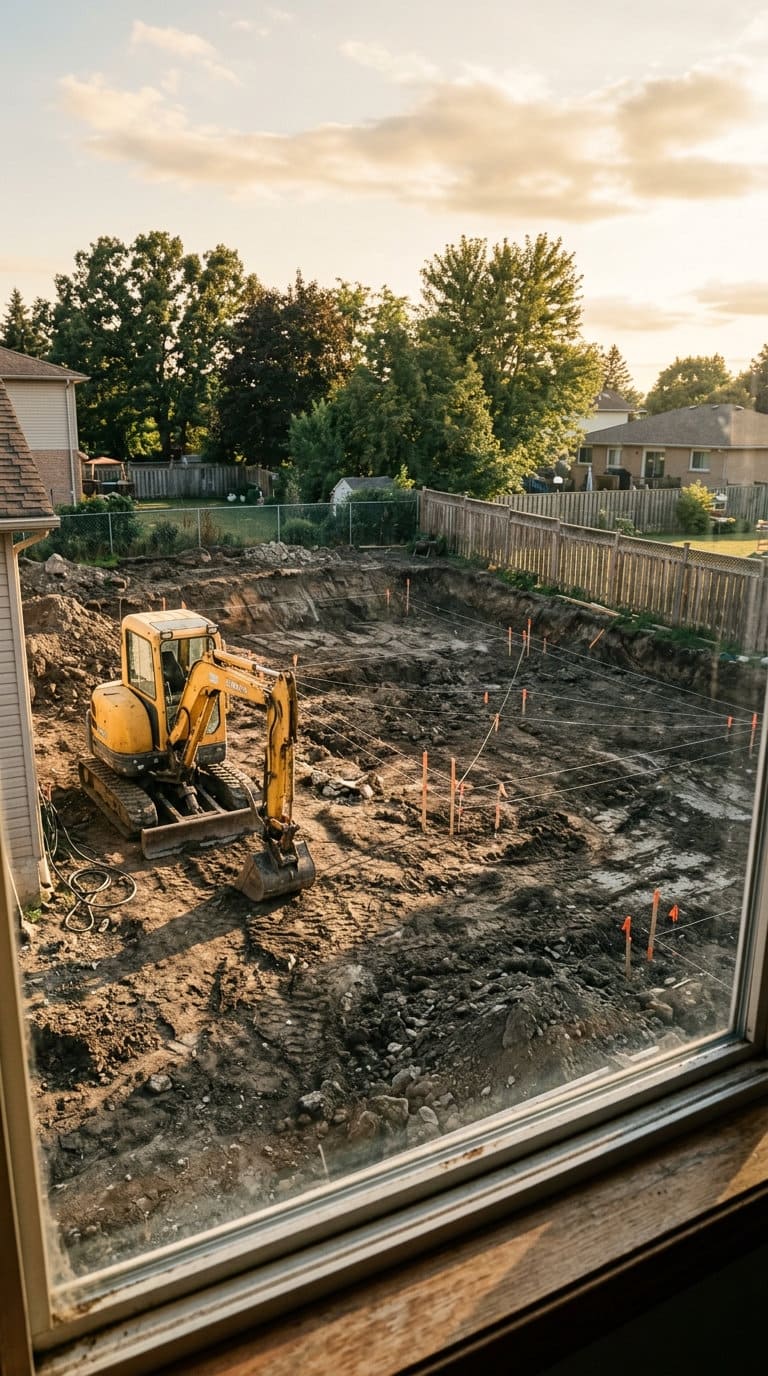
How steep is your slope, and does leveling even make sense
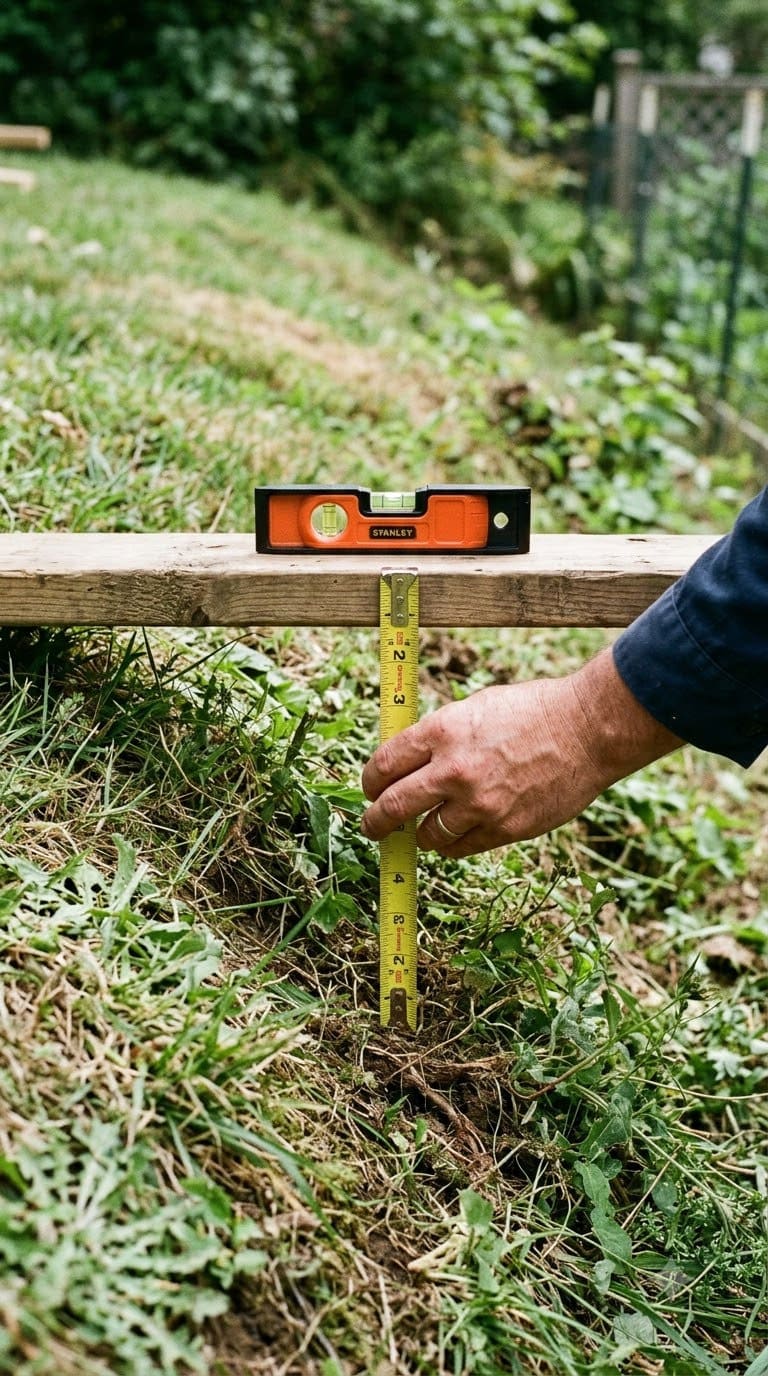
Grab a straight board about 8 to 10 feet long, a torpedo level, and a tape measure, or just use a level app on your phone braced against a board. Lay the board across the slope, level it, and measure the gap between the low end of the board and the ground.
Divide that gap by the board’s length and multiply by 100 to get a rough percentage grade. A 1-foot drop over 20 feet of run is a 5 percent grade. A 2-foot drop over 10 feet is 20 percent.
That number decides most of what comes next.
- Gentle (under 8 percent): Usually a genuinely DIY-friendly leveling project. You’re mostly moving topsoil around, not fighting a real elevation problem, and a rented mini excavator or even a lot of shovel work over a weekend can get you there.
- Moderate (8 to 15 percent): Leveling is still doable but you’re almost certainly building at least one low retaining wall on the cut or fill side, and you’re moving real volume, not just smoothing bumps. This is where a lot of homeowners underestimate the project.
- Steep (15 to 20 percent and up): Full leveling gets expensive fast, and the cut face or fill face can get tall enough to need an engineered wall. This is usually where terracing starts winning on cost and long-term stability, even though it means giving up the single-flat-surface goal.
A quarter-acre suburban lot with a gentle 5 percent grade and a steep, narrow hillside lot are not the same project, even though both technically qualify as “sloped.” Match the ambition to the actual number, not to what looks achievable in a photo.
Leveling vs. terracing: the honest comparison
This site has a whole article arguing that terracing beats flattening, and that argument is right for a lot of slopes. It’s worth stating plainly instead of pretending the alternative doesn’t exist.
Most yard problems trace back to one specific, fixable cause. Find yours in 4 quick questions.
Take the Free Quiz
A heavy 36-inch steel rake built for pulling and spreading soil across a graded area, more durable than a standard leaf rake for this kind of work.
Shop NowThis post contains affiliate links. We may earn a commission on qualifying purchases at no extra cost to you.
| Approach | Best for | Rough cost | DIY feasibility | Drainage behavior |
|---|---|---|---|---|
| Full leveling (cut-and-fill across the whole yard) | Gentle to moderate slopes, single-purpose flat space (lawn, play area, one large patio) | $1,000-$5,000 for a typical backyard | Doable on gentle slopes, partial DIY on moderate | Must be re-pitched carefully away from the house, or it can drain worse than before |
| Partial leveling (flatten one section, leave the rest sloped) | Moderate slopes where you only need one flat zone, not the whole yard | $500-$2,500 depending on section size | Often DIY-able with rented equipment for a weekend | Localized, easier to control than a whole-yard regrade |
| Terracing (stepped platforms) | Steep slopes, or when you want multiple distinct-use zones | $2,000-$15,000+ depending on wall material and height | Partial, taller walls need a pro | Generally the best drainage behavior, water sheds level by level instead of pooling on one plane |
Leveling wins when you genuinely want one continuous flat surface and your slope is gentle to moderate. Terracing wins once the slope gets steep, or once you realize you actually want the yard to do three different jobs instead of one.
A lot of people default to “just flatten it” because it sounds simpler, and then discover on a 20 percent grade that flattening the whole thing means a cut face on one side and a multi-foot fill wall on the other, at which point they’ve built something that’s structurally closer to a single giant terrace anyway, just without the design intention.
If that’s where your numbers land, it’s worth reading the terracing guide before committing to a full flatten.
What cut-and-fill grading actually is
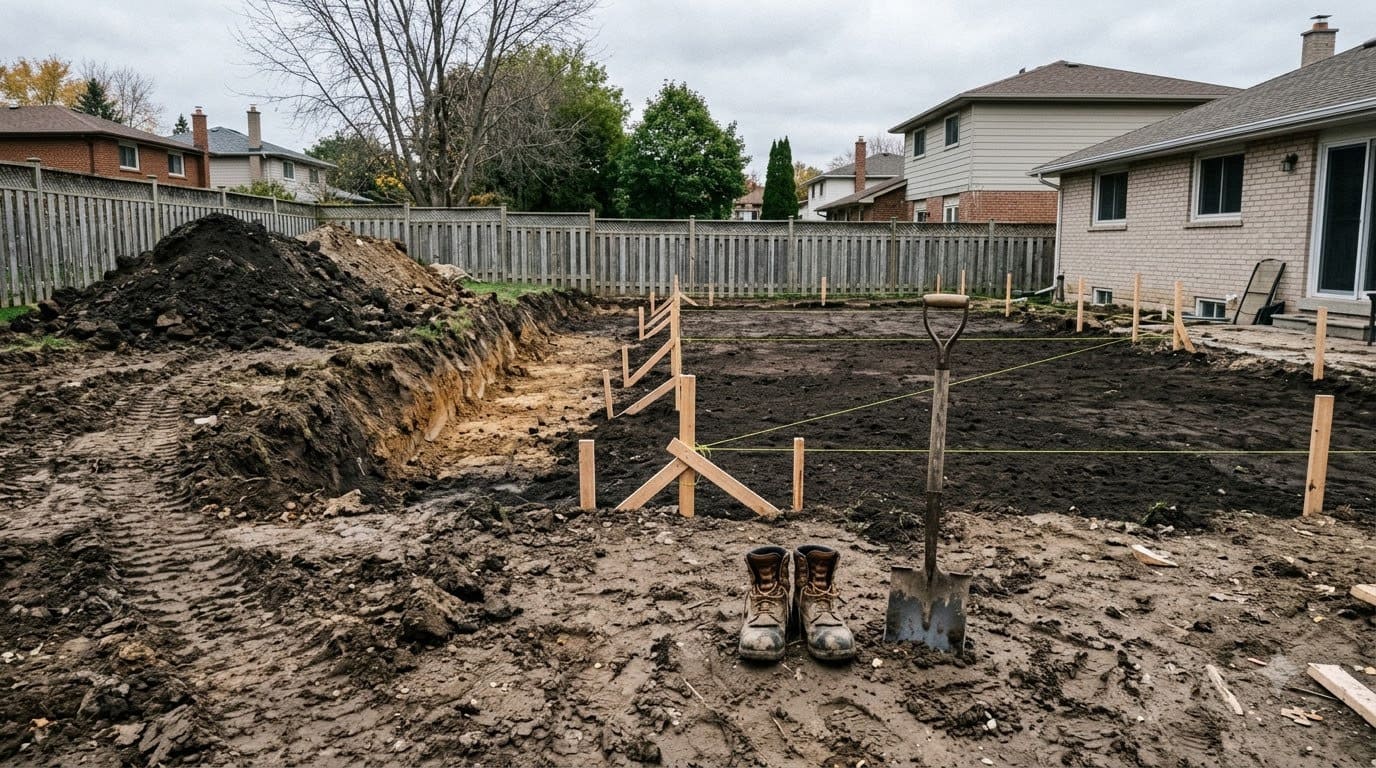
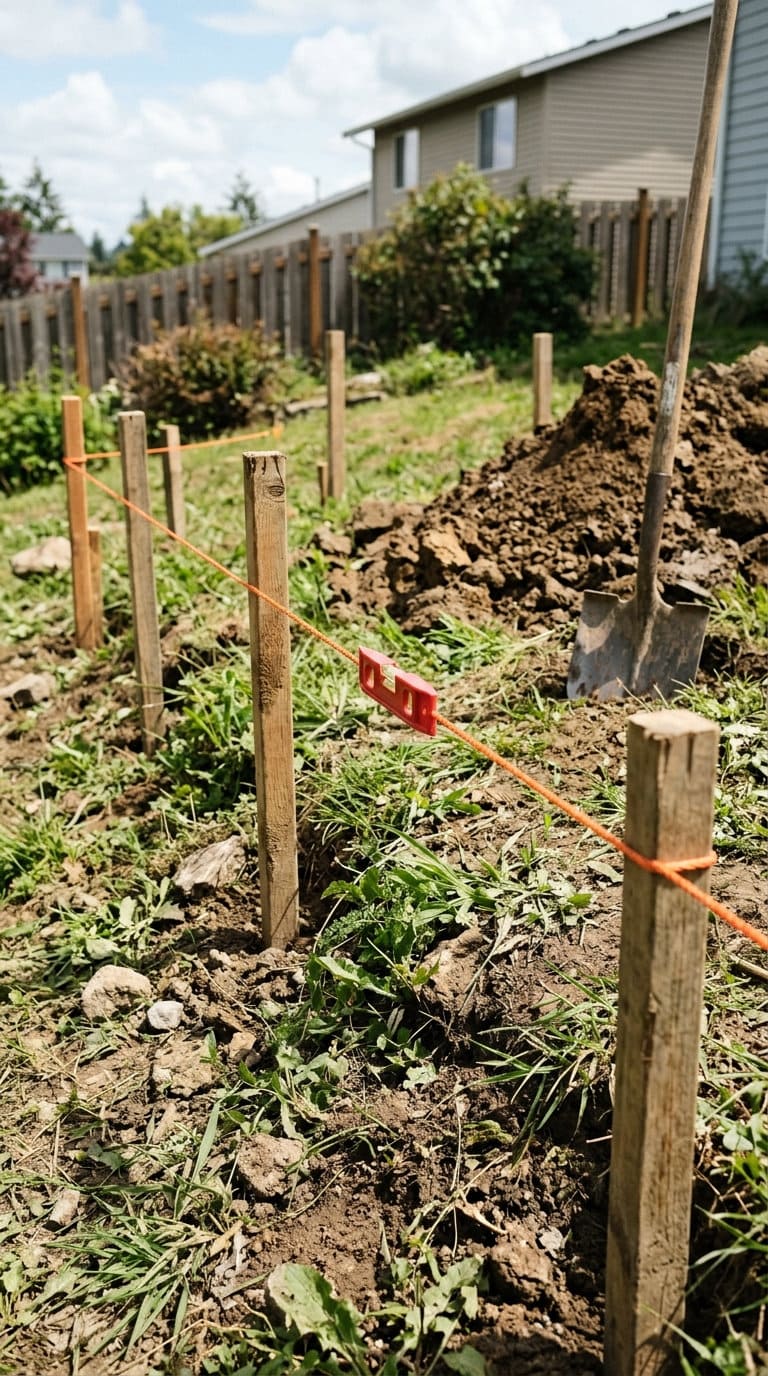
The mechanics are simpler than the name sounds. You identify your high point and low point, then move soil from the high point to the low point until the whole area reads level, or level with an intentional gentle pitch away from the house.
Before any dirt moves: call 811 (or your local utility locate line) to mark buried lines, and strip the existing topsoil layer, typically the top 4 to 8 inches, off to the side. This step gets skipped constantly and it’s a mistake. Topsoil is the living, organic layer that actually grows grass.
The subsoil underneath is denser, less fertile, and not what you want as your finished surface. Strip it, stockpile it separately from your cut/fill dirt, regrade the subsoil underneath, then spread the stockpiled topsoil back over the top once the grading is done, usually 4 to 6 inches of it.
For the actual cut-and-fill: according to University of Missouri Extension publication G1641, the cut-to-fill ratio on a real grading job normally runs 1.3 to 1.5, meaning you need to move roughly 1.3 to 1.5 cubic yards of cut soil for every cubic yard of finished fill volume, because compaction, hauling loss, and undercutting all eat into the total.


That ratio is worth knowing before you estimate how much dirt you’ll need to buy in, because a lot of first-time DIY graders assume it’s a 1-to-1 swap and end up short.
The average homeowner spends $616/year on yard fixes that don't address the real problem. Find out what yours actually is — before you spend another dollar.
Take the Free QuizThe same publication notes something homeowners rarely plan for: cut areas swell slightly right after grading and fill areas settle, meaning the “level” surface you finish with in October can show low spots and high spots again by spring, and a minor touch-up cut-and-fill pass the following year is normal, not a sign you did it wrong the first time.
Cost breakdown
Real ranges, not a single made-up number, because the spread here is genuinely wide depending on scope.
| Item | Typical cost |
|---|---|
| Small lawn touch-up regrade | $500-$1,000 |
| Full backyard regrade | $1,000-$5,000 |
| Large-scale regrade (acre-plus) | Up to roughly $45,000/acre |
| Excavation | $60-$200 per cubic yard |
| Labor, owner-operator | $50-$150 per hour |
| Labor, equipment + operator (mini excavator, skid-steer, backhoe) | $100-$300 per hour |
| Fill dirt | $6-$17 per cubic yard |
| Topsoil (for the final layer) | $12-$55 per cubic yard |
Those ranges come from a consensus across Fixr, HomeGuide, LawnLove, and Angi’s cost-guide data. What most of those calculator pages don’t spell out is where the range comes from: a small, gentle-slope, cut-equals-fill project where you’re not hauling dirt off-site lands at the low end.
A steep-slope project where you need to truck in fill dirt (or truck excess cut dirt away, which costs money too) lands at the high end fast, sometimes before you’ve even priced the retaining wall the grading forced you into.
If cost is the real constraint and you’re not sure leveling is worth it yet, it’s worth reading through the budget-focused sloped backyard ideas guide first, since some of those lower-cost moves solve the same underlying problem (an unusable slope) without a full regrade.
DIY vs. hiring an excavator or contractor
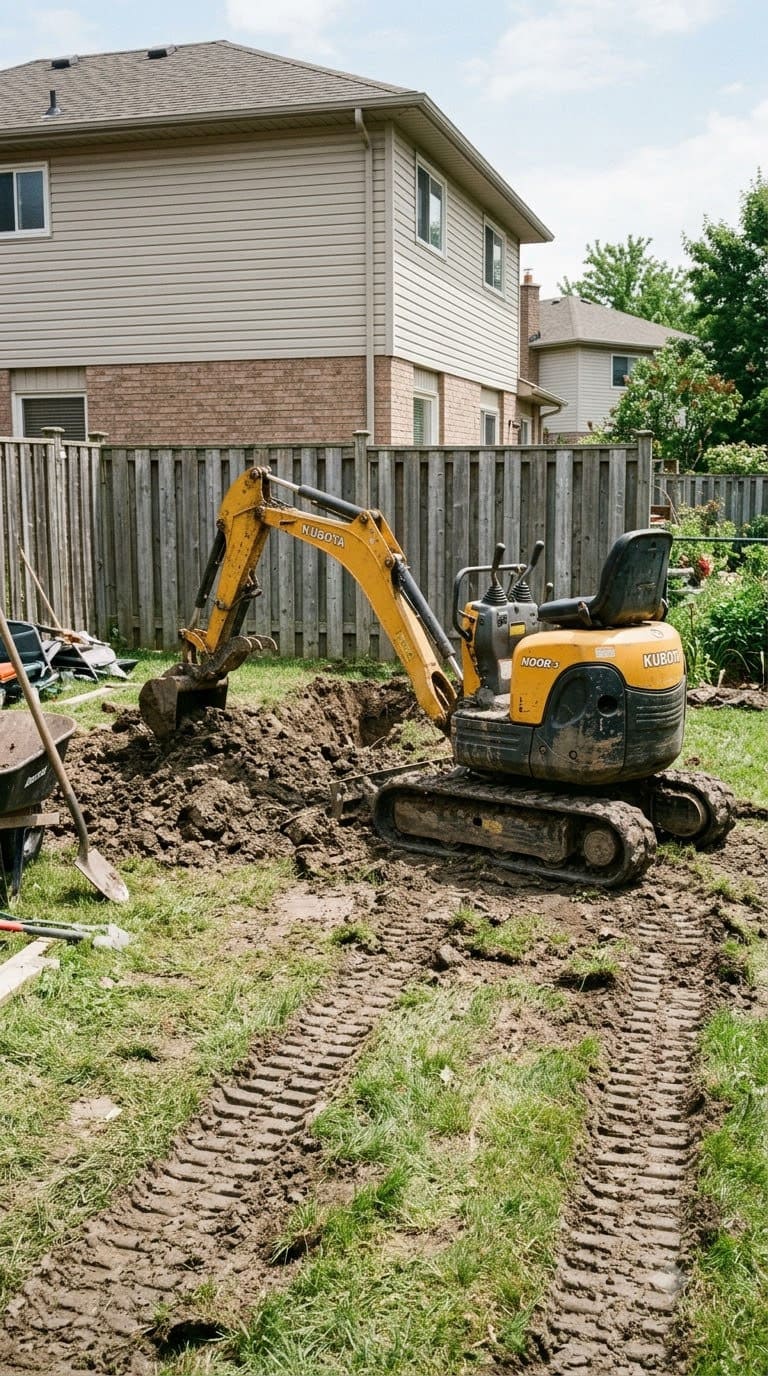
A gentle slope, moved by hand or with a rented mini excavator over a weekend, is a realistic DIY project. Renting a mini excavator typically runs $200 to $400 a day, which is cheap next to hiring an operator, but it assumes you’re comfortable running one safely and you’re not moving more than maybe 10 to 15 cubic yards total.
Past that, the honest answer is: hire it out. The labor and equipment rates for a real cut-and-fill job add up fast once you’re past what a rented mini excavator and a weekend can cover, and a botched DIY grade that drains wrong toward the foundation costs a lot more to fix later than it would have to hire correctly the first time.
Gilliam’s own guidance is blunt about the tradeoff between the two: a homeowner with hand tools can get there, it just takes days instead of hours, and the finished grade still has to hit the same 5 percent target either way.
A reasonable rule of thumb: if you’re moving less than about 10 cubic yards, working on a slope under 8 percent, and there’s no retaining wall involved, DIY is genuinely on the table. If any of those three things isn’t true, get at least one contractor quote before you commit to doing it yourself.
Timeline is worth factoring in too: Gilliam’s own comparison puts a hand-tool DIY regrade at around 5 to 7 days of real labor, against roughly 12 to 24 hours of machine time spread over 2 to 3 days for a professional crew with the right equipment. That gap is the actual DIY tax, not the equipment rental line item people usually budget for.
Retaining walls cut-and-fill work creates (and the permit question)
This is the part that surprises people most. You set out to “just level the yard,” and partway through you realize the cut side of the slope now has an exposed dirt face, and the fill side has a few feet of new soil with nothing holding it in place. Both of those need a retaining wall, or they erode and slump the first time it rains hard.
As a rough rule: any cut or fill face over about 2 feet needs some kind of retaining structure, even if it’s a low dry-stacked stone wall rather than an engineered concrete one. Mississippi State University Extension Service puts the safe ceiling for an unengineered homeowner-built wall at roughly 1 to 2 feet.
Past that, most International Residential Code-based local ordinances put the permit trigger around 3 to 4 feet, at which point it stops being a weekend masonry project and starts requiring a permit, sometimes an engineered or stamped design.
Grading itself can also trigger a permit independent of any wall, particularly if you’re moving a large volume of soil, changing how water drains onto a neighboring property, or working within a certain distance of a property line.
This is genuinely worth a phone call to your local building or planning department before you rent equipment, because a stop-work order partway through a regrade is a far more expensive problem than the permit fee would have been.
If your grading plan is going to need a wall of any real height, it’s worth reading a dedicated wall guide before you build, our front yard retaining wall ideas piece covers material choices and design in more depth than fits here.
Compaction and settling risk
This is the step that gets skipped most often, and it’s the reason a lot of “leveled” yards stop looking level within a year.
Fill soil that’s just dumped and raked smooth has air pockets between the particles. The first heavy rain, or honestly just time and foot traffic, compresses those pockets, and the fill settles unevenly, commonly around 5 to 10 percent of its placed depth in year one, more in clay-heavy soils, which is why contractors often over-fill a section by 10 to 15 percent on purpose to compensate for the settle they know is coming.
Susan Barton, Extension Specialist at University of Delaware Cooperative Extension, whose fact sheet on soil compaction is aimed at exactly this kind of project, recommends replacing topsoil to a depth of roughly 1.5 to 3 feet in any area that will hold shrubs or trees, and using the smallest equipment that can do the job to limit how much the subsoil underneath gets compressed in the first place, since compaction from heavy machinery traffic is itself a separate problem from the settling fill soil does on its own.
If your finished grade is still fighting standing water even after compaction is right, the problem is usually the pitch itself rather than the fill, and it’s worth working through our drainage fixes for a sloped yard alongside whatever regrading you’ve already done.
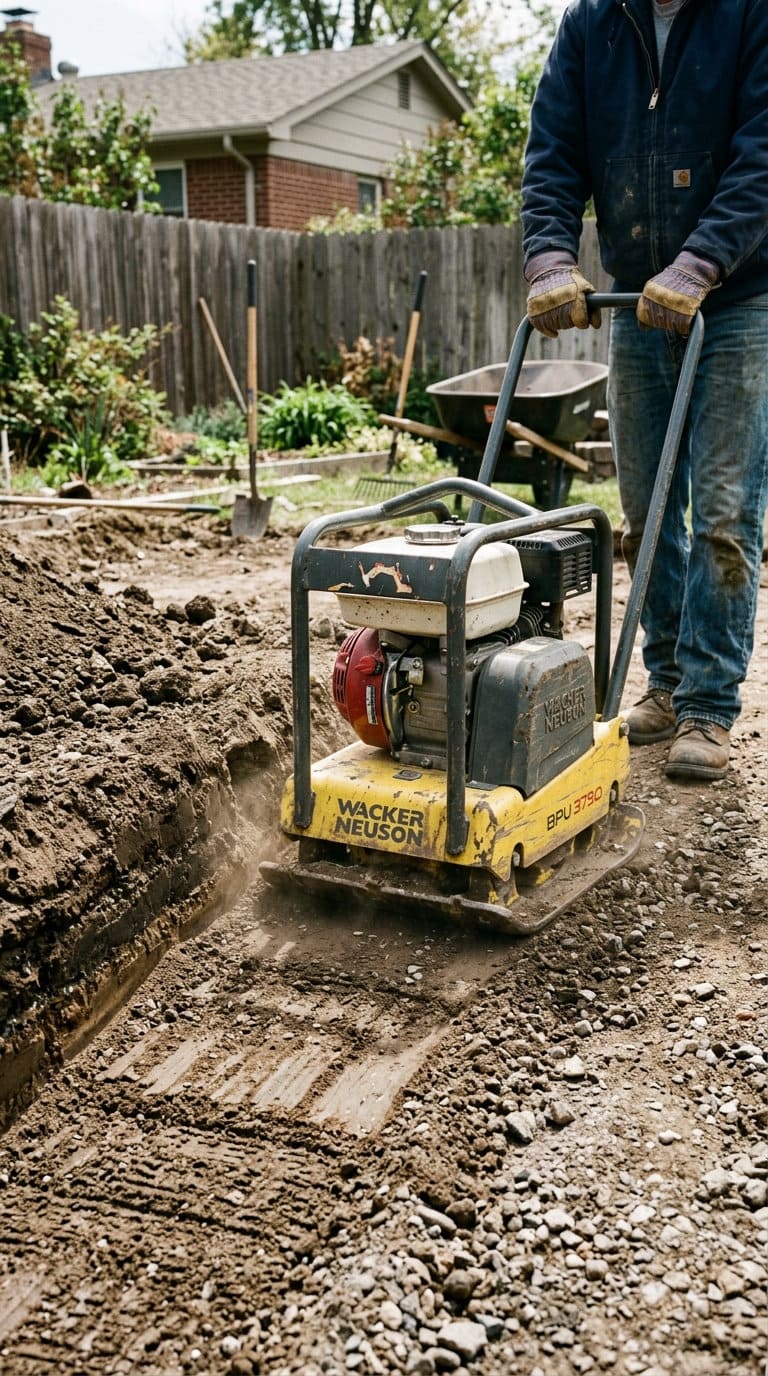
The fix for the fill-settling side is compacting soil in lifts, meaning you add a layer of fill (usually 4 to 6 inches), compact it with a plate compactor or hand tamper, then add the next layer and repeat, rather than filling the whole depth at once and compacting only the top. It’s slower.
It’s also the difference between a grade that holds for a decade and one that needs a redo next spring.
Real experience: what actually goes wrong
I’ve talked to enough people who’ve done this, and read through enough real project threads, that a pattern shows up over and over. Worth naming it directly instead of dancing around it.
Reddit itself didn’t surface much usable discussion on this exact combination of terms when I went looking, honestly, so most of what follows comes from equipment-owner forums like TractorByNet and contractor-review threads instead, which is a real, if narrower, slice of the same homeowner experience.
The first surprise is always cost. People picture “a guy with a Bobcat for an afternoon” and end up somewhere closer to a five-figure invoice once hauling, a retaining wall they didn’t plan for, and topsoil replacement are all added in. That’s not a scare tactic, it’s just what the line items above actually add up to once a slope is more than gentle.
The second surprise, and honestly the more painful one, is what happens behind a wall. The recurring theme in those forum threads isn’t the wall material failing, it’s water. As one thread put it, a solid wall can act like a dam, and the whole hillside behind it gets saturated and starts pushing. Freeze-thaw cycles make it worse in cold climates.
One account described a block wall that bowed about half an inch because backfill went in before the structural tie-in was finished, an ordering mistake, not a materials one. The fix mentioned across those threads, consistently, is a perforated drain pipe behind the wall and a swale or French drain at the top of the cut to intercept water before it ever reaches the wall face.
The third is grading toward the house instead of away from it. A few of those same threads describe patio puddling and even deck-support rot traced back to a DIY regrade that flattened the yard without checking which way the finished slope actually pitched. It’s an easy mistake to make when you’re staring at a level bubble and forgetting to ask “level toward what.”
And the fourth, quieter one: settling. A yard that looked flat in November can show a dip by March if the fill wasn’t compacted in lifts. It’s not usually dramatic. It’s just enough to make the “level” yard need a touch-up pass, which is annoying if you budgeted for a one-time job.
FAQs
How much does it cost to level a sloped yard?
A small lawn touch-up runs about $500 to $1,000. A full backyard regrade typically runs $1,000 to $5,000, and large or acre-scale work can run tens of thousands once excavation, hauling, and labor are all included (Fixr, HomeGuide, Angi cost-guide consensus).
Can I level a slope myself?
Yes, on a gentle slope under roughly 8 percent, moving a modest amount of soil, without a retaining wall involved. Past that, most of the real cost and risk (retaining walls, permits, drainage design) benefits from a contractor’s experience, and it’s mostly a time tradeoff, per Gilliam’s DIY-versus-pro timeline above.
Do I need a permit to regrade my yard?
Possibly, especially if the work includes a retaining wall over roughly 3-4 feet, or if you’re moving a large volume of soil or changing drainage onto a neighboring property. Requirements vary by city and county, so check with your local building department before starting. [EDITOR NOTE: confirm local threshold before publishing a specific number as universal.]
Will leveling my yard cause drainage problems?
It can, if the new grade doesn’t still pitch away from your house. The most common cause of a botched leveling job is a finished surface that’s flat in the wrong way, trapping water instead of shedding it, rather than a project that failed at moving the dirt itself.
Related Posts
Products We Recommend
This post contains affiliate links. We may earn a commission on qualifying purchases at no extra cost to you.
Bully Tools 12-Gauge Landscape Rake
A heavy 36-inch steel rake built for pulling and spreading soil across a graded area, more durable than a standard leaf rake for this kind of work.
Shop Now
6 Cubic Foot Steel Wheelbarrow
Contractor-grade steel tray wheelbarrow for hauling cut soil, fill dirt, or topsoil across a yard during a regrade.
Shop Now
Line Level for Mason's String
A small clip-on level that hangs on a string line stretched between stakes, the standard low-cost tool for checking grade across a distance.
Shop NowNever miss an update — choose FarmFoodFamily as your preferred source on Google.
How it works: Tap the button below to open Google's settings page, then check the box next to FarmFoodFamily.
Tap the checkbox to turn it blue — that's how you know it's set.