How to Space Seeds Perfectly Using a Kitchen Muffin Tin
An old muffin tin turns messy, guesswork seed spacing into a clean, even grid in seconds, as long as you know which crops its spacing actually fits.

Never miss an update — choose FarmFoodFamily as your preferred source on Google.
How it works: Tap the button below to open Google’s settings page, then check the box next to FarmFoodFamily.
Tap the checkbox to turn it blue — that’s how you know it’s set.
What Is the Muffin Tin Seed-Spacing Trick?
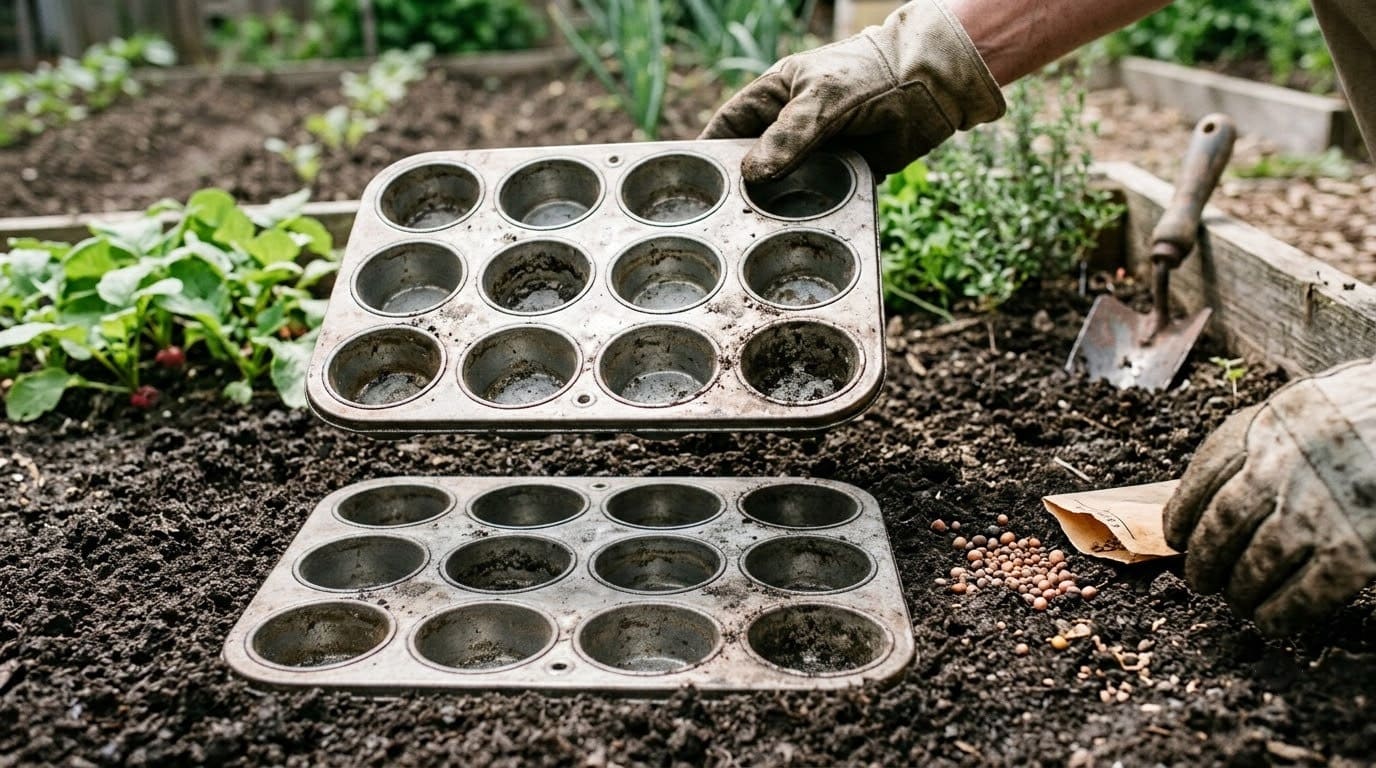
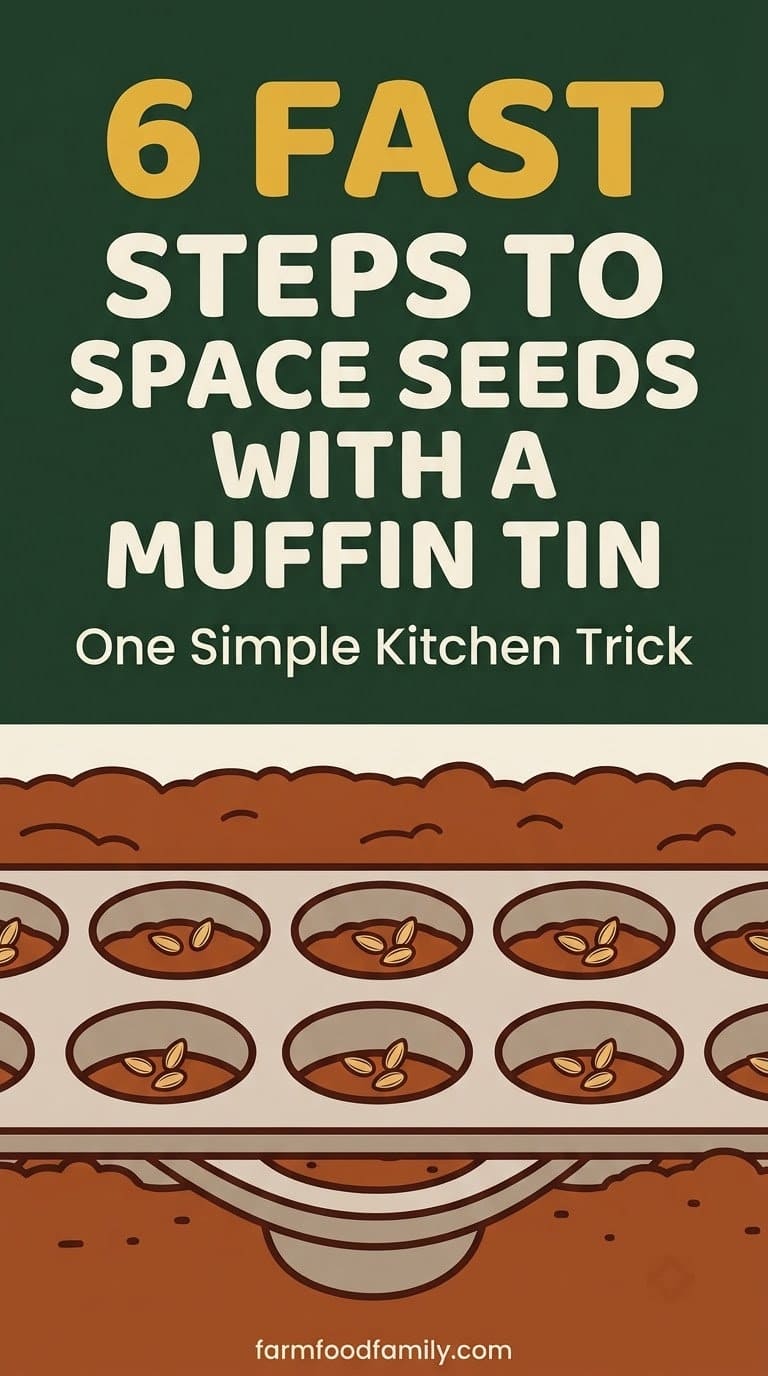
The muffin tin trick uses an old metal muffin pan as a spacing template for seeds. Press it upside down into freshly tilled soil, lift it away, and you’re left with a neat grid of evenly spaced, evenly deep indentations ready for seeds, no measuring tape or string line needed.
A standard 12-cup muffin tin leaves roughly 2.5 to 3 inches between indentations, a good match for carrots, beets, onions, and parsnips, according to real spacing data from Lois Stack, Ornamental Horticulture Specialist at University of Maine Cooperative Extension. A mini muffin tin spaces closer, better suited to radishes and green onions.
The trick has real limits worth knowing before you rely on it. It only works cleanly in soil that’s been freshly tilled and aerated, and its fixed 2.5 to 3 inch spacing is too tight for crops like bush beans and too loose for tightly spaced greens like lettuce, so it’s a genuine time-saver for the right crops, not a universal tool for every seed packet in your drawer.
Why Seed Spacing Actually Matters
Seed spacing isn’t a cosmetic detail, it directly decides how much light, water, and root room each plant gets once it germinates. Crowd seeds too close and you get competition for nutrients, weaker root systems, and more disease pressure from poor airflow between leaves.
This is the same underlying problem Mel Bartholomew set out to solve when he popularized Square Foot Gardening in 1976: replacing loose, eyeballed row spacing with a precise, repeatable grid. The muffin tin trick borrows that same logic using a tool most people already own instead of a special grid template.

Underground, tightly spaced roots compete directly for the same pocket of soil moisture and nutrients, which is why crowded seedlings often germinate fine but then stall out weeks later. Above ground, leaves packed too close block airflow between plants, and damp, still air between crowded leaves is exactly the environment fungal diseases like powdery mildew and damping-off need to spread. A consistent grid, whether from a muffin tin or a square-foot template, sidesteps both problems at once by giving every seedling its own pocket of soil and its own breathing room from day one.
Answer 4 quick questions and get matched to the exact fix for your yard — drainage, budget, layout, or something else entirely.
Take the Free QuizHow to Do the Muffin Tin Trick, Step by Step
Step 1: Till and Rake the Soil Smooth
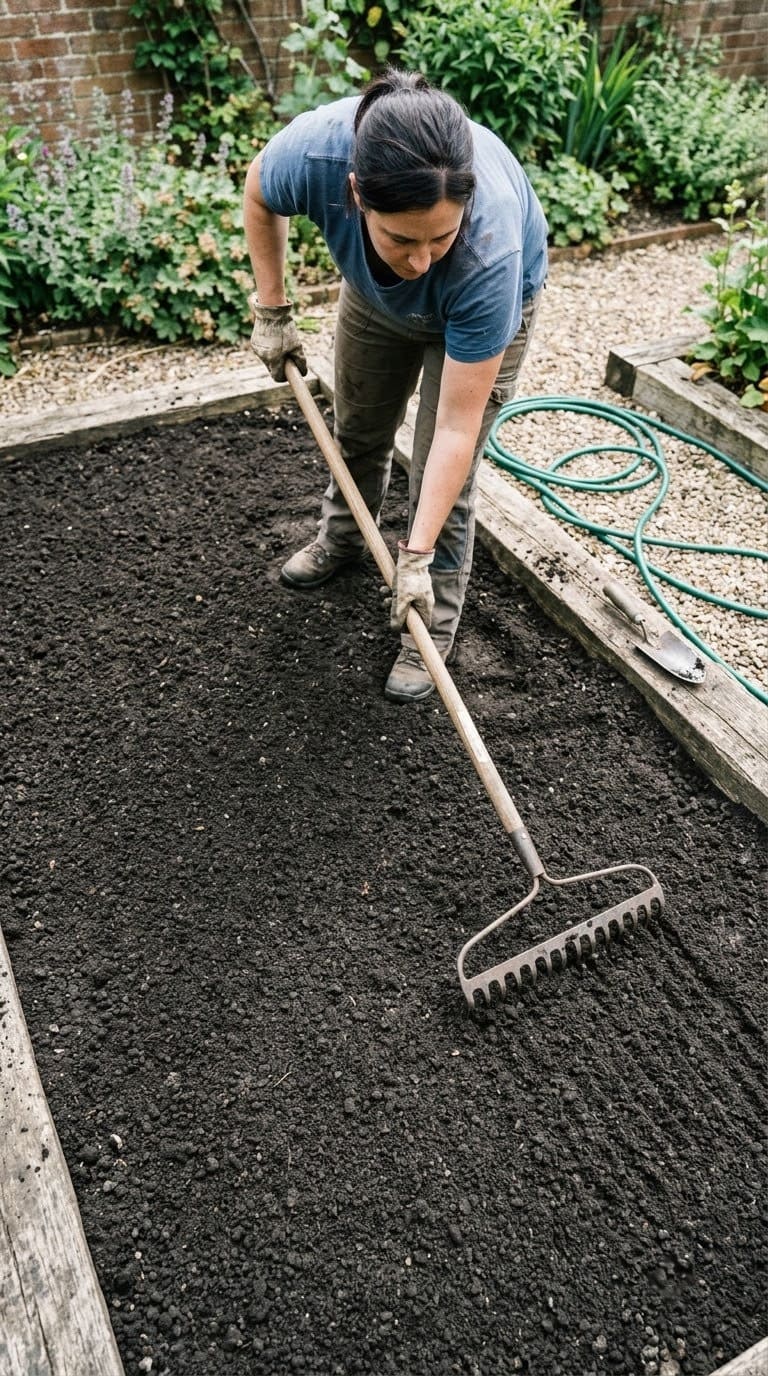
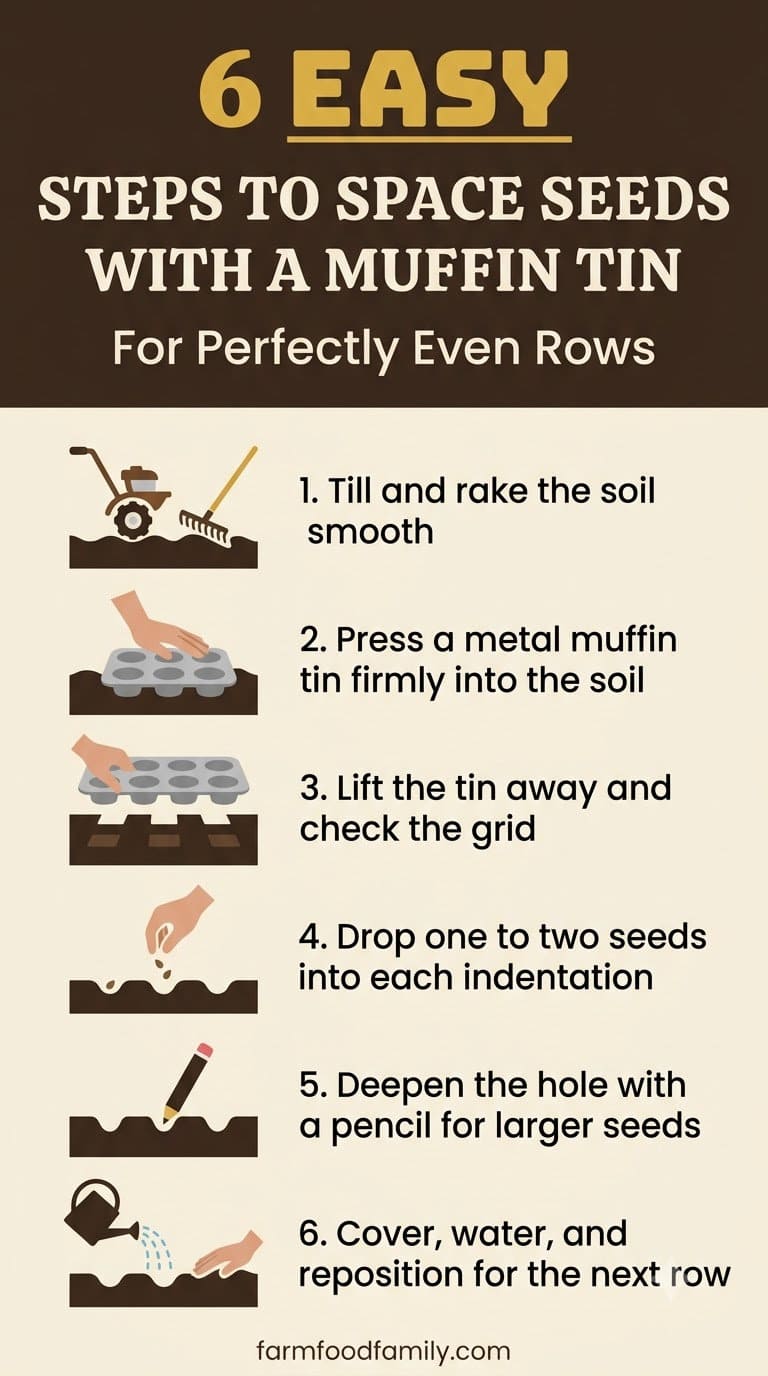
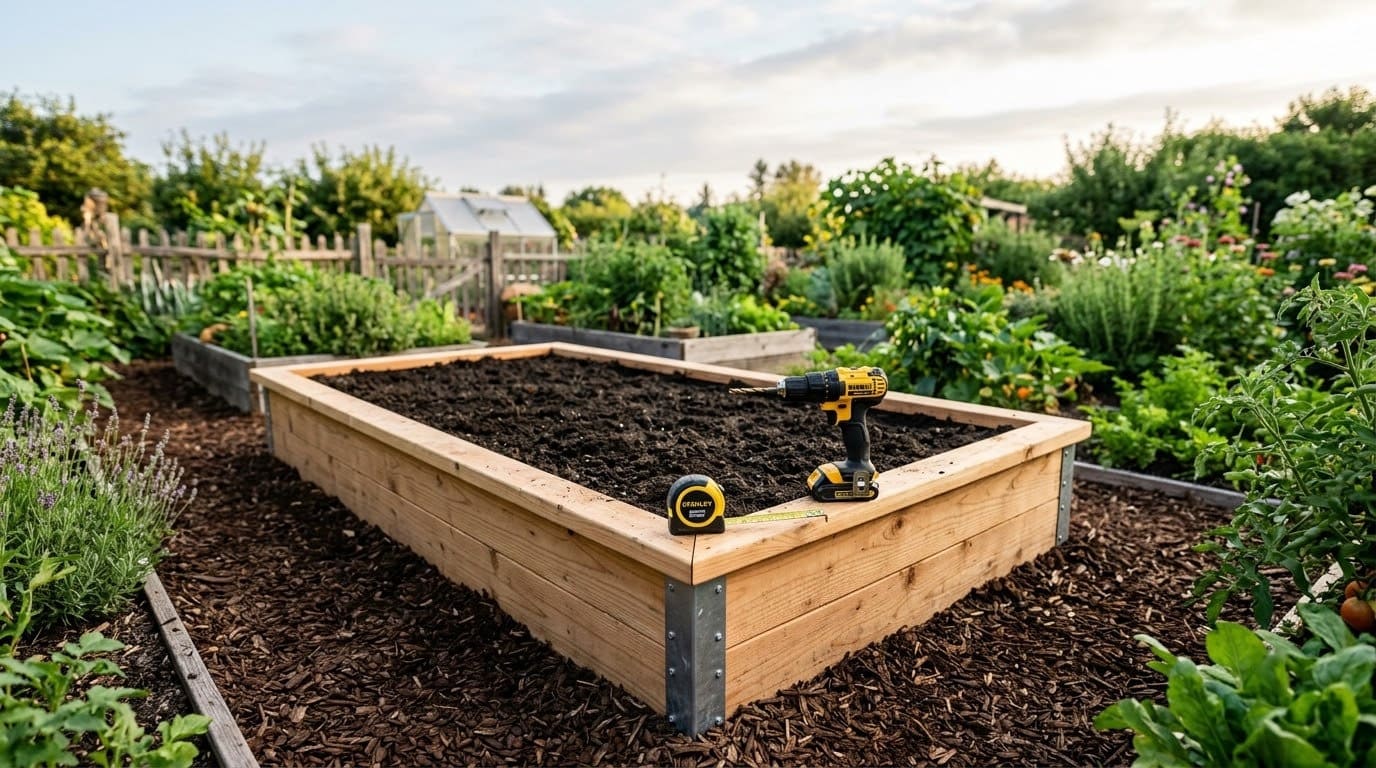
Loosen and rake the planting area until the soil is fine and crumbly, free of large clumps or rocks. The trick depends entirely on this step, packed, rocky, or clay-heavy soil won’t hold a clean indentation.
Step 2: Press the Muffin Tin Firmly Into the Soil
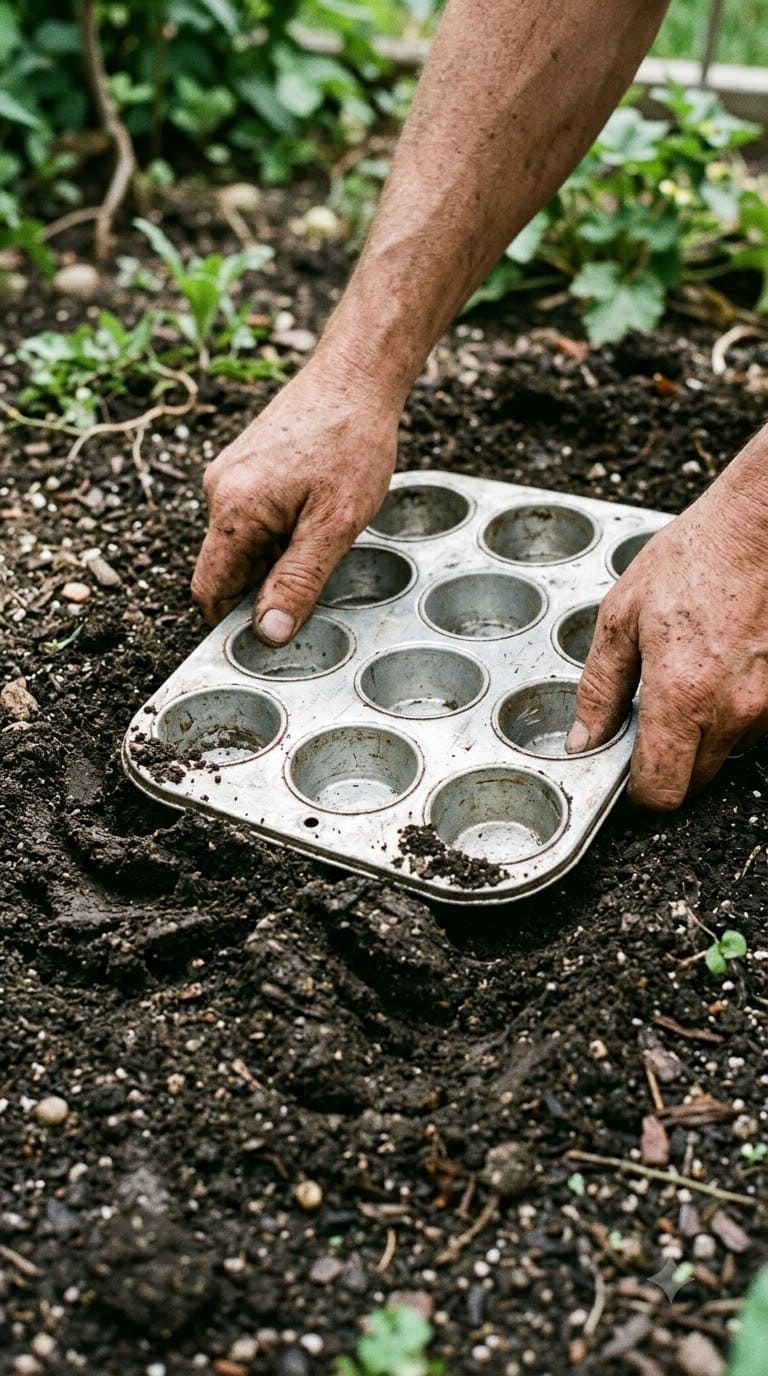
Turn a metal muffin tin upside down and press it firmly and evenly into the soil with both hands, using your body weight if needed, so every cup leaves a distinct, equally deep dent.
Step 3: Lift the Tin Away and Check the Grid
Lift the tin straight up without dragging it sideways, which can smear the indentations together. You should see a clean 3×4 grid of 12 round dents (or however many cups your tin has).
Step 4: Drop Seeds Into Each Indentation
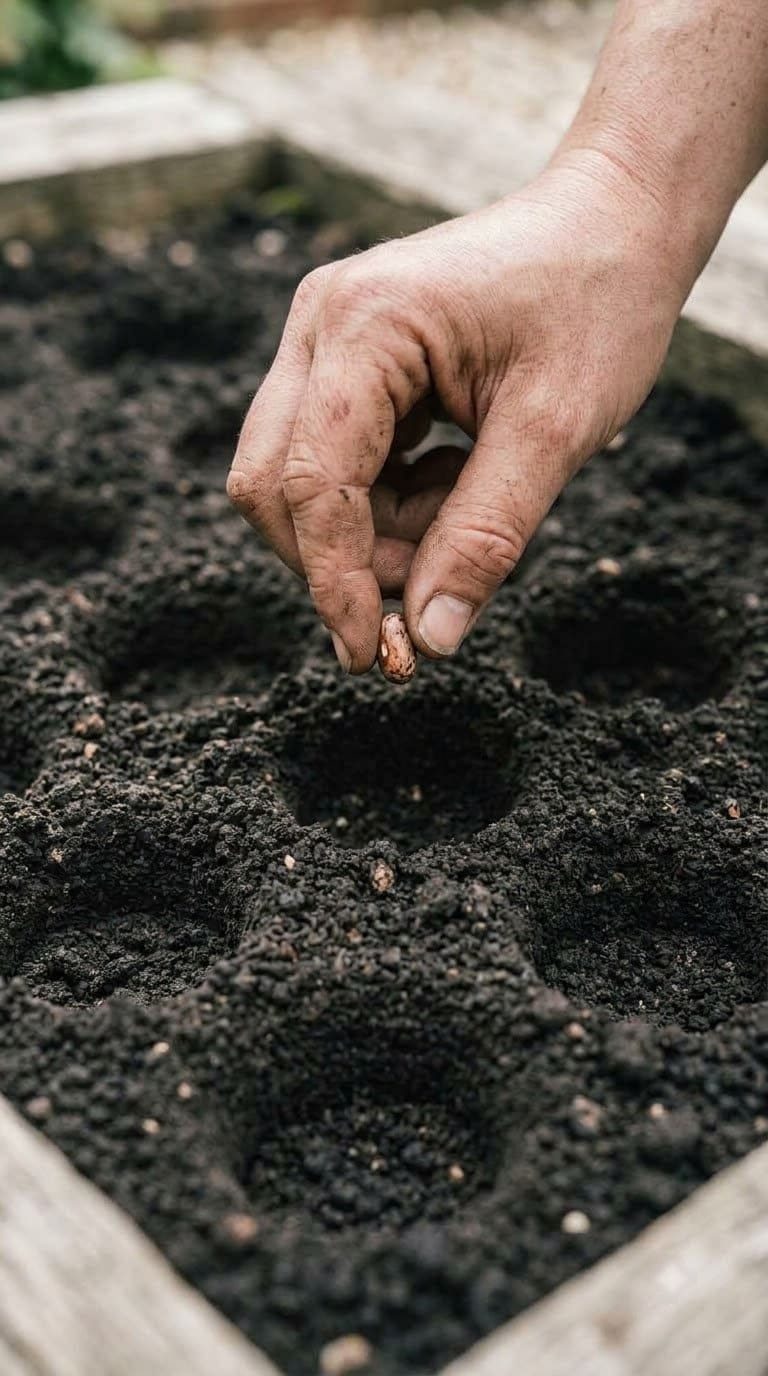
Place one to two seeds per indentation, following the depth guidance on your seed packet, since indentation depth alone isn’t always deep enough for larger seeds.
Step 5: Deepen the Hole for Larger Seeds if Needed
For seeds that need to go deeper than the tin’s shallow dent (beans, squash, larger flower seeds), press a pencil or your fingertip into the center of the indentation before dropping the seed in.
Step 6: Cover, Water, and Reposition for the Next Row
Cover each seed with soil per the packet’s depth guidance, water gently to settle the soil without washing the pattern away, then move the tin over and line its edge up against the last row’s indentations to keep the next row straight.
Other Kitchen Tools That Work the Same Way
The muffin tin isn’t the only baking pan with a second life in the garden, and knowing the others helps you match the tool to the seed instead of forcing every crop into one tin’s fixed spacing.
Most yard problems trace back to one specific, fixable cause. Find yours in 4 quick questions.
Take the Free Quiz
A sturdy metal 12-cup muffin tin, well-suited for repurposing as a garden seed-spacing template once it's past its baking life.
Shop NowThis post contains affiliate links. We may earn a commission on qualifying purchases at no extra cost to you.
An egg carton works well for a different job: starting seeds indoors before transplanting, since each cup holds enough soil for one seedling and the whole cardboard carton can go straight into the ground when it’s time to plant, cutting down on transplant shock.
An ice cube tray offers much tighter spacing, roughly an inch between cups, useful for the smallest seeds like lettuce or basil that a standard muffin tin spaces too far apart.
A jumbo or Texas-size muffin tin, with larger, more widely spaced cups, extends the same trick to crops like beans or squash that need more room than a standard tin gives, though even jumbo cups fall short of the 12+ inches those crops eventually need once thinned.
Real Spacing Chart by Crop
A standard muffin tin’s roughly 2.5 to 3 inch spacing is a coincidental match for some crops and a poor fit for others. Here’s what real university Extension spacing data actually recommends, so you can judge fit before you commit a whole bed to this method.
| Crop | Recommended in-row spacing | Standard muffin tin (~2.5-3in) fit |
|---|---|---|
| Carrots | 1-3in (Utah State University Extension) | Good fit |
| Beets | 2-4in (Utah State University Extension) | Good fit |
| Onions | 1-3in (Lois Stack, University of Maine Cooperative Extension) | Good fit |
| Parsnips | 2-4in (Utah State University Extension) | Good fit |
| Radishes | 0.5-1in (Utah State University Extension) | Too loose, use a mini muffin tin instead |
| Snap beans | 2-4in (Lois Stack, University of Maine Cooperative Extension) | Borderline, works but seeds sit at the tight end of the range |
Which Crops This Trick Doesn’t Work For
Every competitor guide frames this as a universal hack. It isn’t. A standard tin’s fixed spacing is too tight for anything that needs real elbow room and too loose for anything meant to be sown densely.
Too tight a fit: pole beans, squash, cucumbers, and most brassicas (broccoli, cabbage) need 12 inches or more between plants, far beyond what any muffin tin cup spacing offers. Use this trick for initial seed placement only if you plan to thin aggressively afterward, or skip it for these crops entirely.
Too loose a fit: lettuce, spinach, and other greens are often broadcast-sown or spaced under an inch apart. A mini muffin tin gets closer, but even that undersells how tightly these crops are meant to grow before thinning.
Metal vs. Silicone Tin: Why It Matters
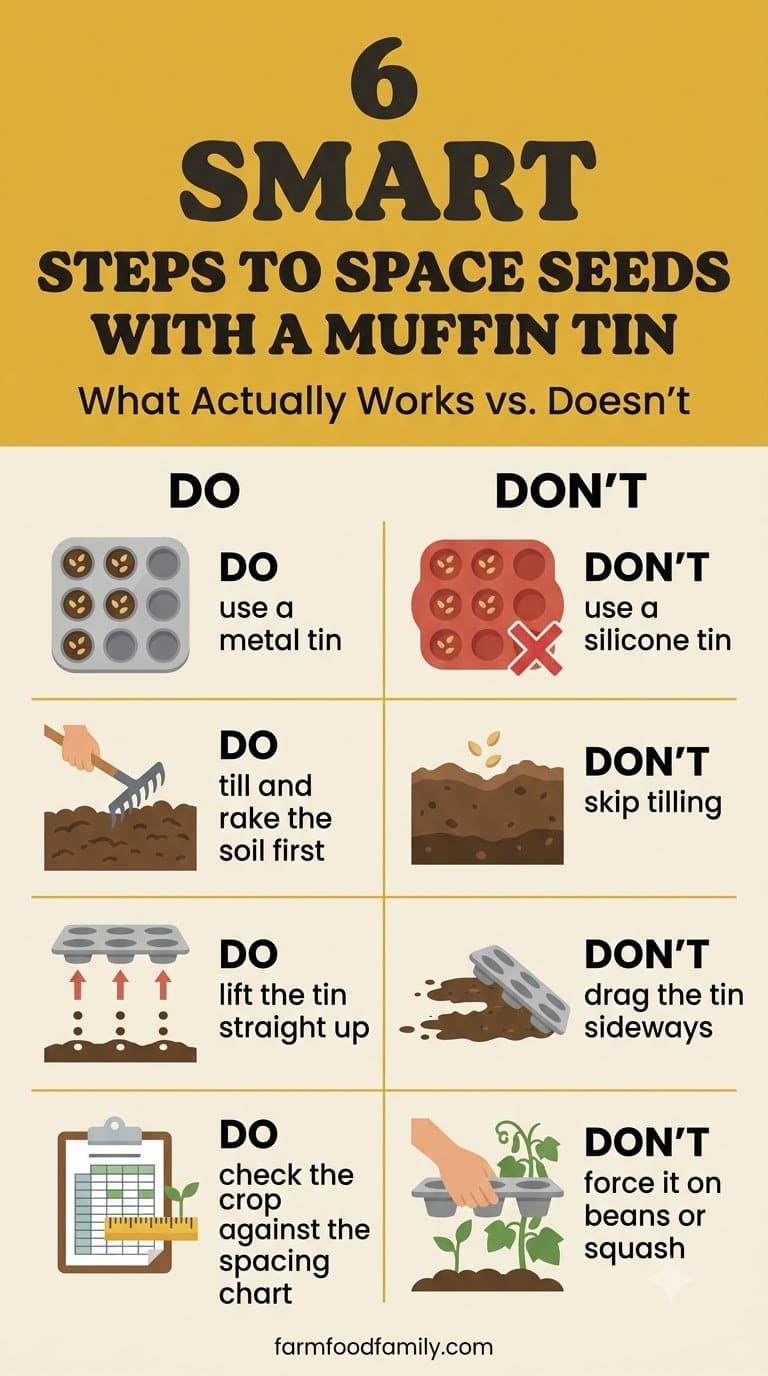
Use a metal muffin tin, not a silicone one. Metal holds its shape under hand pressure and leaves a crisp, well-defined indentation. Silicone flexes as you press it into the soil, which blurs the dents into shallow, poorly defined marks that are hard to see once you’re ready to plant.
An old, otherwise-unusable metal tin (scratched nonstick coating, a bent cup or two) is ideal for this, since it’s headed for the garden instead of the trash either way.
The average homeowner spends $616/year on yard fixes that don't address the real problem. Find out what yours actually is — before you spend another dollar.
Take the Free QuizWhat We Learned the Hard Way
A 30-second video makes this trick look foolproof. In practice, most of the frustration people report with it traces back to two things: the wrong soil condition, and treating every crop as if it fits the same grid.
The soil-condition problem is the one that trips up first-timers most. If the bed hasn’t been freshly tilled and raked, the tin either skates across the surface without leaving a mark, or it leaves a shallow impression that disappears the moment you water. The fix isn’t a different tool, it’s simply not skipping the tilling step, even when the soil already looks loose enough by eye.
The second mistake is more of a planning issue than a technique issue: using the trick on a crop it was never a good match for, then blaming the method when the results are crowded or wasteful. A standard tin’s fixed 2.5 to 3 inch spacing is a real constraint, not a suggestion, so it’s worth checking a crop against the spacing chart above before committing a whole bed to it rather than discovering the mismatch after the seeds are already in the ground.
Mistakes to Avoid
- Using a silicone tin. It won’t hold a crisp shape in soil; stick to metal.
- Skipping the tilling step. Hard or rocky soil won’t take a clean indentation, and the whole trick depends on it.
- Dragging the tin sideways when lifting it. This smears adjacent dents together and blurs your spacing.
- Using it on crops that need much wider or much tighter spacing. Check the chart above before committing a whole row.
- Forgetting to deepen the hole for larger seeds. A muffin tin’s shallow dent isn’t deep enough for beans or squash without an extra push from a pencil or fingertip.
FAQ
Does the muffin tin trick work in raised beds? Yes, as long as the soil inside the raised bed has been loosened and raked smooth first. The trick depends on soil texture, not on whether it’s an in-ground bed or a raised garden bed.
How many seeds should go in each indentation? One to two seeds per indentation is standard, matching most seed packet guidance for direct-sow crops. Thin to the strongest seedling once they emerge if you planted two.
Can I use a mini muffin tin for tighter spacing? Yes, a mini muffin tin spaces its cups closer together, generally a better match for crops like radishes, green onions, and peas that call for under 2 inches between plants, per the spacing chart above.
What if my soil is too hard or rocky to hold the dents? Till and rake the area first. Compact, rocky, or heavy clay soil won’t hold a clean impression no matter how firmly you press, per the standard caveat repeated across every source that covers this trick.
Related Posts
- 30+ Genius Garden Hacks No One Tells You About (All on a Budget!)
- Starting Seeds Outside
- How To Set Up And Create A Vegetable Patch In Your Garden
Products We Recommend
This post contains affiliate links. We may earn a commission on qualifying purchases at no extra cost to you.
Wilton Gold Non-Stick Muffin Pan, 12-Cup
A sturdy metal 12-cup muffin tin, well-suited for repurposing as a garden seed-spacing template once it's past its baking life.
Shop Now
Wilton Gold Non-Stick Mini Muffin Pan, 24-Cup
A mini metal muffin tin for tighter seed spacing, better suited to radishes, green onions, and peas.
Shop Now
Jardineer Bow Rake, 18 Steel Tines, 59 Inches
A heavy-duty bow rake for leveling and smoothing tilled soil before pressing the muffin tin in, since a rough surface won't hold a clean indentation.
Shop NowNever miss an update — choose FarmFoodFamily as your preferred source on Google.
How it works: Tap the button below to open Google's settings page, then check the box next to FarmFoodFamily.
Tap the checkbox to turn it blue — that's how you know it's set.