How to Design a Small Garden: 10 Steps to Turn an Awkward Sliver of Land Into a Flourishing Oasis
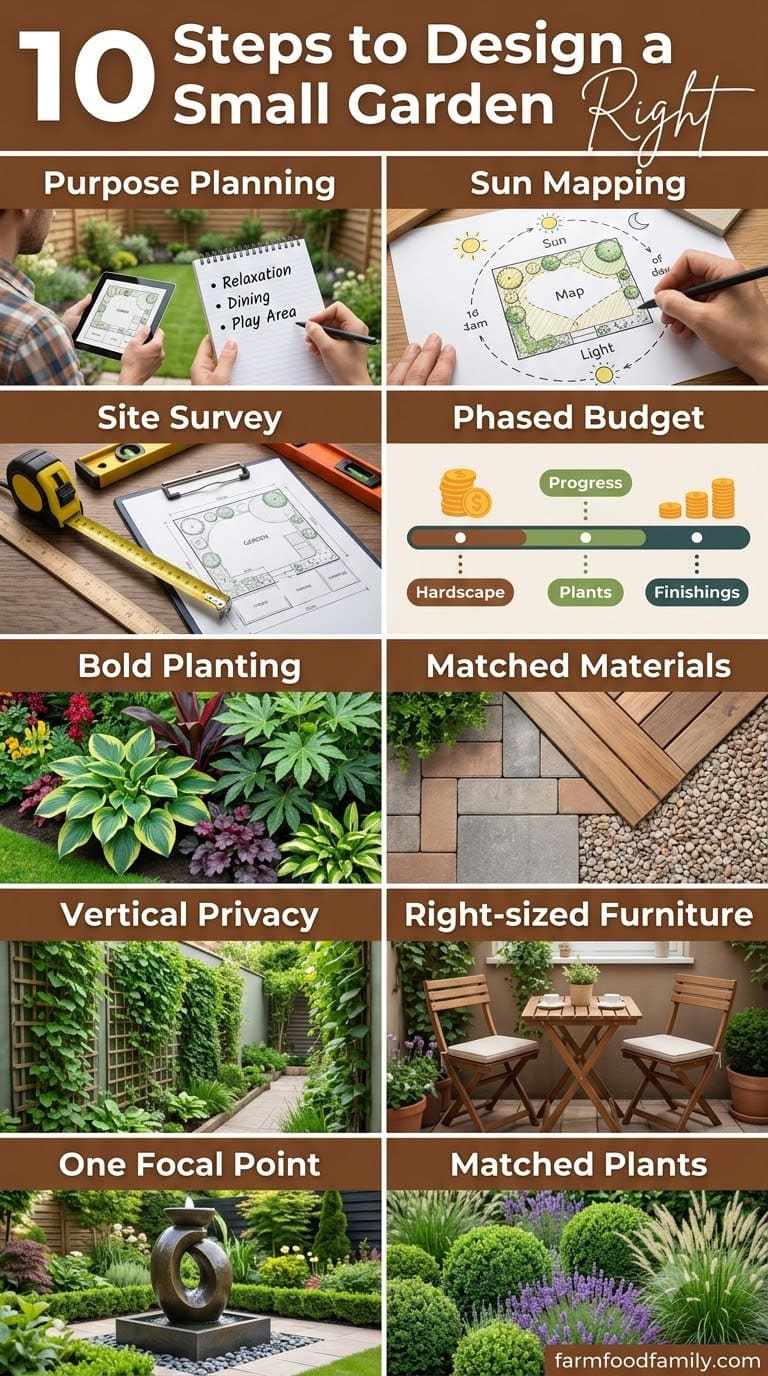
A small garden doesn’t need more square footage to feel finished, it needs these 10 steps done in order, the same sequence professional designers actually follow.

Never miss an update — choose FarmFoodFamily as your preferred source on Google.
How it works: Tap the button below to open Google’s settings page, then check the box next to FarmFoodFamily.
Tap the checkbox to turn it blue — that’s how you know it’s set.
Most small-garden advice is a pile of disconnected tips: add a mirror, use big pots, plant vertically. None of it tells you what to do first. That’s the actual problem with an awkward sliver of land, not the size of it, but the lack of a sequence to work through.
Professional garden designers don’t start with plants or furniture. They start with a process. It’s the same 10-step sequence whether the space is 4,000 square feet or 400. Here’s that process, adapted for a real small garden, done in order.
Quick Answer: Designing a small garden well means following 10 steps in the right sequence, not picking random ideas off a list. Start by defining what the space needs to do. Map its real sun exposure through the day and across seasons. Do a genuine site survey. Set a phased budget before buying materials. Only then move on to bold planting, matched materials, correct path widths, vertical privacy, right-sized furniture, and one real focal point. Finish with a plant palette matched to the actual light and soil you have. Skipping straight to plants or furniture before the early planning steps is the single most common reason small gardens end up cluttered instead of finished. Designers Kate Gould, Sarah Kay, and Manoj Malde each emphasize a different piece of this same sequence. None of it requires adding a single extra square foot of land.
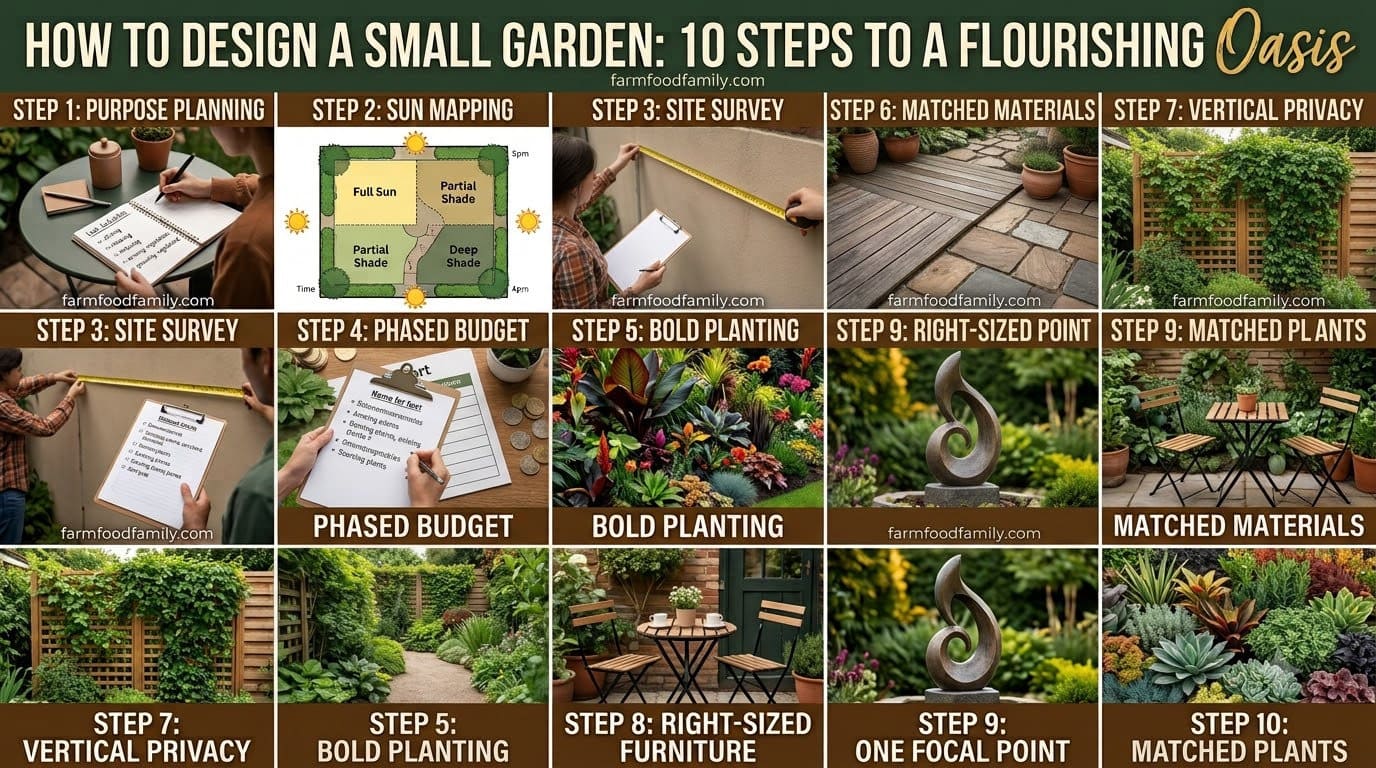
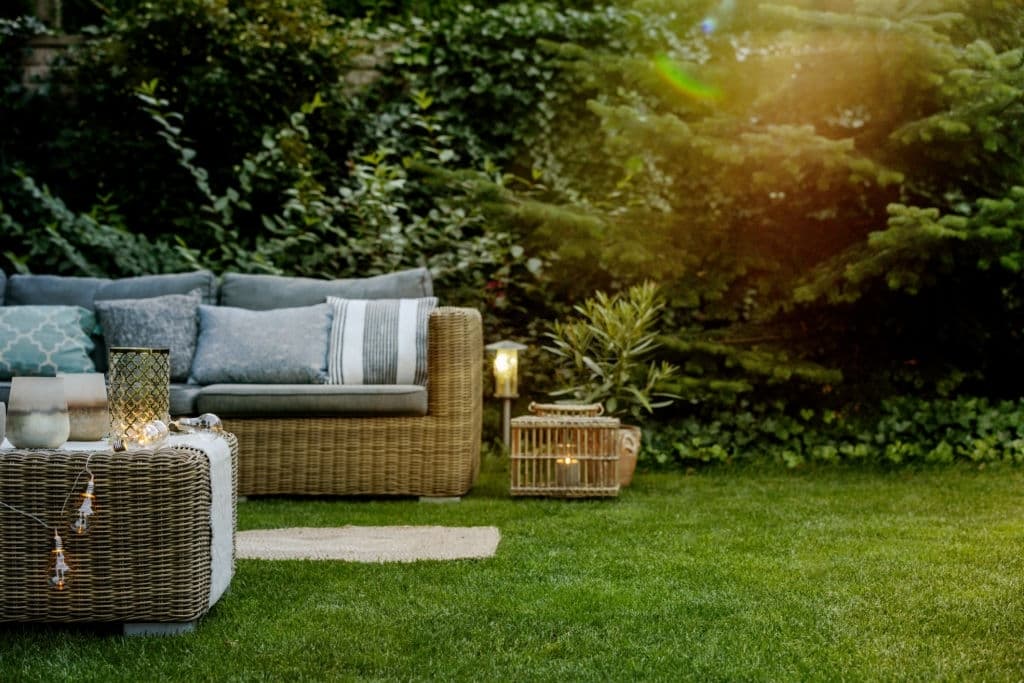
At a Glance: The 10-Step Sequence
| Step | Focus | Skip This and… |
|---|---|---|
| 1 | Define what the space is for | You’ll design for a lifestyle you don’t actually have |
| 2 | Map the sun | Plants and seating end up in the wrong spots |
| 3 | Site survey and plan | Furniture won’t fit through doorways or gates |
| 4 | Phased budget | You’ll overspend on the wrong phase first |
| 5 | Plant boldly, not just at the edges | Borders read as thin and blocky |
| 6 | Match materials and get path widths right | The space feels choppy, not continuous |
| 7 | Use vertical space for privacy | The garden feels overlooked and exposed |
| 8 | Right-sized furniture | One piece dominates the whole space |
| 9 | One real focal point | The eye has nowhere to land |
| 10 | Plant for actual conditions | Plants struggle or die in the wrong light |
Step 1: Define What the Space Actually Needs to Do
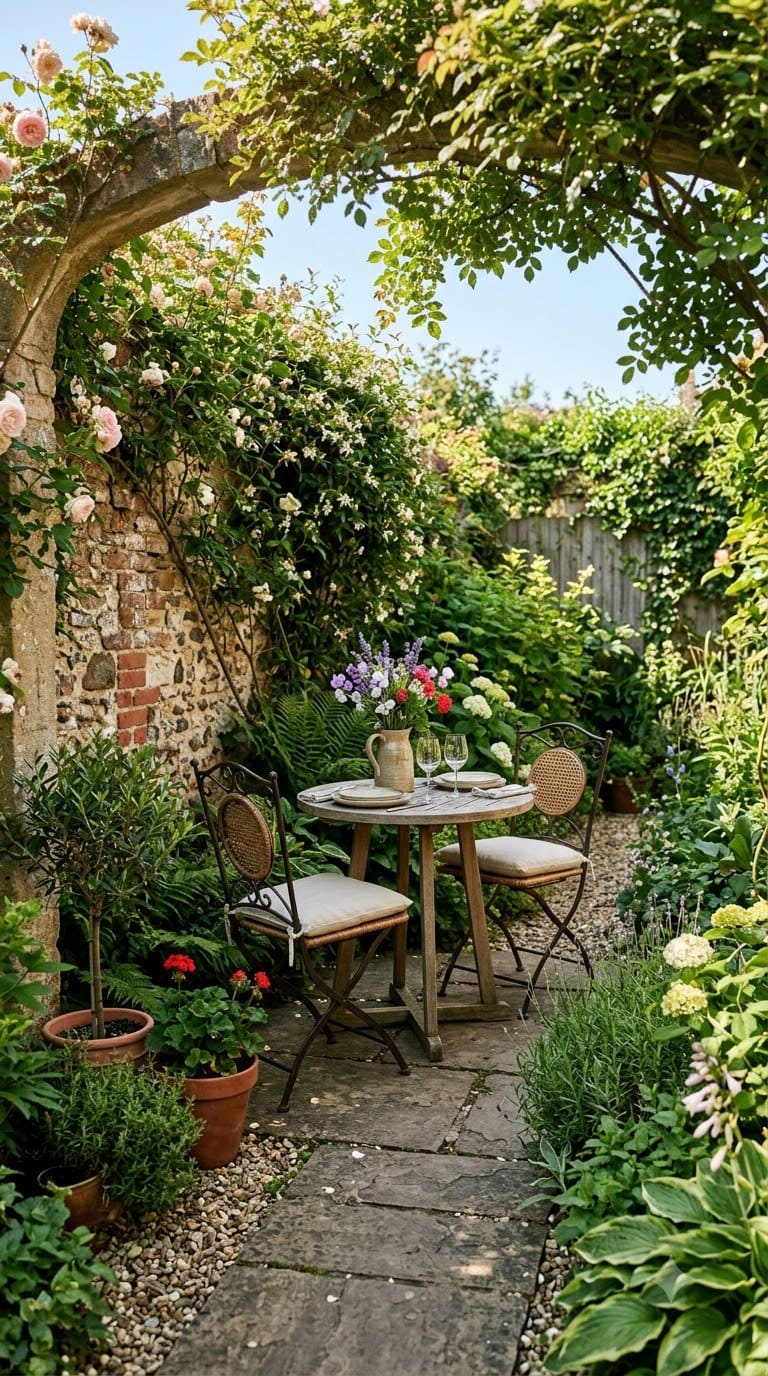
Before anything else, decide what you’re actually going to use the garden for. Evening drinks with friends. A play area for kids. Low-maintenance greenery you barely have to touch. Each leads to a different layout, and a small garden doesn’t have room for all of them at once.
Designer Kate Gould, founder of Kate Gould Gardens, puts it directly: “Considering what you want in the garden and how you want to use it, it will define the areas you create. Create a wish list and be realistic about what you can fit into the space.” Sarah Kay, of Sarah Kay Garden Design, adds one caveat. Limit the wish list to real long-term priorities, not a current life stage, since “children’s needs change quickly, so designing your garden specifically for toddlers will not be future-proof.” A bench that doubles as storage, or a raised bed that also works as seating, solves two items on the list with one piece.
Step 2: Map Where the Sun Actually Falls
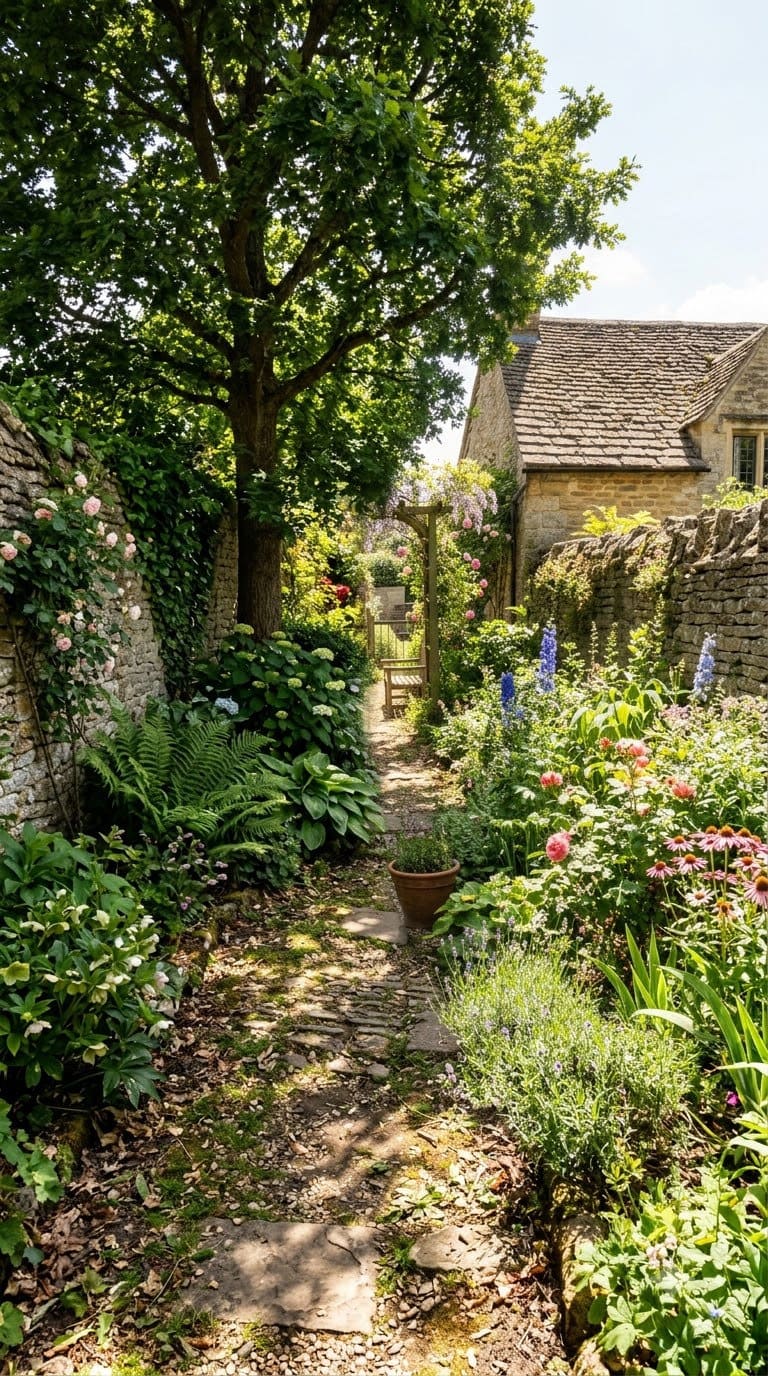
A garden’s orientation, north, south, east, or west facing, decides what can grow where and where seating actually makes sense. It’s easy to get wrong from a single glance on a sunny afternoon. Neighboring buildings, fences, and mature trees all cast shade patterns that shift through the day and across seasons.
Answer 4 quick questions and get matched to the exact fix for your yard — drainage, budget, layout, or something else entirely.
Take the Free QuizSarah Kay recommends tracking it: “Consider where the sun is at various times of the day and at different times of year, as this can vary quite significantly. Placing your seating or dining area in the sun may mean less sunshine for planting areas, which will dictate the range of plants that will thrive there.” A morning coffee spot and an evening drinks spot often aren’t the same corner of the garden.
Step 3: Do a Real Site Survey Before Buying Anything
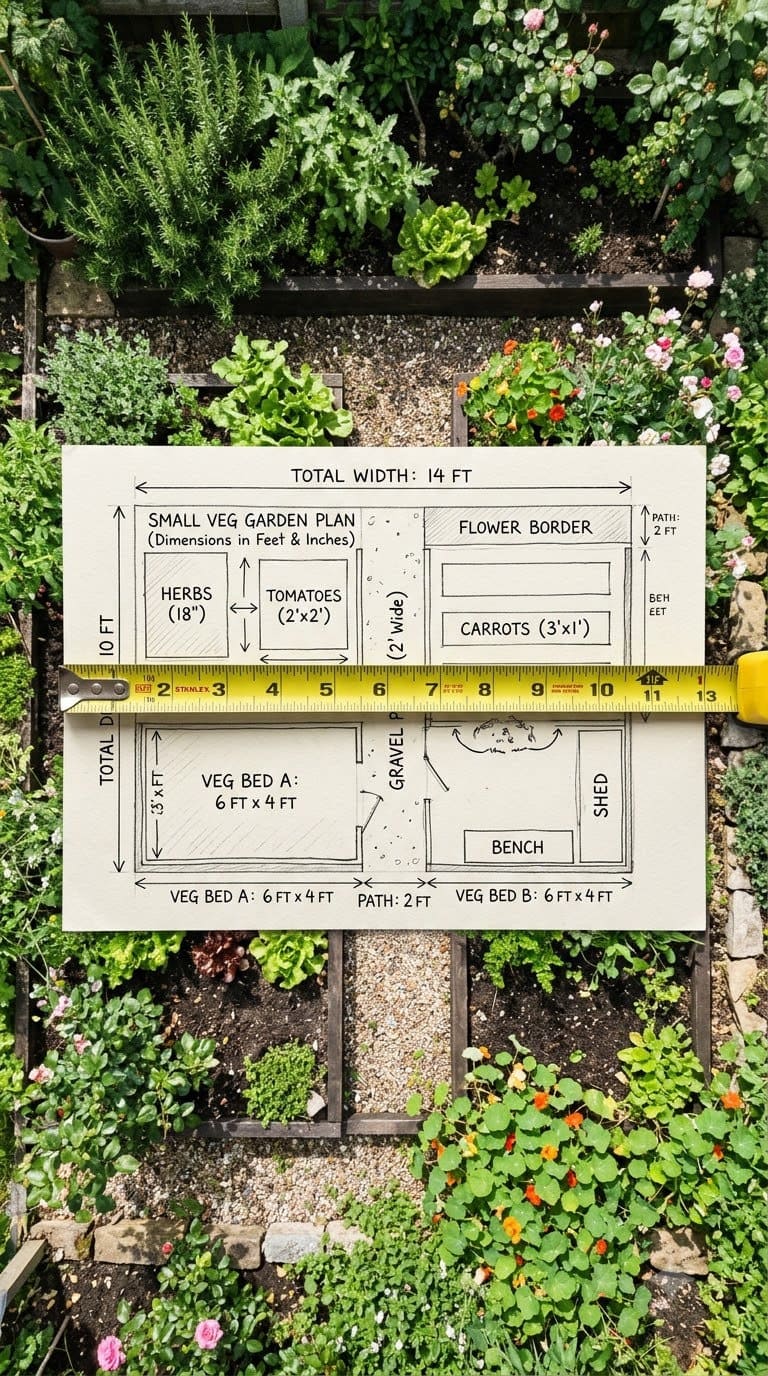
Skipping the measuring stage is the single most common reason small-garden furniture and materials don’t fit once they arrive. Measure the actual usable footprint. Note every access point. If you live in an apartment or terrace, measure interior doorways too, since large pots and furniture have to travel through them first.
Kate Gould calls this step non-negotiable in tight spaces: “Small gardens can be really challenging spaces and require a lot of work on paper to get proportions correct. Undertaking a full survey is vital in any space but especially so in small gardens where access may prove problematic.” Designer and author Manoj Malde (Your Outdoor Room) goes further. He describes the layered plans a professional would create: a concept plan for rough placement, a master plan with exact dimensions, a level plan if the ground isn’t flat, and a planting plan showing how much space each plant will need once mature, not just at planting size.
Step 4: Set a Phased Budget, Not One Lump Figure
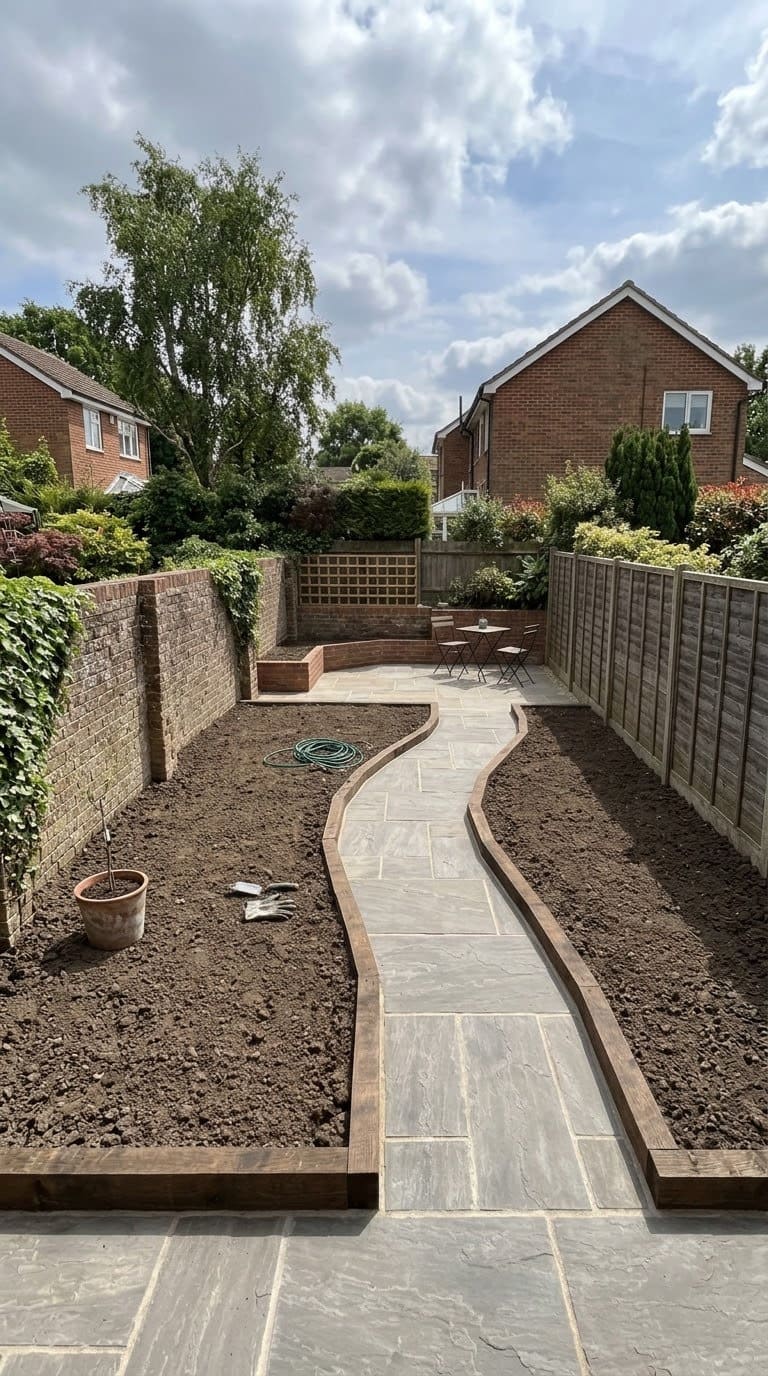
Real 2026 US landscaping pricing puts basic small-yard work at roughly $4 to $12 per square foot. A 200-to-500-square-foot garden typically lands between $900 and $6,000, depending on materials and how much is hardscape versus planting. Knowing that range before buying a single paver stops the classic mistake: blowing the budget on stone slabs and having nothing left for plants.
Manoj Malde recommends breaking the budget into phases instead of spending it all at once: “First put the bones of your garden into place, the hardscaped areas, any bases for structures, electrical cables, and structural planting such as trees and shrubs. The second phase can include the installation of structures such as sheds, arches, pergolas, and the last phase can be the softscaping, the planting areas for climbers, ferns, grasses and perennials.” Buying smaller, younger plants and letting them fill in over a season or two also stretches a tight budget further than buying mature specimens up front.
Step 5: Plant Boldly Instead of Hugging the Edges
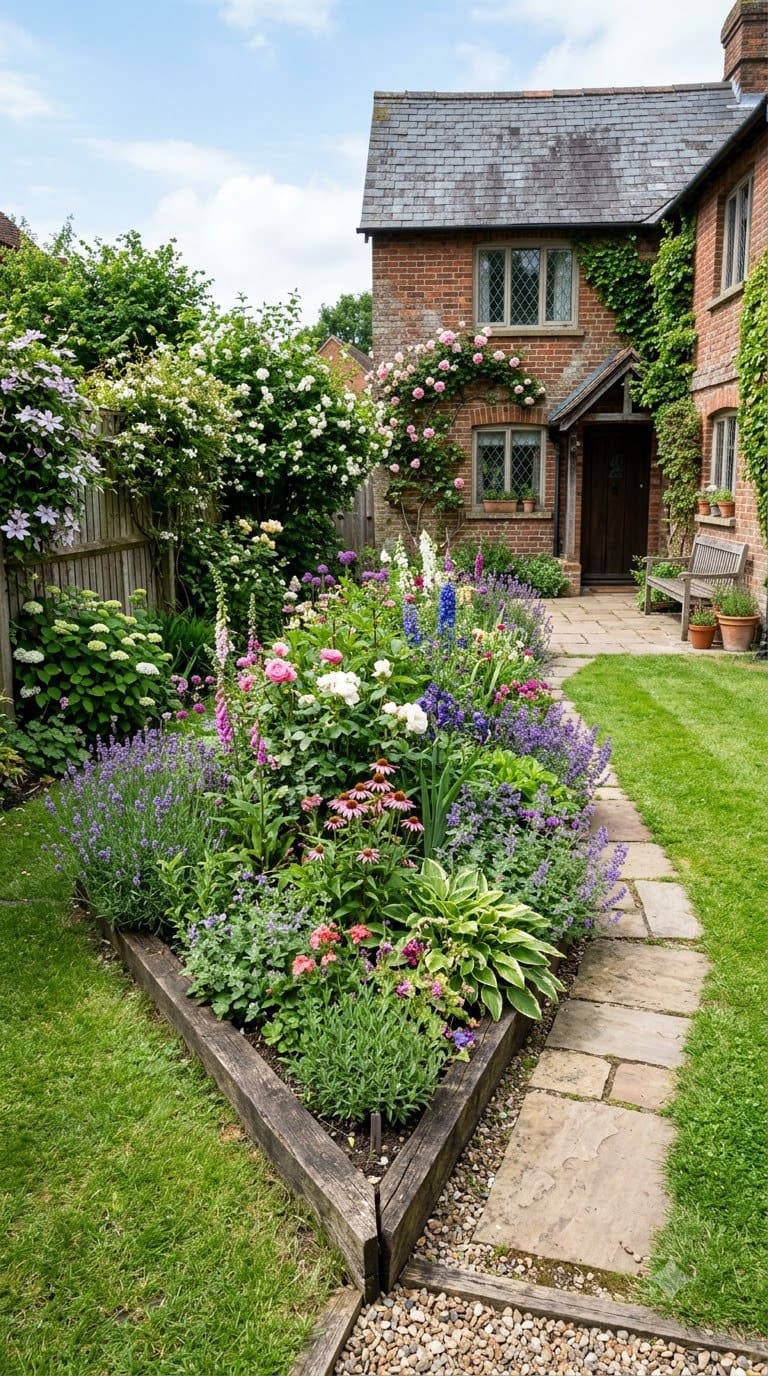
The instinct in a small garden is to keep borders narrow and pushed to the perimeter. The idea is that it leaves more open space in the middle. Kate Gould sees the result constantly: “Before we begin a project, I often see very narrow borders that can really only accommodate climbing plants on the fence or wall behind, planted with shrubs that want to grow to 2m across. Consequently those plants are pruned regularly and then don’t flower or just look very odd and blocky.”
Her fix is to turn the layout 45 degrees instead of running everything in straight lines parallel to the house: “This creates longer vista lines and will make the garden feel bigger. Also, try to avoid circles, they draw the eye in and will make the space feel smaller.” A generous, angled bed reads as intentional. A thin strip against the fence reads as an afterthought.
Most yard problems trace back to one specific, fixable cause. Find yours in 4 quick questions.
Take the Free Quiz
Directly solves Step 9 (one real focal point) per Kate Gould's "go larger rather than smaller" rule
Shop NowThis post contains affiliate links. We may earn a commission on qualifying purchases at no extra cost to you.
Step 6: Match Materials and Get Path Widths Right
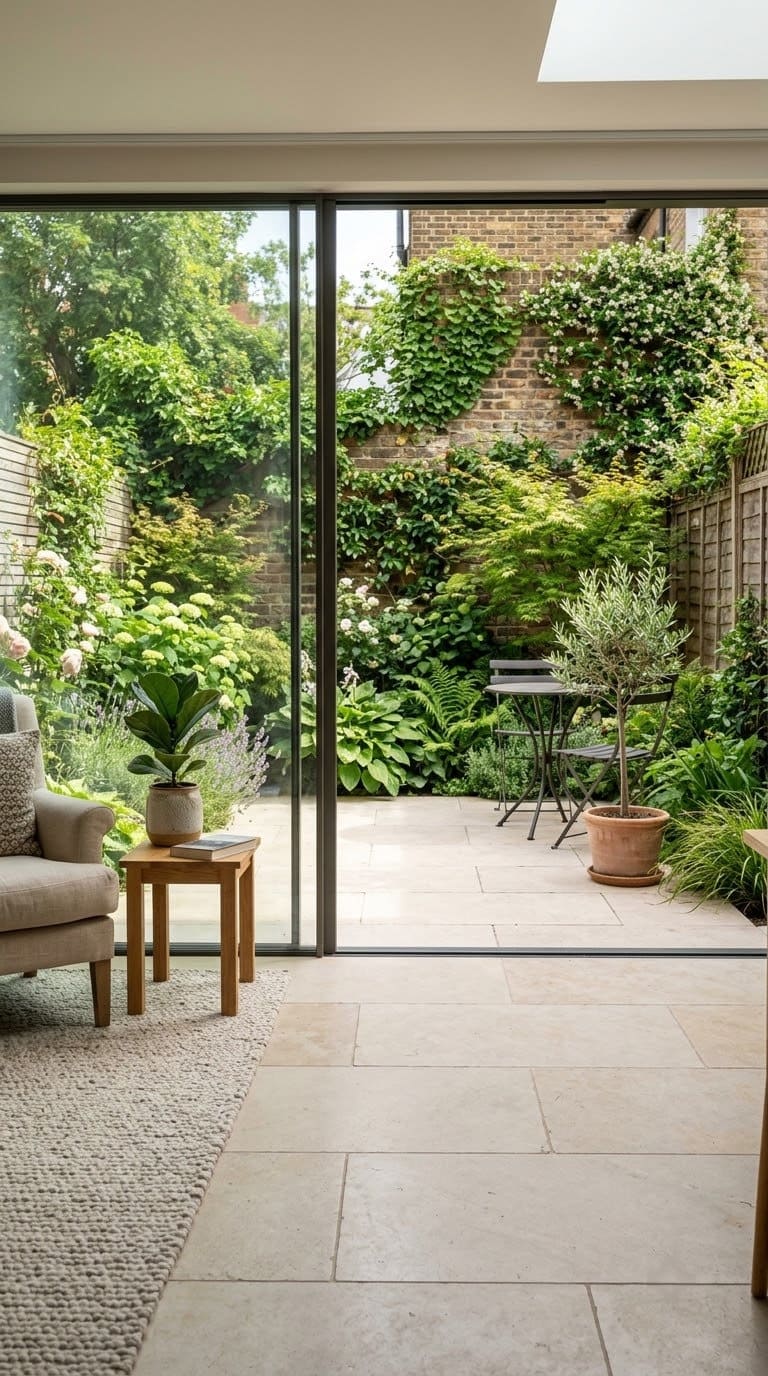
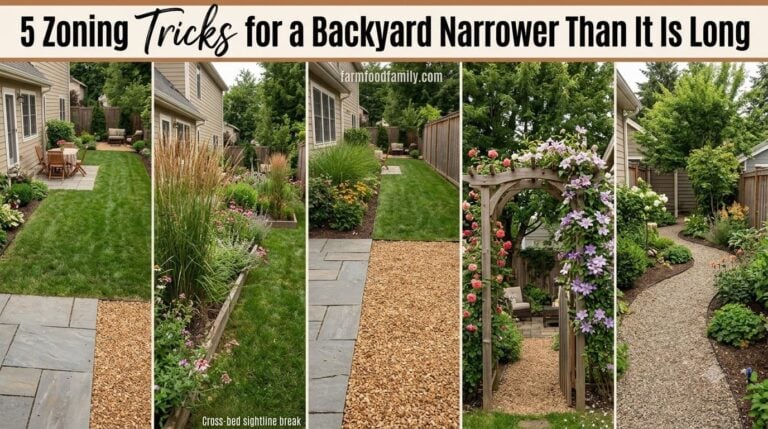
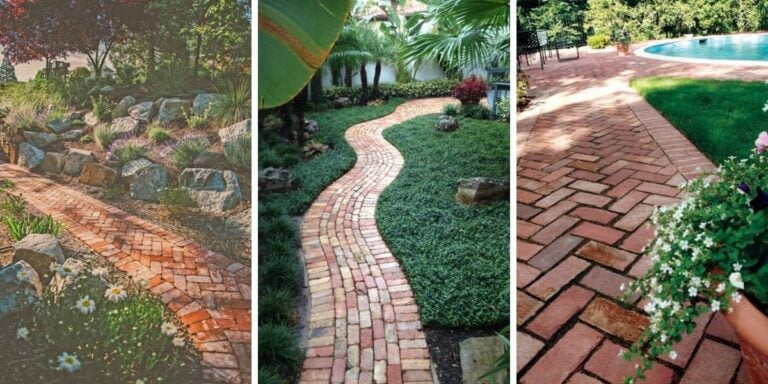
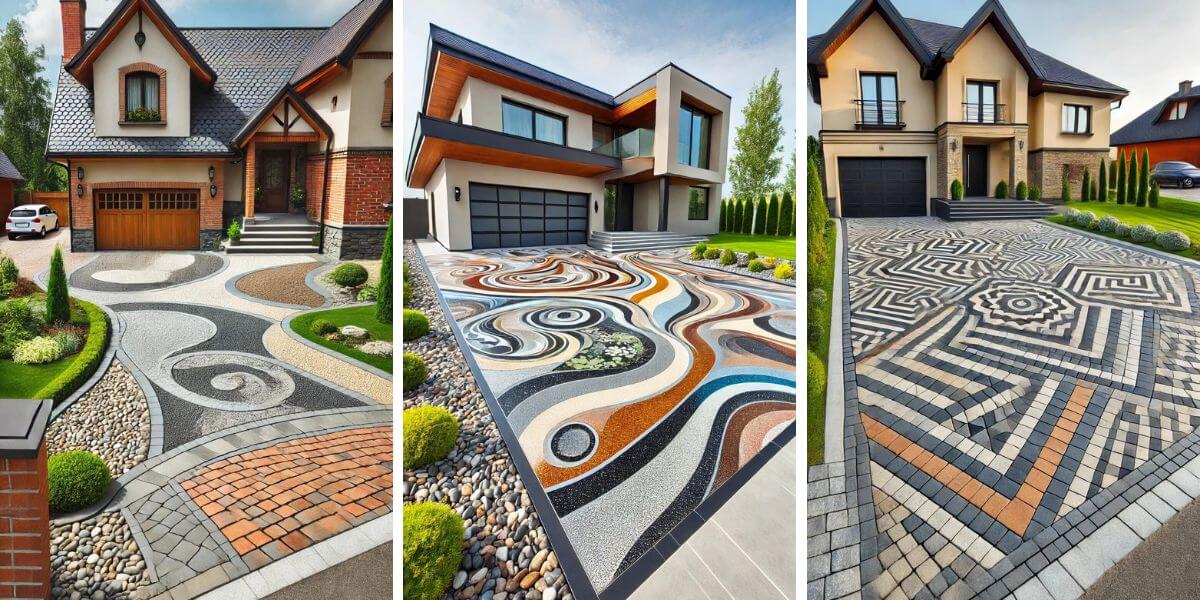
Using the same flooring material, or a closely related tone, both inside the house and immediately outside blurs the boundary. It makes a small garden feel like an extension of the home, not a separate, smaller space. Kate Gould recommends large-format pavers or decking over small bricks or tiles. Smaller units draw the eye down into the details instead of out across the space.
Path width matters more than most small-garden plans account for. The UK convention Kate cites is roughly 800-900mm, about 31-35 inches. But in the US, the ADA sets 36 inches as the federal minimum for an accessible route. Go to 48 inches wherever two people need to pass or a wheelchair needs to turn. Err toward the wider end of that range, not the narrow one. A path that feels “mean,” Kate’s word, undermines the whole design faster than almost any other single mistake.
Step 7: Use Vertical Space to Build in Privacy
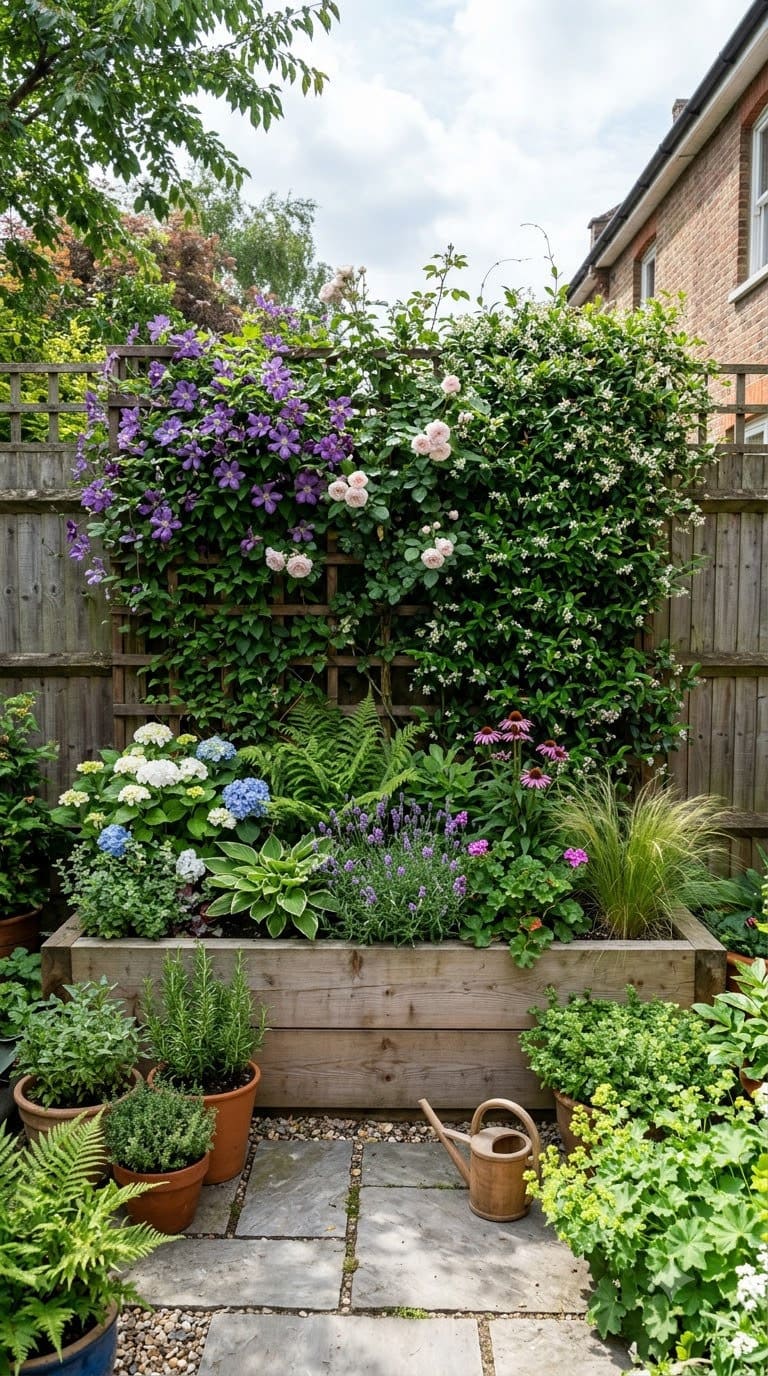
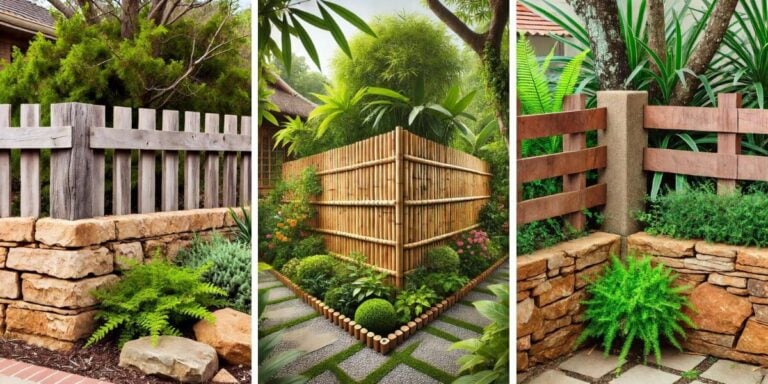
Small gardens are almost always overlooked from multiple sides. Pergolas, arches, and well-placed trellis solve that without eating into the limited ground footprint. Sarah Kay says it’s worth doing even in a modest garden: “Small gardens in urban areas are often very overlooked, so looking at ways to create privacy with strategically placed trees or trellis is definitely worth considering. Your views from the house should also be considered.”
Vertical space does double duty beyond privacy. Kate Gould points out that raised planters or level changes let you “stack your planting,” which “will make the areas more interesting and will feel more generous.” Sarah adds that one large statement plant in a big container reads as calmer than a scattered cluster of small pots.
Step 8: Choose Furniture That’s Actually the Right Size
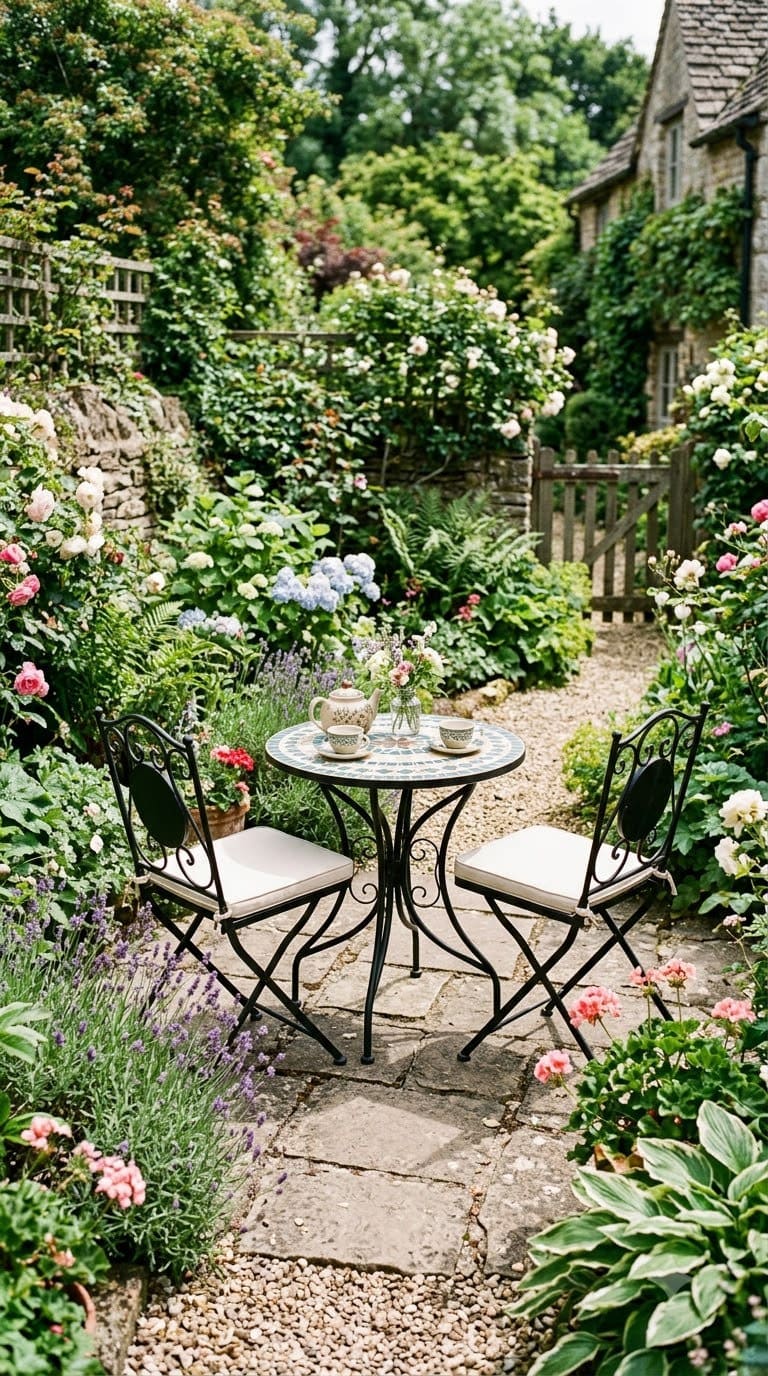
Furniture bought because it looked good in a showroom is one of the most common ways a small garden ends up feeling smaller than it is. Manoj Malde’s rule is proportion first: “Buy furniture that is in proportion with your garden size. If it’s too big, it will dominate your space and make it feel smaller. Likewise if it’s too small, the furniture will look lost, and make the area less of a destination.”
His suggestion for a genuinely tight space: pick either a dining set or a lounge sofa, not both. Most small gardens don’t have room for two separate seating zones. He also recommends lightweight or partly see-through furniture, like slatted or wire-frame pieces, over solid, heavy ones, since “heavy furniture can look cumbersome and make the space feel enclosed.”
Step 9: Build in One Real Focal Point
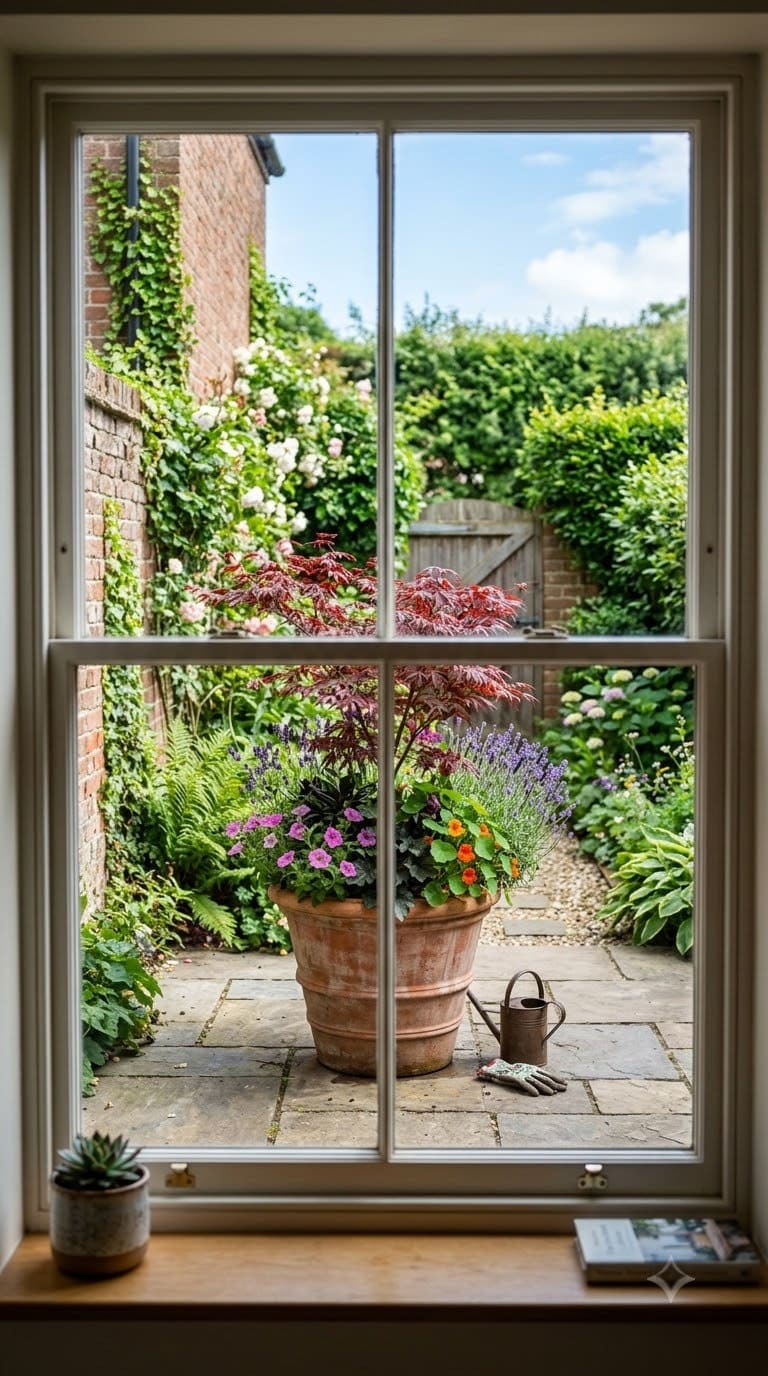
A living room usually has a fireplace or a piece of art the eye settles on. Most small gardens skip this entirely. The result is a space with nothing to look at beyond the general greenery. Kate Gould recommends aligning a focal point with the view from a window or doorway inside the house: “It will stretch the view for you. This could be a sculpture, water feature, planter or even just a statement plant. It is always preferable to go larger rather than smaller.”
One well-chosen large planter or piece of garden art does more for a small space than several smaller decorative touches scattered around. A single, larger feature reads as a deliberate design choice, not clutter.
Step 10: Pick Plants for the Conditions You Actually Have
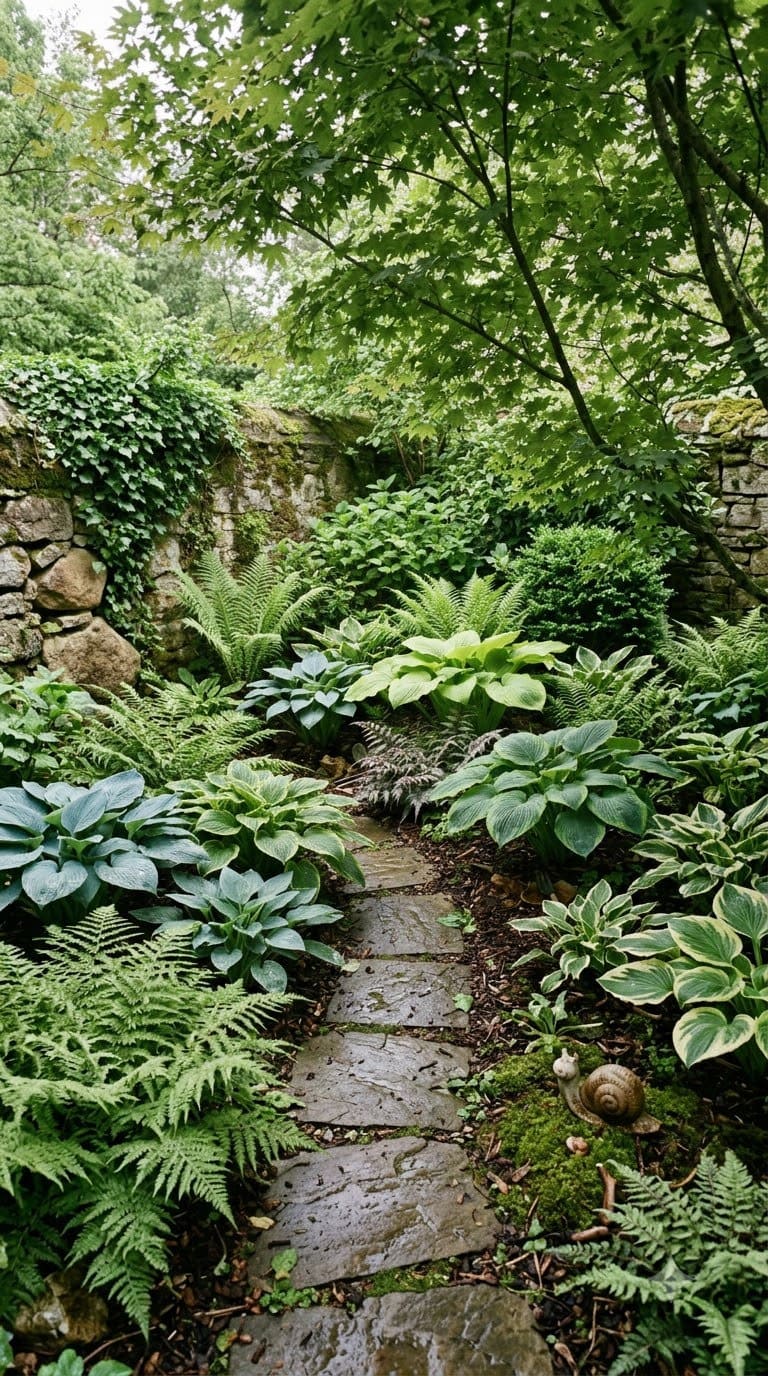
This is the step most people start with, and it’s meant to be last. Once the layout, materials, and privacy are settled, choose plants that match the real light and soil from Step 2, not the plants you liked in a magazine. Kate Gould’s rule of thumb: “Small gardens are often shaded, so plant selection is important. In very small spaces where other buildings shade the garden you may have a limited palette to work with. The mantra here is always ‘right plant, right place.'”
The average homeowner spends $616/year on yard fixes that don't address the real problem. Find out what yours actually is — before you spend another dollar.
Take the Free QuizShade-tolerant species like hostas and ferns can make a genuinely dim small garden feel lush instead of sparse. That’s a better outcome than forcing sun-loving plants to survive somewhere they were never going to thrive.
What We Learned Designing Our Own Small Garden Out of Order
Our first pass at our own small garden skipped straight to Step 10. We bought plants we liked, then furniture we liked. Then we realized none of it actually fit together or suited the space we had.
We started over with the sequence: define the use, map the sun, survey the site, budget in phases, all before touching a single plant. It was slower up front, but nothing had to be returned or replanted. The garden that resulted isn’t bigger than the first attempt. It just finally works.
Frequently Asked Questions
What’s the first thing I should do when designing a small garden?
Define what you actually want to use the space for before anything else. A garden built for entertaining looks completely different from one built for low-maintenance greenery or a kids’ play area, and a small garden doesn’t have room to be all three at once.
How wide should the main path be in a small garden?
Aim for at least 36 inches, the US ADA minimum for an accessible route, and go to 48 inches if two people need to pass each other or you want wheelchair accessibility. A narrower path will feel cramped no matter how nice the paving material is.
Is it better to buy mature plants or small ones for a small garden?
Smaller, younger plants are usually the better call on both cost and results. They’re cheaper, and per Manoj Malde’s advice, they “will quickly fill out” once installed at the right time of year, which often looks more natural than mature specimens crammed in from the start.
How many focal points should a small garden have?
One clear, deliberate one, ideally aligned with a view from inside the house. Multiple competing focal points work against each other in a small space the same way too many decorative accents clutter a small room.
Related Posts
- Questions to Consider When Designing a Small Garden
- 7 Small Garden Layout Mistakes That Make a Tiny Space Feel Even Smaller
- Small Garden Around Fence Ideas
Products We Recommend
This post contains affiliate links. We may earn a commission on qualifying purchases at no extra cost to you.
seethmi 24" Tall Urn Planters, Set of 2
Directly solves Step 9 (one real focal point) per Kate Gould's "go larger rather than smaller" rule
Shop Now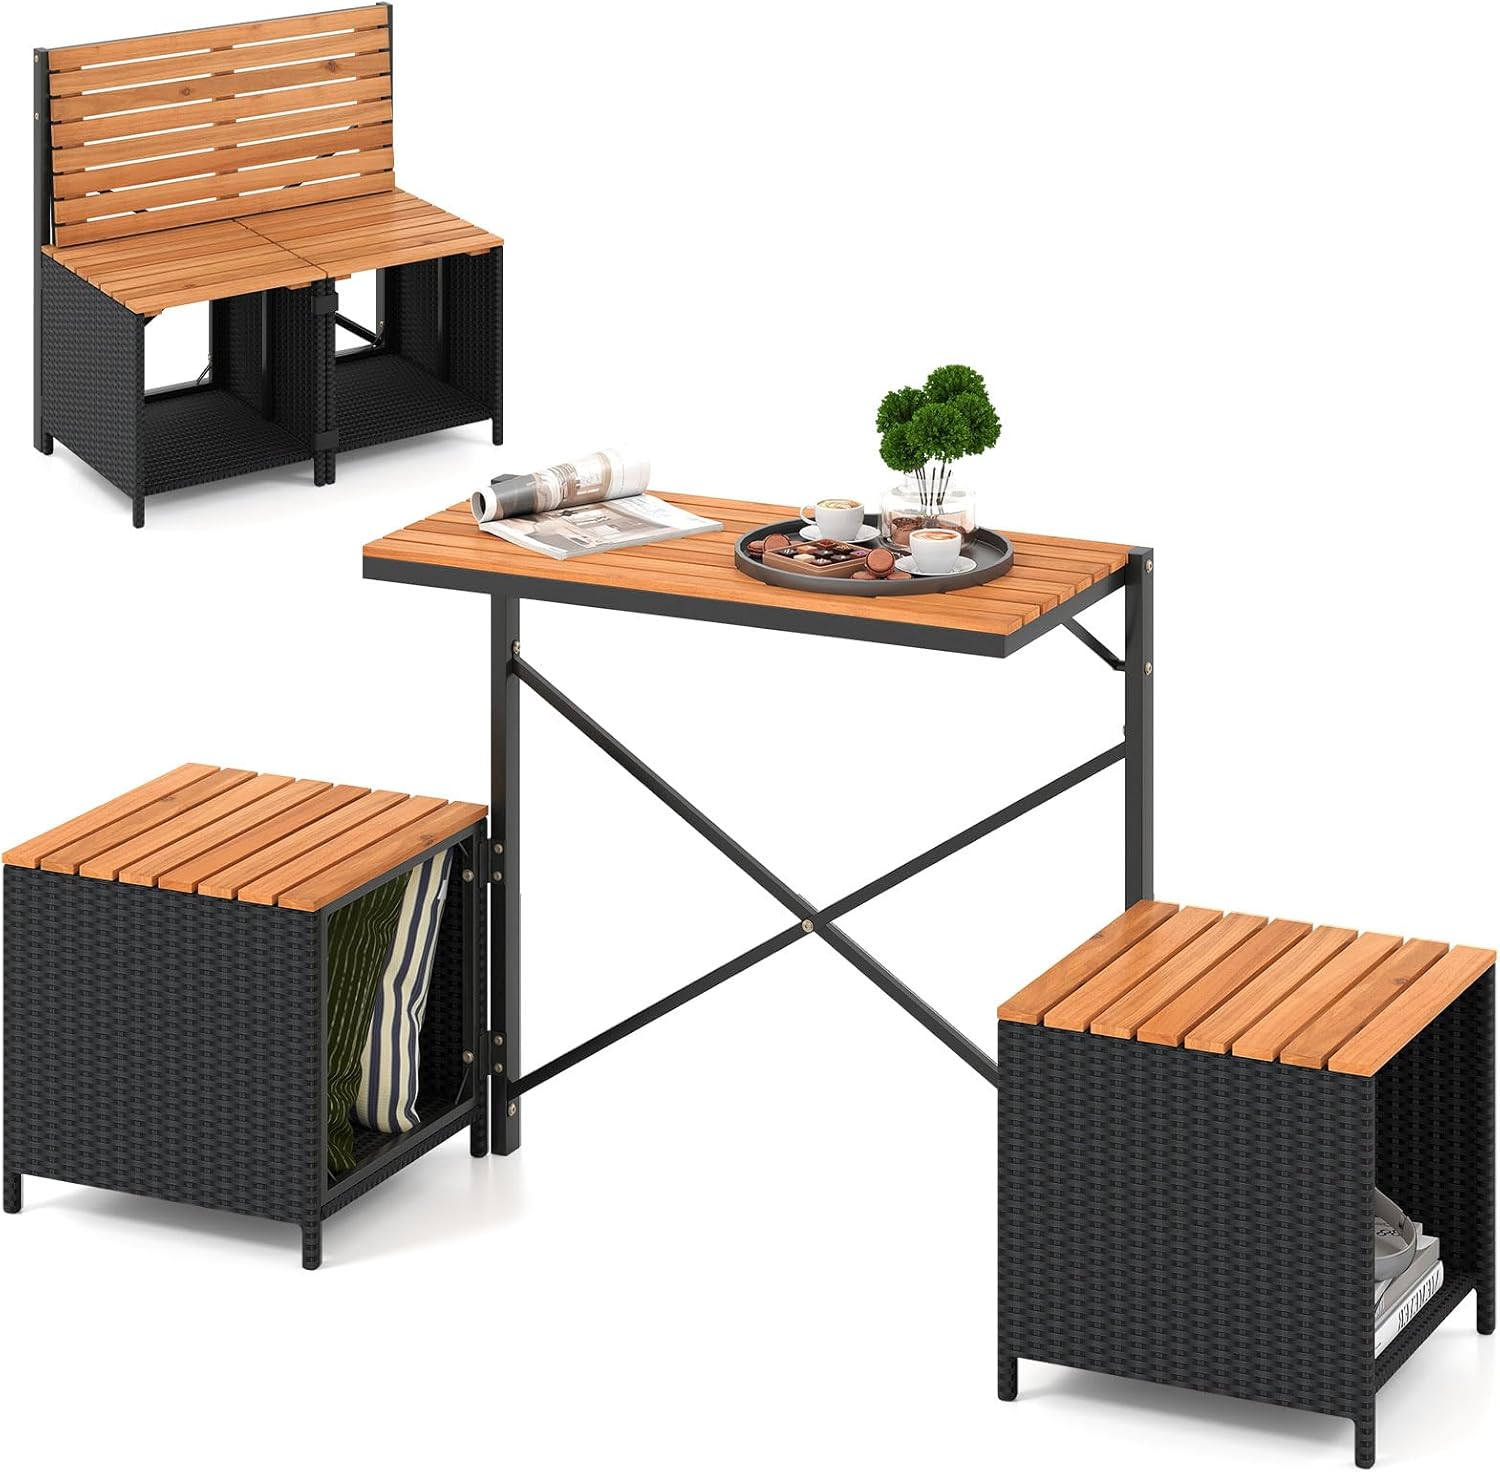
Tangkula 3-in-1 Convertible Bench/Bar Table
Directly solves Step 8 (a genuinely multi-use, right-sized piece for a small footprint)
Shop Now
Expandable Wood Wall Trellis, 2-Pack
Directly solves Step 7 (vertical privacy layering for climbing vines)
Shop NowNever miss an update — choose FarmFoodFamily as your preferred source on Google.
How it works: Tap the button below to open Google's settings page, then check the box next to FarmFoodFamily.
Tap the checkbox to turn it blue — that's how you know it's set.