14 Kitchen Hacks for Dead Space That Add Storage Safely
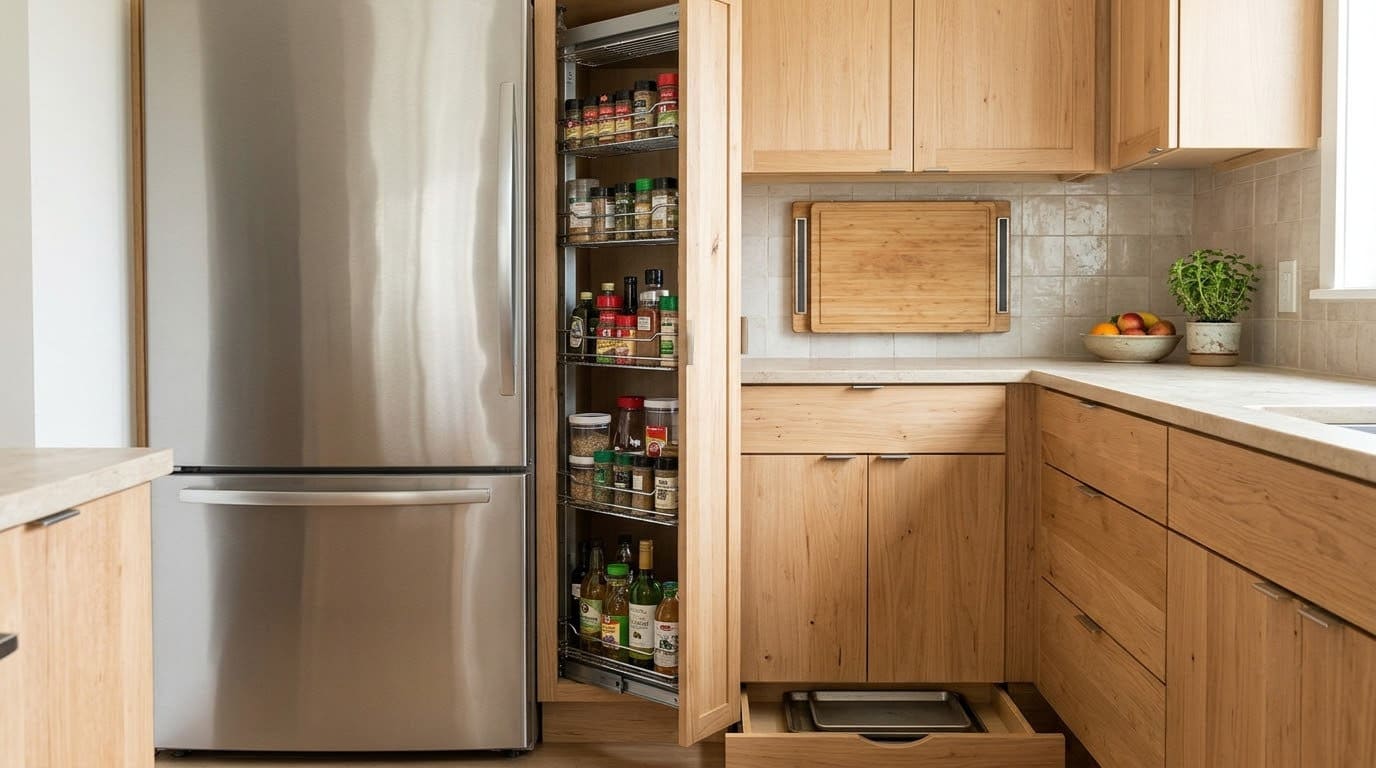
Skinny gaps, doors and toe-kicks can hold more than you think. Rate the slides for the weight, and keep spices and burnable items off the stove.

Never miss an update — choose FarmFoodFamily as your preferred source on Google.
How it works: Tap the button below to open Google's settings page, then check the box next to FarmFoodFamily.
Tap the checkbox to turn it blue — that's how you know it's set.
Skinny gaps, doors and toe-kicks can hold more than you think. Rate the slides for the weight, and keep spices and burnable items off the stove.
Products We Recommend
This post contains affiliate links. We may earn a commission on qualifying purchases at no extra cost to you.

22 Inch Drawer Slides, 6 Pairs, Full Extension Ball Bearing, 100 LB Capacity, Black
Full-extension slides rated at 100 lb, the minimum Family Handyman suggests for canned goods. Check your cabinet width and hinge clearance first.
Shop Now
Simple Houseware Spice Gripper Organizer, 4 Strips, Holds 20 Jars, Black
Clip strips that hold spice jars inside a cabinet or on a door. Pick a cabinet away from the stove.
Shop Now
Simple Houseware Over the Cabinet Door Organizer Holder, 2 pcs (L+M), Silver
Over-the-door baskets for cutting boards and bakeware, no drilling. Check that the door still closes, and keep the load light.
Shop NowNarrow and dead spaces can hold a lot. A skinny pull-out pantry beside the fridge adds storage, and so do toe-kick rollouts and door racks. None need new cabinets.
Family Handyman’s pull-out pantry tips and its list of 30 cabinet add-ons show how to build most of them.
Plan for weight and heat. Family Handyman says to use slides rated for at least 100 pounds for heavy items like canned goods. And keep spices off the stove, since Texas A&M AgriLife says to avoid storing them above the stove, microwave or dishwasher.
Keep the stove top clear, too. The USFA says to keep towels, oven mitts and packaging away from it.
These 14 ideas give you steps, a style tip and a safety note for each one. Start with the gap that bugs you most, and finish it in a weekend.
How Do You Find Dead Space in a Kitchen?
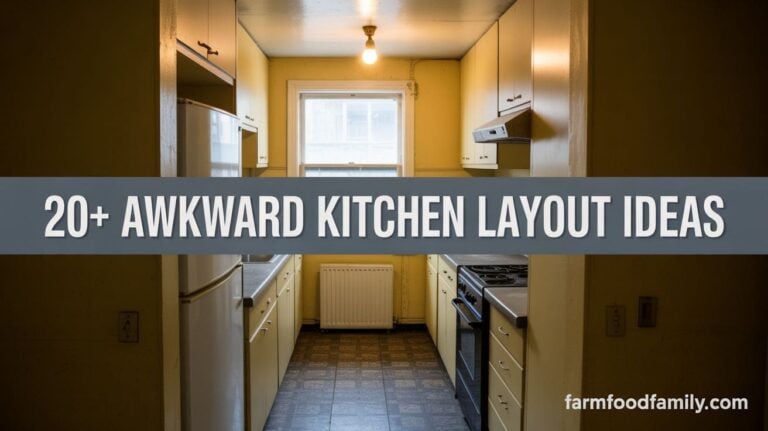
Dead space hides in plain sight. Look at the gap beside the fridge, and check under the cabinets, behind each door and in the toe-kick. Look above the cabinets, too.
Measure each gap, then write down the width, depth and height. A story stick, which is a scrap of wood marked with your measurements, helps. The guide says it beats math alone.


Use this table to match a gap to a fix. The skill levels are our own guess.
| Dead space | Best fix | Skill | Needs a drill |
|---|---|---|---|
| Gap beside the fridge | Skinny pull-out pantry | Hard | Yes |
| Toe-kick | Ankle-level rollout | Medium | Yes |
| Cabinet door | Rack or pegboard | Easy | Yes |
| Under the cabinet | Wine rack, magnet board | Easy | Yes |
| Above the cabinets | Display shelf | Medium | Yes |
| Under the sink | Rollout trays | Medium | Yes |
If you rent, start with clip-on racks and adhesive hooks. They leave few marks.
What Safety Rules Apply to Kitchen Storage?
Kitchens have heat, weight and fire to think about. Read these rules first.
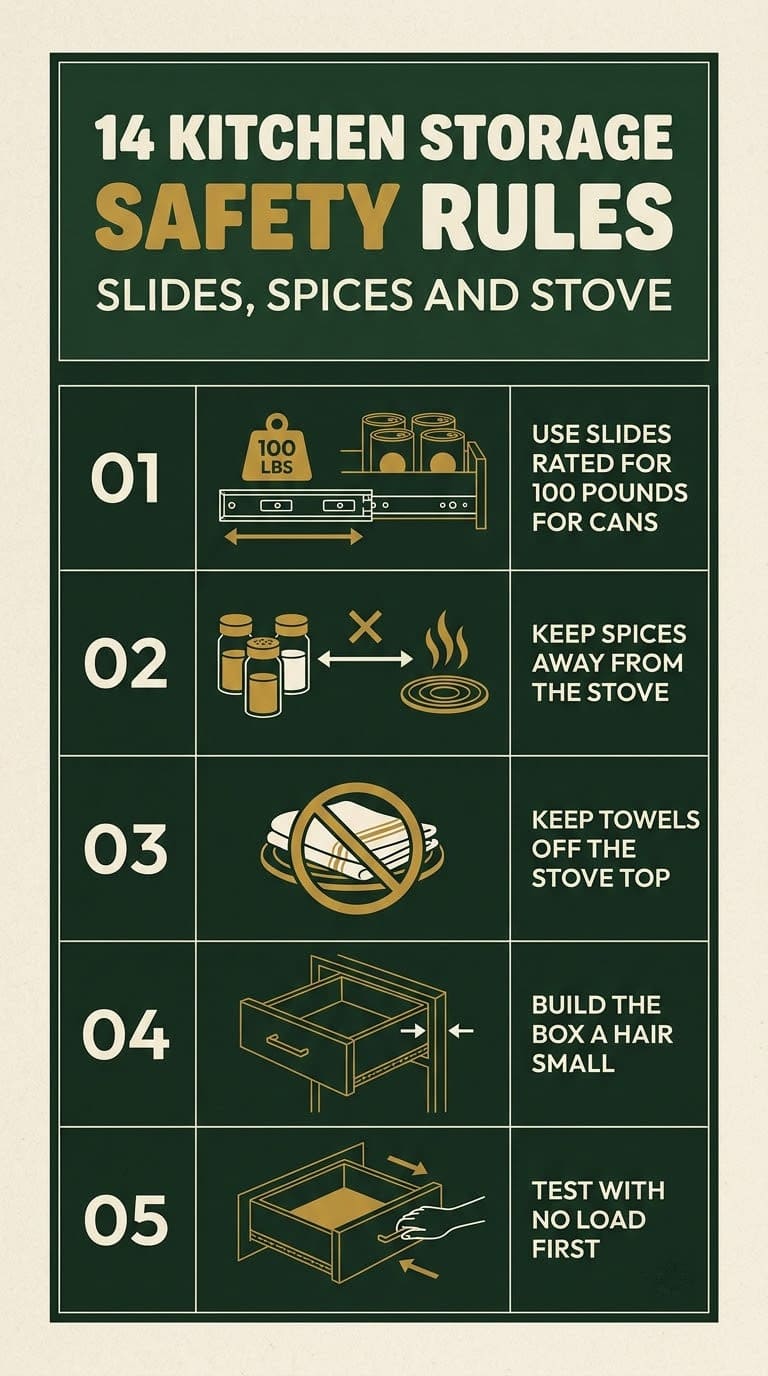
Rate the slides for the load. The guide says roller slides are rated 35 to 100 pounds. It says ball-bearing slides are rated 75 to 100 pounds, and some go to 200.
For canned goods, it says to use slides rated for at least 100 pounds.
Keep spices away from heat. The Texas A&M sheet says to store spices in tightly covered containers in a dark place, such as a cabinet or drawer. It says to skip the spot above the stove, microwave, dishwasher or fridge. Also skip spots near a sink or a heat vent.
Keep burnable items off the stove top. The USFA says to keep paper towels and oven mitts away from the stove top. Do the same for wooden spoons, food boxes, towels and curtains. That rule shapes any storage near the range.
Watch your sleeves. The CPSC’s safer cooking guide says to keep curtains, towels and pot holders away from hot surfaces. It also says loose clothing can catch fire, and to wear short or close-fitting sleeves.
Full-extension slides rated at 100 lb, the minimum Family Handyman suggests for canned goods. Check your cabinet width and hinge clearance first.
Shop NowThis post contains affiliate links. We may earn a commission on qualifying purchases at no extra cost to you.
1. Skinny Pull-Out Pantry Beside the Fridge
A tall, thin pull-out turns a 3 to 6 inch gap into a spice and can rack. The guide says these pantry pull-outs fit openings only 3 to 6 inches wide. Its example is a 6-inch base filler with a stainless panel.
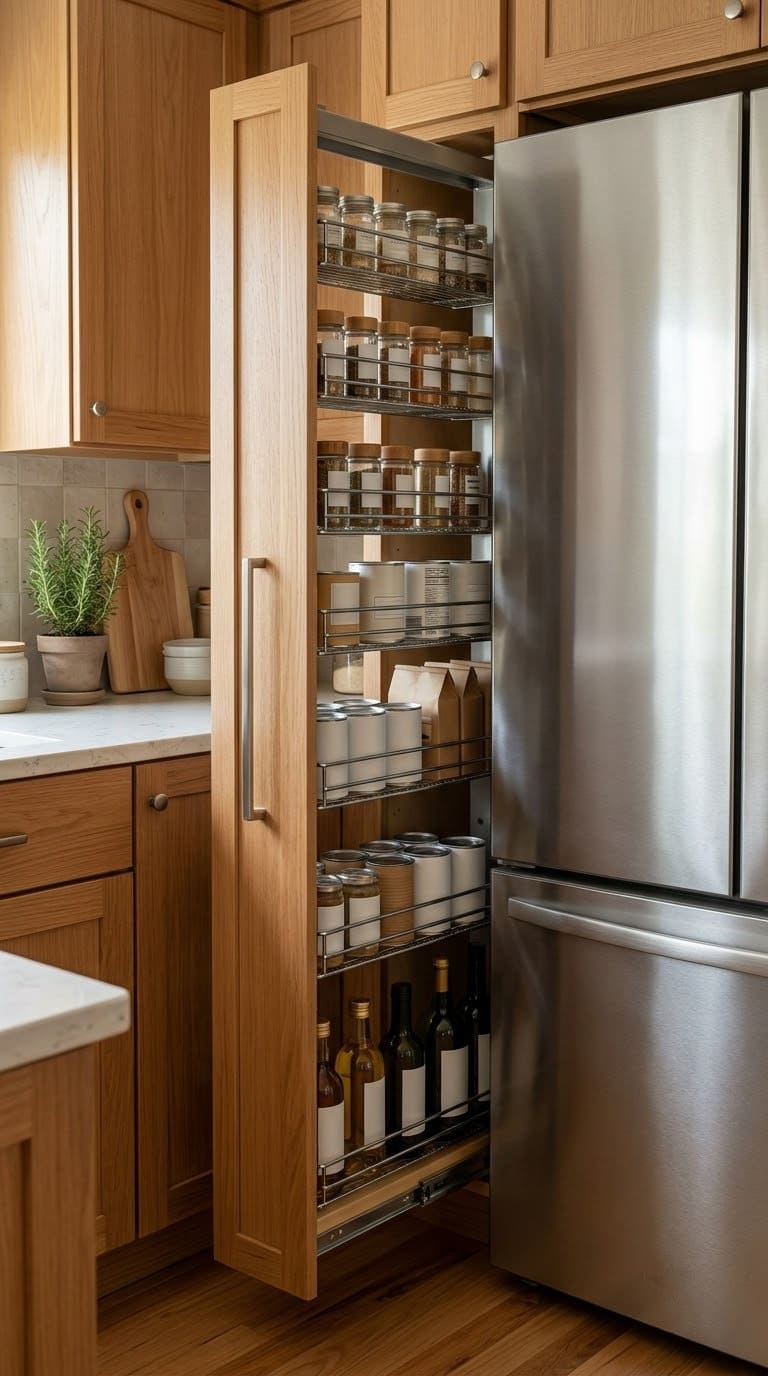
- Measure the gap’s width, depth and height with a story stick.
- Pick slides rated for at least 100 pounds if you will store cans.
- Check for hinges or doors that can block the rollout.
- Build the box about 1/32 inch smaller than the opening. The guide says shimming a slide is easier than fixing a box that is too wide.
- Mount the slides, and test the pull-out with no load first.
Style tip: use low 3-inch sides for cans and spices, and high 6-inch sides for tall containers.
Safety: keep the pull-out away from the stove’s heat. Don’t store spices in a slot that sits right beside a hot range.
More: see our kitchen corner cabinet ideas.
2. Ankle-Level Toe-Kick Rollouts
The toe-kick is dead space at your feet. The list says to build flat rollouts in the shop and slide them into the space for trays, cutting boards and baking pans.
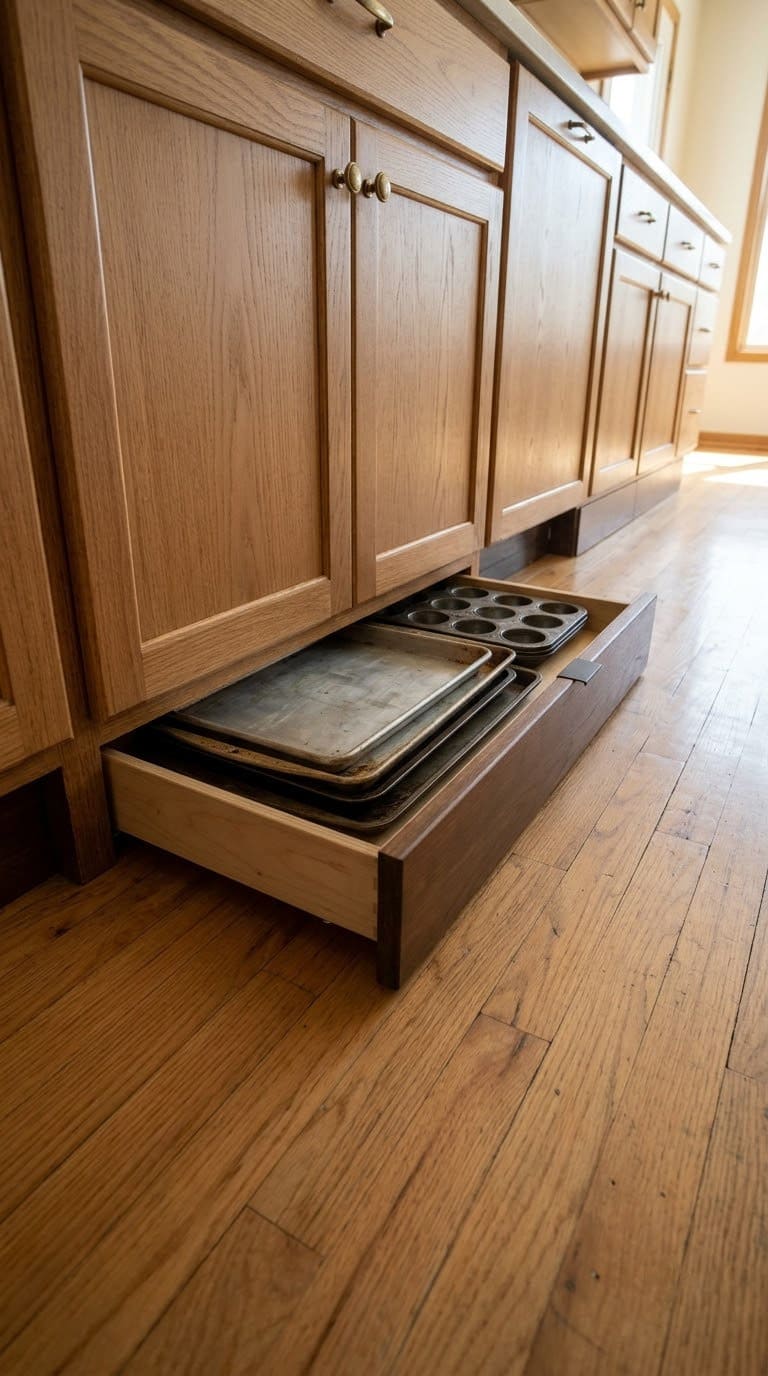
- Check that the toe-kick is open behind the face board.
- Measure the height and depth.
- Build a shallow tray that fits.
- Add slides, and fix a pull to the front.
Style tip: paint the front the same color as the toe-kick.
Safety: keep the load light. A toe-kick tray is for flat, light items.
Test: try it with no load first. Then add weight a little at a time.


3. Under-Cabinet Wine Rack
A wine rack uses the gap under an upper cabinet. The list builds one from two 1×4 boards and a strip of 3/4-inch plywood, 8 inches wide.
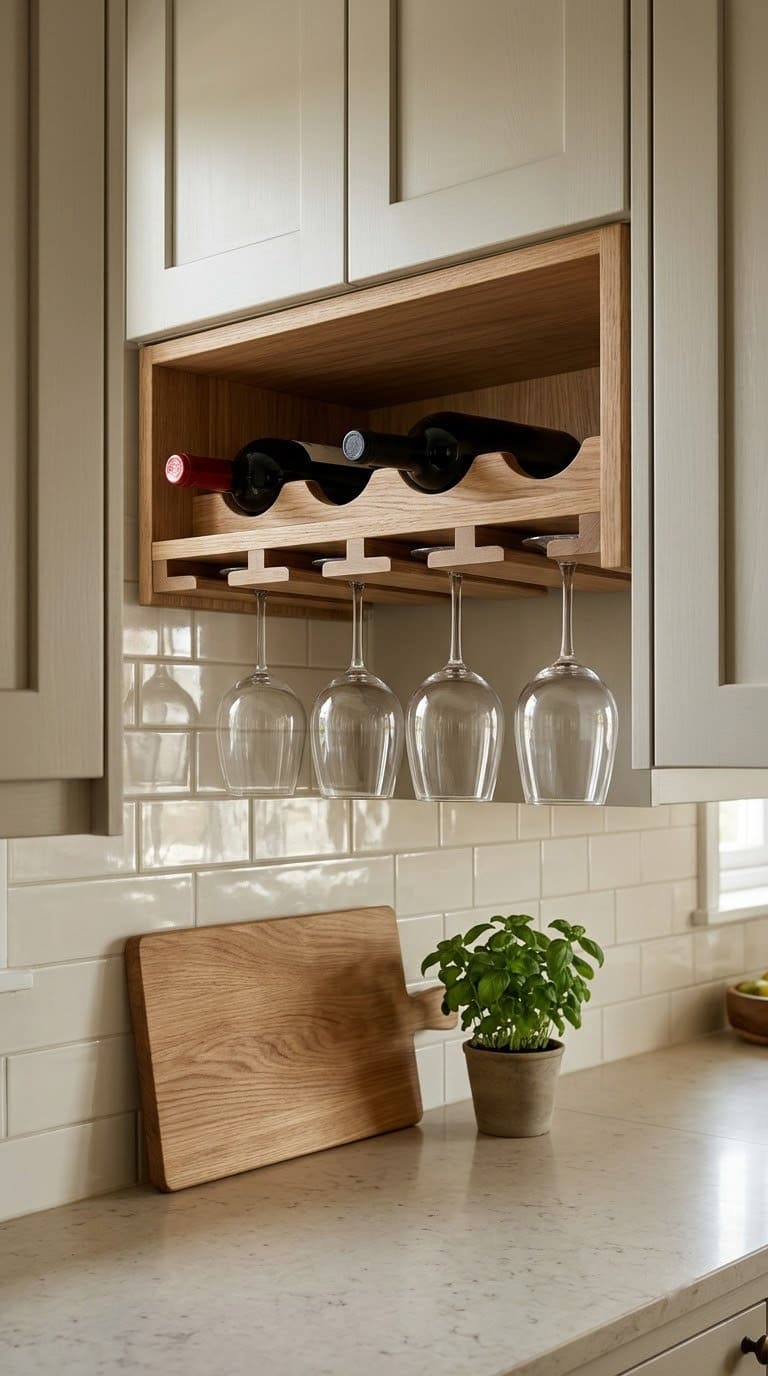
- Measure the length of the bay under the cabinet.
- Cut two 1×4 boards to that length.
- Cut a plywood strip to match.
- Screw the strip to the underside of the cabinet, and add the boards.
Style tip: use the rack for stemware too, and keep bottles on a lower shelf.
Safety: screw into the cabinet frame, not the thin bottom panel. That tip is ours.
4. Spice Drawer or Spice Clips
Spices belong in a drawer or a cabinet, away from heat. The list shows a spice drawer you can build in about an hour, and a set of gripper clips that hold jars inside a cabinet or on a door.
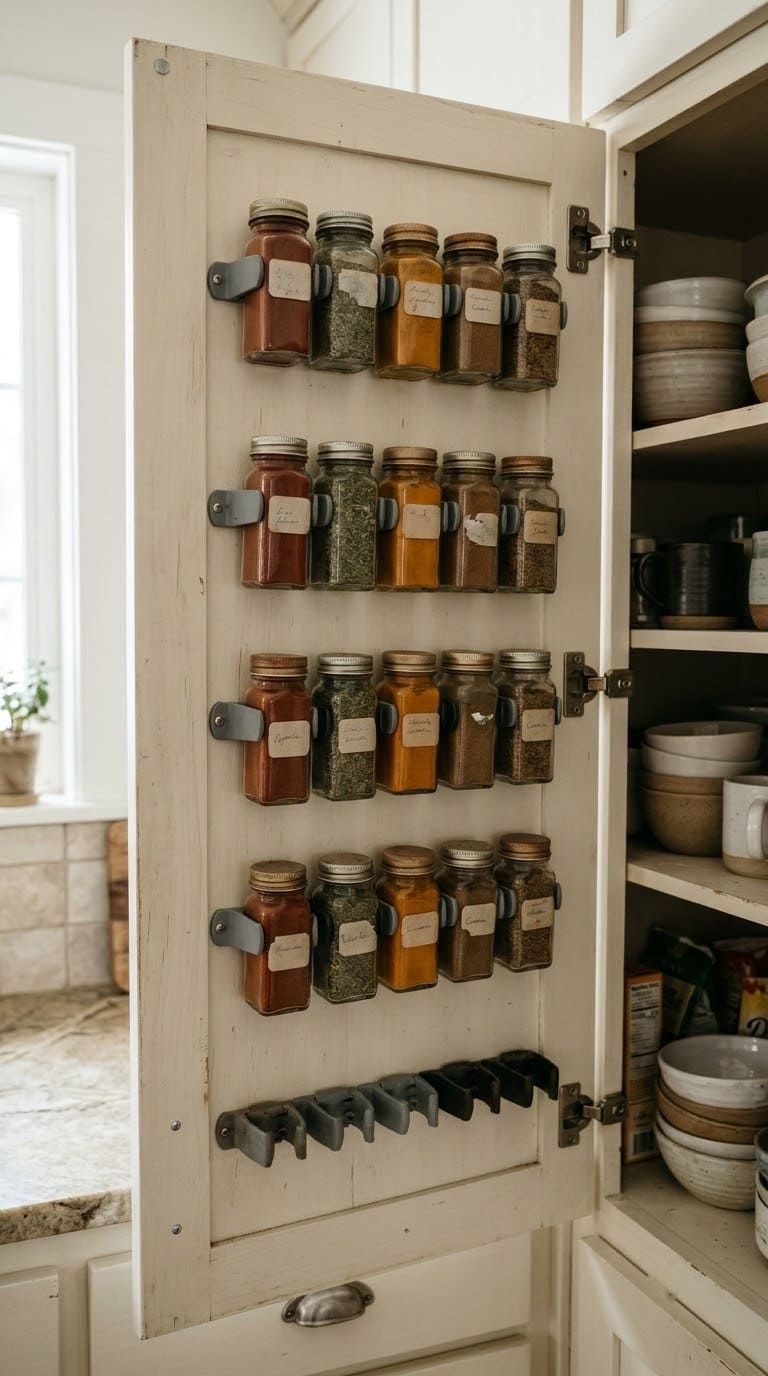
- Pick a cabinet or drawer away from the stove.
- Build a shallow drawer, or screw the clips to the cabinet door.
- Label the jar lids.
- Line the jars up with the labels facing up.
Style tip: use matching jars so the shelf looks tidy.
Safety: Texas A&M says to keep spices away from heat, in tight jars.
More: see our small kitchen storage ideas.
5. Cabinet Door Racks and Pegboard
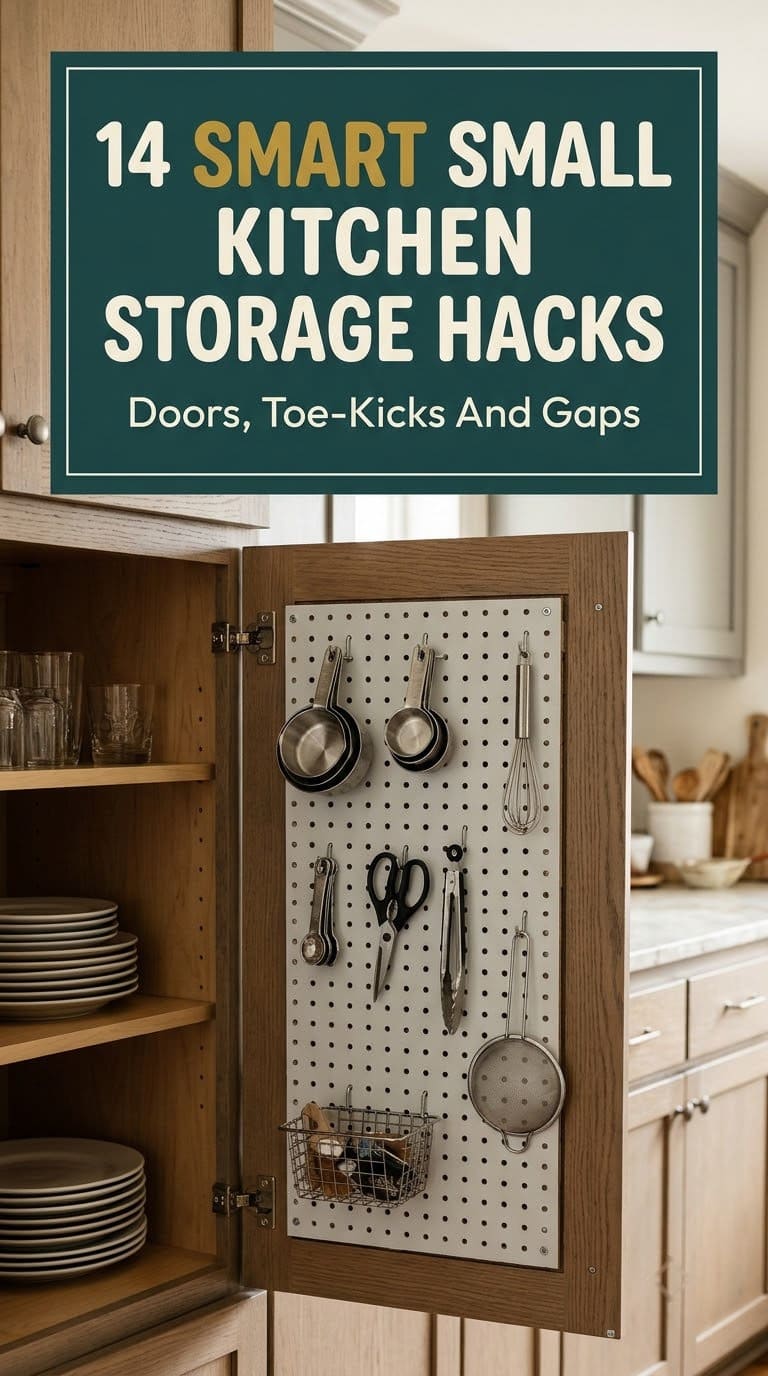
The back of a cabinet door is free space. The list shows a door rack for cutting boards, and a pegboard in a frame with a half-inch gap behind it for pegs.
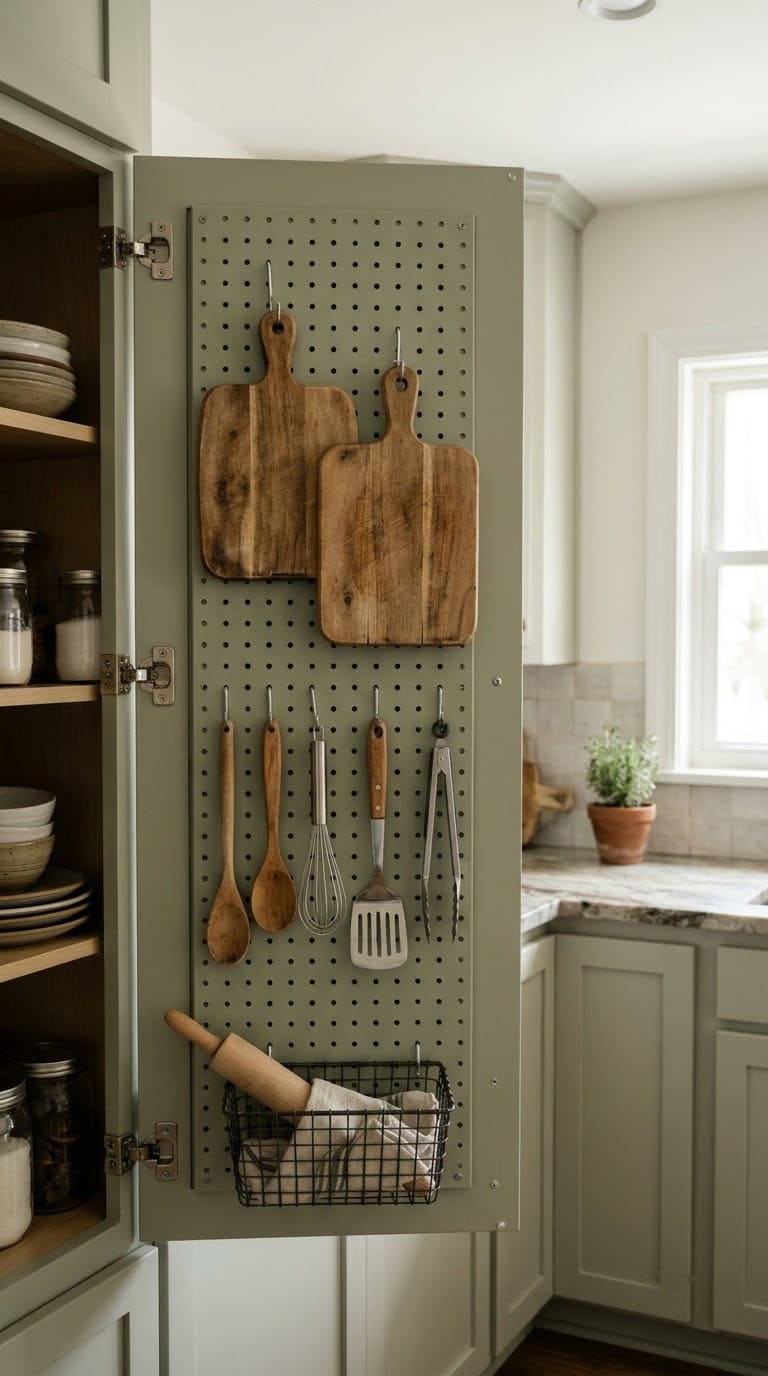
- Measure the door, and check what is behind it.
- Build a frame, or buy a rack that fits.
- Fix it with screws that don’t poke through the front.
- Check that the door still closes.
Style tip: paint the pegboard to match the cabinet inside.
Safety: keep heavy pots off door racks. A door is only built to hold light items.
Test: try it with no load first. Then add weight a little at a time.
6. Lid and Cookware Rollouts
Lids and pans make a mess. The list says to measure the tightest part of the opening. That is usually at the hinges.
It also says to swap weak shelves for 3/4-inch plywood.
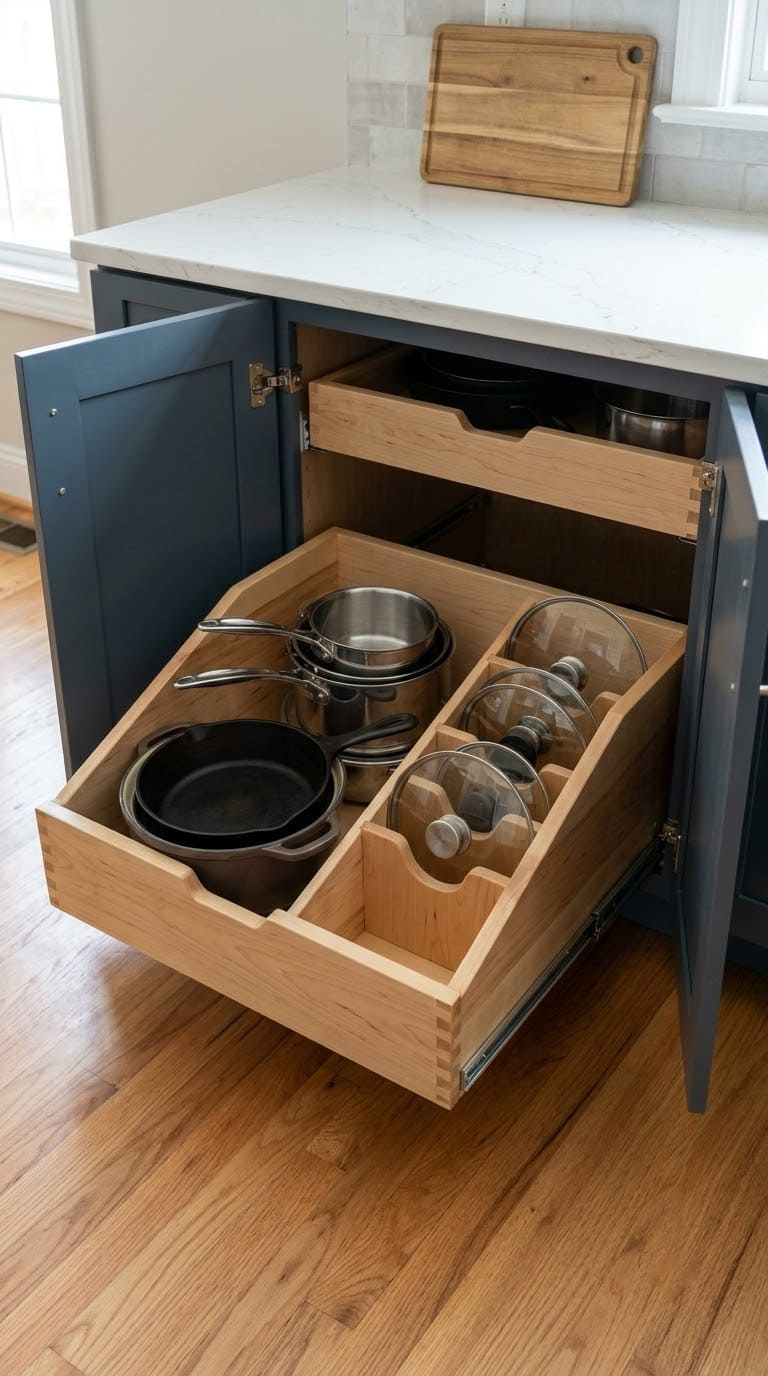
- Measure the opening at the hinges.
- Replace weak shelves with plywood.
- Build a rollout with sloped sides for pots and pans.
- Mount it on full-extension slides.
Style tip: use a vertical divider for lids.
Safety: pans are heavy. Use slides rated for the load, as The guide says.
7. Under-Sink Rollout Trays
The space under the sink has pipes that get in the way. The guide says to build trays to fit around the pipes and the disposal.
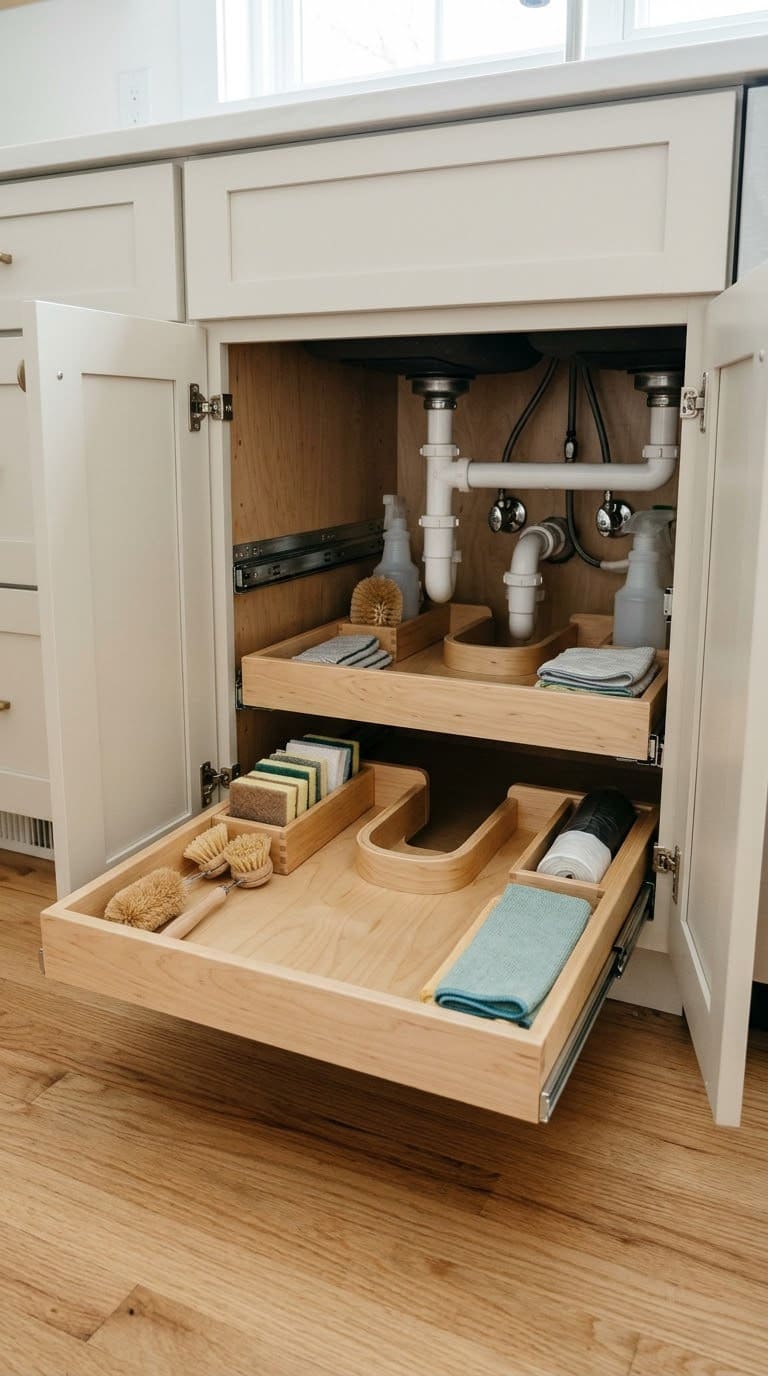
- Measure around the pipes.
- Build two trays with a cutout.
- Add slides.
- Test that the trays clear the pipes.
Style tip: use plastic bins in the trays, and wipe them clean.
Safety: keep cleaning products in a closed bin, away from food. That tip is our own.
Test: try it with no load first. Then add weight a little at a time.
8. Cabinet Divider for Trays and Pans
A divider turns a wide cabinet into two slots. The list says to cut 3/4-inch plywood to the cabinet depth and at least an inch taller than the opening.
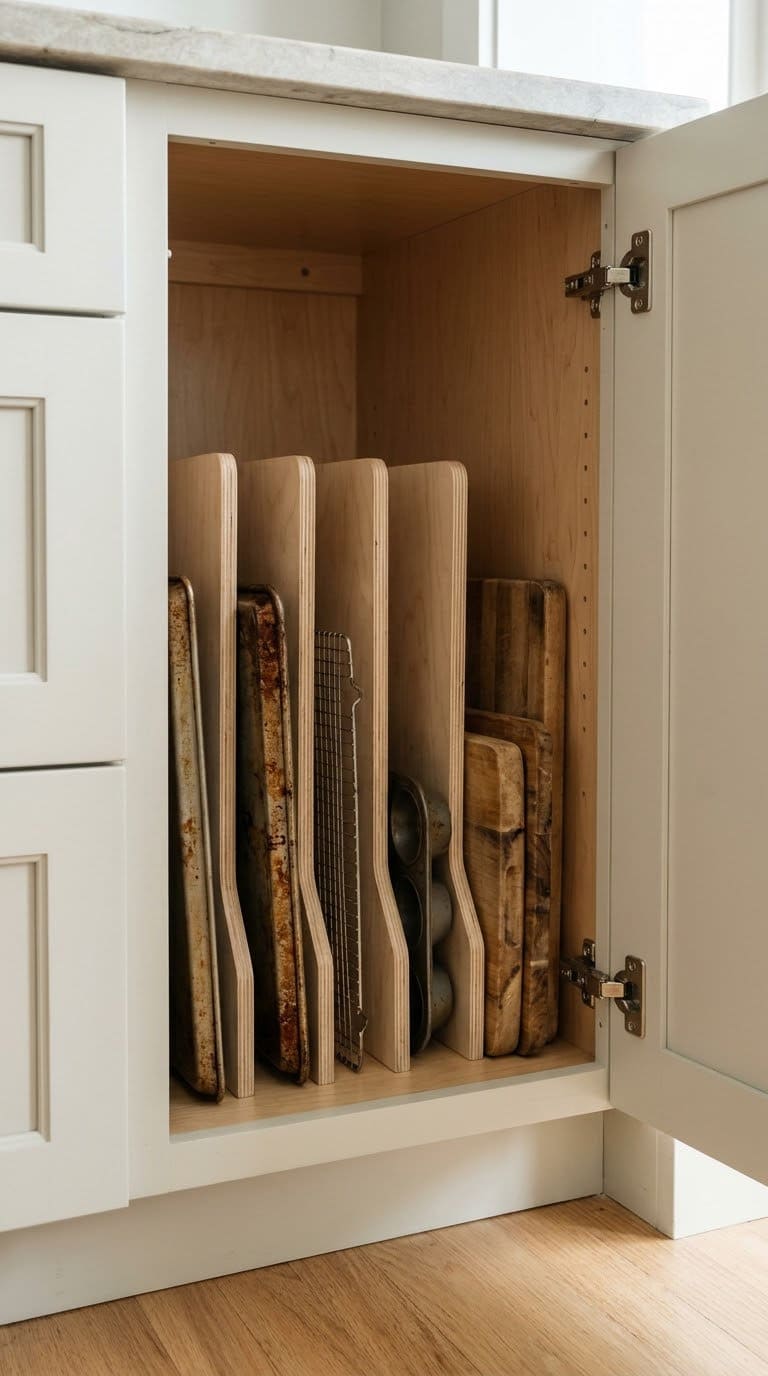
- Measure the depth and the height.
- Cut a plywood divider.
- Secure it with brackets to the floor, the face frame and the back wall.
- Slide trays and pans in on edge.
Style tip: pick a divider in the same wood as the shelves.
More: see our what to put in high kitchen cabinets.
9. Flip-Down Tablet or Paper Tray
A tray tucks away under an upper cabinet. The list shows a flip-down paper tray held by magnets. It also shows a tablet tray with aluminum arms.
It says the small magnets won’t harm a tablet.
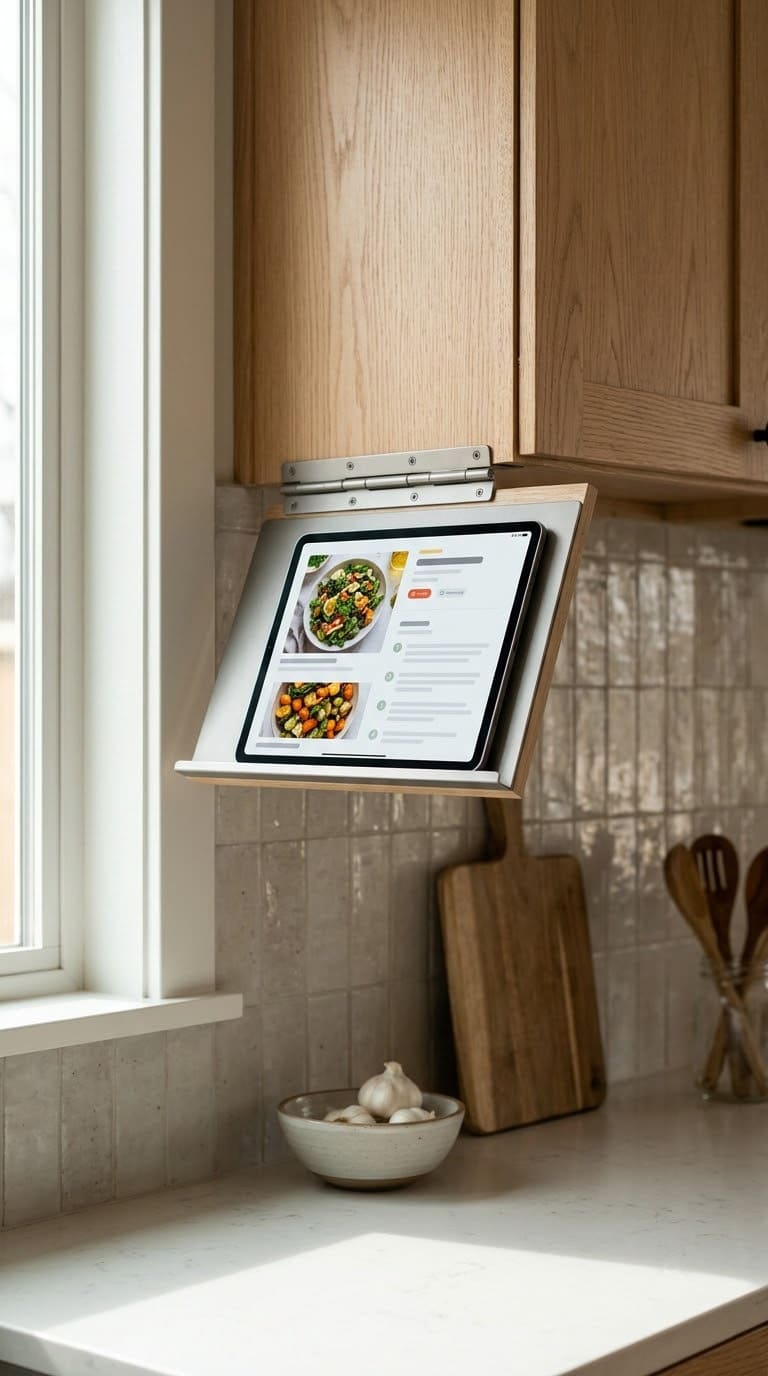
- Pick a cabinet away from the sink and stove.
- Clamp the tray in place before you screw the hinges.
- Test the magnets.
- Add a foam liner so the tablet won’t slide.
Style tip: use it for recipes, and fold it up when guests come.
Safety: keep liquids and heat away from the tablet.
Test: try it with no load first. Then add weight a little at a time.
10. Hidden Magnet Cutting Board
A cutting board can hide under a cabinet. The list says to set rare earth magnets, 5/32 inch across and 1/8 inch tall, in the board. They grab a steel plate under the cabinet.
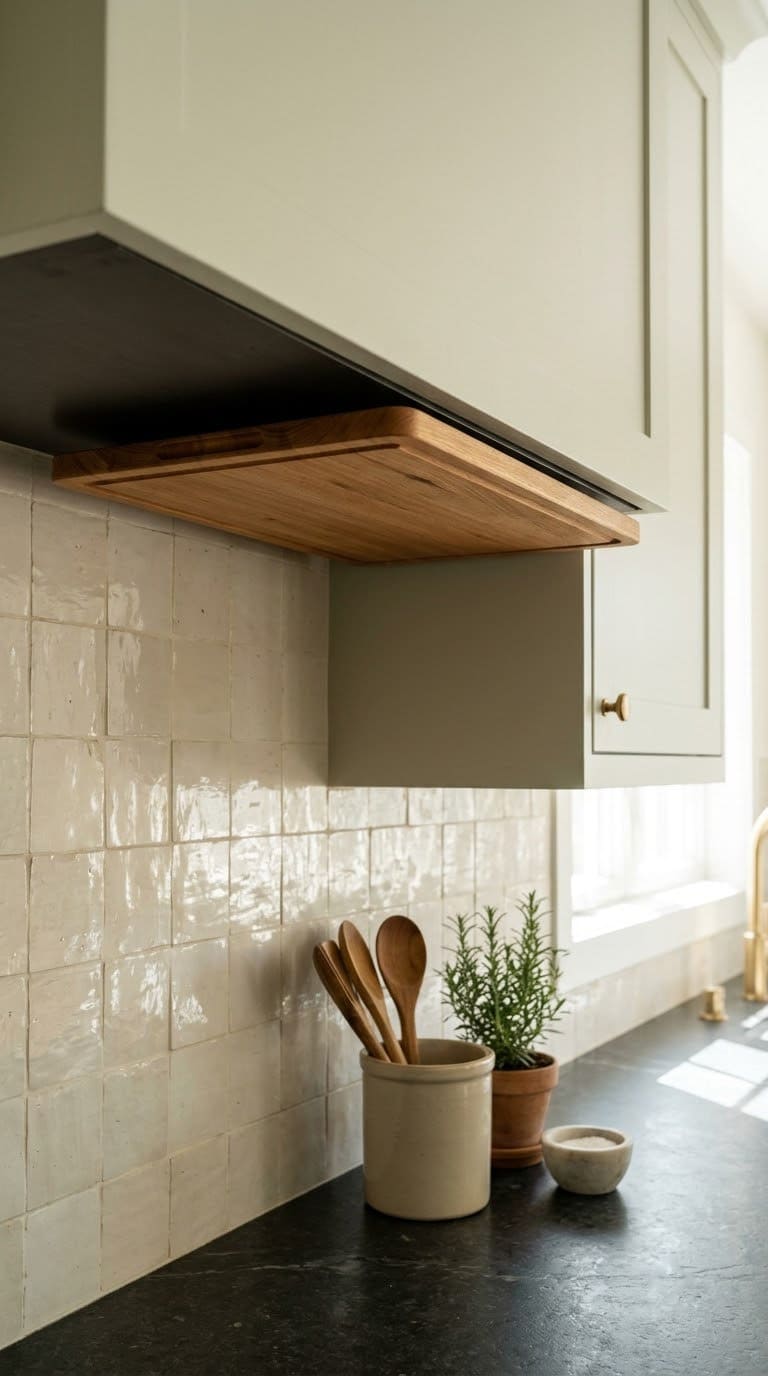
- Set the magnets into the back of the board.
- Glue a galvanized steel plate to plywood.
- Screw the plywood under the cabinet.
- Test that the board holds before you use it.
Style tip: pick a thin board that stays flat.
Safety: use steel, not aluminum, as the list says. Keep the strong magnets away from kids and pacemakers. The last part is our own tip.
11. Display Shelf Above the Cabinets
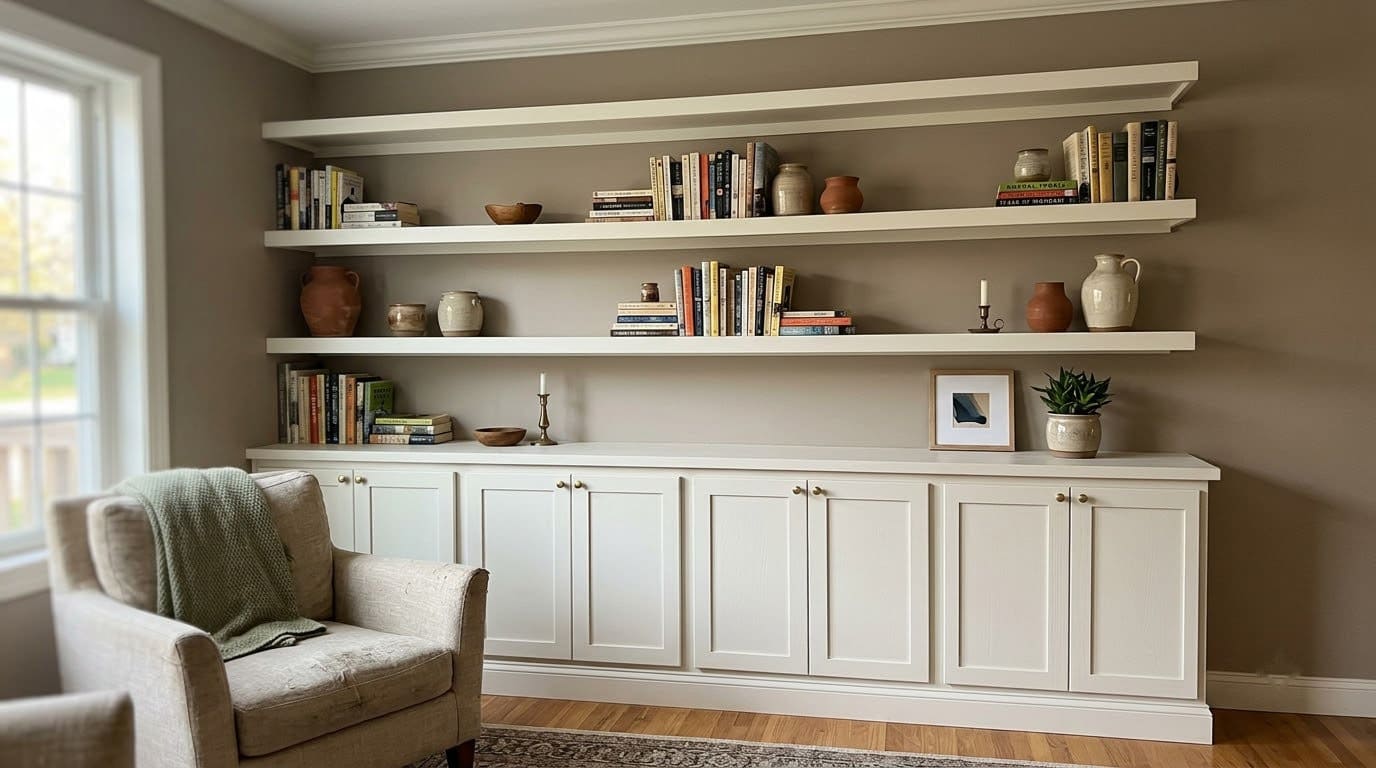
The space above the cabinets is dead space for most kitchens. The list says a display shelf needs basic carpentry skills and can be built in a day.
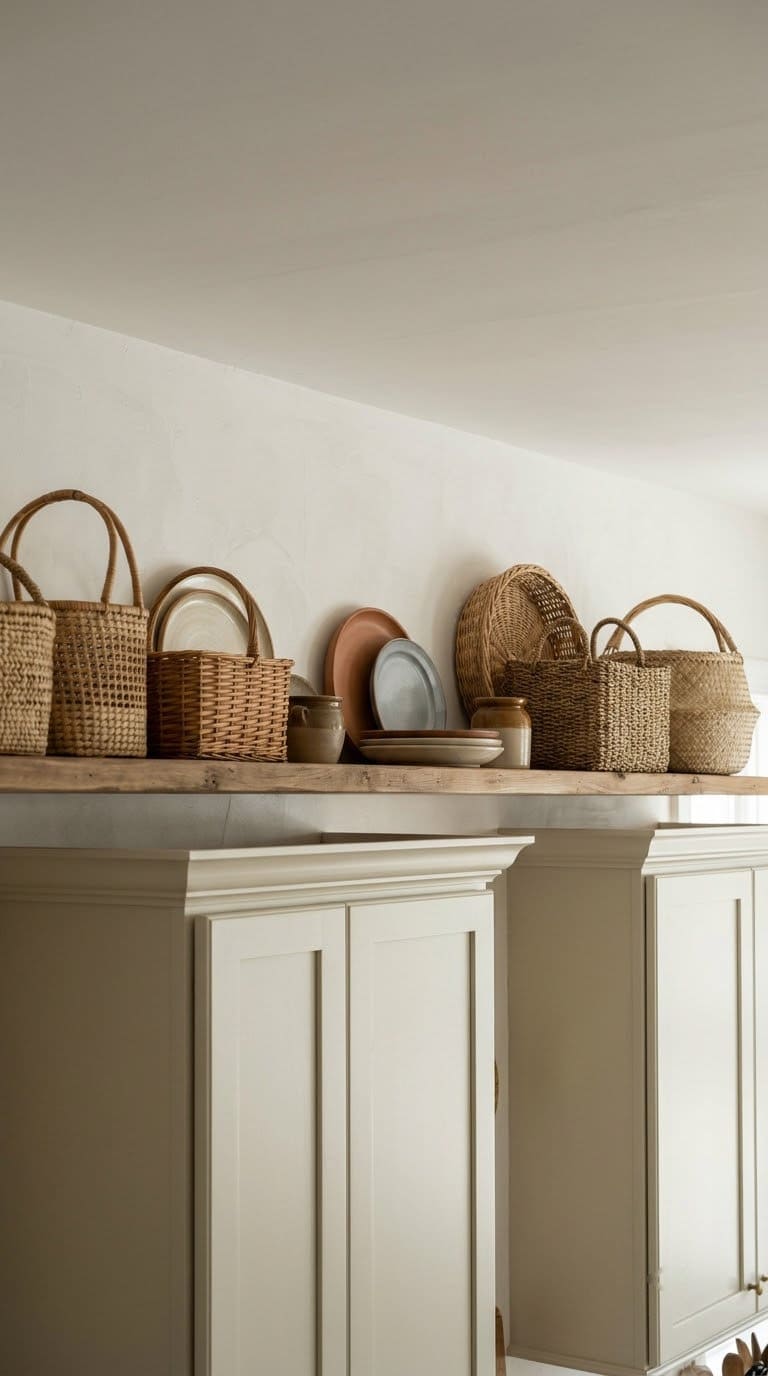
- Measure the gap from the cabinet top to the ceiling.
- Build a shelf that fits the gap.
- Screw it into the cabinet frame or the wall studs.
- Add a rail so items won’t slide.
Style tip: keep items light, such as baskets and a few plates.
Safety: keep heavy items off high shelves, and keep the shelf away from the stove. Heat and grease rise.
More: see our narrow kitchen ideas.
12. Floating Shelf Over the Sink or Island
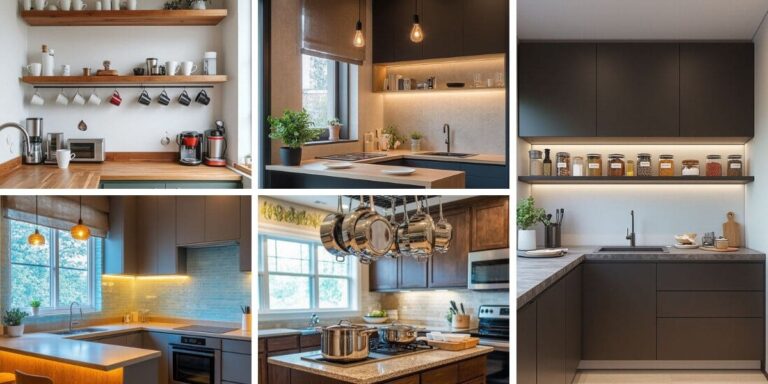
A floating shelf adds storage where nothing else fits. This one is our own idea, from the old page. Put it over the sink or the island, but not over the stove.
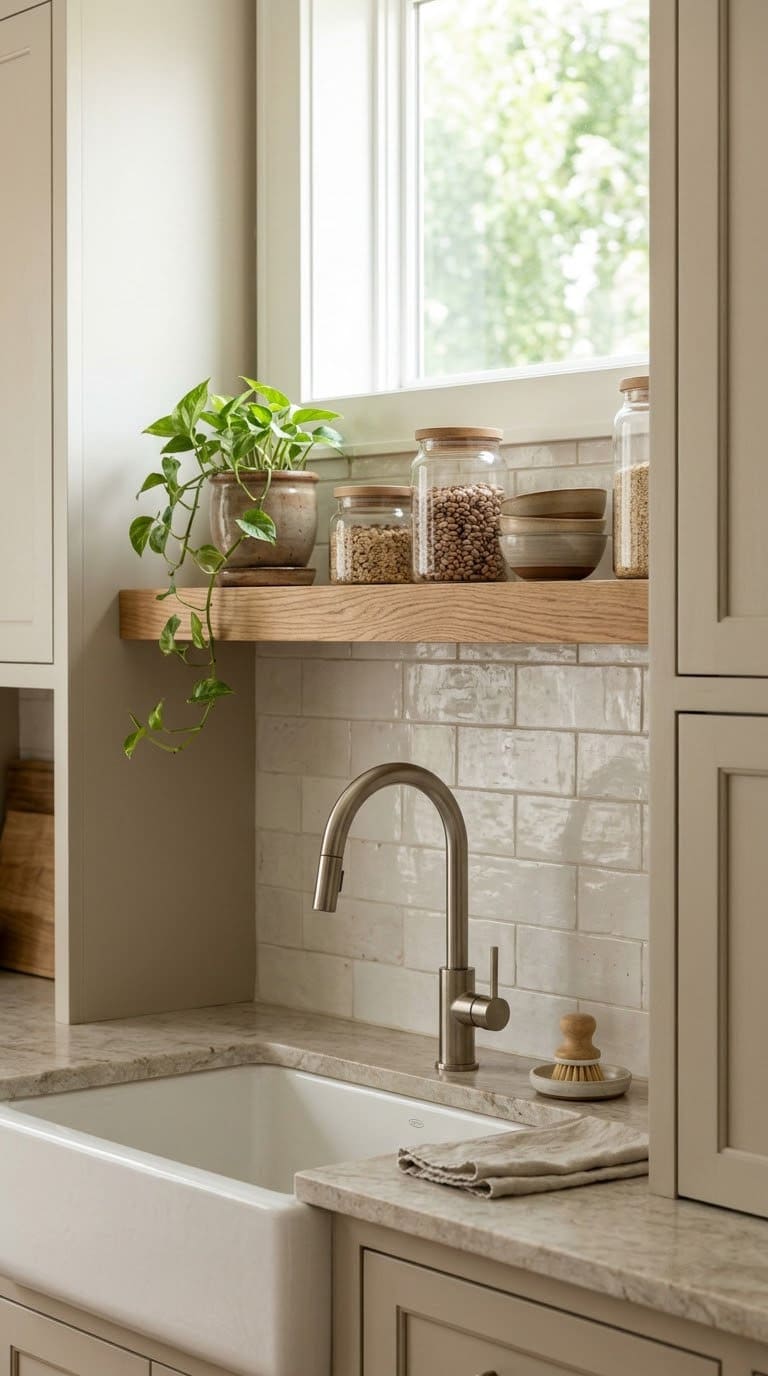
- Find the studs.
- Mark a level line.
- Mount the brackets into the studs.
- Set the shelf on.
Style tip: use it for jars and plants, and keep it clear of a clutter look.
Safety: keep it above head height, and don’t hang it over a burner.
Test: try it with no load first. Then add weight a little at a time.
13. Hook-On Baskets and Cabinet Hooks
Baskets that hook over a door add space in seconds. The old page showed a basket and stick-on hooks for pans. Check the weight rating on the pack before you hang anything.
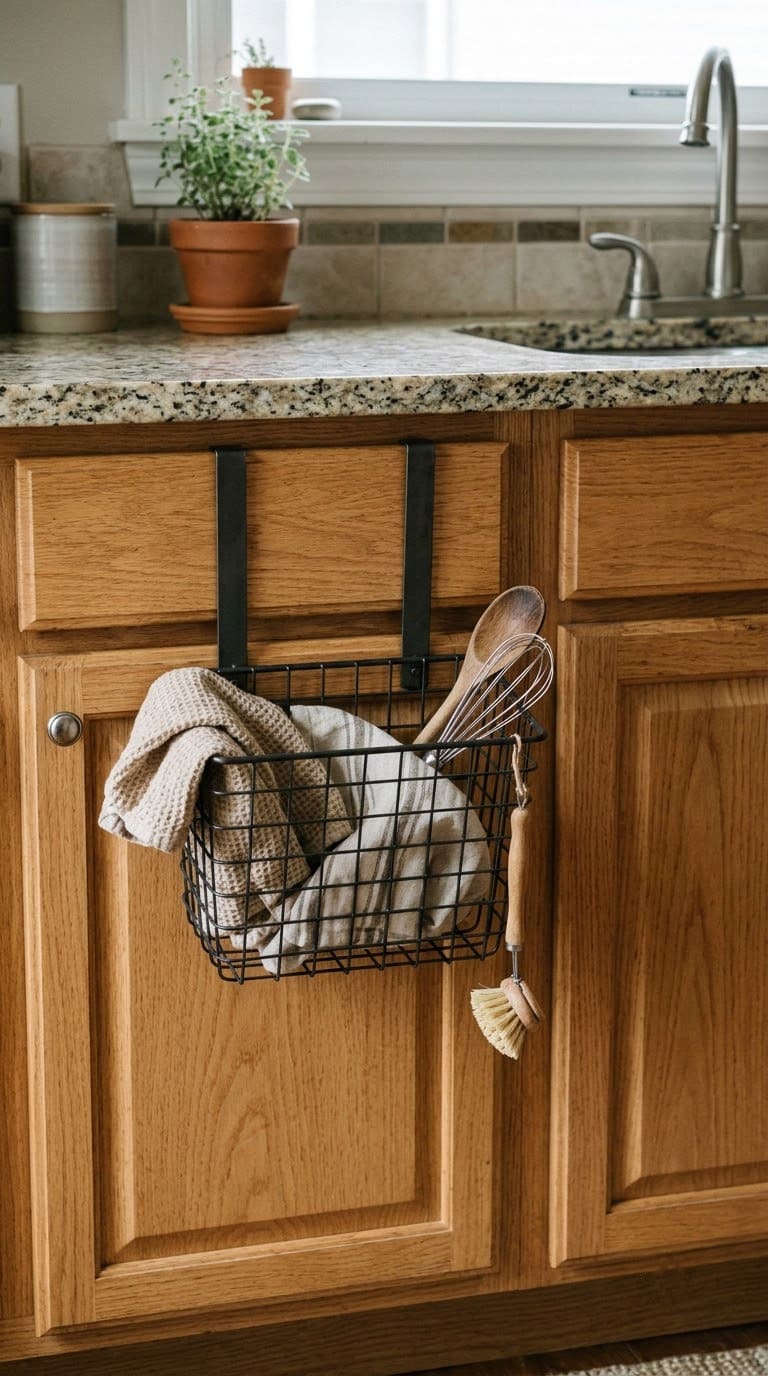
- Pick a basket that hooks over the door.
- Check that the door closes.
- Clean the door for adhesive hooks.
- Hang light items, such as towels and utensils.
Style tip: use a basket in a metal that matches your pulls.
Safety: don’t hang heavy pans from adhesive hooks. That tip is our own.
14. Fold-Down Work Surface
A fold-down shelf gives you counter space when you need it. The old page showed one that folds down on strong brackets.
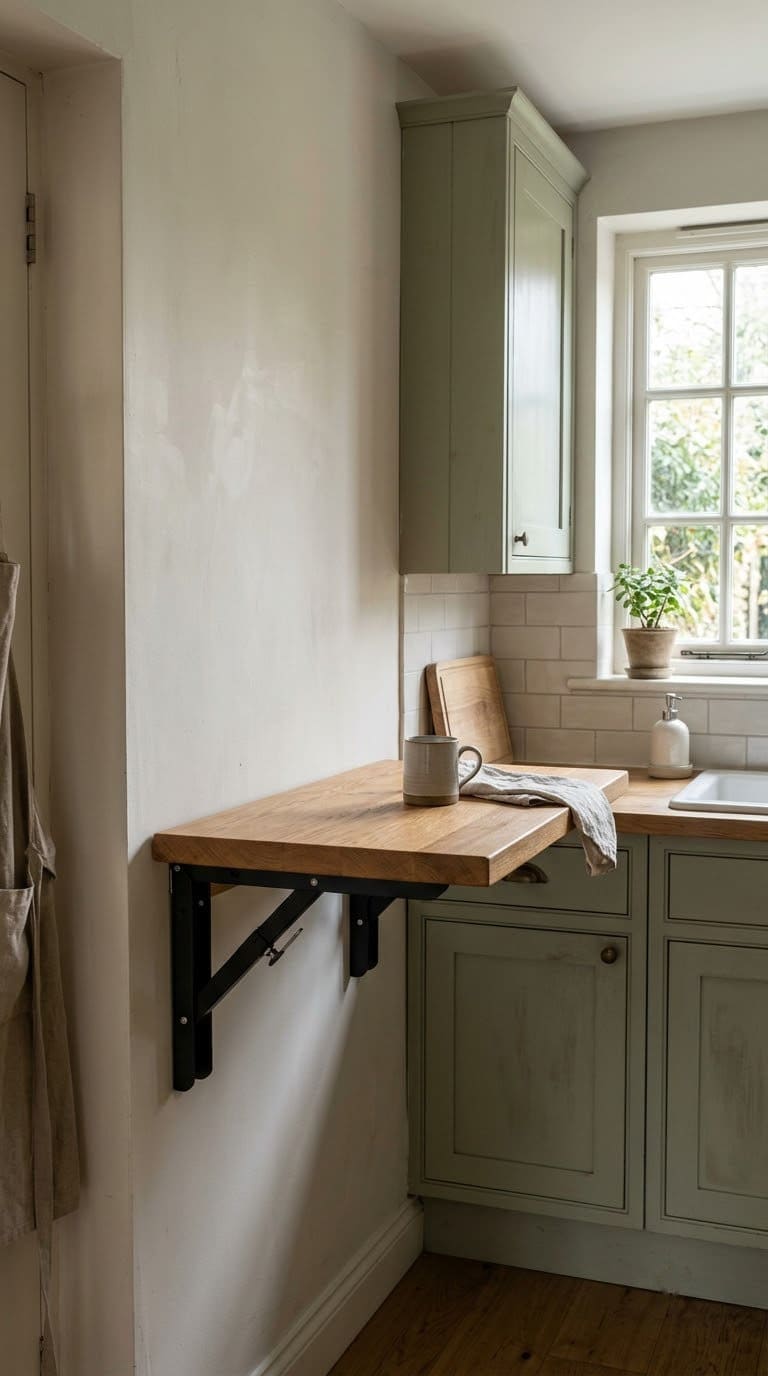
- Pick a wall with a stud or blocking.
- Mount the brackets into the studs.
- Hang the board on the brackets.
- Test it with a light load.
Style tip: pick a wood that matches your counter.
Safety: use brackets rated for the load, and fix them to studs. Keep it away from the stove.
Test: try it with no load first. Then add weight a little at a time.
What Do These Kitchen Hacks Cost?
Costs vary by store. The ranges are our own guess, except the $20 rollout from Family Handyman.
| Idea | Cost | Time |
|---|---|---|
| Basic DIY rollout | About $20 | A couple of hours |
| Spice drawer | Low | About 1 hour |
| Door rack | Low | 1 hour |
| Wine rack | Low | 1 hour |
| Pull-out pantry | Mid | A weekend |
| Fold-down surface | Mid | A day |
Common Mistakes to Avoid
- Using weak slides. The guide says canned goods need slides rated for at least 100 pounds.
- Storing spices by the stove. Texas A&M says to avoid storage above heat.
- Leaving burnable items near the stove. The USFA says to keep towels and oven mitts away from the stove top.
- Building a box too wide. The guide says to make it about 1/32 inch small.
- Blocking hinges. A rollout can be stopped by a hinge or a door.
- Skipping the test. Try each build with no load first.
Your Weekend Plan
Friday evening: Measure each gap, and pick your top two. Buy slides and plywood.
Saturday morning: Build the first box or rack.
Saturday afternoon: Mount it, and test it with no load.
Sunday: Add the spice drawer and door racks. Check that the stove top is clear.
FAQ
How do I use the gap beside my fridge?
Build a skinny pull-out pantry. The guide says these fit openings only 3 to 6 inches wide.
What slides should I use for canned goods?
The guide says to use slides rated for at least 100 pounds.
Where should I store spices?
In a dark cabinet or drawer, away from heat. Texas A&M says to skip the spot above the stove, microwave or dishwasher.
What should I keep away from the stove top?
The USFA says to keep paper towels, oven mitts, towels and curtains away.
Can I use adhesive hooks on cabinet doors?
For light items only. Check the weight rating on the pack.
Related Posts
Never miss an update — choose FarmFoodFamily as your preferred source on Google.
How it works: Tap the button below to open Google's settings page, then check the box next to FarmFoodFamily.
Tap the checkbox to turn it blue — that's how you know it's set.