
12 Terrifying Halloween Makeup Ideas That Look Scary and Stay Skin-Safe
The scariest Halloween makeup is simple shapes, deep shadows and one gruesome detail, and the part that keeps your skin happy is a patch test and a gentle cleanup.

Never miss an update — choose FarmFoodFamily as your preferred source on Google.
How it works: Tap the button below to open Google's settings page, then check the box next to FarmFoodFamily.
Tap the checkbox to turn it blue — that's how you know it's set.
The scariest Halloween makeup is simple shapes, deep shadows and one gruesome detail, and the part that keeps your skin happy is a patch test and a gentle cleanup.
Products We Recommend
This post contains affiliate links. We may earn a commission on qualifying purchases at no extra cost to you.

Snazaroo Face Paint Palette Kit, Halloween
A water-washable palette for the zombie, skull, doll and clown bases. Patch test it first, and keep it away from your eyes unless the label allows it.
Shop Now
MEICOLY Scar Wax Kit with Spatula, 1.76 oz
Modeling wax and a spatula for the gash and wound looks. Blend the edges into your skin tone, and test a small dab on your arm first.
Shop Now
e.l.f. SKIN Holy Hydration! Makeup Melting Cleansing Balm, 2 oz
An oil-style balm for melting paint and waterproof products before you wash. Check the ingredient list for fragrance if your skin is sensitive.
Shop NowGreat Halloween makeup isn’t about having a pro kit. It’s about a few smart choices. Strong shadows, one gross detail and clean edges will scare people faster than ten layers of product.
This guide covers 12 looks, from a classic zombie to a cracked porcelain doll. Each one lists what you need, how to build it and the mistake that ruins it. We also cover the part most lists skip, which is keeping your skin safe before, during and after.
Short on time? Start with the half-face skull. It looks dramatic and forgives wobbly lines.
For group costumes, see our Halloween costumes for families.
Quick Answer
The scariest looks use three things: dark eye sockets, a hollow cheek and one gruesome detail like a wound, a stitch line or a crack. Zombie, half-face skull and cracked doll are the easiest big payoffs.
Only use products made for skin. The FDA’s novelty makeup page says face paint colors must be approved for cosmetic use. It also says to skip anything labeled not for use near the eyes.
Patch test every product on your inner arm two or three days early. Never sleep in your makeup.


But keep it simple.
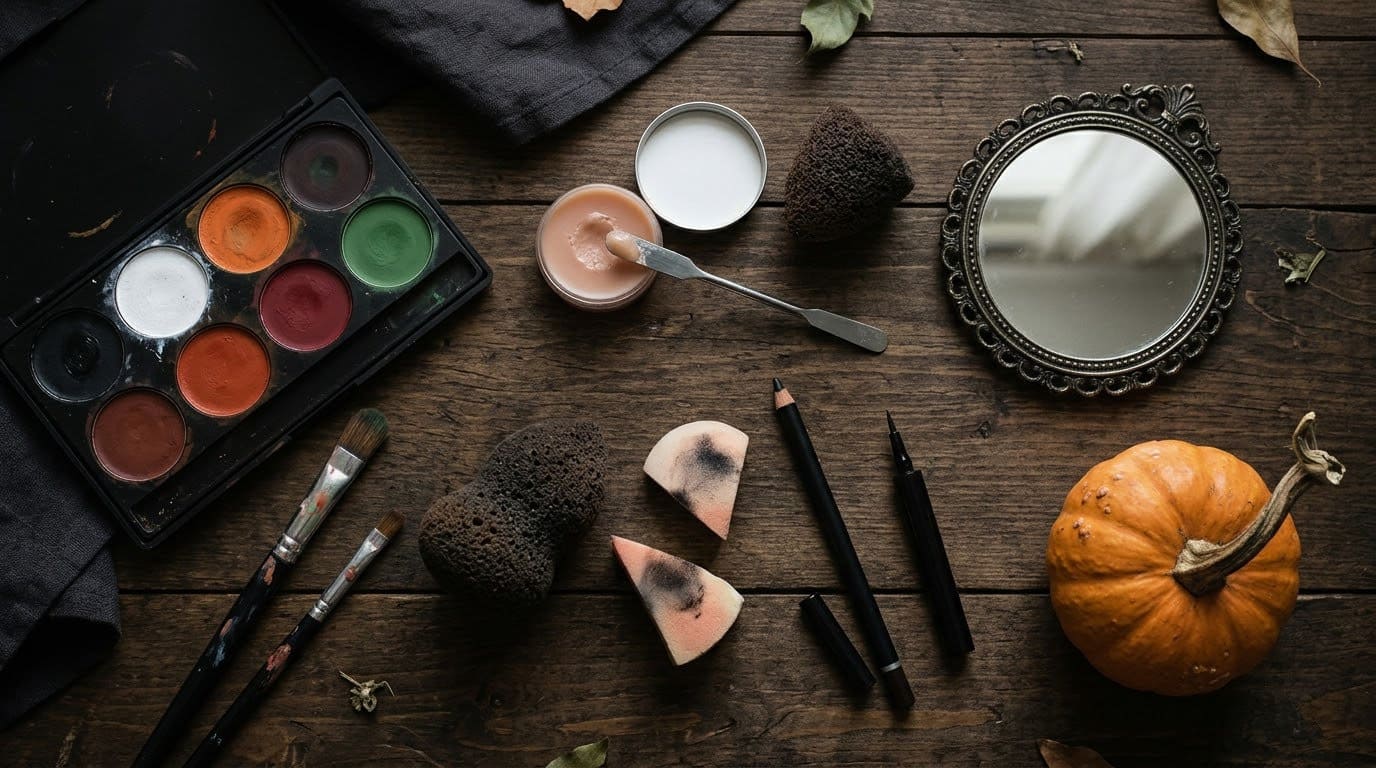
A sponge, a black pencil, a red paint and a bit of scar wax can build most looks in this guide. Practice once before the party, and you’ll look far scarier on the night. Even a ten-minute test run shows you what to fix.
What Makes Halloween Makeup Look Scary?
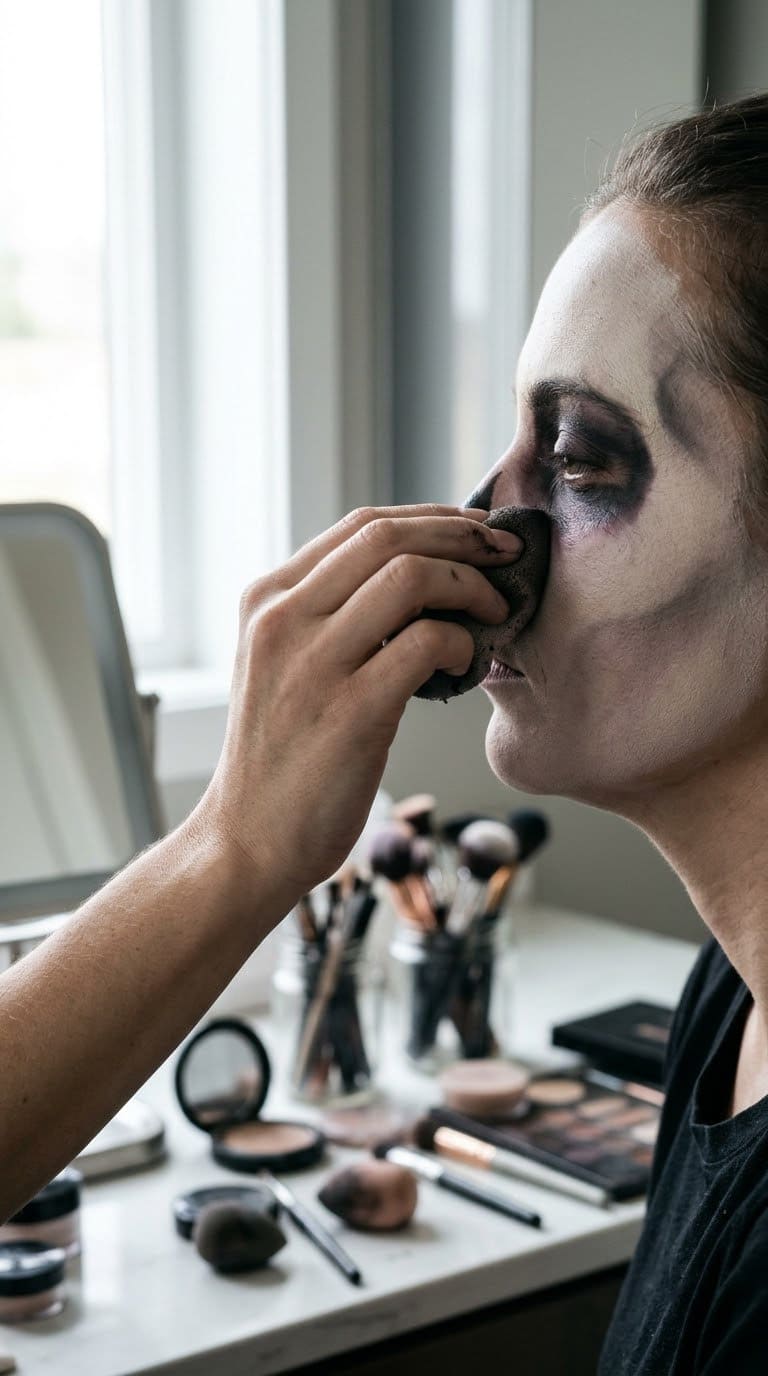
Scary faces break the normal face in a few predictable ways. Learn these and you can invent your own look.
- Hollow eyes. Dark circles around the sockets make a face look drained.
- Sunken cheeks. Shade under the cheekbone and down the jaw.
- Broken surface. Cracks, cuts, stitches and peeling skin look wrong in a way people notice at once.
- Off color. Gray, green and blue-white skin reads as unwell. Pure white reads as a clown.
- One focal point. Pick one gross detail and let the rest support it.
Our take: restraint is scarier than coverage. A pale face with black eyes and one gash beats a full face of random red.
How Do You Keep Halloween Makeup Safe for Your Skin?
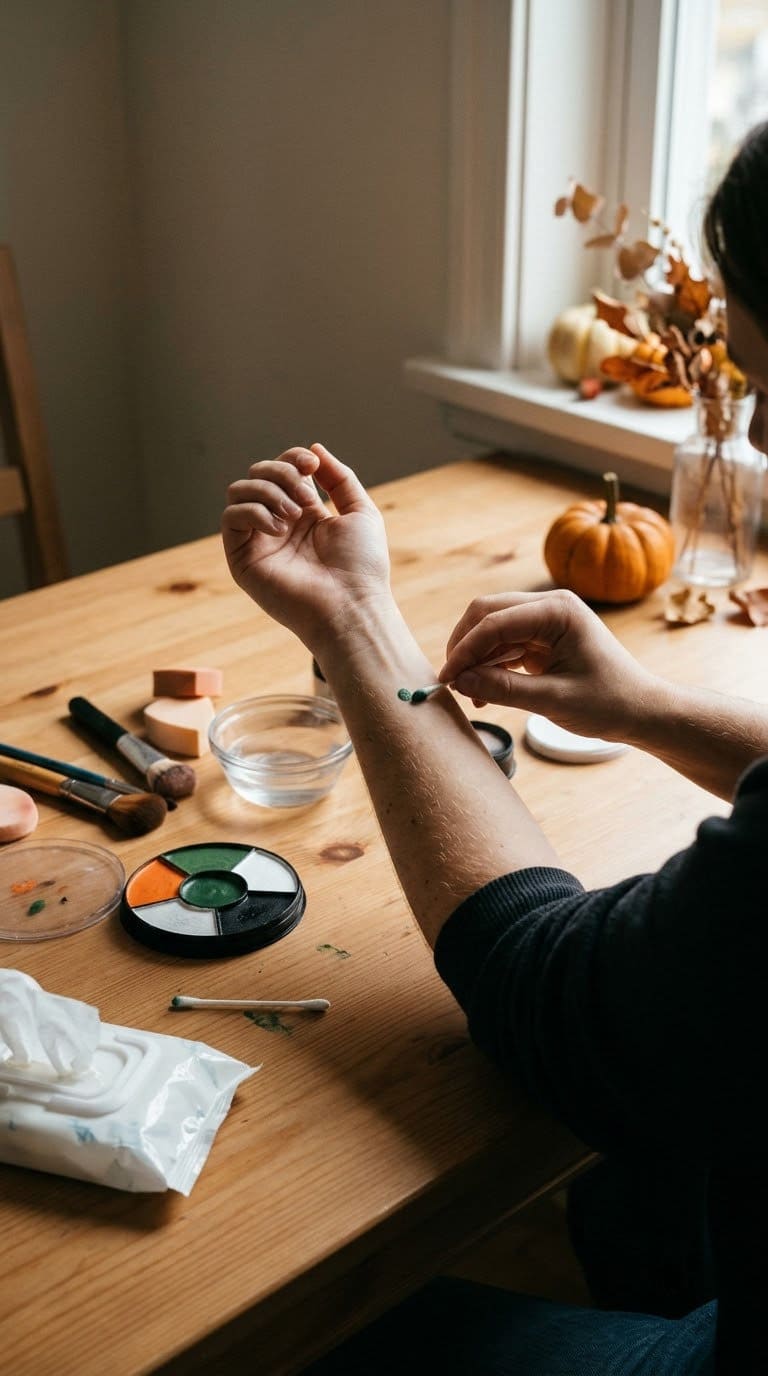
This is the part that keeps a fun night from turning into a rash.
The FDA’s guidance says color additives in face paint must be approved for cosmetic use. You can check the colors on the ingredient list against the agency’s color additive summary. If a color isn’t on it, don’t use the product.
The same page warns that some approved colors still aren’t approved near the eyes. It also says to throw away any face paint that smells very bad, since it may be contaminated. And it says not to decorate your face with things never meant for skin.
For testing, Premier Dermatology Partners suggests a quarter-sized dab on the inner forearm or behind the ear. Check it at 24 hours and again at 48 to 72 hours, because reactions can show up late. Test each product on its own, two to three days before the event.
A water-washable palette for the zombie, skull, doll and clown bases. Patch test it first, and keep it away from your eyes unless the label allows it.
Shop NowThis post contains affiliate links. We may earn a commission on qualifying purchases at no extra cost to you.
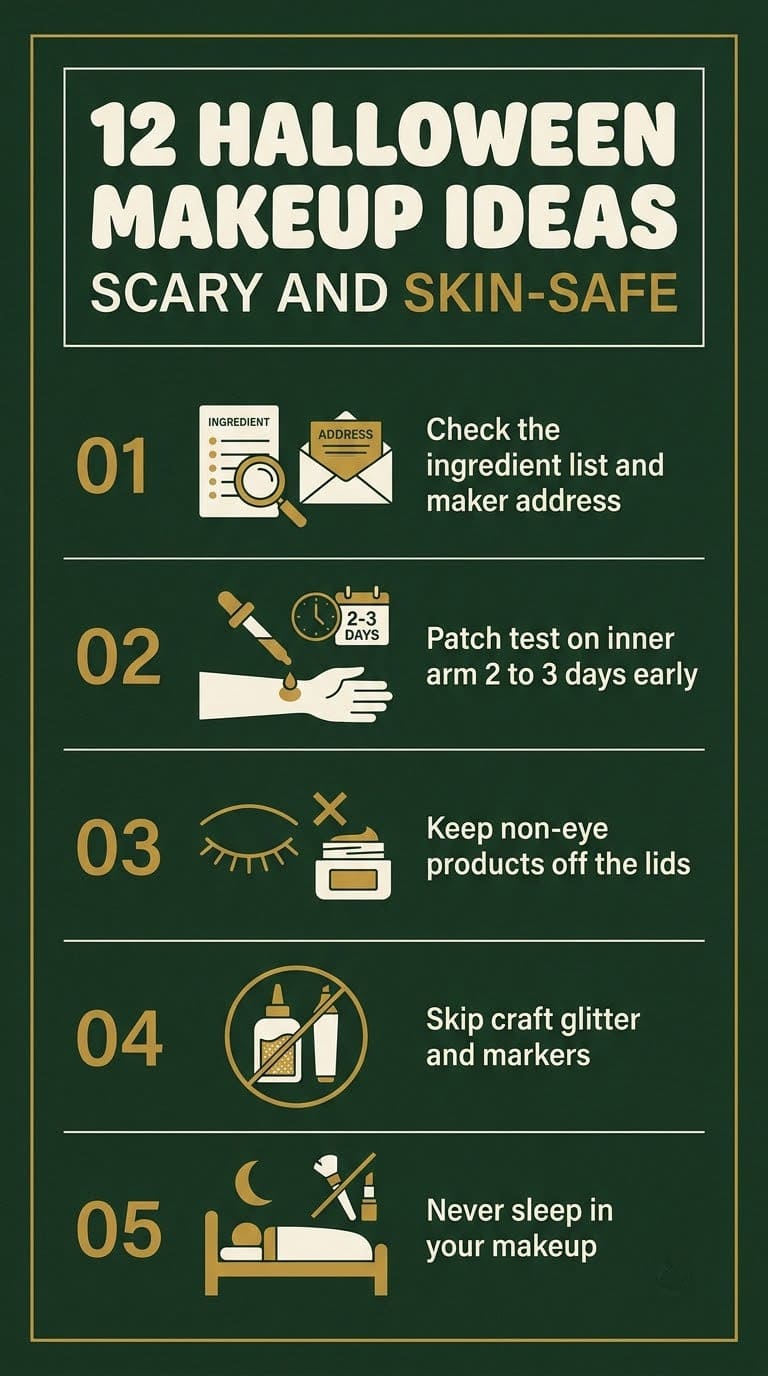
Use this checklist.
| Step | What to do | Why |
|---|---|---|
| Read the label | Look for a full ingredient list and a maker’s address | No list means skip it |
| Check the eye rule | Keep “not for eyes” products away from lids | Some colors aren’t approved there |
| Patch test | Inner forearm, 2 to 3 days early | Reactions can be delayed |
| Skip craft supplies | No craft glitter, markers or acrylic paint | They aren’t made for skin |
| Smell it | Toss anything with a bad odor | It may be contaminated |
Our take: buy a small kit from a known maker before you buy the fancy one. A product you can trust beats a product that looks cool in the photo.
12 Scary Halloween Makeup Ideas
1. Classic Rotting Zombie
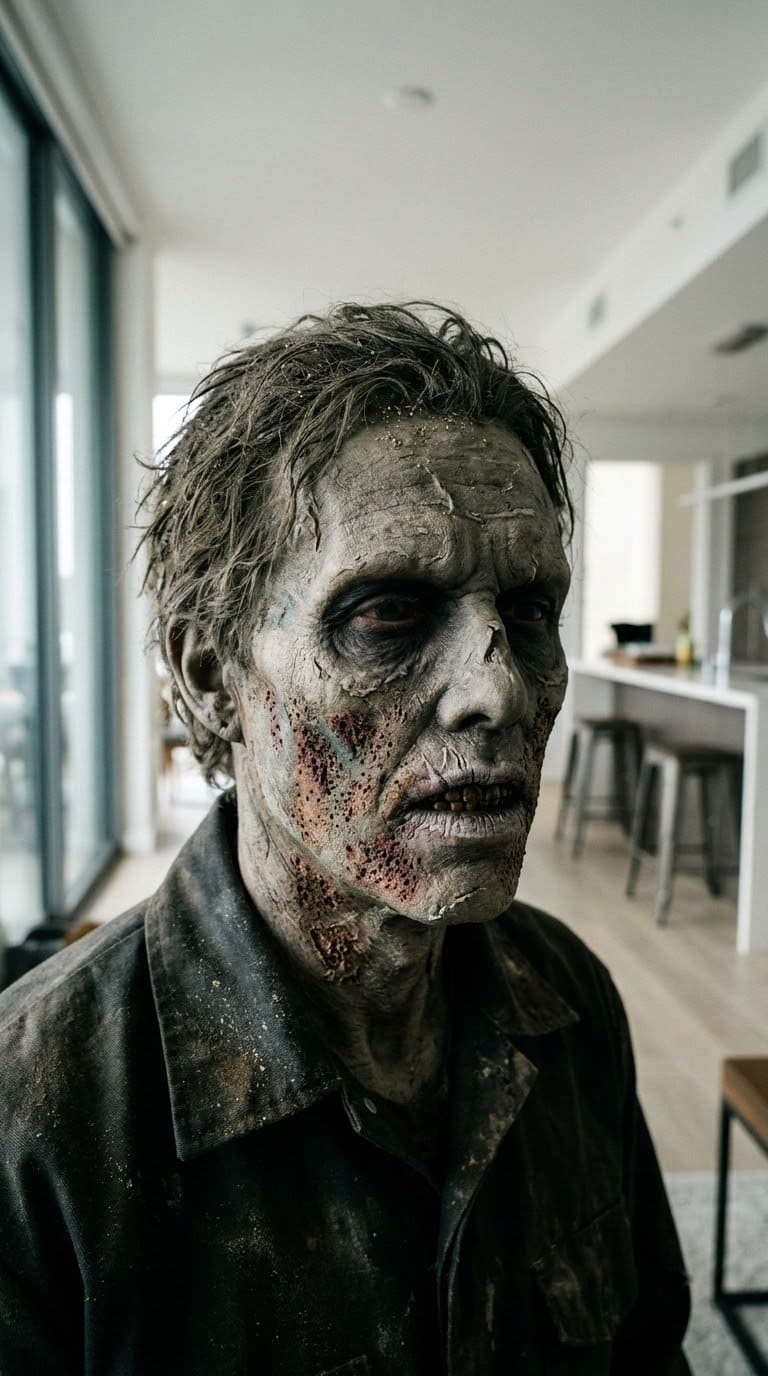
Zombie makeup is forgiving, which is why it works for beginners. The goal is dead skin, not a green mask.
- You need: Gray or pale green cream or water-activated paint, black and brown shadow, dark red paint, a stipple sponge.
- Skill: Easy.
- How: Sponge a thin gray-green layer over the face. Shade the eye sockets, under the cheekbones and the temples in black and brown. Dab dark red in uneven patches near the mouth and one cheek. Dull the lips with a bit of gray.
- Common mistake: Using one flat color. Blend two or three tones so it looks bruised, not painted.
Our take: stop at a thin layer. Thick paint cracks when you talk, and cracking is hard to hide.
2. Deep Gash With Scar Wax
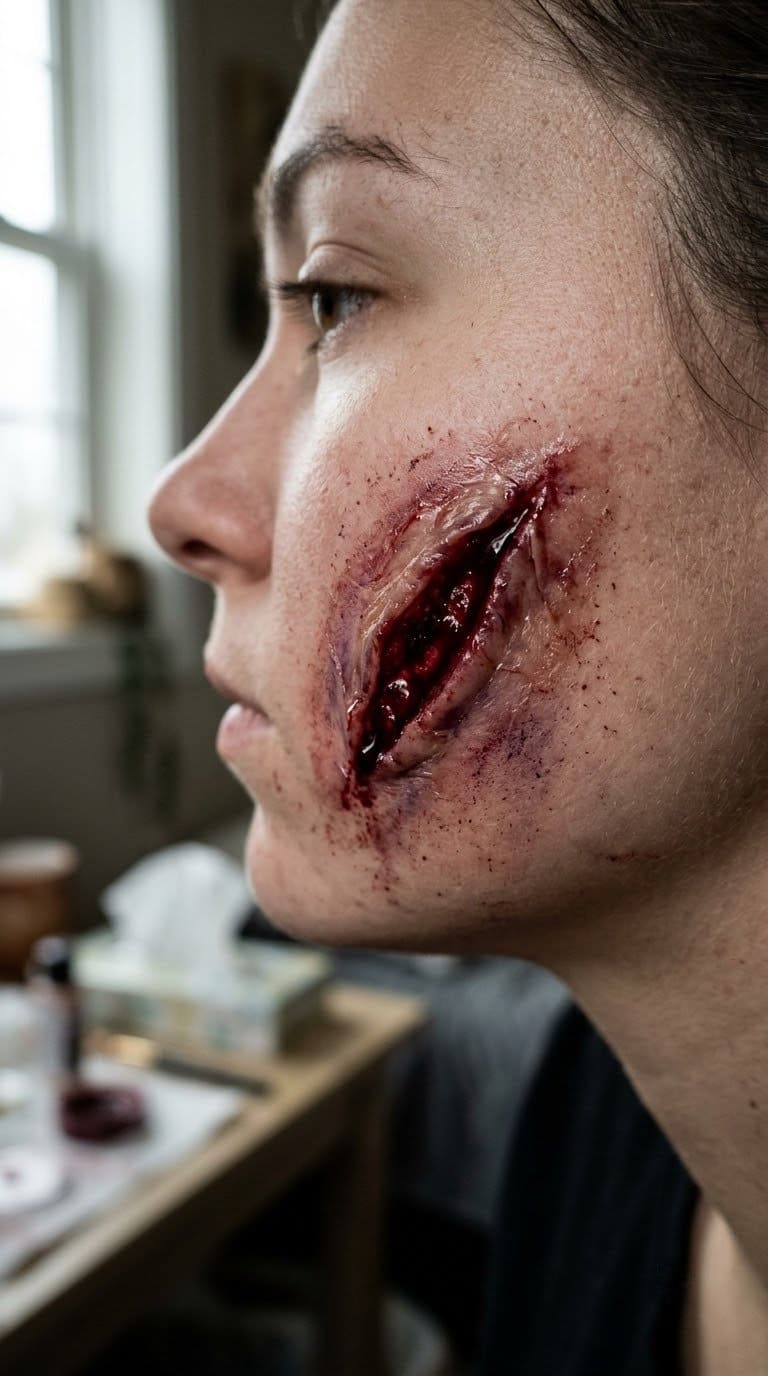
A raised wound is the fastest way to make people flinch. Scar wax is a skin-safe putty sold for exactly this.
- You need: Scar wax, a spatula or spoon handle, skin-tone cream makeup to seal the edges, dark red and black paint, fake blood.
- Skill: Medium.
- How: Warm a pea-sized piece in your fingers. Press it onto clean, dry skin and feather the edges until they vanish. Drag the tool through the middle to open a slit. Dab the edges with skin tone, then fill the slit with dark red and a touch of black. Add fake blood last.
- Common mistake: Skipping the blended edge. A visible wax outline looks like a sticker.
Our take: test the wax on your arm first. The dermatology clinic says adhesives and prosthetic products are common triggers, so a patch test matters most here.
3. Half-Face Skull
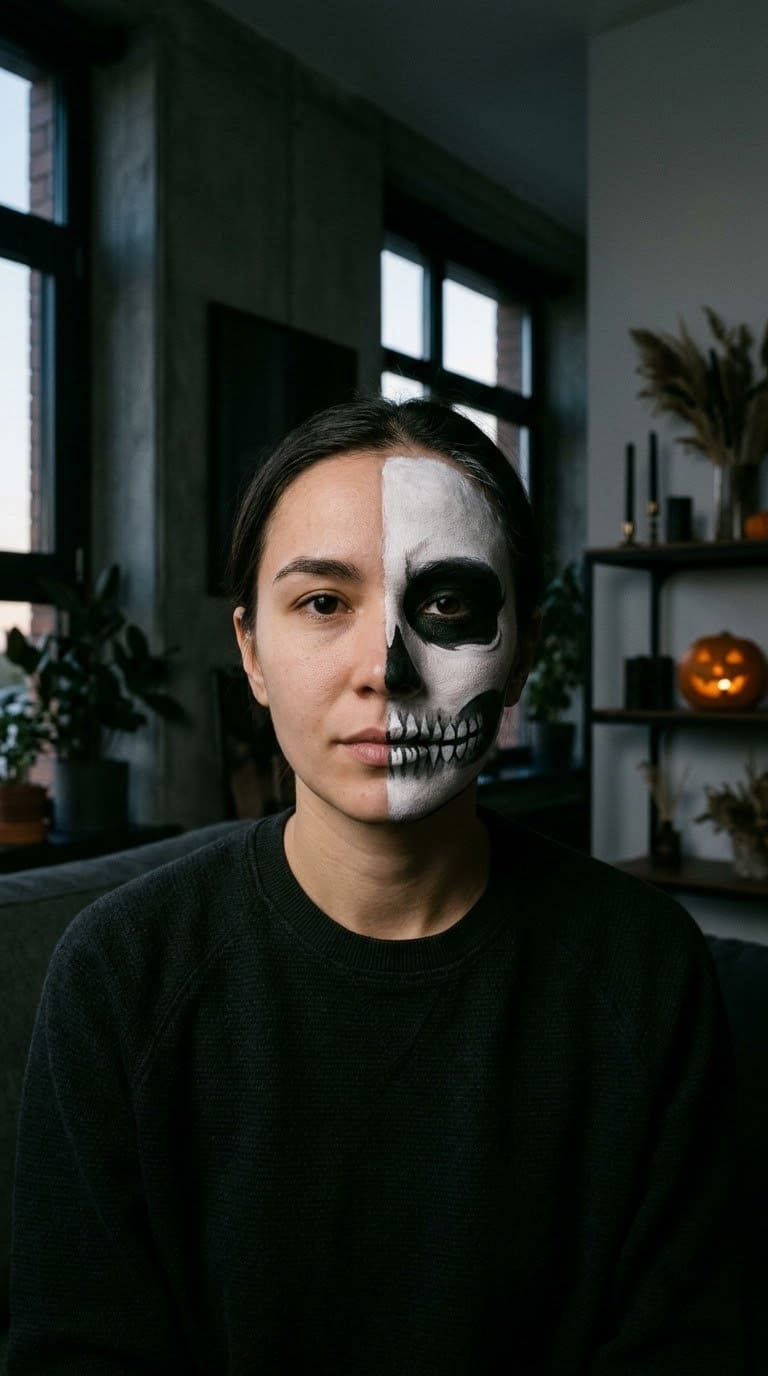
This is the best look for people who say they can’t do makeup. The line down the middle hides your mistakes.
- You need: White face paint, black face paint or gel eyeliner, a fine brush, a sponge.
- Skill: Easy to Medium.
- How: Paint one half white. Fill the eye socket and a nose triangle in black and soften the edge with a sponge. Draw teeth along the jaw and mouth with short black lines. Shade the cheekbone with gray.
- Common mistake: Drawing teeth as perfect squares. Uneven teeth look more natural than neat ones.
Our take: line up the nose and the jaw first, then add detail. Get the bones right and the rest is easy.



4. Sugar Skull (Calavera)
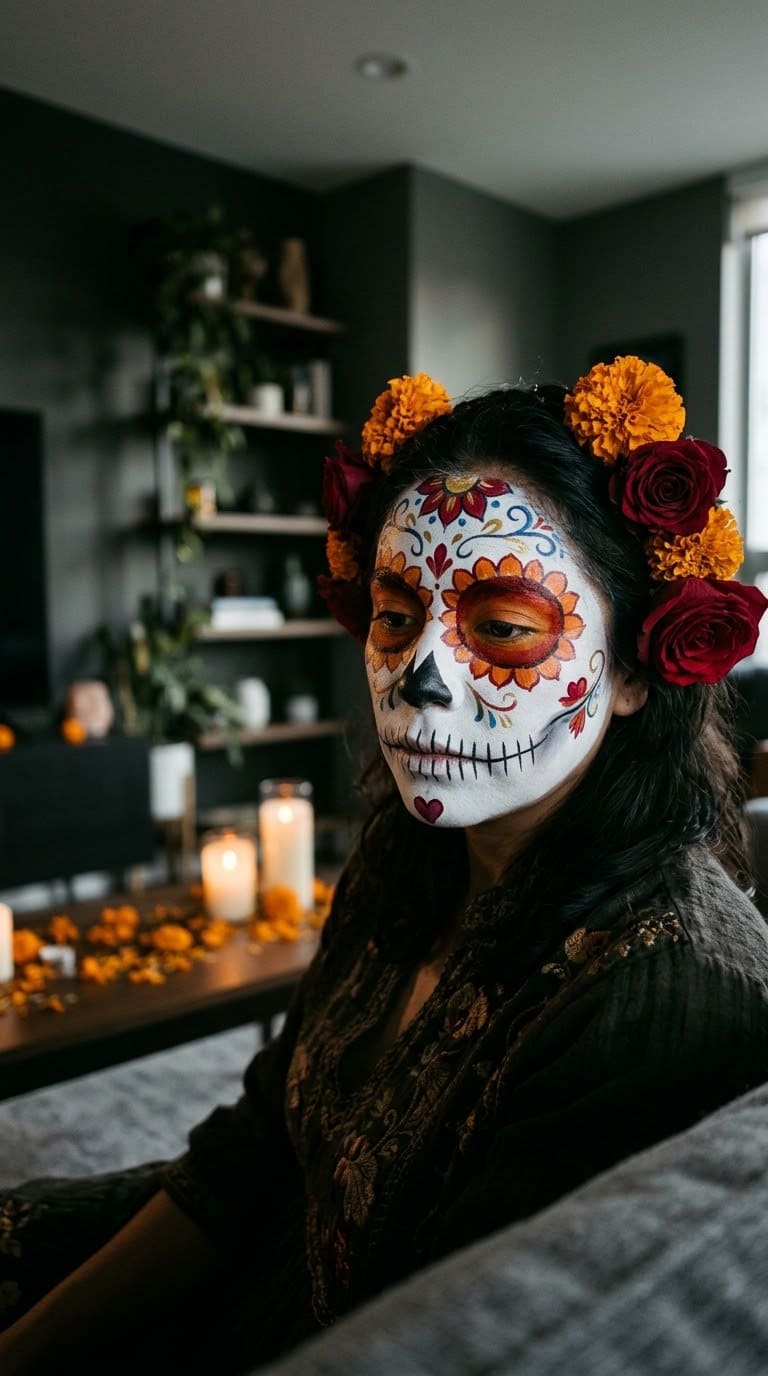
A sugar skull is a colorful, beautiful look with a deep history. It comes from Día de Muertos, a Mexican tradition that honors loved ones who have died. It’s a celebration, not a horror costume, so we’d treat it with care.
- You need: White base, bright face paints, black liner, a thin brush.
- Skill: Medium to Hard.
- How: Paint a white base. Circle the eyes with flowers or rings in black and color. Add a heart or flower on the chin and draw lines over the lips for teeth.
- Common mistake: Treating it as a generic skeleton. The flowers and color are the point.
Our take: read about the tradition first, and wear it with respect rather than as a joke.
5. Cracked Porcelain Doll
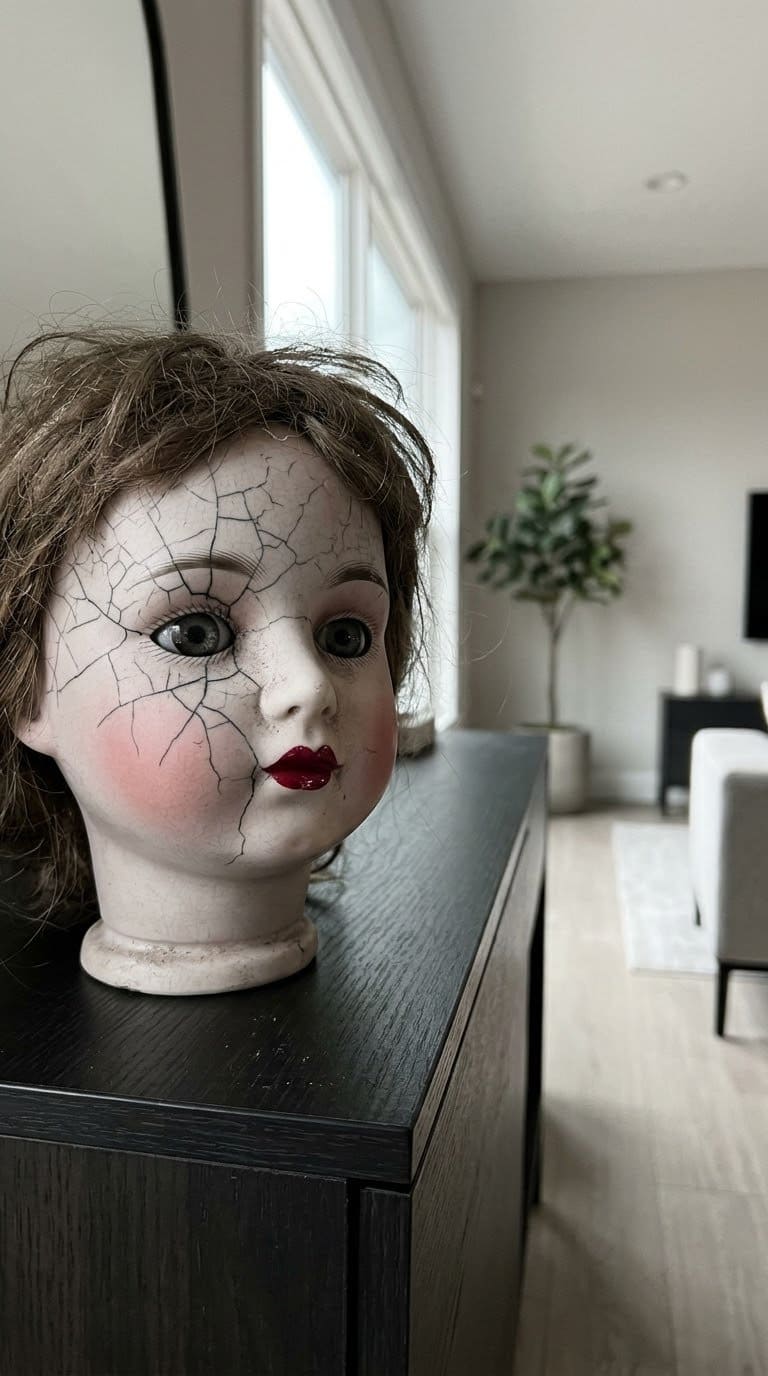
A doll is creepy because it’s so neat. Perfect cheeks plus broken skin is a great contrast.
- You need: Pale foundation, pink blush, a fine black pencil or liner, a lip color, a small brush.
- Skill: Medium.
- How: Paint the face pale and even. Add two round pink cheeks and a small dark red mouth. Draw thin cracks outward from one eye, one corner of the mouth and the forehead. Shade inside each crack with gray.
- Common mistake: Drawing cracks as straight lines. Broken porcelain forks and wobbles.
Our take: add a single dead-eyed glassy lens or a dark lower lash line. Skip costume contact lenses unless you have a prescription from an eye doctor.
6. Stitched Face
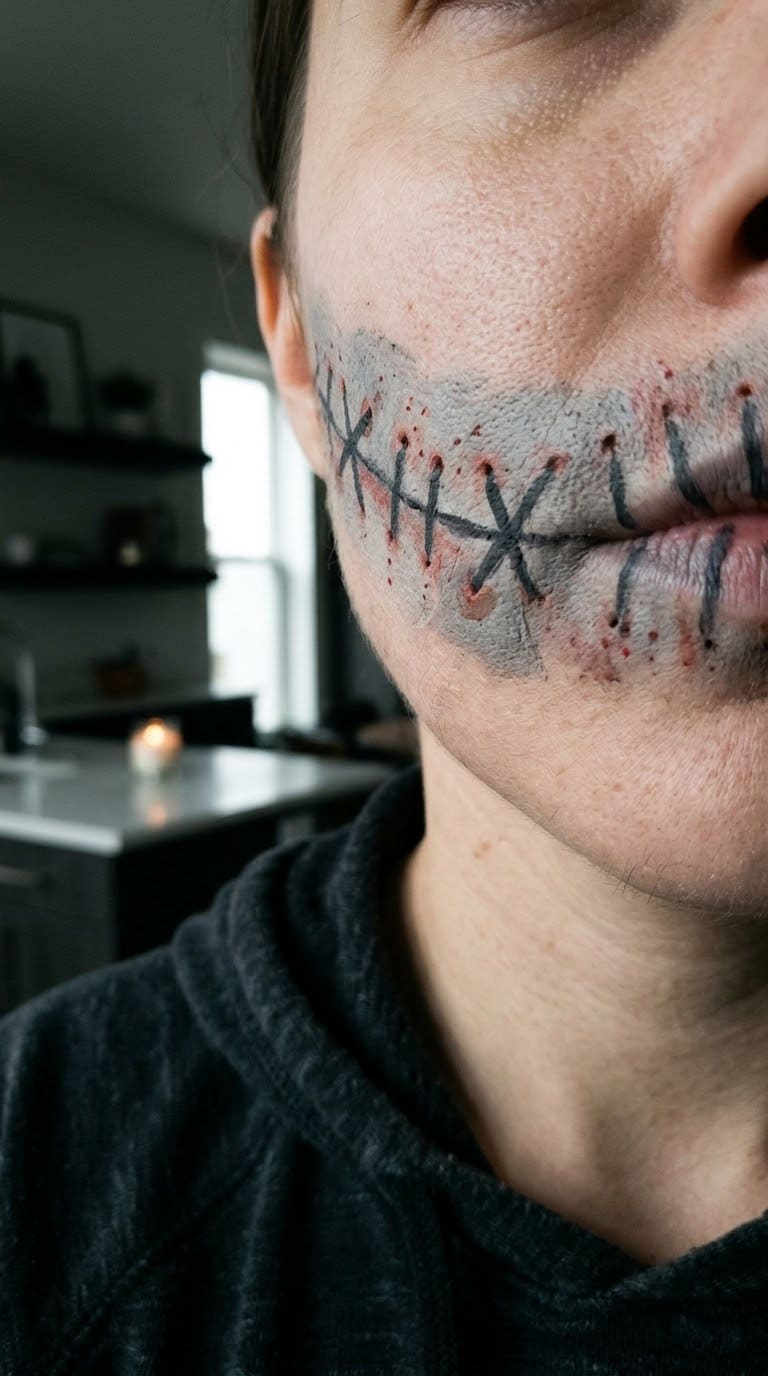
Drawn stitches look horrible and take about as long as a normal eye look.
- You need: Black eyeliner pencil, red shadow, a gray base, a small brush.
- Skill: Easy.
- How: Draw a long curved line across a cheek or the mouth. Add short crossing marks every half inch. Press red shadow along each side so the skin looks angry. Add a tiny shadow under each stitch.
- Common mistake: Making stitches evenly spaced. Slight differences look hand-sewn.
Our take: pair it with the zombie base and you’re done in a few minutes.
7. Vampire With Veins
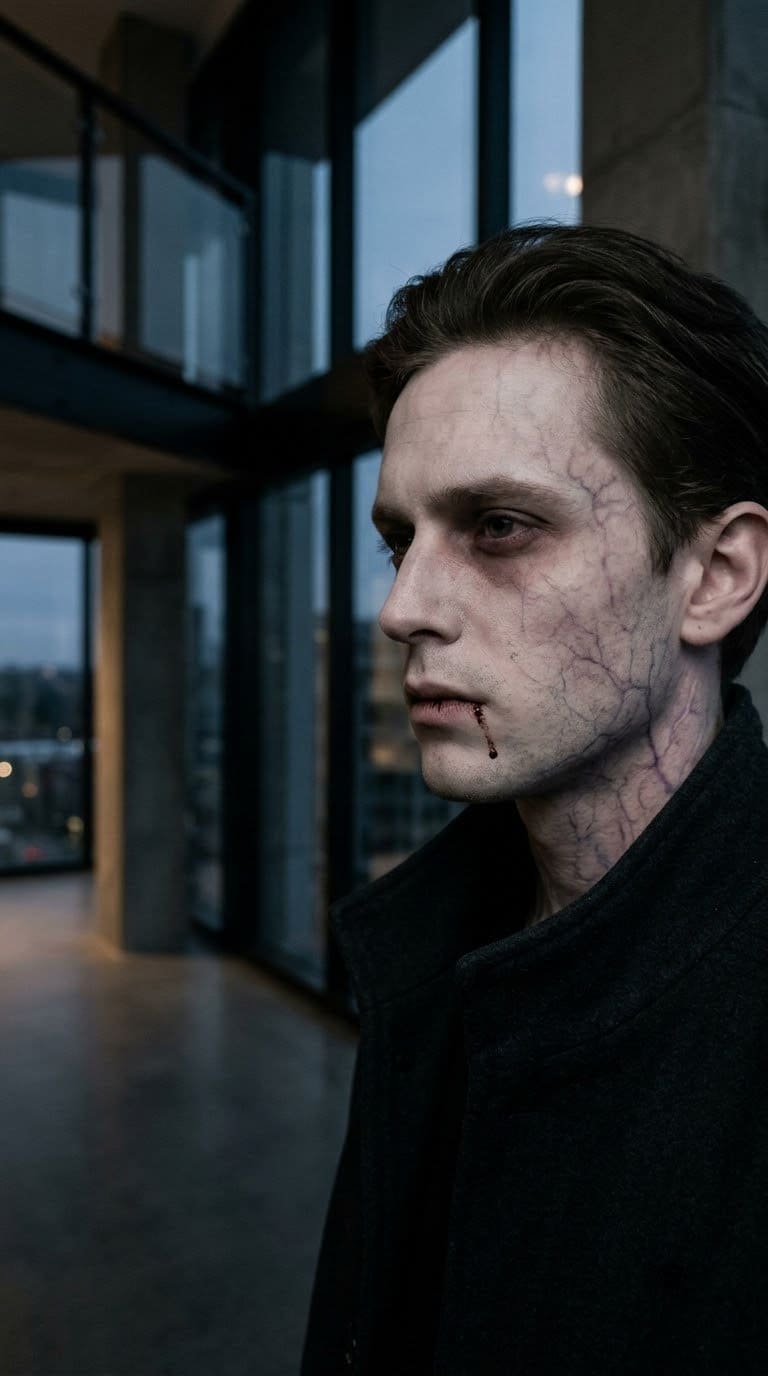
A modern vampire is pale, tired and slightly blue.
- You need: Pale cream base, blue-purple shadow, a black pencil, dark red paint, fake blood, fangs.
- Skill: Easy to Medium.
- How: Paint a pale face with cool undertones. Draw branching veins on the temple, cheek and neck with a fine brush and blend lightly. Darken the eye sockets with purple. Add one thin trail of blood from the corner of the mouth.
- Common mistake: Too much blood. One drip is scarier than a face full.
Our take: skip the tube of fake blood on lips unless the label says it’s safe for mouths. Check before you use it.
8. Spiderweb Eye
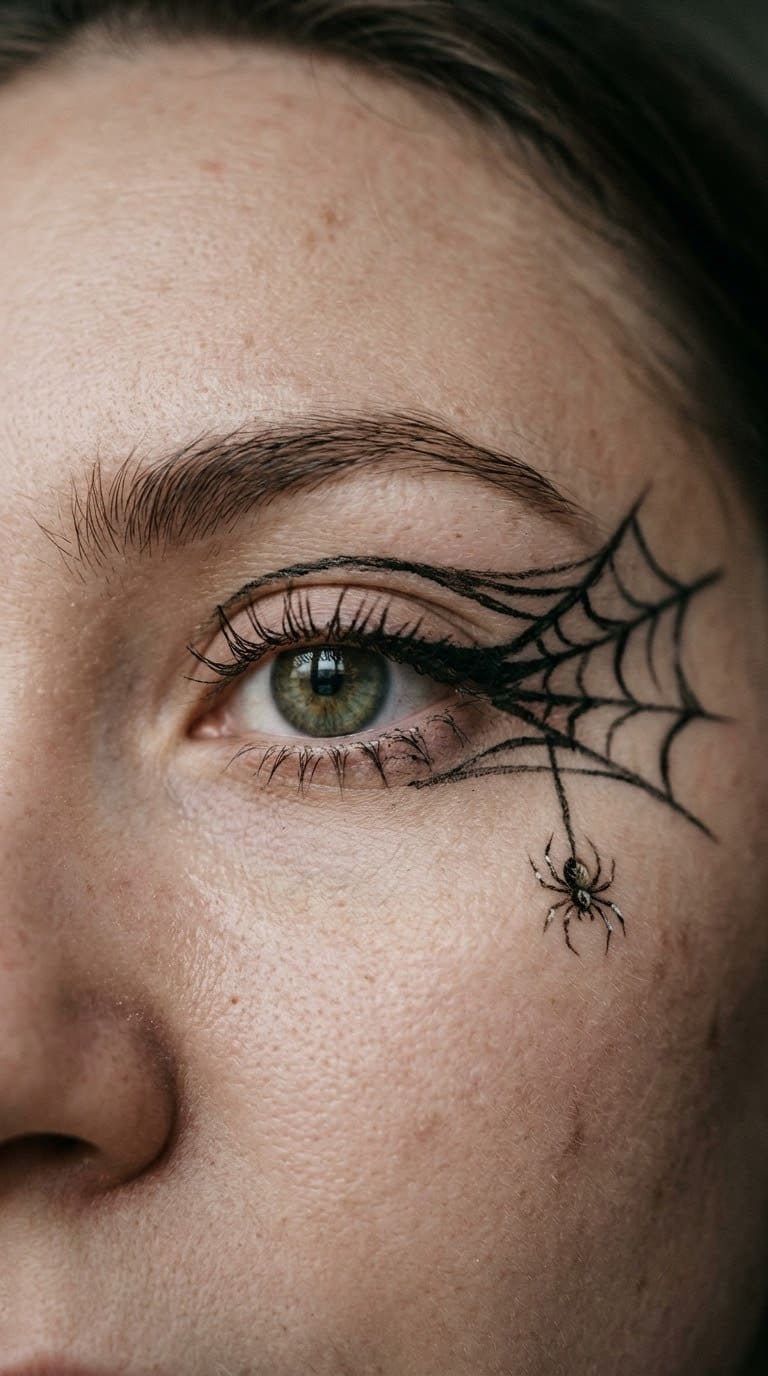
This is a good low-commitment look. It works with a normal outfit and takes very little product.
- You need: Black liquid or gel liner designed for eyes, a fine brush.
- Skill: Easy.
- How: Draw lines outward from the eye like wheel spokes, then connect them with curved strands. Add a small black spider at the outer corner.
- Common mistake: Using craft paint or markers near the eye. Use only eye-safe liner.
Our take: this is the one look where eye-safe products matter most. Read the label twice.
9. Peeling, Burned Skin
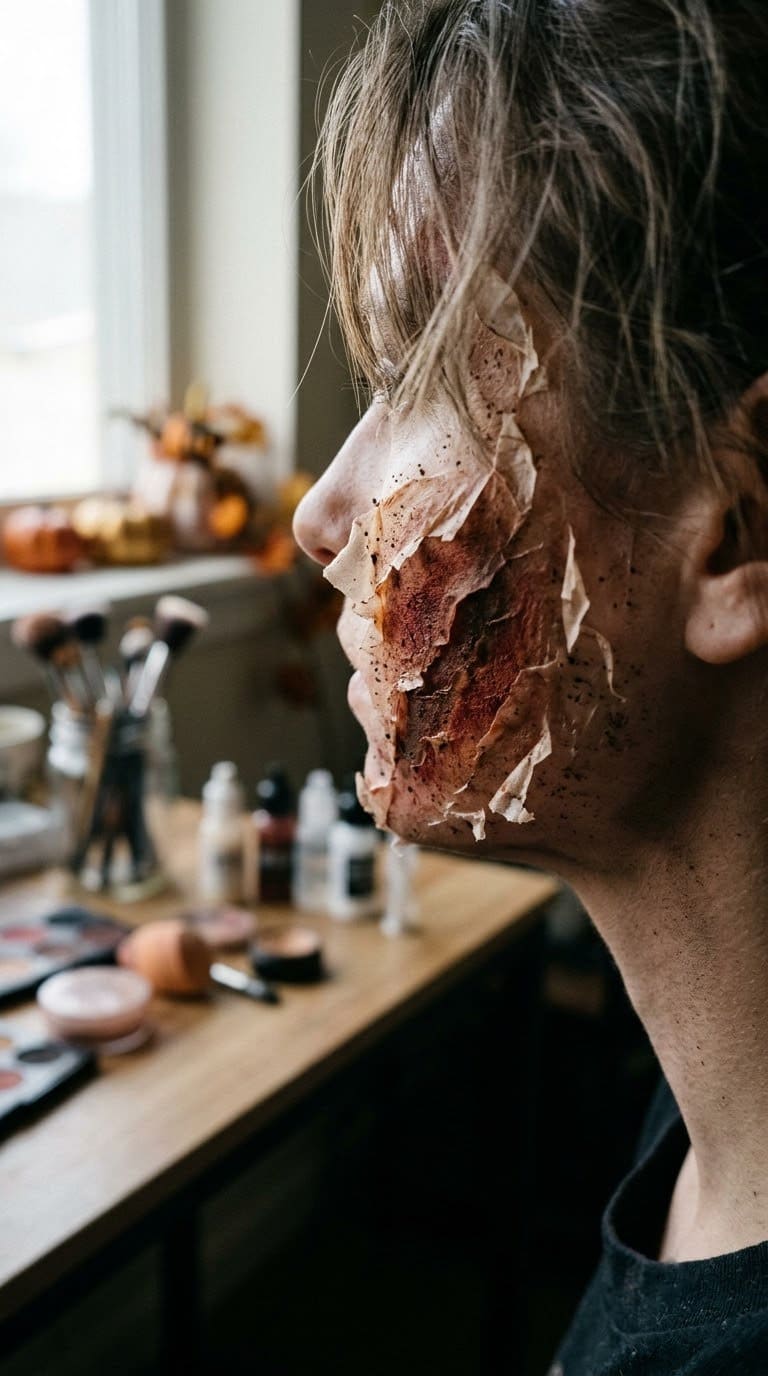
This one looks gruesome and uses liquid latex, so it needs care.
- You need: Latex-free liquid or a latex alternative, tissue, red and brown paint, a brush.
- Skill: Hard.
- How: Brush a thin layer over a small patch. Press in torn tissue and brush another layer on top. Let it dry, then lift and tear a few edges. Color under and around the torn skin with red and brown.
- Common mistake: Applying it near the eyes, lips or broken skin, or using latex when you may be allergic.
Our take: choose a latex-free product if you have any doubt. The clinic notes liquid latex can cause contact dermatitis and, rarely, a serious latex allergy. Keep the patch small, like a cheek or forehead.
10. Creepy Clown
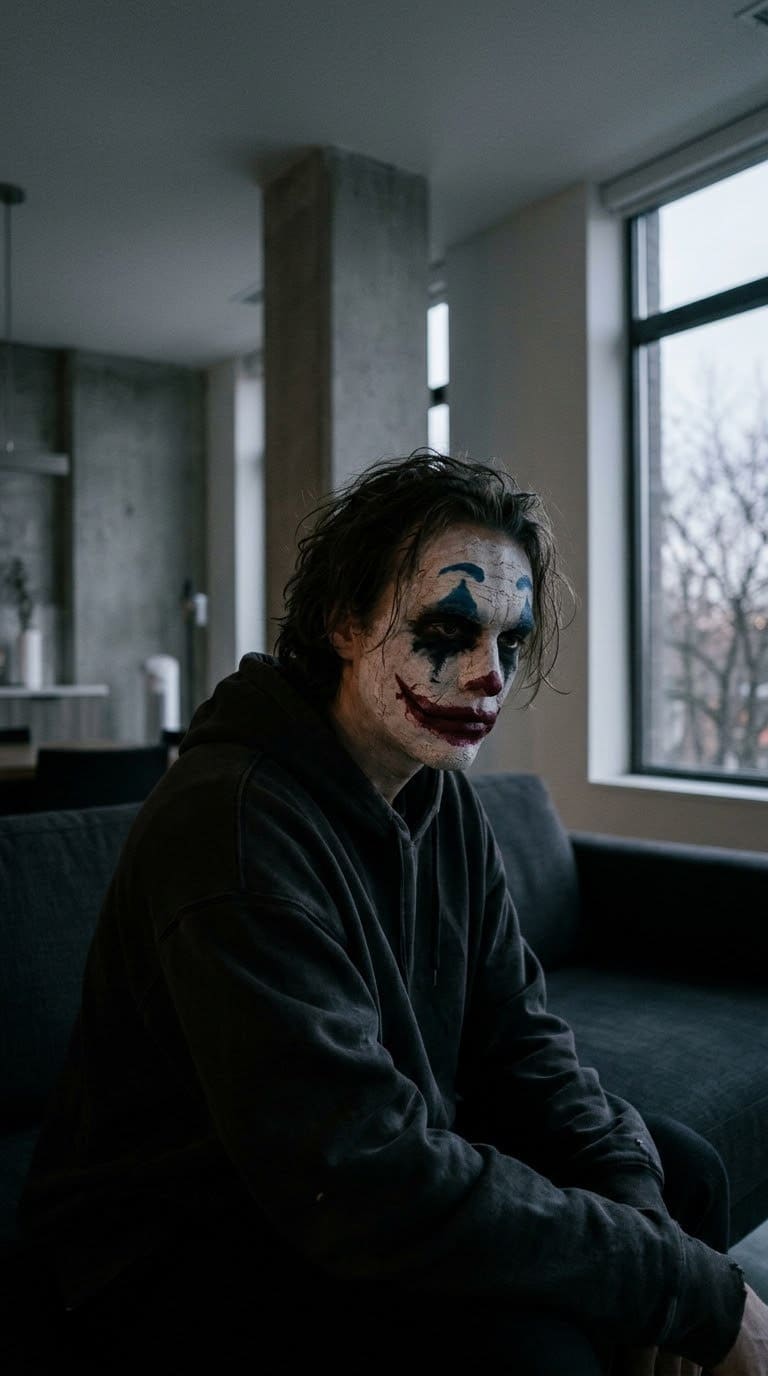
A clown is scariest when the happy parts are ruined.
- You need: White base, red face paint, black shadow, blue or green eyebrows.
- Skill: Medium.
- How: Paint the face white, then smudge black around the eyes as if the makeup had been cried off. Stretch a red smile past the lips. Crack the white with gray lines. Leave the paint uneven on purpose.
- Common mistake: Making it too neat. A messy clown reads as unsettling, a tidy one reads as cute.
Our take: skip the red fake teeth and go for a closed grin. It’s more unsettling and easier to talk in.
11. Dark Fairy With Moth Wings
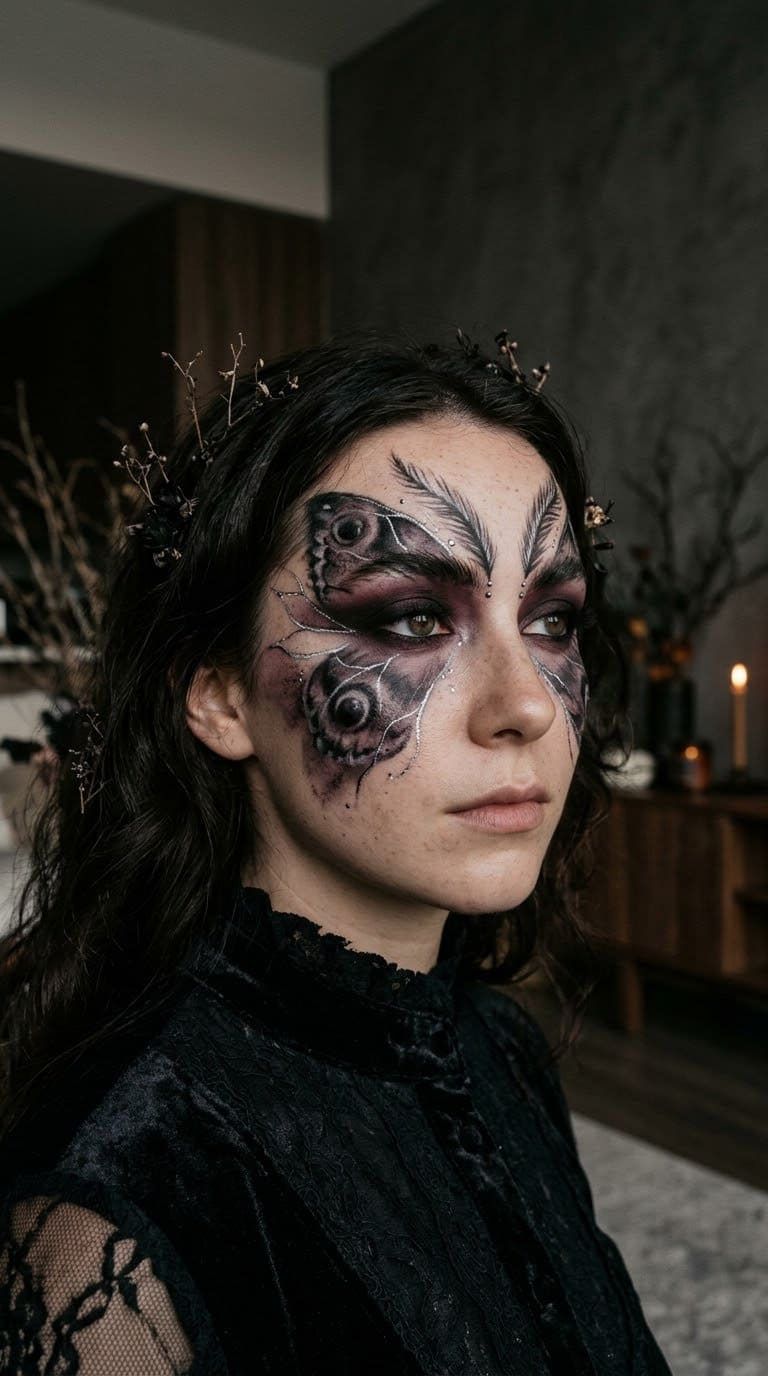
Not every scary look is gross. A dark fairy is pretty and slightly wrong.
- You need: Plum, black and silver eyeshadow, gel liner, a small brush, safe cosmetic glitter.
- Skill: Medium.
- How: Blend plum into the sockets and sweep black outward like wings. Draw thin silver veins across the cheekbones. Add a pale, hollow mouth. Use only cosmetic glitter, never craft glitter.
- Common mistake: Using craft glitter. The clinic notes it can scratch skin and eyes.
Our take: this is the look for people who want dark but not gory.
12. Half Robot

A mechanical half face is a fun, clean option that suits kids and adults.
- You need: Silver face paint, black liner, a ruler or card for straight lines, a red eyeshadow.
- Skill: Easy to Medium.
- How: Paint one half silver. Use a card edge to draw straight panel lines. Add rivets with a dot of black and white. Shade the eye red.
- Common mistake: Skipping shading. Add dark gray at the edges of each panel so it looks dimensional.
Our take: this is the best pick if you want scary and quick.
How Do You Get the Right Colors?
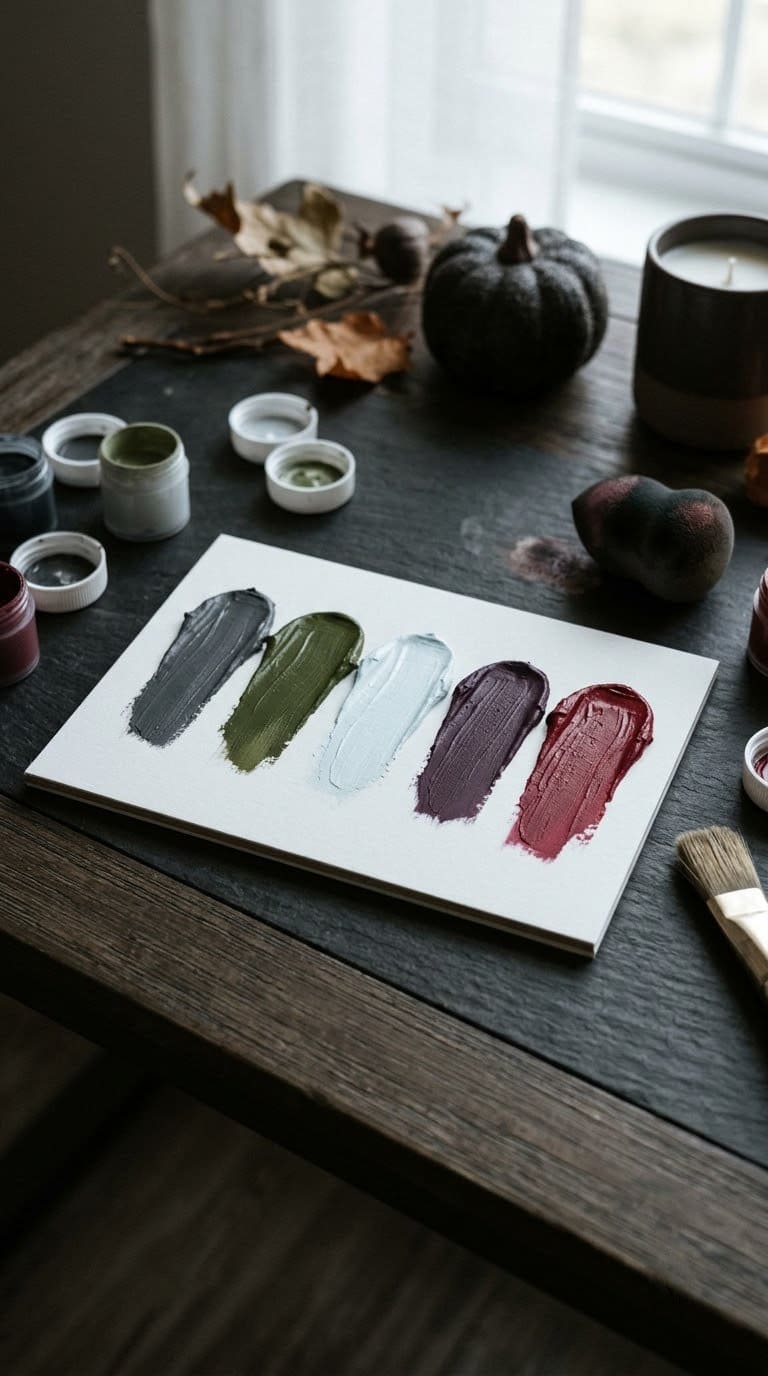
Color does a lot of the work. These pairings are our favorites.
| Look | Base | Shadow | Accent |
|---|---|---|---|
| Zombie | Gray-green | Black and brown | Dark red |
| Vampire | Cool pale | Purple | Blood red |
| Doll | Pale peach | Gray | Pink cheeks |
| Skull | White | Black | Gray |
| Dark fairy | Pale lilac | Plum | Silver |
Our take: dull, muddy colors look more dead than bright ones. If a look feels cartoonish, add a touch of brown.
How Do You Remove Halloween Makeup Safely?
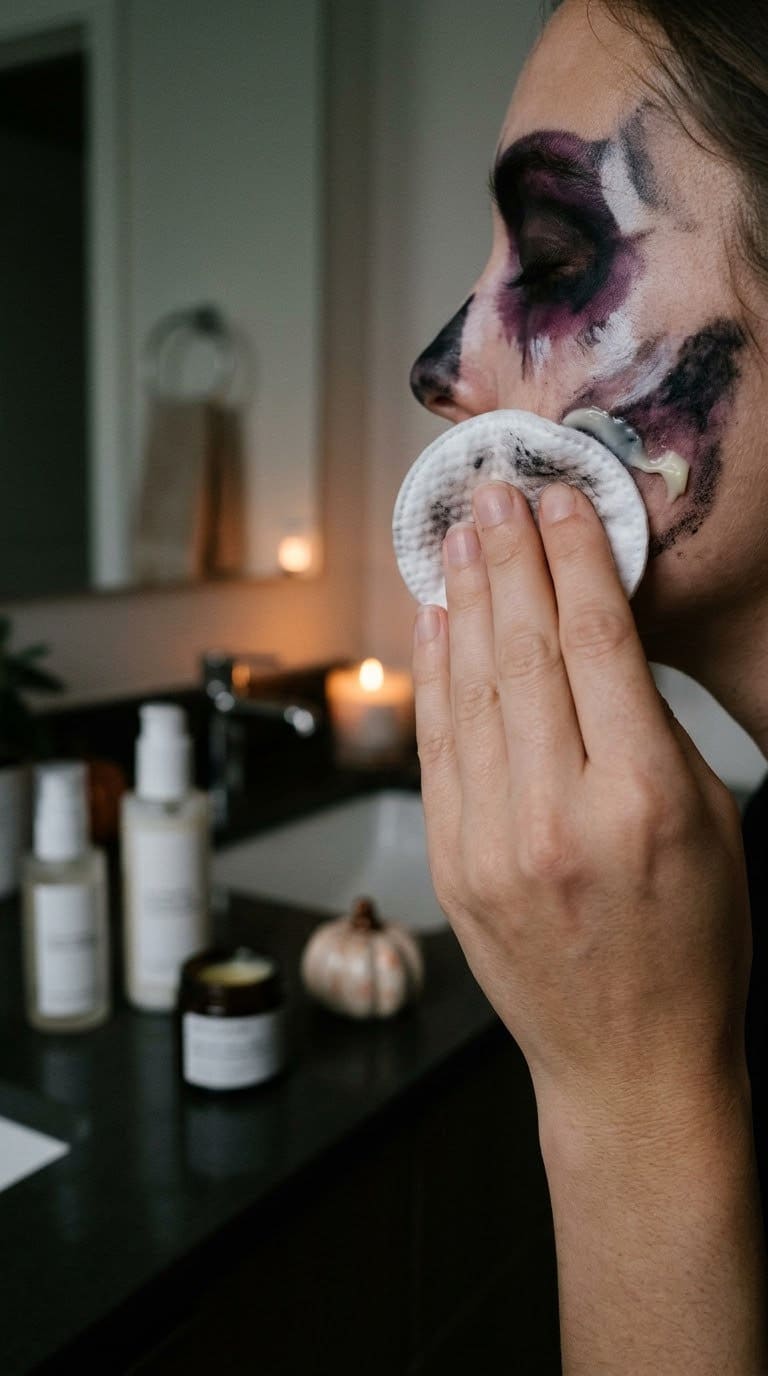
Removal is where skin gets hurt. The FDA says not to sleep in your makeup and to remove it the way the label says. It also says to be gentle around the eyes and to use the matching remover for glue.
The dermatology clinic gives a clear routine.
- Massage an oil-based cleanser or balm over dry skin to melt the paint.
- Press and lift with a soft cotton pad or washcloth. Don’t rub.
- Wash with a gentle, fragrance-free cleanser and lukewarm water.
- Remove adhesives with their matching remover. Never peel prosthetics off dry skin.
- Pat dry and use a bland, fragrance-free moisturizer.
- Skip retinoids, exfoliating acids and scrubs for a night or two.
Our take: start the cleanup earlier than you think. Tired skin plus stubborn paint is when people scrub.
What Mistakes Should You Avoid?
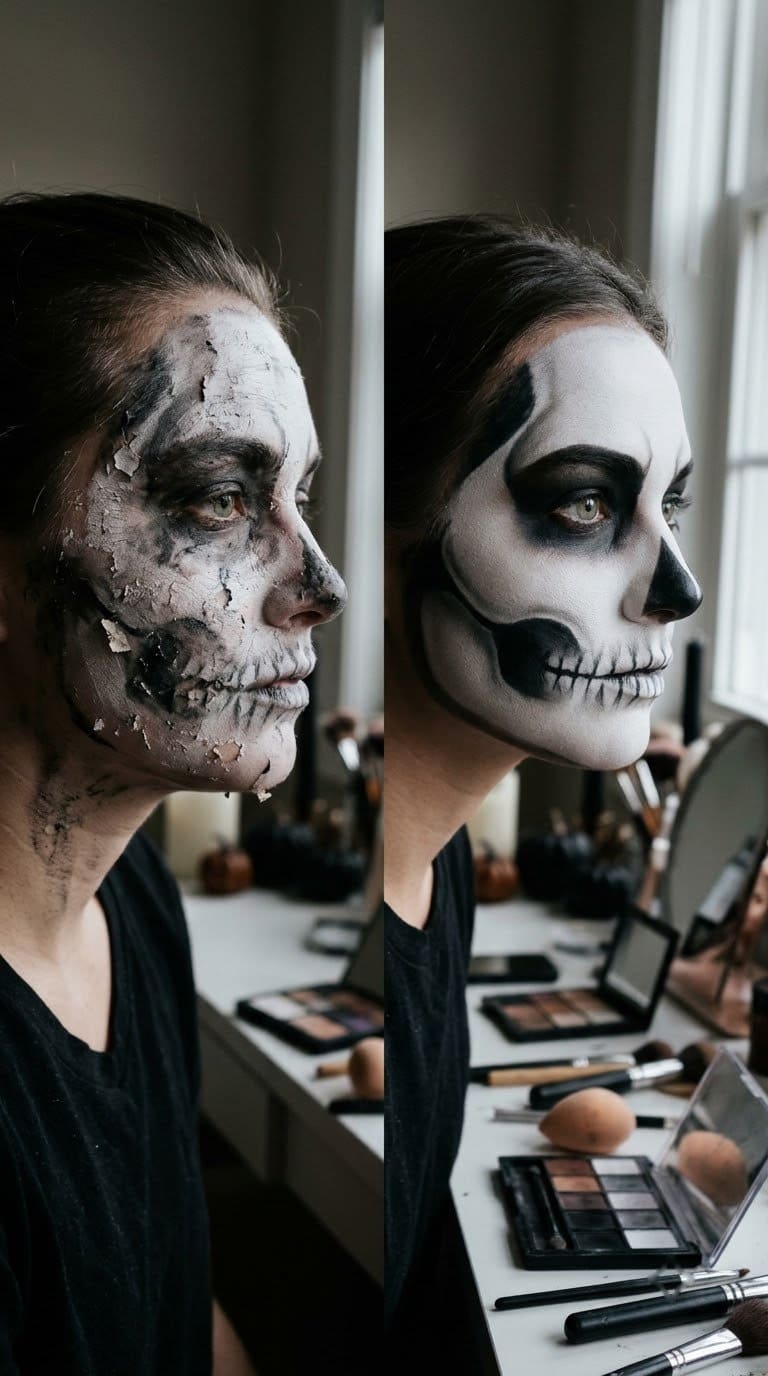
These are the common problems from the two sources above and from basic makeup practice.
- Skipping the patch test. Reactions can be delayed, so test early.
- Using craft supplies. Craft glitter, markers and acrylic paint aren’t made for skin.
- Painting near the eyes with the wrong product. Check that the label allows it.
- Using a smelly or old palette. Toss it.
- Going for latex with an allergy. Pick a latex-free option.
- Not practicing. A practice run shows you where the look falls apart.
When Should You See a Doctor?
The clinic suggests seeing a dermatologist if a rash spreads, blisters, oozes, lasts more than a few days or keeps coming back. Also go if you see signs of infection, like increasing pain, warmth, pus or crusting.
Get emergency care right away for swelling of the lips, tongue, throat or eyelids, trouble breathing or swallowing, hives across the body or dizziness. The FDA also says to report reactions through its cosmetic complaint page.
Frequently Asked Questions
What is the easiest scary Halloween makeup?
The half-face skull and the stitched face are the easiest. Both rely on simple black lines and one white or gray base. You can finish either with a sponge, a pencil and a small brush.
Is Halloween face paint safe for sensitive skin?
It can be if you choose products made for skin and test them first. Check the label for a full ingredient list and keep fragranced or unlabeled products away from your face. If you have eczema or known allergies, ask a dermatologist about professional patch testing.
Can I use regular makeup for Halloween looks?
Yes. Everyday eyeshadow, liner and foundation work well, especially for subtle looks like the spiderweb eye and the dark fairy. Save the paint and wax for bigger effects.
How early should I start my makeup?
Plan on extra time for your first try. Do a full practice run a few days before, which also doubles as your patch test window.
Your Halloween Makeup Plan
- Three days before: Patch test every product on your inner arm.
- Two days before: Do a full practice run of your chosen look.
- Night before: Lay out brushes, sponges, remover and a mirror.
- On the day: Start with clean, moisturized skin. Apply thin layers.
- After: Remove everything gently and moisturize.
Pick one look, test it and keep it simple. That’s how you end up with a face people remember.
Never miss an update — choose FarmFoodFamily as your preferred source on Google.
How it works: Tap the button below to open Google's settings page, then check the box next to FarmFoodFamily.
Tap the checkbox to turn it blue — that's how you know it's set.