20 Easy DIY Sun Shade Ideas for Your Backyard, Step by Step
You can cool a backyard seat with a sun shade you build yourself, and the smart way is to check where the sun falls, anchor everything for wind and keep fabric away from grills and flames.

Never miss an update — choose FarmFoodFamily as your preferred source on Google.
How it works: Tap the button below to open Google's settings page, then check the box next to FarmFoodFamily.
Tap the checkbox to turn it blue — that's how you know it's set.
You can cool a backyard seat with a sun shade you build yourself, and the smart way is to check where the sun falls, anchor everything for wind and keep fabric away from grills and flames.
Products We Recommend
This post contains affiliate links. We may earn a commission on qualifying purchases at no extra cost to you.

Shade&Beyond 90% Sun Shade Cloth with Grommets, 6 ft x 8 ft
Grommeted shade cloth for the PVC canopy, hoop frame, pergola top and tarp-style builds. Check the listing for its UV block rating, and keep it away from flames.
Shop Now
80Pcs Shade Sail Hardware Kit, 6 inch, for Triangle and Rectangle Sails
Stainless hardware for tensioning a shade sail. Anchor into strong posts or a solid frame and take the sail down in storms.
Shop Now
TOWN & COUNTRY BASICS Cabana Indoor Outdoor Curtains, 2-Pack, 54 x 84 in
Water-repellent grommet curtains for the low afternoon sun on a porch or pergola. Tie them back in storms.
Shop NowA hot backyard is a backyard nobody uses. The good news is that shade is one of the easiest things to build. A few posts, some fabric or plants and a free afternoon can drop the heat at your table.
This guide gives you 20 DIY sun shade projects for people, not plants. Each one is written in plain steps.
You’ll see what you need, how long it takes, how to build it and how to keep it safe in wind. No project needs special skills. Start with the easy ones and work up.
Answer 4 quick questions and get matched to the exact fix for your yard — drainage, budget, layout, or something else entirely.
Take the Free QuizIf you want something more permanent, see our pergola ideas.
Quick Answer
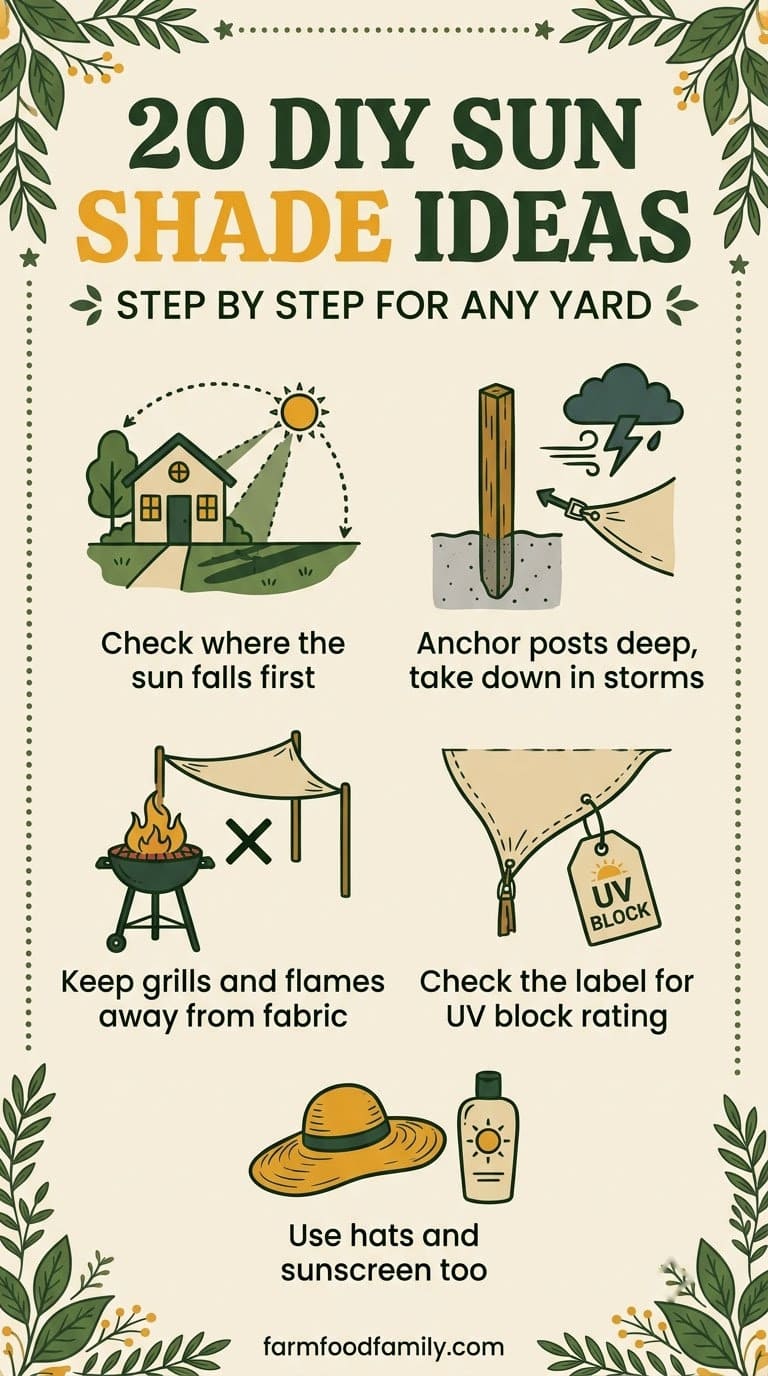
Start by watching where the sun hits your seating area at midday and late afternoon. Build shade on the side the sun comes from, and make it a little wider than the seats.
Shade is one layer of protection. The CDC says to stay in the shade.
It also says to wear a wide-brim hat, cover arms and legs and use sunscreen.
It says UV rays are strongest from 10 a.m. to 4 p.m. daylight saving time.
Most yard problems trace back to one specific, fixable cause. Find yours in 4 quick questions.
Take the Free QuizThe CDC also says they reflect off surfaces like cement and water.
But keep it simple. A good first project is a pair of outdoor curtains or a clamp-on umbrella.
Anchor everything well, because wind lifts fabric. Take it down in storms.
Keep your grill and any fire pit well clear of fabric and wood. Check the label on shade cloth for its UV block rating.
What Do You Need to Know About Sun and Shade?
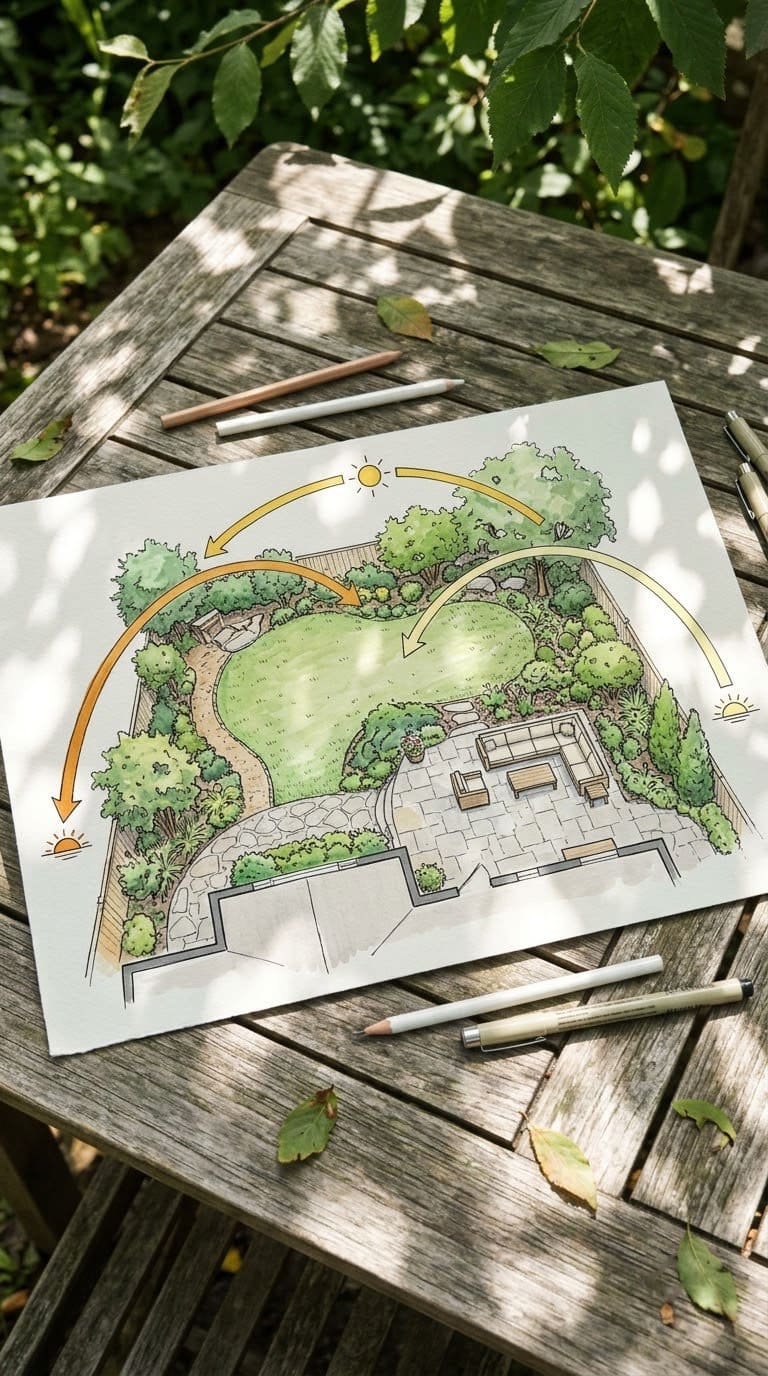
A shade only works if it blocks the sun where you sit. Take ten minutes to check.
- Watch the sun. Look at your seating spot in the morning, at noon and in the late afternoon. Note where the shadows fall.
- Think about the low sun. In the afternoon, the sun comes in at a low angle from the west, so a flat roof may not block it. A hanging curtain or screen does.
- Measure the spot. Measure the width and length you want covered, and add a bit more on each side.
- Look up. Check for power lines, branches and the house roof before you build anything tall.
Our take: take a photo of your seating at 2 p.m. and again at 5 p.m. You will see right away where the shade needs to be.
Which Fabric and Materials Should You Choose?
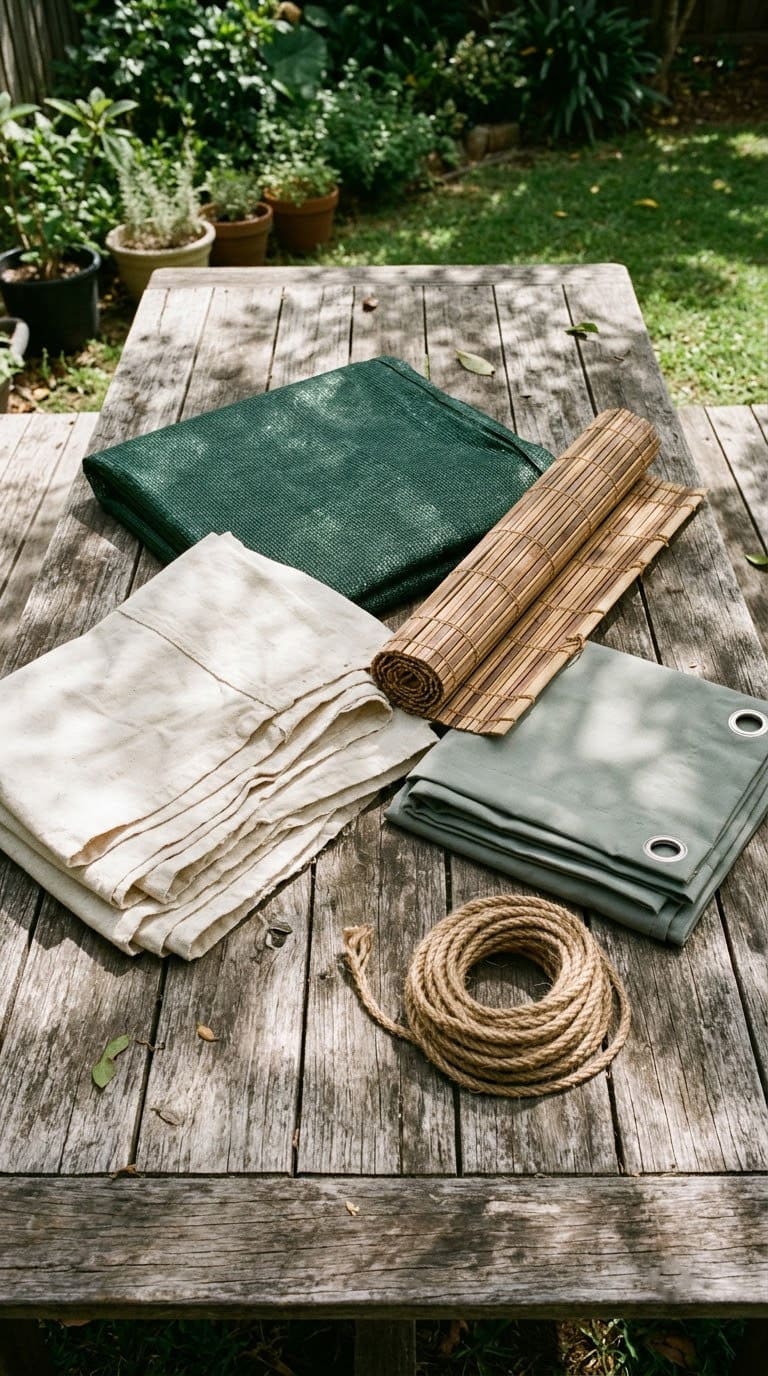
The right material makes the project last.
Grommeted shade cloth for the PVC canopy, hoop frame, pergola top and tarp-style builds. Check the listing for its UV block rating, and keep it away from flames.
Shop NowThis post contains affiliate links. We may earn a commission on qualifying purchases at no extra cost to you.
| Material | Good for | Watch out for |
|---|---|---|
| Shade cloth | Sails and frames | Check the label for a UV block rating |
| Canvas drop cloth | Curtains and panels | Can mildew if left wet |
| Outdoor fabric | Sails and awnings | Costs more, lasts longer |
| Bamboo roll-up blinds | Porch edges | Fades and cracks over time |
| Lattice and wood | Frames and screens | Needs sealing |
| Plants | Living shade | Takes time to grow |
Our take: look for fabric sold for outdoor use. It resists sun and mildew far better than a bed sheet.
How Do You Stay Safe With DIY Shade?
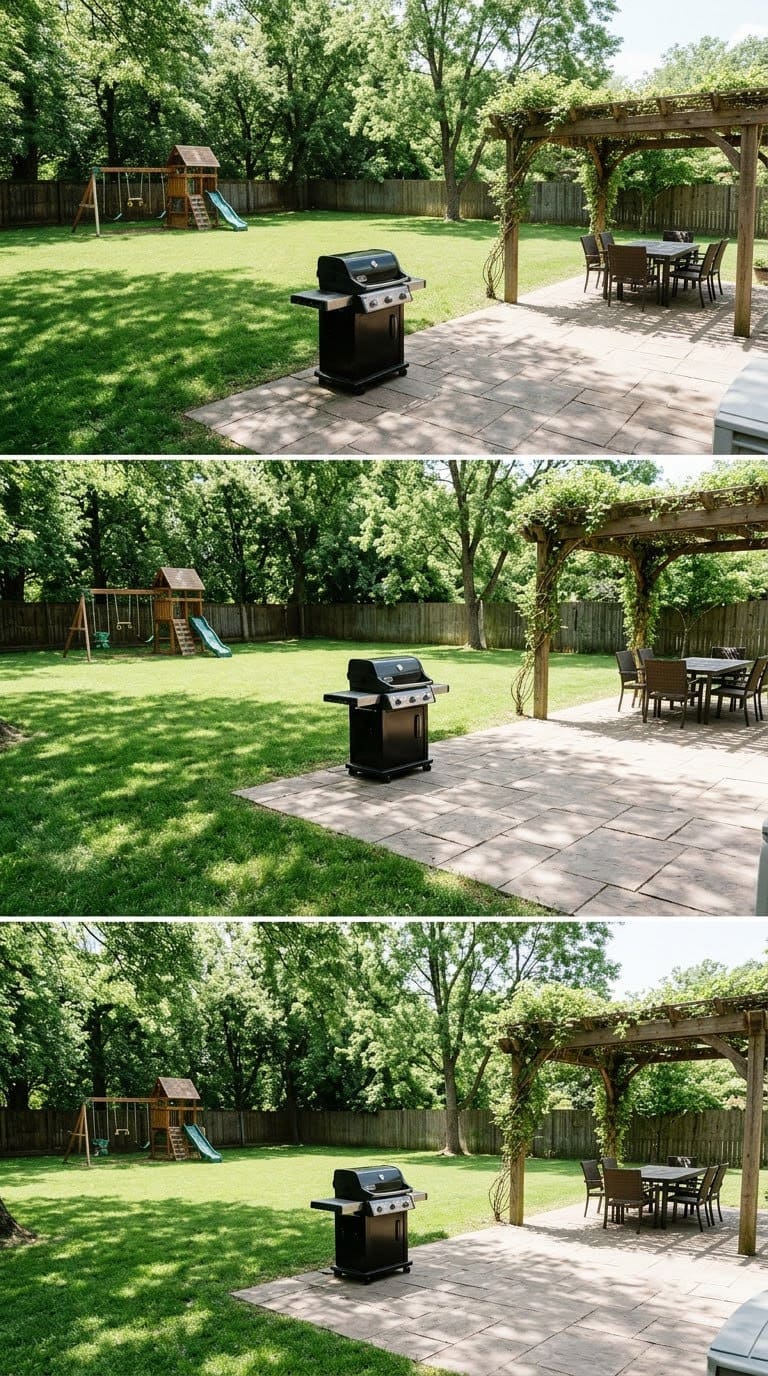
Most shade problems come from wind and fire. A few rules keep you safe.
The average homeowner spends $616/year on yard fixes that don't address the real problem. Find out what yours actually is — before you spend another dollar.
Take the Free Quiz- Keep flames away from fabric. The NFPA says to place a grill well away from the home, deck railings and eaves, and out from under overhanging branches. Do the same with a shade. Never grill, light a fire pit or use a patio heater under fabric or wood.
- Anchor for wind. Wind catches shade like a sail. Use strong posts, rated hardware and stakes, and take fabric down in storms.
- Check your lights. The CPSC says to use lights tested by a recognized lab and to throw away sets with frayed wires or cracked sockets.
- Use a steady ladder. The CPSC also says to follow ladder safety when you hang things up high. Have a helper hold it.
- Mind the kids. Keep ropes and tight wires out of reach, and don’t let kids climb posts.
Our take: build shade at least a few steps from your grill. A flapping fabric and a flame is a bad mix.
20 DIY Sun Shade Ideas
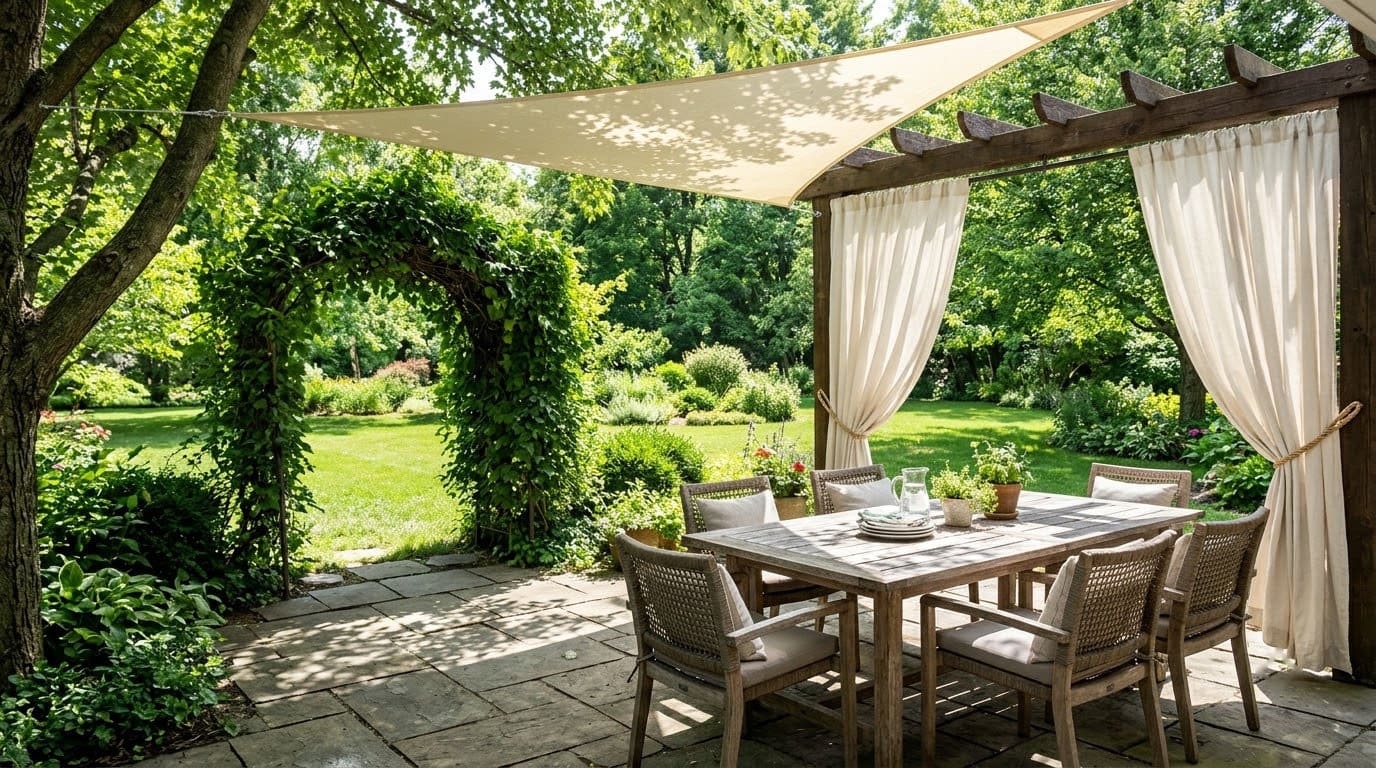
1. Triangle Shade Sail on Posts
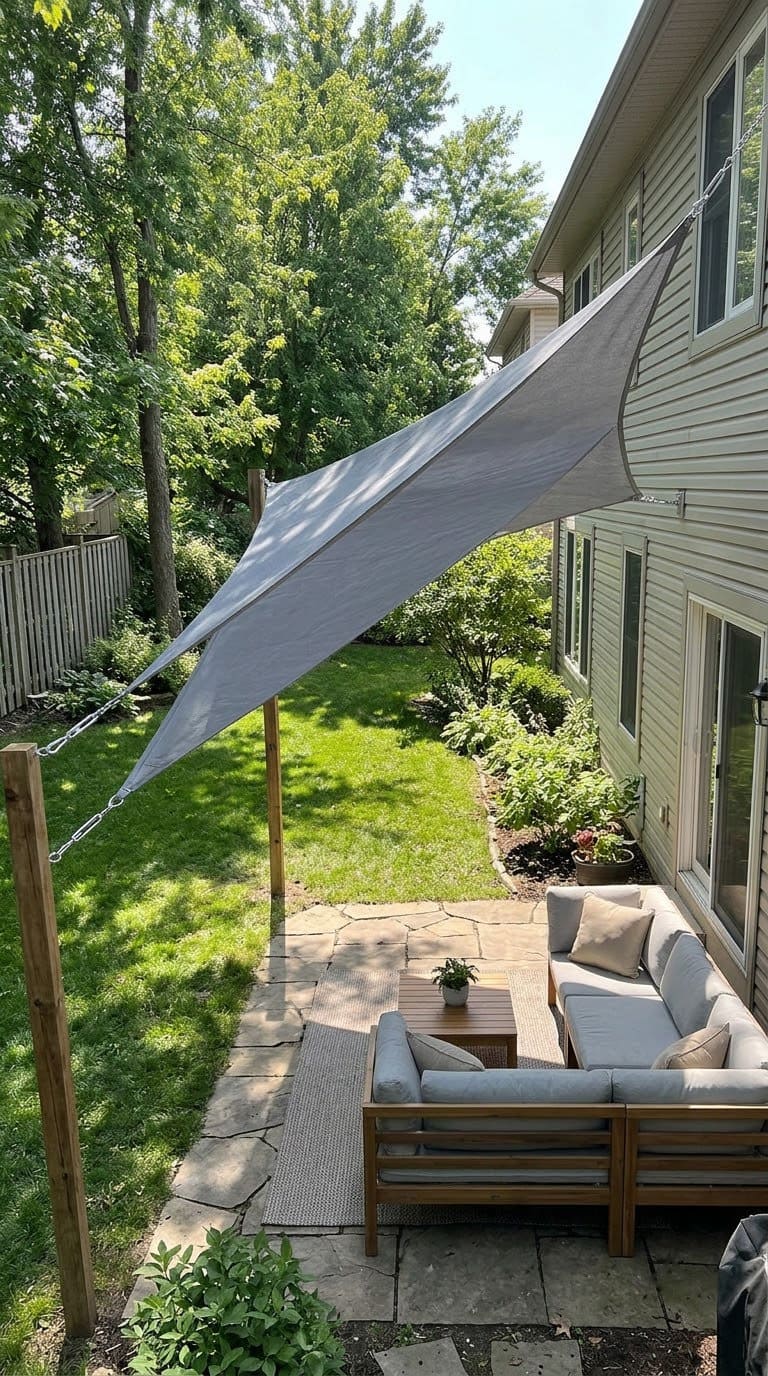
A shade sail is the classic. It looks neat, blocks a lot of sun and takes one weekend.
- Skill and time: Medium, a weekend.
- What you need: A shade sail in outdoor fabric, two or three sturdy posts or a house wall, turnbuckles, rope or cable, post bases or deep footings and a level.
- Step 1: Mark the three corners on the ground. Make the sail slightly smaller than the space between the posts.
- Step 2: Set the posts deep in firm footings and let them cure. Leave one corner on a sturdy house frame if you can.
- Step 3: Fix eye hooks at the top of each post, with one corner higher than the other two.
- Step 4: Clip the sail on, tighten the turnbuckles evenly and check that the fabric is taut.
- Make it last: Take it down in strong winds and wipe it clean once a season.
- Watch: Weak posts. A thin fence won’t hold. If you aren’t sure, ask a pro to check the posts.
Our take: tilt one corner lower so rain runs off. Pooled water is heavy and can rip the fabric.
2. DIY Umbrella Base from a Bucket
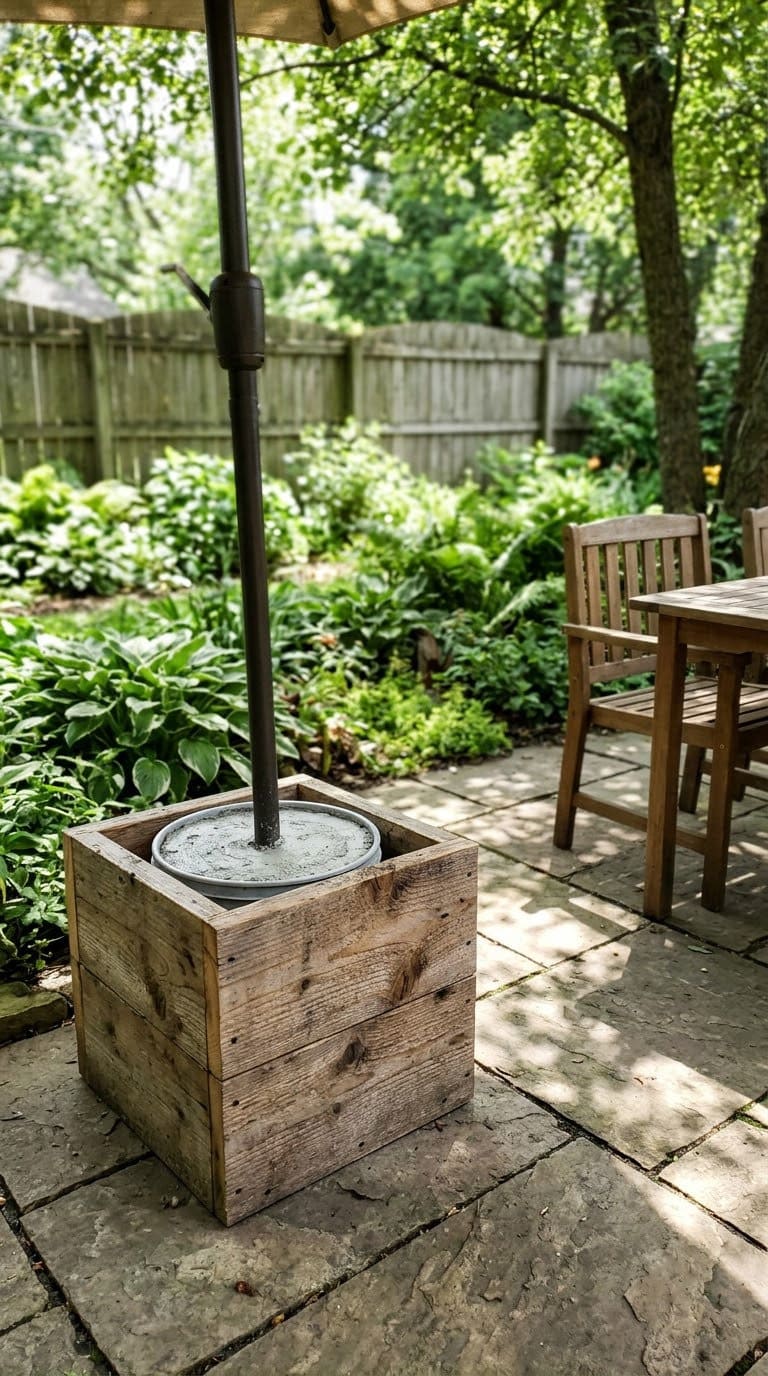
A weighted base keeps a big umbrella upright.
- Skill and time: Easy, an afternoon plus curing time.
- What you need: A bucket, quick-set concrete mix, gloves, a dust mask, a pipe or tube that fits your umbrella pole and a lid or box to hide it.
- Step 1: Stand the pipe in the center of the empty bucket and brace it straight.
- Step 2: Wear gloves and a mask, then mix the concrete and pour it around the pipe.
- Step 3: Let it cure fully.
- Step 4: Slide the umbrella pole into the pipe. Cover the bucket with a wooden box or fabric skirt.
- Make it last: Close the umbrella in wind and storms.
- Watch: Tipping. A heavy base still tips in gusts, so take the umbrella down when it’s windy.
Our take: this is the cheapest way to get shade fast. Combine it with a sail later for more coverage.
3. Drop Cloth Outdoor Curtains
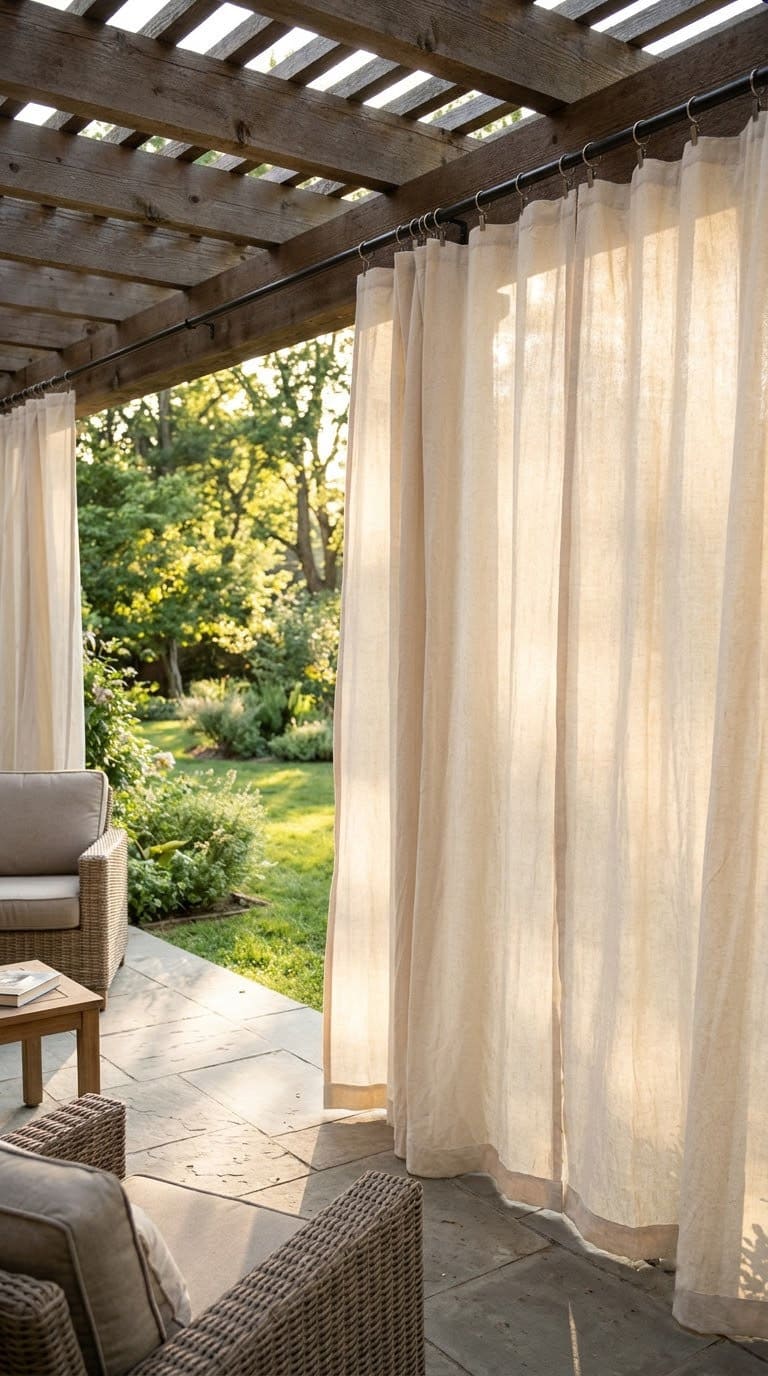
Curtains block the low sun that a roof misses.
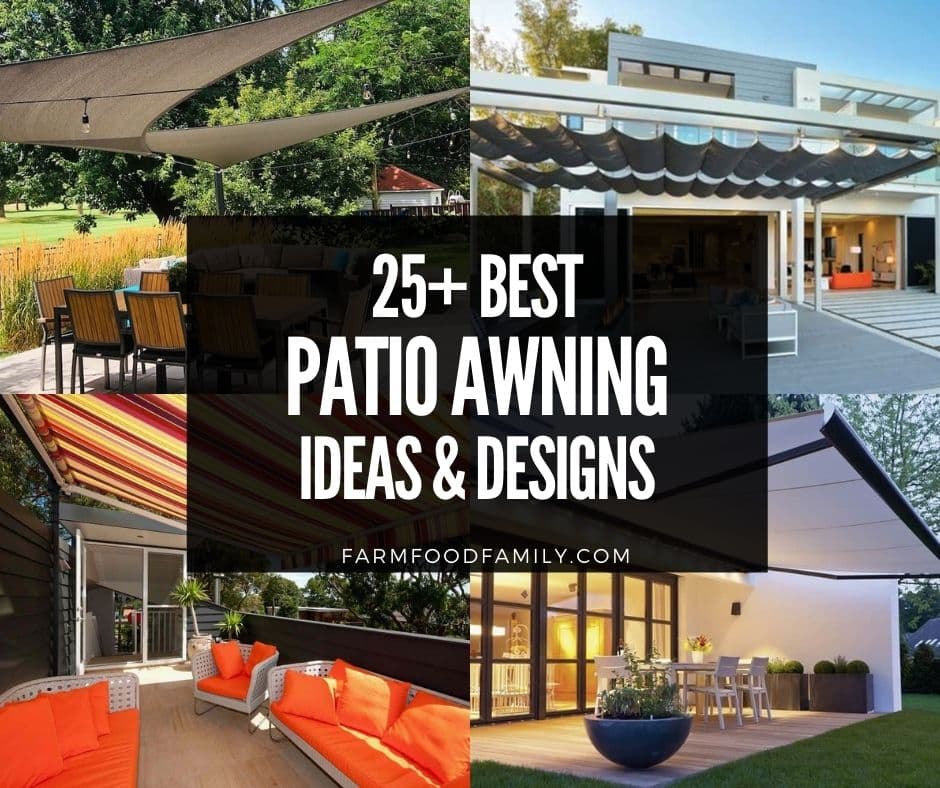


- Skill and time: Easy, about an hour.
- What you need: Two canvas drop cloths, a strong rod or wire, curtain rings or clips, brackets and tie-backs.
- Step 1: Hem the top, or leave the raw edge for a casual look.
- Step 2: Clip rings along the top edge.
- Step 3: Hang the rod on brackets screwed into posts or beams.
- Step 4: Slide the curtain on and tie it back when you don’t need it.
- Make it last: Wash them each season and dry fully before storing.
- Watch: Mildew and wind. Tie them back in storms.
Our take: pick a light color. It reflects heat and keeps the area bright.
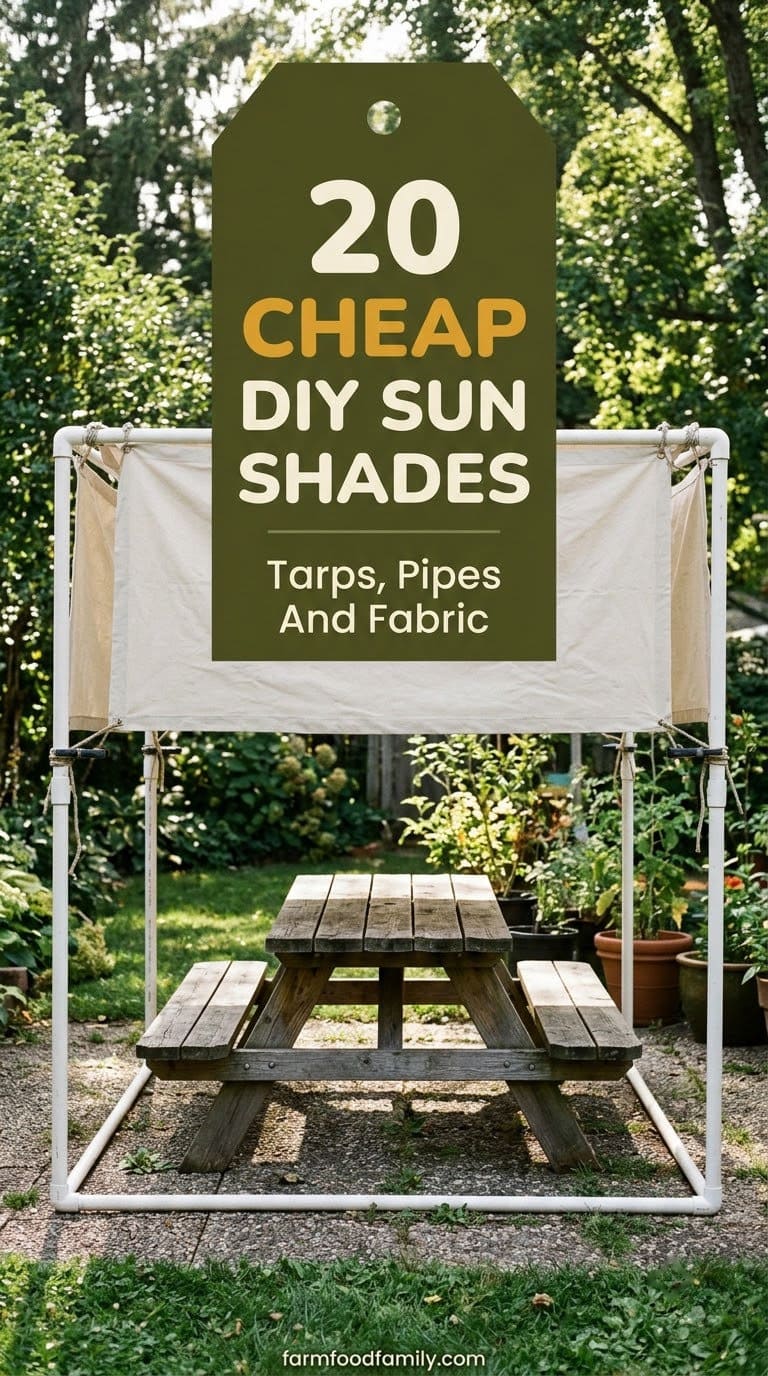
4. PVC Pipe Canopy With Fabric
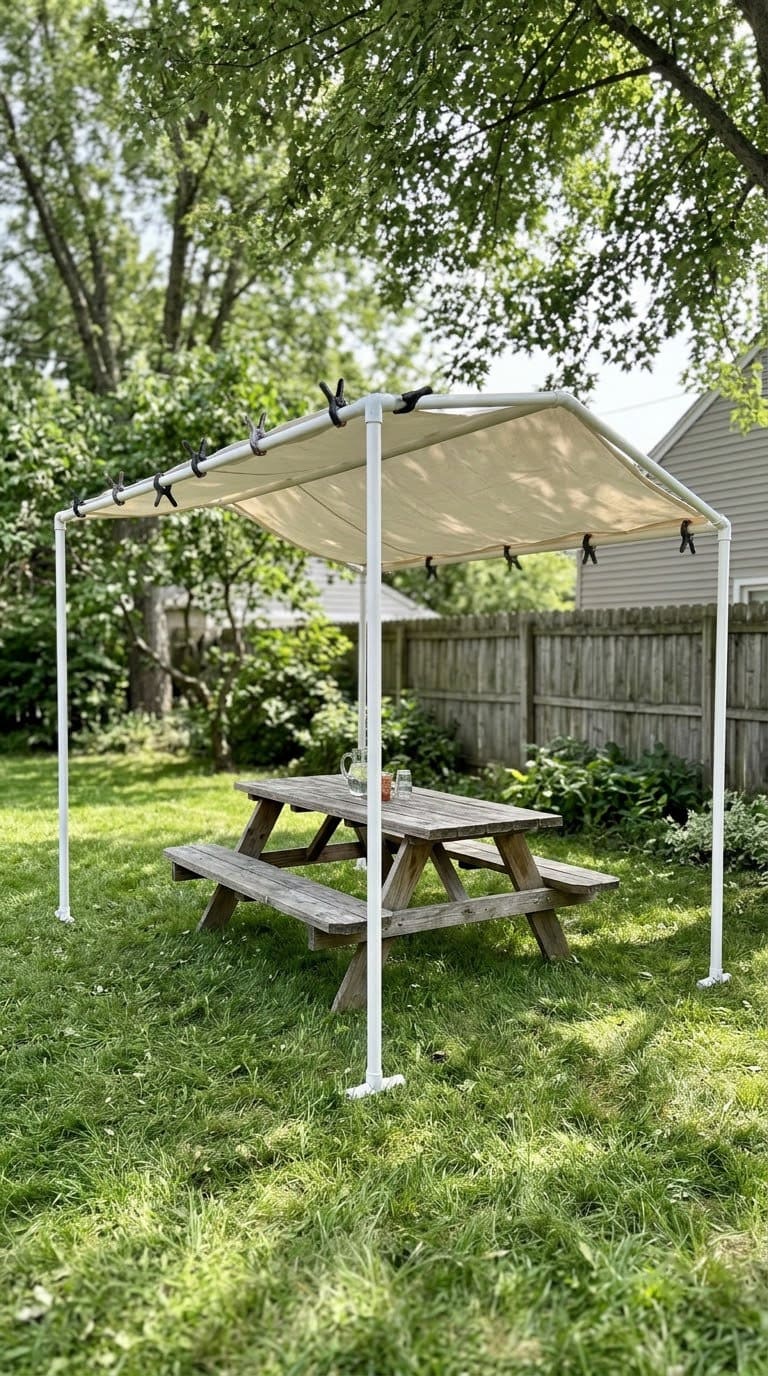
A PVC frame is cheap and easy to move.
- Skill and time: Easy to medium, an afternoon.
- What you need: PVC pipes, corner and T connectors, a hacksaw or pipe cutter, outdoor fabric, clips and zip ties.
- Step 1: Measure your table and add a foot on each side.
- Step 2: Cut the pipes, then dry-fit the frame without glue.
- Step 3: Fit the pieces together. Glue only if you want it permanent.
- Step 4: Drape fabric over the top and clip it on.
- Make it last: Store the fabric indoors in winter.
- Watch: Wobble and wind. Add stakes or weights at the corners.
Our take: leave the joints unglued so you can take it apart for storage.
5. Four-Post Cedar Pergola Shade
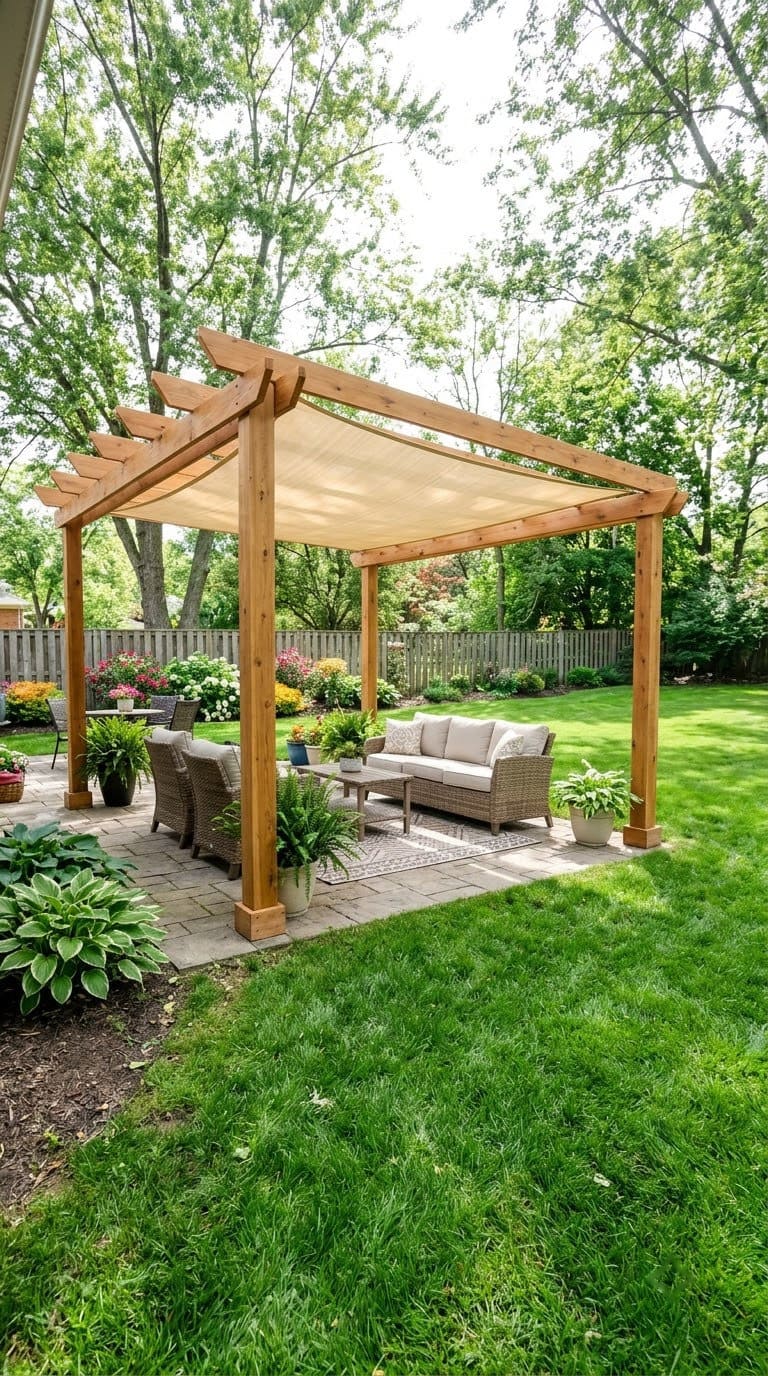
A pergola is a lasting frame that you can cover in many ways.
- Skill and time: Hard, a weekend or two.
- What you need: Four posts, beams and rafters in cedar or treated wood, post bases or concrete footings, long screws, a level, a ladder and a helper.
- Step 1: Mark the four corners as a square and check the diagonals match.
- Step 2: Set the posts in firm footings and brace them straight.
- Step 3: Fix beams across the tops, then add cross rafters.
- Step 4: Cover with fabric, lattice or vines.
- Make it last: Seal the wood each year.
- Watch: Footings and permits. Many places require a permit for a fixed structure, so check locally.
Our take: if you’ve never built one, start with a sail and move to a pergola later. See our guide on how to build a pergola on a deck.
6. Recycled Pallet Wood Pergola
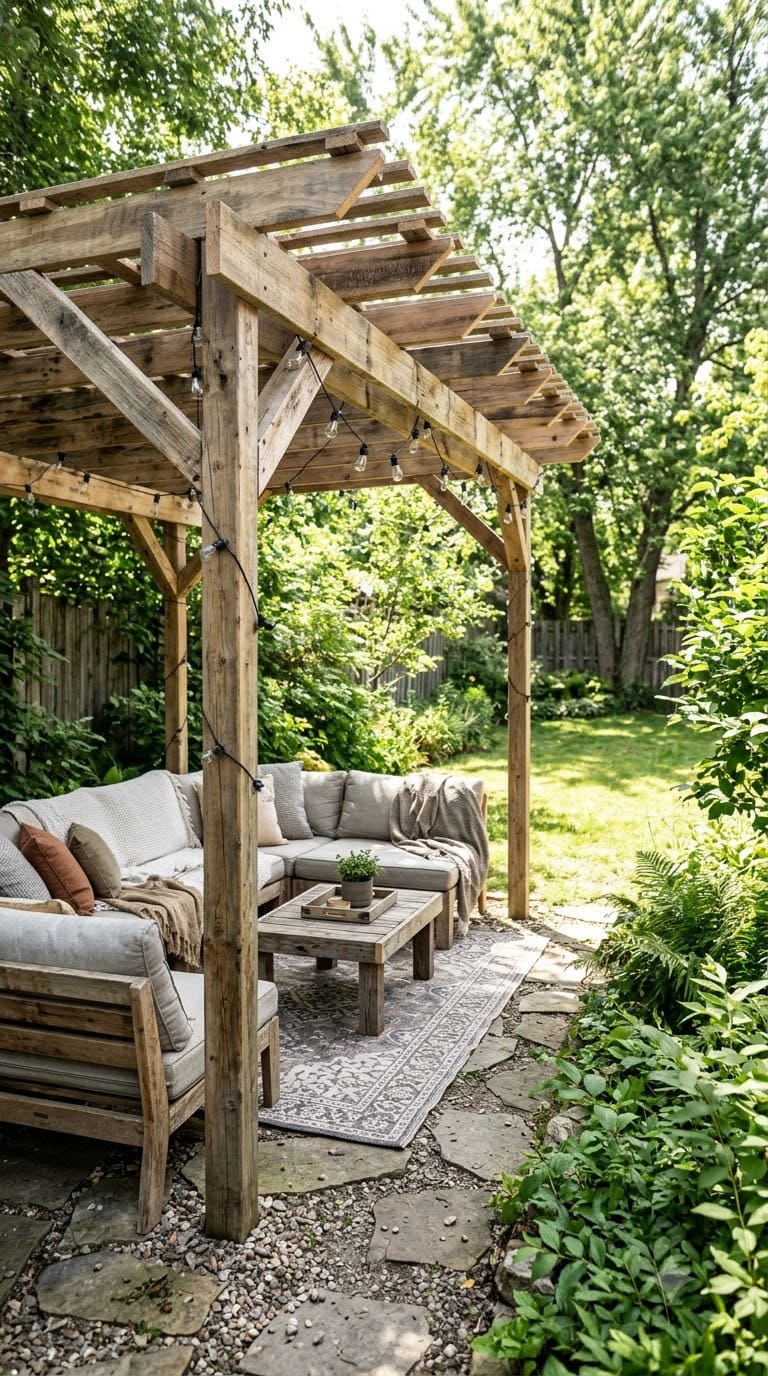
Pallet wood makes a rustic frame at low cost.
- Skill and time: Medium to hard, a weekend.
- What you need: HT-stamped pallets, a pry bar, gloves, sandpaper, screws, a sealer and a few strong posts.
- Step 1: Check the stamp. UC ANR says heat-treated pallets are generally safe. Penn State Extension says never to use MB pallets, nor burn them.
- Step 2: Pull the boards apart, remove rusty nails and sand them smooth.
- Step 3: Use new posts for the main support. Pallet boards are too weak for the load.
- Step 4: Screw boards across the top as slats, with gaps for light and air.
- Make it last: Seal the wood and recoat each year.
- Watch: Chemicals and splinters. Wear gloves and ask before taking pallets.
Our take: use pallet boards for the slats only, not for posts or beams.
7. Climbing Vine Canopy
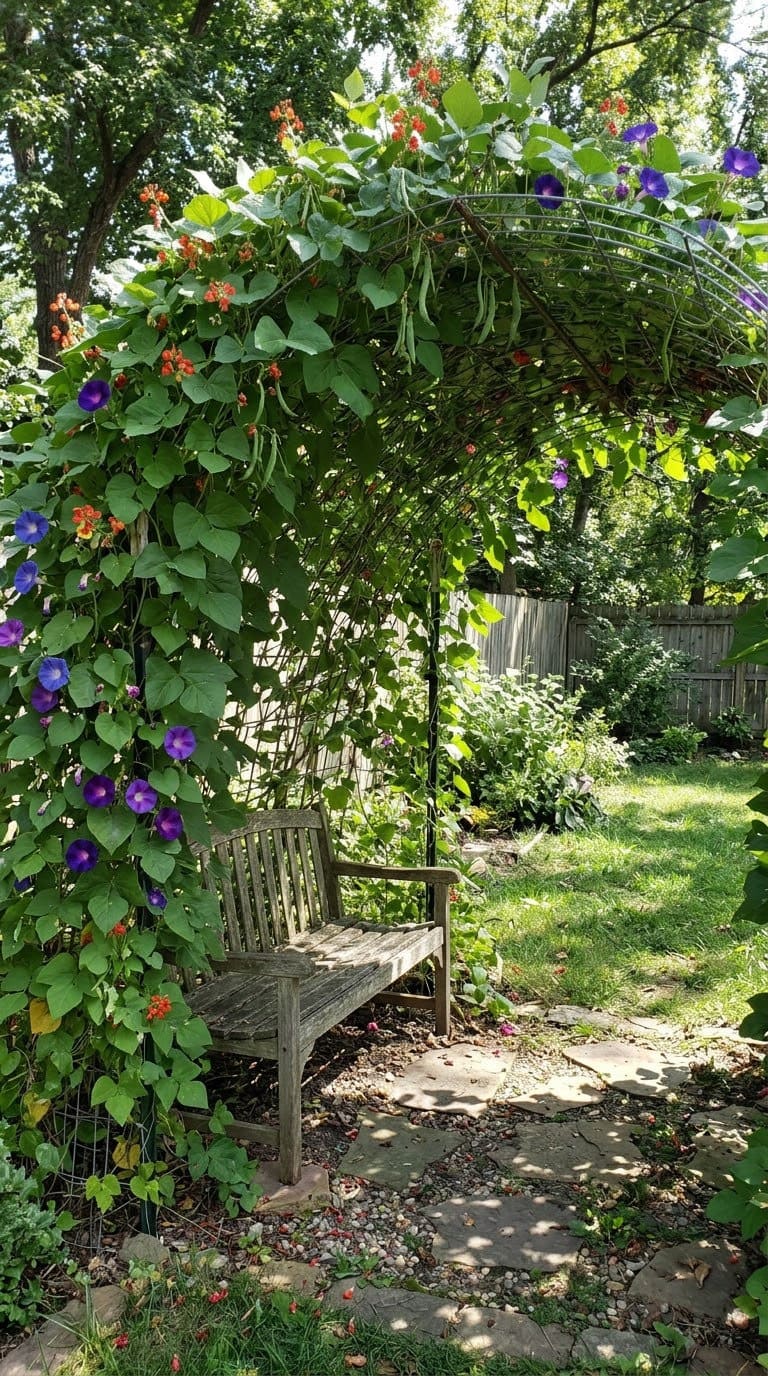
Plants make cool shade and look beautiful.
- Skill and time: Easy, a day to build and a season to grow.
- What you need: Posts, a wire or cattle panel frame, climbing plants, soil and ties.
- Step 1: Build a sturdy frame over your seating area.
- Step 2: Plant fast climbers like beans or morning glories at the base of each post.
- Step 3: Tie young shoots to the frame until they grab hold.
- Step 4: Water often while the plants establish.
- Make it last: Replant annuals each spring.
- Watch: Weight. Some vines get very heavy, so build a strong frame.
Our take: pair this with a sail while the vines grow. See our vertical garden ideas for more climbers.
8. Bamboo Roll-Up Shades
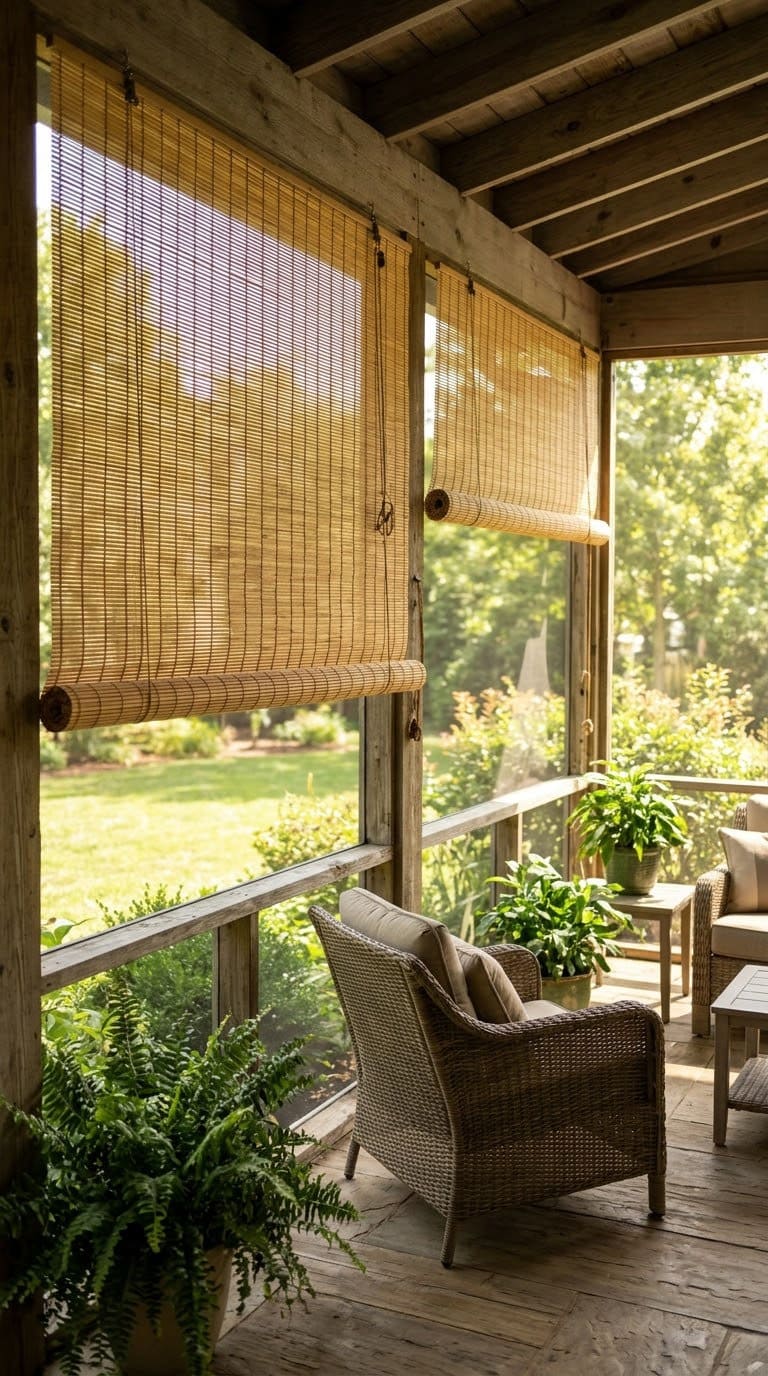
Roll-up blinds give adjustable shade in minutes.
- Skill and time: Easy, about an hour.
- What you need: Outdoor bamboo blinds sized to your opening, hooks or brackets and screws.
- Step 1: Measure the width of the opening.
- Step 2: Screw brackets or hooks into the top beam.
- Step 3: Hang the blind and roll it up or down with its cord.
- Make it last: Roll them up in rain and storms.
- Watch: Weather. Bamboo fades and cracks in constant sun and rain.
Our take: this is the quickest fix for a west-facing porch.
9. Lattice Panel Sun Screen
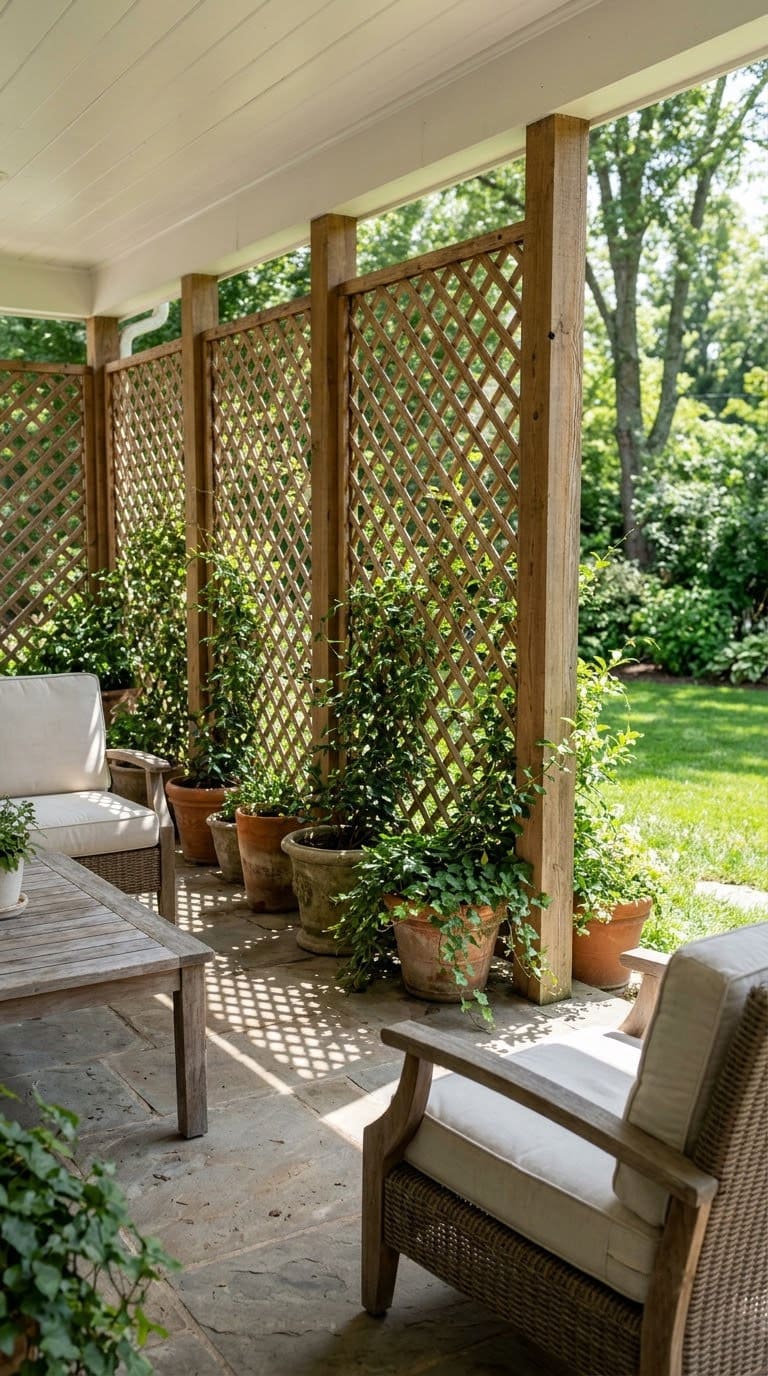
A lattice screen blocks the side sun and adds privacy.
- Skill and time: Easy to medium, an afternoon.
- What you need: Lattice panels, two posts, screws, sealer and optional climbing plants.
- Step 1: Set two posts in firm ground, level and plumb.
- Step 2: Fix the panel to the posts with screws.
- Step 3: Seal the wood.
- Step 4: Add pots with climbers at the base.
- Make it last: Re-seal each year or two.
- Watch: Wind. A solid panel acts like a sail, so set posts deep.
Our take: choose lattice with some open space. It lets breeze through.
10. Pulley-and-Rope Shade
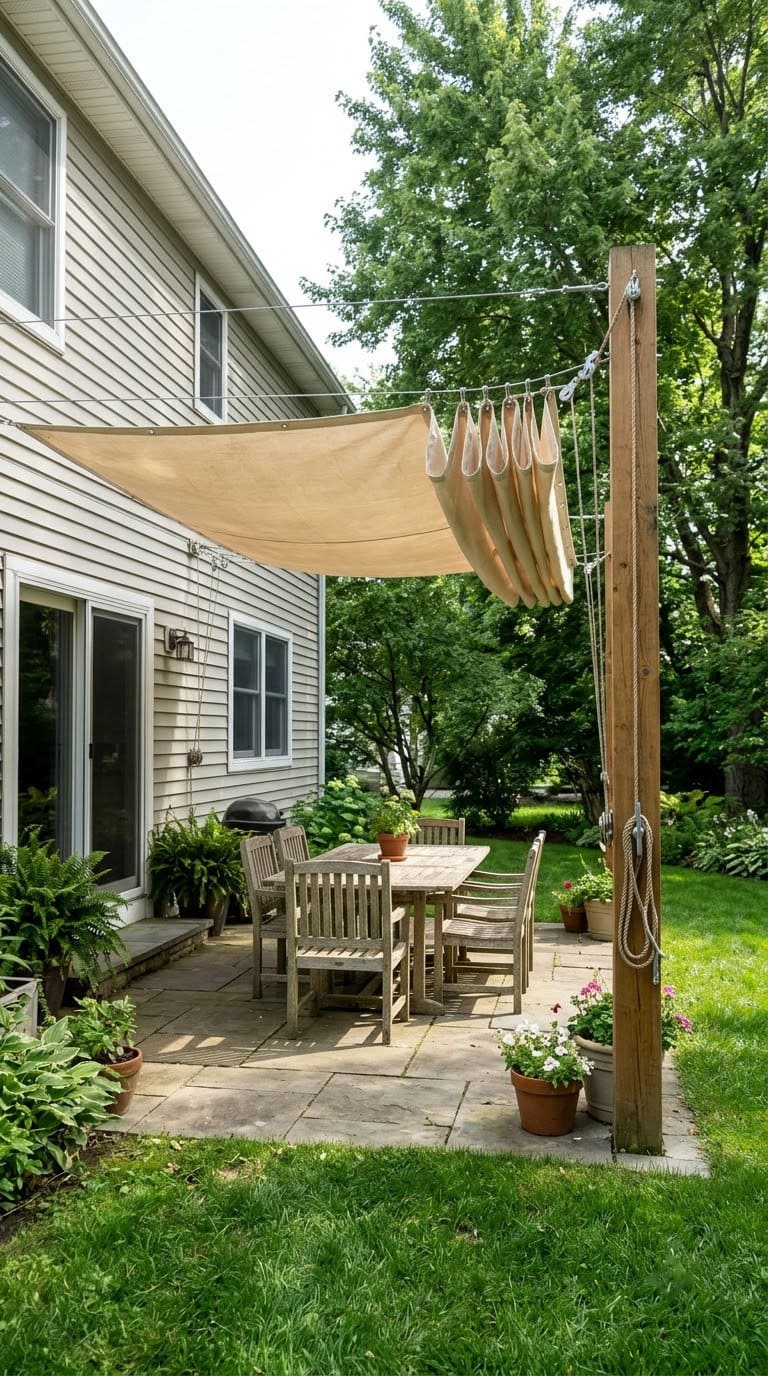
A simple pulley lets you pull the shade out when you need it.
- Skill and time: Medium, an afternoon.
- What you need: A fabric panel, rope, two or three pulleys, a cleat, hooks and a post.
- Step 1: Fix a pulley to the house wall and another to a far post.
- Step 2: Sew or clip rings along one edge of the fabric panel.
- Step 3: Run rope through the pulleys and attach it to the panel.
- Step 4: Tie off the rope on a cleat when the shade is open.
- Make it last: Pull it in during wind and rain.
- Watch: Anchors. Screw into studs or solid posts.
Our take: this gives you a mini awning without the cost.
11. Tarp Lean-To Shade
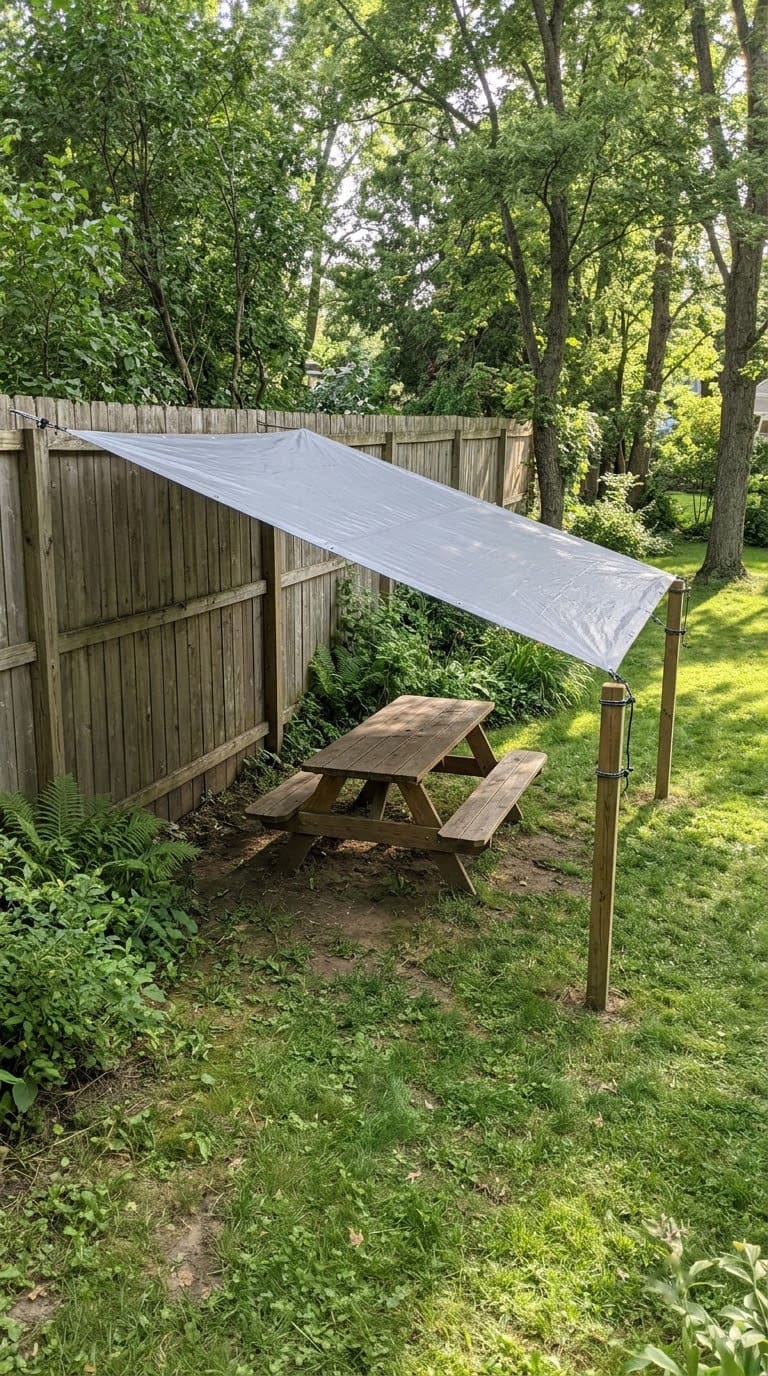
A tarp works as quick, cheap shade.
- Skill and time: Easy, about an hour.
- What you need: A tarp, rope, grommet ties, stakes or posts and a hammer.
- Step 1: Attach one edge of the tarp to a fence or wall.
- Step 2: Stake the other two corners with posts and rope at an angle.
- Step 3: Pull tight so rain runs off.
- Make it last: Take it down before a storm.
- Watch: Heat and flapping. Tarps can trap heat, so leave the sides open for air.
Our take: use a breathable shade fabric instead of a plastic tarp when you can.
12. Fence Lean-To With a Slatted Roof
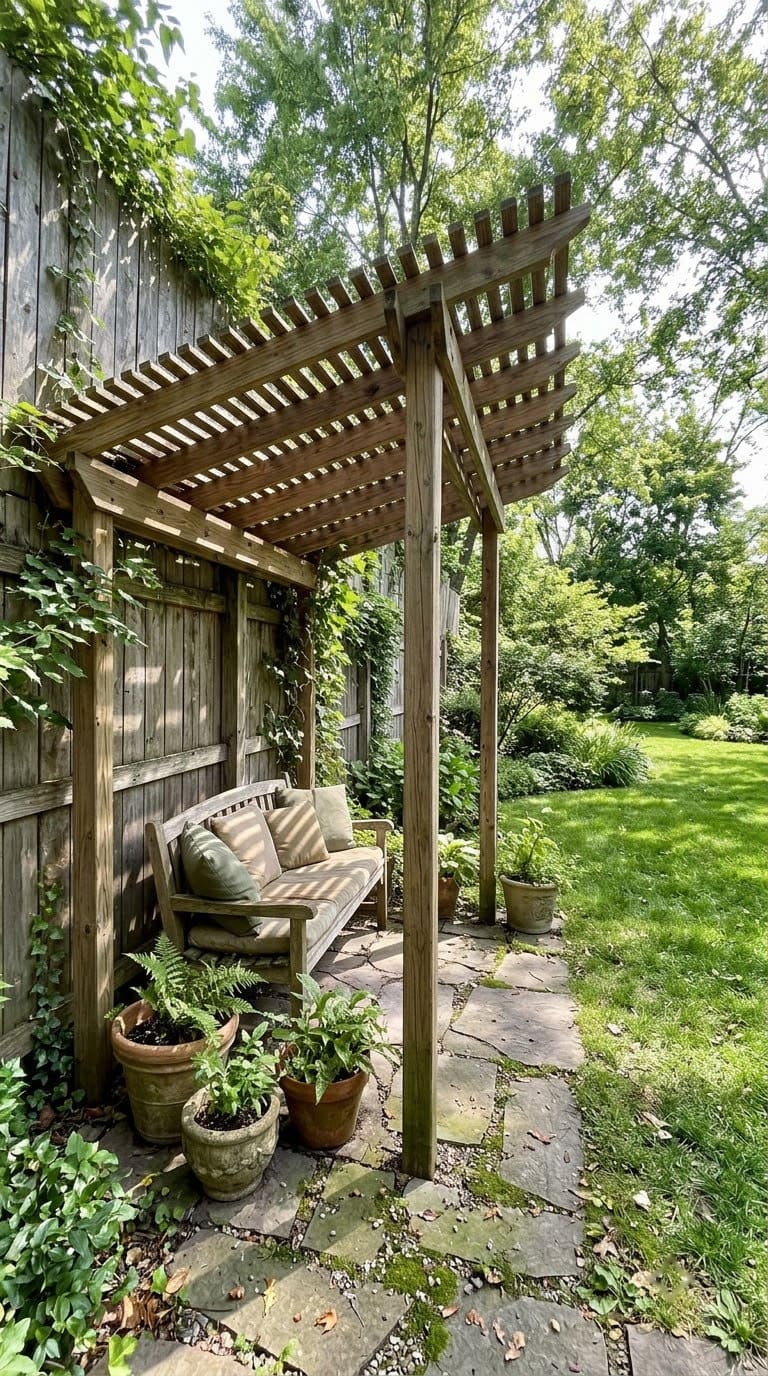
A slatted roof casts soft stripes of shade.
- Skill and time: Medium, a weekend.
- What you need: Two posts, a ledger board for the fence or wall, rafters, slats, screws and sealer.
- Step 1: Fix a ledger board to a sturdy wall or fence post.
- Step 2: Set posts at the front and join them with a beam.
- Step 3: Rest rafters from the ledger to the beam, at a slight slope.
- Step 4: Screw slats across the top with gaps between them.
- Make it last: Seal the wood each year.
- Watch: Weak walls. Fix to studs or posts, not thin boards.
Our take: leave gaps between slats. Hot air escapes and the shade feels cooler.
13. Hoop Frame With Shade Cloth
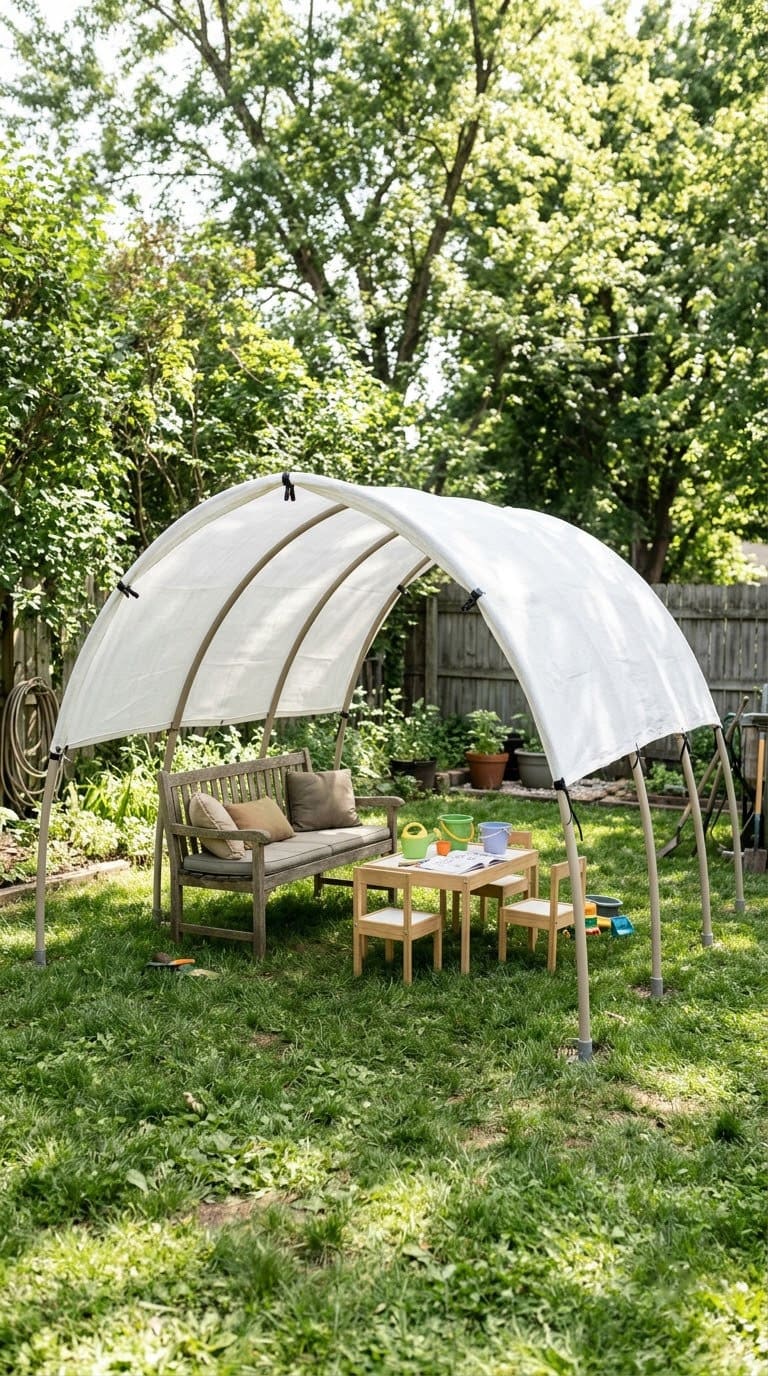
A hoop frame is easy to bend and cheap to build.
- Skill and time: Easy, an afternoon.
- What you need: PVC or electrical conduit hoops, rebar stakes, shade cloth, clips and zip ties.
- Step 1: Push rebar stakes into the ground in pairs.
- Step 2: Slide the ends of the hoops over the stakes to form arches.
- Step 3: Drape shade cloth over the arches and clip it on.
- Step 4: Weigh the edges with sandbags or stakes.
- Make it last: Take it down in strong winds.
- Watch: Sharp rebar ends. Cap them.
Our take: this is a good low-cost shade for a play area.
14. Tree-Hung Shade Canopy
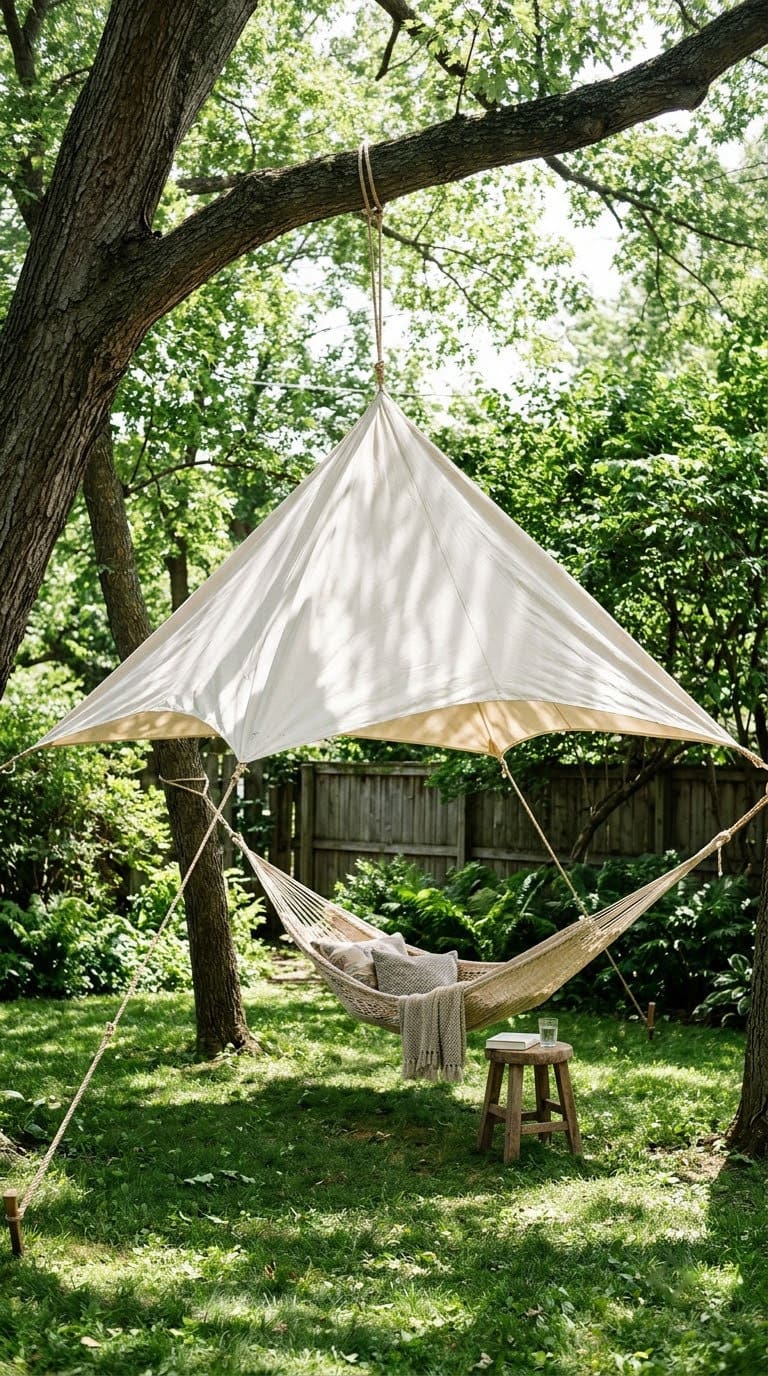
If you have a strong tree, hang the shade from it.
- Skill and time: Easy to medium, an hour.
- What you need: Lightweight outdoor fabric, rope, a pulley or strong carabiner and a ladder.
- Step 1: Choose a thick, healthy branch.
- Step 2: Sew or clip rings to the fabric corners.
- Step 3: Hang the center from the branch and stake or tie the corners.
- Step 4: Adjust the height with the rope.
- Make it last: Take it down in storms.
- Watch: Weak branches and ladders. Test the branch and have a helper hold the ladder.
Our take: use this over a hammock or a picnic blanket for a cozy spot.
15. Sliding Fabric Panels on a Track
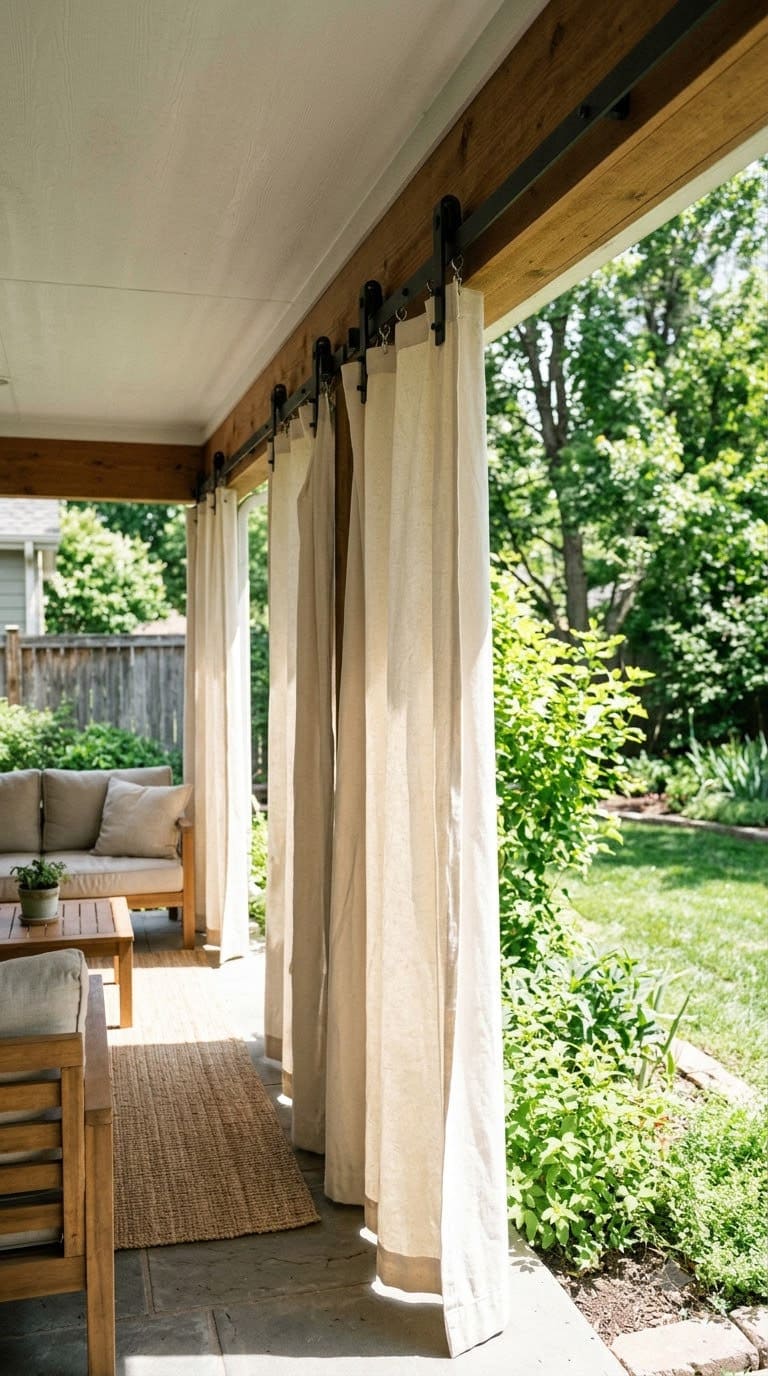
Sliding panels let you shade only what you need.
- Skill and time: Medium to hard, a weekend.
- What you need: A barn-door style rail or curtain track, fabric panels, rings or hooks, brackets and screws.
- Step 1: Mount the rail on the beam with brackets, level.
- Step 2: Clip panels onto the rail.
- Step 3: Add stops at each end.
- Step 4: Slide the panels to follow the sun.
- Make it last: Wash the fabric and wipe the rail.
- Watch: Weight. Use a rail rated for the panel weight.
Our take: this is a good upgrade once you have a covered patio.
16. Cattle Panel Arch With Vines
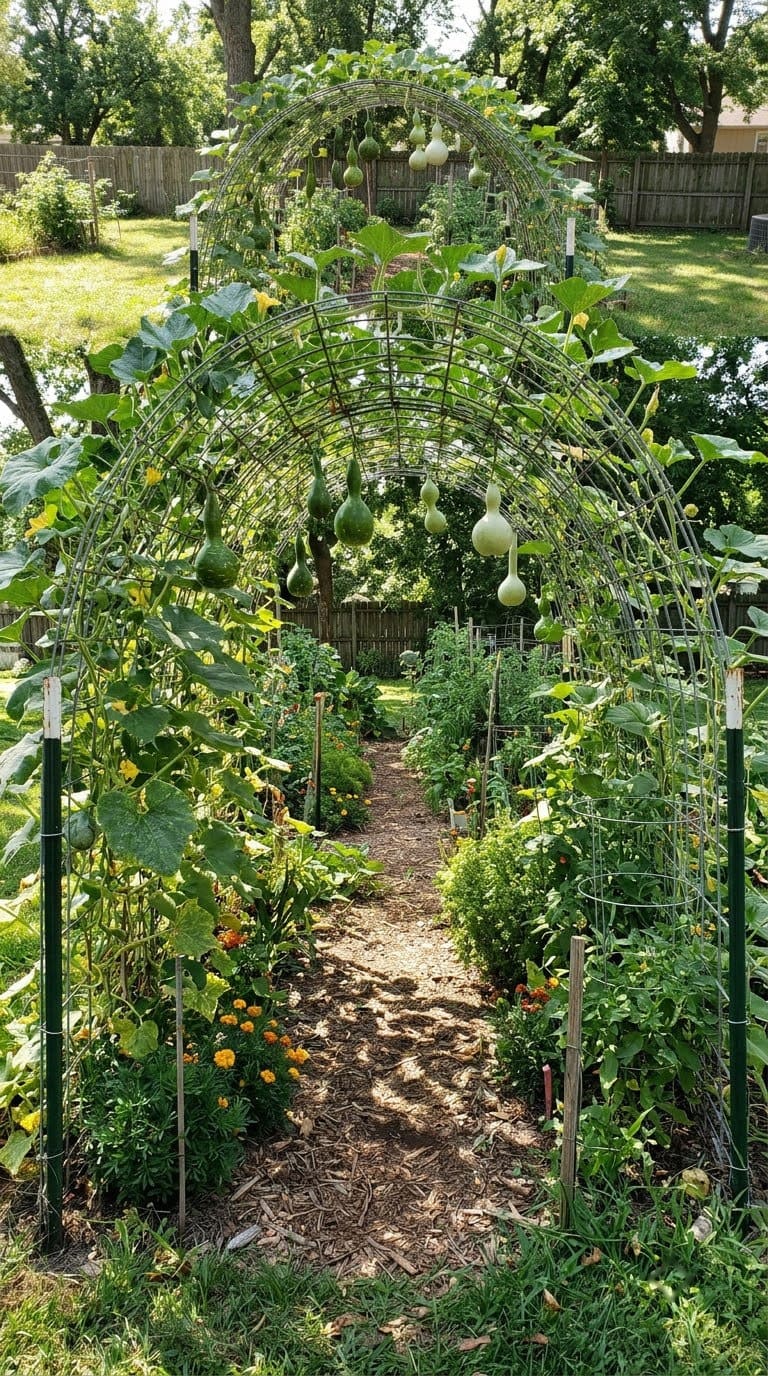
A cattle panel arch is sturdy and quick to set up.
- Skill and time: Medium, an afternoon.
- What you need: One cattle panel, four heavy-duty posts, wire ties and vines.
- Step 1: Stand the posts in pairs on either side.
- Step 2: Bend the panel into an arch and fasten it to the posts.
- Step 3: Plant vines at the base.
- Step 4: Tie the vines as they grow.
- Make it last: Paint the metal to slow rust.
- Watch: Sharp wire ends. Wear gloves and bend them over.
Our take: it makes a cool tunnel of shade for a path or a bench.
17. Kids’ A-Frame Shade Tent
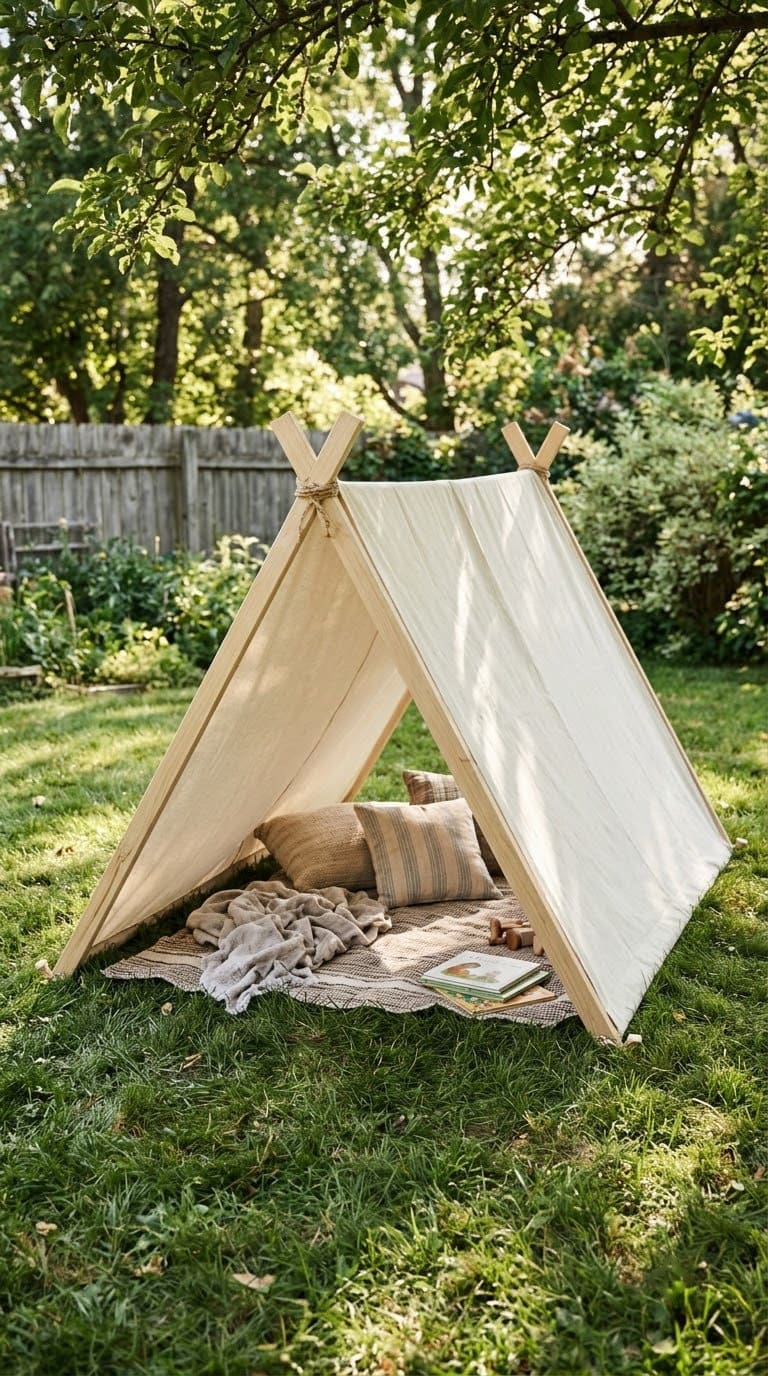
A small tent keeps kids cool.
- Skill and time: Easy, an hour.
- What you need: Two A-frame wooden ladders or poles, a ridge pole, fabric, ties and stakes.
- Step 1: Set the frames upright and join the tops with the ridge pole.
- Step 2: Drape a large piece of fabric over the pole.
- Step 3: Stake or tie the corners down.
- Step 4: Add cushions inside.
- Make it last: Wash the fabric each season.
- Watch: Tipping. Keep poles short and stable, and use it only under supervision.
Our take: choose a light color so the inside doesn’t get stuffy.
18. Sandbox Shade Cover
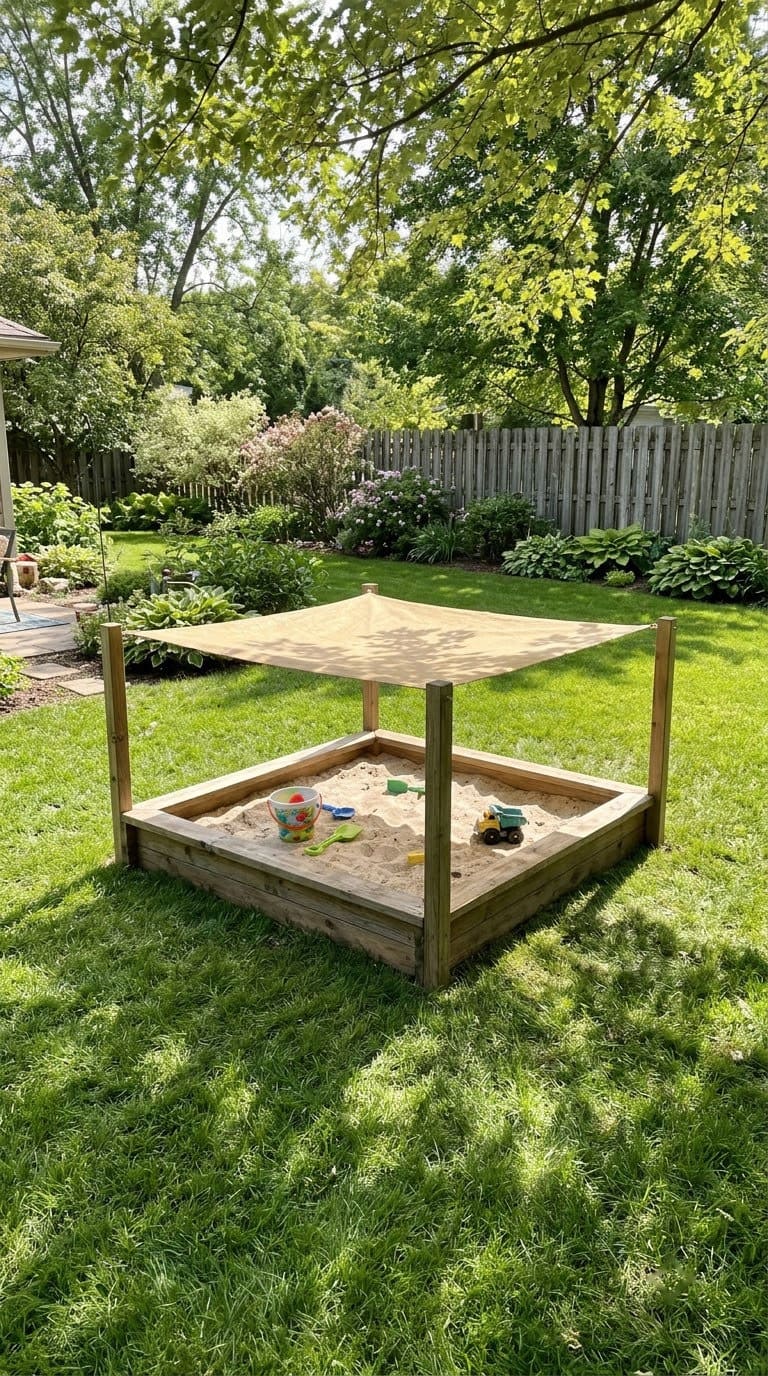
Shade for a sandbox protects kids and keeps sand cooler.
- Skill and time: Easy, an afternoon.
- What you need: Four posts or corner brackets, shade cloth, hooks and ties.
- Step 1: Attach the posts to the corners of the sandbox.
- Step 2: Stretch shade cloth across the top.
- Step 3: Tie or hook it down.
- Step 4: Check that the edges are above head height.
- Make it last: Take the cover off in winter.
- Watch: Low edges. Keep them clear of little heads.
Our take: pick a design you can lift off for a good clean.
19. Deck Rail Sun Screen
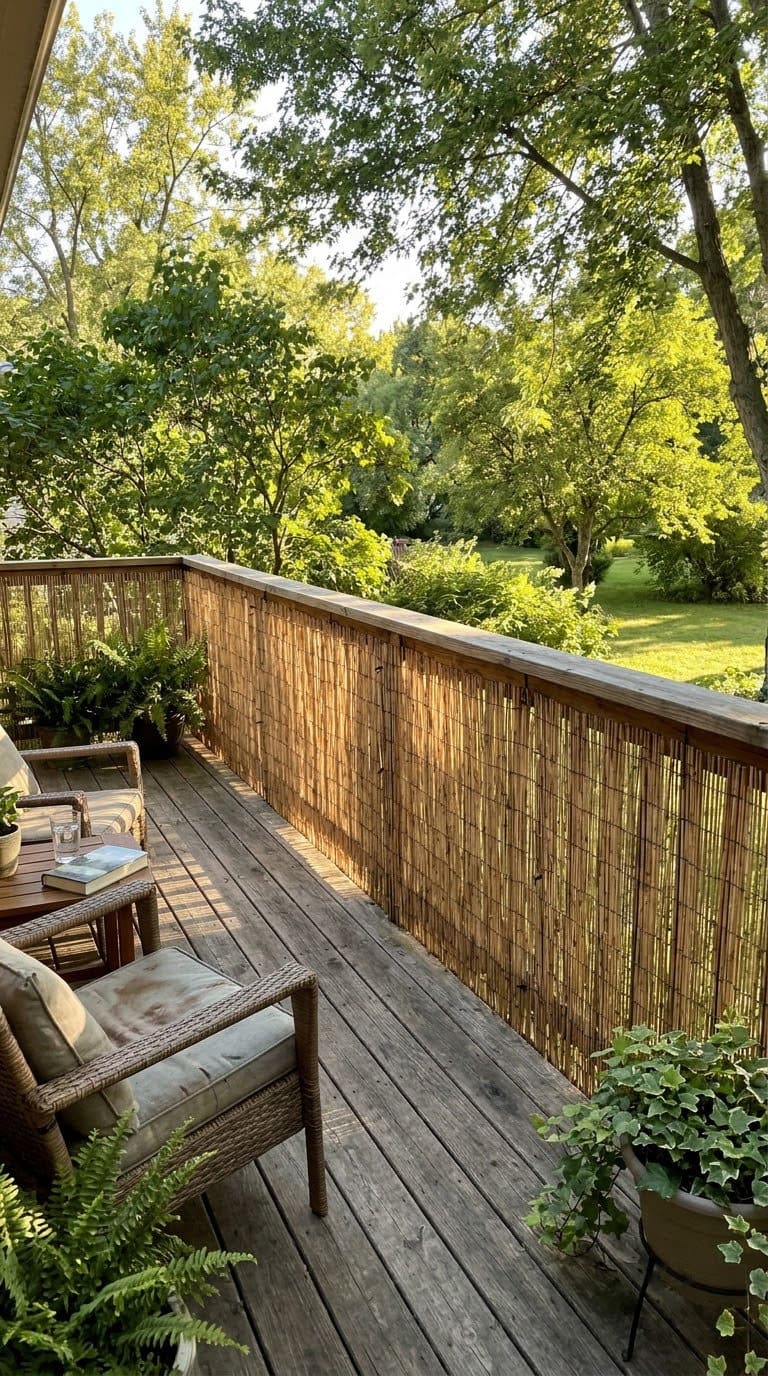
A rail screen blocks the side sun and adds privacy.
- Skill and time: Easy, an hour.
- What you need: A roll of screening material, zip ties and a measuring tape.
- Step 1: Unroll the screen along the railing.
- Step 2: Tie the top edge to the rail.
- Step 3: Tie the sides and bottom.
- Step 4: Check the screen won’t catch wind like a sail.
- Make it last: Take it down in winter.
- Watch: Wind. Use a breathable material.
Our take: this is a good rental option because it needs no drilling.
20. Exterior Window Shade Screens
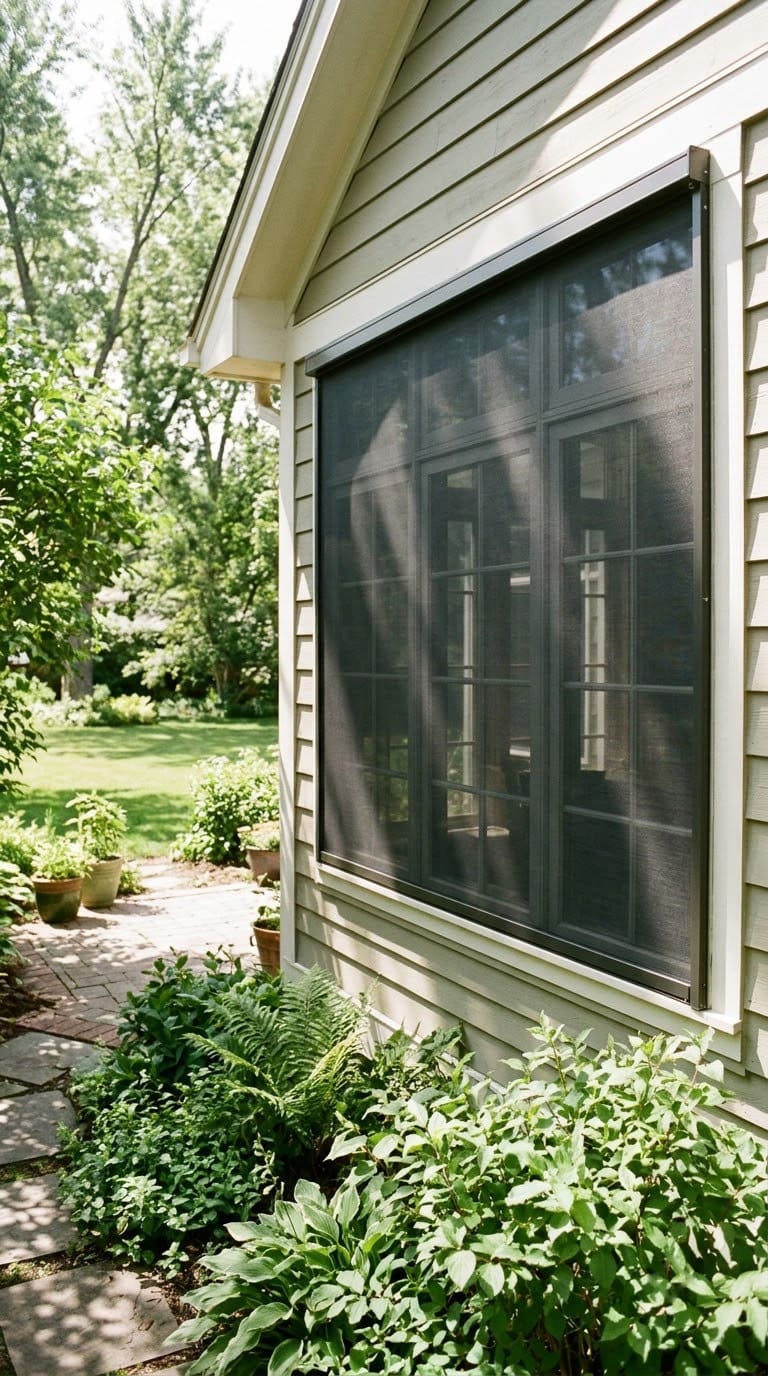
Shade your windows from outside to keep rooms cooler.
- Skill and time: Easy, an hour per window.
- What you need: Mesh sun screen fabric or a ready-made screen, a frame or hooks and a measuring tape.
- Step 1: Measure the window and add overlap on each side.
- Step 2: Cut the screen to size.
- Step 3: Attach it to the frame, or hook it to the outside of the window.
- Step 4: Remove it in winter when you want the sun.
- Make it last: Rinse dust off a few times a season.
- Watch: Ladders and wind. Use a steady ladder and secure the screen.
Our take: do the sunniest window first and see if it helps.
How Do You Add Lights and Comfort?
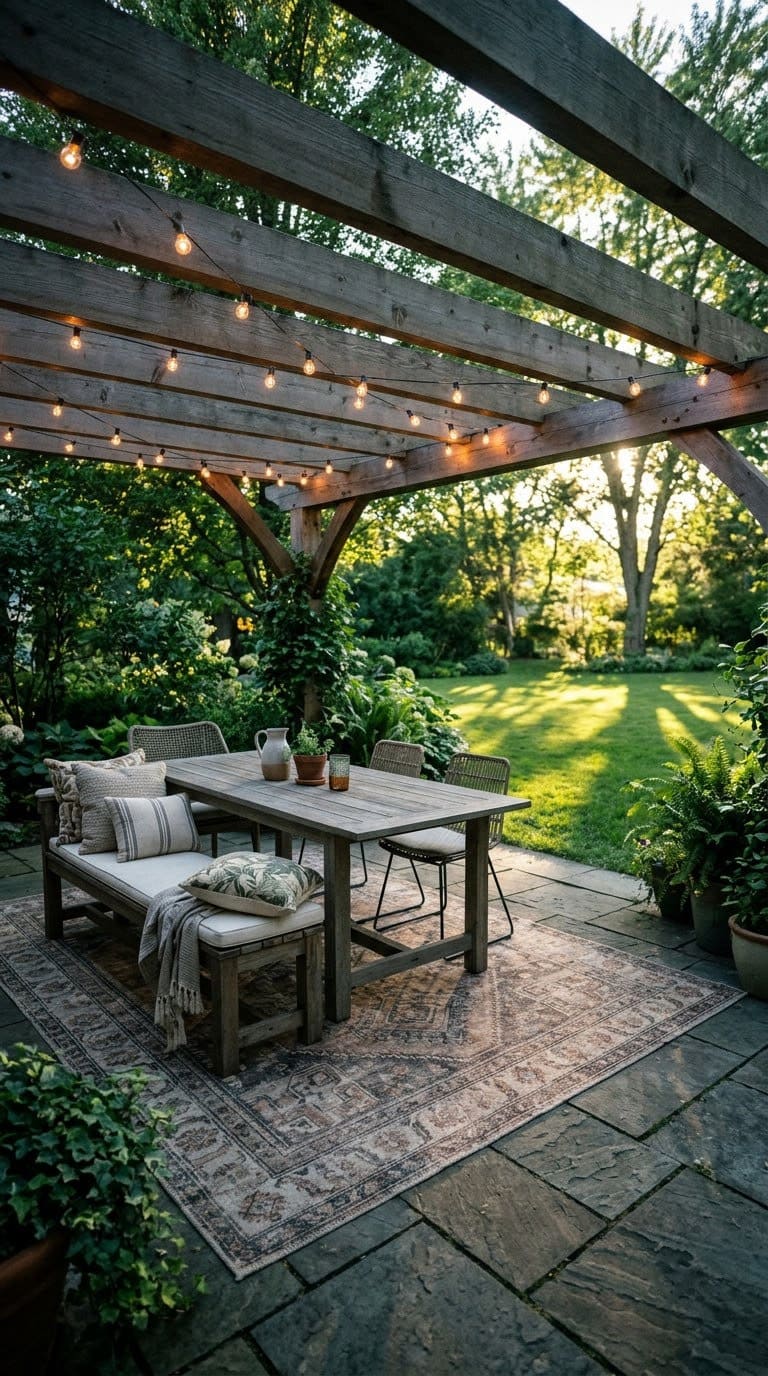
Once the shade is up, make it a place you want to sit.
- Hang battery or solar string lights along the beam.
- Add an outdoor rug under the table.
- Use cushions that dry fast.
- Add a small fan on a safe, dry outlet.
For more lighting ideas, see our fence lighting ideas.
Our take: keep lights and cords away from the fabric edges, and on a timer.
How Do You Take Care of DIY Shade?
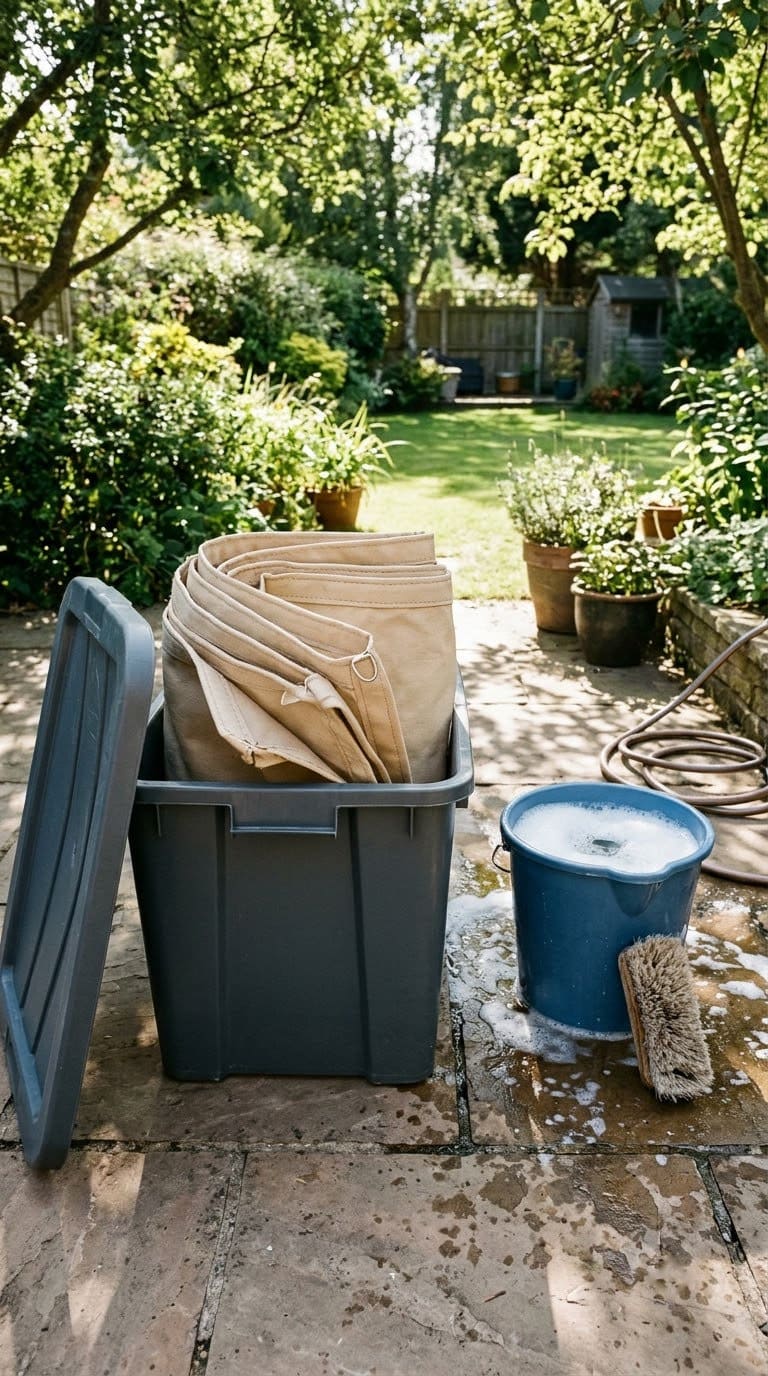
A little care helps the shade last for years.
- Wash fabric with mild soap and a soft brush.
- Dry it fully before folding.
- Store it in a dry bin over winter.
- Check ropes and hardware for wear.
- Tighten loose fittings.
Our take: take it down before storms. It’s easier than repairs.
What Mistakes Should You Avoid?
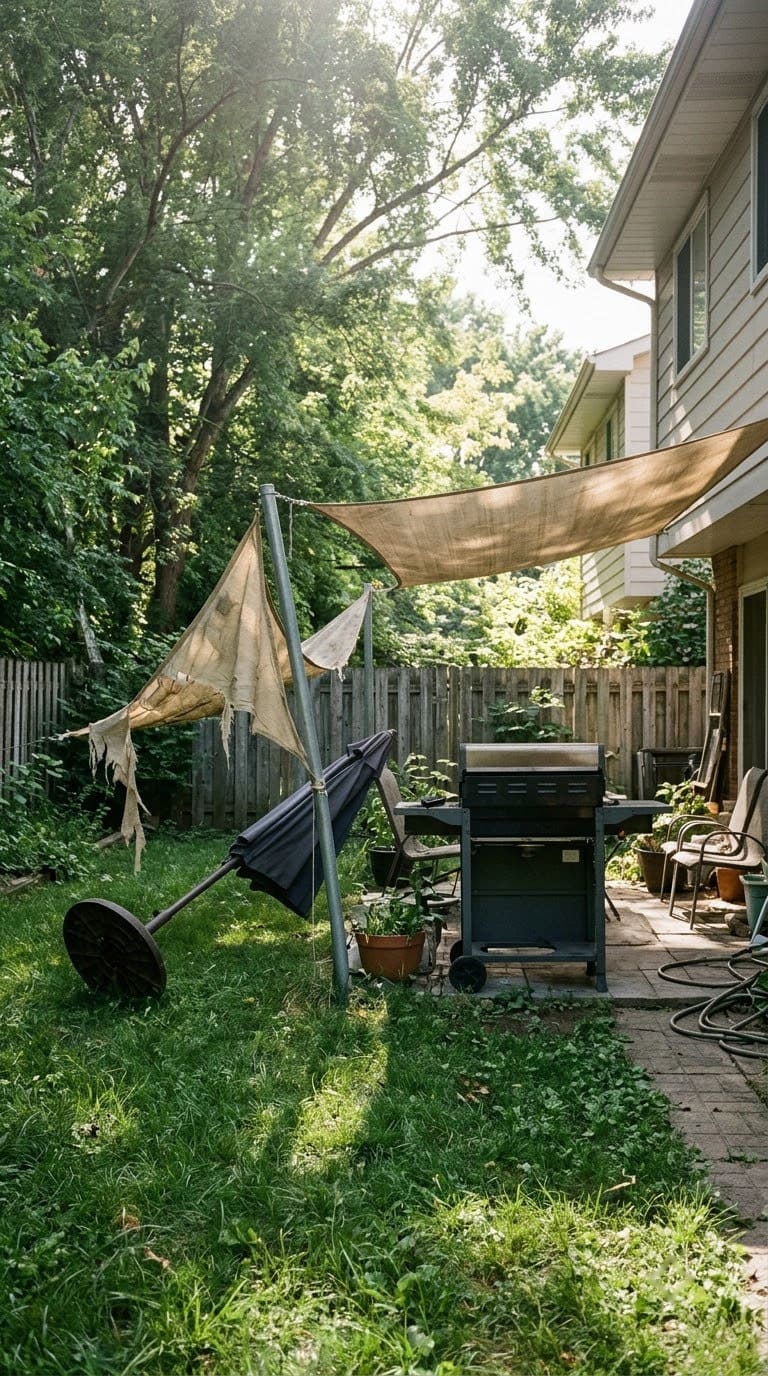
Most shade failures are about wind and flames.
- Weak posts. Set them deep.
- Grill under fabric. Move the grill clear.
- No tilt. Water pools and tears the fabric.
- Skipping the sun check. Shade in the wrong place does nothing.
- Leaving it up in storms. Take it down.
- Relying on shade alone. Use a hat, sunscreen and water too.
Frequently Asked Questions
What is the easiest DIY sun shade for a beginner?
Outdoor curtains or a clamp-on umbrella. Both take about an hour and need few tools. You can add a sail later.
How do I keep a shade sail from blowing down?
Use strong posts set deep, rated hardware and a taut, tilted fabric. Take it down in storms. If you aren’t sure about the posts, ask a pro.
Can I put a grill under my shade?
No. NFPA says to place a grill well away from the home, rails and eaves, and out from under overhanging branches. Keep fabric and wood shades well clear of flames.
Does shade protect me from the sun completely?
Not completely. The CDC says UV rays reflect off surfaces and reach you on cloudy days, and also advises hats, clothing and sunscreen. See our pool shade ideas for more tips.
Your Backyard Shade Plan
- Day 1: Watch the sun at your seats and take two photos.
- Day 2: Pick one project from the list and gather materials.
- Weekend: Build and anchor it.
- Next day: Test the wind hold and check all knots and screws.
- Every season: Wash, dry and store fabric safely.
Start with one easy shade, anchor it well and keep flames far away. That is how a hot yard becomes a place you use.
Never miss an update — choose FarmFoodFamily as your preferred source on Google.
How it works: Tap the button below to open Google's settings page, then check the box next to FarmFoodFamily.
Tap the checkbox to turn it blue — that's how you know it's set.