20 Cheap Garden Cement Projects You Can Cast This Weekend (With Safety and Curing Tips)
A bag of cement and a few molds can fill your garden with planters, stepping stones, and bird baths, as long as you protect your skin and let each piece cure.

Never miss an update — choose FarmFoodFamily as your preferred source on Google.
How it works: Tap the button below to open Google's settings page, then check the box next to FarmFoodFamily.
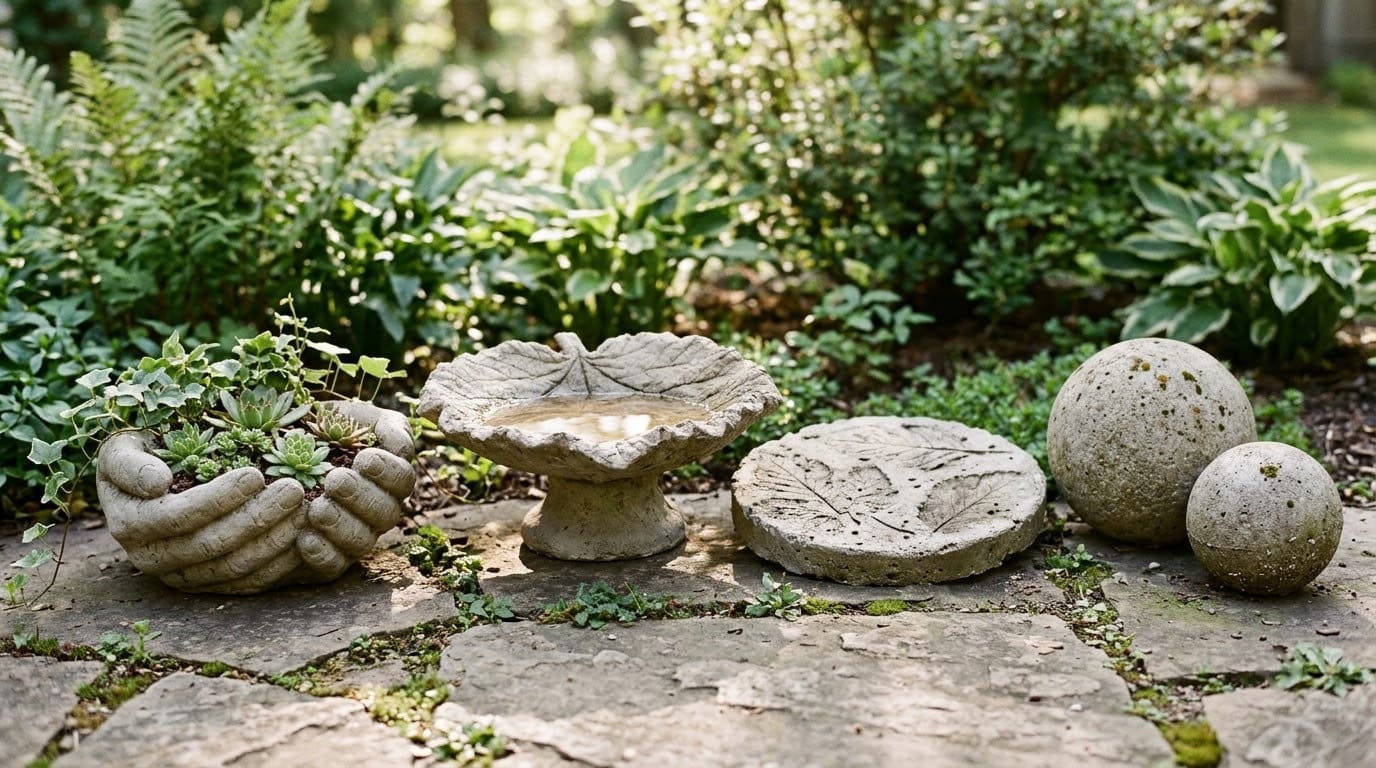
Tap the checkbox to turn it blue — that's how you know it's set.
A bag of cement and a few molds can fill your garden with planters, stepping stones, and bird baths, as long as you protect your skin and let each piece cure.
Cement is one of the cheapest ways to make garden decor that looks like stone. You can cast a bowl, a ball, or a bench with a bag of mix and a few household molds.
The catch is that wet cement can burn your skin, and a piece that cures too fast can crack. This guide gives you 20 projects plus the safety, mix, and curing steps that most lists skip.
What’s the Quick Answer for Cheap Cement Garden Projects?
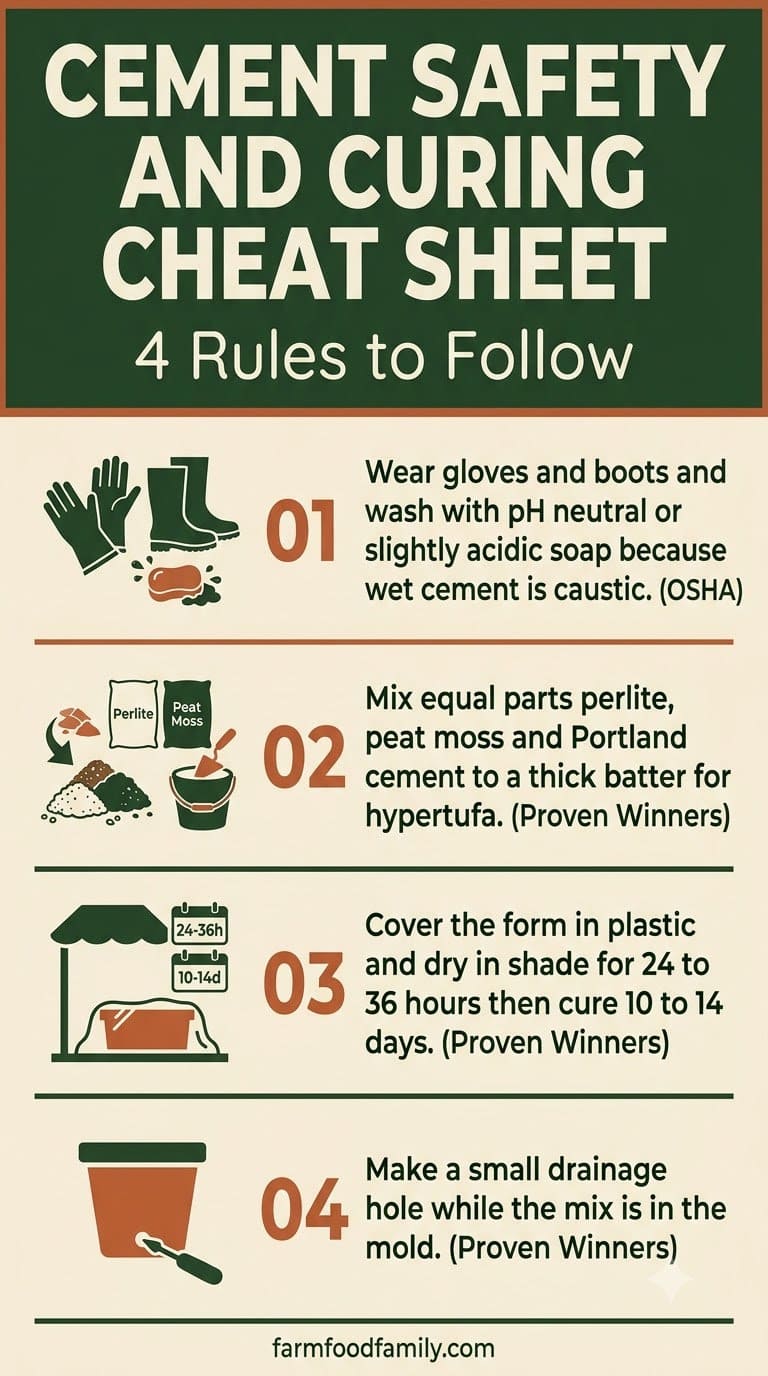
Protect your skin first. OSHA says wet cement can cause cement burns because it is caustic. Its guidance points to gloves, boots, and pH neutral or slightly acidic soap to prevent skin problems. Wear eye protection and a dust mask too.
Use a mix made for the job. Proven Winners gives a hypertufa recipe of equal parts perlite, peat moss, and Portland cement. It says to cover the form with plastic and dry it in the shade for 24 to 36 hours.
Let each piece cure. Proven Winners says to cure hypertufa in the shade for 10 to 14 days before use. Plan your project around that wait, and work in the shade.
Answer 4 quick questions and get matched to the exact fix for your yard — drainage, budget, layout, or something else entirely.
Take the Free QuizAdd drainage to any planter. Proven Winners says to make a small drainage hole with your finger while the mix is still in the mold.
Which Cement Project Is Right for You?
This table is our own planning guide. The skill and cost notes are general practice, not from a tested source.


| Project type | Skill level | Cost tier | Best for |
|---|---|---|---|
| Hypertufa planter | Beginner | Very low | Succulents, small flowers |
| Cast stepping stone | Beginner | Low | Paths |
| Garden balls | Beginner | Very low | Borders, decor |
| Fountain or bird bath | Intermediate | Medium | Water features |
| Bench or side table | Intermediate | Medium to high | Seating |
How Do You Stay Safe When Working With Cement?
OSHA says wet cement can cause cement burns and skin inflammation. Its 2008 guidance covers gloves, boots, and other protective gear. It also says to use pH neutral or slightly acidic soaps and to take steps that make cement products less hazardous.
Wear waterproof gloves, long sleeves, and boots. If wet cement soaks into your clothes, change them. Rinse any splash off your skin with clean water right away.
Dry cement, perlite, and peat dust are not good to breathe. OSHA also lists a NIOSH guide on working safely with silica, which is found in some concrete products. Wear a dust mask when you measure and mix dry ingredients, and mix outdoors.
Hypertufa or Concrete: Which Should You Use?
Hypertufa is lighter and has a rough, stone-like look. It suits planters and troughs. Proven Winners uses equal parts perlite, peat moss, and Portland cement.
Most yard problems trace back to one specific, fixable cause. Find yours in 4 quick questions.
Take the Free QuizConcrete is heavier and stronger. It suits benches, tables, and stepping stones. Use a bagged mix and follow the instructions on the bag.
Start with one small piece to learn how your mix behaves. A bowl or a garden ball teaches you the water balance before you commit to a bench.
Pick by weight. A hypertufa pot is easy to move. A concrete bench stays put, but you cannot lift it alone.
How Long Does Cement Take to Cure?
Curing means letting the mix harden while it stays damp. A piece that dries too fast can crack. Cover it with plastic and keep it out of direct sun.
Our one fetched source, Proven Winners, gives these times for hypertufa. Other guides in our search results give longer ones.
| Stage | Proven Winners |
|---|---|
| In the mold, covered in plastic, in the shade | 24 to 36 hours |
| Curing in the shade after unmolding | 10 to 14 days |
| Consistency of the mix | Sticky and a bit drippy, like a thick batter |
Search results for other hypertufa guides mention two to four weeks before planting. When in doubt, wait longer.
What Tools and Molds Do You Need?
You do not need a workshop. A bucket, a hoe or stick for mixing, and a trowel cover most projects. Add a wheelbarrow or a large tub if you mix more than one batch.
Look around the house for molds. Plastic bowls, buckets, bread pans, cake pans, and rubber balls all work. A mold with slightly sloped sides lets the piece slide out.
Coat the inside of a mold with cooking spray or a release spray so the piece comes out clean. Press the mix in well to remove air pockets, and tap the sides to settle it.
Keep a separate set of tools for cement. Wash them outdoors right after use, since hardened cement is hard to remove. Do not rinse leftover mix down an indoor drain.
How Do You Cast a Simple Cement Piece Step by Step?
Mix equal parts perlite, peat moss, and Portland cement, per Proven Winners. Add water, and let the mix stand a few minutes. It should look like a thick batter.
The average homeowner spends $616/year on yard fixes that don't address the real problem. Find out what yours actually is — before you spend another dollar.
Take the Free Quiz

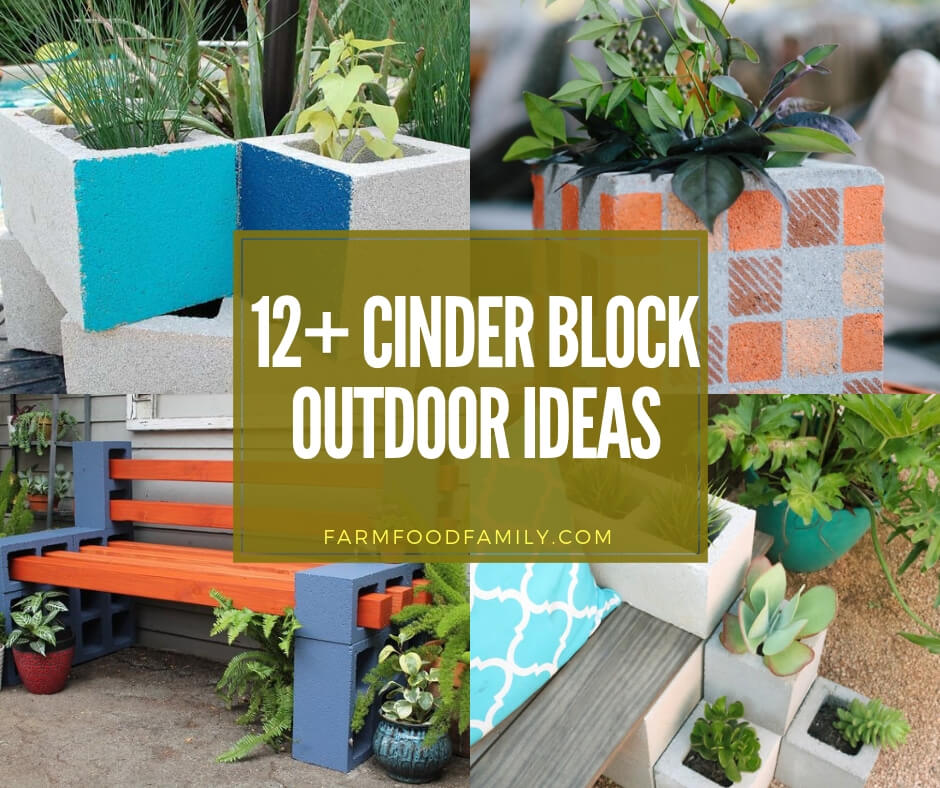
Pour or press the mix into the mold. Make a drainage hole with your finger if it is a planter. Cover the form with plastic wrap and dry it in the shade for 24 to 36 hours.
Remove it from the mold by pressing gently on the bottom. Cure it in a shady spot for 10 to 14 days. The piece will lighten in color as it cures.
Wear gloves for every step. Wash your tools well after you finish.
20 Cheap Garden Cement Projects
1. Concrete Garden Bench
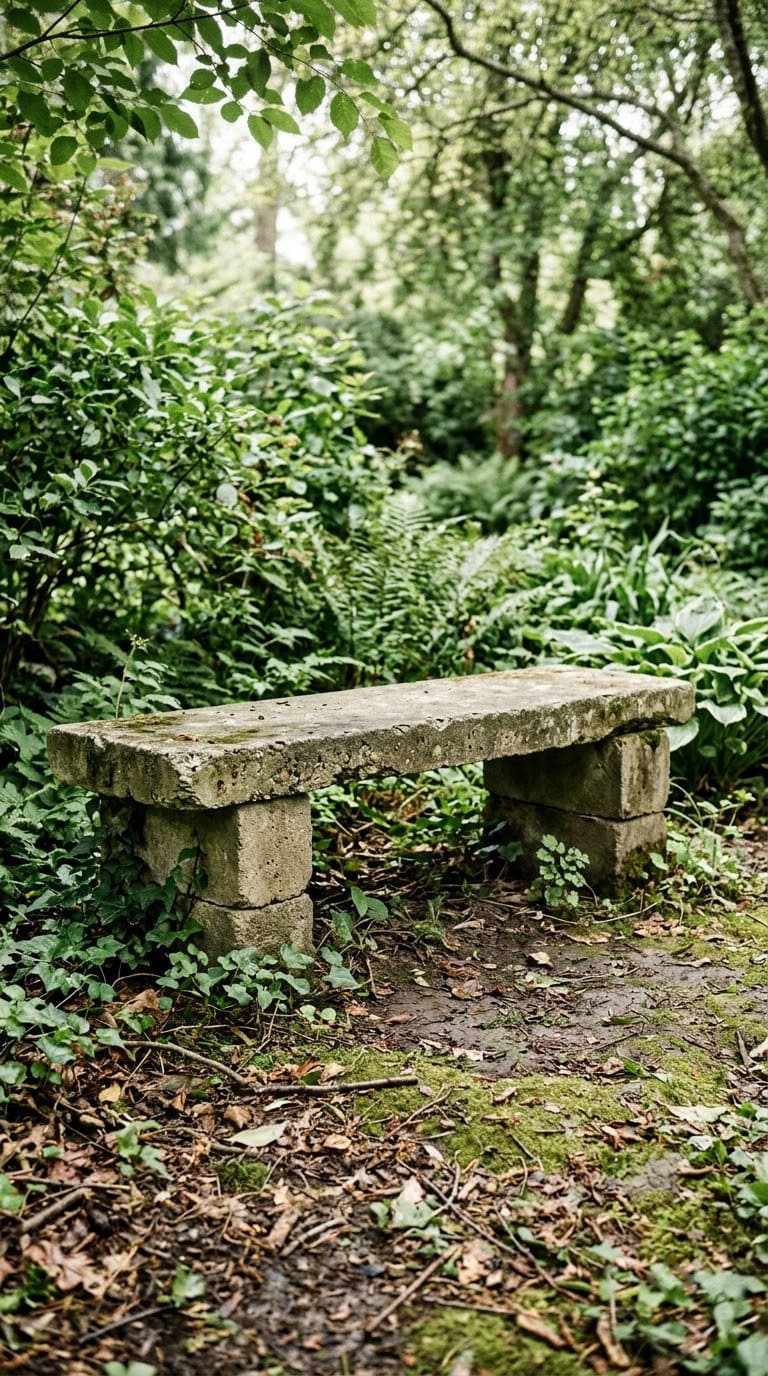
A bench is the biggest project here. Rest a cast slab on two block or paver supports. The slab is heavy, so place it where it will stay.
Use a bagged concrete mix and follow the label. Wear gloves and a dust mask when you mix.
Cost tier: medium.
2. Paver Planter
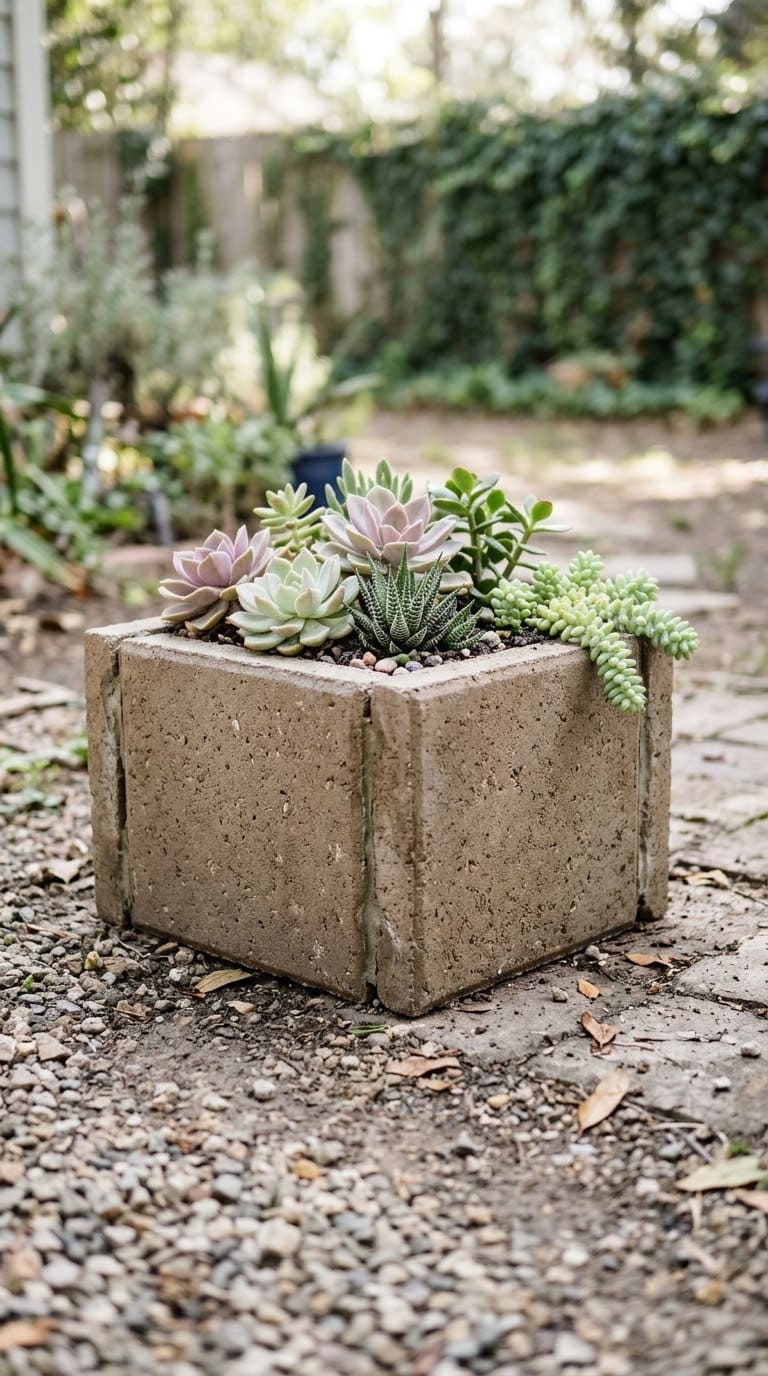
Glue four pavers on edge into a square box. Add a base paver with a gap for drainage. This needs no mixing, so it suits a beginner.
Cover the gap with window screening, per Cornell Cooperative Extension of Nassau County. Fill with lightweight potting mix.
Cost tier: low.
3. Cobblestone Path Stones
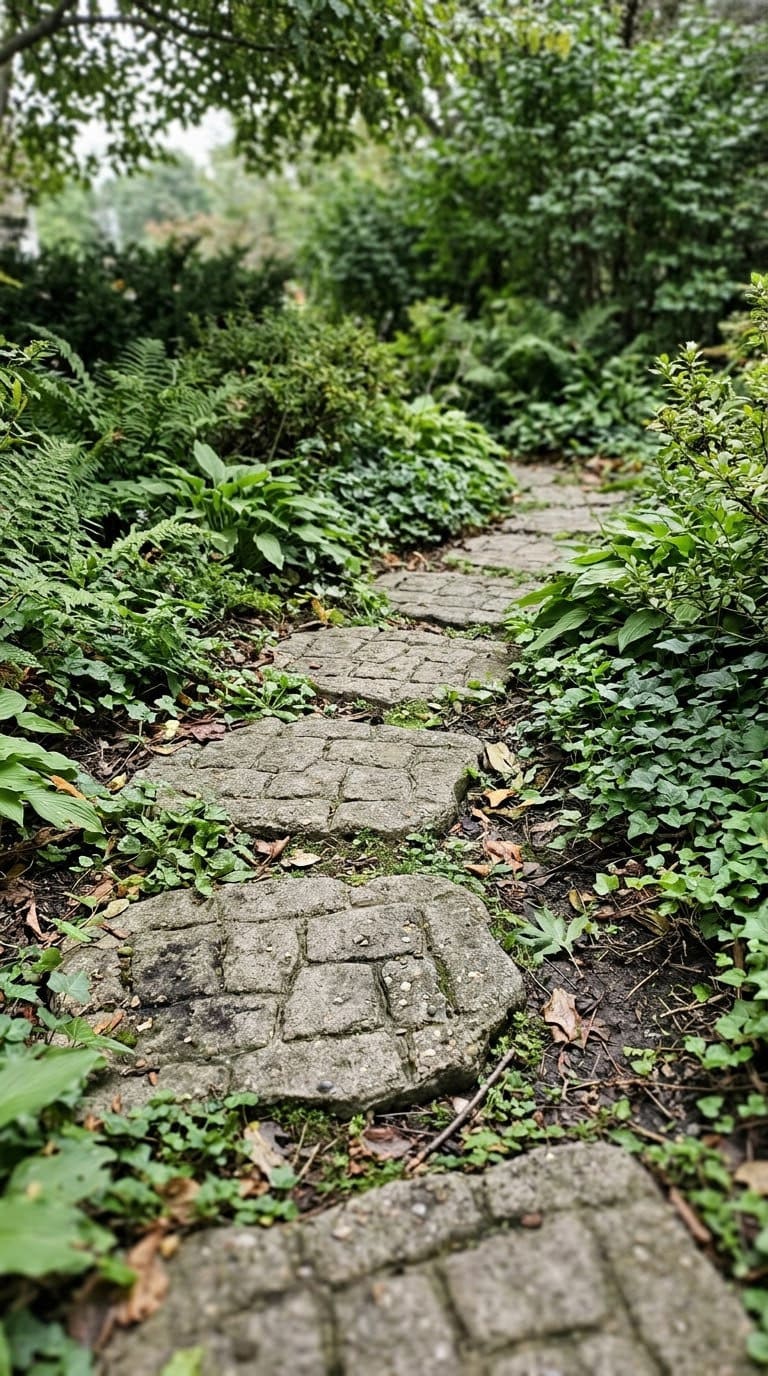
Press a stone-patterned mold into the mix and cast several pieces. Space them along a path. Our garden path ideas show layouts.
Let each stone cure fully before you step on it.
Cost tier: low.
4. Hand-Cast Planters and Bowls
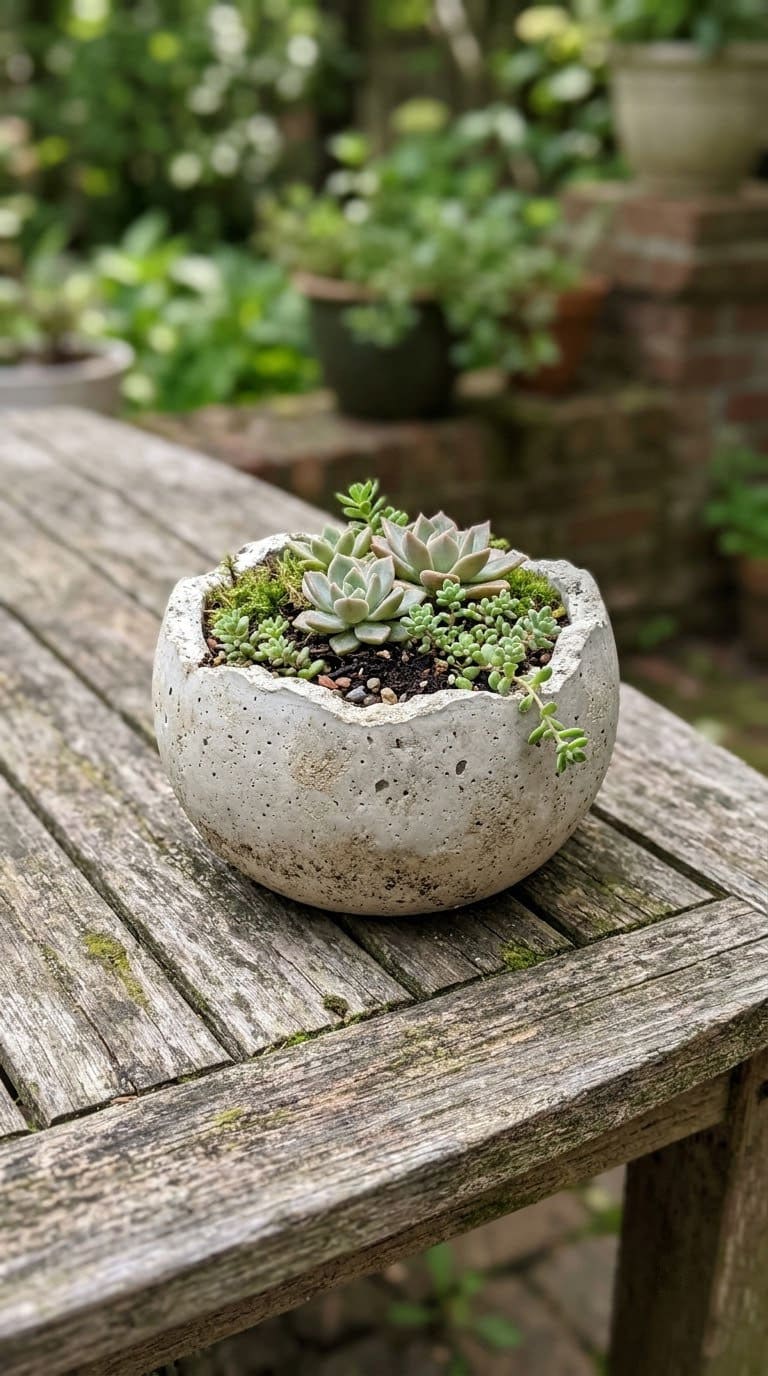
Form a bowl over a balloon or inside a plastic bowl. Press the mix to a uniform thickness. Make a drainage hole before it sets.
Turn it out after the mold time, then cure it in the shade.
Cost tier: very low.
5. Cement Vases
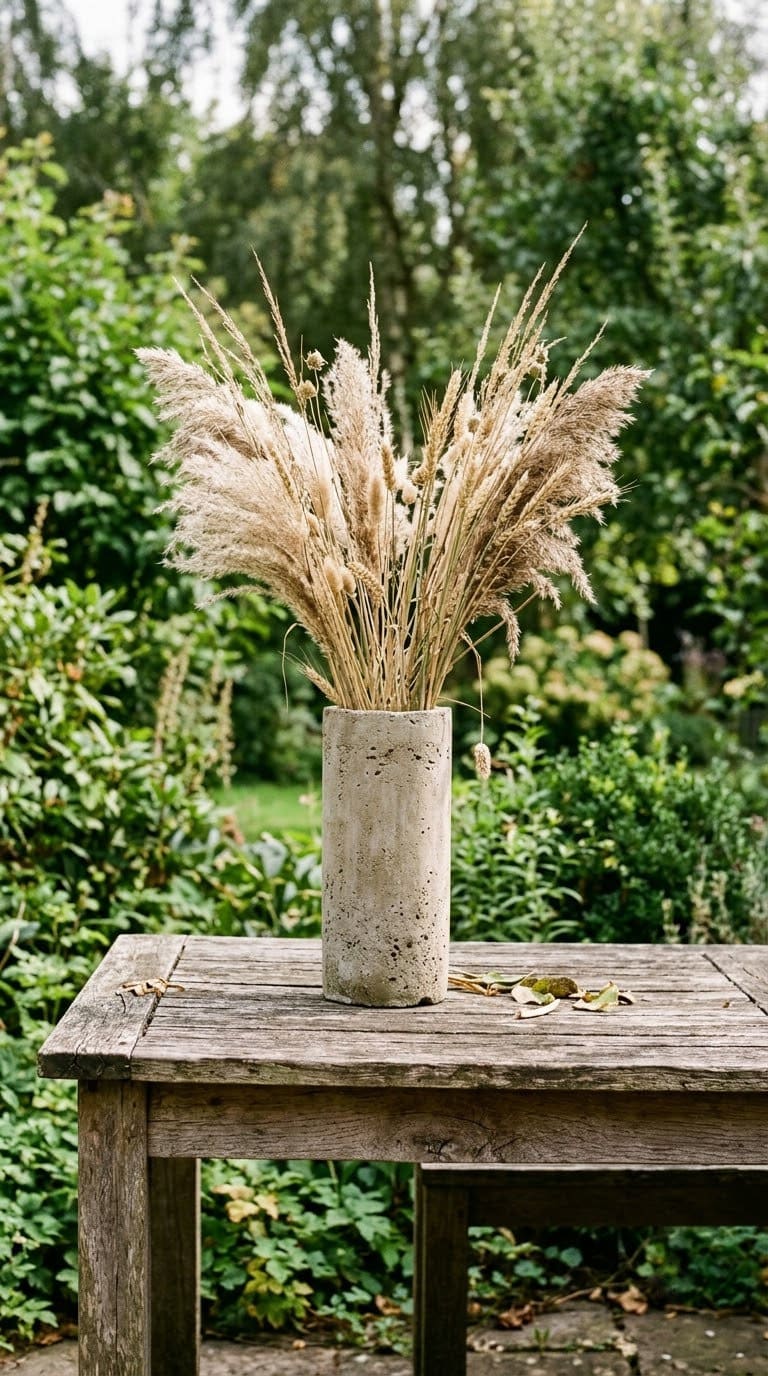
Pour the mix around a bottle set in a larger mold. A plastic cup inside the form leaves a hollow center, per Proven Winners.
Use it for dried grasses, not cut flowers, unless you line it.
Cost tier: low.
6. Rubber Mat Stepping Stones

Cut a rubber mat into a mold shape. Pour a thin layer of mix and press the mat into it. The pattern shows after you lift it.
Oil the mat first so it releases. Use a mold release spray or cooking spray.
Cost tier: very low.
7. Cement Beverage Cooler
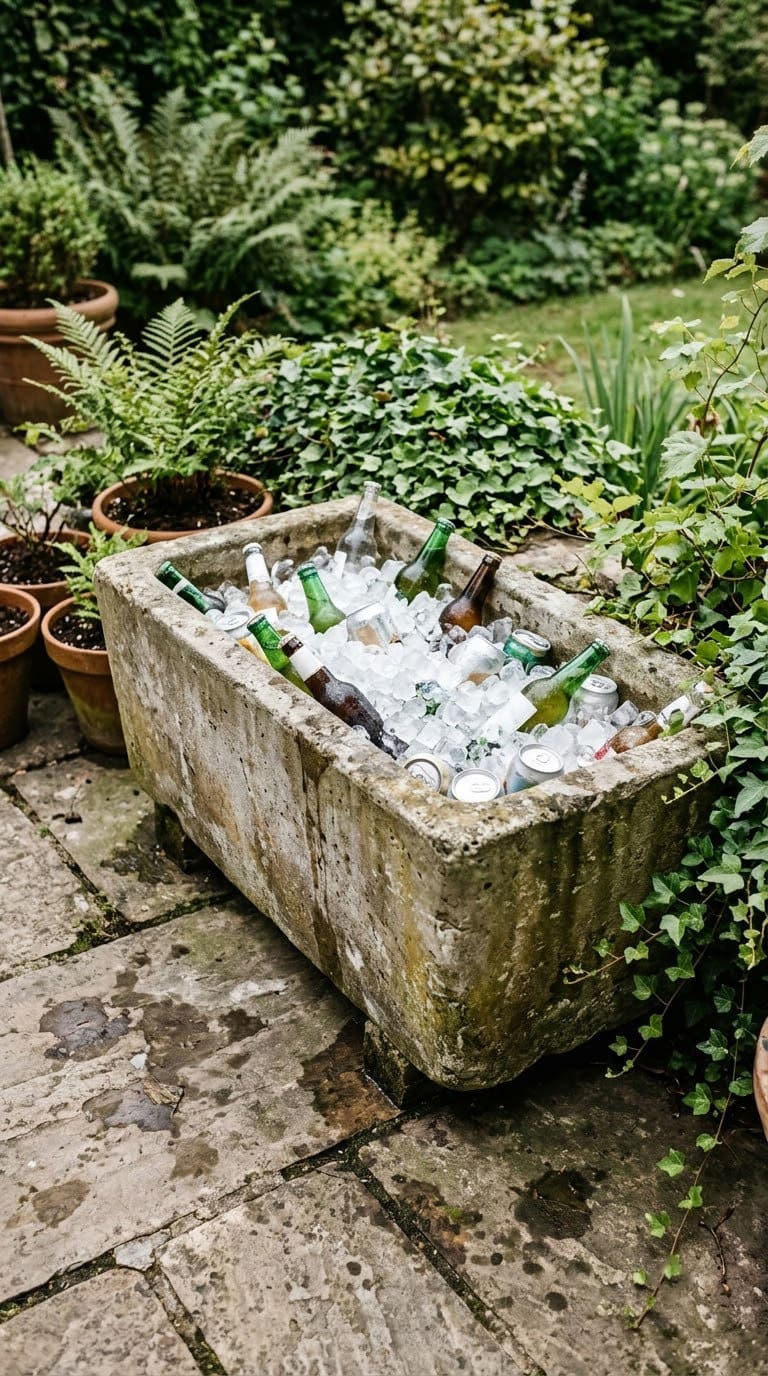
Cast a large trough and drill a drain hole at one end. Fill with ice for a party. Empty it afterward.
Use a plug so it holds water for the party and drains afterward.
Cost tier: medium.
8. Cement Garden Balls
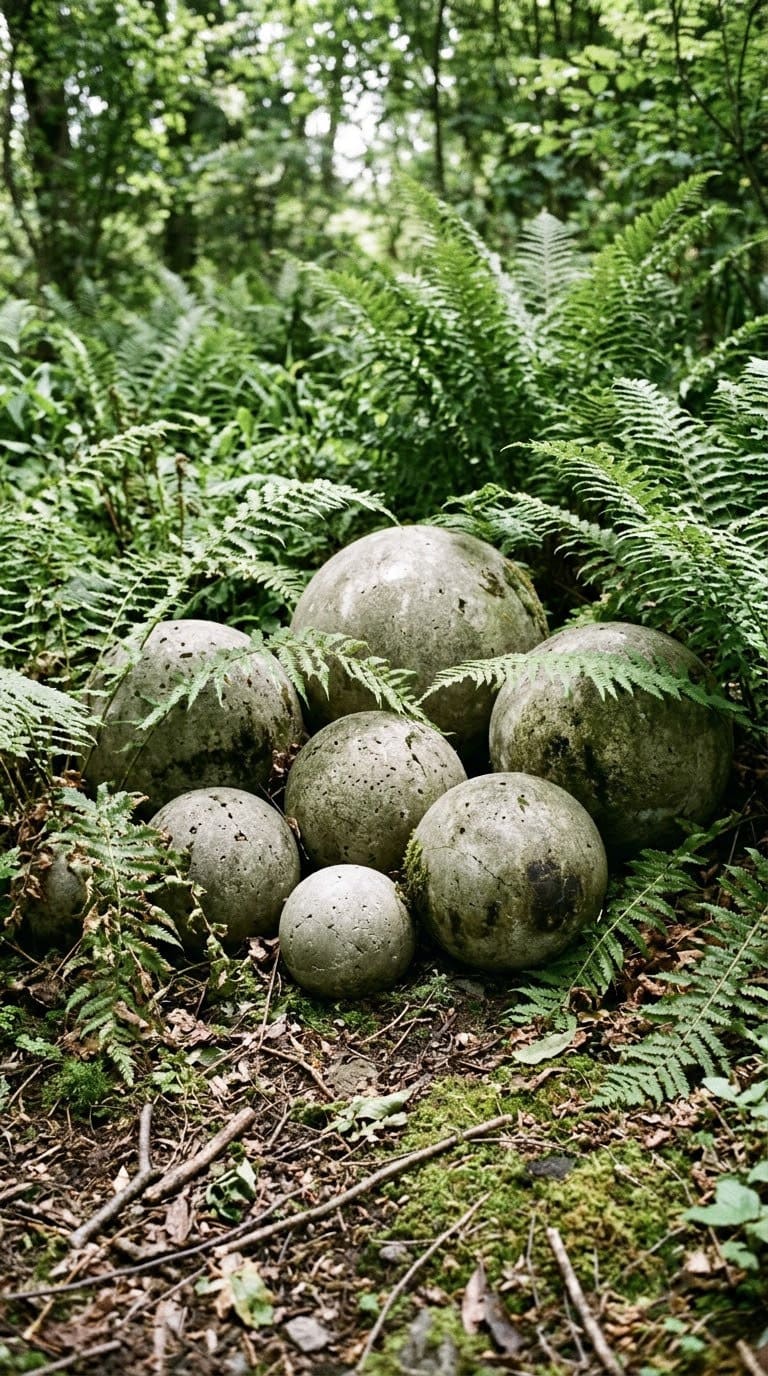
Cast balls in rubber play balls or around balloons. Cover the mold in layers. Group them in odd numbers.
Fill larger balls with crumpled foil to save weight and mix.
Cost tier: very low.
9. Cement Yard Word Art
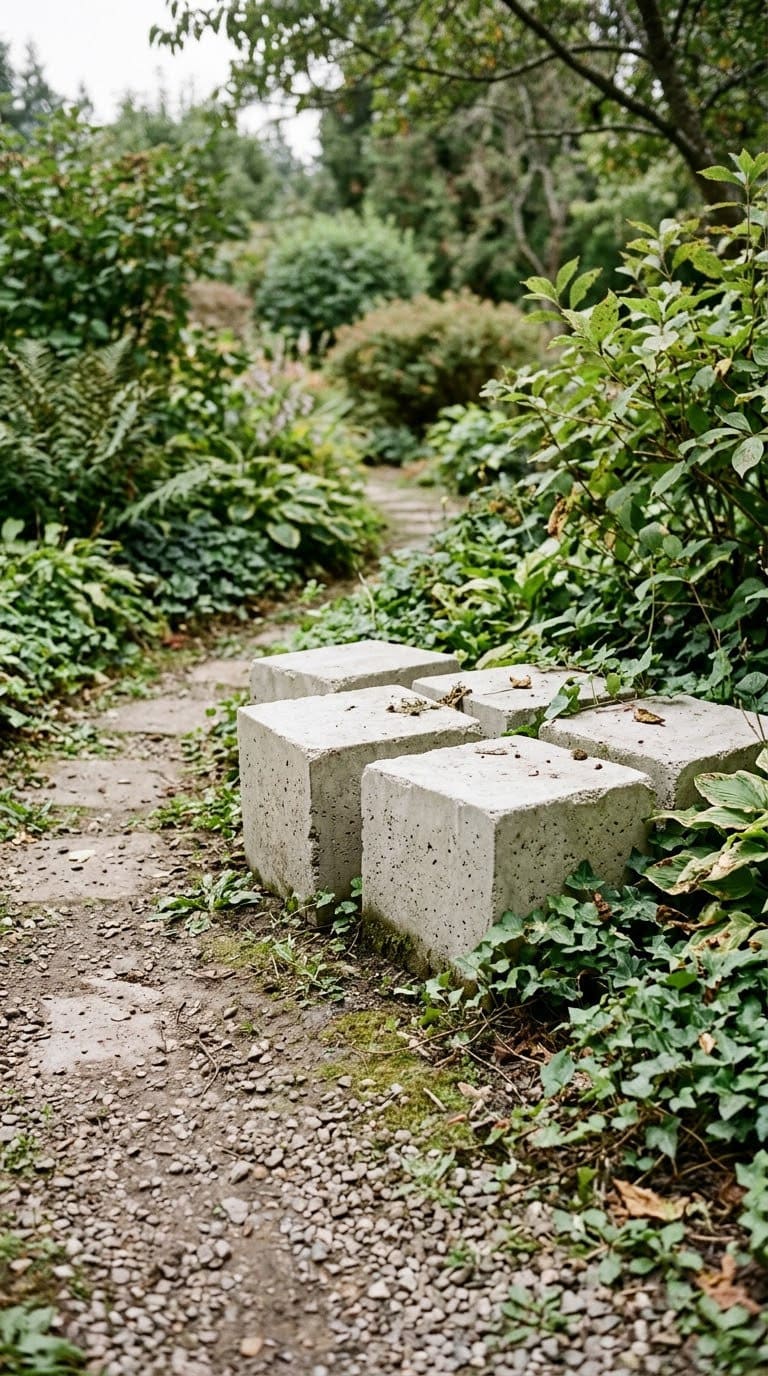
Use plastic letter molds or cut foam letters. Cast each letter and let it cure. Set them on a bed of gravel.
Keep the word short so it stays easy to cast.
Cost tier: low.
10. Cement Garden Fountain

Stack cast bowls with a small pump hidden in a base. Water spills from bowl to bowl.
The CDC says to empty or turn over anything that holds water at least weekly, since mosquitoes lay eggs in it. A running pump helps, but still check the basin.
Cost tier: medium.
11. Leaf-Cast Bird Bath
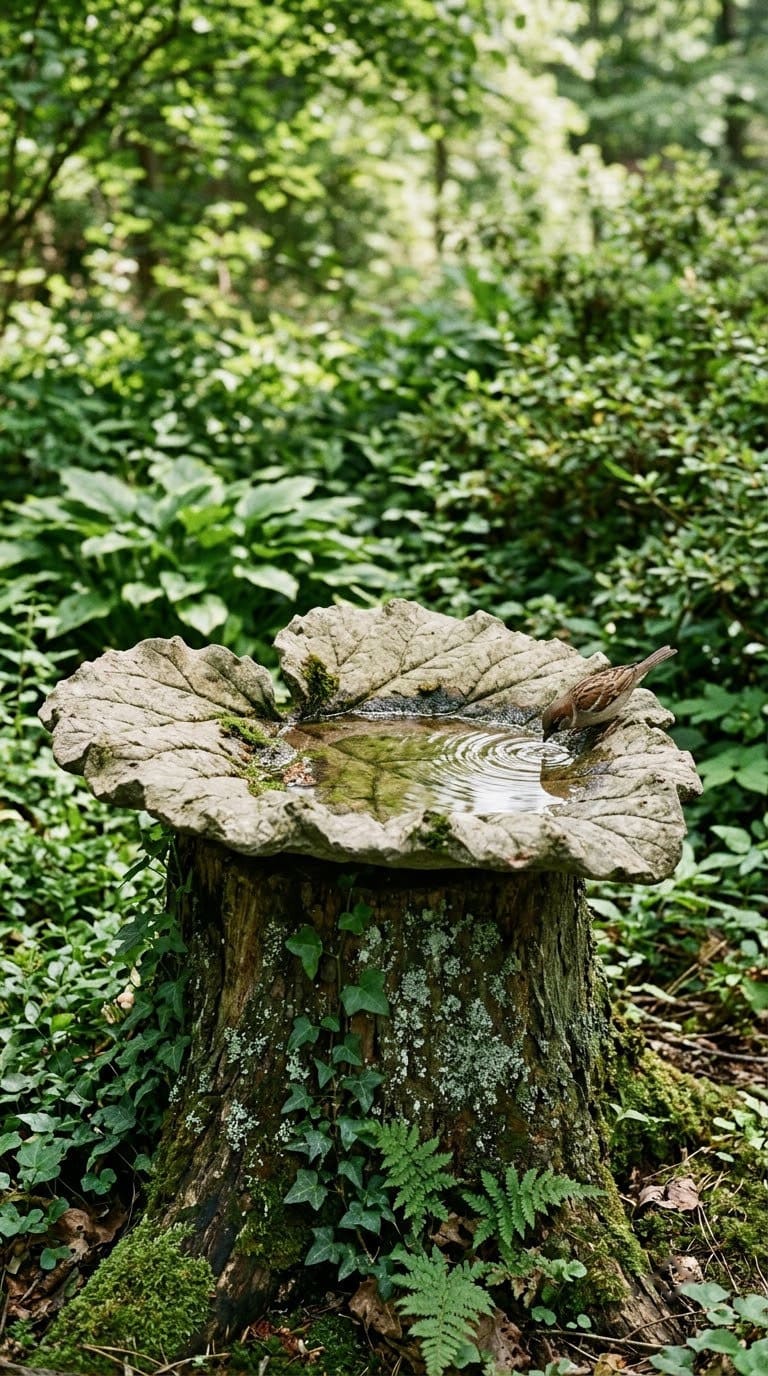
Press the mix over a large leaf placed on a mound of sand. Peel the leaf off after it sets. The veins stay in the cement.
Keep the water shallow and fresh. Per the CDC, empty it at least weekly.
Cost tier: low.
12. Paver Side Table
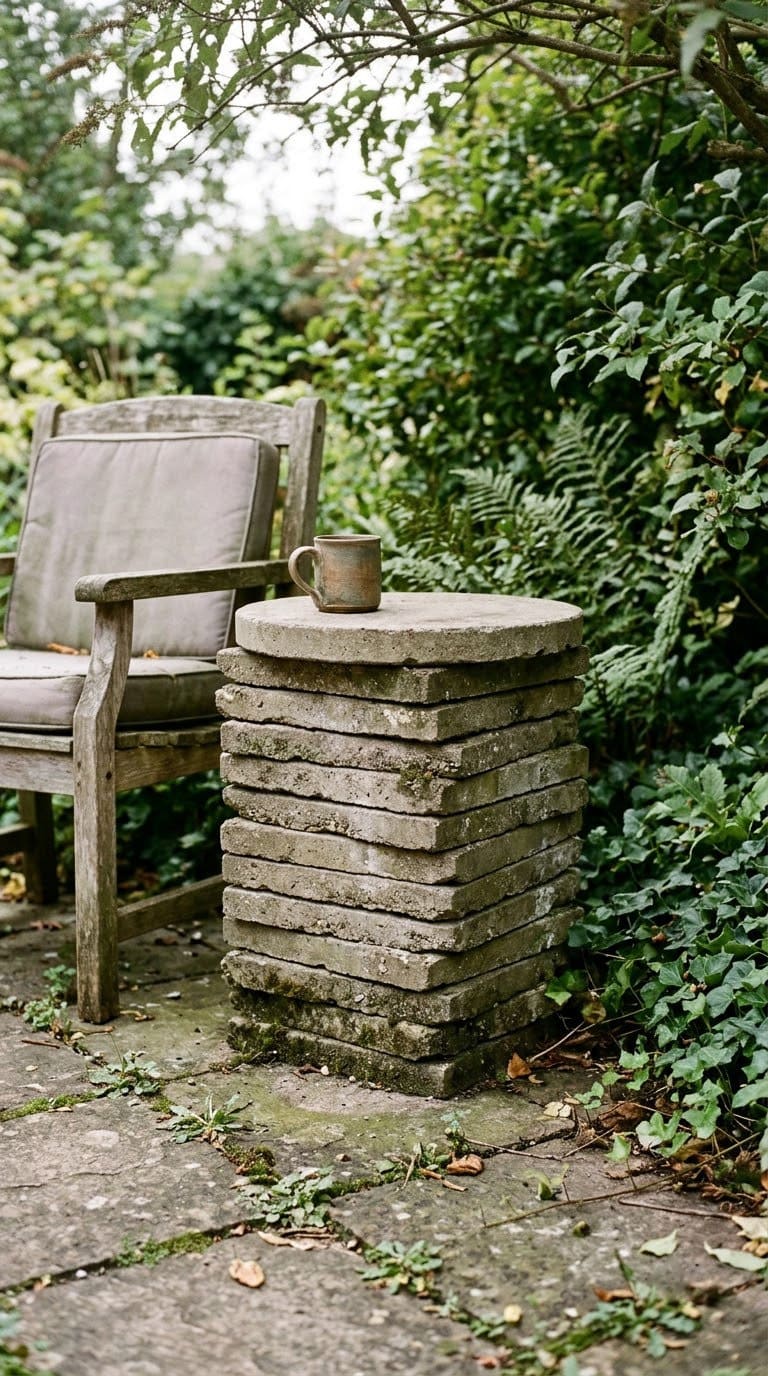
Stack pavers and glue a flat top on them. It makes a sturdy table for a drink.
Use outdoor construction adhesive on every joint.
Cost tier: low.
13. Cement Pumpkin
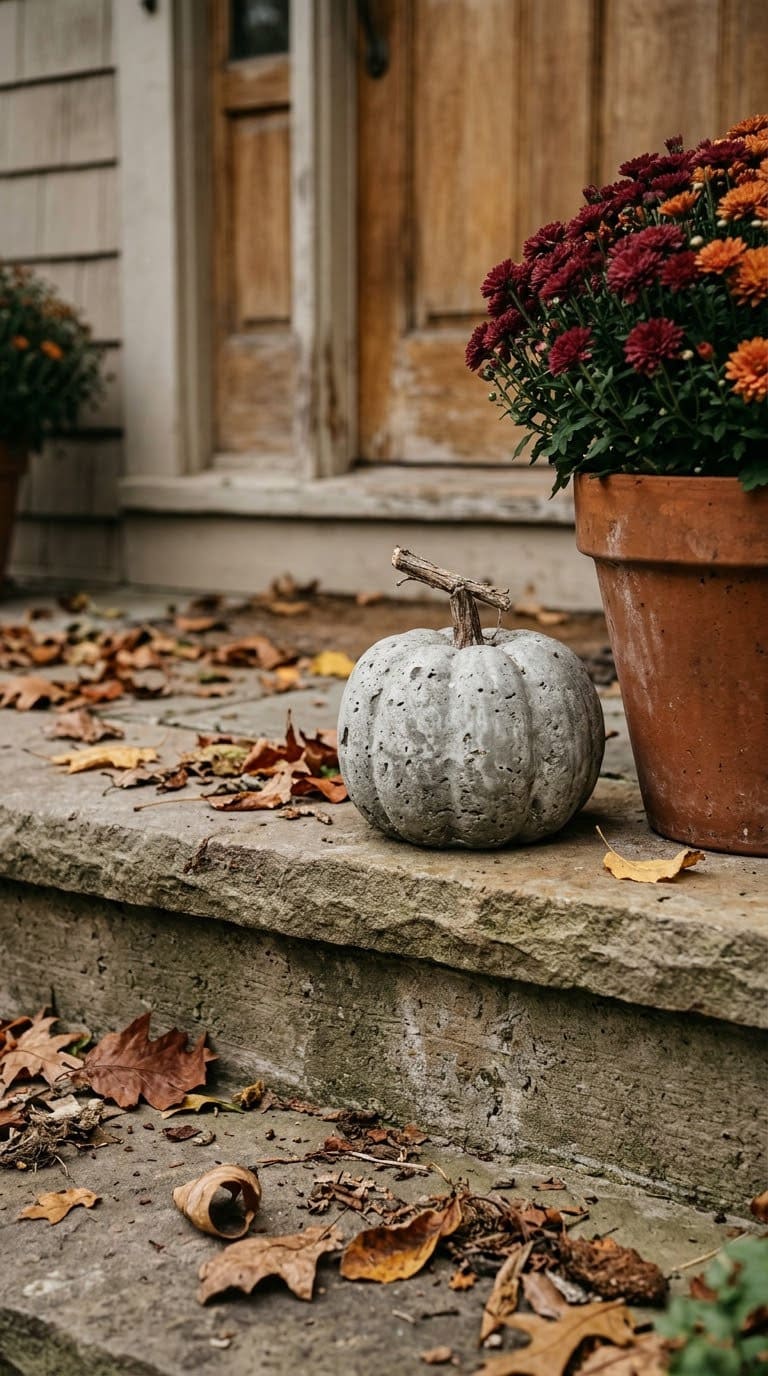
Cast a pumpkin in a plastic mold or a balloon with rubber bands. Add a stick for the stem. It lasts far longer than a real pumpkin.
Paint it orange or leave it gray.
Cost tier: very low.
14. Garden Orbs
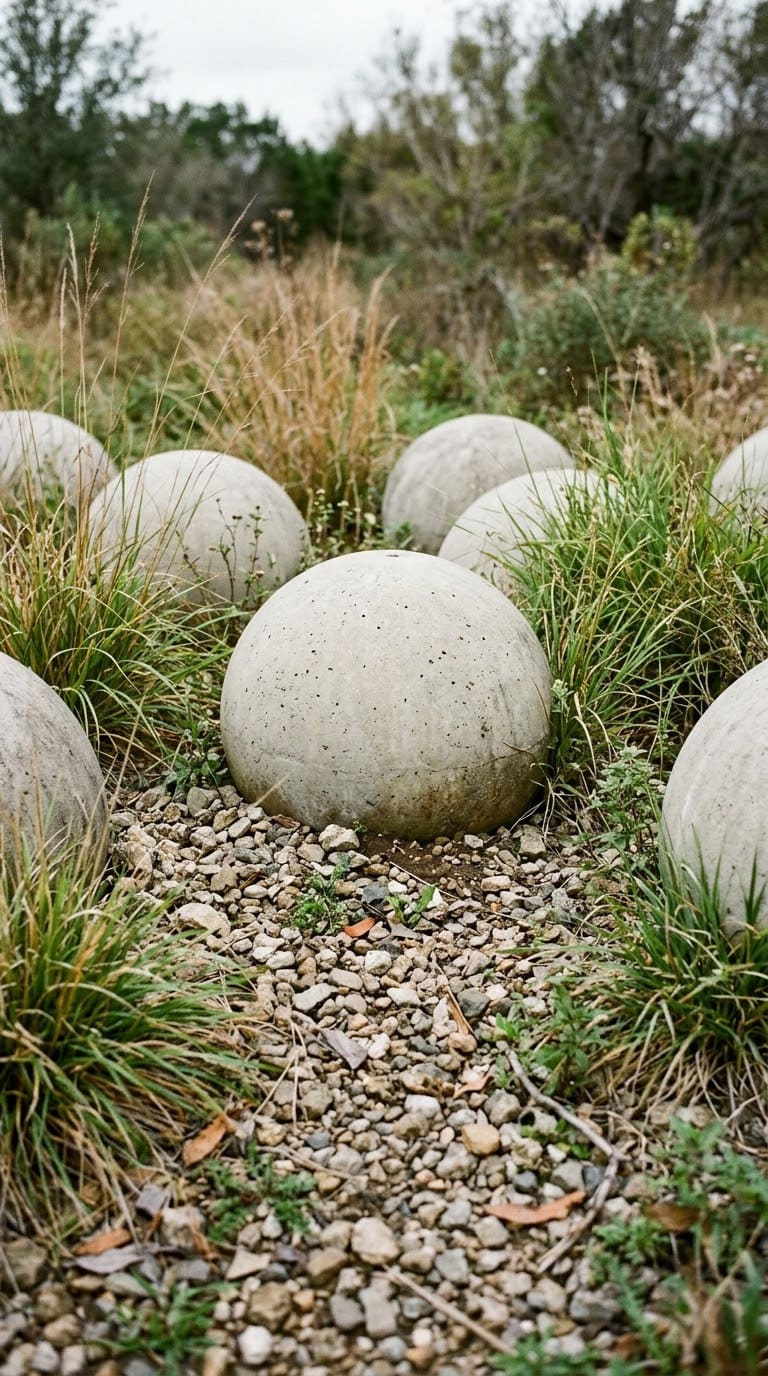
Make large orbs from two cast halves joined together. Bury them partway for a stable look.
Seal the joint with a thin layer of mix.
Cost tier: low.
15. Hypertufa Millstone
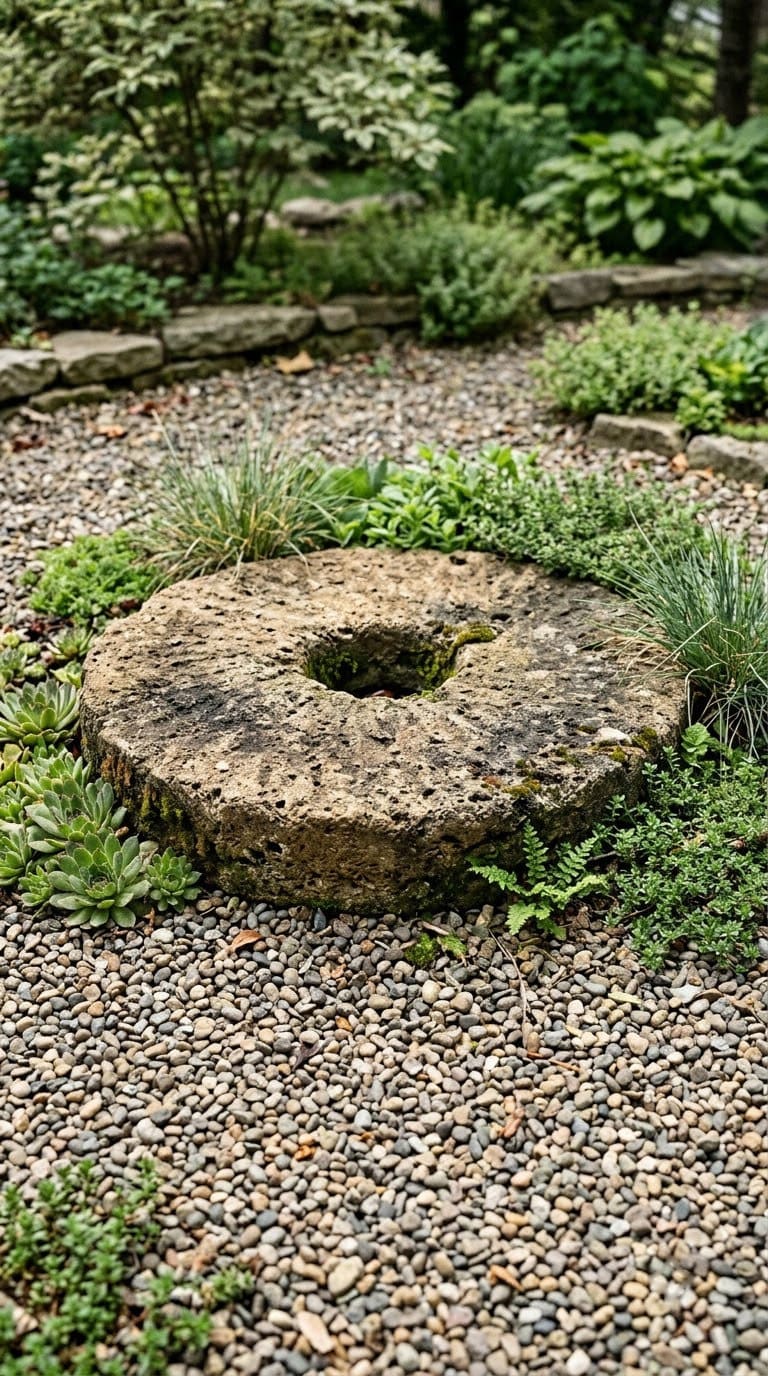
Cast a thick round disc with a hole in the center. Place it in a gravel bed as a focal point. It also works as a pedestal.
Make sure the disc is fully cured before you move it.
Cost tier: low.
16. Cement Edging Blocks
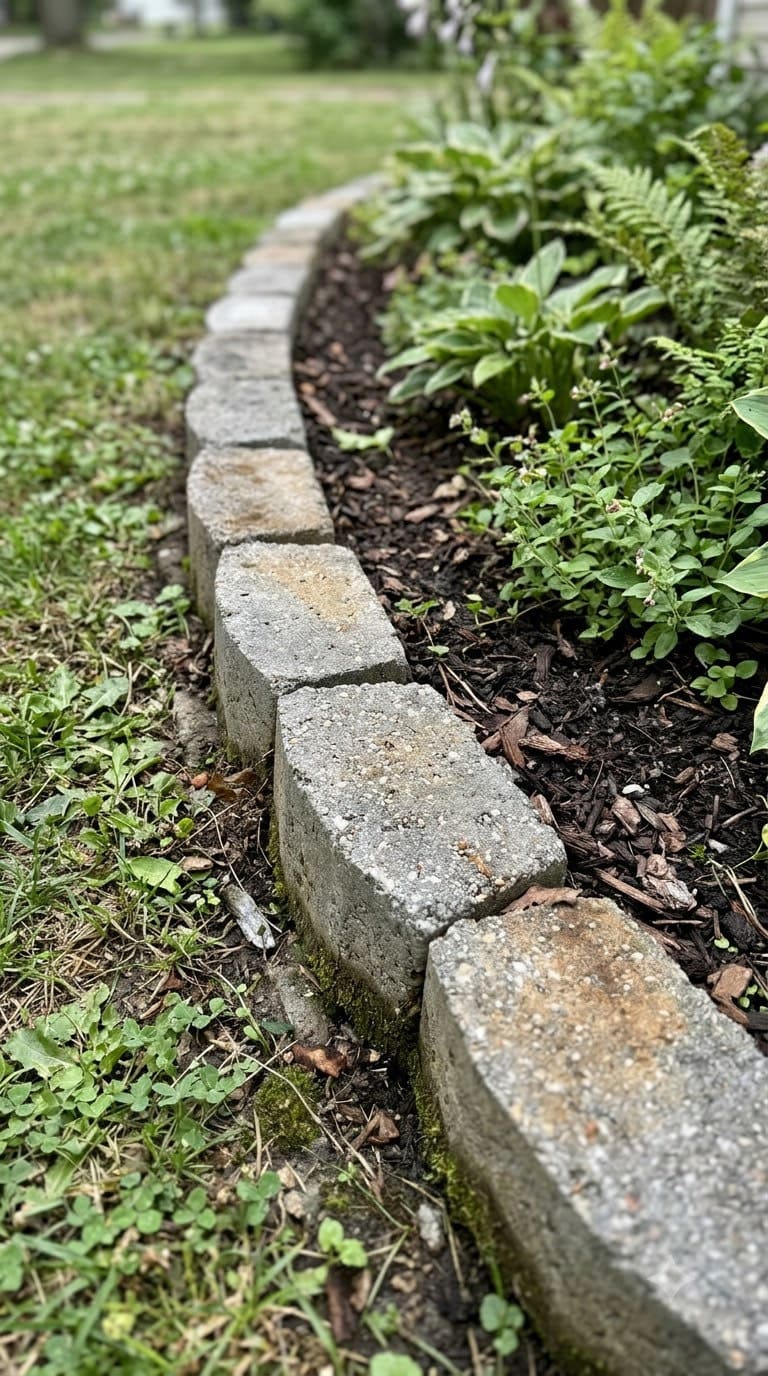
Cast small blocks in a loaf pan. Line them along a bed to hold the soil. Our concrete edging ideas show more styles.
Cast several in one session, then stack them to cure.
Cost tier: low.
17. Succulent Trough
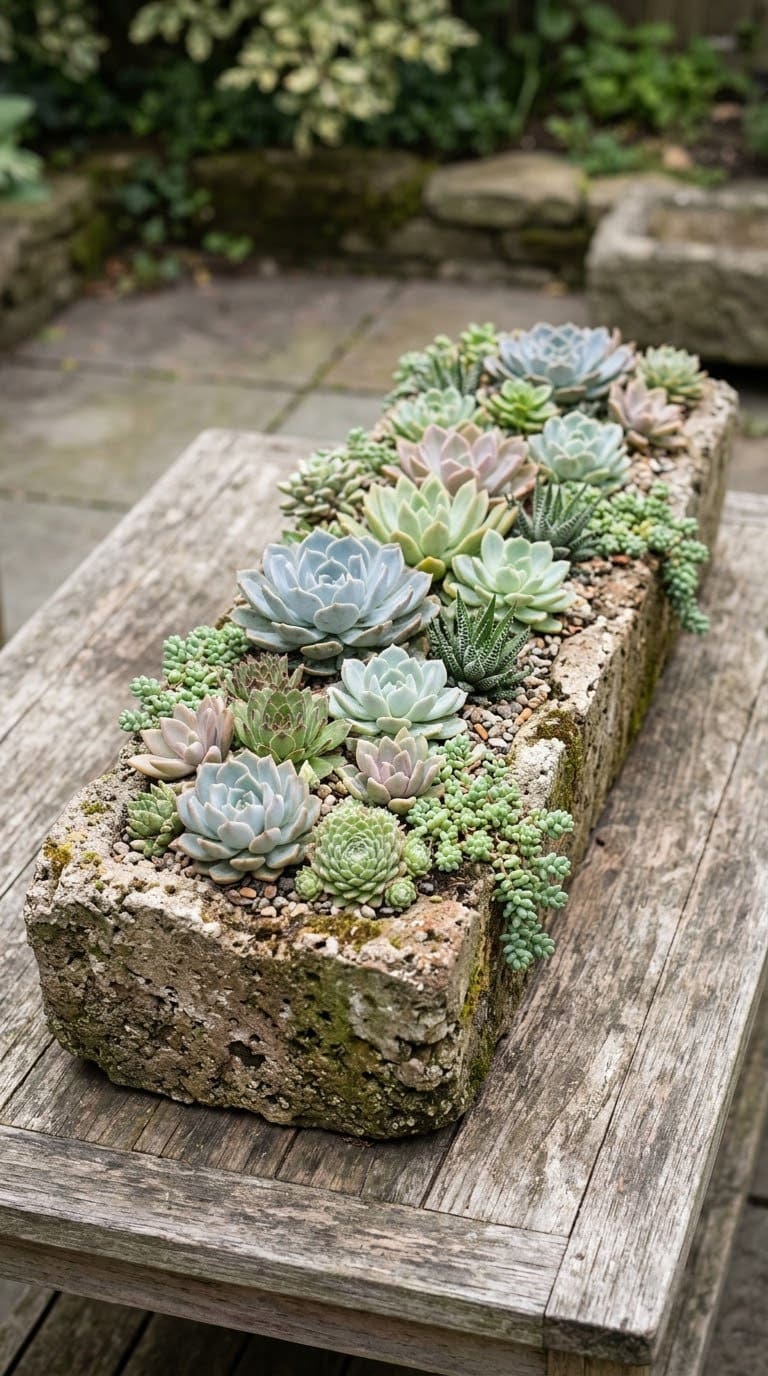
Mold a trough in a plastic tub. Make drainage holes with a finger, per Proven Winners. Wait the full cure before planting.
Choose a sunny spot and a gritty mix. For other pot looks, see our DIY flower pot ideas.
Cost tier: low.
18. Mosaic Stepping Stone
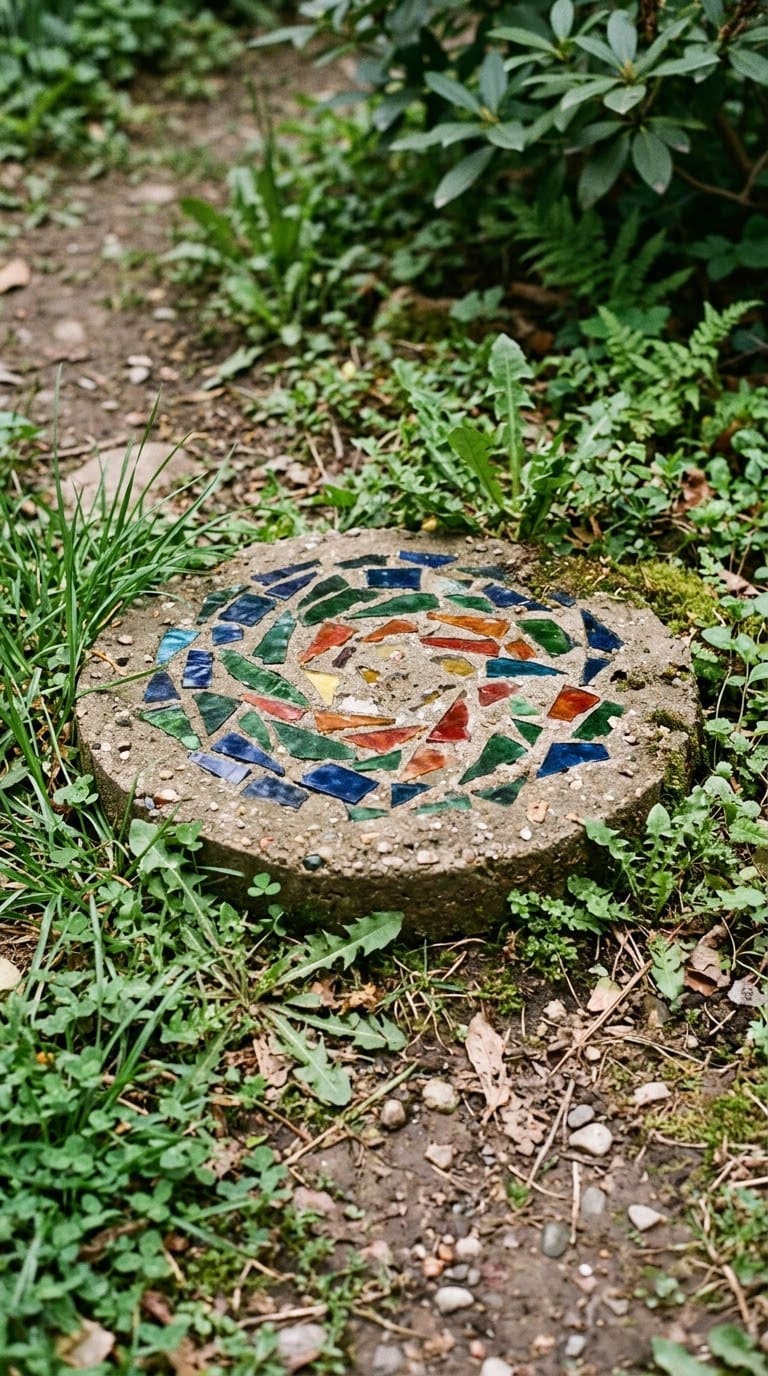
Press glass or tile pieces into the surface of a wet stepping stone. Smooth the surface with a tool.
Wear gloves and eye protection when you handle broken pieces.
Cost tier: low.
19. Cement Plant Markers
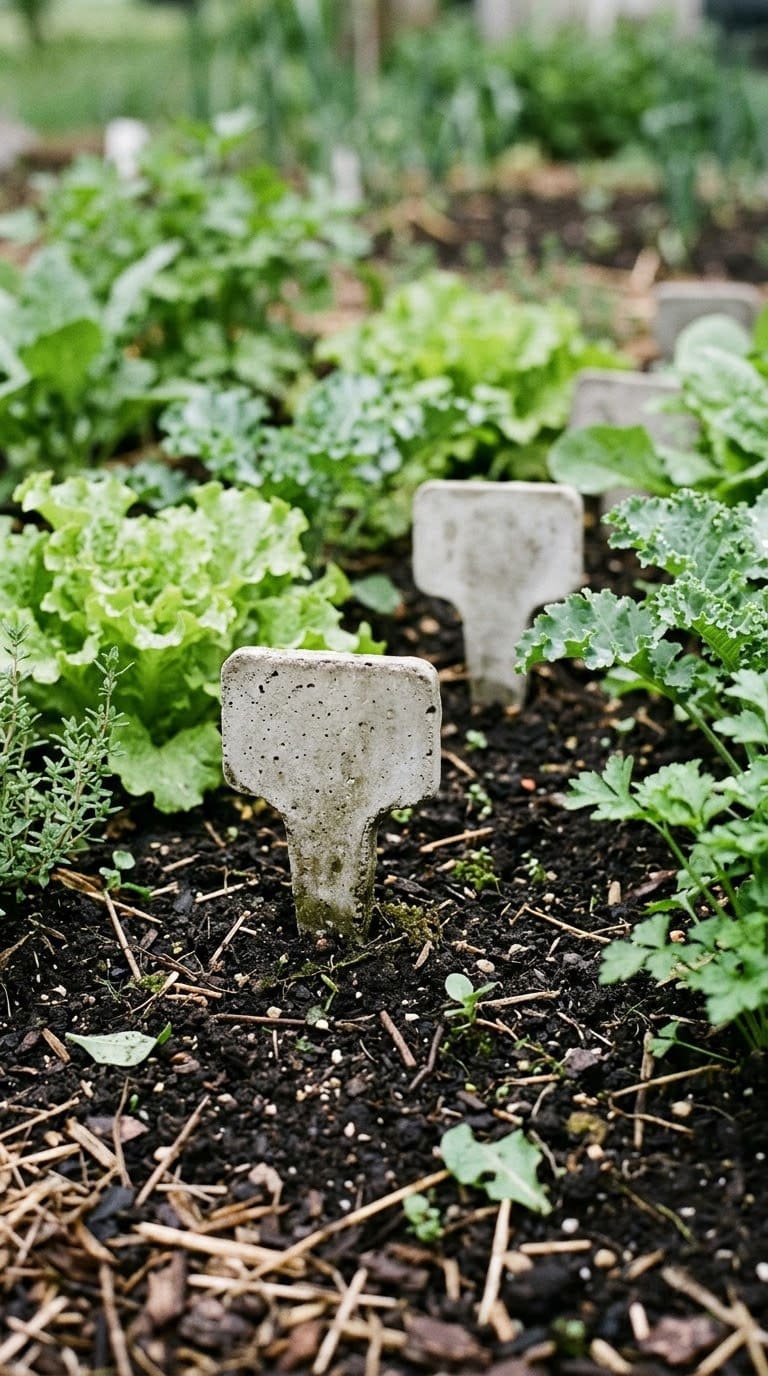
Cast small flat rectangles and stamp a plant name before they set. Push a stake in the back.
Stamps should go in right after you smooth the surface.
Cost tier: very low.
20. Cement Garden Stool
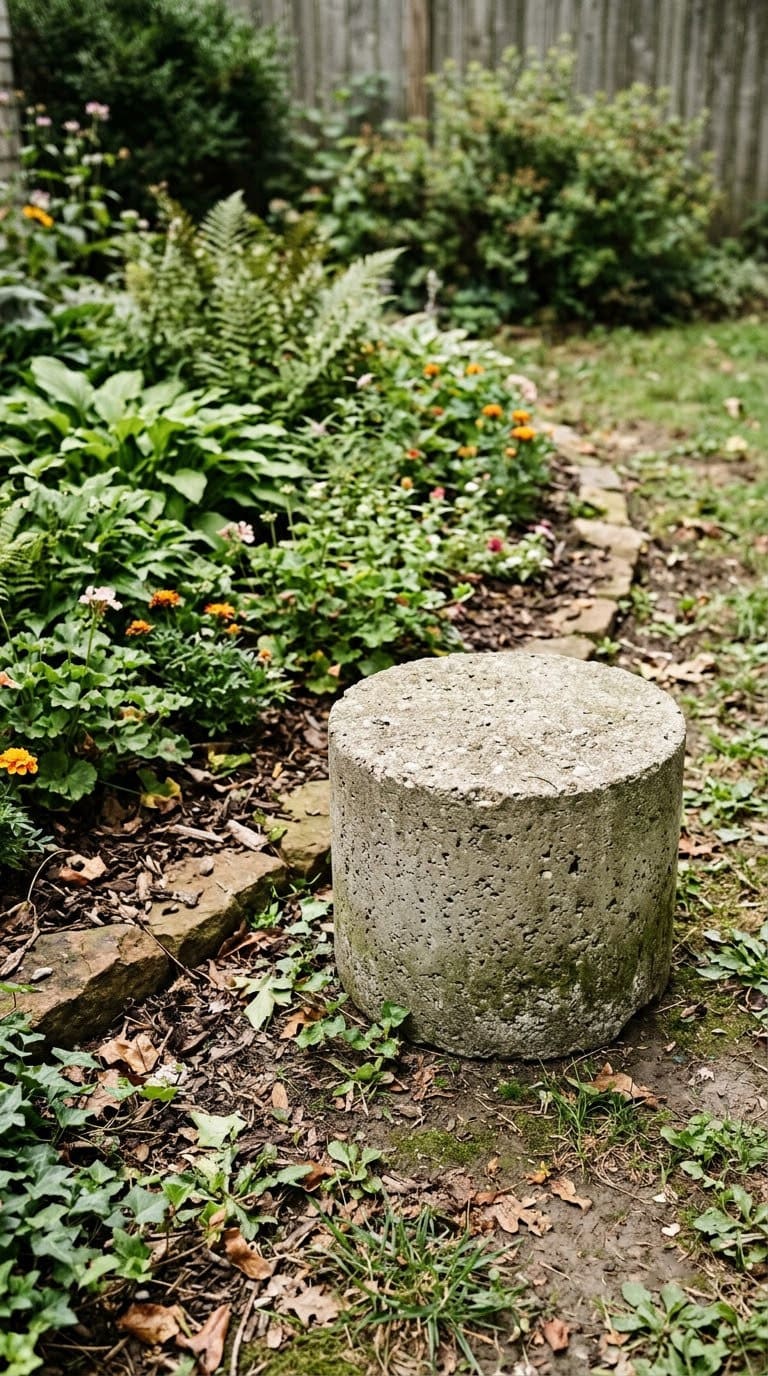
Cast a stool in a bucket with a smaller bucket inside for a hollow center. This saves weight and mix.
Use it as a seat or a plant stand. Let it cure fully before sitting.
Cost tier: medium.
How Do You Care for Cement Garden Pieces?
Check each piece each season for cracks. Fill small cracks with a thin mix. Bring small planters indoors if you live in a freezing zone.
Water a planter until it drains, as with any container. Nassau County says to leave an inch or two below the rim for watering room. Keep the drainage holes open.
Seal a fountain or bird bath if it holds water. Empty it often to keep it clean.
Common Mistakes to Avoid
Skipping gloves is the first mistake. OSHA describes cement burns from wet cement.
Using a piece too soon is the second. Proven Winners says to cure hypertufa 10 to 14 days.
Forgetting drainage is the third. Proven Winners says to make a small drainage hole while the mix is in the mold.
Letting a fountain sit full is the fourth. The CDC says standing water breeds mosquitoes.
Drying in direct sun is the fifth. Proven Winners says to dry the form in the shade.
FAQ
What is the hypertufa recipe?
Proven Winners uses equal parts perlite, peat moss, and Portland cement, plus enough water for a thick batter.
How long does hypertufa take to cure?
Proven Winners says 24 to 36 hours in the mold and 10 to 14 days of curing in the shade. Other guides suggest longer.
Is wet cement dangerous to skin?
Yes. OSHA says wet cement is caustic and can cause cement burns. Wear gloves and boots, and wash with pH neutral or slightly acidic soap.
Do cement planters need drainage holes?
Yes. Proven Winners says to make a small drainage hole while the mix is in the mold.
How do I keep a cement fountain from breeding mosquitoes?
The CDC says to empty or turn over containers that hold water at least weekly.

Never miss an update — choose FarmFoodFamily as your preferred source on Google.
How it works: Tap the button below to open Google's settings page, then check the box next to FarmFoodFamily.
Tap the checkbox to turn it blue — that's how you know it's set.