15 Clever DIY Chalkboard Garden Ideas That Last Outdoors
Chalkboard markers, pots, and boards add charm and useful labels to any garden, as long as you match the paint and pen to the weather.

Never miss an update — choose FarmFoodFamily as your preferred source on Google.
How it works: Tap the button below to open Google's settings page, then check the box next to FarmFoodFamily.
Tap the checkbox to turn it blue — that's how you know it's set.
Chalkboard markers, pots, and boards add charm and useful labels to any garden, as long as you match the paint and pen to the weather.
Products We Recommend
This post contains affiliate links. We may earn a commission on qualifying purchases at no extra cost to you.

FolkArt Chalkboard Paint, 8-Ounce, Black
Matte black chalkboard paint for pots, wood, and metal under cover
Shop Now
White Oil Based Paint Markers, 2 Fine Tip
Oil-based white paint pens for outdoor labels that resist sun and rain
Shop Now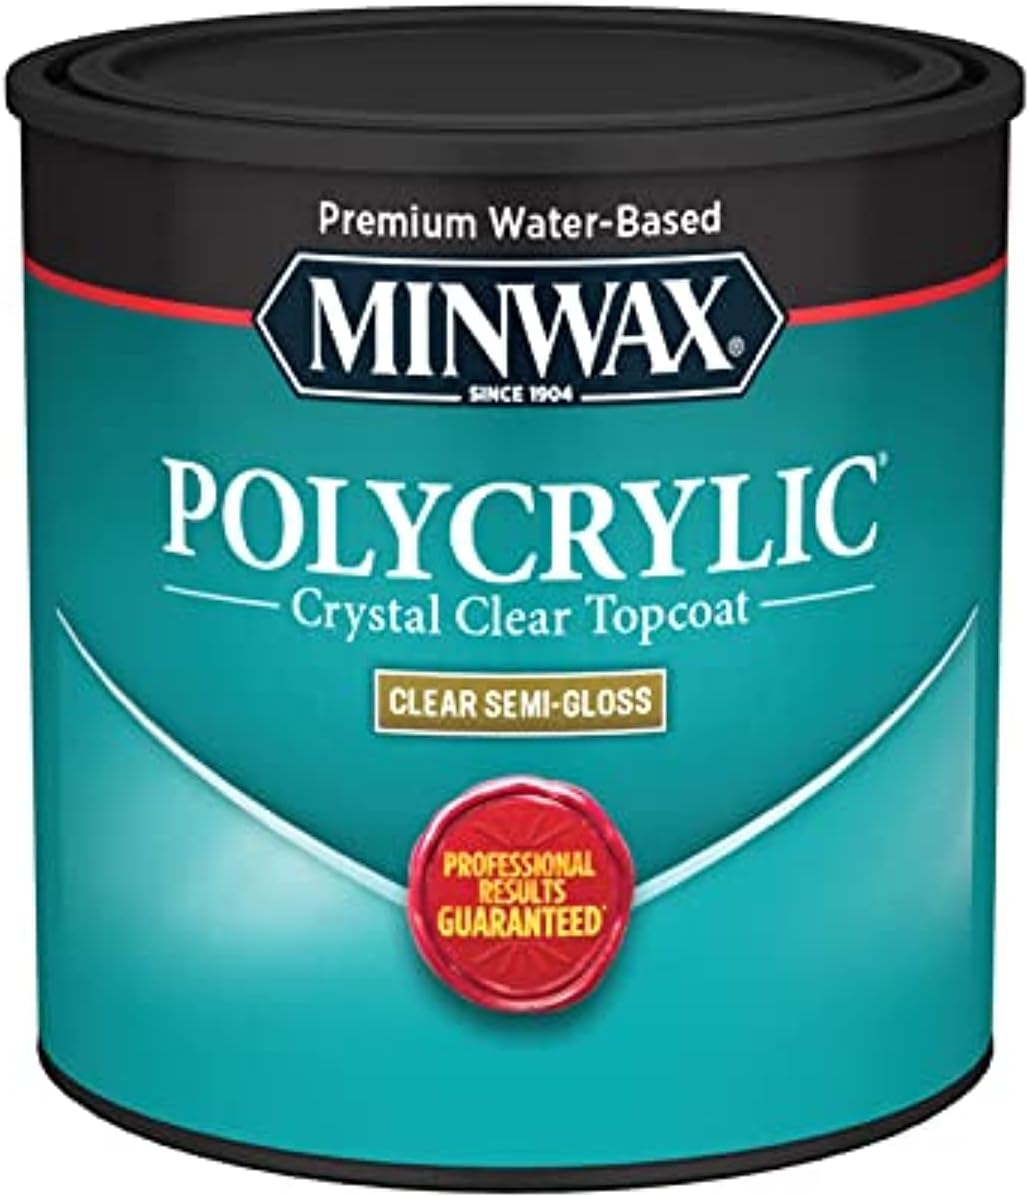
Minwax Polycrylic Protective Finish, Clear Gloss, 1/2 Pint
Clear water-based top coat for outdoor acrylic paint on stakes and pots
Shop NowChalkboard projects look great in photos. Then the first rainstorm hits, and the writing runs down the pot. But that’s the problem most pretty tutorials skip.
This guide gives you 15 projects that work in a real garden. For each one, you’ll see what to paint, what to write with, and how long it should last.
Some ideas use true chalkboard paint. Others use a chalkboard look that handles sun and rain much better.
Answer 4 quick questions and get matched to the exact fix for your yard — drainage, budget, layout, or something else entirely.
Take the Free QuizQuick Answer
Use chalkboard paint and real chalk only where the weather can’t reach, like a covered porch or a greenhouse shelf. For open beds and sunny pots, switch to black outdoor acrylic paint and an oil-based paint marker.
Pretty Handy Girl says chalkboard paint and chalk markers can fade, crack, and peel outdoors. Its outdoor fix is outdoor acrylic paint, an oil-based marker, and a polyacrylic top coat.
Cure time is the hidden step. The label may say 24 hours, but humid weather can stretch that, so wait until the paint feels fully hard.
Let every coat cure fully before you write. Season chalkboard surfaces by rubbing chalk over them and wiping it off. Keep a damp cloth handy, because most chalk writing wipes away in seconds.
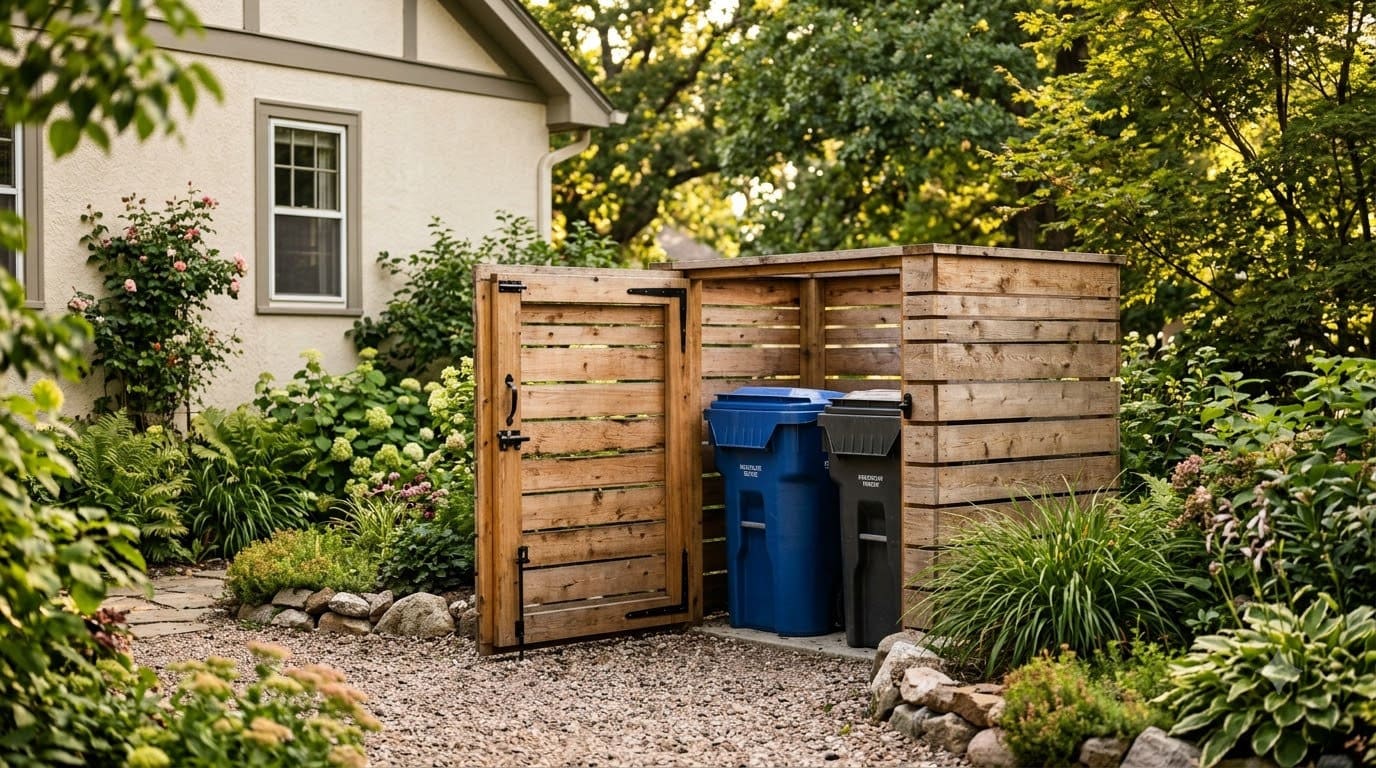


Plan to rewrite chalk labels every few weeks. Paint-marker labels can last a full season or more.
Most yard problems trace back to one specific, fixable cause. Find yours in 4 quick questions.
Take the Free QuizWhich Paint and Pen Should You Use for Each Spot?
Here’s our quick planning table. The marker and paint rows come from the sources linked in this article. The “rewrite” column is our own rule of thumb.
| Spot | Best surface | Best pen | How often to rewrite |
|---|---|---|---|
| Covered porch or greenhouse | Chalkboard paint | Chalk or liquid chalk | Whenever plans change |
| Sunny open bed | Black outdoor acrylic | Oil-based paint marker | Once a season or less |
| Pot that gets rained on | Black outdoor acrylic plus polyacrylic | Oil-based paint marker | Once a season or less |
| Big fence board | Chalkboard paint on cement board | Chalk | After heavy rain |
| Seedling tray | Chalkboard paint | Chalk marker | Weekly |
What Do You Need to Know Before You Start?
Pick your paint first. Chalkboard paint gives you the erasable, matte look.
Black outdoor acrylic gives you a chalkboard look that handles weather. You can’t have both in one coat.
Empress of Dirt painted wood, metal, stone, glass, and plastic with chalkboard paint “without any issues (or primer).” That makes most thrifted junk fair game.
Check the can’s age. The same author found her old can of paint didn’t work with chalk markers, and she had to repaint with fresh paint. If your paint is thick or lumpy, buy a new can.
Cure time matters more than most people think. The label may say 24 hours, but humid weather can stretch that. Don’t write until the paint feels completely dry and hard.
Matte black chalkboard paint for pots, wood, and metal under cover
Shop NowThis post contains affiliate links. We may earn a commission on qualifying purchases at no extra cost to you.
Season the surface before the first message. Rub the side of a chalk stick over the whole painted area, then wipe it off. This stops “ghosting,” which is the faint shadow of old writing.
Budget is easy. A small can of paint and a pack of markers cover most of the ideas below. Giant boards cost more, and we flag them.
The average homeowner spends $616/year on yard fixes that don't address the real problem. Find out what yours actually is — before you spend another dollar.
Take the Free Quiz15 Clever DIY Chalkboard Garden Ideas
1. Chalkboard Label Band on a Terracotta Pot
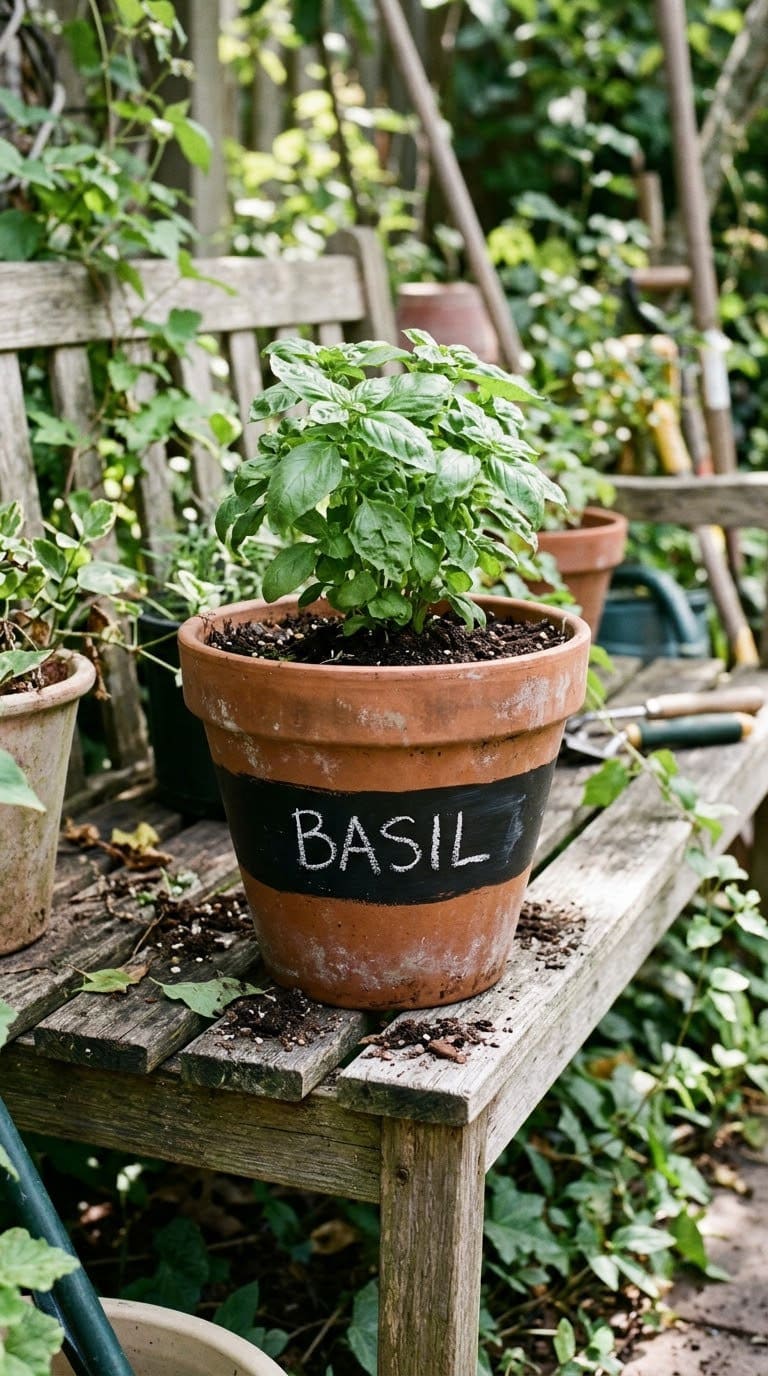
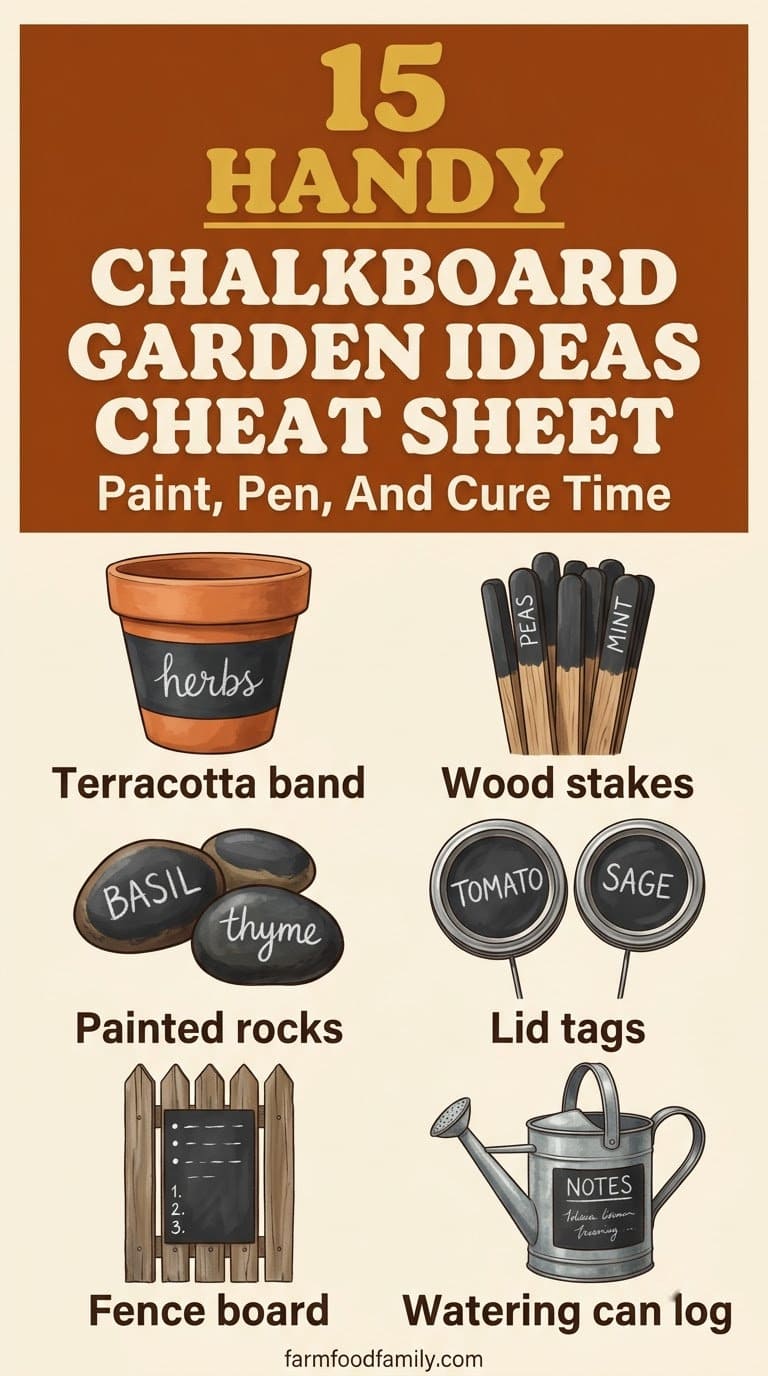
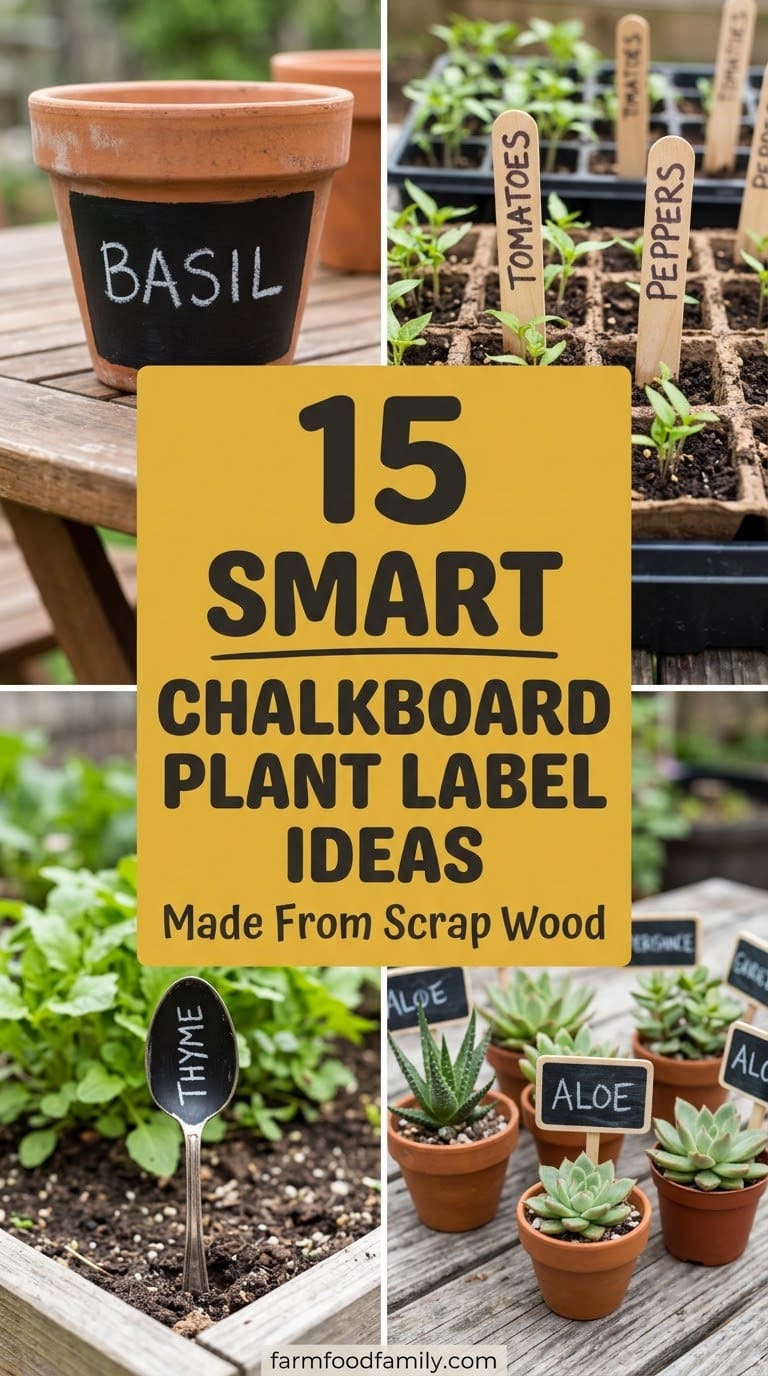
This is the smartest way to use chalkboard paint on a pot. Tape off a band about 2 inches tall near the rim, then paint just that band. The rest of the clay stays bare.
Why not paint the whole pot? Pretty Handy Girl notes that painting and sealing terracotta removes its moisture-wicking ability. A band keeps most of the pot breathing.
That band idea is our own take on the tip.
Use two coats, and let each dry first. Letter with chalk for a covered porch. For open air, use black outdoor acrylic and an oil-based paint marker instead.
Cost tier: low. Pairs well with idea 3’s mini pots.
2. Fully Painted Chalkboard Pot
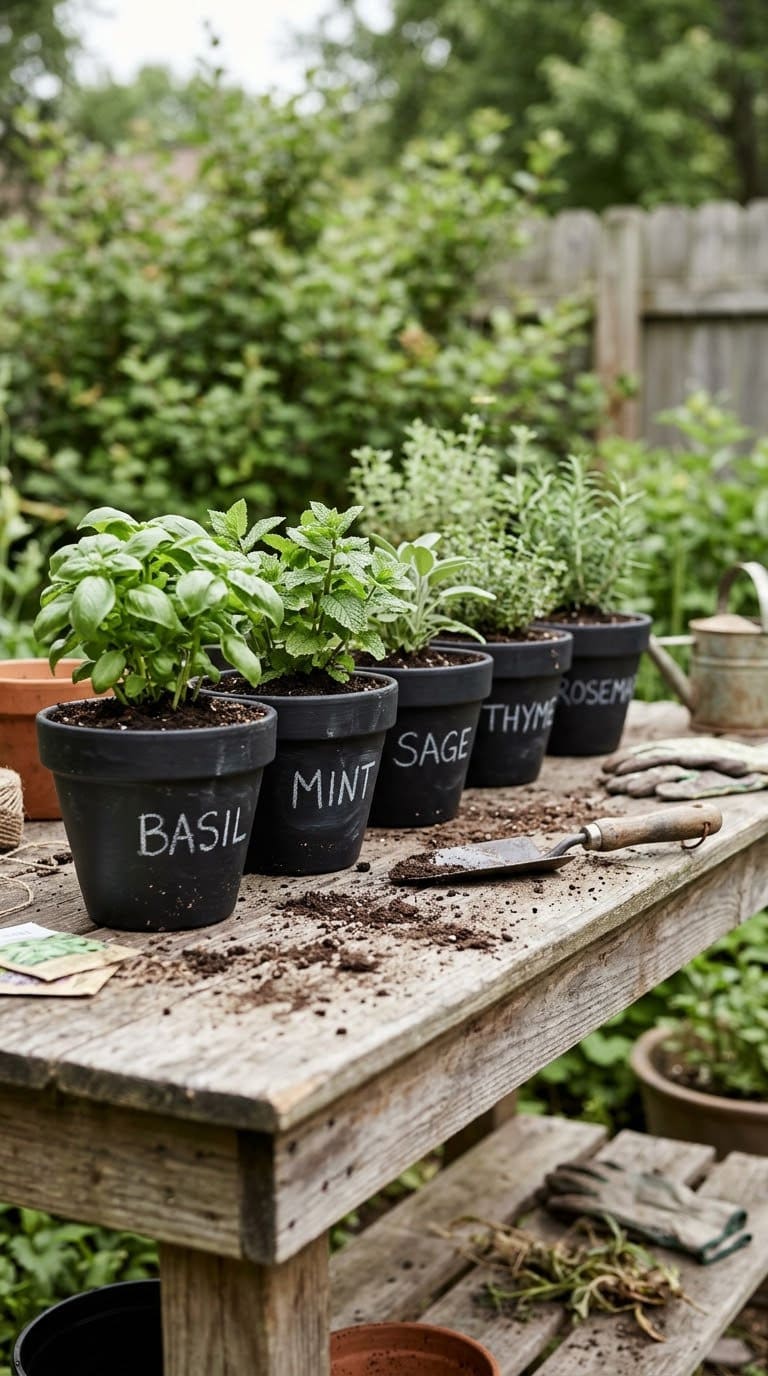
Want the full black look? Pretty Handy Girl suggests two to three coats on the outside only, with drying time between coats. Sand lightly with 320-grit paper if the surface feels rough.
Skip the inside. Paint inside a pot and you trap moisture and risk flaking into the soil.
Best for pots that live under cover, like a porch or sunroom. Outdoors in full weather, switch to outdoor acrylic and finish with a polyacrylic top coat.
Cost tier: low. If you love the clay look, go back to idea 1 instead.
3. Mini Succulent Pots With Hand Lettering
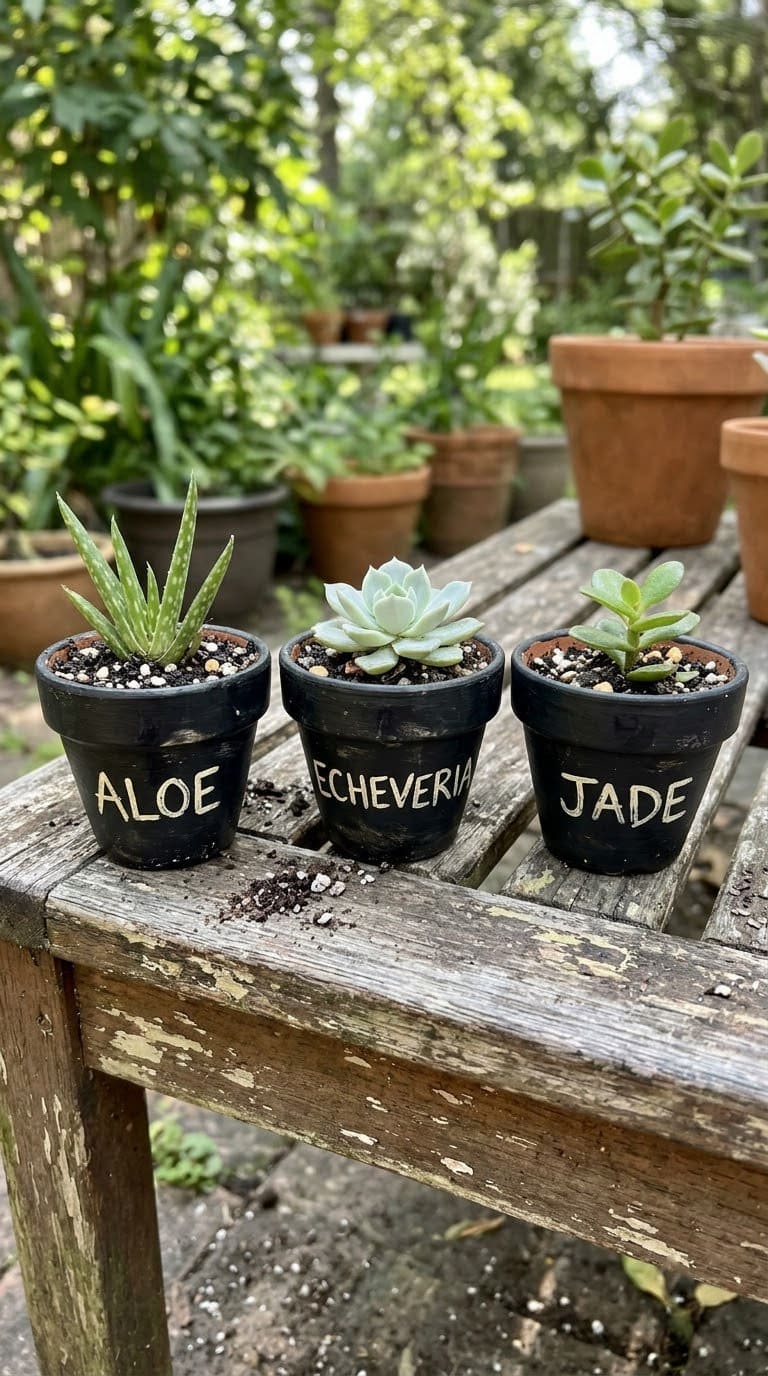
Three-inch clay pots are the perfect canvas. Wash them, let them dry fully, and paint two coats on the outside. A 3-inch pot is small enough to finish in an afternoon.
Fill each about three-quarters full with cactus mix. Add the plant, firm the soil, and water lightly.
These make great gifts and windowsill labels. Keep them indoors or on a covered shelf, since chalk lettering won’t survive rain.
Cost tier: low. See our clay pot craft projects for more small-pot ideas.
4. Wooden Plant Stakes
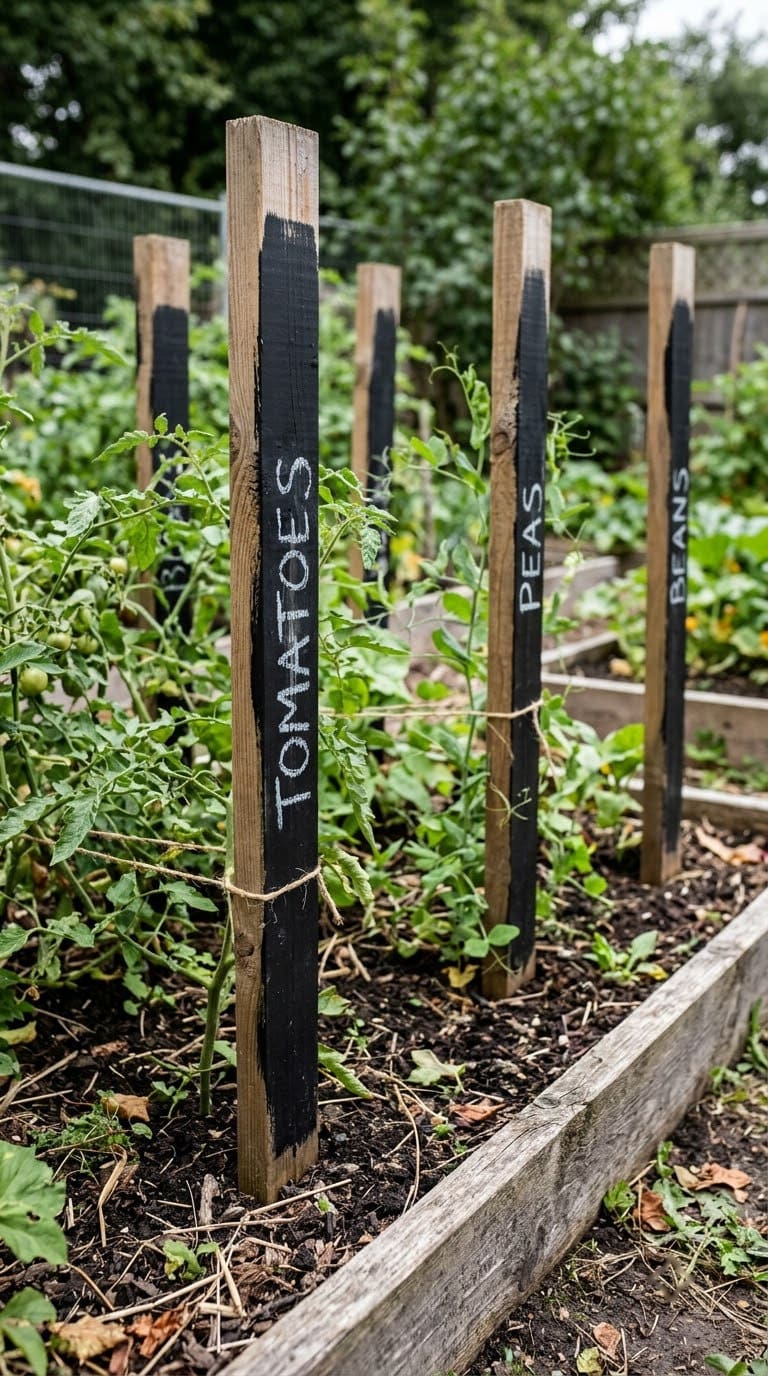
Cut scrap 1×2 lumber into stakes about 10 to 12 inches long. Cut one end to a point so it pushes into soil easily. Paint the top 3 inches black on both faces.
Here’s the trick for outdoors. Use black outdoor acrylic, not chalkboard paint, and write with an oil-based marker. A six-month outdoor test by Empress of Dirt found oil-based paint marker didn’t fade or smear.
That same test found a water-based Sharpie faded significantly on most surfaces. So check the label on your pen.
Cost tier: free to low. Great for rows of tomatoes and peppers.
5. Paint Stir Stick Markers
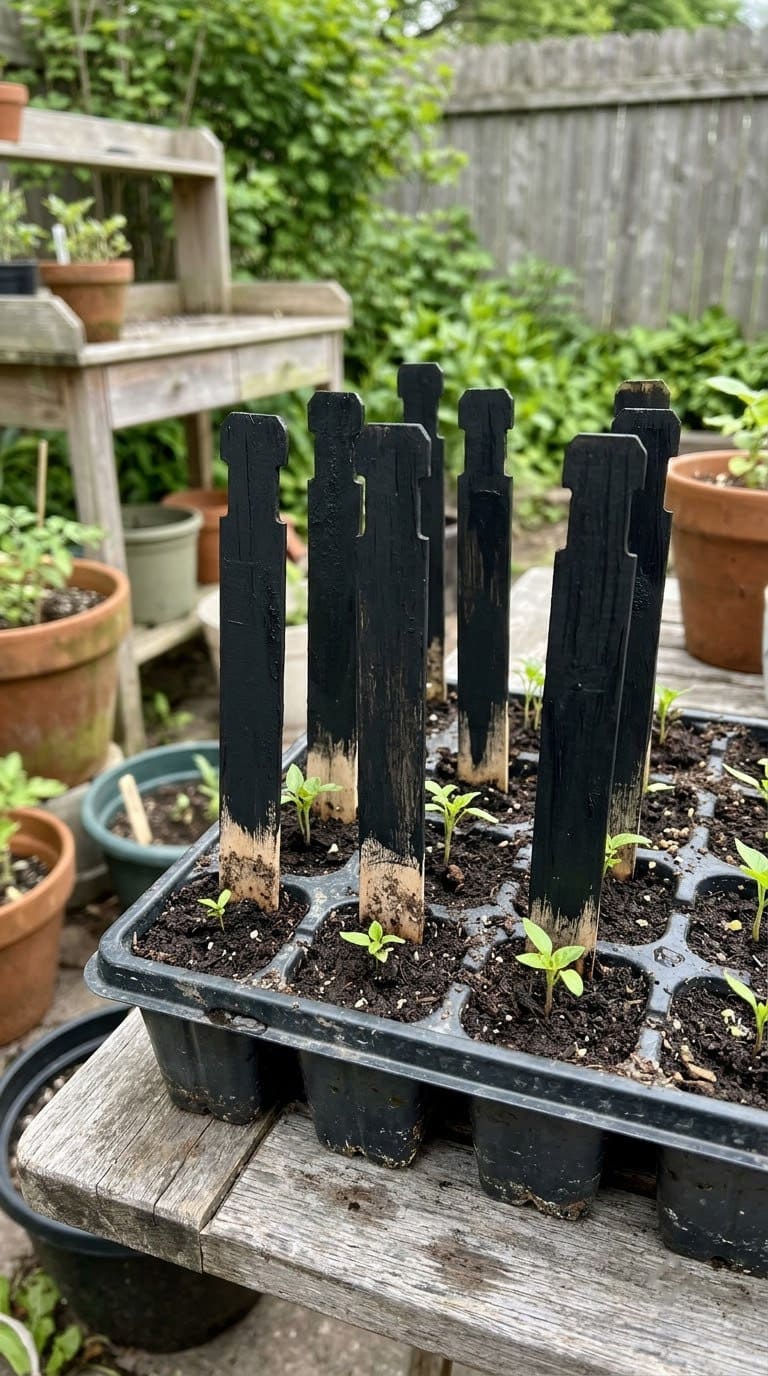
Hardware stores hand out paint stir sticks for free. Paint one face black and let it cure. Then write the plant name at the top.
Use these in seedling trays and short-term beds. They’re thin, so they warp after a wet season. Treat them as disposable.
Chalk marker works well here, since the tray stays sheltered. Wipe and rewrite when you transplant.
Cost tier: free. Pairs with idea 4 for permanent beds.
6. Painted Canning Lid Tags on Clothes Pegs
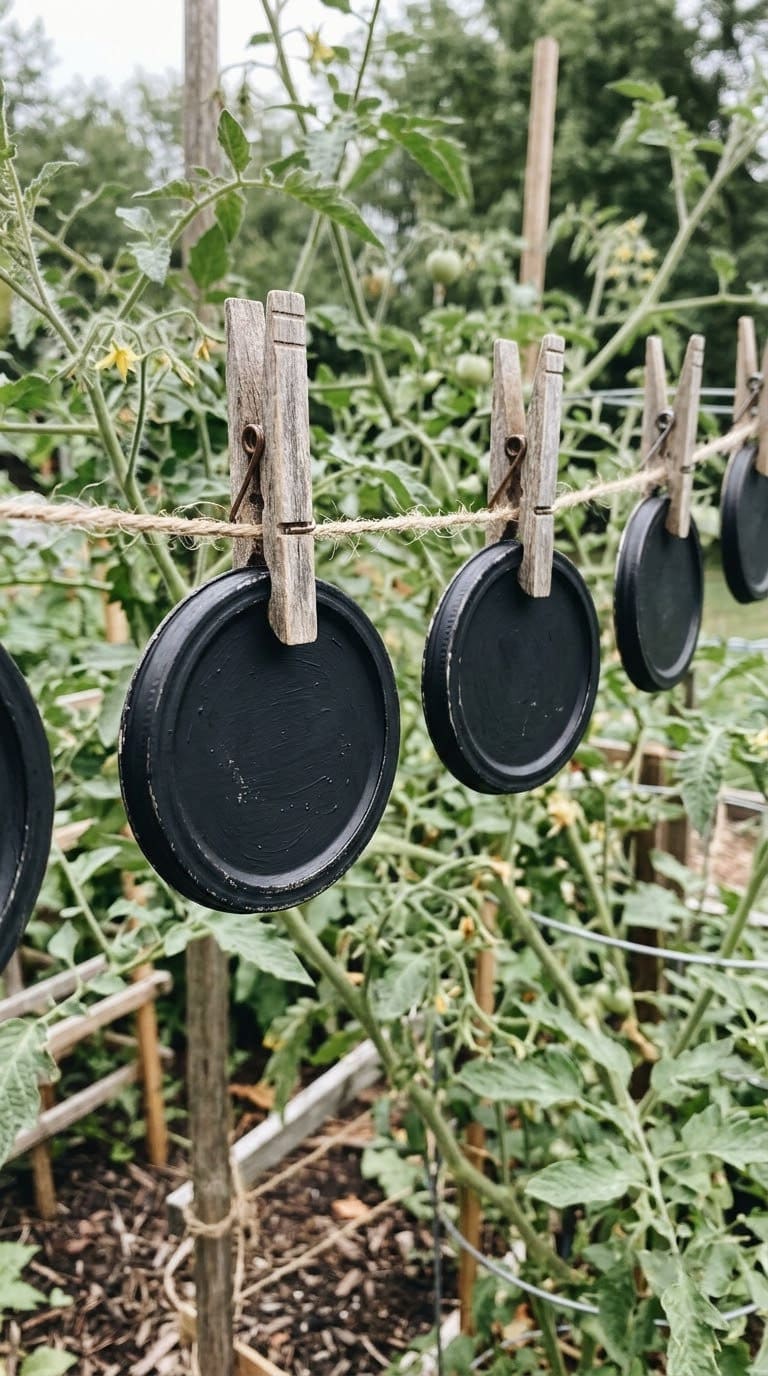
This one comes from Empress of Dirt’s tutorial. Paint the flat side of a metal canning lid, then attach it to a wooden clothes peg with a clear outdoor sealant. She used GE Silicone II.
Clip the peg to a cage, a trellis, or a string. The tag hangs at eye level, so you can read it without bending.
It’s a clever reuse for lids that can’t seal jars anymore. Let the sealant cure fully before it sees rain.
Cost tier: free. Good for vining crops, as in idea 15.
7. Chalkboard Painted Rocks
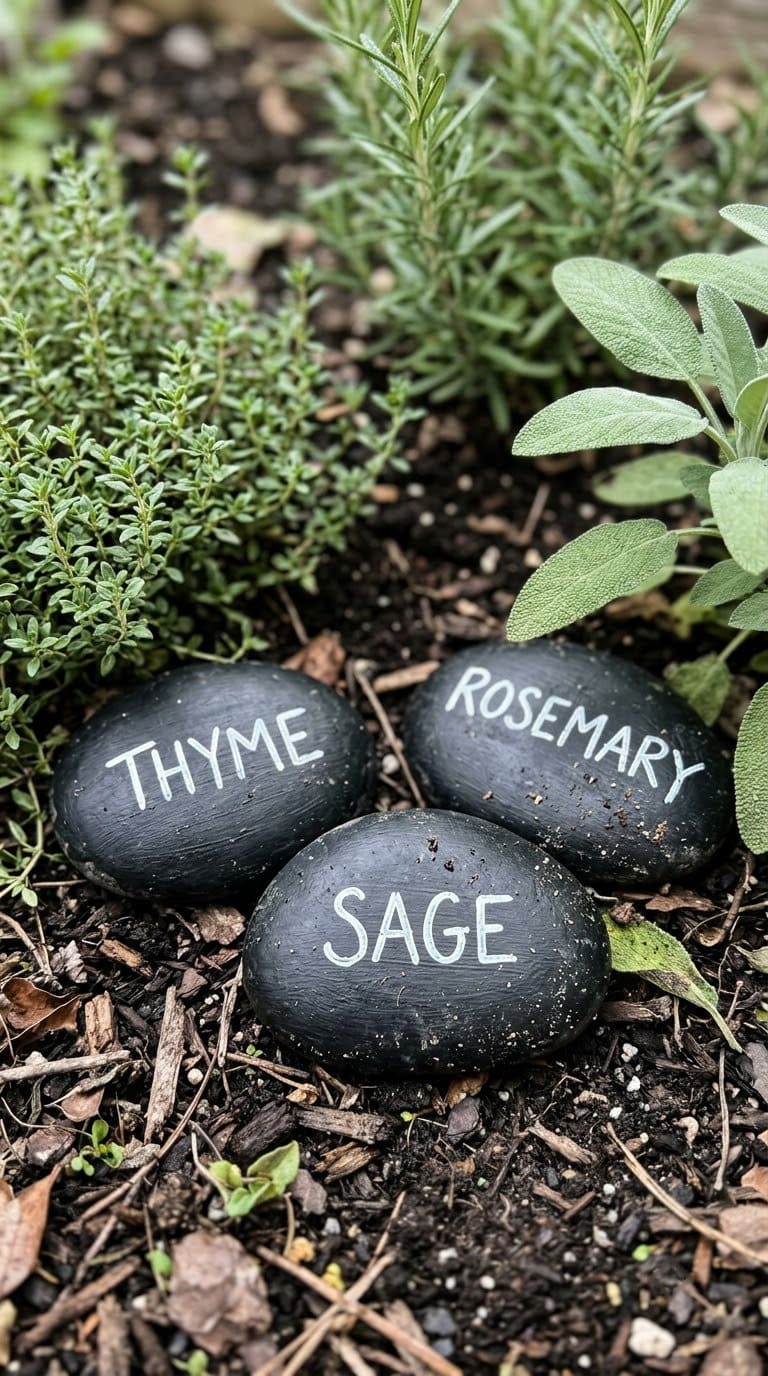
Pick flat, smooth stones about 3 to 4 inches wide. Wash and dry them, then paint one face with two coats. Stone takes chalkboard paint without primer, according to the Empress of Dirt test above.
Write with an oil-based marker for outdoor beds. Set the stone at the base of the plant so you can read it from above.
Rocks never rot and don’t blow over. The downside is they can get lost under growing leaves. Use them for low herbs and edging.
Cost tier: free to low. For more herb bed ideas, see our herb garden ideas.
8. Old Spoon and Cutlery Markers
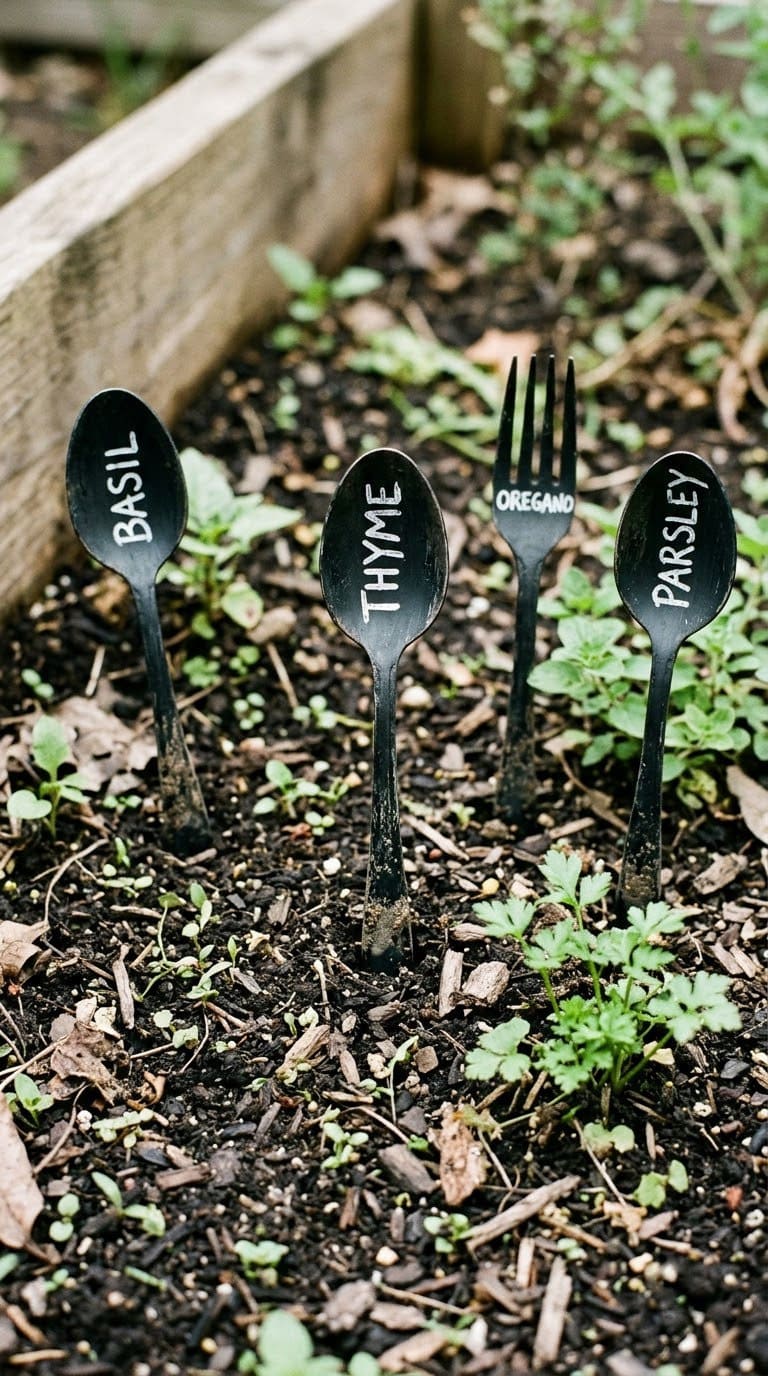
Thrift stores sell mismatched cutlery cheap. Empress of Dirt painted old cutlery and wooden spoons with chalkboard paint. The handle gives you a long stake, and the bowl is a small writing space.
Push forks tines-down into the soil, so the flat of the handle faces out. Wooden spoons need an extra coat, since wood soaks up paint.
Metal cutlery lasts longer outside than wood. Use paint marker for any bed in the open.
Cost tier: low. Fits a rustic bed like those in our raised vegetable garden bed guide.
9. Faux Chalkboard Markers With Paint Marker
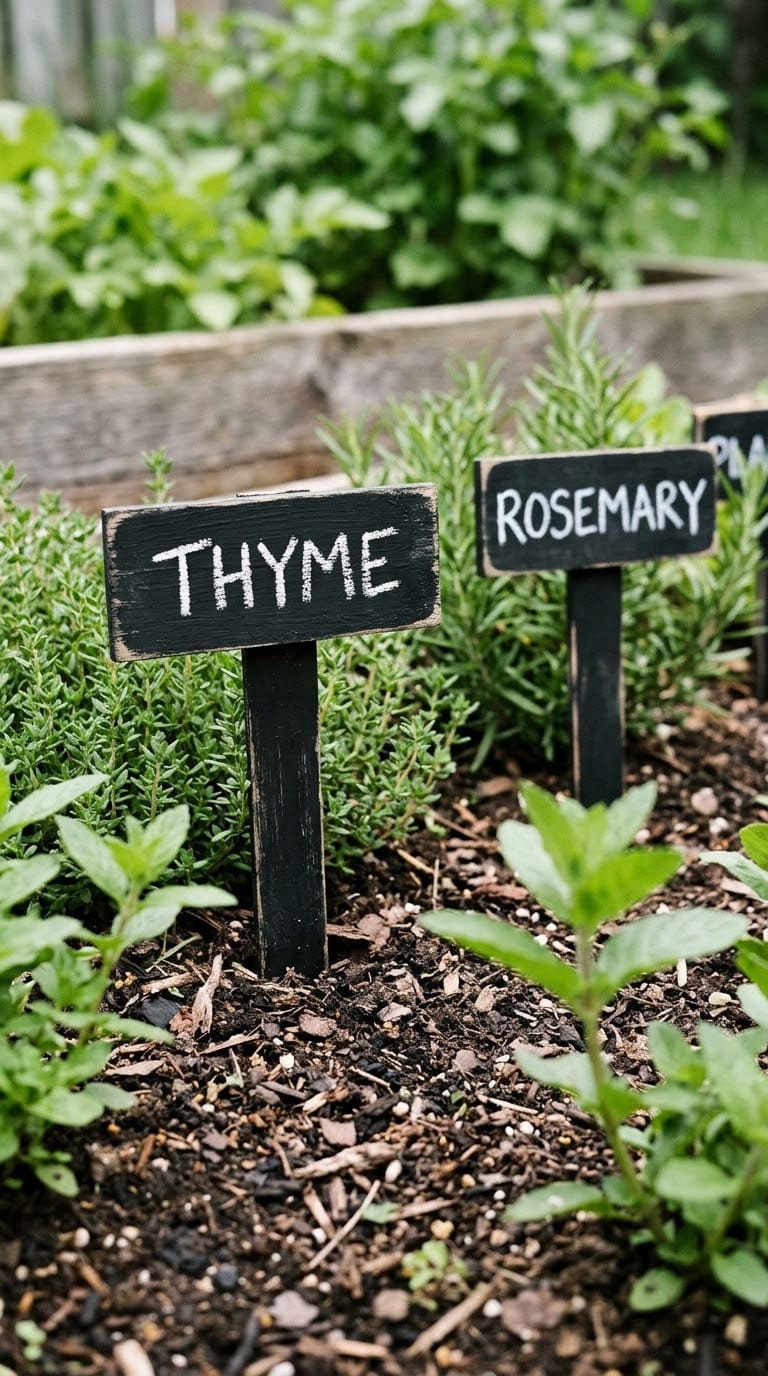
Want chalk looks without chalk problems? Paint any stake black with outdoor acrylic.
Seal it with polyacrylic. Then letter with a white oil-based paint marker.
The result looks like chalk but doesn’t smear. Pretty Handy Girl says polyacrylic helps protect the paint from cracking, chipping, and fading in the sun.
You can’t erase it easily, so spell the plant name right. Empress of Dirt says some paint markers need water, degreaser, or a magic eraser sponge to come off.
Cost tier: low. This is the best pick for sunny beds.
10. Giant Fence Chalkboard
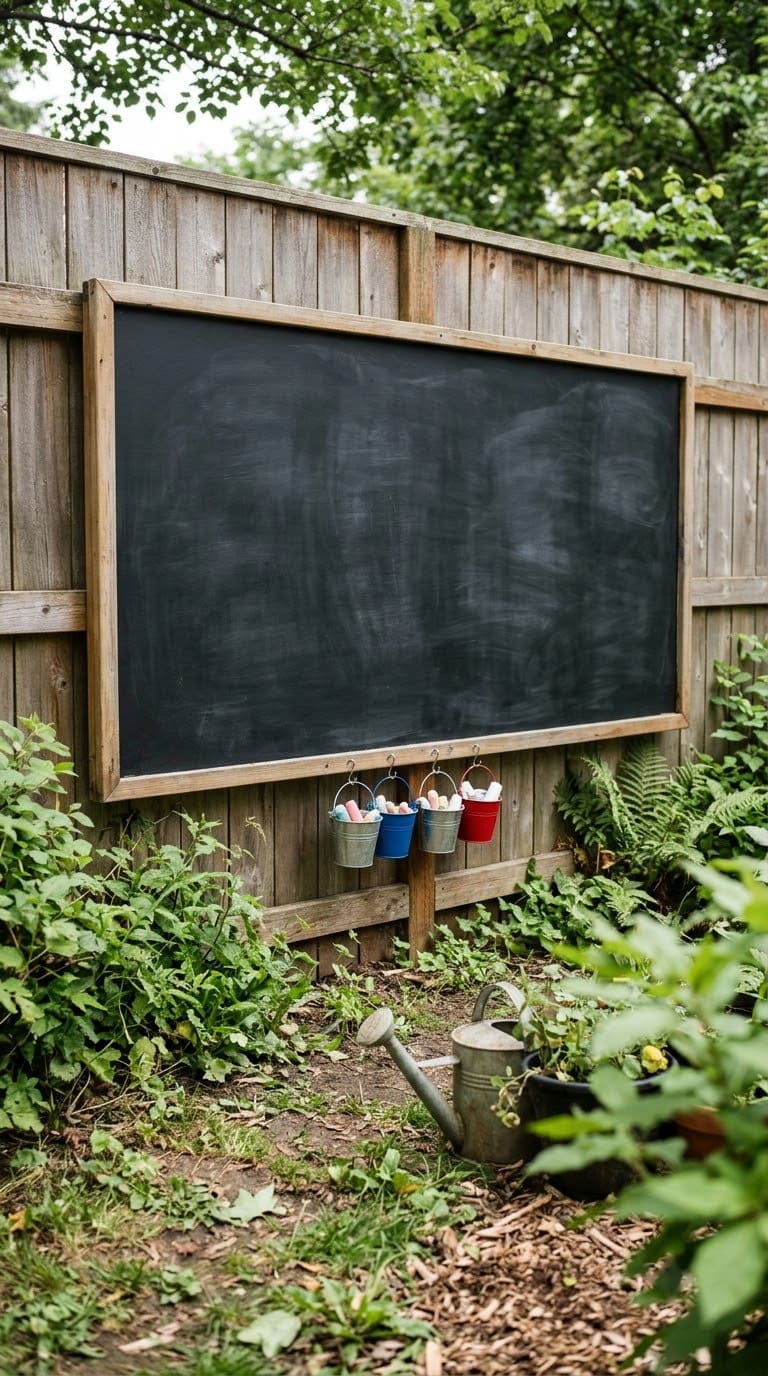
This is the big project, and it needs the right base. Hey There Home built an 8 ft by 4 ft board from two HardieBacker cement boards, each 3 ft by 5 ft and 0.42 in thick. Cement board doesn’t absorb water, rot, or warp.
The frame uses 1×3 boards and Liquid Nails. Screws go in about every 18 inches. Two coats of chalkboard paint go on by roller with no primer.
Mount it into fence posts with four 5/16 by 3 inch lag bolts. Predrill first. The author reports more than 10 years of use in Southern California with no repairs, and the build cost about $100 in 2013, so expect more today.
Re-season after rain. If you rent or have an HOA, check the rules before you drill into a fence.
Cost tier: high. See our vegetable garden fence ideas for places to mount it.
11. A-Frame Chalkboard Easel Sign
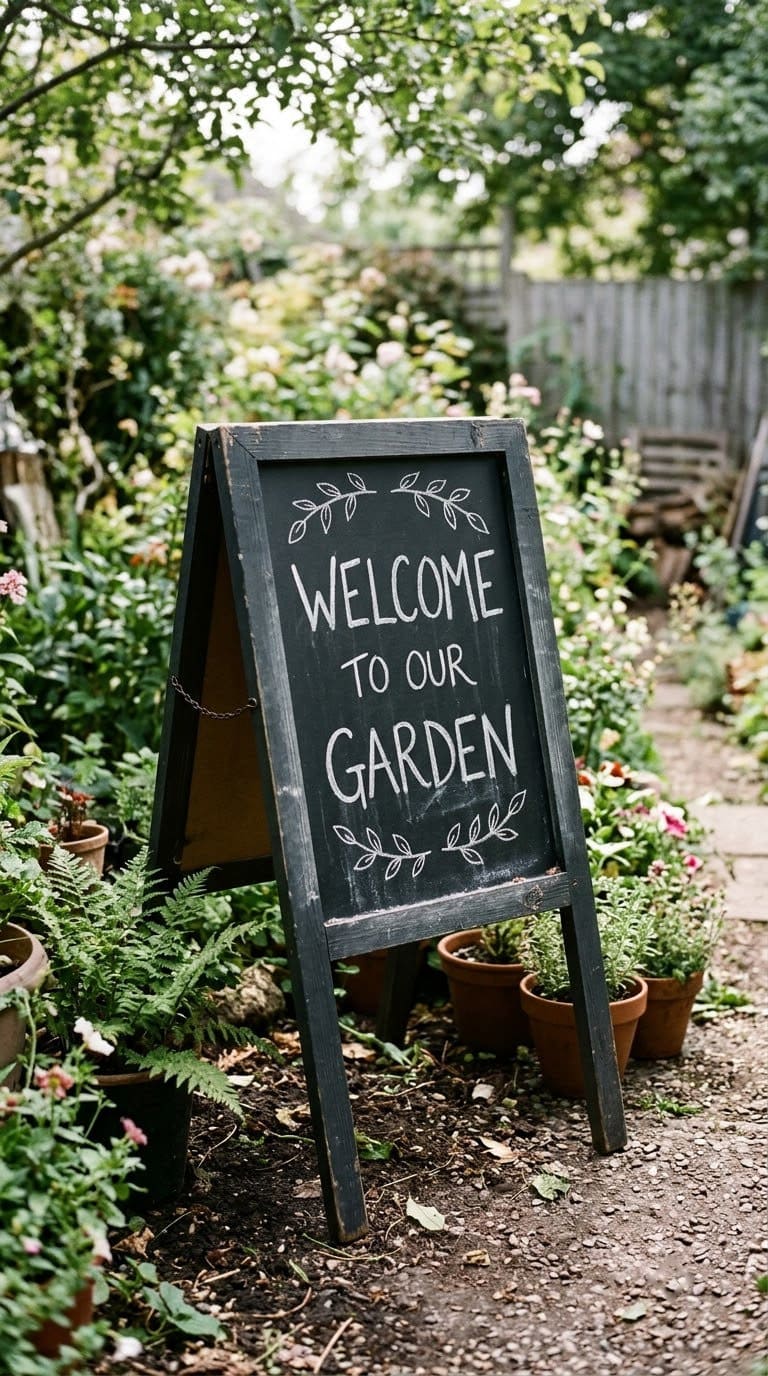
An A-frame stands on its own, so you skip the drilling. Hinge two painted boards at the top and add a short chain to stop them spreading. Use boards about 24 inches tall for a good reading height.
Paint both faces. That way one side shows a welcome message, and the other lists what’s ready to pick.
Bring it in during storms. The board isn’t sealed, so rain will stain and lift the paint. It’s perfect for a farm stand or a patio party.
Cost tier: medium. Pairs with idea 12 for a full potting corner.
12. Chalkboard Backer for a Garden Shelf
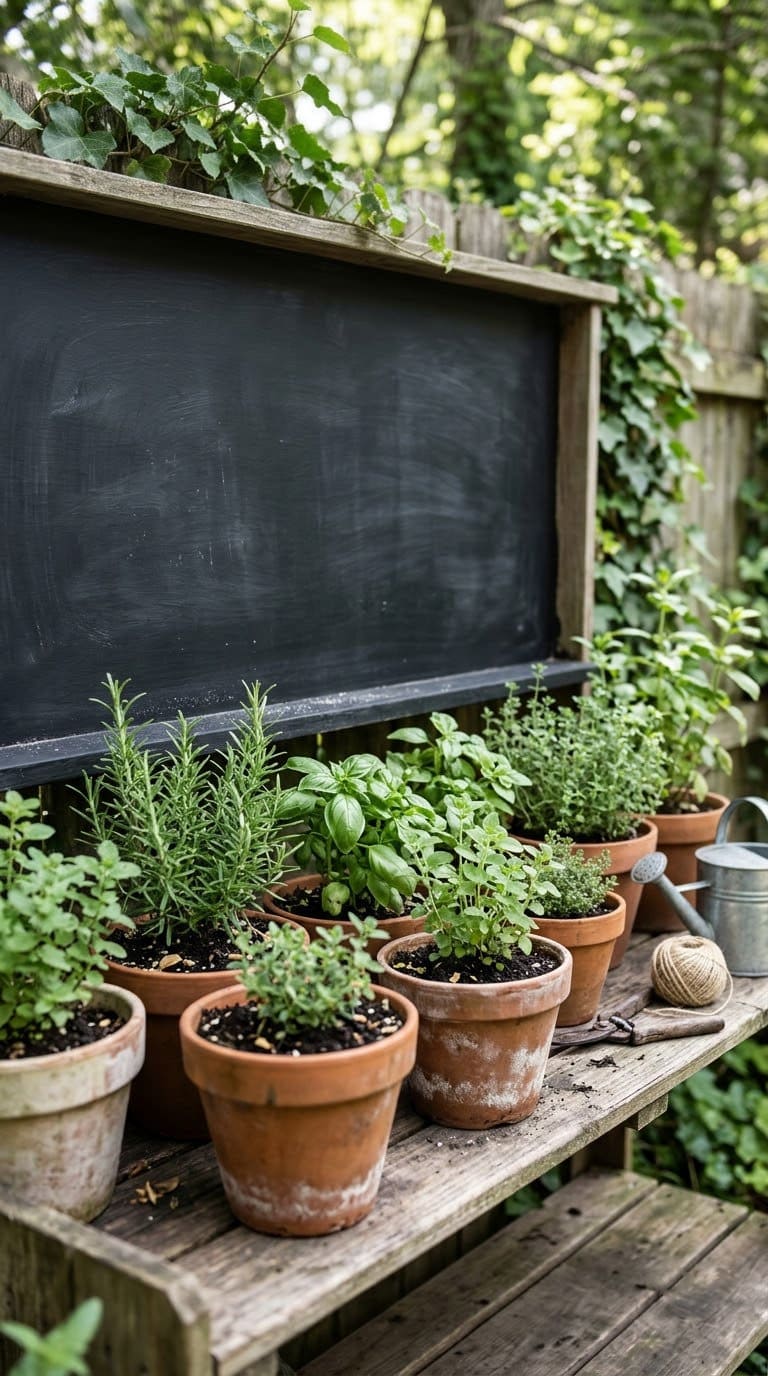
Paint a panel behind your shelf and you get a built-in task board. Write watering days, feeding dates, and seed packets to reorder. A covered shelf keeps chalk from washing off.
Use a smooth board, like hardboard or sanded plywood. Sand it, wipe off the dust, and paint two coats.
Hang the panel with screws into studs or fence posts. Keep it under a roof overhang.
Need a bench to go with it? Our potting bench ideas show options.
Cost tier: low to medium. Use the Iowa State list in the next section for what to write.
13. Painted Hanging Plant Stand Label
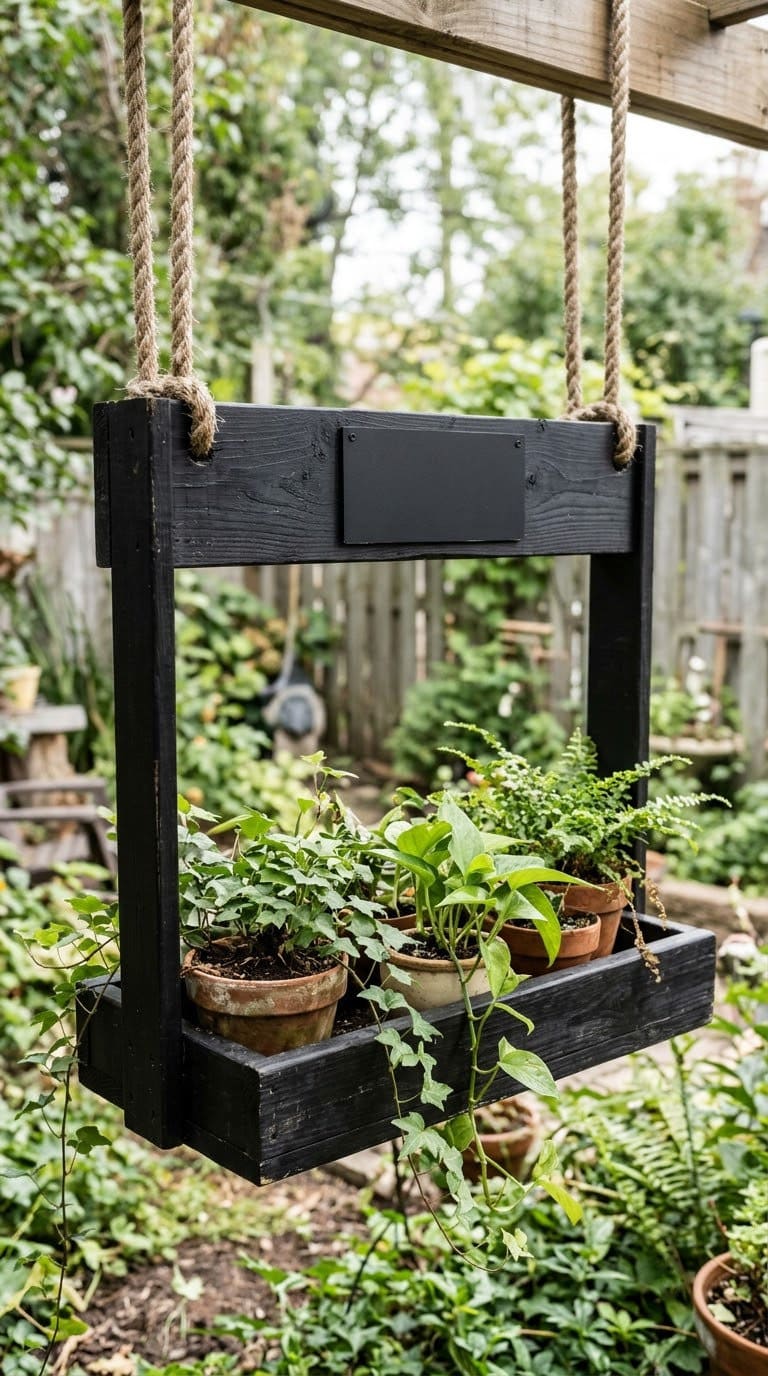
Add a small painted panel to a wooden hanging plant stand. A panel about 4 by 6 inches fits on the crossbar. Paint it black and attach it with exterior screws.
The panel tells you what’s in each hanging pot, and when it was last fed. Hanging pots dry fast, so a feeding log pays off.
Keep it under cover or use paint marker. Hanging plants often sit in wind and sun, which fades chalk fast.
Cost tier: low. Works with pots from idea 2.
14. Watering Can and Tool Log
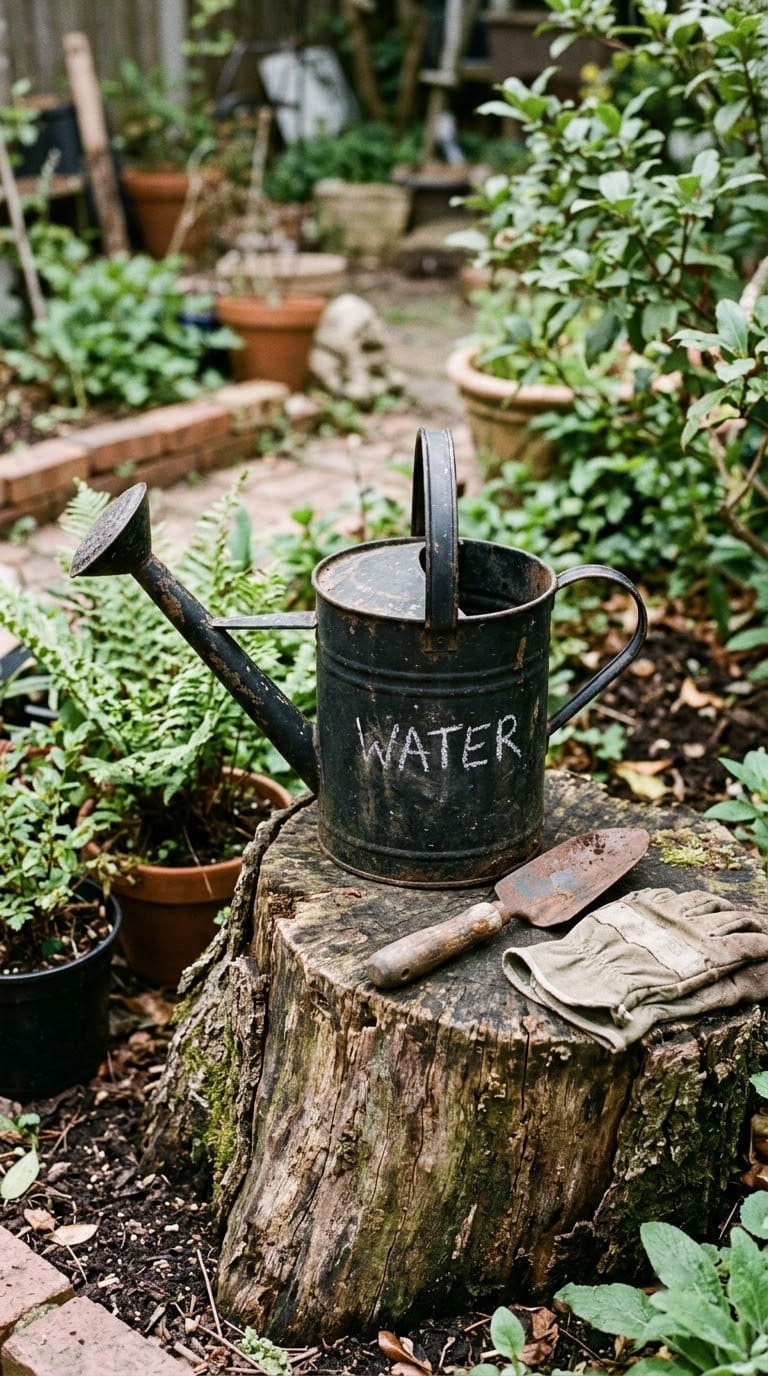
Empress of Dirt marks a watering can to track when she adds organic fertilizer. Paint a small panel on the can, then write the date after each feeding.
It’s the simplest garden log you’ll ever keep. Wipe it clean each time you refill.
Metal cans take paint without primer, according to that same test. Chalk is fine here, since a can usually lives in a shed.
Cost tier: free. Pairs well with the journal tips in the next section.
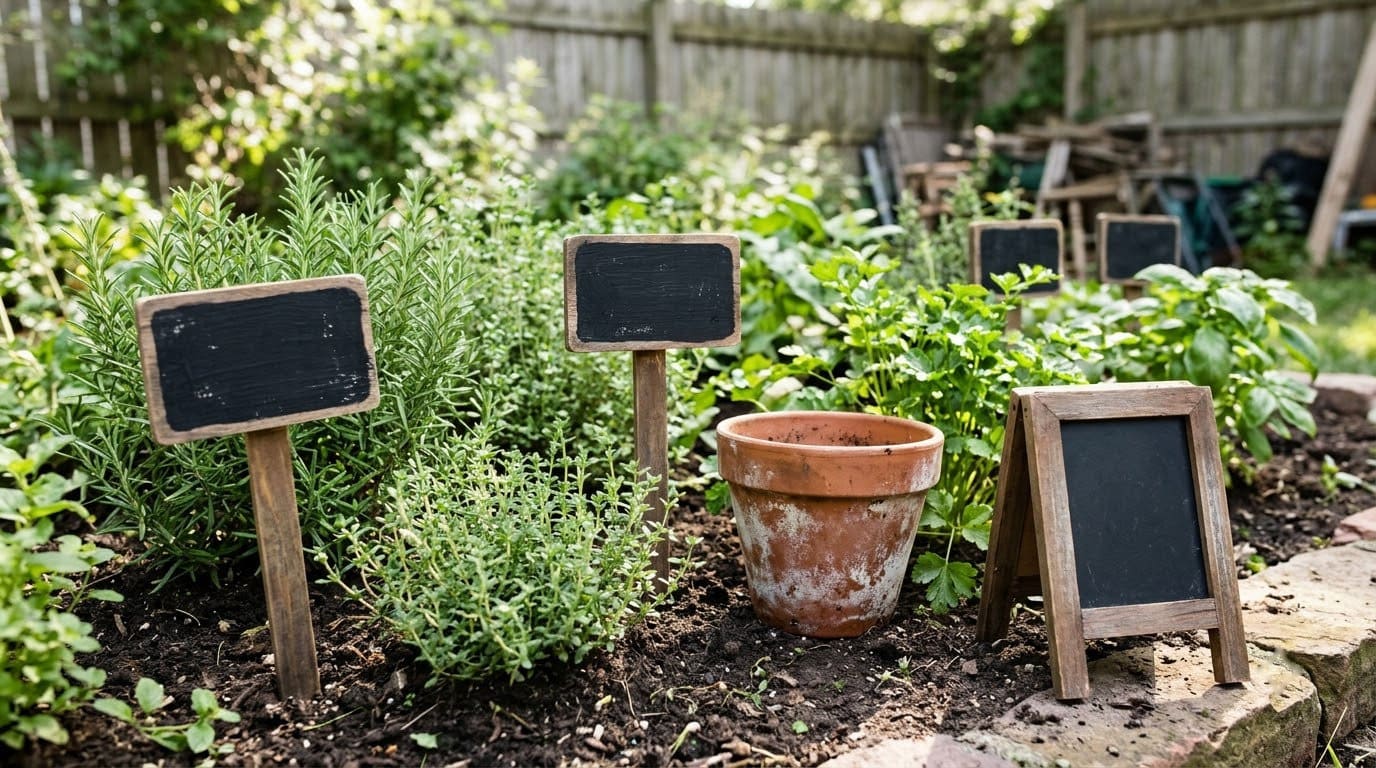
15. Chalk-Lettered Herb Bed Signs
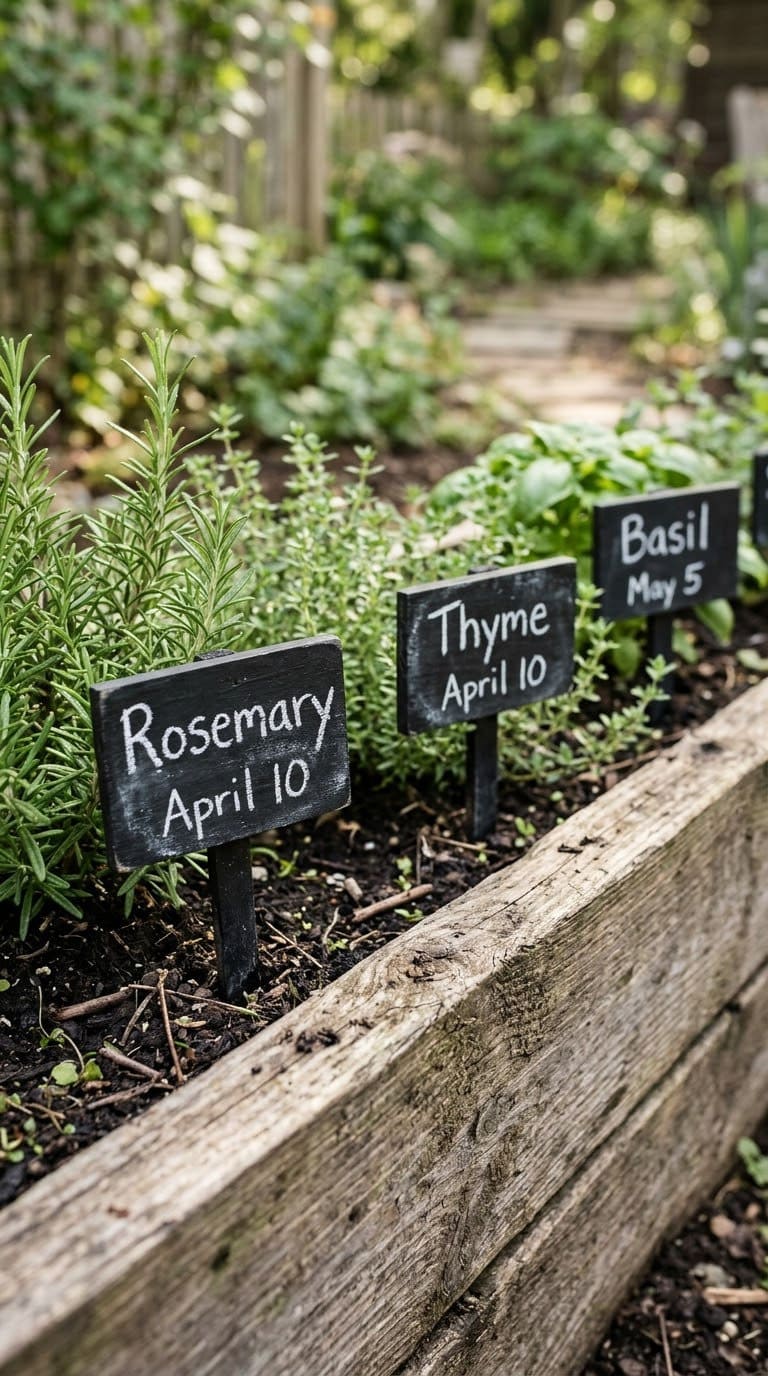
Give each herb its own small sign. Paint a 3 by 5 inch wood panel, then screw it to the front of the herb box. A bed of basil, thyme, and mint reads cleanly at that size.
Write the herb name large, then the sow date small underneath. Empress of Dirt suggests tags to record sowing and harvest dates, especially for new vegetables.
Use oil-based paint marker if the box sits in the open. Our container herb garden guide covers which herbs share a box.
Cost tier: low. Pairs with idea 7’s rock markers.
What Should You Write on a Garden Chalkboard?
Don’t just write plant names. A garden board is a tool.
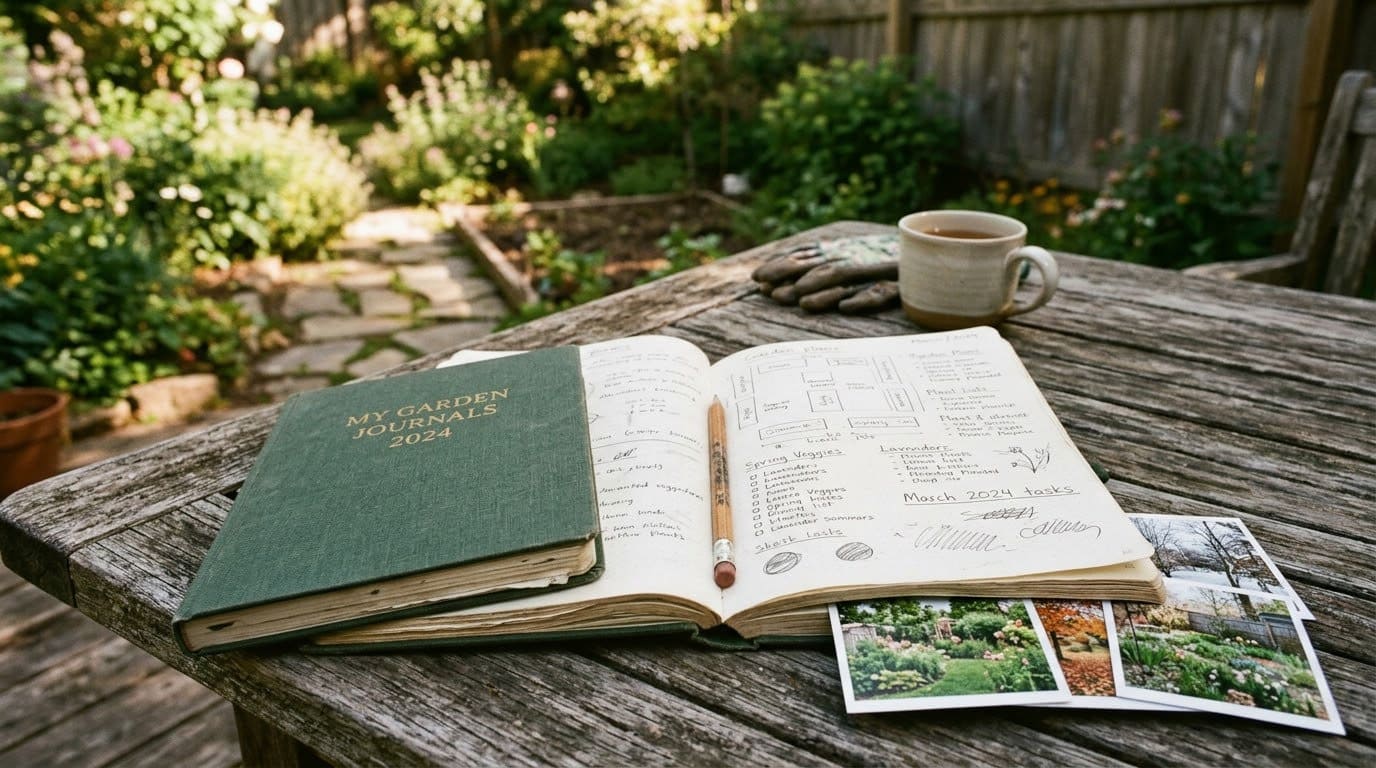
Iowa State University Extension suggests journals track planting dates, planting locations, seed starting dates, and harvest dates. It also lists plants that thrive or fail, and fertilizer applications.
Turn that list into a simple weekly board. Write the crop, the sow date, and the next job. When you finish the job, wipe it and write the next one.
For a bigger record, snap a photo of the board each week. That gives you a free garden journal. For more ways to label a space, see our DIY garden sign ideas.
How Do You Keep Chalkboard Labels Looking Fresh?
Set a five-minute routine once a week. Walk the garden with a damp cloth and a chalk pen. Wipe old notes, fix smudges, and update dates.
Re-season a board after a heavy rain. Rub chalk across it and wipe it off, as Hey There Home advises for its fence board. This keeps ghost marks from building up.
Once a season, check the paint itself. If it flakes or turns chalky, sand lightly and add a fresh coat. Fresh paint takes writing better than an old can, as the Empress of Dirt tests showed.
Store chalk and pens in a lidded jar, not loose in a bucket. Wet chalk crumbles, and paint markers dry out with the cap off.
Take photos of your labels before winter. Then you’ll know what went where when spring comes.
Common Mistakes to Avoid
Writing before the paint cures is the first one. Empress of Dirt says markers should only go on after the paint has fully cured, and humid weather can slow that.
Using old paint is the second. Her old can didn’t work with chalk markers, so she repainted with fresh paint.
Relying on chalk outdoors is the third. Pretty Handy Girl says chalk markers fade in sun or run in rain.
Sealing a surface you plan to erase is the fourth. A sealer can protect paint, but it changes the finish. Test on a scrap piece before you coat a finished label.
FAQ
Does chalkboard paint work outdoors?
Not well in open weather. Pretty Handy Girl says chalkboard paint and chalk markers can fade, crack, and peel outdoors. Use it under cover, or switch to outdoor acrylic.
What pen lasts longest on garden labels?
An oil-based paint marker. In Empress of Dirt’s six-month outdoor test, it didn’t fade or smear, while a water-based Sharpie faded on most surfaces.
Can I paint terracotta pots with chalkboard paint?
Yes, but you lose some breathing. Painting and sealing terracotta removes its moisture-wicking ability, so paint a label band instead of the whole pot.
How long does chalkboard paint take to cure?
Check your can. The label may say 24 hours, but humid weather can take longer, so wait until the paint is fully hard before writing.
How do I stop old writing from showing through?
Season the surface. Rub the side of a chalk stick over the paint, then wipe it off before you write.
Never miss an update — choose FarmFoodFamily as your preferred source on Google.
How it works: Tap the button below to open Google's settings page, then check the box next to FarmFoodFamily.
Tap the checkbox to turn it blue — that's how you know it's set.