14 Whimsical Garden Mushroom Projects That Last Through Rain and Sun
Painted pots, cast concrete and solar caps all turn into charming garden mushrooms, but only if you seal them well and handle cement with care.

Never miss an update — choose FarmFoodFamily as your preferred source on Google.
How it works: Tap the button below to open Google's settings page, then check the box next to FarmFoodFamily.
Tap the checkbox to turn it blue — that's how you know it's set.
Painted pots, cast concrete and solar caps all turn into charming garden mushrooms, but only if you seal them well and handle cement with care.
Products We Recommend
This post contains affiliate links. We may earn a commission on qualifying purchases at no extra cost to you.

Orceler 4 Inch Terracotta Pots with Saucer, 6 Pack, Drainage Holes
Small clay pots with matching saucers, a ready kit for pot-and-saucer mushrooms. Paint and seal them before they go outside.
Shop Now
E6000 Plus Multi-Purpose Clear Glue, Waterproof and Paintable, 56.1 ml
A strong, flexible craft adhesive for gluing a saucer cap to a pot stem. It is the Plus version, not the original E6000.
Shop Now
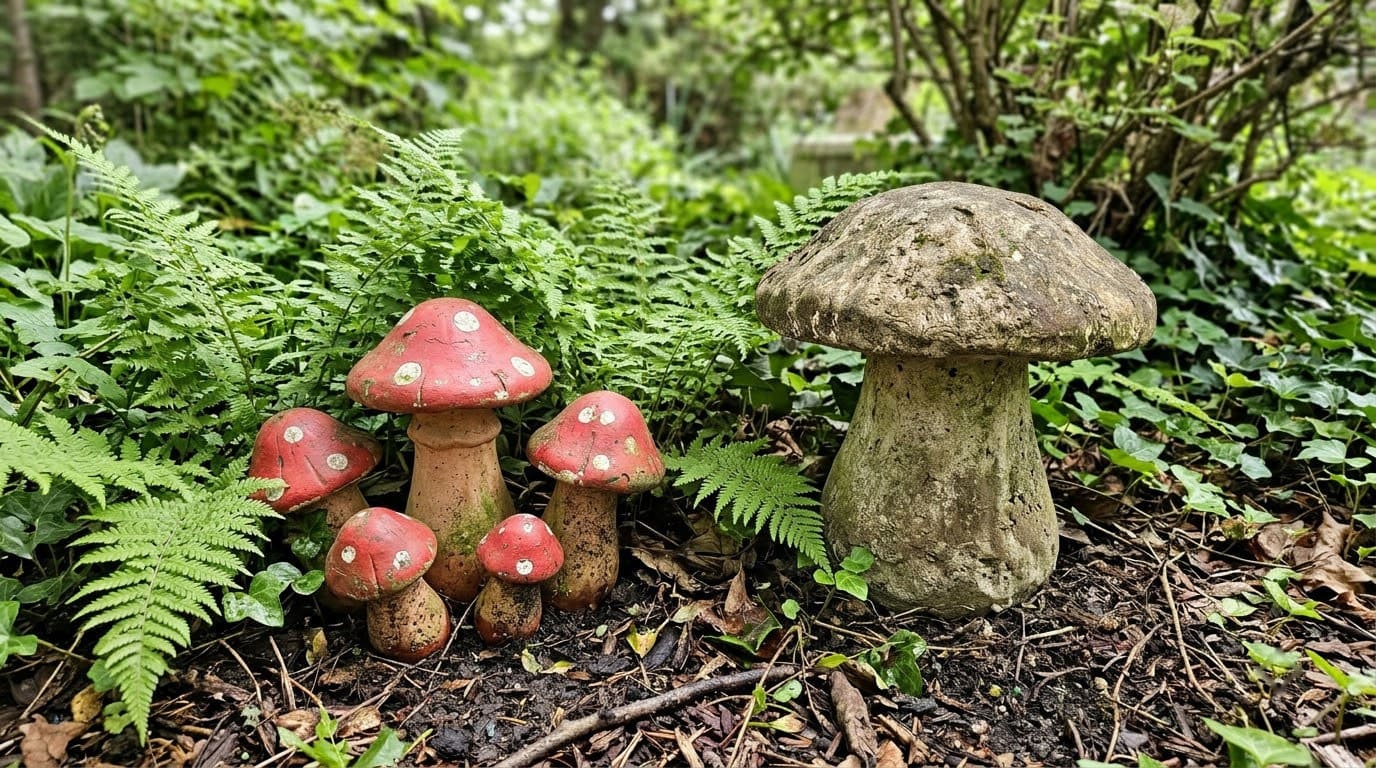
Mod Podge Waterbase Sealer, Glue and Finish for Outdoor, 8 oz, Clear
A brush-on outdoor sealer for painted pieces. It is not a UV spray, so read the label and recoat each year.
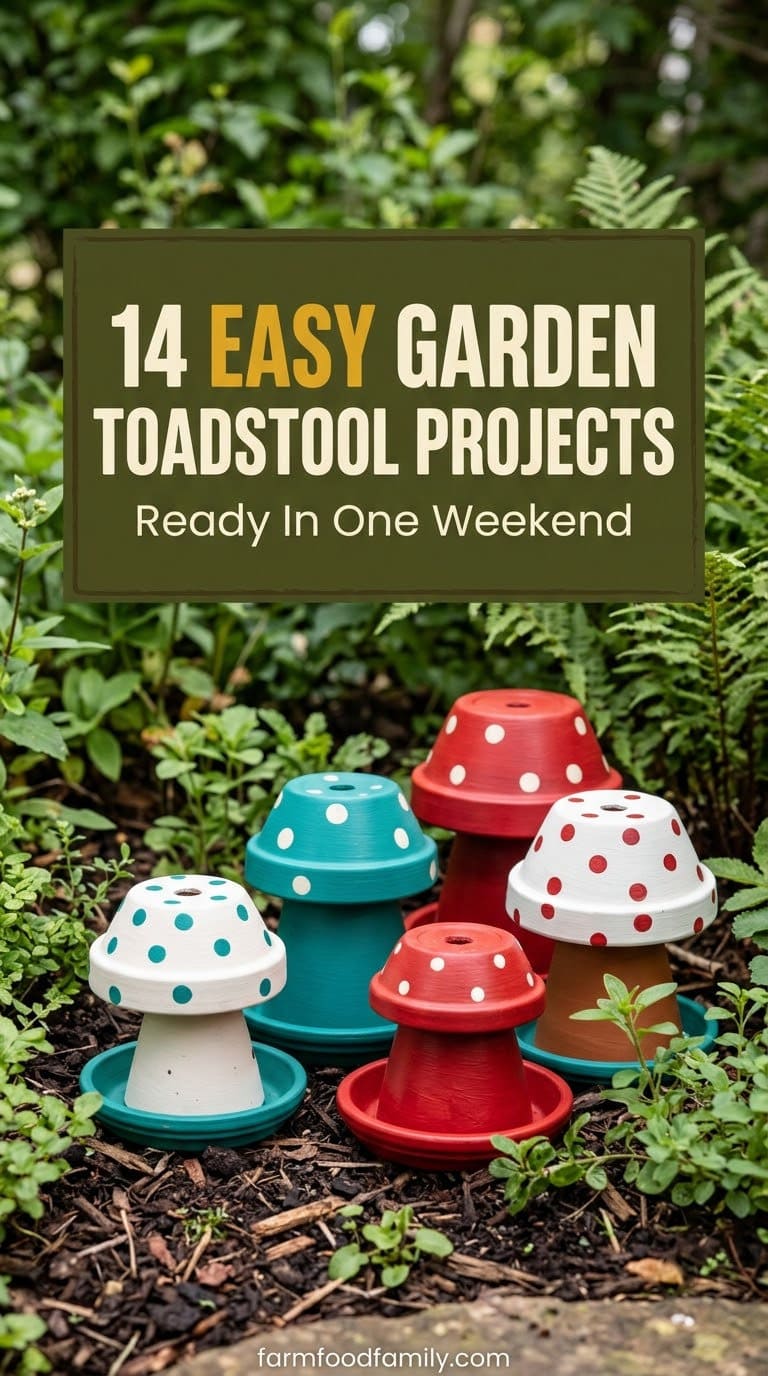
Shop NowThe easiest garden mushrooms come from terra cotta pots and saucers. Paint them, glue the saucer to the pot, and seal the outside. A tutorial from Ruffles and Rain Boots puts the cost near $7 and the work at about 30 minutes.
For a bold centerpiece, cast a giant concrete mushroom. Artsy Pretty Plants built a two-foot version that weighs a bit over 50 pounds, so plan to use a cart. Wear gloves and eye protection, because wet cement can burn skin.
Other ideas use thrift store bowls, log slices, wood rounds, solar lights and succulent caps. Match the material to your climate, and seal anything that will sit out in the rain.
Answer 4 quick questions and get matched to the exact fix for your yard — drainage, budget, layout, or something else entirely.
Take the Free QuizThese 14 ideas give you steps, a style tip and a safety note for each one. Start with one small cluster, and add more over the season.
What Materials Work Best for Garden Mushrooms?
The material sets how long your mushroom lasts. Clay and concrete handle weather well once sealed. Wood and fabric need extra care.
Use this table to pick a start. The skill levels are our own guess.
| Material | Look | Skill | Weather test |
|---|---|---|---|
| Terra cotta pots | Classic, bright | Easy | Good when sealed |
| Concrete or cement | Heavy, stone-like | Medium to hard | Very good when sealed |
| Hypertufa | Mossy, rough | Medium | Good, needs time to cure |
| Thrift store bowls | Smooth, glossy | Easy | Good, check for cracks |
| Wood rounds | Rustic | Easy | Fair, needs finish |
| Clay or felt | Soft, small | Easy | Poor, keep covered |
If you are new to this, begin with pots. They cost little, and a mistake costs almost nothing.
How Do You Make Garden Mushrooms Last Outdoors?
Sun and rain are tough on paint. Glue fails when it gets wet and hot. A little prep saves you a repaint next spring.

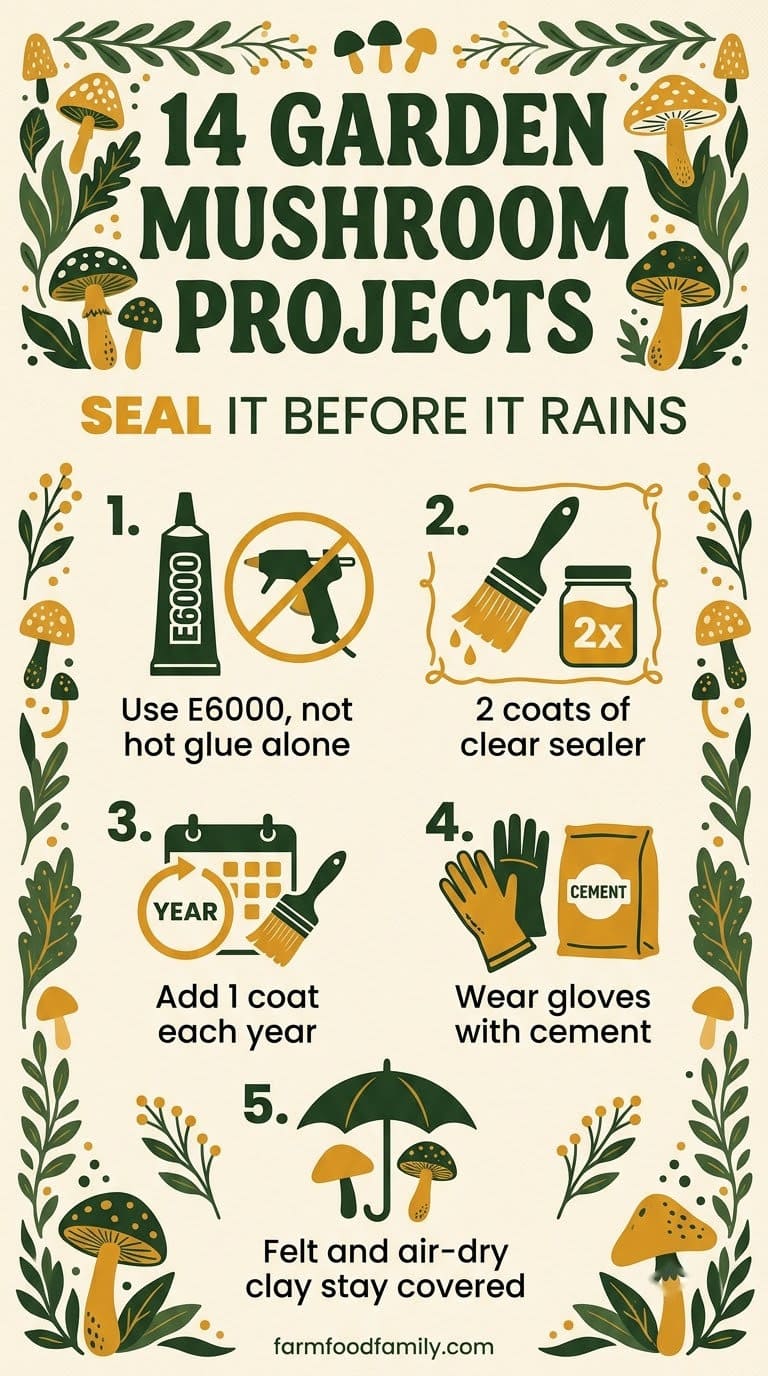
Sarah Nenni-Daher of Ruffles and Rain Boots says hot glue alone “will not work” for this craft. She uses E6000 adhesive instead. She also says outdoor paint lasts longer, but the mushrooms should still be sealed.
Her plan is simple. Use a UV spray sealant, and apply two coats at first. Then add one more coat each year to keep the color bright.
Most yard problems trace back to one specific, fixable cause. Find yours in 4 quick questions.
Take the Free QuizArtsy Pretty Plants adds a warning. Regular acrylic paint fades quickly, even with a topcoat. Its author paints the concrete stem first, then adds a clear matte topcoat, with two coats on the cap and three on the stem.
Here is the short version:
- Wash and dry the surface first.
- Use outdoor paint when you can.
- Glue with a strong adhesive, not hot glue alone.
- Spray two coats of clear UV sealer, and add one coat each year.
- Bring delicate pieces inside before a hard freeze. That tip is ours, since the sources we read didn’t cover frost.
How Do You Work Safely With Cement?
Cement looks harmless, but it isn’t. Safe at Work California, a site run by the State Compensation Insurance Fund, says wet or dry cement can cause burns, rashes and skin irritation. It says to wash cement off as soon as possible.
Dust is the other risk. The same page says long contact with silica dust in concrete can cause silicosis, a lung disease that can disable. It suggests mixing dry cement in an open, airy spot, wetting the work area, and wearing a NIOSH-approved respirator if you can’t avoid dust.
Our safety rules for every cement project in this guide:
- Wear waterproof gloves, long sleeves and eye protection.
- Mix outdoors, and keep the bag low to cut dust.
- Rinse tools with a hose right away, away from drains and garden beds.
- Never sand cured concrete without a dust mask.
- Keep kids and pets away until the piece has cured and been sealed.
Oregon State Extension says to wear gloves when you mix its hypertufa recipe. It also says to rinse tools and trays right away. Its author, Linda McMahan, doesn’t mention a dust mask, so we added that step.
Small clay pots with matching saucers, a ready kit for pot-and-saucer mushrooms. Paint and seal them before they go outside.
Shop NowThis post contains affiliate links. We may earn a commission on qualifying purchases at no extra cost to you.
1. Terra Cotta Pot and Saucer Mushrooms
This is the classic starter project. A terra cotta pot makes the stem, and a saucer makes the cap. The Ruffles and Rain Boots version uses two pots and three saucers, with white, teal and red acrylic paint. It rates the project “Easy.”
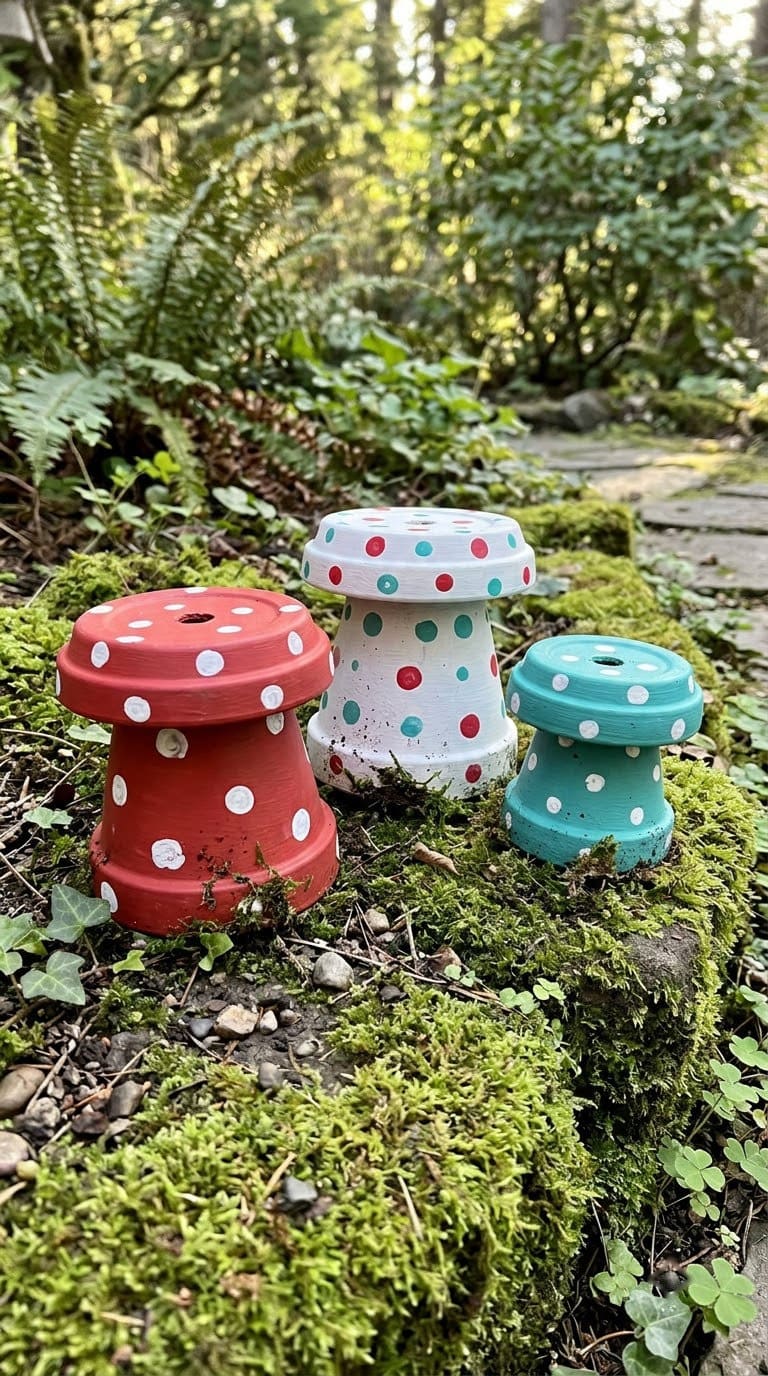
- Clean the pots and saucers. Let them dry fully.
- Paint a base coat on each piece with a foam brush. Add a second coat if the clay shows through.
- Glue each saucer to a pot with E6000, and let it cure.
- Paint dots or stripes on the caps.
- Spray two coats of outdoor clear sealer.
Style tip: turn the pot upside down for a wider, sturdier stem. Vary the saucer sizes so the group looks natural.
More: see our DIY clay pot garden craft projects.
The average homeowner spends $616/year on yard fixes that don't address the real problem. Find out what yours actually is — before you spend another dollar.
Take the Free Quiz2. Giant Concrete Mushroom
A big concrete mushroom is a focal point. The Artsy Pretty Plants version stands about two feet tall. It costs under $50 in materials, versus $200 or more for a store-bought one, and takes about six active hours.
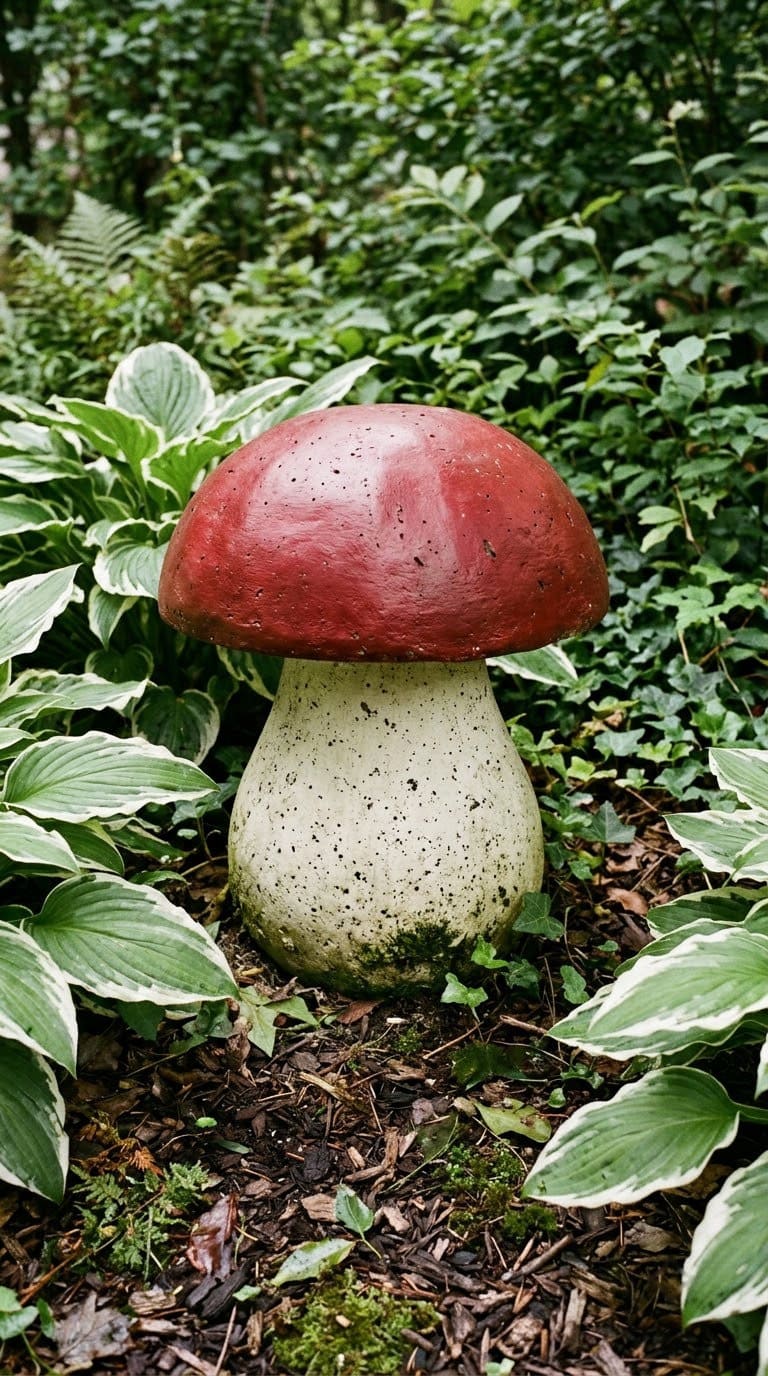
- Cast the stem in a cardboard tube set on a tile base. Fill it in portions, and tap and shake it to push out air.
- Let the stem cure for at least one full day. The author’s took about 36 hours.
- Cast the cap in a plastic dome with a smaller bowl set inside. Use rapid-set cement at a thick milkshake consistency.
- Wait about two hours, then remove the cap from the mold.
- Join the stem and cap with more rapid-set cement.
- Paint the stem first, then the cap, then add spots and a clear matte topcoat.
Style tip: mix more cement than you think you need. Two batches can differ in color and texture.
Safety: the finished mushroom is heavy, so use a second person, and a cart to move it. The cap makes it top-heavy while you work.
More: for other cement projects, see our cheap garden cement ideas.
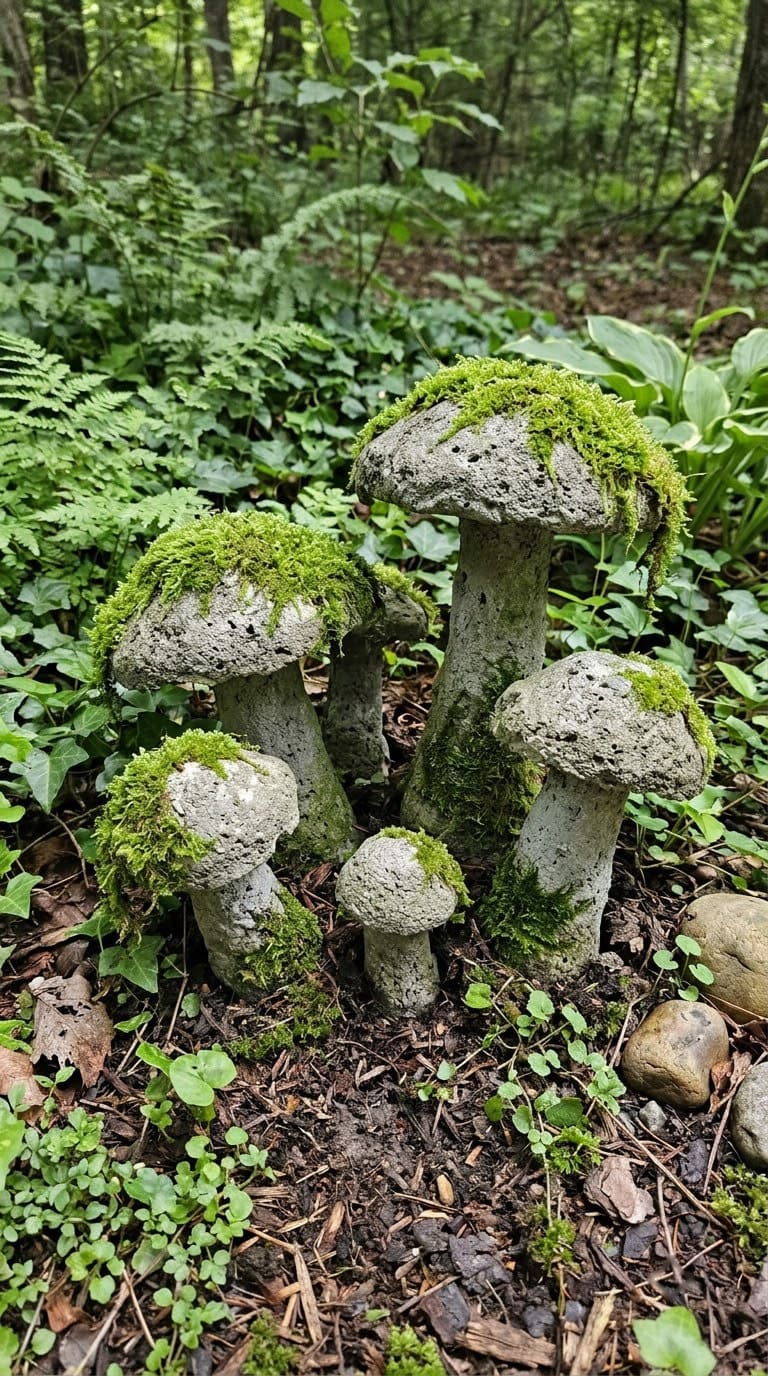
3. Hypertufa Cap Mushrooms
Hypertufa is a lighter mix than concrete, and it’s easy to shape. It has a rough, mossy look that suits shady beds. Oregon State Extension’s recipe is for a container, not a mushroom, so we adapt it here for caps.



- Wear gloves, and mix 3 parts coir, 2 parts Portland cement and 3 parts perlite by volume.
- Add water slowly until the mix holds together when you squeeze it.
- Pack it over a plastic-lined bowl for the cap. Keep it thick, as the extension recipe calls for walls at least 3 inches thick on containers.
- Leave it outdoors for 3 to 5 days to firm up, then remove the mold.
- Wait about a week before you put it out in the garden.
Style tip: leave the surface rough, and let moss grow over it.
Safety: wear a dust mask when you pour dry perlite and cement. That step is our own addition.
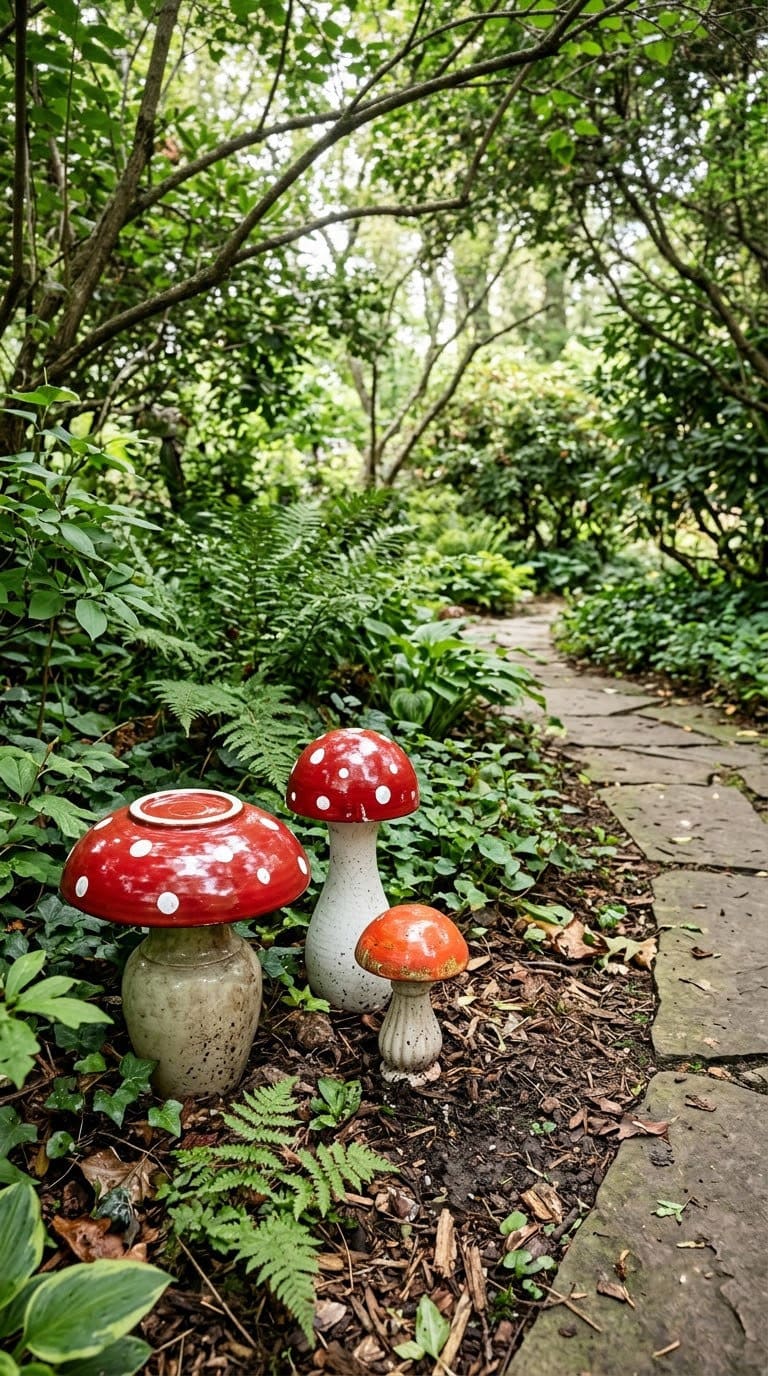
4. Thrift Store Bowl and Vase Mushrooms
Old bowls make smooth, glossy caps. A vase or a candlestick makes the stem. The original page showed mushrooms made from thrift store bowls and vases, and the idea still works well.
- Pick a bowl for the cap and a vase or a stand for the stem. Check each for cracks.
- Wash and dry them well.
- Paint the bowl with outdoor paint, or use glass paint on glass.
- Glue the bowl upside down on the stem with a strong outdoor adhesive.
- Let the glue cure, then seal.
Style tip: use odd shapes. A wide, shallow bowl looks like a toadstool, and a tall bowl looks like a puffball.
Safety: don’t use glass with chips. It can cut your hands.
More: our whimsical garden ideas have more playful pieces for a yard.
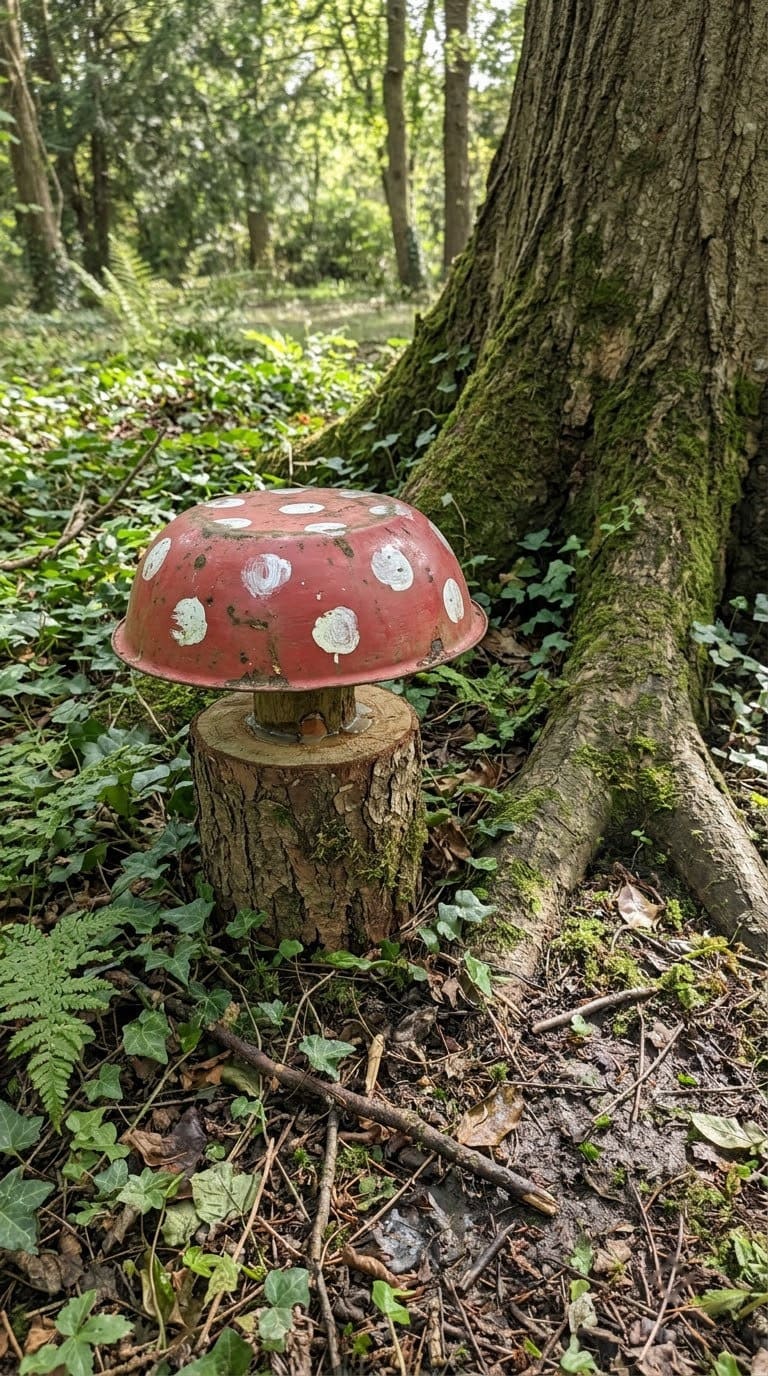
5. Log Slice and Painted Bowl Mushrooms
A slice of log makes a rustic base. A painted steel bowl sits on top as the cap. It looks like a mushroom on a stump.
- Cut or buy a log slice that is flat on both ends.
- Paint a metal bowl in a bright color. Use a primer made for metal.
- Glue the bowl to the log with outdoor adhesive.
- Seal the wood with an outdoor finish.
Style tip: pick a log that is dry and free of rot. A soft log will fall apart fast.
More: see our wood log and tree stump decorating ideas.
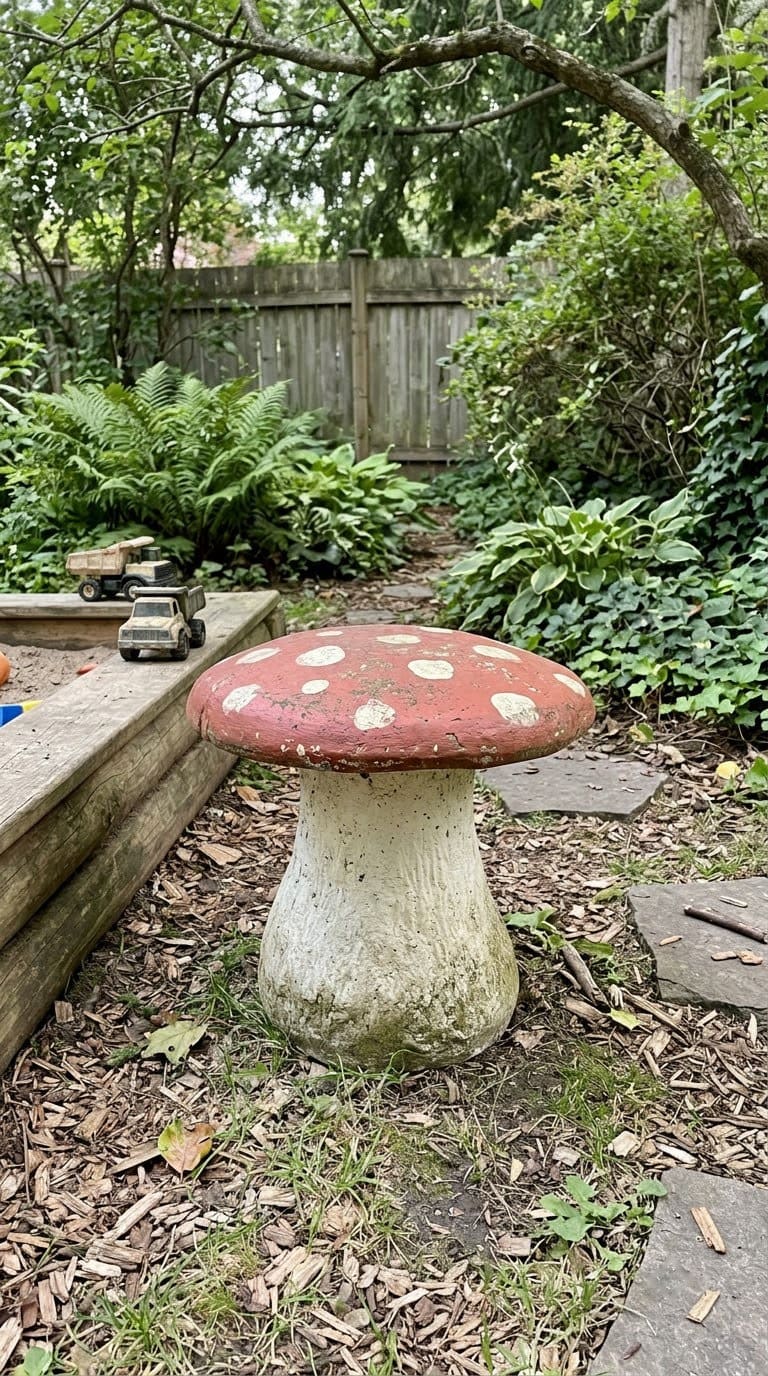
6. Kid-Size Mushroom Stool
A mushroom stool is a seat and a decoration in one. You can make it from a concrete cast or from a sturdy log with a wide cap on top.
- Choose a wide, flat base so the stool won’t tip.
- Cast or cut the stem, and let it cure fully.
- Attach a wide cap with strong adhesive, or cast the cap and stem as one piece.
- Paint and seal.
- Test it on level ground with an adult sitting on it before kids use it.
Style tip: keep the stool low. It looks cuter, and it is safer for small children.
Safety: this is our own advice, because the sources we read do not cover seating. Don’t let kids stand on a mushroom.
7. Succulent Cap Mushroom Planter
A hollow cap can hold soil and plants. A clay saucer or bowl works well. Add a drain hole, then plant a small succulent.
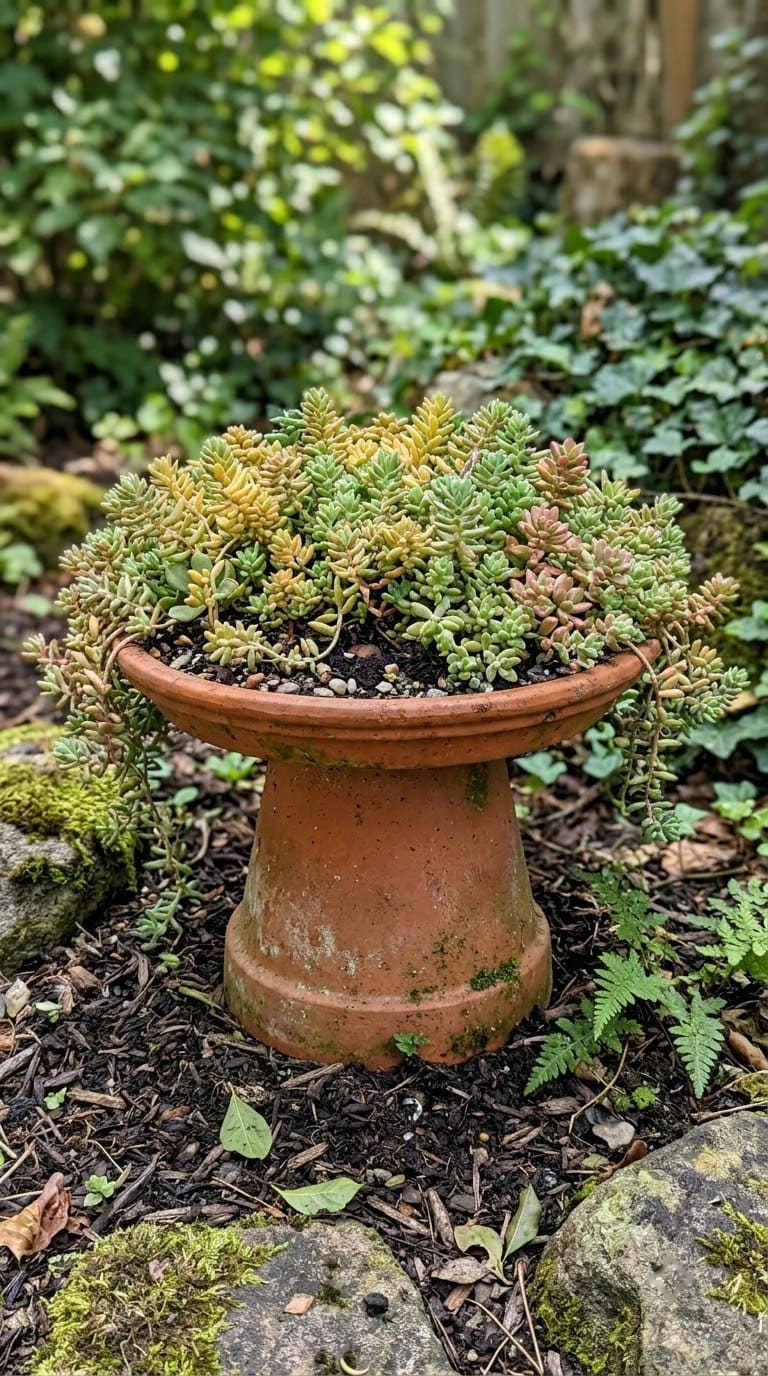
- Pick a bowl with a drain hole, or drill one with a masonry bit.
- Paint the outside, and seal it.
- Glue the bowl onto a stem made from a pot or a post.
- Fill with fast-draining soil, and plant a succulent.
Style tip: choose a trailing plant so it looks like moss on a toadstool.
More: see our garden art DIY projects.
8. Mossy Green Mushroom
A mossy mushroom looks old, as if it grew there. Green paint and moss give you the look. You can use this finish on concrete, on hypertufa or on a bowl cap.
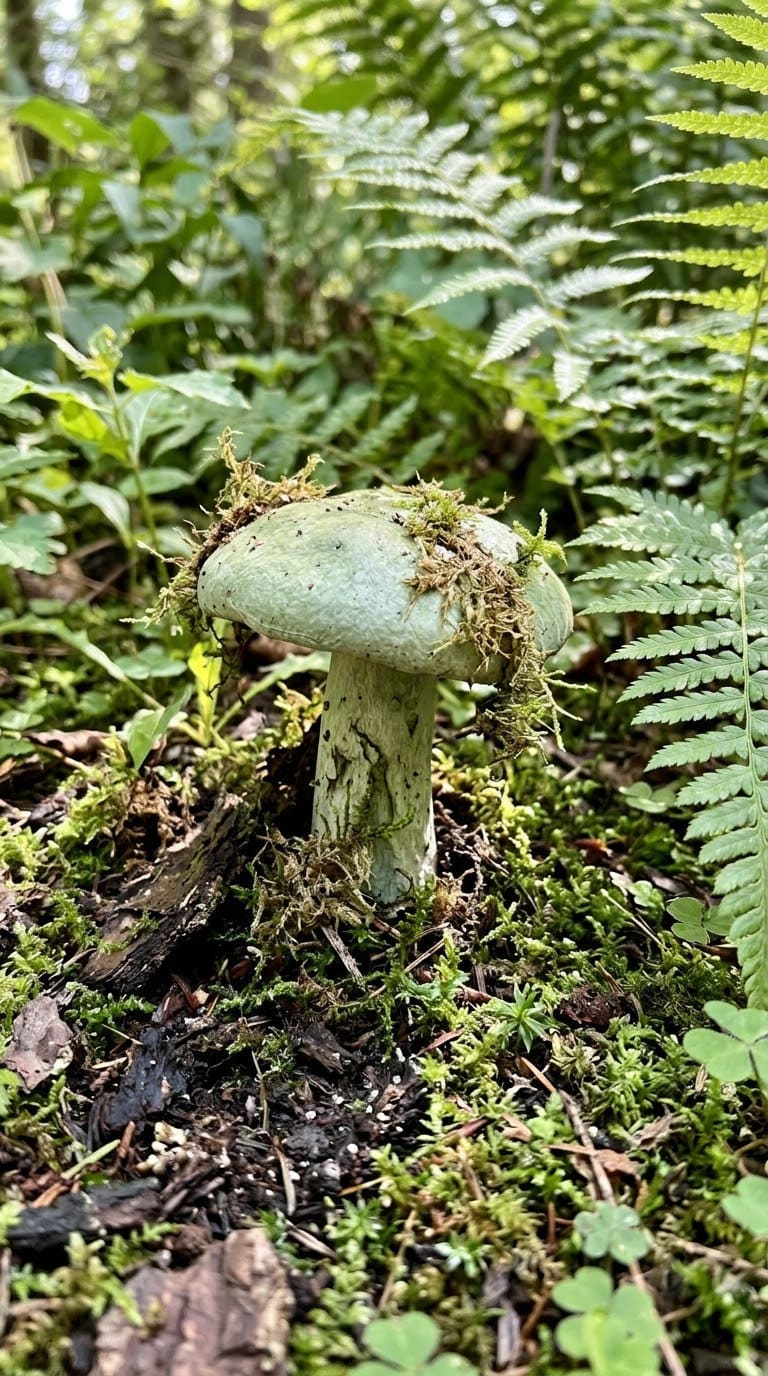
- Paint the mushroom a soft green.
- Glue small pieces of dried moss on the cap and stem.
- Seal with a clear spray.
- Place it in a shaded spot.
Style tip: use it near ferns and hostas. The colors blend.
More: learn about types of moss before you pick one.
9. Solar Light-Up Toadstool
A light-up mushroom adds glow to a path. Solar stake lights make this easy. You mount a small solar light in the cap, and it charges in the sun.
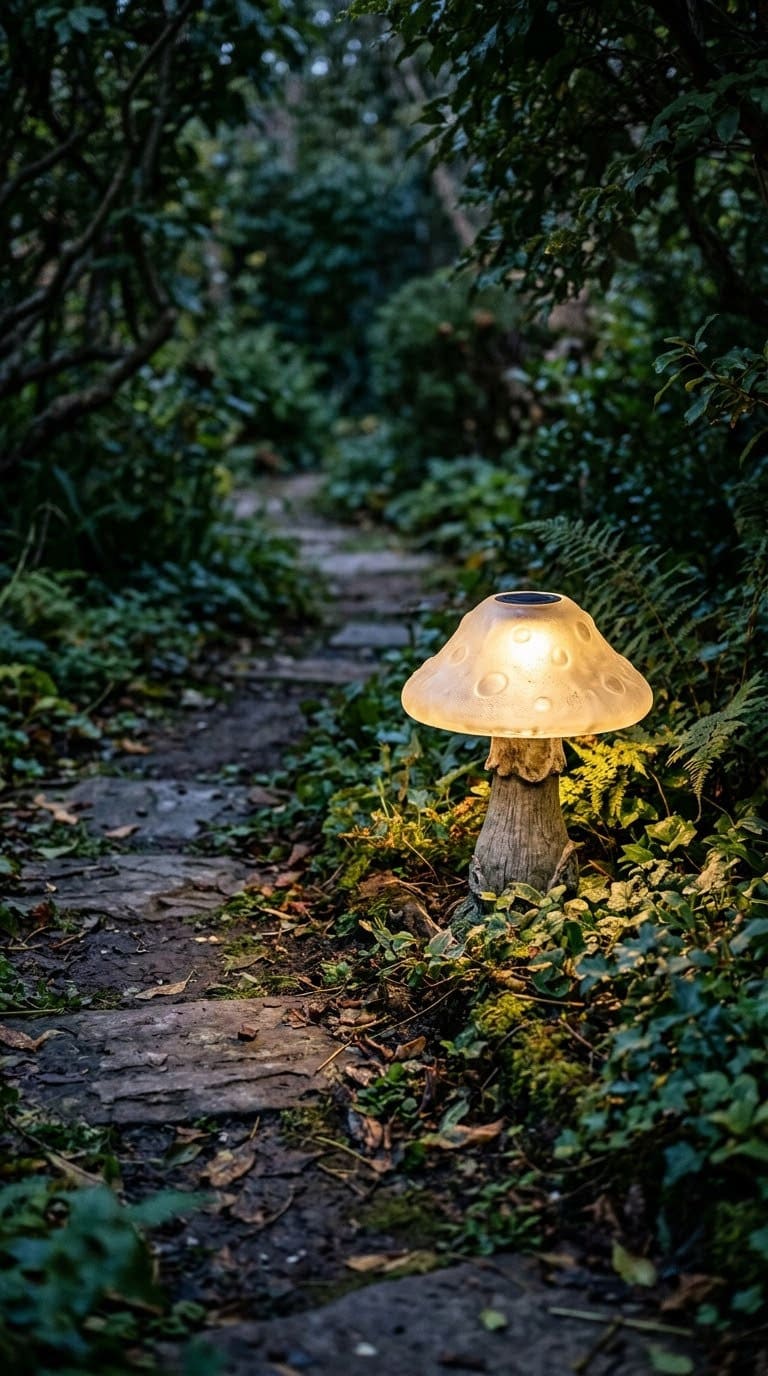
- Pick a frosted bowl for the cap.
- Remove the stake from a solar light, and fix the light in the cap with outdoor glue.
- Set the mushroom in a spot that gets direct sun during the day.
Style tip: use warm white lights for a cozy look.
More: see our DIY solar light craft ideas.
10. Fairy Door Mushroom Home
A fairy door turns a mushroom into a tiny home. Cut or glue a small door on the stem, and add a tiny window. Kids love it.
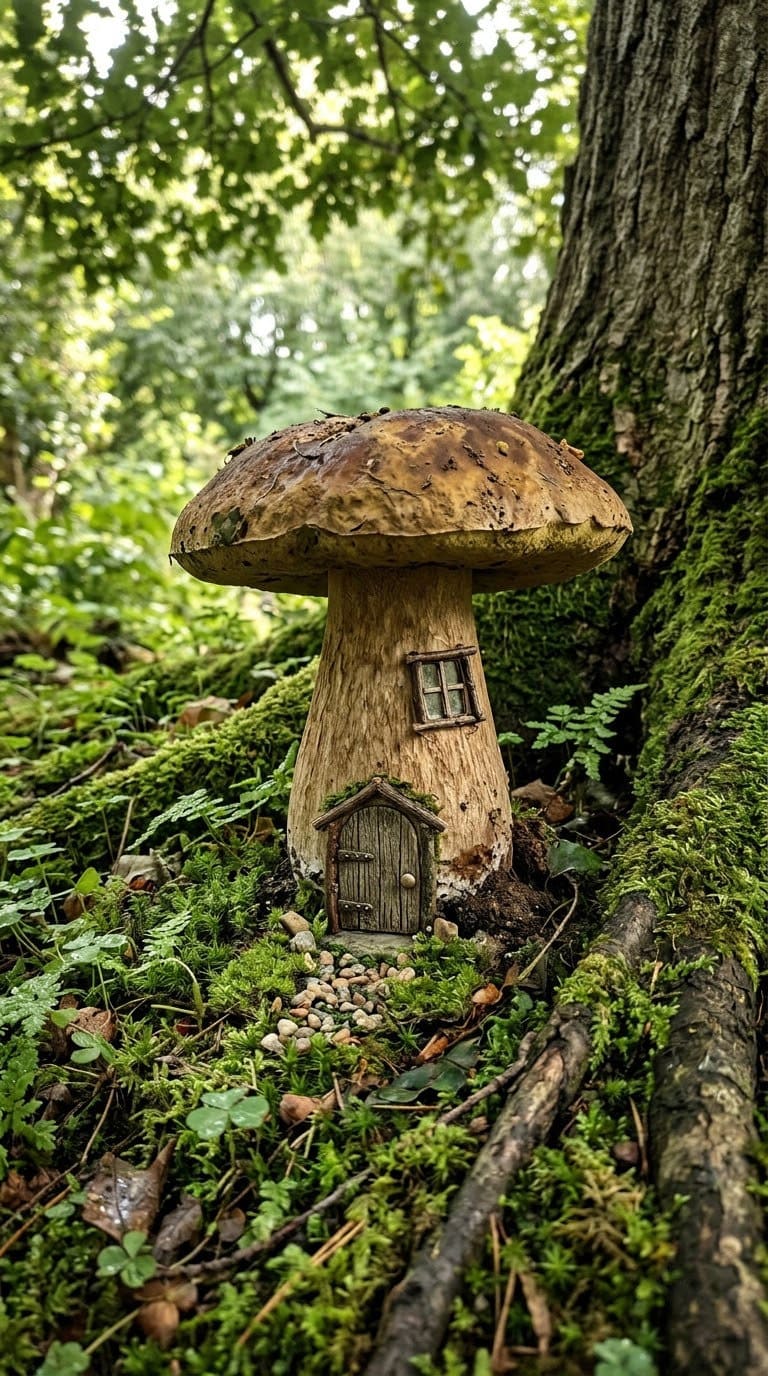
- Make a large mushroom, from a pot or from concrete.
- Paint a small door and window on the stem, or glue on wooden pieces.
- Seal the paint.
- Add small stones and a few plants around it.
Style tip: put it at the base of a tree. It feels like a hidden spot.
More: see our DIY fairy garden ideas.
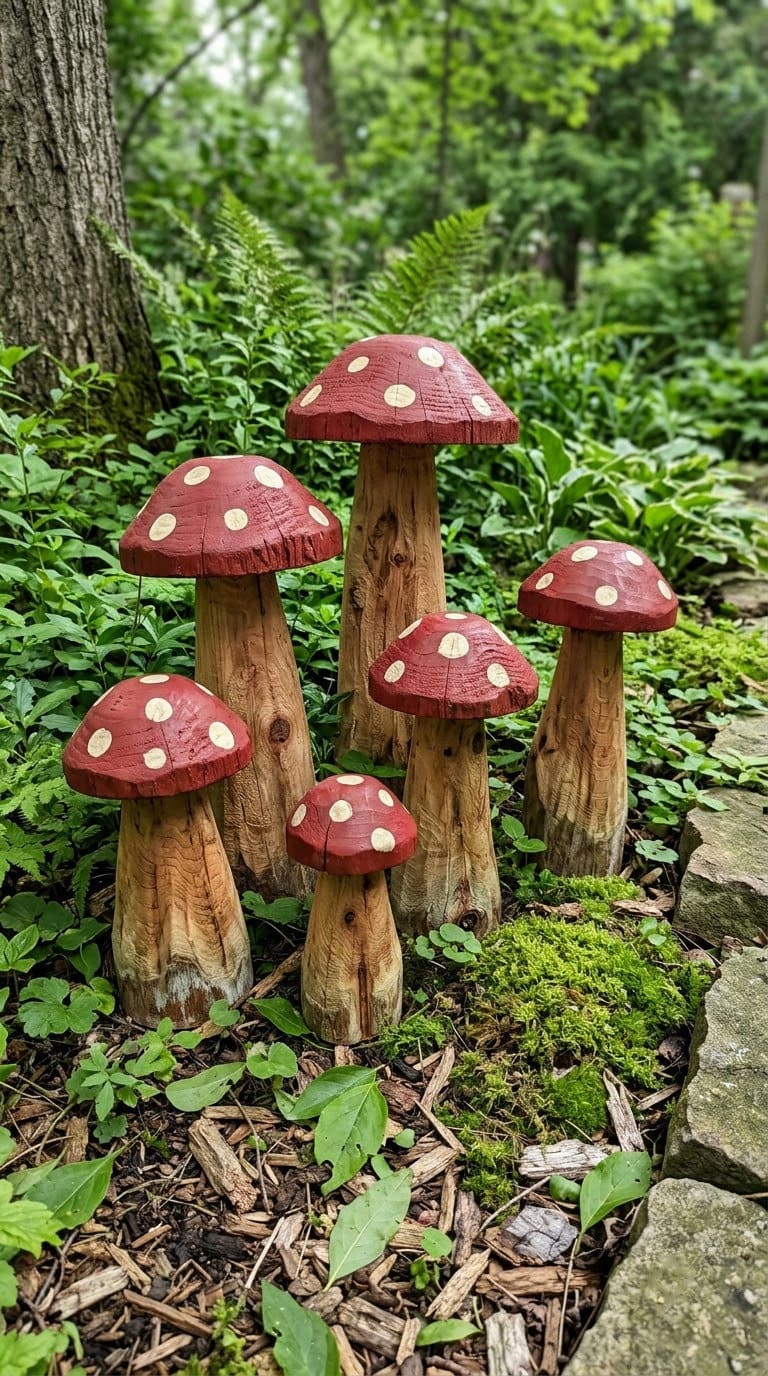
11. Wooden Toadstools
Wood gives a warm, natural look. Use a round for the cap and a post for the stem. Cedar holds up better outdoors than most pine.
- Cut a round for the cap, and a post for the stem.
- Sand both pieces smooth.
- Join them with a screw and glue.
- Paint the cap, and add spots.
- Seal with an outdoor finish.
Style tip: vary the heights from 6 inches to 2 feet for a natural cluster.
Safety: sand all edges. Splinters hurt little hands.
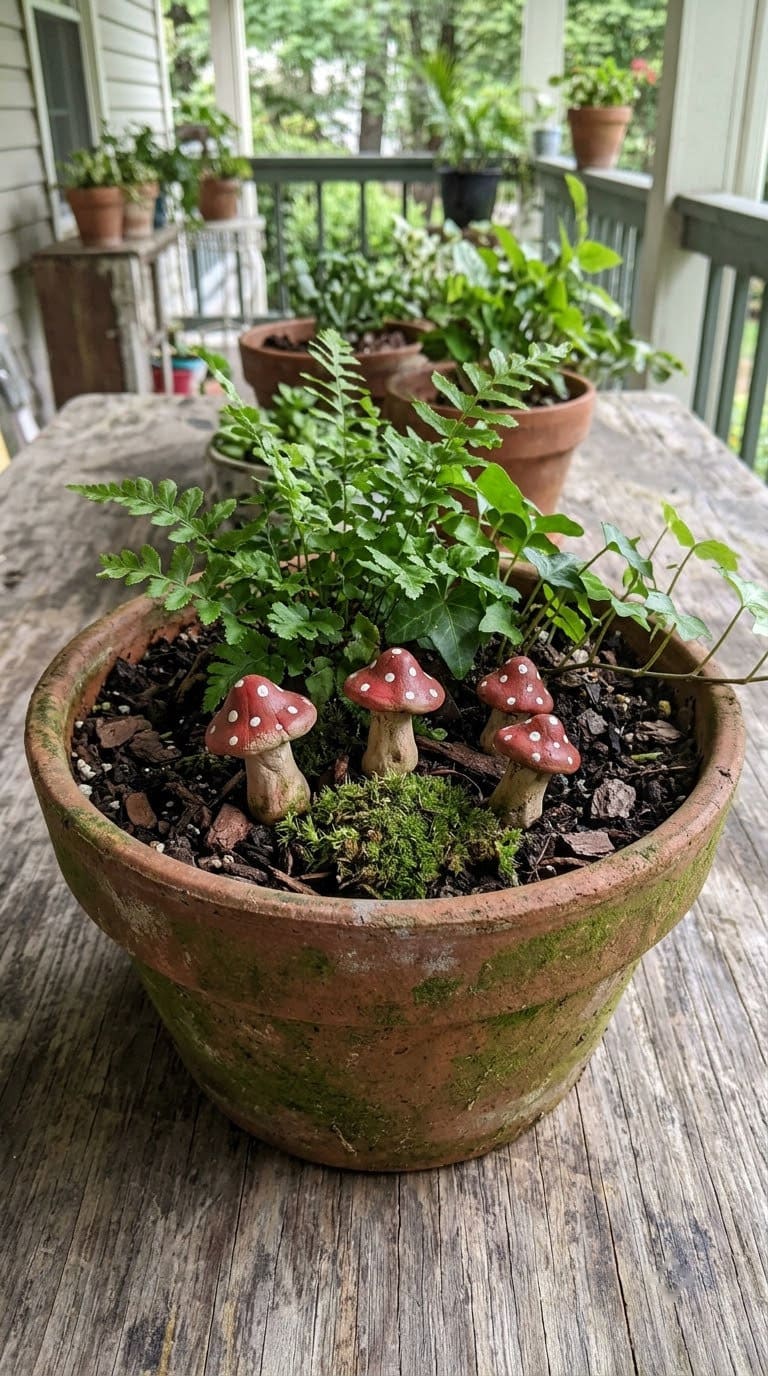
12. Clay Toadstools for Sheltered Spots
Air-dry clay is cheap and easy to shape. But it doesn’t handle rain well. Use it for planters and covered porches.
- Shape a stem and a cap from clay.
- Press the cap onto the stem, and smooth the join.
- Let it dry fully.
- Paint and seal it with a clear spray.
Style tip: keep these small, and put them inside potted plants.
Safety: check the clay label before you use it, and keep these away from standing water.
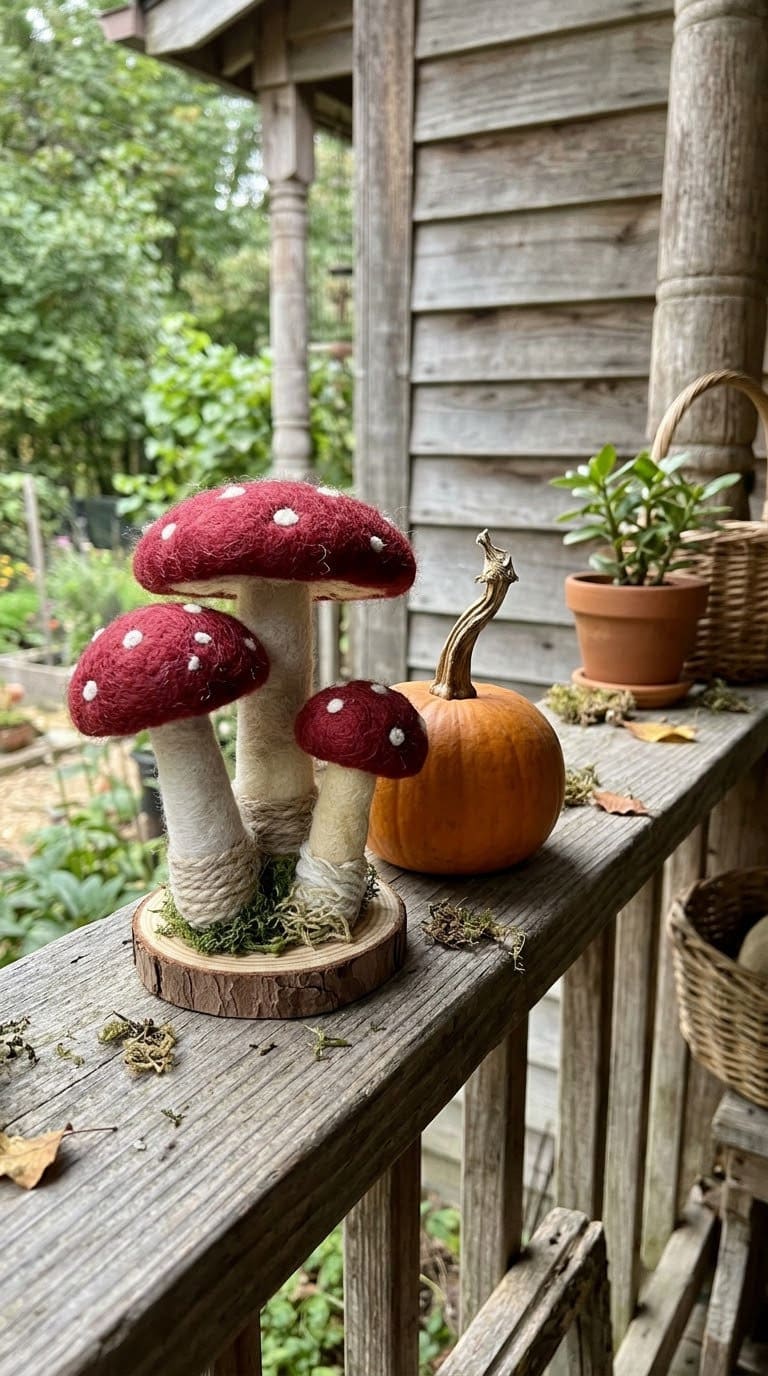
13. Felt and Yarn Porch Toadstools
A soft toadstool is a nice touch for a porch. Felt and yarn aren’t made for the rain. Use these only where they stay dry.
- Cut a cap from red felt, and a stem from cream felt.
- Sew them together, and stuff them with fiberfill.
- Add white felt spots with glue.
- Set them on a covered porch or a shelf.
Style tip: pair them with a pumpkin or a small wreath in fall.
More: try our amigurumi crochet mushroom softies for a crocheted version.
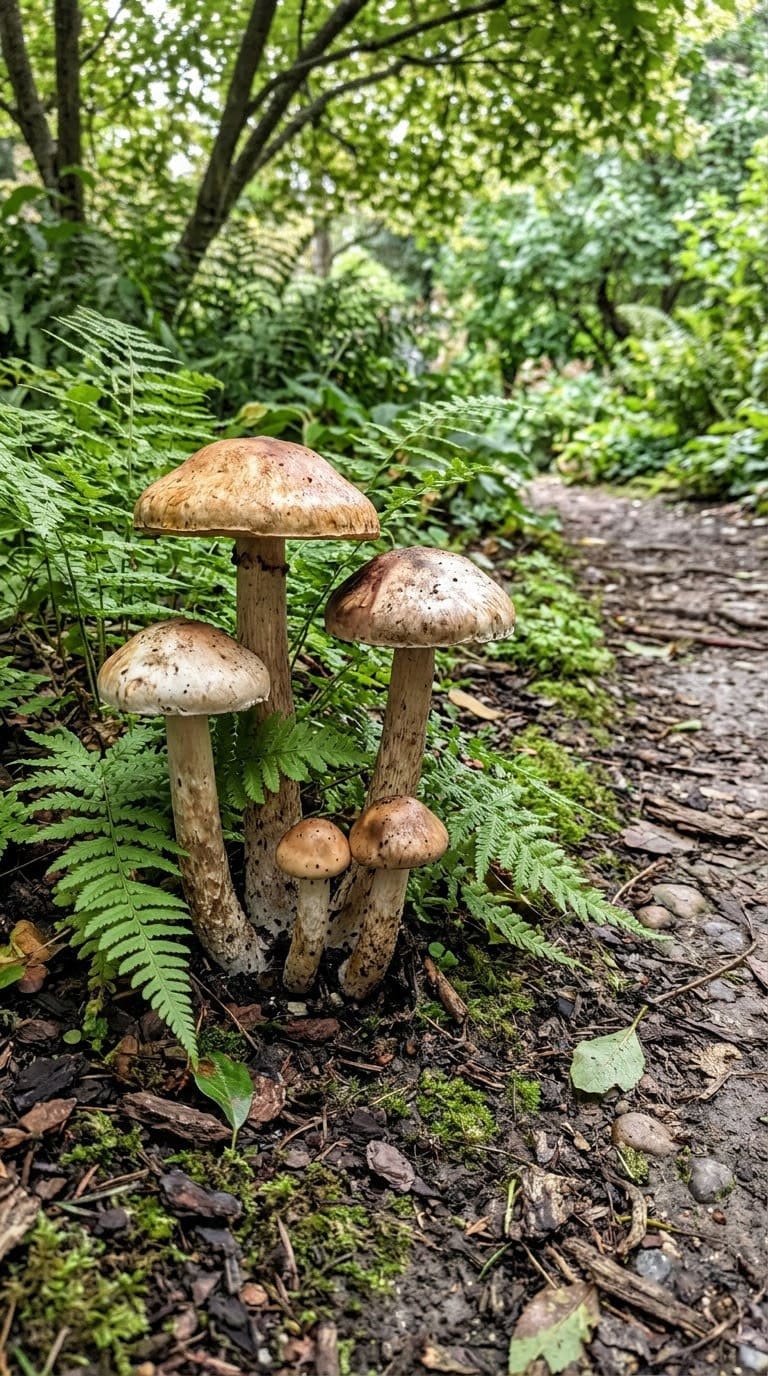
14. Mushroom Cluster Garden Border
A group of mushrooms looks better than one. Set them along a path, at the base of a shrub or around a birdbath. Mix tall and short pieces.
- Pick a spot in part shade, where the paint will fade more slowly.
- Set three to five mushrooms in a loose group.
- Vary the heights and cap sizes.
- Tuck ferns or hostas around the stems.
Style tip: repeat one color so the group feels planned.
More: see our DIY painted garden decoration ideas.
What Does a Mushroom Project Cost?
Costs vary by store. The ranges below are our own guess, apart from the two figures from the sources.
| Project | Rough cost | Time |
|---|---|---|
| Terra cotta mushroom | About $7 (Ruffles and Rain Boots) | About 30 minutes |
| Giant concrete mushroom | Under $50 (Artsy Pretty Plants) | About 6 active hours |
| Hypertufa cap | Low | A few hours, plus curing |
| Thrift bowl mushroom | Low | 1 to 2 hours |
| Wooden toadstool | Low to medium | 1 to 2 hours |
Common Mistakes to Avoid
- Using only hot glue. Ruffles and Rain Boots says it will not work for this craft. Use E6000 or a similar strong adhesive.
- Skipping the sealer. Even outdoor paint needs it, and a yearly refresh keeps the color.
- Trusting regular acrylic paint. Artsy Pretty Plants says it fades fast, even under a topcoat.
- Moving a heavy piece alone. A two-foot concrete mushroom is over 50 pounds.
- Mixing cement without protection. Wet cement can burn skin, and dust can harm lungs.
- Putting felt or air-dry clay in the rain. Keep them under cover.
Your Weekend Plan
Friday evening: Collect pots, saucers and paint. Check the forecast.
Saturday morning: Paint and glue the pot mushrooms. Let them dry.
Saturday afternoon: Seal them with two coats of spray.
Sunday: Set them in a cluster, and step back to check the heights.
FAQ
What is the easiest garden mushroom to make?
Terra cotta pots and saucers. Paint them, glue the saucer to the pot, and seal the outside.
How do I keep painted garden mushrooms from fading?
Use outdoor paint, seal with a UV spray, and add a fresh coat each year.
Is cement safe to work with at home?
Yes, with care. Wear gloves, long sleeves and eye protection, and wash off wet cement right away.
How long does a concrete mushroom take to cure?
Artsy Pretty Plants says its stem cured for at least one day, and the cap for about two hours before demolding.
Can I leave garden mushrooms out in winter?
Clay and concrete may crack in a hard freeze if they hold water. Bring delicate pieces inside. The sources didn’t cover frost, so this is our advice.
Related Posts
Never miss an update — choose FarmFoodFamily as your preferred source on Google.
How it works: Tap the button below to open Google's settings page, then check the box next to FarmFoodFamily.
Tap the checkbox to turn it blue — that's how you know it's set.