20 Stunning Backyard Walkway Ideas to Elevate Your Outdoor Space
Most backyard walkway roundups are just photo galleries. Pretty stone, pretty gravel, pretty pallets, and that’s it. What they leave out is the part that actually determines whether your path looks good for one summer or holds up for ten years: how deep the base goes, and for one specific material on this list, a…

Never miss an update — choose FarmFoodFamily as your preferred source on Google.
How it works: Tap the button below to open Google’s settings page, then check the box next to FarmFoodFamily.
Tap the checkbox to turn it blue — that’s how you know it’s set.
Most backyard walkway roundups are just photo galleries. Pretty stone, pretty gravel, pretty pallets, and that’s it.
What they leave out is the part that actually determines whether your path looks good for one summer or holds up for ten years: how deep the base goes, and for one specific material on this list, a real safety issue that never gets mentioned.
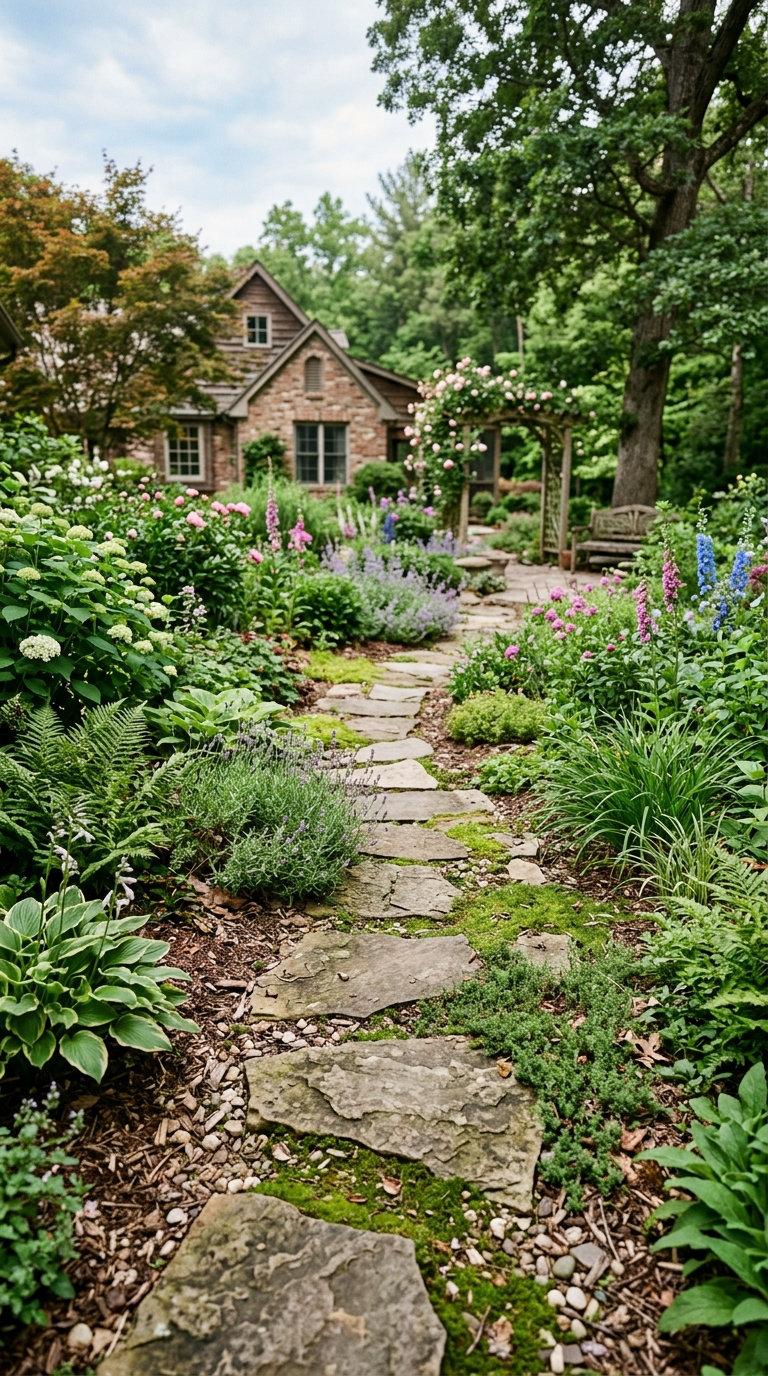
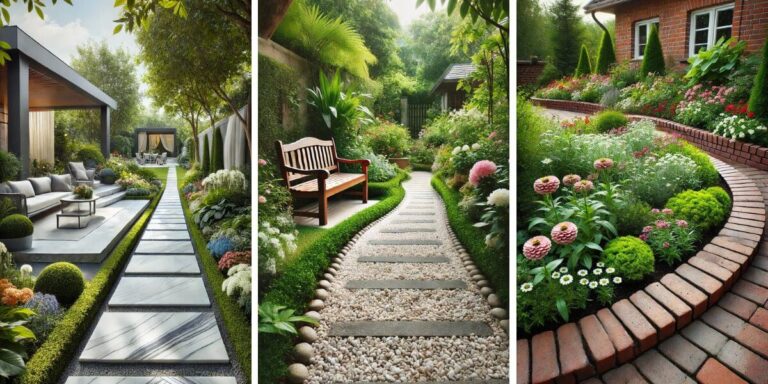
Here are 20 real ways to build a backyard walkway, what each one actually costs relative to the others, and what makes it last.
1. Simple Stepping Stones
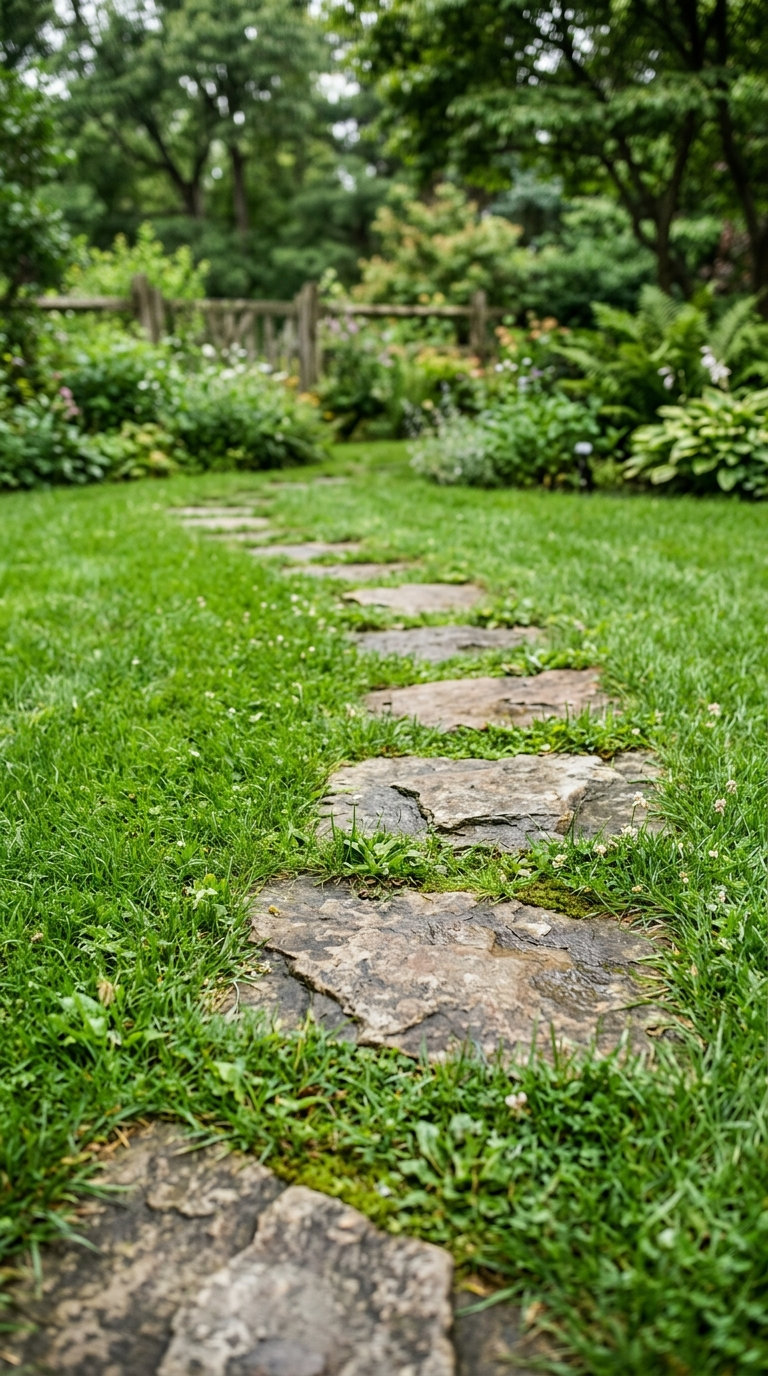
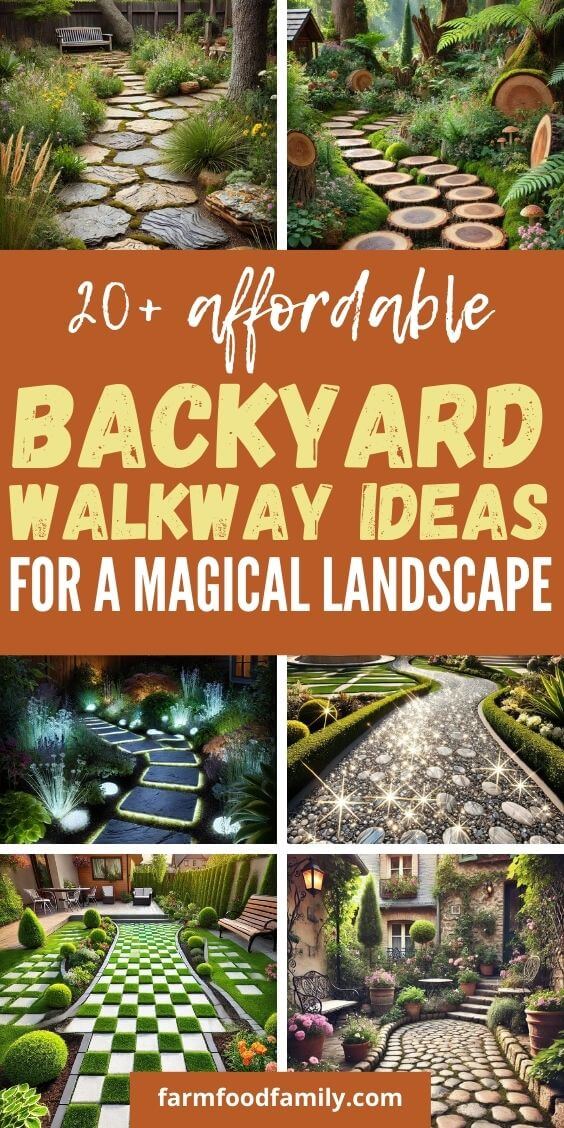
Nothing beats the classic charm of stepping stones. They’re easy to lay down and fit almost any backyard style, from whimsical gardens to minimalist landscapes. Cheap and one of the easiest DIY entries on this list.
One thing worth doing right: set each stone into a bed of sand or fine gravel rather than directly on bare dirt, otherwise stones rock underfoot and sink unevenly within a season.

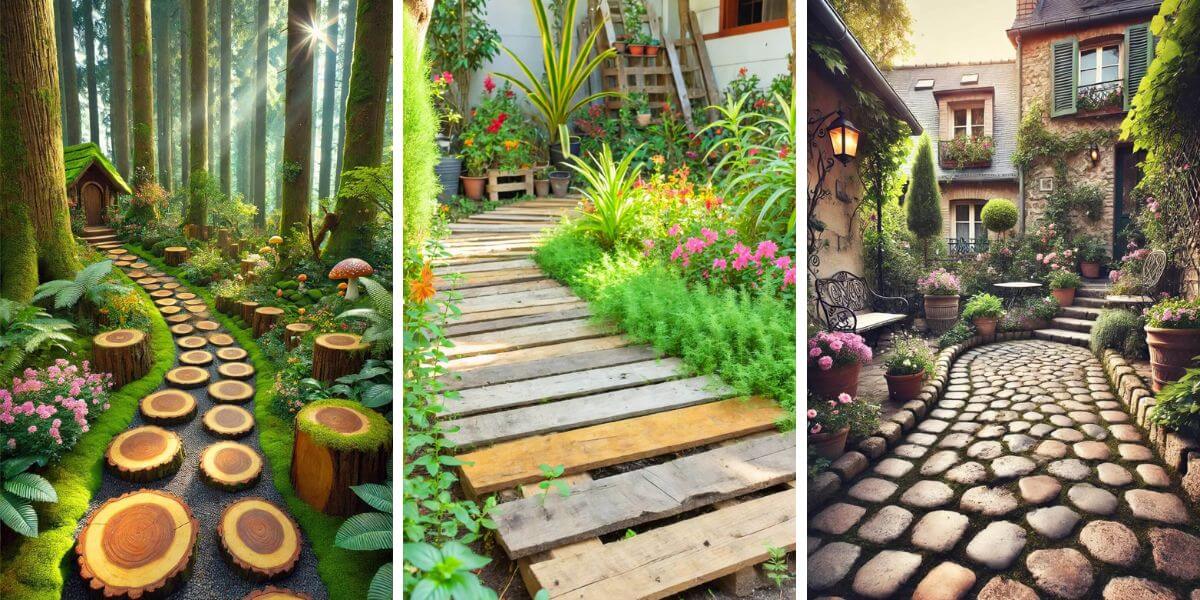
2. Pallet Planks Path
Answer 4 quick questions and get matched to the exact fix for your yard — drainage, budget, layout, or something else entirely.
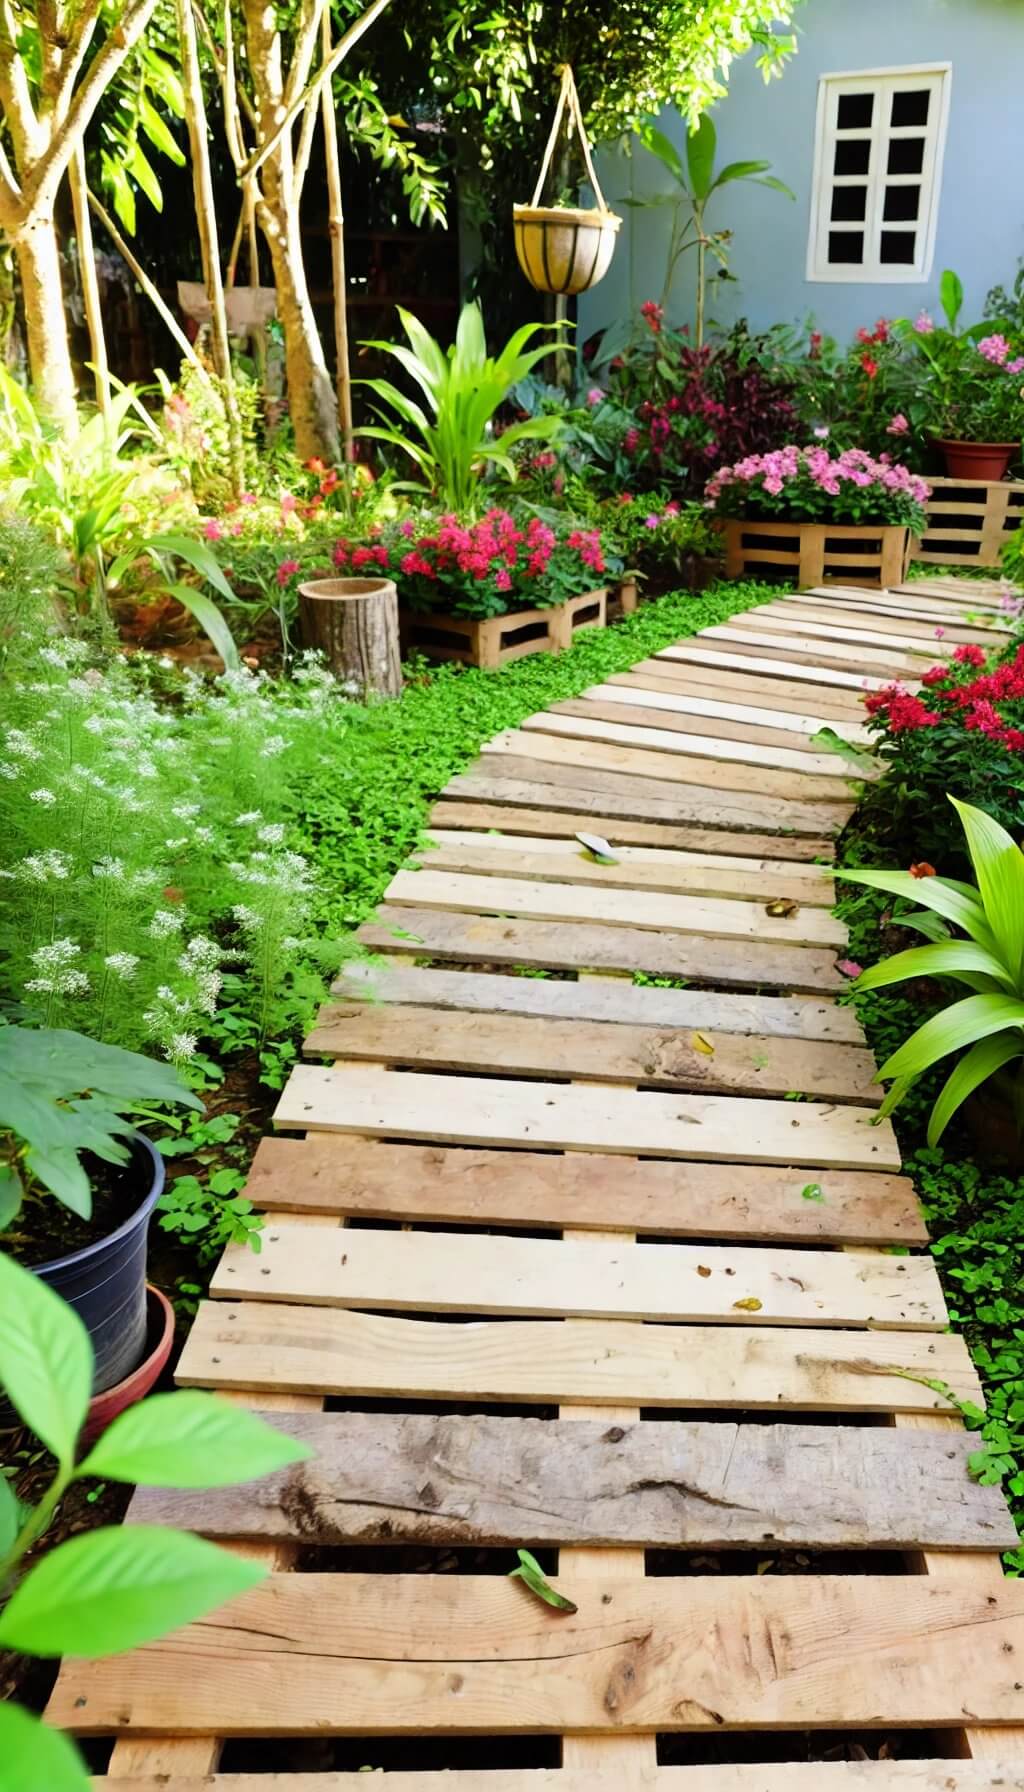
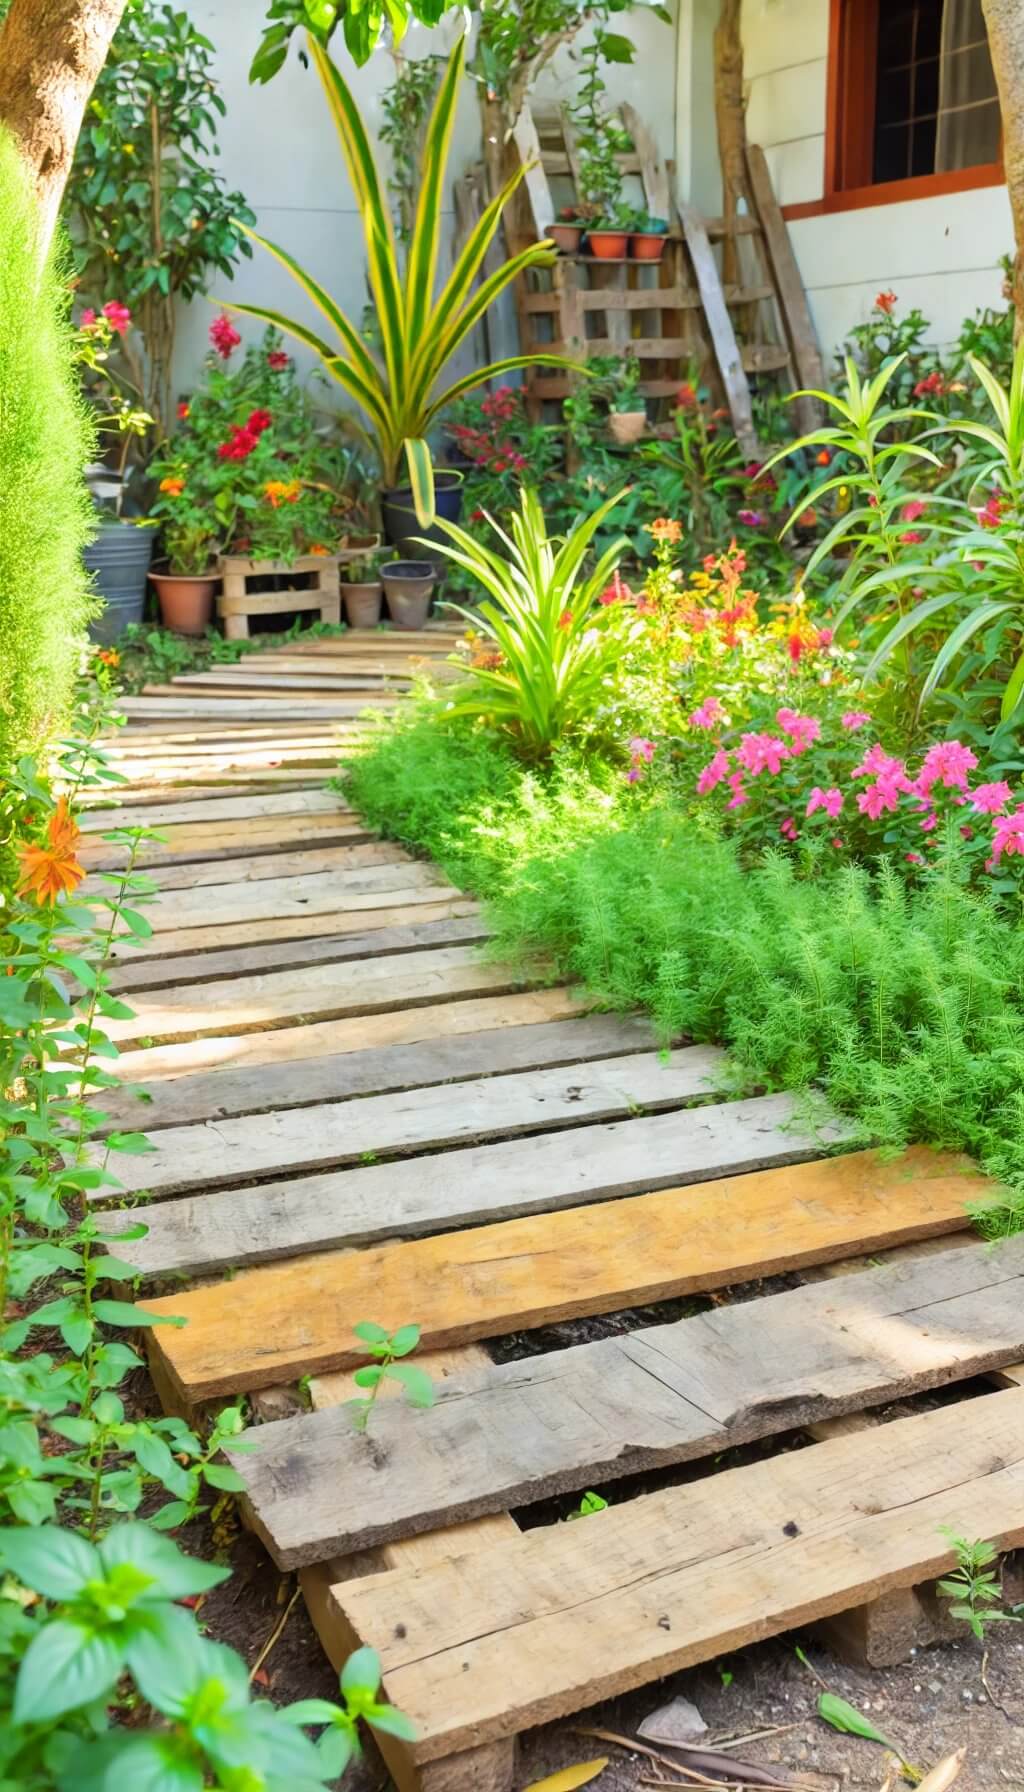
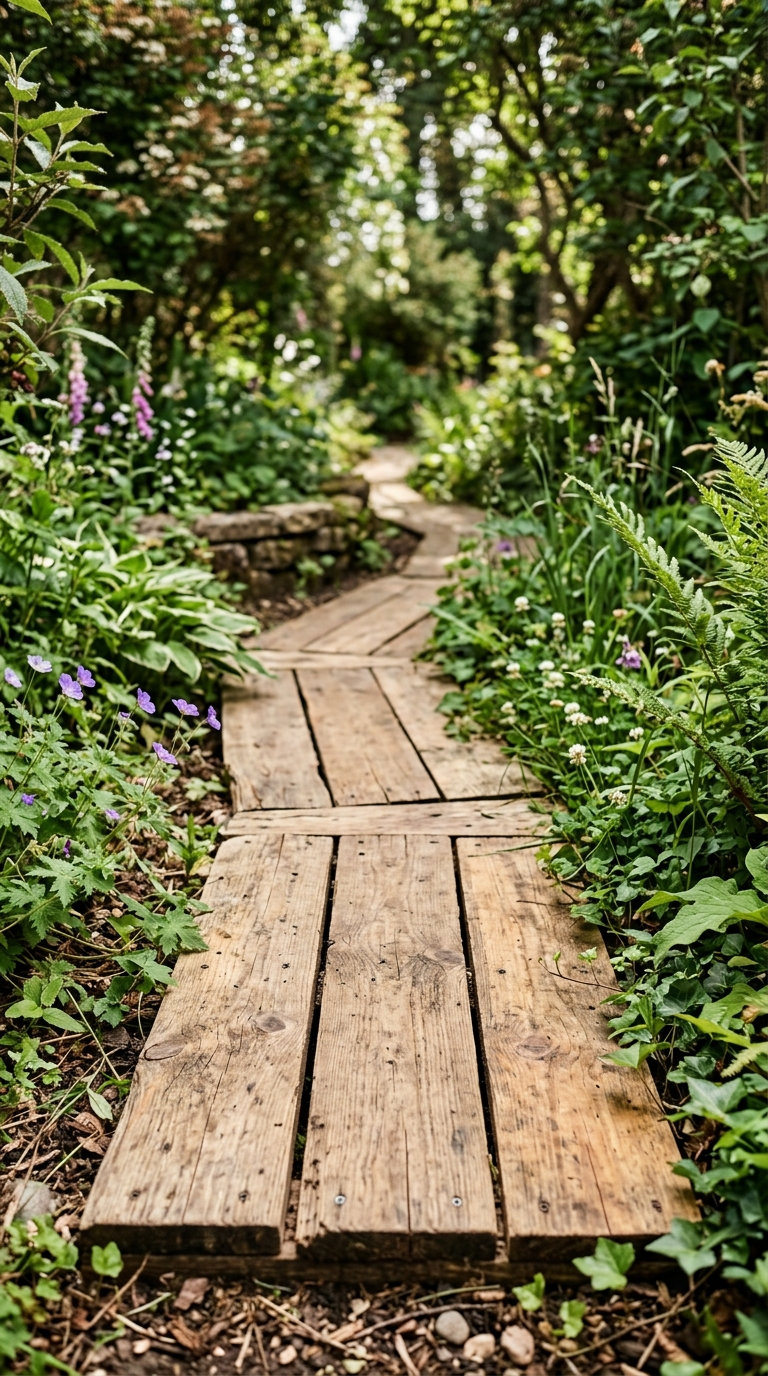
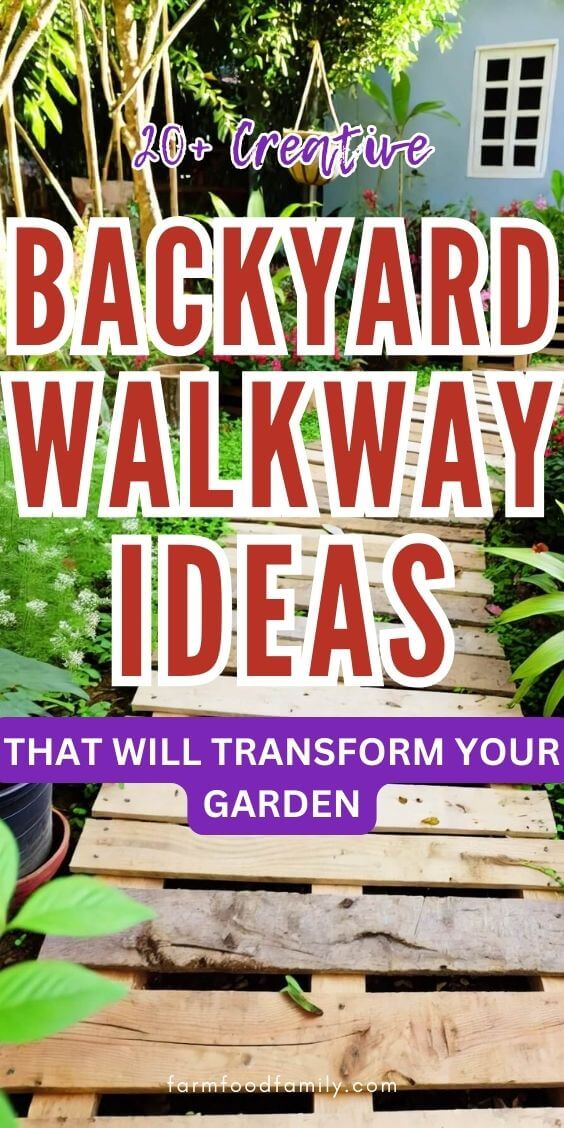
Take the Free QuizGot some old pallets? Turn them into a rustic walkway. Sand down the planks, give them a real exterior sealant, and lay them out.
Free if you can source pallets, but skip this one if you’re not willing to reseal every year or two, untreated wood left flat on the ground rots faster than almost anything else on this list.
3. Colorful Pebble Mosaic
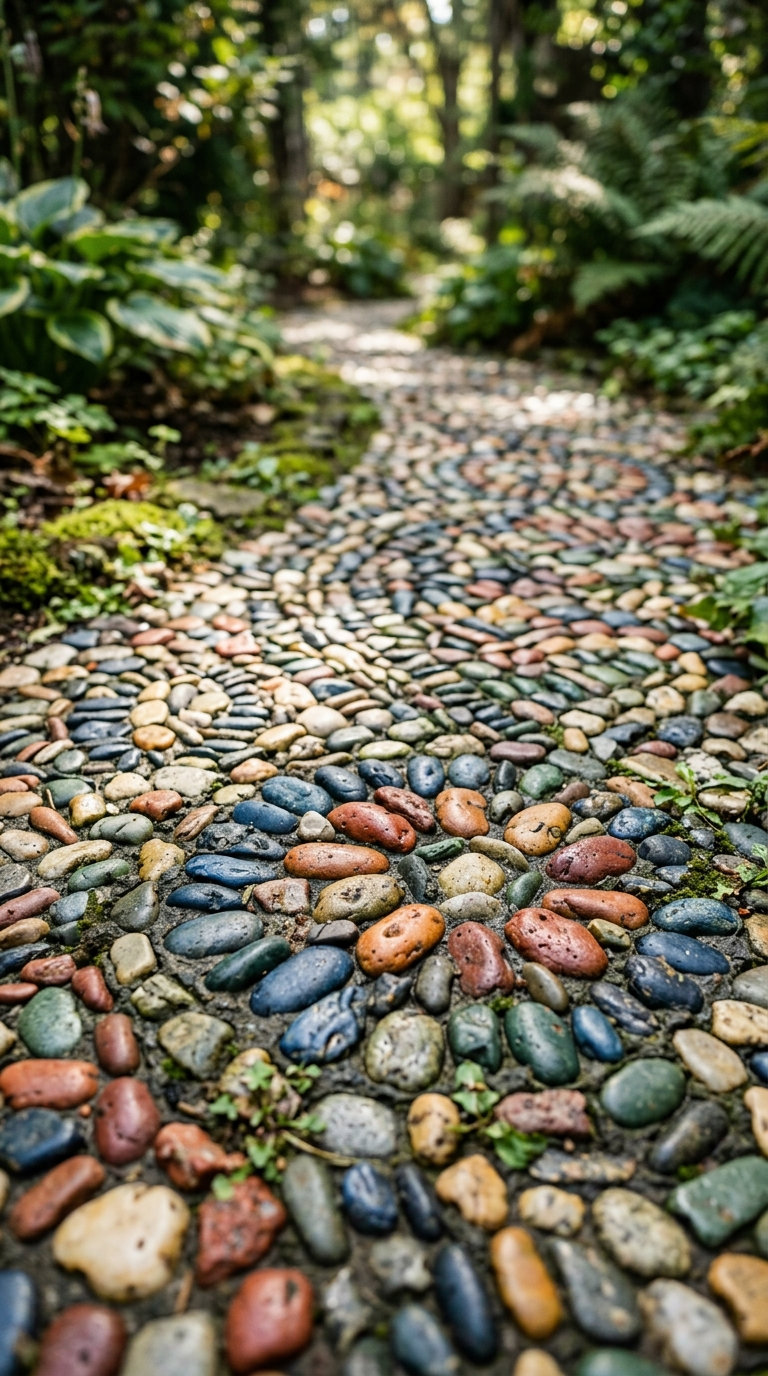
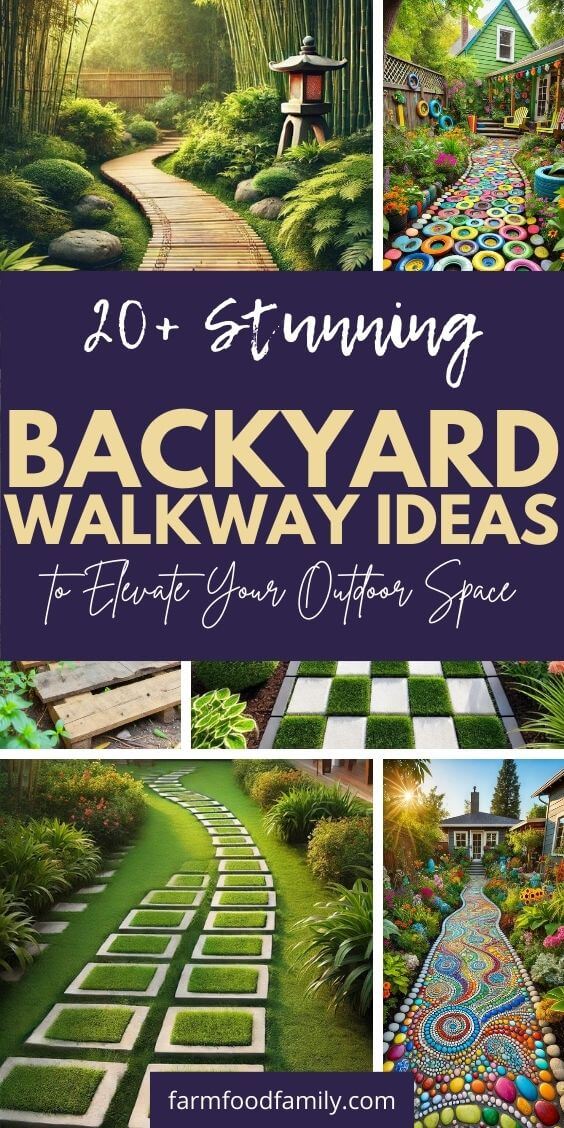
This one’s for the folks who love color. A mosaic made from colorful pebbles reads like a candy lane right in your backyard.
Cheap to mid-cost depending on where the pebbles come from, but loose pebbles migrate and scatter over time unless they’re set into mortar or a resin binder rather than just piled loose.
4. Brick Beauty
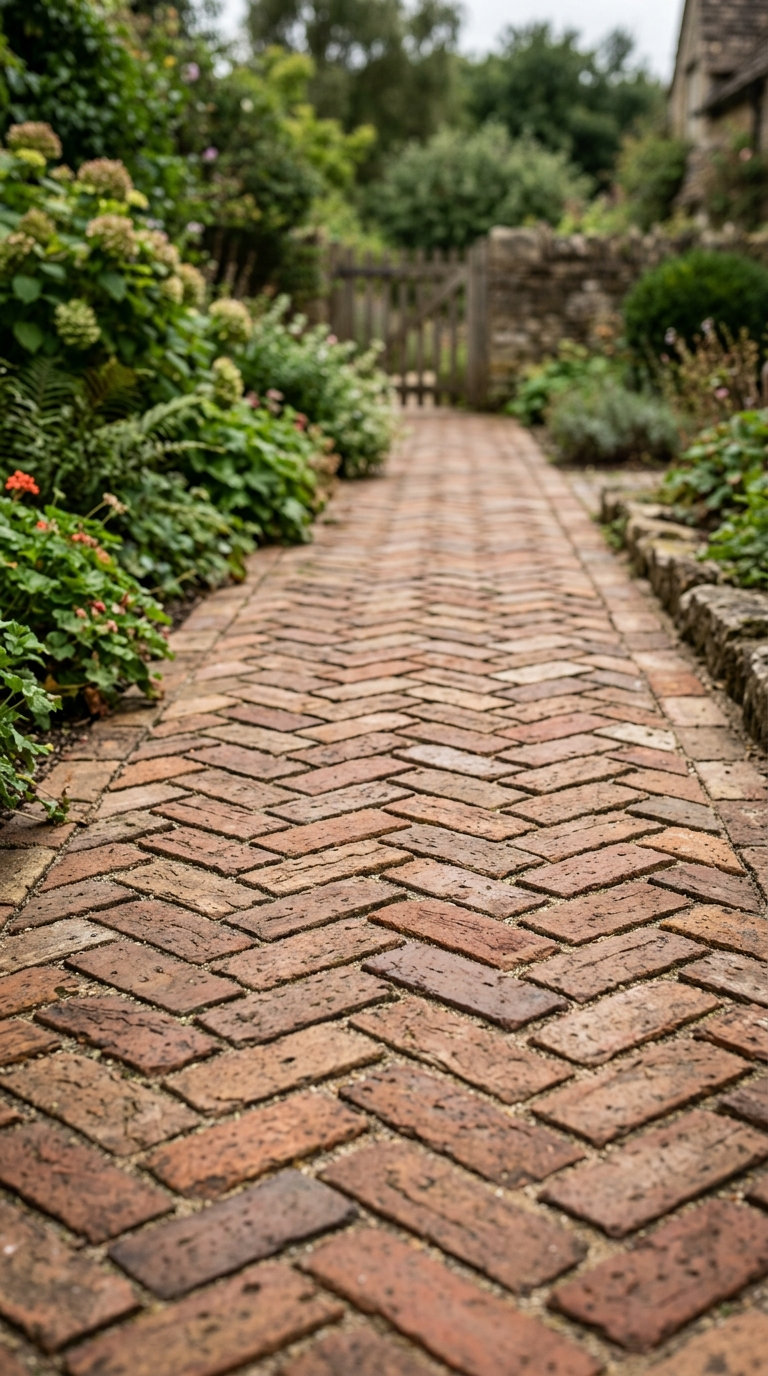
Brick walkways are a sturdy, mid-cost option that read as genuinely put-together, and they pair with pretty much any outdoor décor.
This is a good place to talk about what’s actually underneath a brick path that holds up: landscape architect Zach Hammaker of ZH Design recommends a compacted base of 6 to 9 inches for a stone or paver path in a Northeast climate, laid on top of three-quarters-inch modified stone.
Skimp on the base and the bricks will eventually shift, sink, or heave, no matter how nice they look on day one.
Most yard problems trace back to one specific, fixable cause. Find yours in 4 quick questions.
Take the Free Quiz5. Funky Flagstone
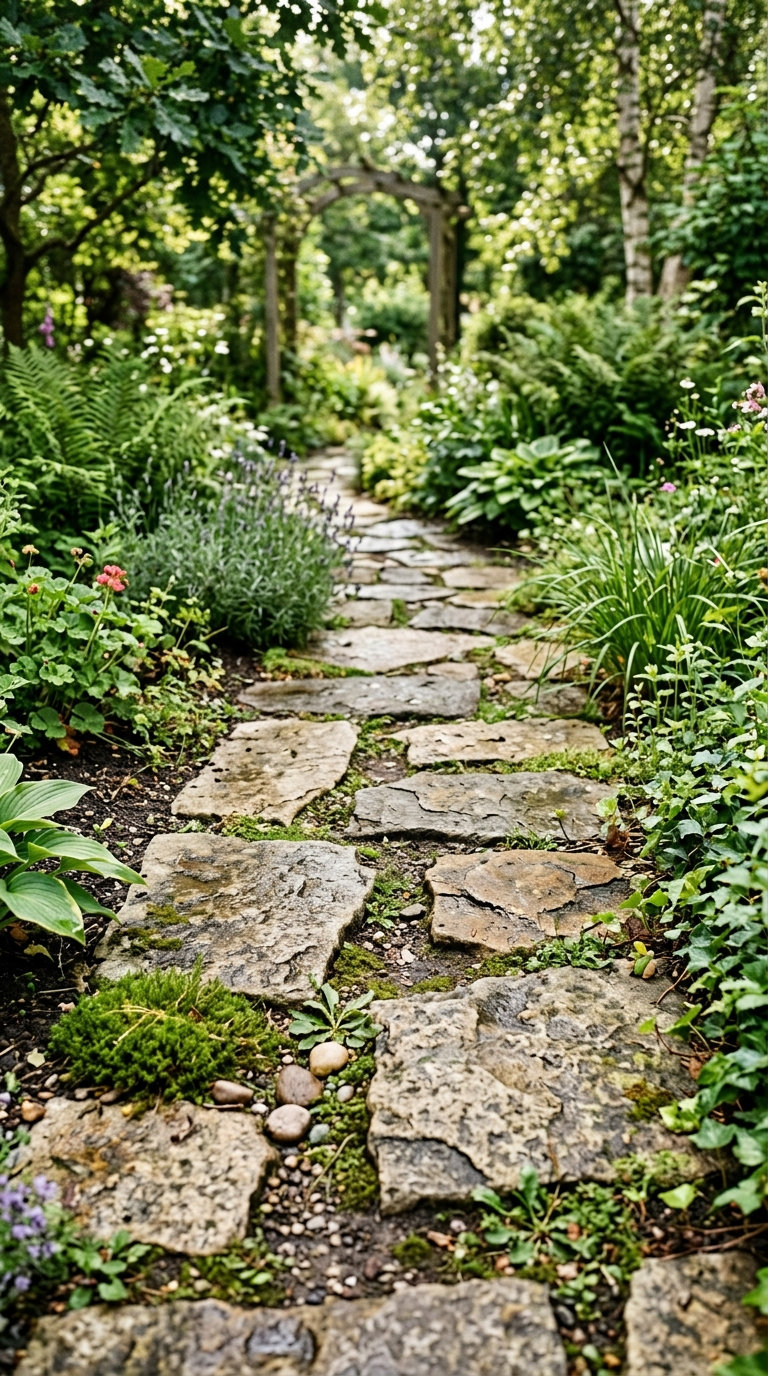
Flagstone offers a rugged, natural look that’s hard to beat, mid to pricier depending on the stone.
Every piece is unique, so no two flagstone paths look the same. Thicker flagstone can sometimes go directly on a sand bed, thinner pieces need the full gravel base described above, worth checking with whoever’s supplying the stone before you dig.
6. Wood Slice Wonderland
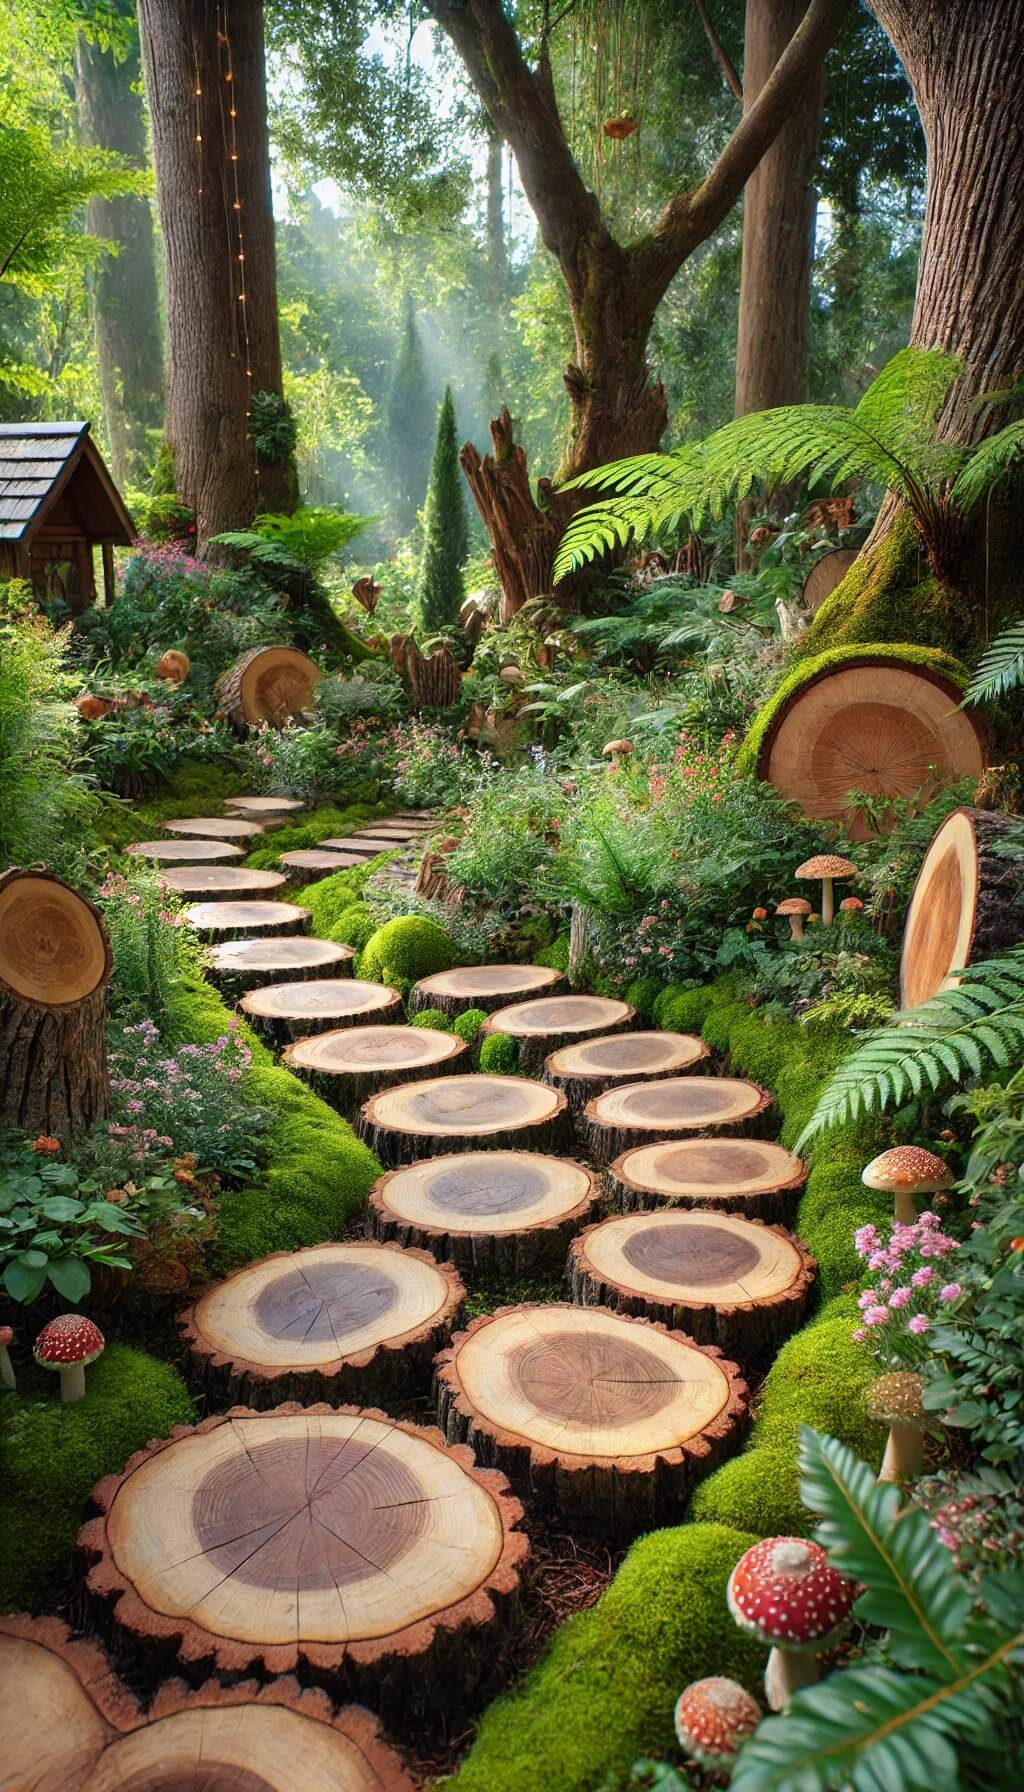
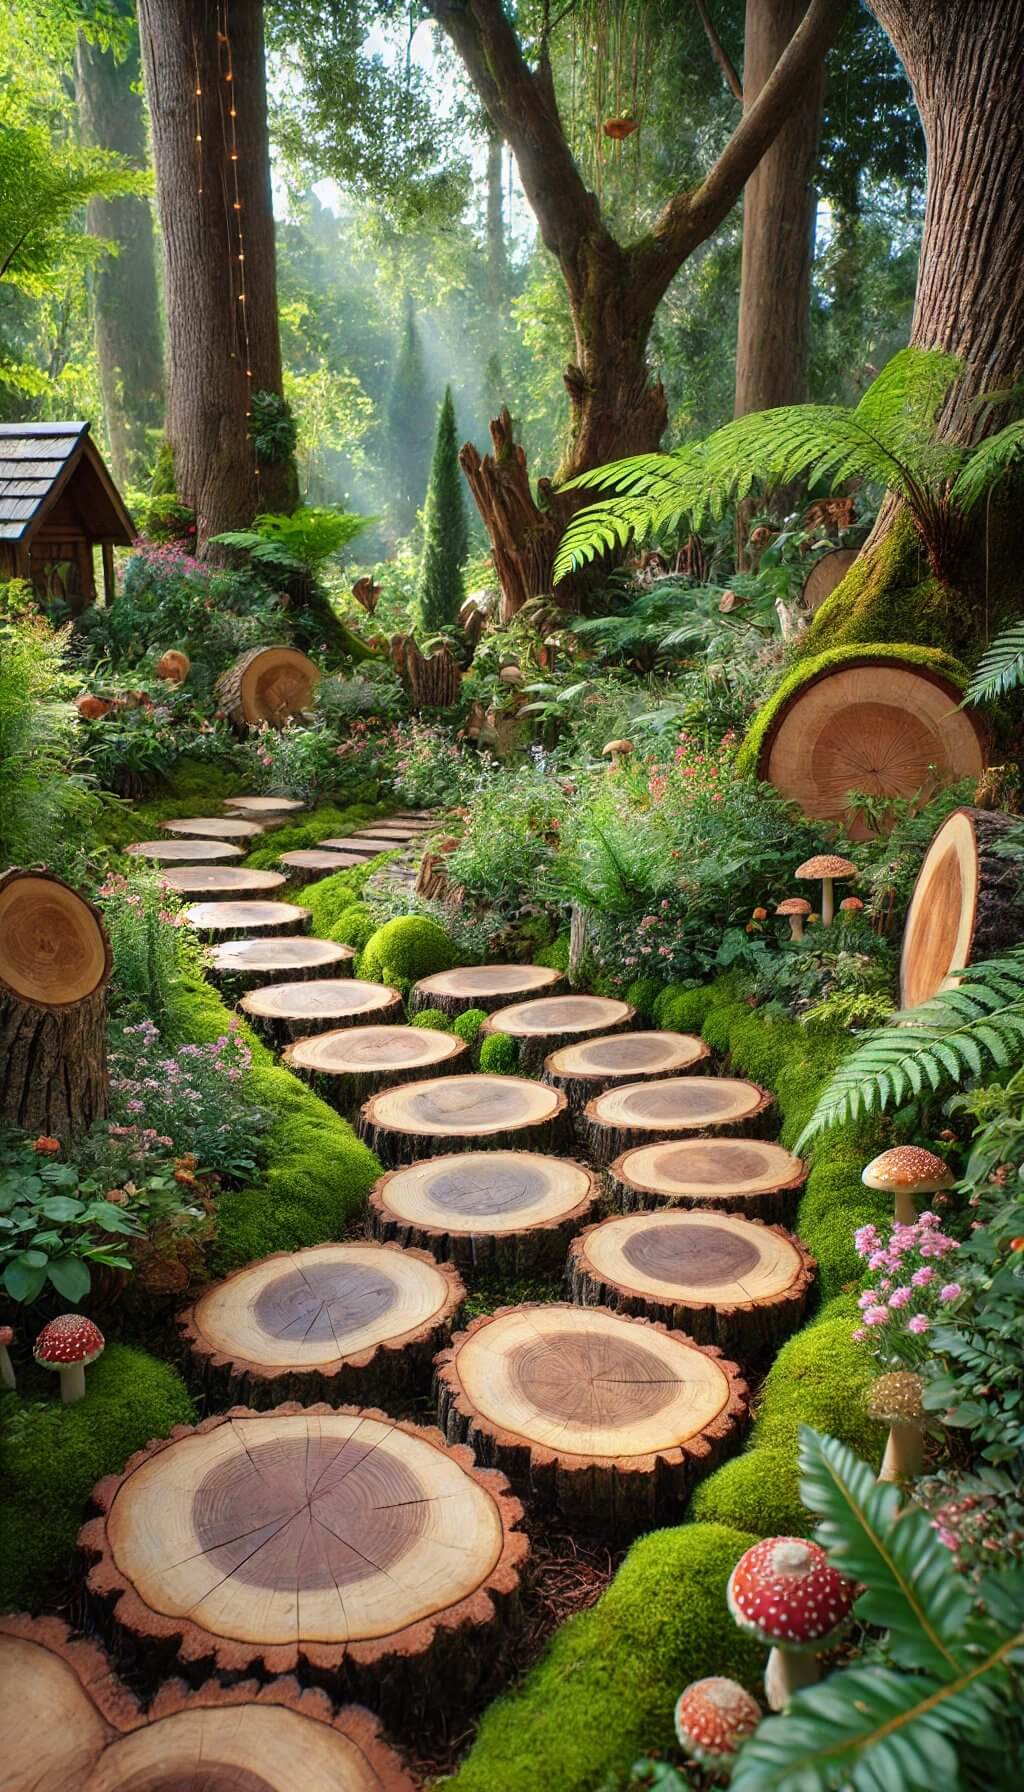
Cut logs into slices and lay them out for a fairy-tale path. Cheap if you’re using fallen trees you already have, but wood slices rot faster than almost anything else on this list, plan on replacing individual pieces every few years rather than expecting a decade of use.
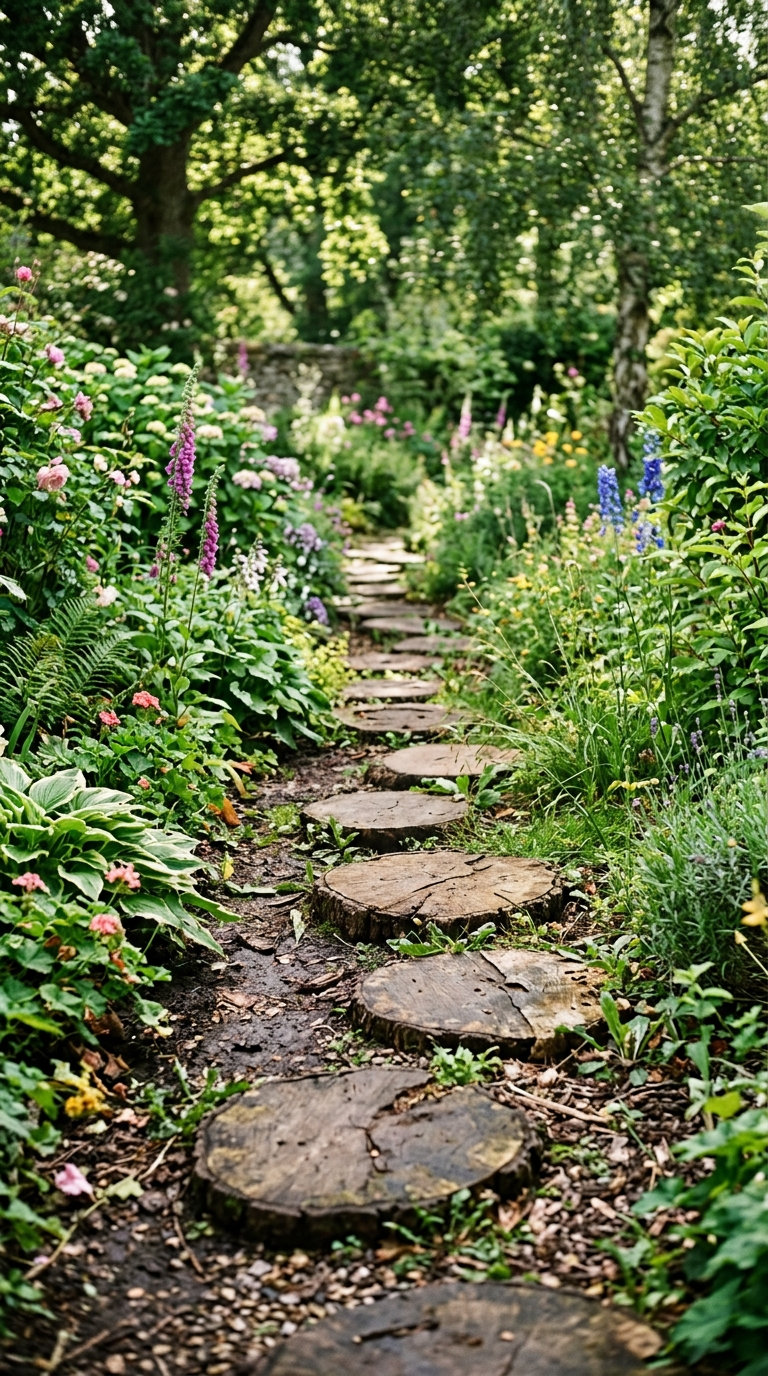
7. Crushed Stone Chic
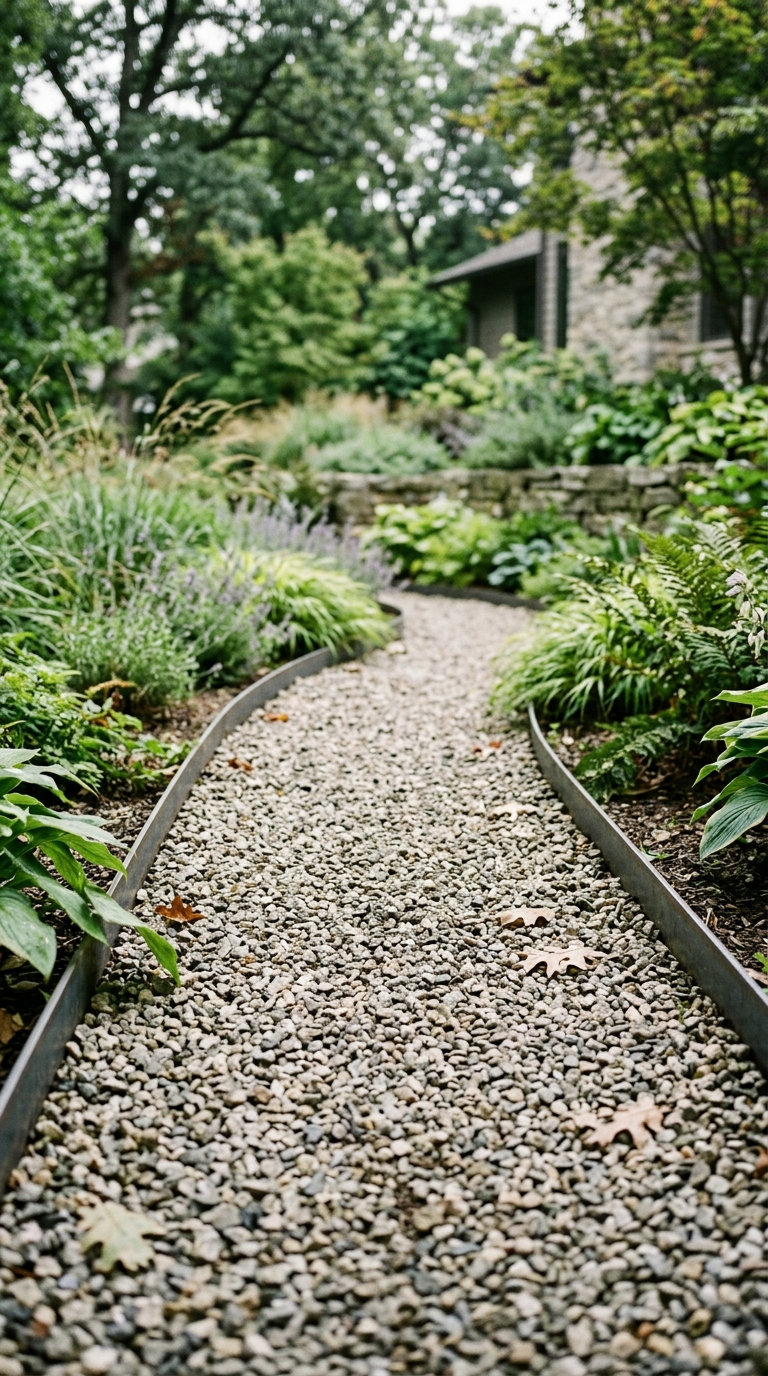
For something understated, crushed stone is cheap and easy to maintain, and it suits modern aesthetics well.
Lay a weed barrier fabric underneath before adding the stone, skip that step and you’ll have grass and weeds pushing through within a single growing season.
8. Grass and Concrete Combo
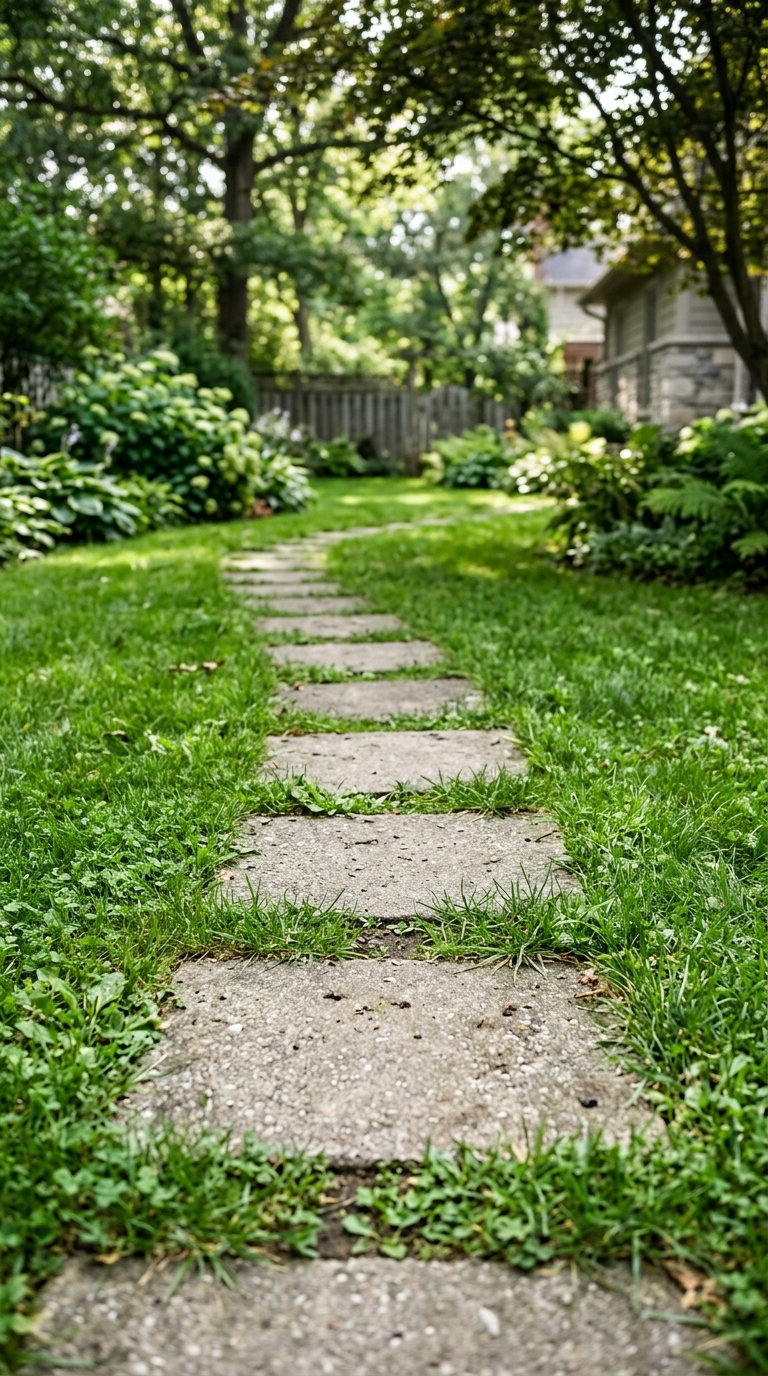
A mid-cost hybrid, concrete pads set into a grass path, gives you a defined walking surface while keeping most of the ground green and permeable. Good option if you want structure without a fully hardscaped yard.
9. Glow-in-the-Dark Pathway
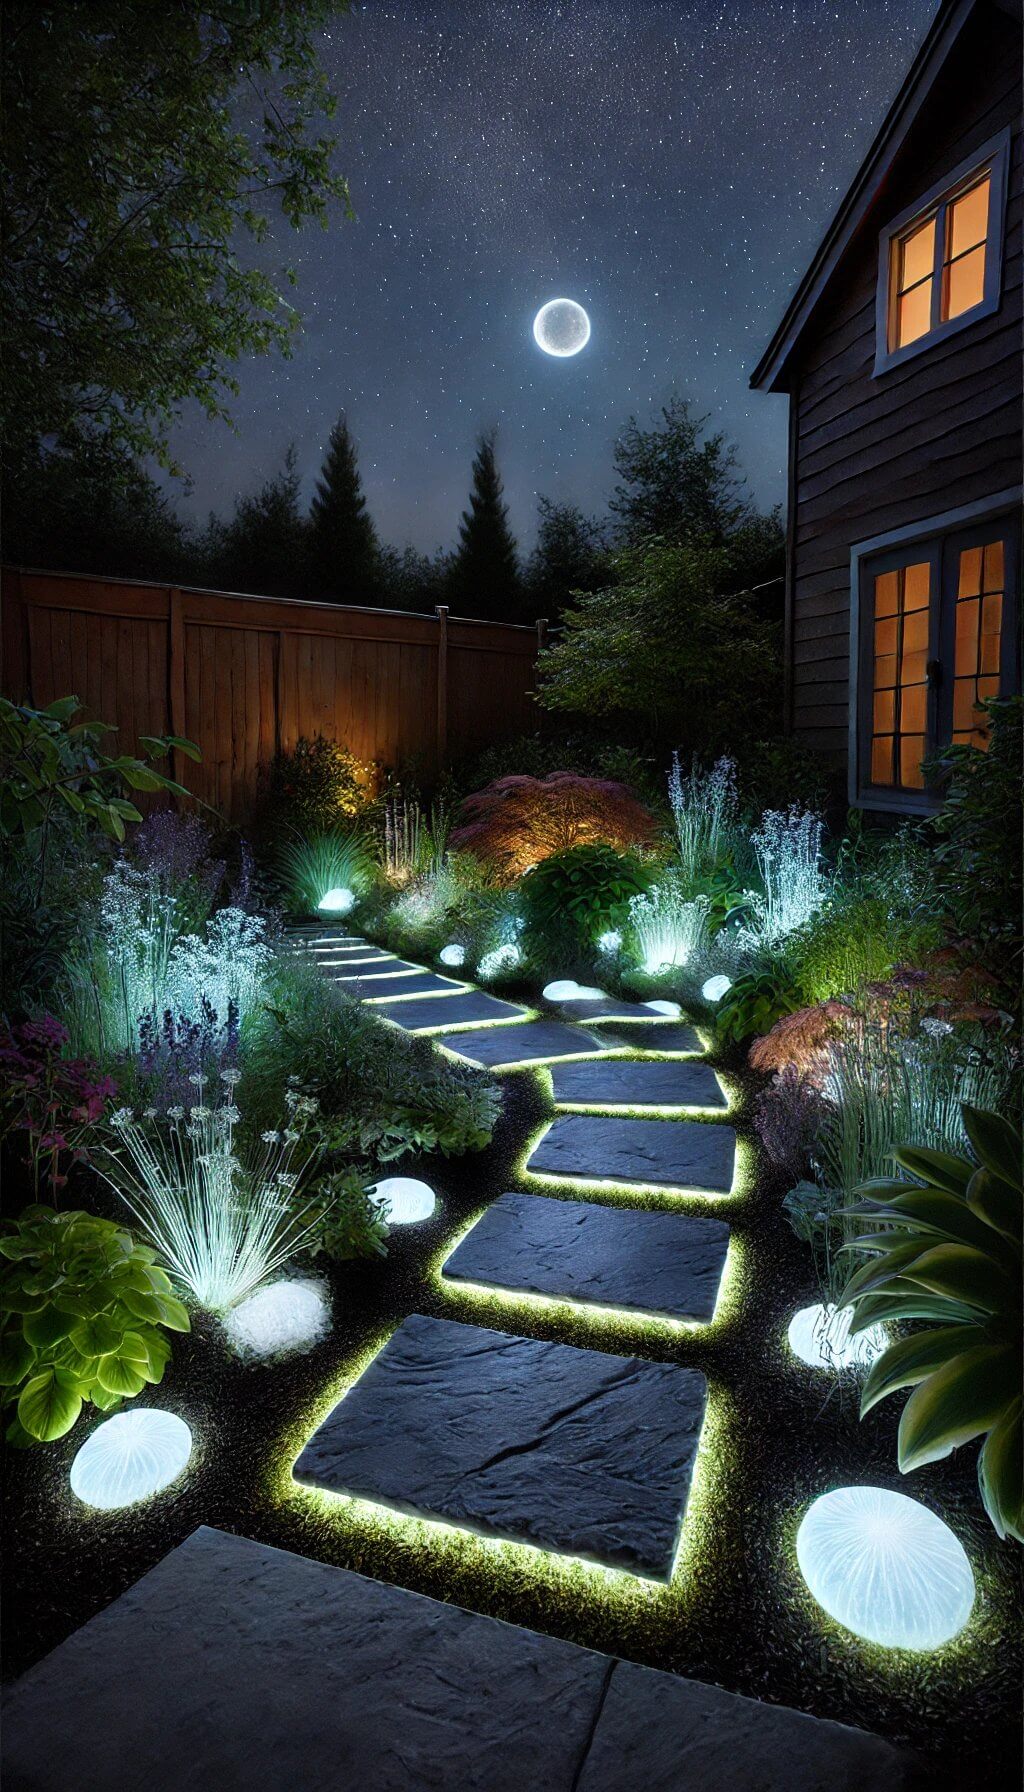
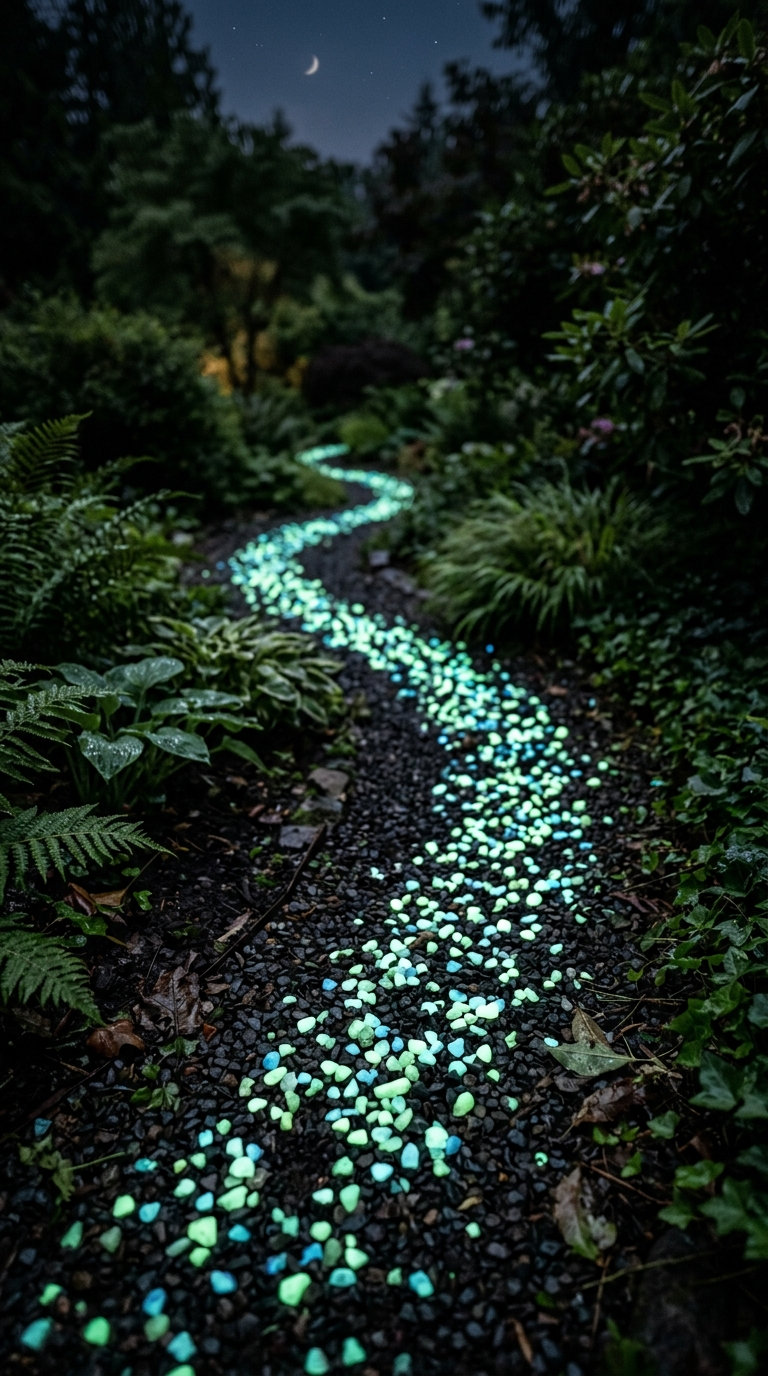
Glow aggregate or glow paint mixed into stone or resin lights a path at night without any wiring. It’s a genuinely more expensive material cost than plain stone or gravel, budget for that difference going in.

10. Recycled Rubber Tires
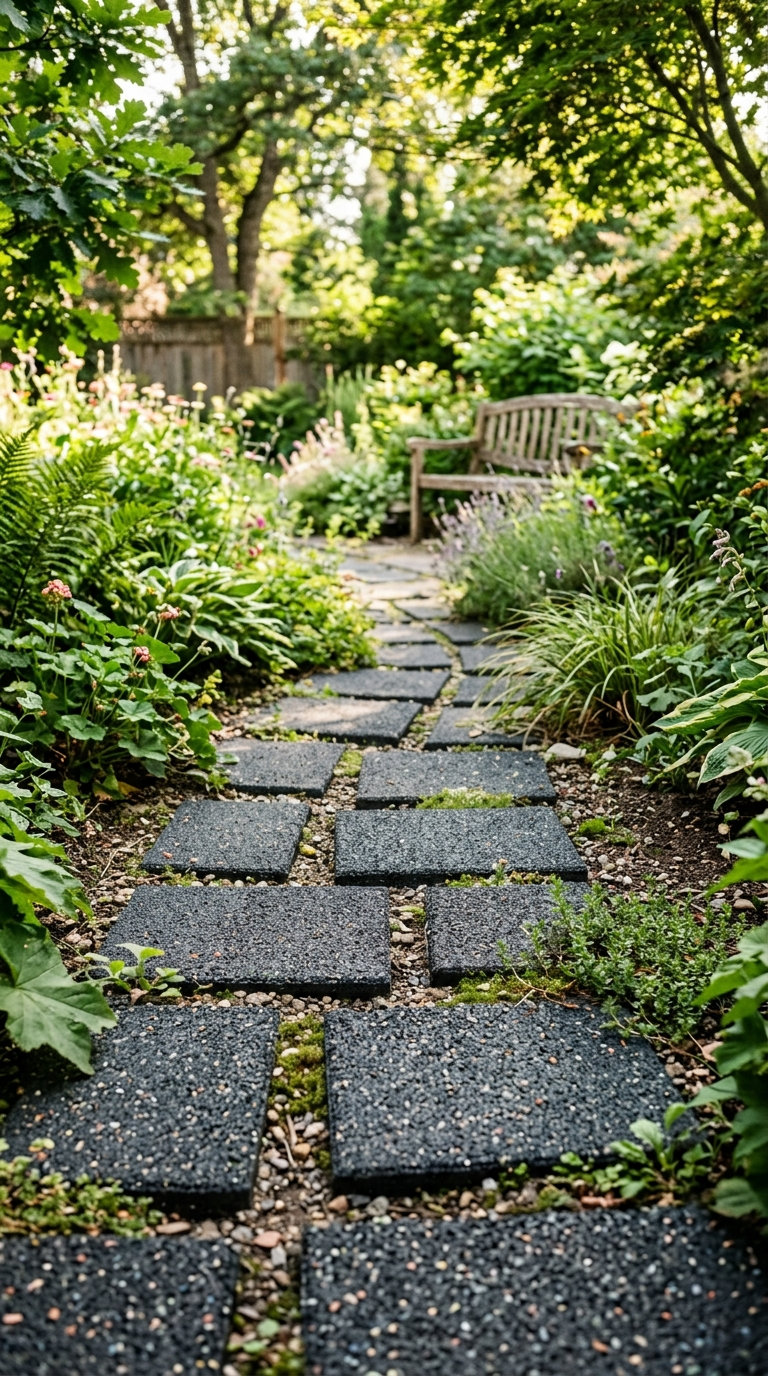
Cheap to free if you can source old tires, and a genuinely sustainable option.
Worth knowing there’s a real difference between purpose-made recycled rubber pavers (designed for traction and drainage) and literal tire slices laid flat, which can get slick when wet, check which one you’re actually buying or building before committing.
11. Bamboo Bliss
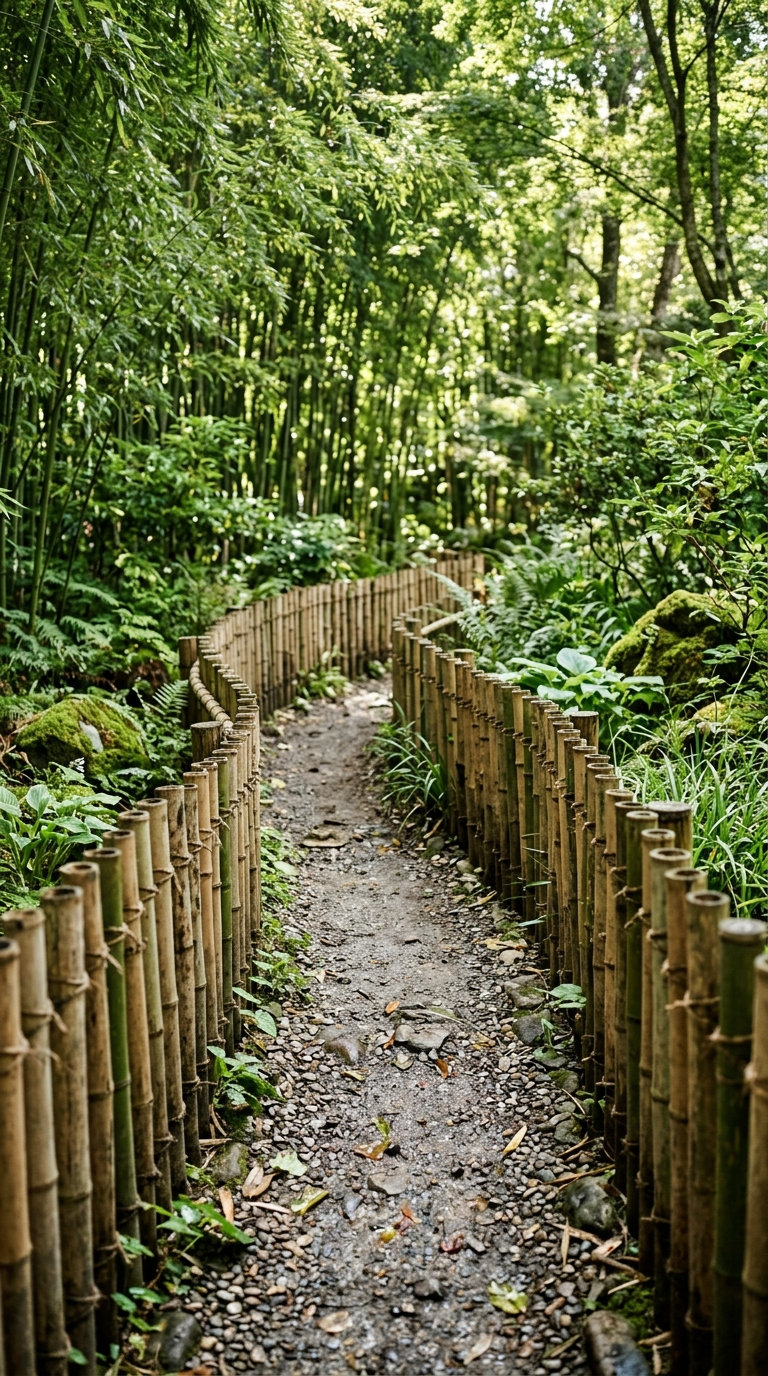
Bamboo brings a distinct look for a mid-cost investment. It needs a real sealant or pressure treatment where it touches the ground, untreated bamboo in soil contact breaks down faster than most people expect.
The average homeowner spends $616/year on yard fixes that don't address the real problem. Find out what yours actually is — before you spend another dollar.
Take the Free Quiz12. DIY Concrete Pavers
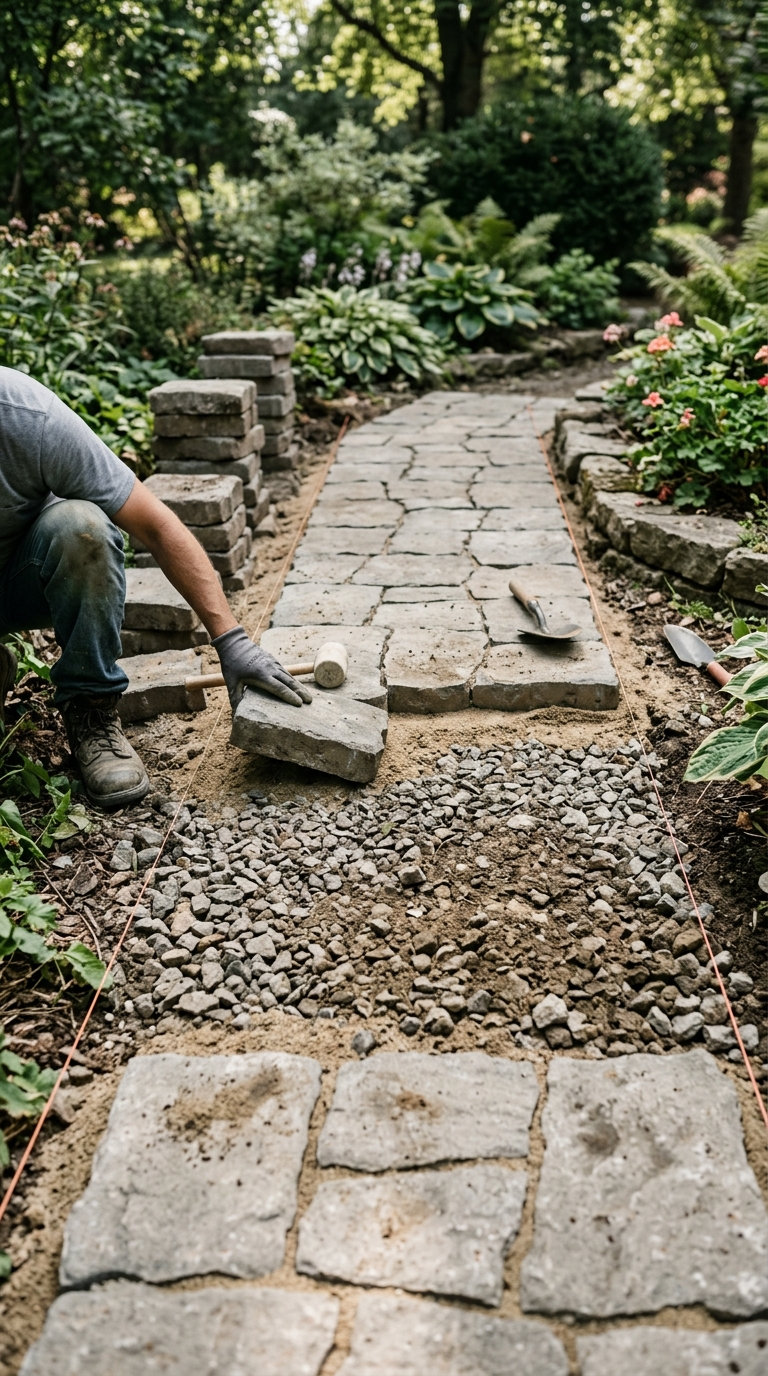
Mid-cost and one of the most popular DIY paths for a reason. The Interlocking Concrete Pavement Institute specifies a minimum of 4 to 6 inches of compacted gravel base for pedestrian walkways, with total excavation (gravel plus a sand setting bed plus the paver itself) usually landing around 7 to 9 inches.
Compact the gravel in shallow layers rather than all at once, dumping it in too thick and compacting once is a common shortcut that causes uneven settling later.
13. Railroad Ties
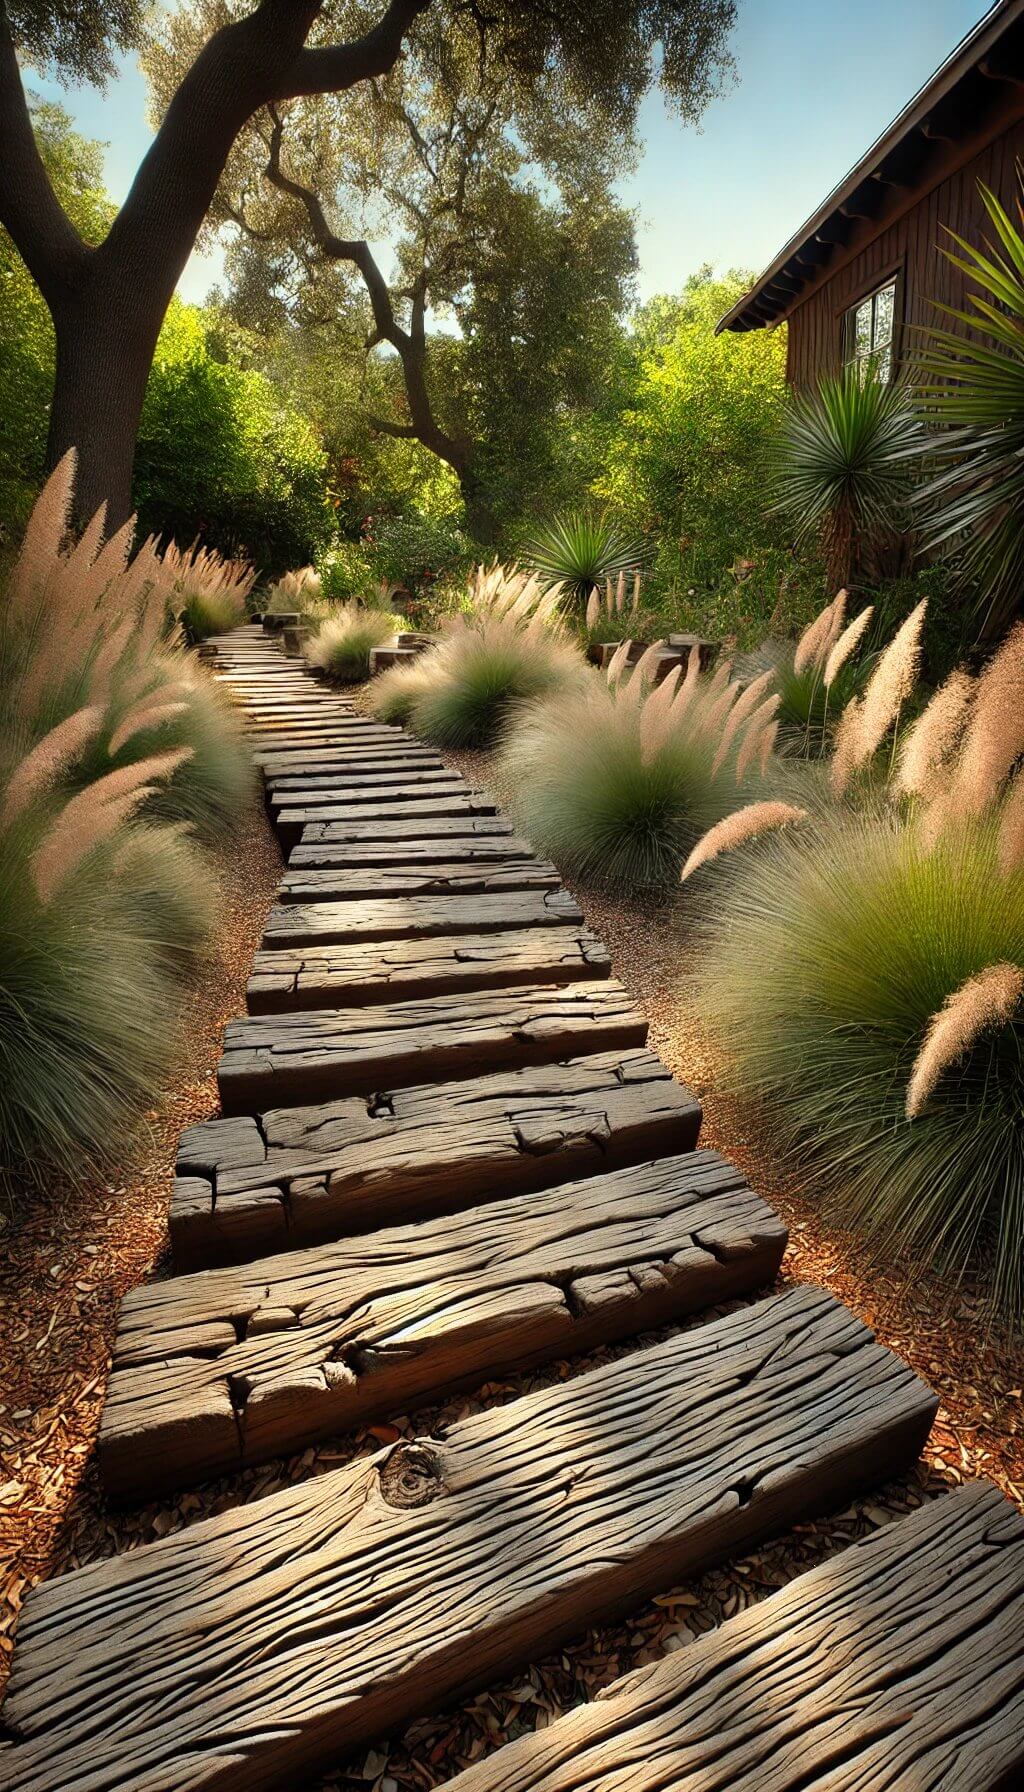
Railroad ties give a rugged, industrial look and are cheap if reclaimed, but this is the one idea on this list that actually needs a real safety caveat most guides skip entirely.
Authentic old railroad ties are almost always treated with creosote, and the EPA is explicit that creosote pesticide products aren’t registered for homeowner purchase or use, it’s an industrial-only treatment.
Reused creosote-treated wood already sitting around isn’t federally regulated, but the practical takeaway holds: avoid bare-skin contact, and skip it near vegetable beds, play areas, or water sources.
If you want the look without the exposure concern, untreated timber or a concrete “faux tie” product gives a similar aesthetic without it.
14. Checkerboard Pattern
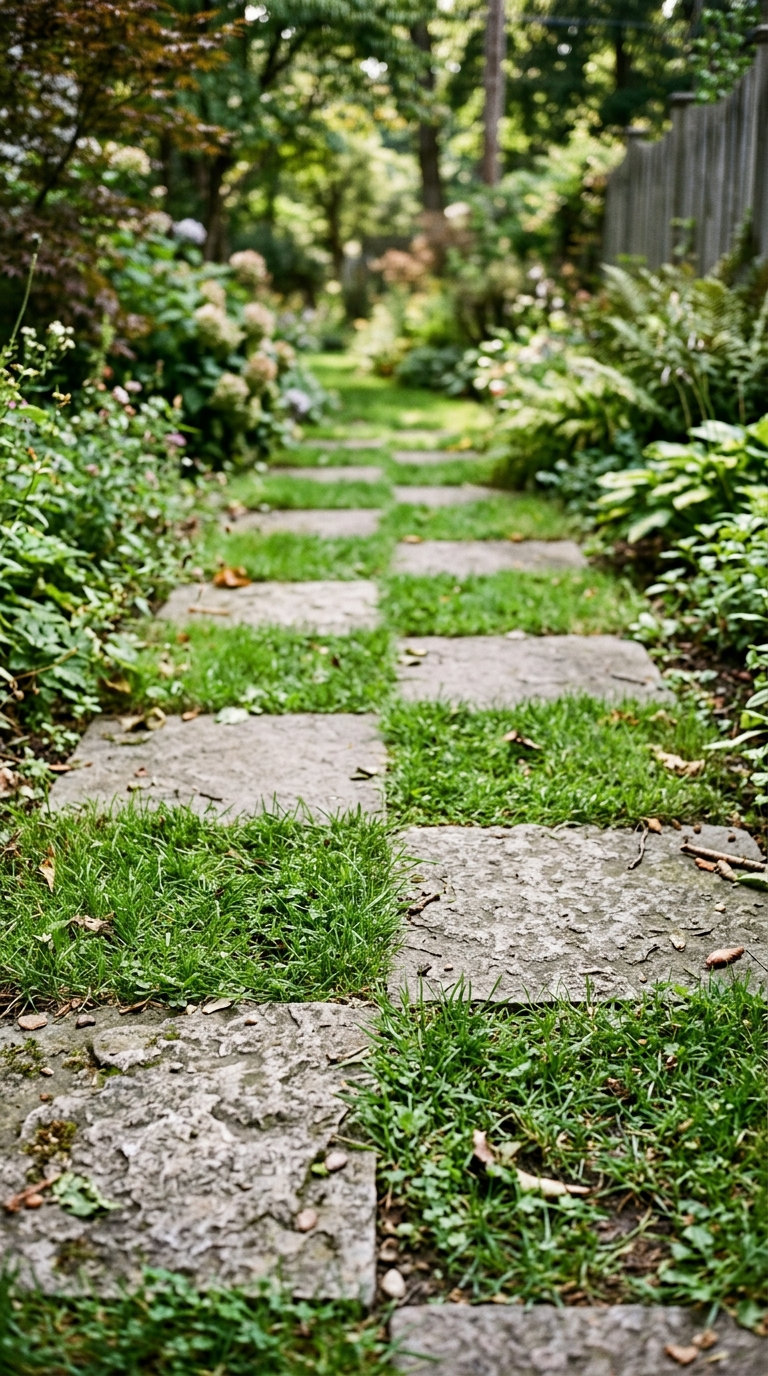
Alternating stone and grass (or stone and gravel) squares in a checkerboard layout is a mid-cost way to add visual interest without committing to a single solid material. Works especially well as a wide, gallery-style path.
15. Marble Chips
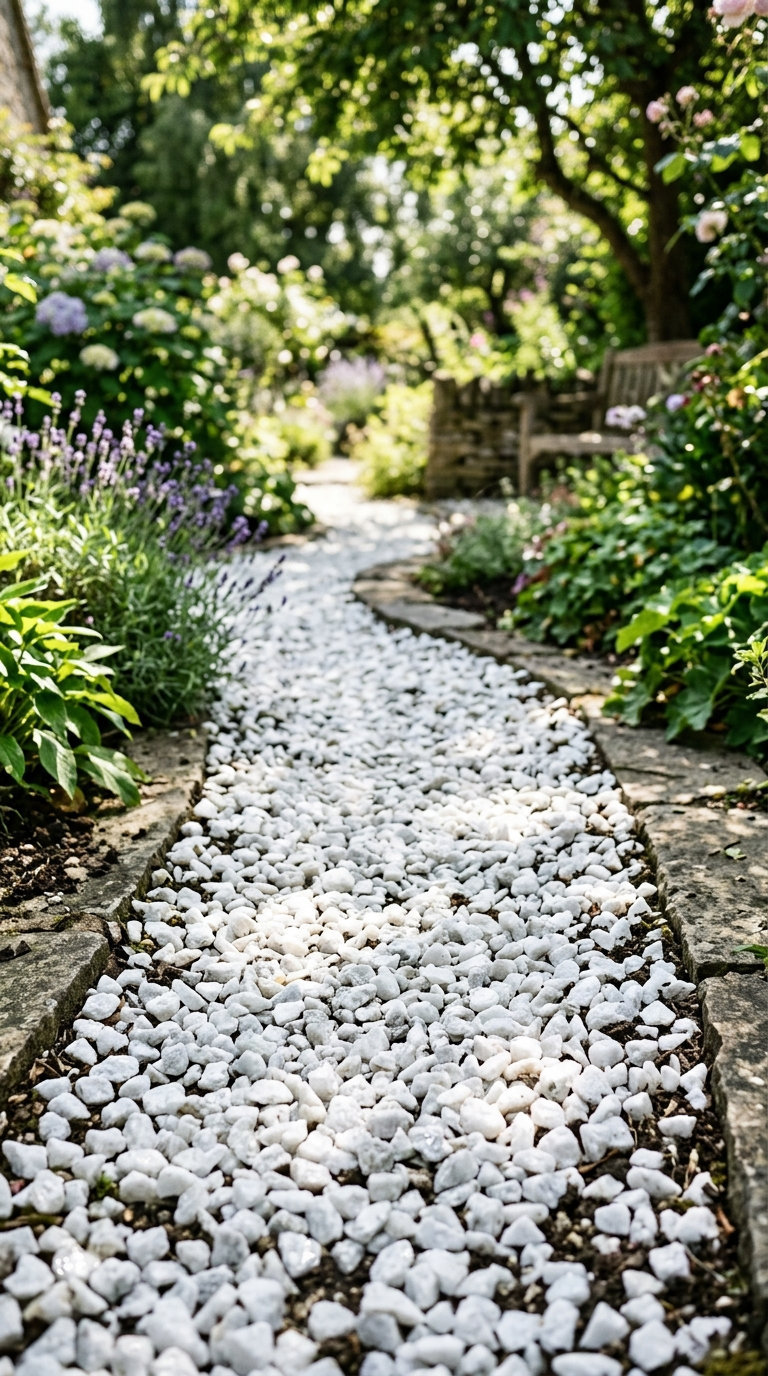
Marble chips add a bright, upscale look for a mid to pricier cost, and they reflect light in a way plain gravel doesn’t. Same weed-barrier-underneath advice from idea #7 applies here too.
16. Artificial Grass Pathway
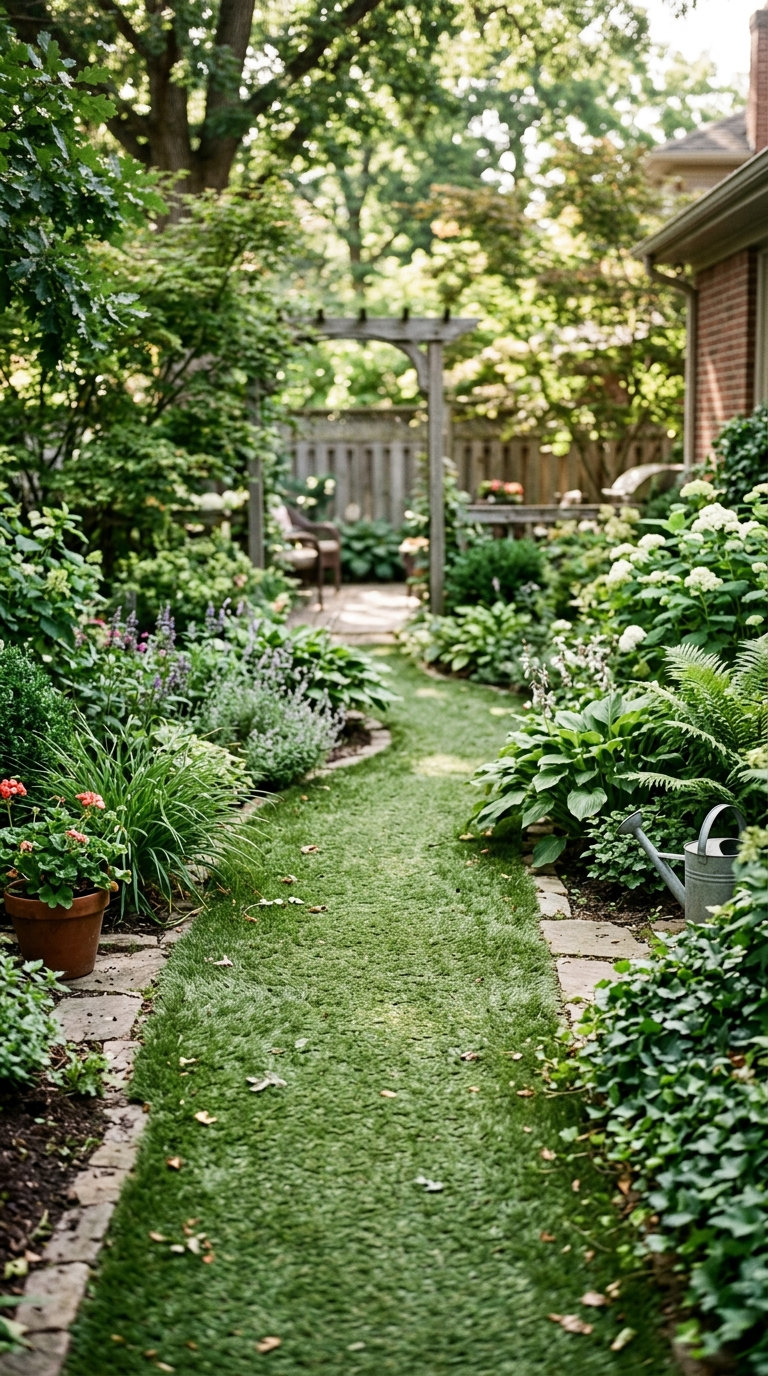
Higher upfront cost than plain gravel or stone, but close to zero maintenance after installation, no mowing, no weeding, no rot. Worth it if you want the look of a lawn path without the upkeep.
17. Sand Path
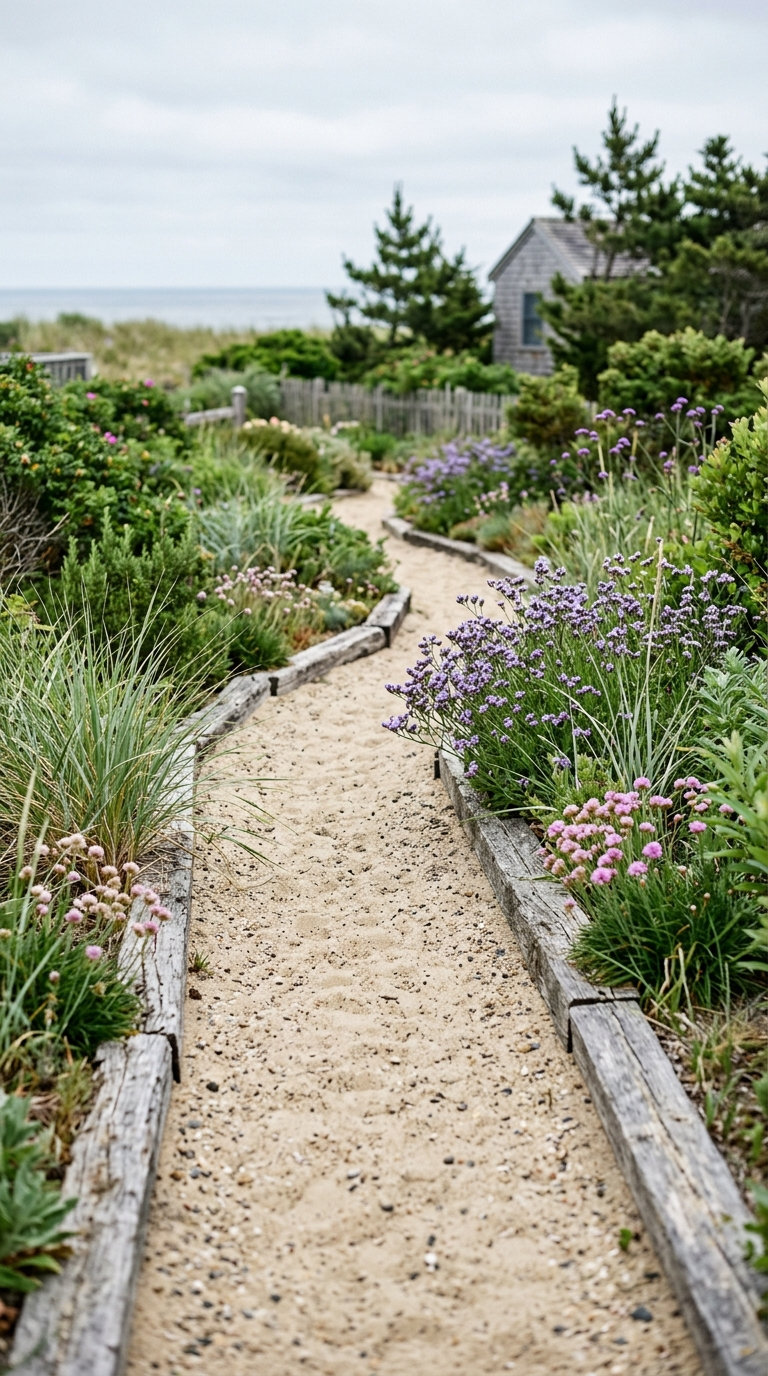
Cheap and easy to lay, but genuinely high-maintenance in rain-heavy climates, sand erodes and washes out without solid edging to hold it in place. Better suited to drier regions or well-drained yards.
18. Geometric Patterns
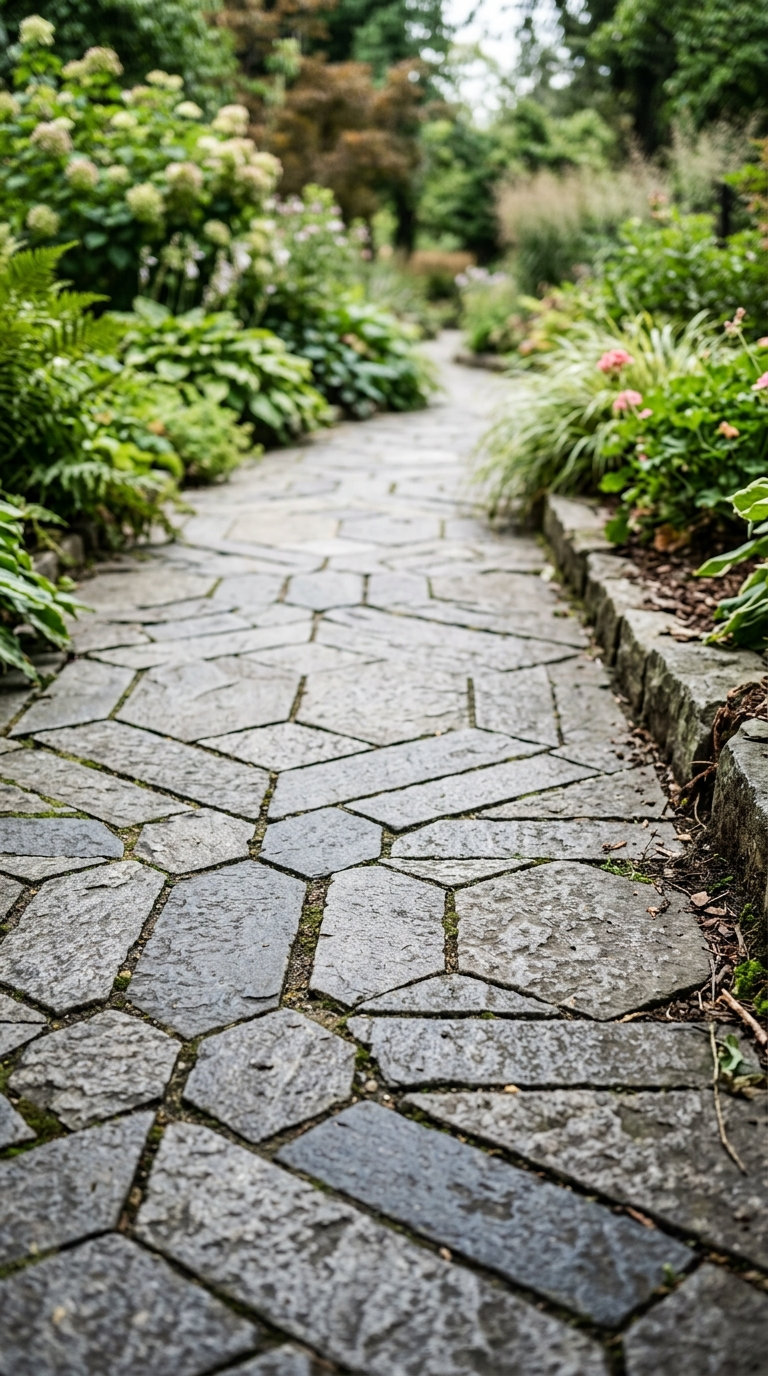
Precisely cut stone or paver shapes arranged into a deliberate geometric layout run mid to pricier depending on how complex the cuts are. More of a “hire it out” idea than a weekend DIY project once the pattern gets complicated.
19. Cobblestone Charm
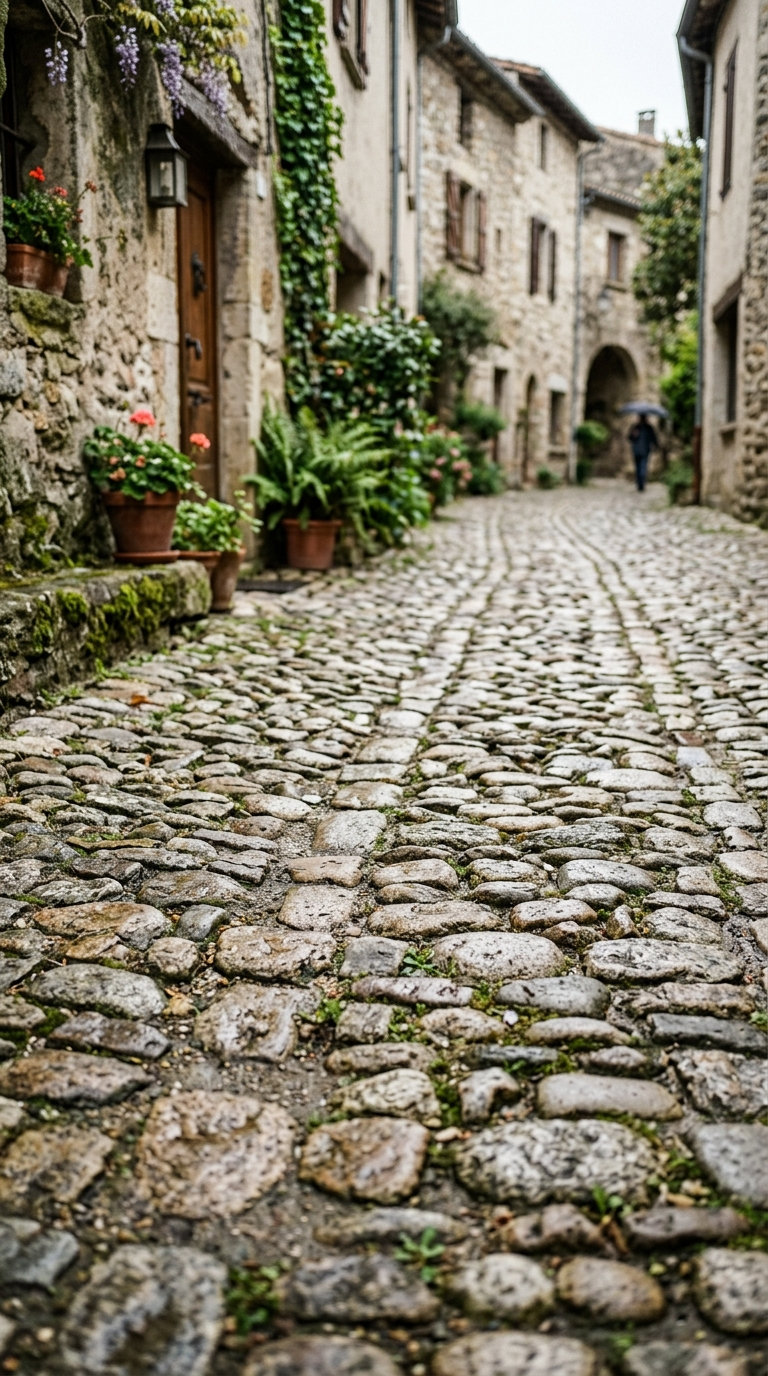
Cobblestone is a pricier, genuinely durable option, but it’s also legitimately uneven underfoot. Worth a real mention: if anyone using the path regularly has mobility concerns, cobblestone is one of the harder surfaces on this list to navigate safely compared to a flatter paver or concrete path.
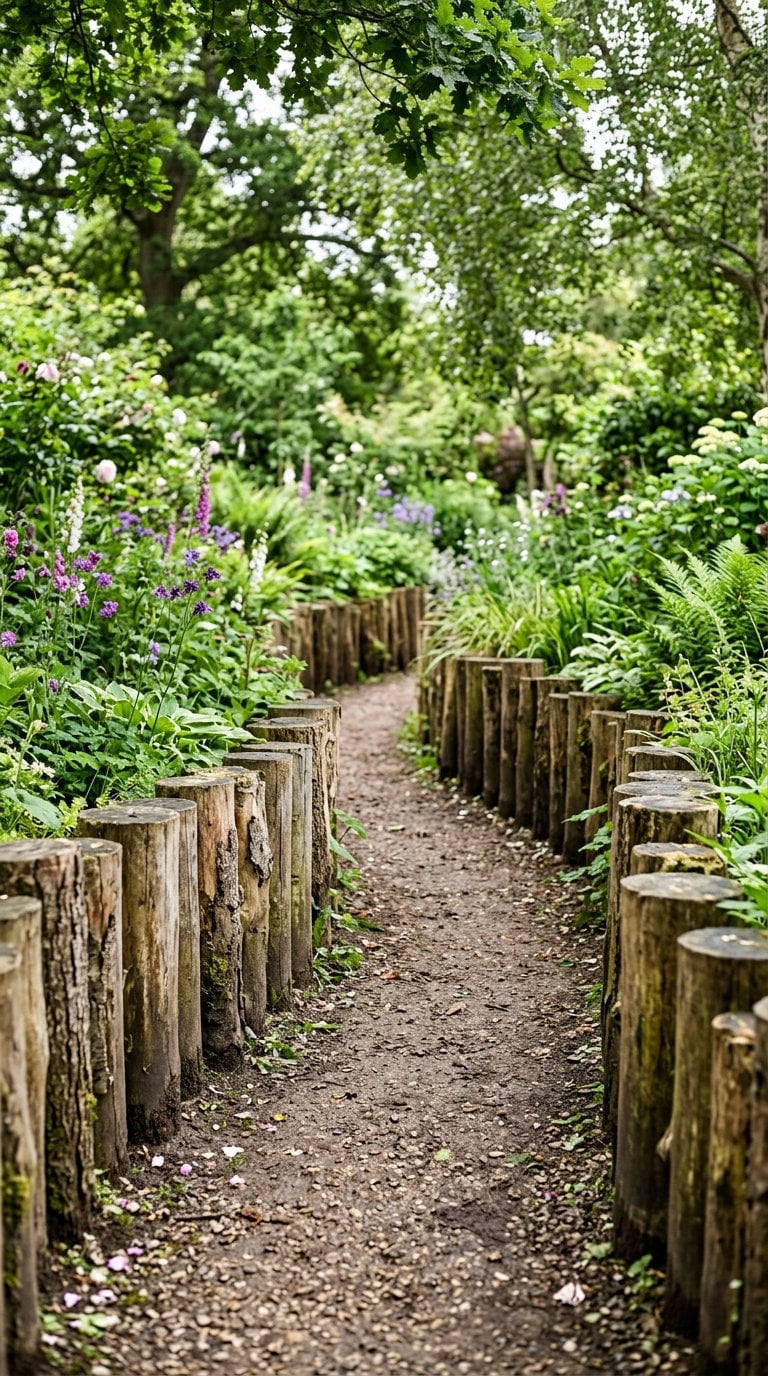
20. Log Lined Path
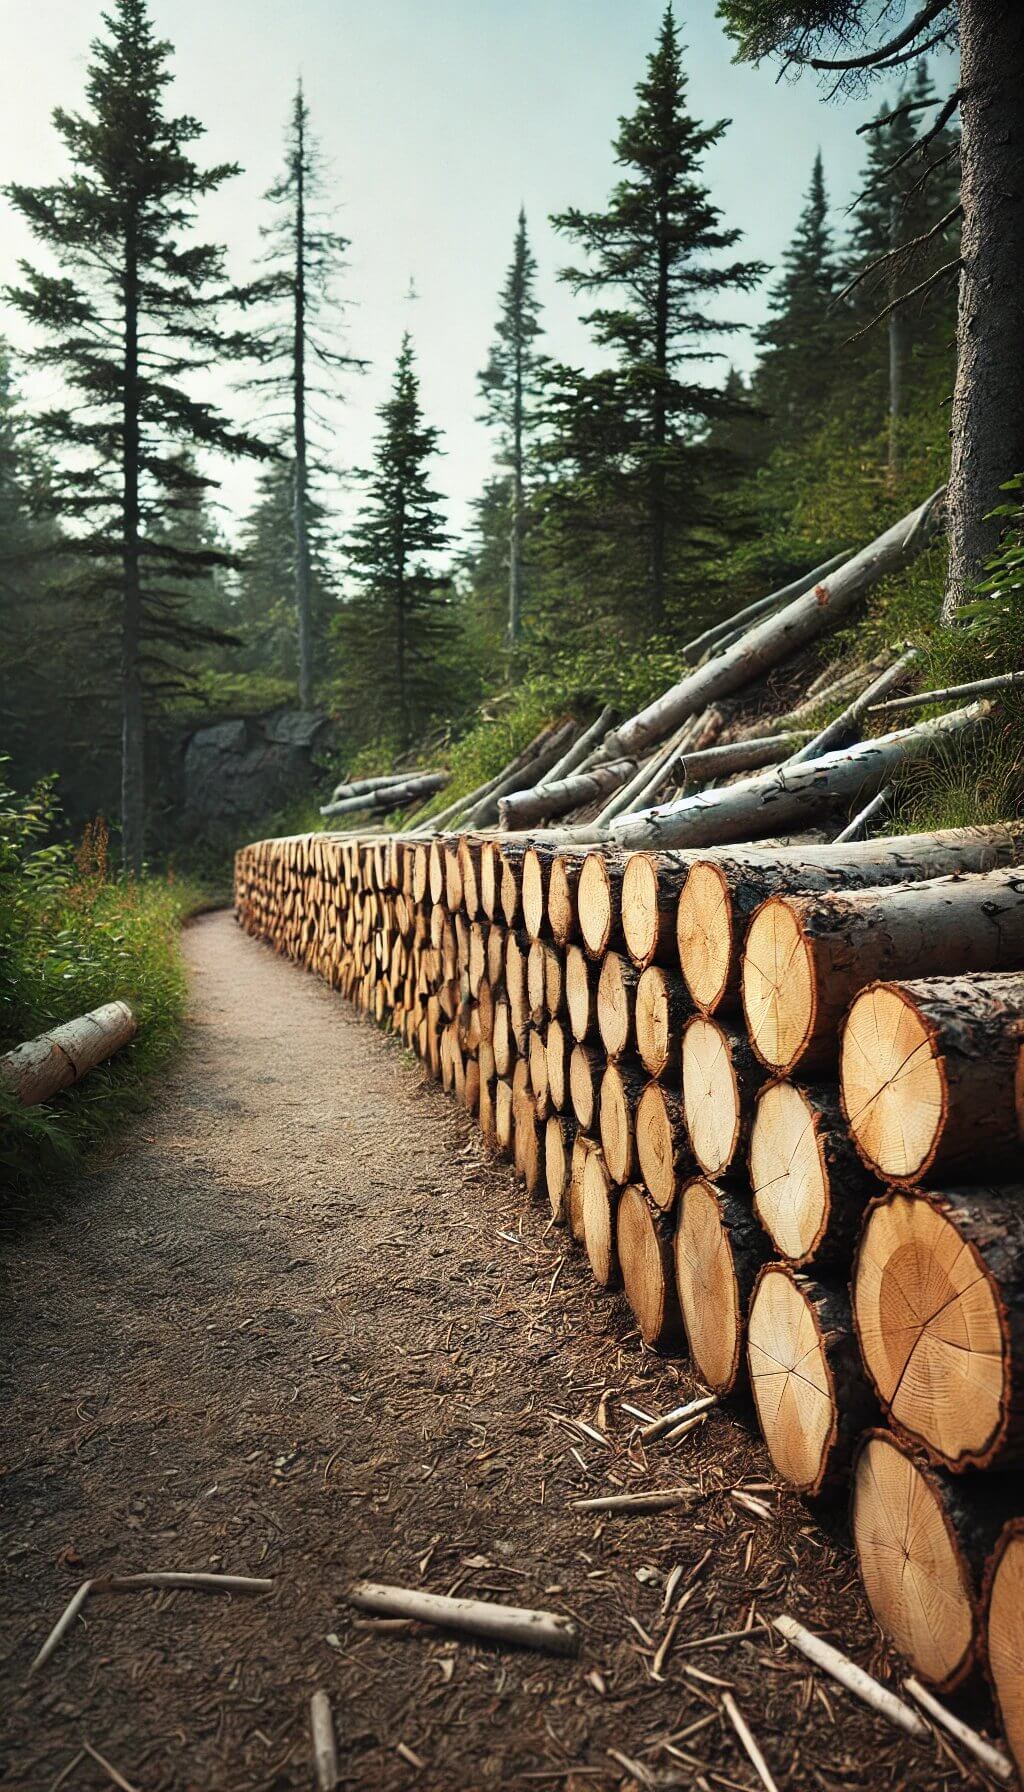
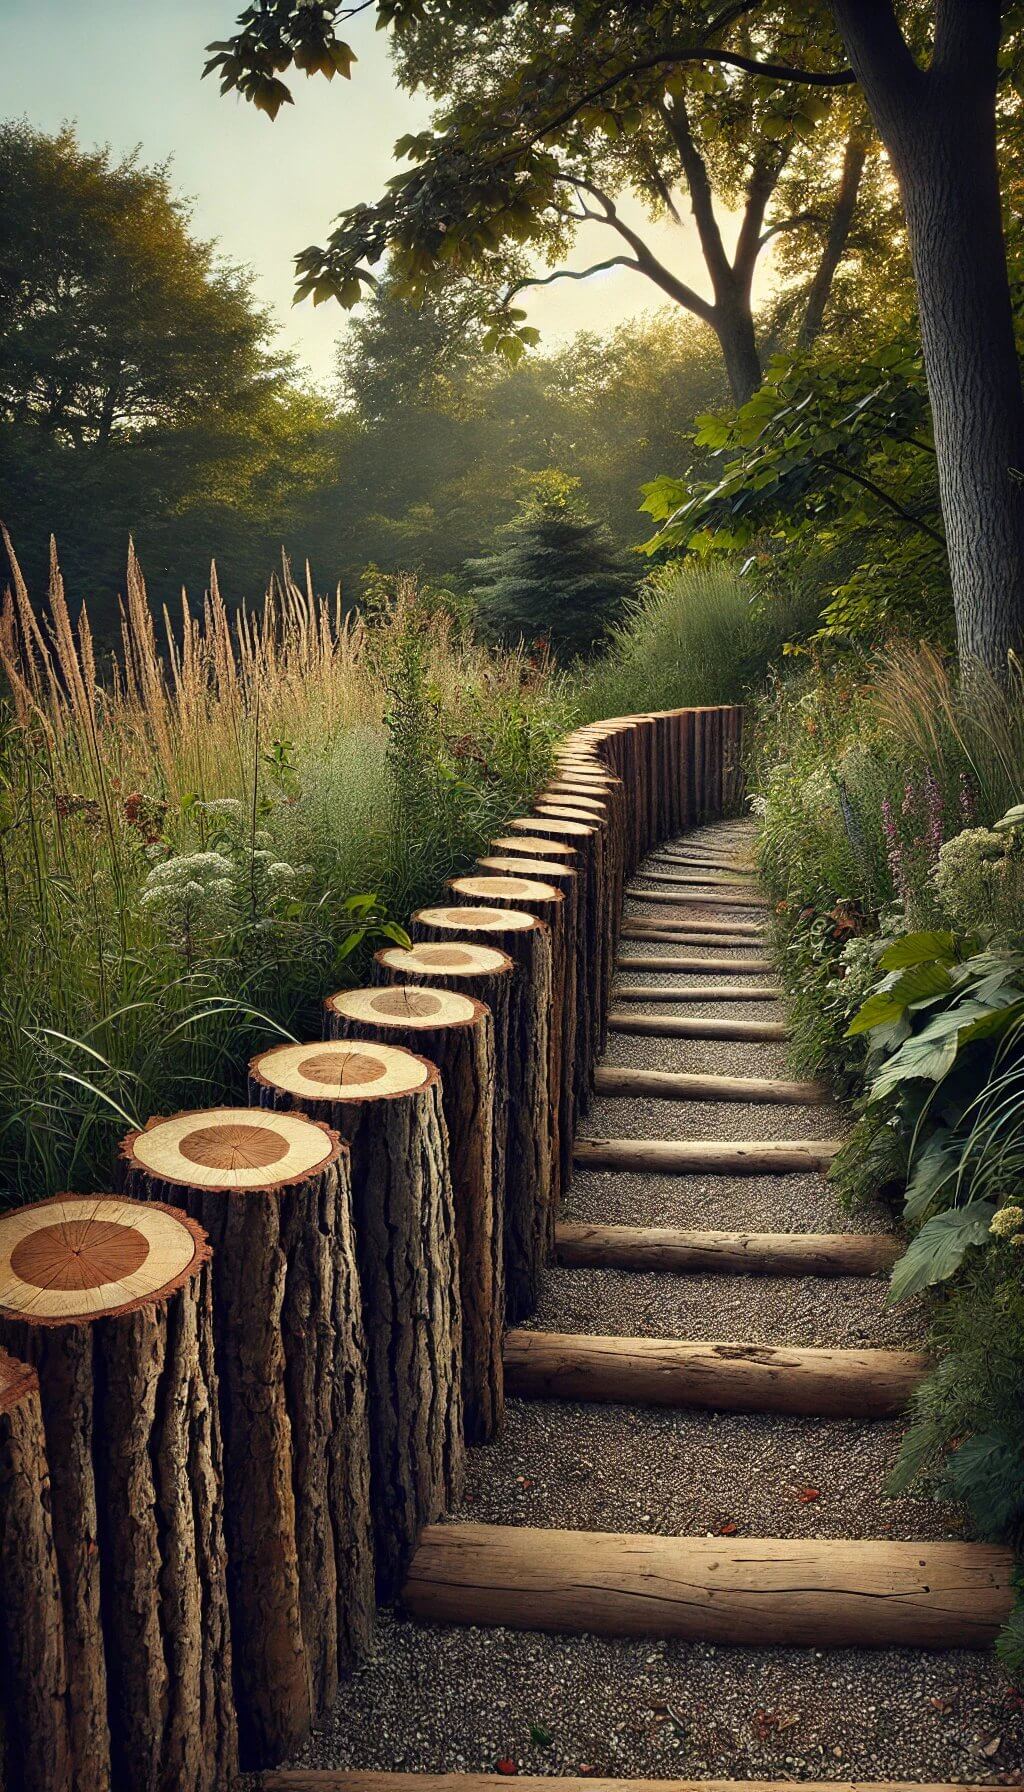
Line a walkway with cut logs set vertically for a rugged, defining edge. Cheap if you’re using logs you already have, same rot-and-replace timeline as idea #6 applies here.
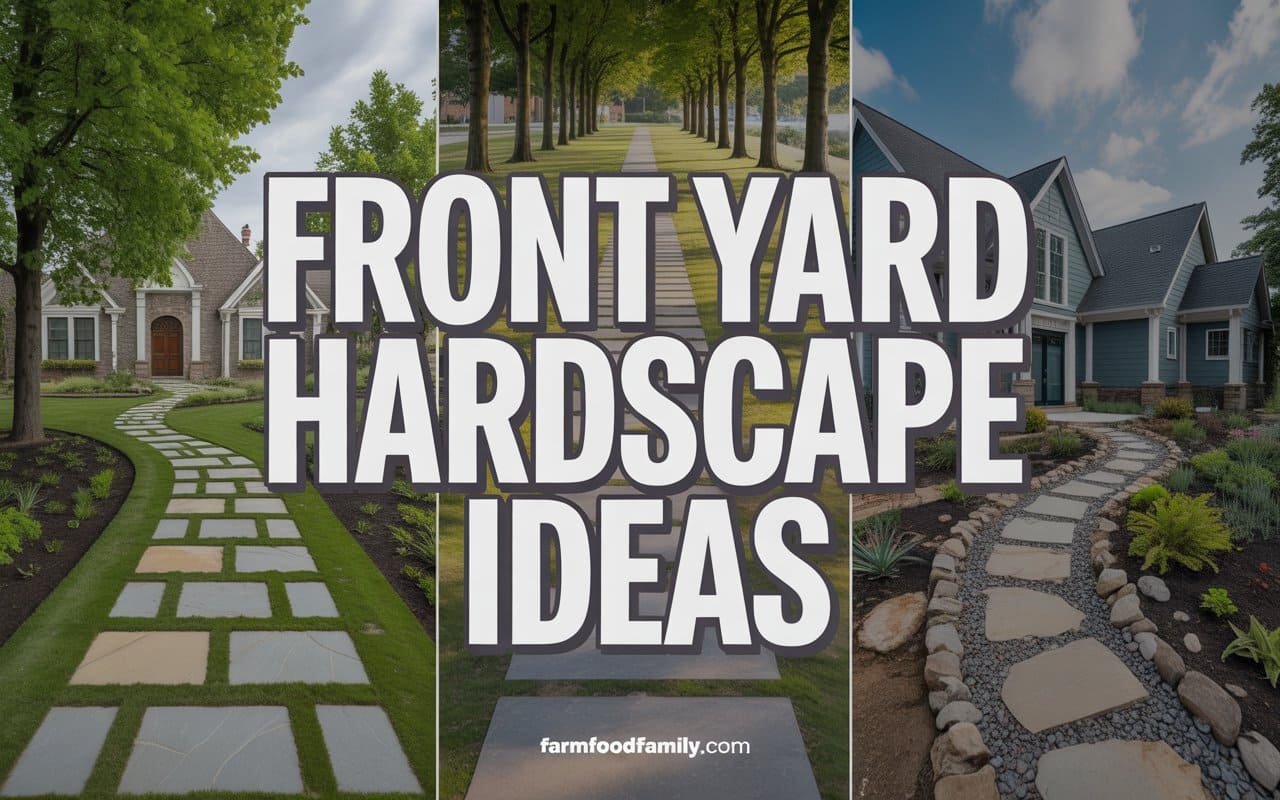
Curious about a similar look for the front of your house? This front walkway roundup covers a lot of the same materials in an entryway context. Want even more path styles woven through planting beds specifically? This garden path guide goes deep on the plant-and-path pairing side of things. And if your backyard leans more toward playful, colorful decor overall, this whimsical garden ideas piece is worth a look too.
Planning and Construction Tips
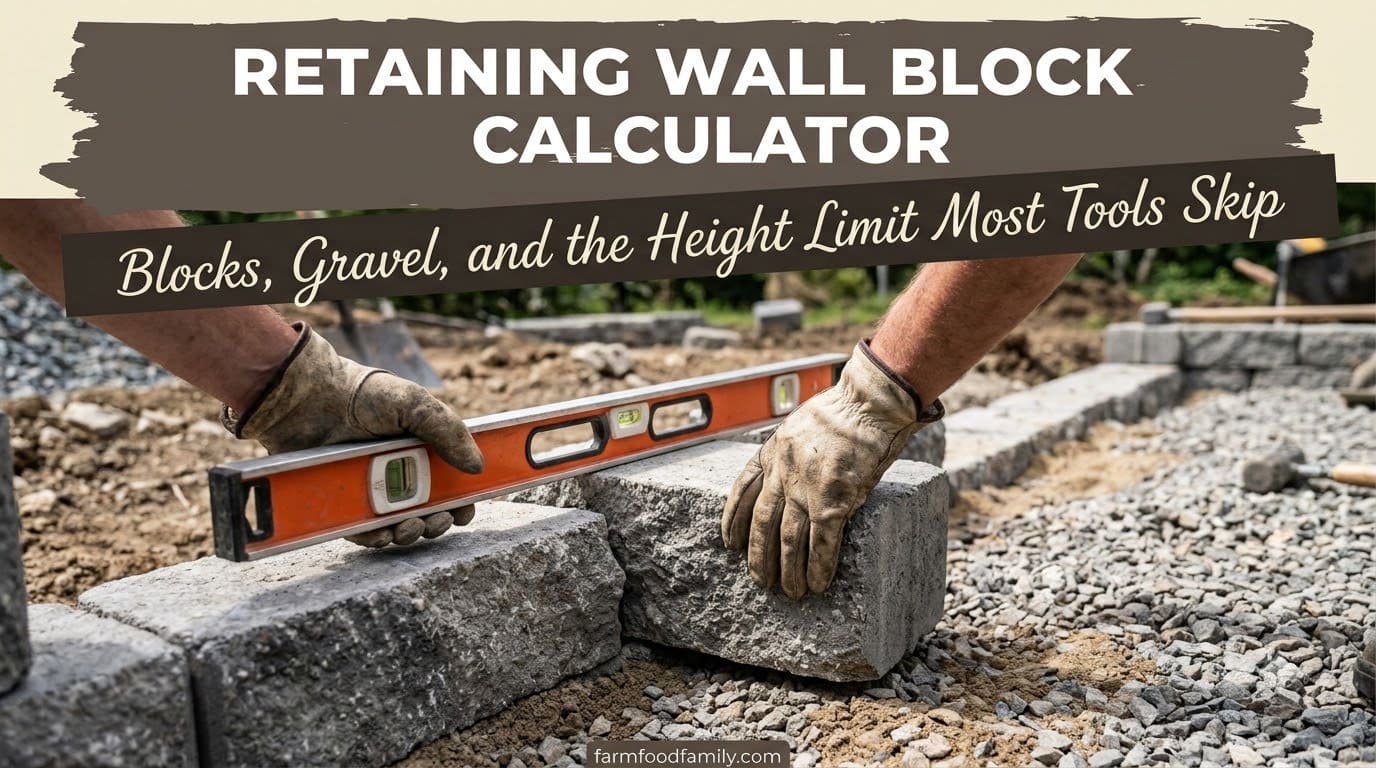
Base depth is the single biggest factor in whether a path lasts. For stone or paver walkways, landscape architect Zach Hammaker recommends a 6 to 9 inch compacted base in Northeast climates, and the Interlocking Concrete Pavement Institute’s standard for pedestrian walkways calls for a minimum of 4 to 6 inches of compacted gravel, with 7 to 9 inches of total excavation once you add the sand setting bed and the paver or stone itself. Skimping here is the most common reason a DIY path looks great for a season and then starts sinking or shifting.
Frost heave is real in freeze-thaw climates. Water that gets trapped under a path expands when it freezes and can push stones or pavers up unevenly over a winter. A deeper, well-draining gravel base (rather than a shallow one, or one sitting on dense clay soil) is the actual fix, not a cosmetic one.
Weed barrier fabric goes under gravel, crushed stone, and marble chip paths, not on top. Skip it and you’ll be pulling grass and weeds out of the gaps within a single growing season.
Slope the path slightly, don’t leave it flat. A gentle grade away from the house, or a slight crown down the center of the path, keeps water moving instead of pooling and refreezing in exactly the spot you’re trying to walk on.
FAQs
How deep should the base be for a backyard walkway?
For most stone or paver walkways, plan on 4 to 9 inches of compacted gravel base depending on your climate, landscape architect Zach Hammaker recommends 6 to 9 inches for Northeast-zone freeze-thaw conditions, while the Interlocking Concrete Pavement Institute’s general pedestrian-walkway minimum is 4 to 6 inches of compacted gravel plus a sand setting bed on top.
Are railroad ties safe to use in a backyard walkway?
Use caution with authentic, reclaimed railroad ties, most were treated with creosote, an industrial-only pesticide product the EPA doesn’t register for homeowner use. Reused creosote-treated wood isn’t federally regulated once it’s already out in the world, but avoiding bare-skin contact and keeping it away from vegetable gardens, play areas, or water sources is the practical safety takeaway. Untreated timber or a concrete product made to look like a railroad tie gives the same visual without that concern.
How do I stop weeds from growing through a gravel or stone path?
Lay a proper weed barrier fabric under the gravel or stone before you fill in the path, not after. Skipping this step is the most common reason a gravel path looks weedy again within one growing season.
What’s the cheapest backyard walkway material?
Gravel, mulch, and reclaimed pallet wood are the cheapest starting points, especially if you can source materials free or secondhand. Brick, concrete pavers, and marble chips run mid-cost, and natural stone like flagstone or cobblestone tends to be the priciest option on this list.
Pick the Path That Fits Your Yard, Not Just the Photo
Backyard walkways are more than just practical pathways, they’re part of your home’s character. They invite exploration, offer a bit of quiet, and when built right, turn an ordinary backyard into something with real purpose.
Conclusion
Whether you go with the rustic pull of gravel or the clean lines of stamped concrete, the path that actually lasts is the one built on a real base for your climate, not just the one that photographed best.
Never miss an update — choose FarmFoodFamily as your preferred source on Google.
How it works: Tap the button below to open Google's settings page, then check the box next to FarmFoodFamily.
Tap the checkbox to turn it blue — that's how you know it's set.