10 Brilliant DIY Outdoor Projects That Make Your Backyard Easier to Use
The best DIY outdoor projects fix how you use the yard, not just how it looks, as long as you call 811, check permits and build the base before the pretty part.

Never miss an update — choose FarmFoodFamily as your preferred source on Google.
How it works: Tap the button below to open Google's settings page, then check the box next to FarmFoodFamily.
Tap the checkbox to turn it blue — that's how you know it's set.
The best DIY outdoor projects fix how you use the yard, not just how it looks, as long as you call 811, check permits and build the base before the pretty part.
Products We Recommend
This post contains affiliate links. We may earn a commission on qualifying purchases at no extra cost to you.

Walensee 10 x 10 Inch Steel Tamper With 48 Inch Handle
A hand tamper for compacting the gravel base under paths and patios.
Shop Now
16 oz Rubber Mallet With Soft Face Head
Sets pavers and stepping stones without chipping them.
Shop Now
3-Piece Spirit Level Set
12, 20 and 40 inch levels for checking pavers, edging and shelf runs as you work.
Shop NowMost backyard project lists are just photos. You scroll, you save, you never build anything.
This one works the other way around. Each project below tells you what to buy, what the base needs and where it usually goes wrong. It also flags the permit and safety rules that stop a weekend job from turning into a tear-out.
In this article
Answer 4 quick questions and get matched to the exact fix for your yard — drainage, budget, layout, or something else entirely.
Take the Free QuizQuick Answer
Start with the projects that change how you move through the yard, then add the ones people sit around. A gravel path or paver patio comes first, because everything else gets built on or beside it.
Call 811 before any digging, even for fence posts or a fire pit ring. Utility lines are often buried shallower than people expect, and the call is free.
Check your city rules before you build a pergola, a shed or anything attached to the house. Many building departments set a permit trigger around 120 square feet or any attachment to the house, but the number varies by city.
Slope every hard surface away from the house so water never sits against the foundation. Spend your effort on the base and the drainage. Pavers, edging and storage boxes fail from the ground up, not from the top down.
Which Project Should You Start With?
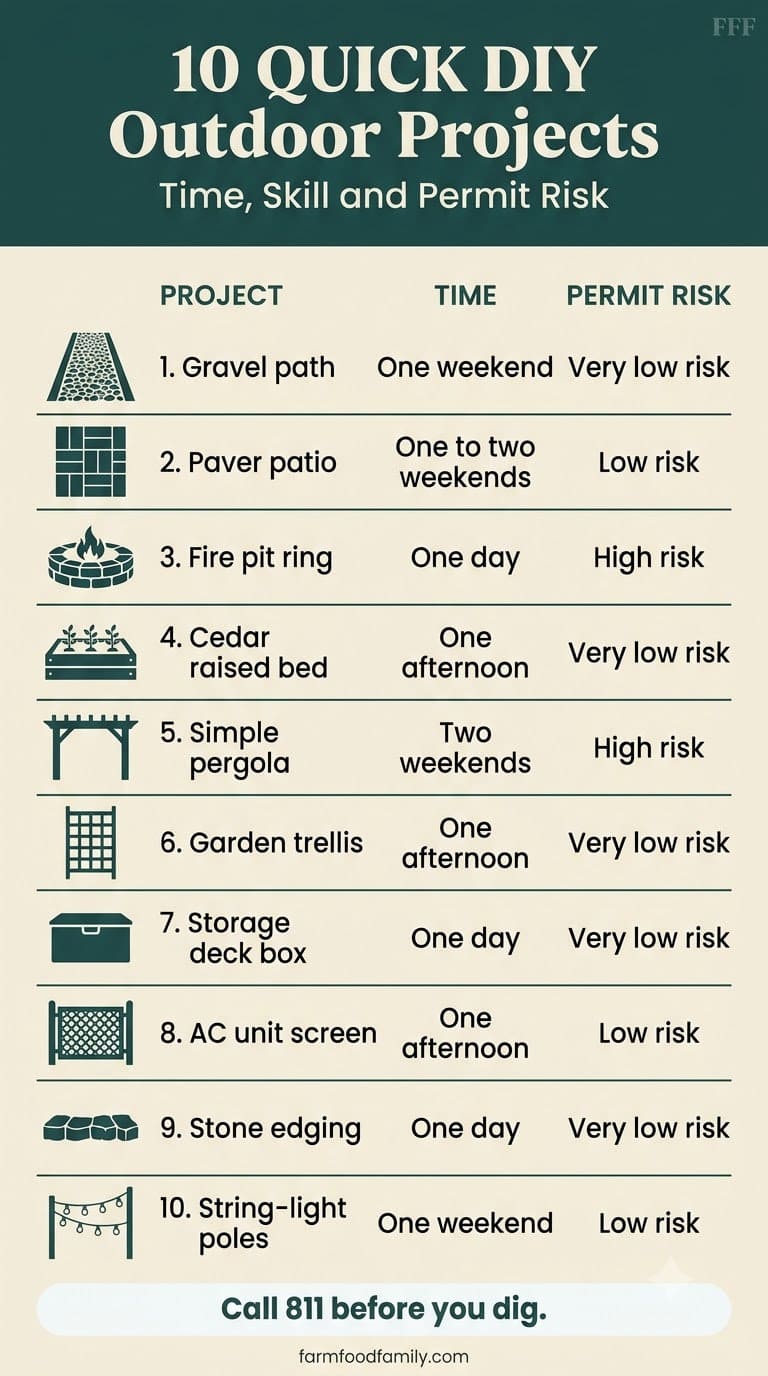
Pick by time, skill and risk, not by how good the photo looks. This table sorts the ten builds below.

| Project | Time | Skill | Budget tier | Permit risk |
|---|---|---|---|---|
| 1. Gravel path | One weekend | Beginner | Low | Very low |
| 2. Paver patio | One to two weekends | Beginner to intermediate | Mid | Low, check drainage rules |
| 3. Fire pit ring | One day | Beginner | Low to mid | High, local fire rules |
| 4. Cedar raised bed | One afternoon | Beginner | Low | Very low |
| 5. Simple pergola | Two weekends | Intermediate | Mid to high | High |
| 6. Garden trellis | One afternoon | Beginner | Low | Very low |
| 7. Storage deck box | One day | Beginner | Low to mid | Very low |
| 8. AC unit screen | One afternoon | Beginner | Low | Low, but clearance matters |
| 9. Stone edging | One day | Beginner | Low to mid | Very low |
| 10. String-light poles | One weekend | Intermediate | Mid | Low, electrical safety |
Before You Build Anything: Three Rules
These come before the fun part. Skip them and you risk a fine, a gas leak or a patio that sinks.
Most yard problems trace back to one specific, fixable cause. Find yours in 4 quick questions.
Take the Free QuizRule 1: Call 811 before you dig
The District of Columbia Public Service Commission says to call 811 at least two working days before any digging project. It adds that the call is needed even if you hire a pro, and for every project, however small.
Other states ask for up to three business days, so check your state’s one-call center. Mark your dig area with white paint or flags. And remember the utility only marks its own lines, not your sprinkler pipes or low-voltage wiring.
Rule 2: Check permits and your HOA
Permit rules differ by city. Many building departments want a permit for a pergola over 120 square feet or one attached to the house, and some towns exempt small sheds. Fences are usually decided by height.
Your HOA can be stricter than the city. Send a quick email before you buy lumber.
Rule 3: Build in the right order
Do the ground work first. Mark and dig utilities, then paths and patios, then structures, then lighting and decor.
That order saves you from driving a wheelbarrow over a finished patio edge. It also keeps your fire pit and pergola from landing on top of a planned path.
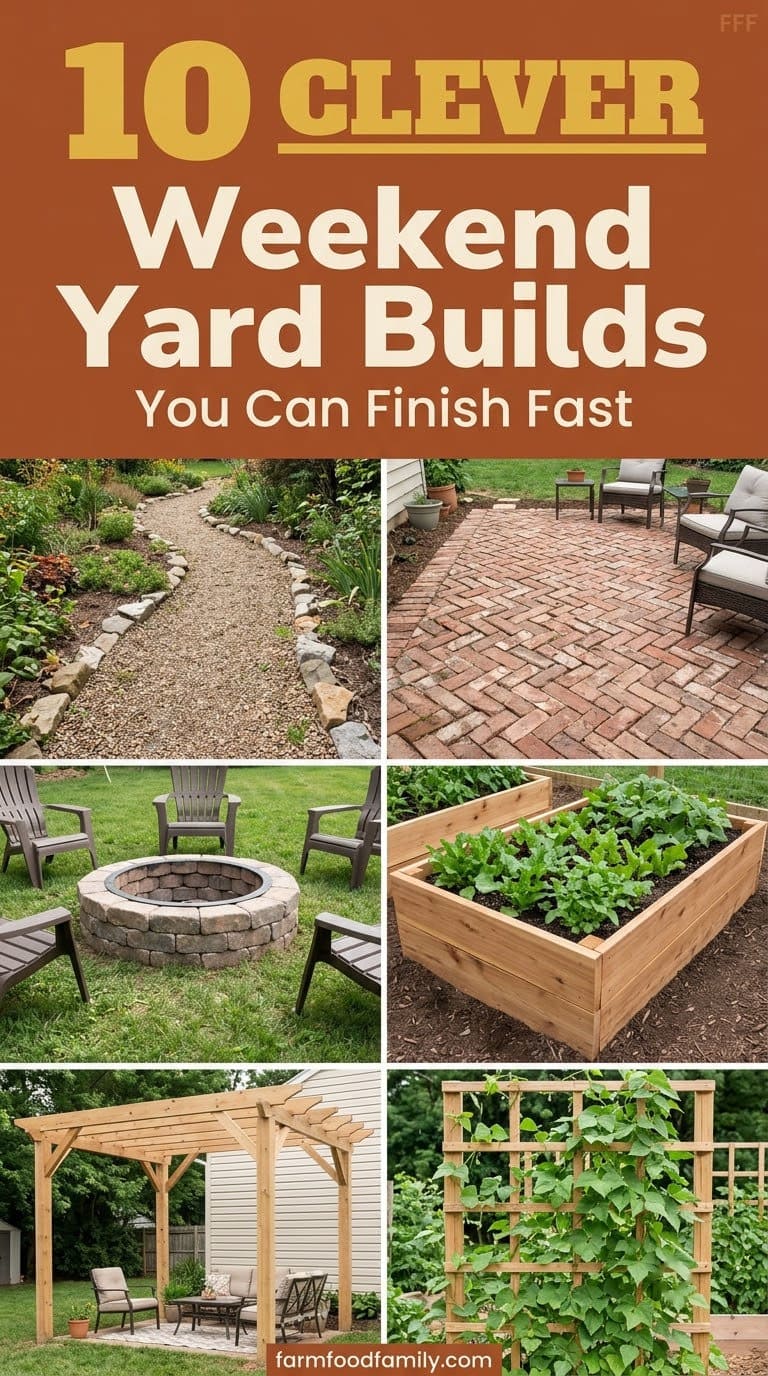
The 10 Best DIY Outdoor Projects
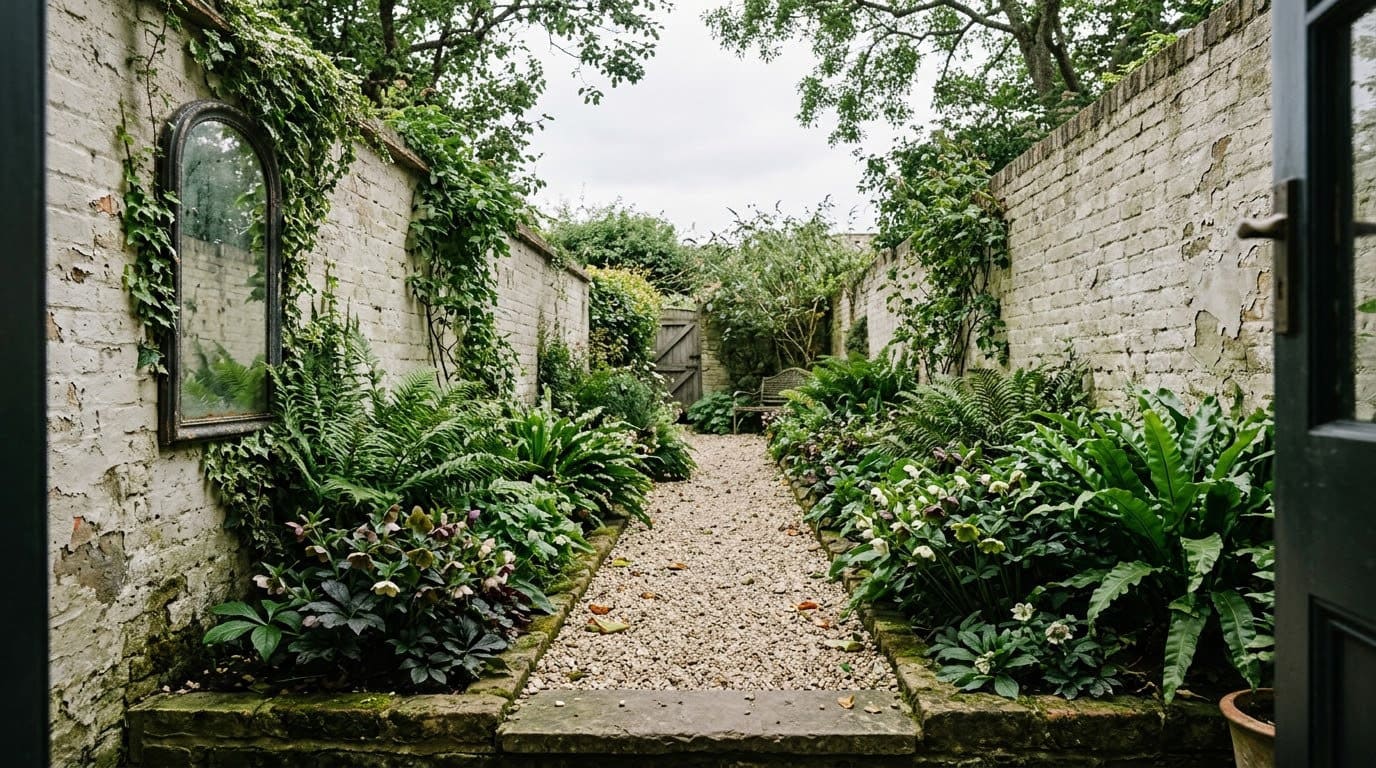
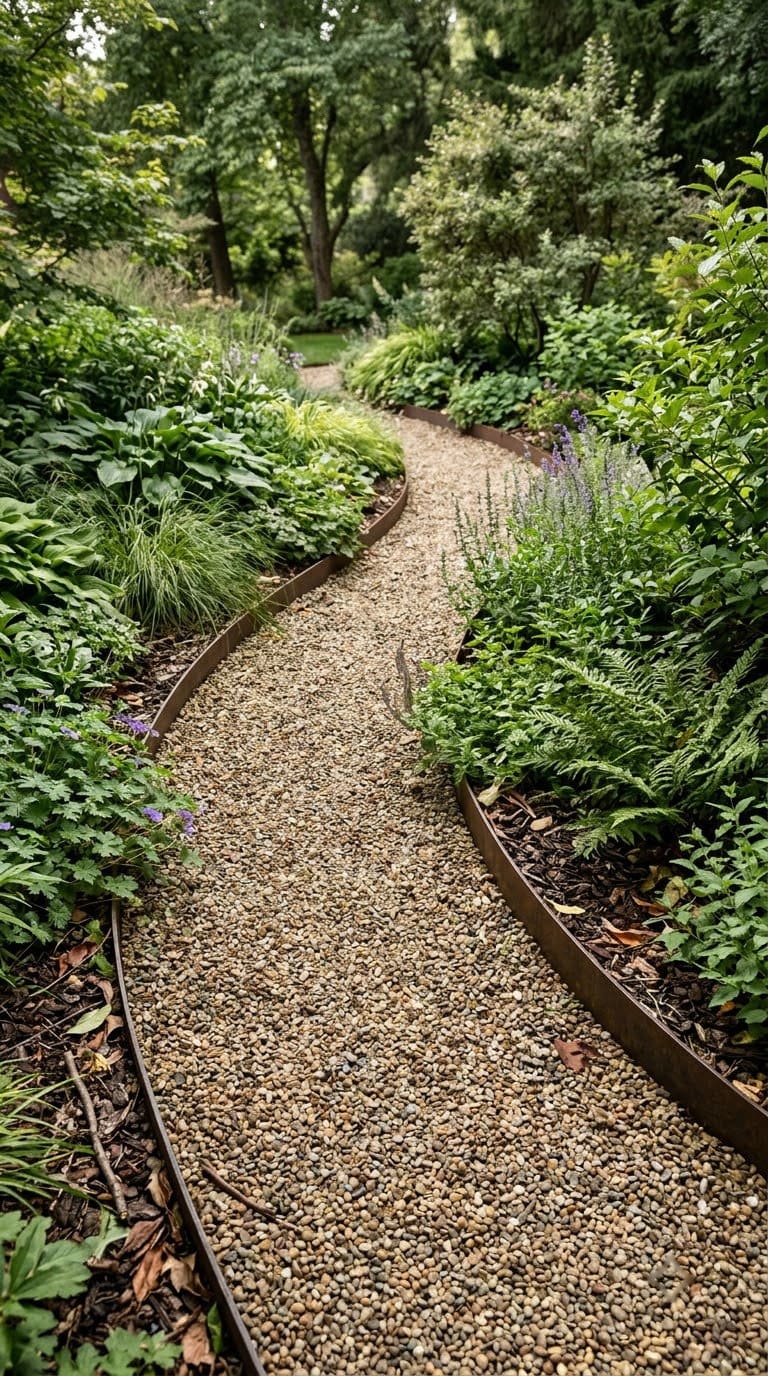
1. A Gravel Path That Actually Drains
A gravel path is the cheapest way to connect two parts of the yard. It’s also the project where the base matters most.
A hand tamper for compacting the gravel base under paths and patios.
Shop NowThis post contains affiliate links. We may earn a commission on qualifying purchases at no extra cost to you.
This Old House quotes landscape contractor Roger Cook on a durable version. Remove 6 to 8 inches of topsoil, add 4 to 6 inches of compacted gravel base, then top it with 1 to 2 inches of finish aggregate. Use stone three-quarters of an inch or smaller for a walking surface.
A quicker version digs about 4 inches, lays landscape fabric and fills with gravel. Cook also uses a jig made from two 2x4s cut to the path width, so steel edging stays the same distance apart along the whole run. Slope the path away from the house so water doesn’t pool at the foundation.
The average homeowner spends $616/year on yard fixes that don't address the real problem. Find out what yours actually is — before you spend another dollar.
Take the Free QuizWant ideas for the shape and layout? The site’s guide to garden path ideas covers curves and materials.
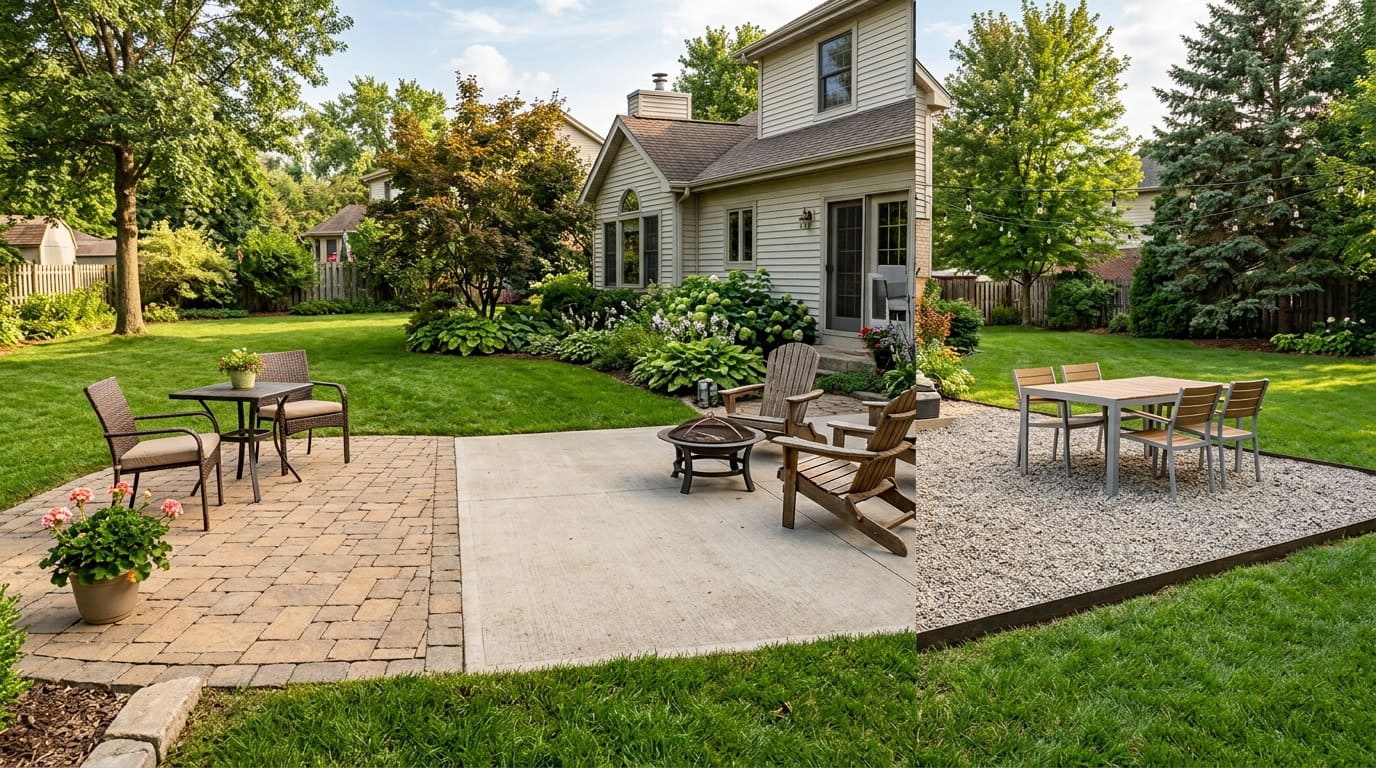
2. A Paver or Stone Patio
A small patio turns a patch of lawn into a place to sit. The look comes from the pavers, but the life of the patio comes from the base.
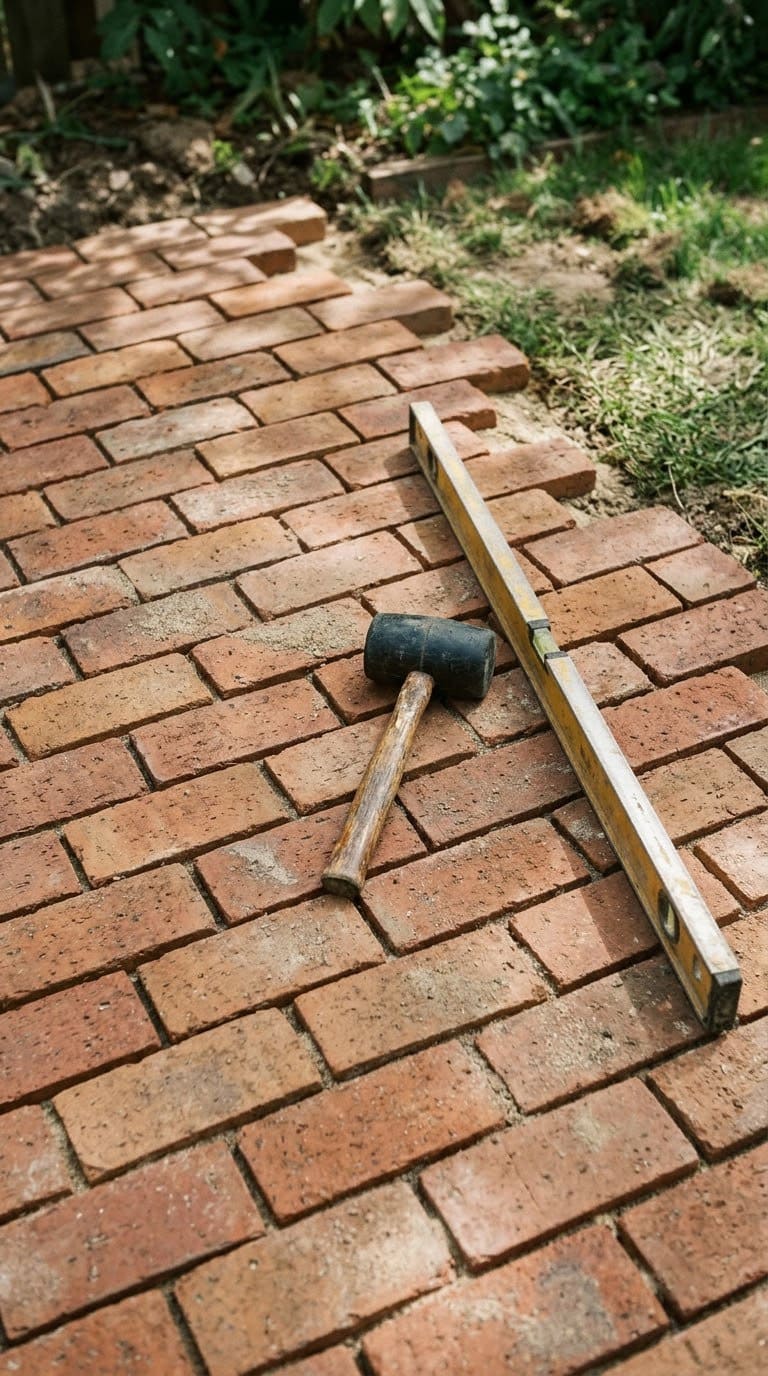
For a stone patio, This Old House says to excavate about 6 inches plus the stone thickness, add landscape fabric, then compacted gravel and a sand layer. Start at one corner and work outward, setting each piece with a rubber mallet and checking level as you go. Sweep stone dust into the joints, mist with a hose and repeat until firm.
Brick works too. Choose a severe-weather (SW) rated brick and plan roughly five modular bricks per square foot. Add about 10 percent for cuts, which is our own rule of thumb.
Running bond is the easiest pattern, while herringbone makes the most waste.
Two mistakes to avoid: filling joints with cement, which can pop out in winter, and skimping on base compaction.


On a tighter budget, see paver patio ideas on a budget.
3. A Fire Pit Ring
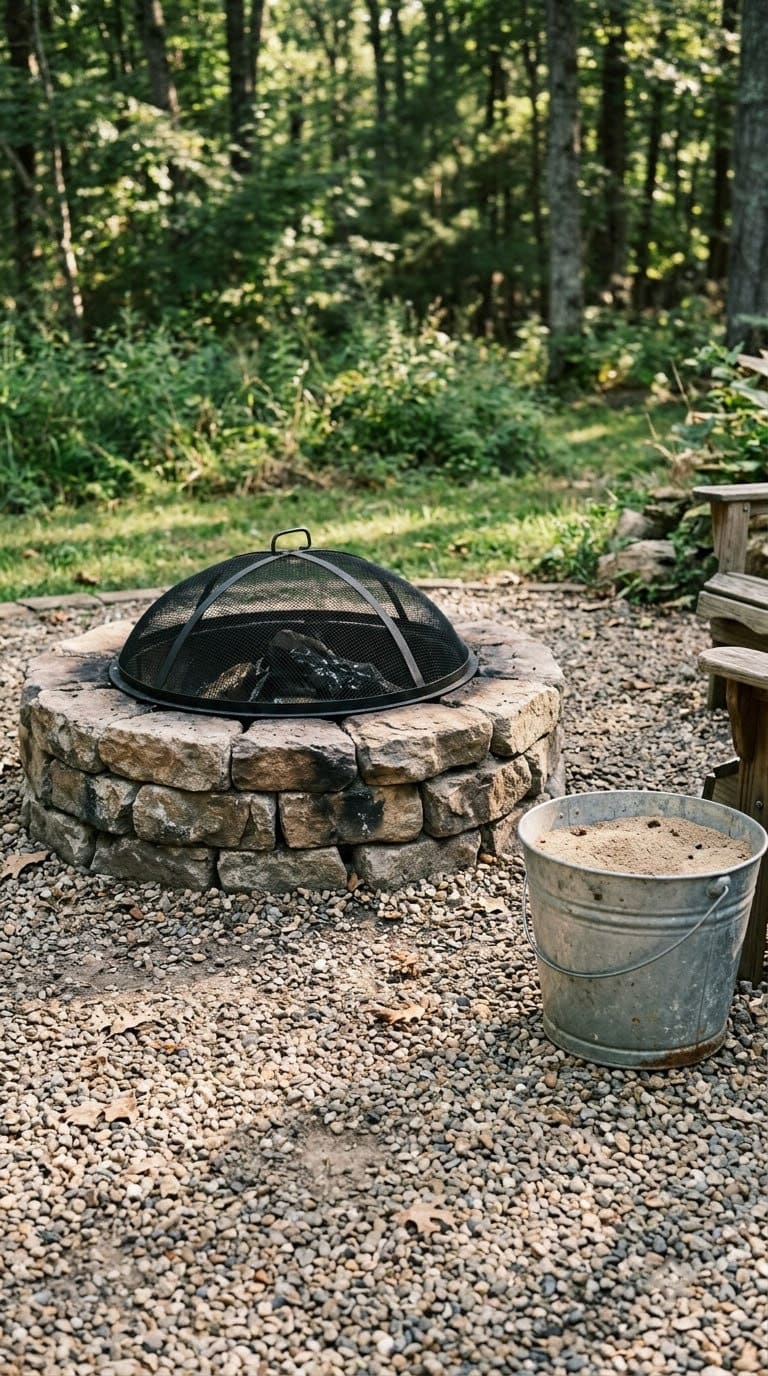
A ring of stone, block or metal is one of the fastest builds here. It’s also the one with the most rules.
Fire rules come from your city, not from a national code. One city, Medicine Hat in Alberta, requires a permit and sets a minimum of 10 feet from a house, fence, deck, shed or tree. It also caps the opening at 3 feet across, requires a container at least 1.5 feet high and a spark screen with openings no larger than half an inch.
Your town will differ, so treat that list as an example of what to ask about.
Sources disagree on distances. Common guidance says 20 to 25 feet from structures, and some secondhand NFPA quotes say more. Call your fire department and ask for the written rule.
Burn only clean, dry firewood and keep a hose or a bucket of water or sand within reach. Never burn yard waste or treated wood. For design ideas after the rules are settled, browse these fire pit ideas.
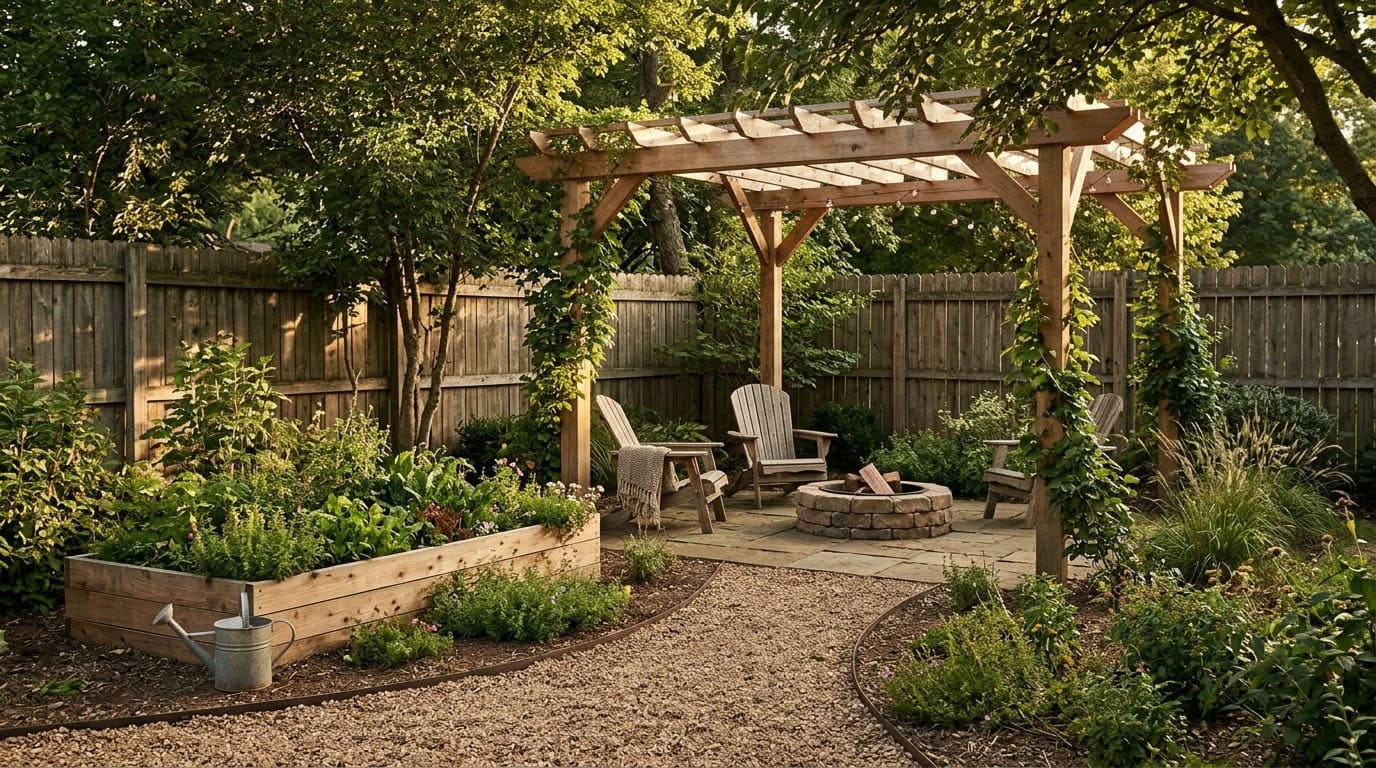
4. A Cedar Raised Bed
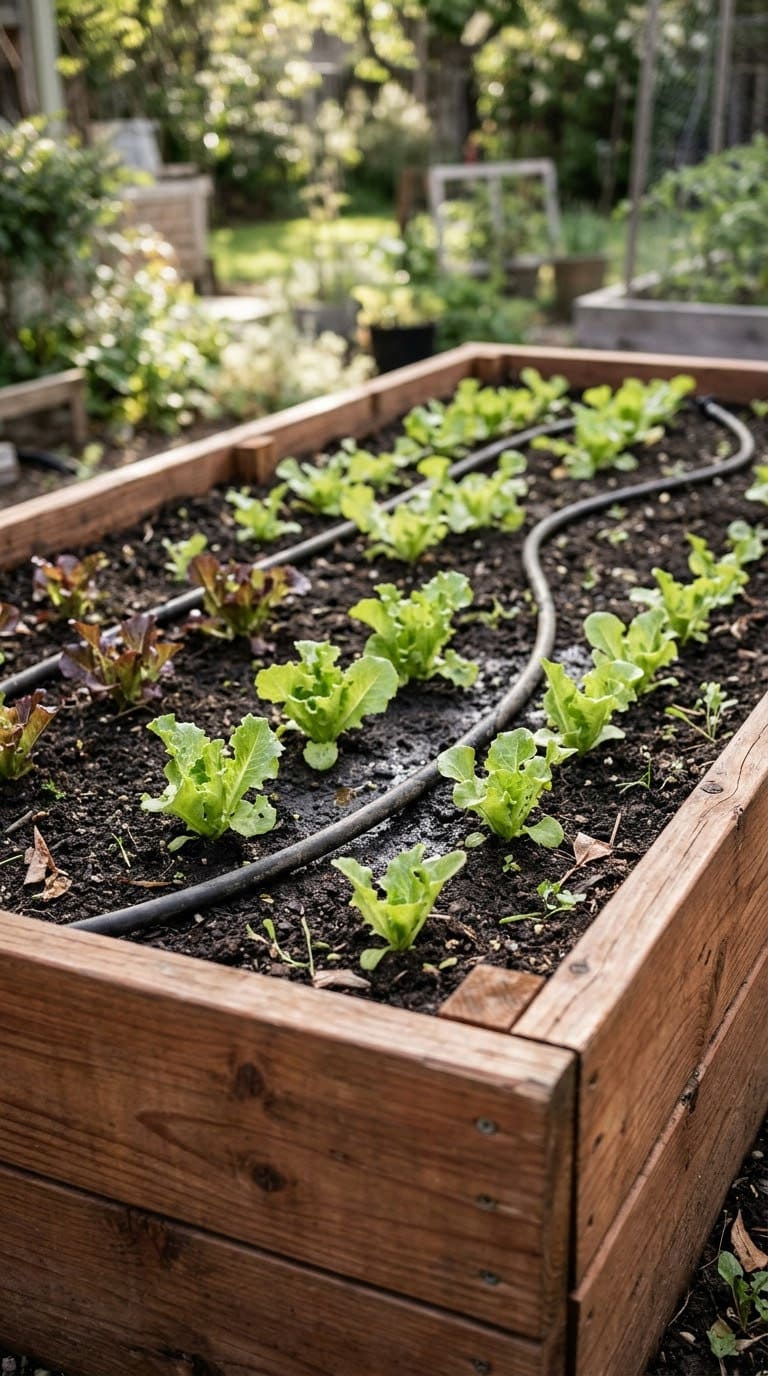
A raised bed is the easiest planting project. You build a box, fill it and plant the same weekend.
Keep it about 4 feet wide so you can reach the middle from either side. That’s our guideline, not a sourced rule. Use cedar or another rot-resistant board and galvanized or coated screws so the fasteners don’t rust out.
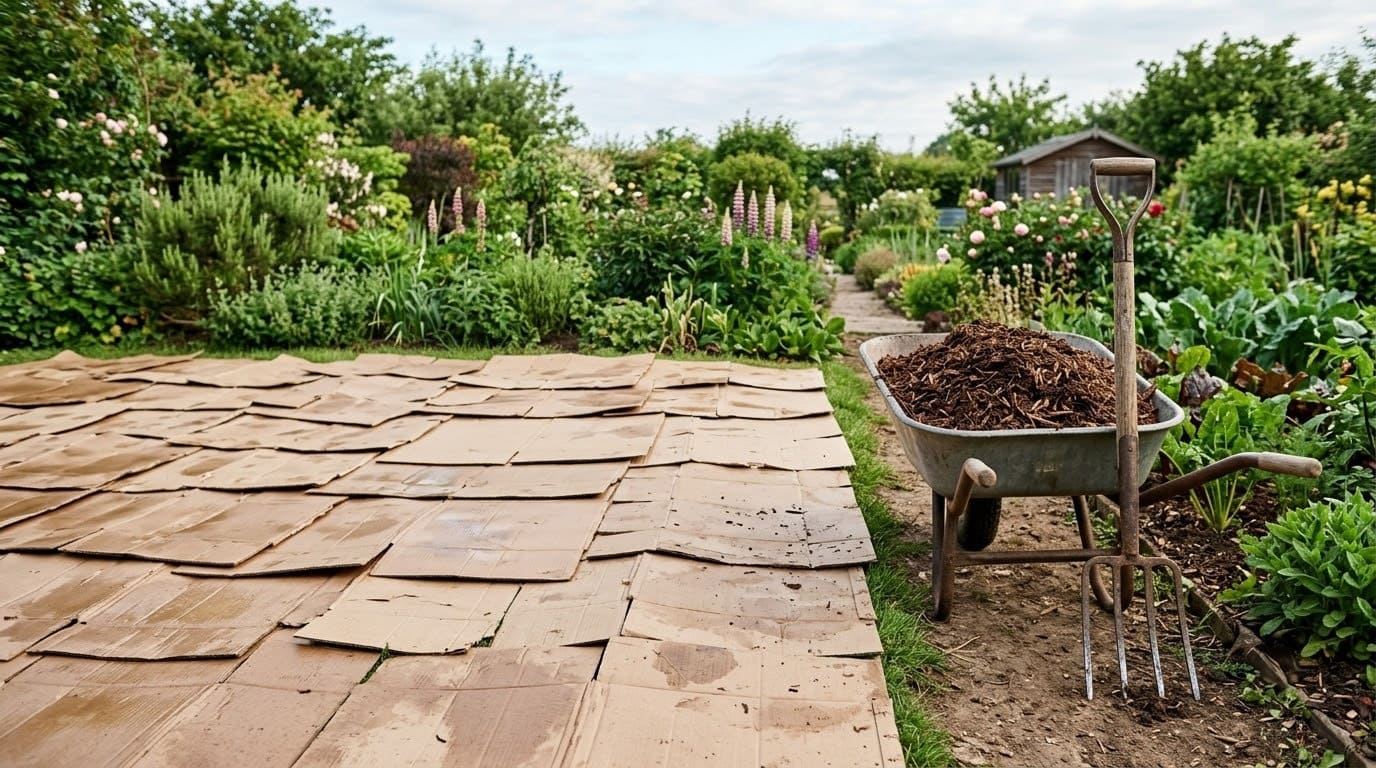
Set the bed on level ground and line the base with cardboard to slow weeds. Fill with a bagged raised-bed mix, not soil dug from the yard. For other box shapes, look at these pallet and wood planter box ideas.
5. A Simple Pergola
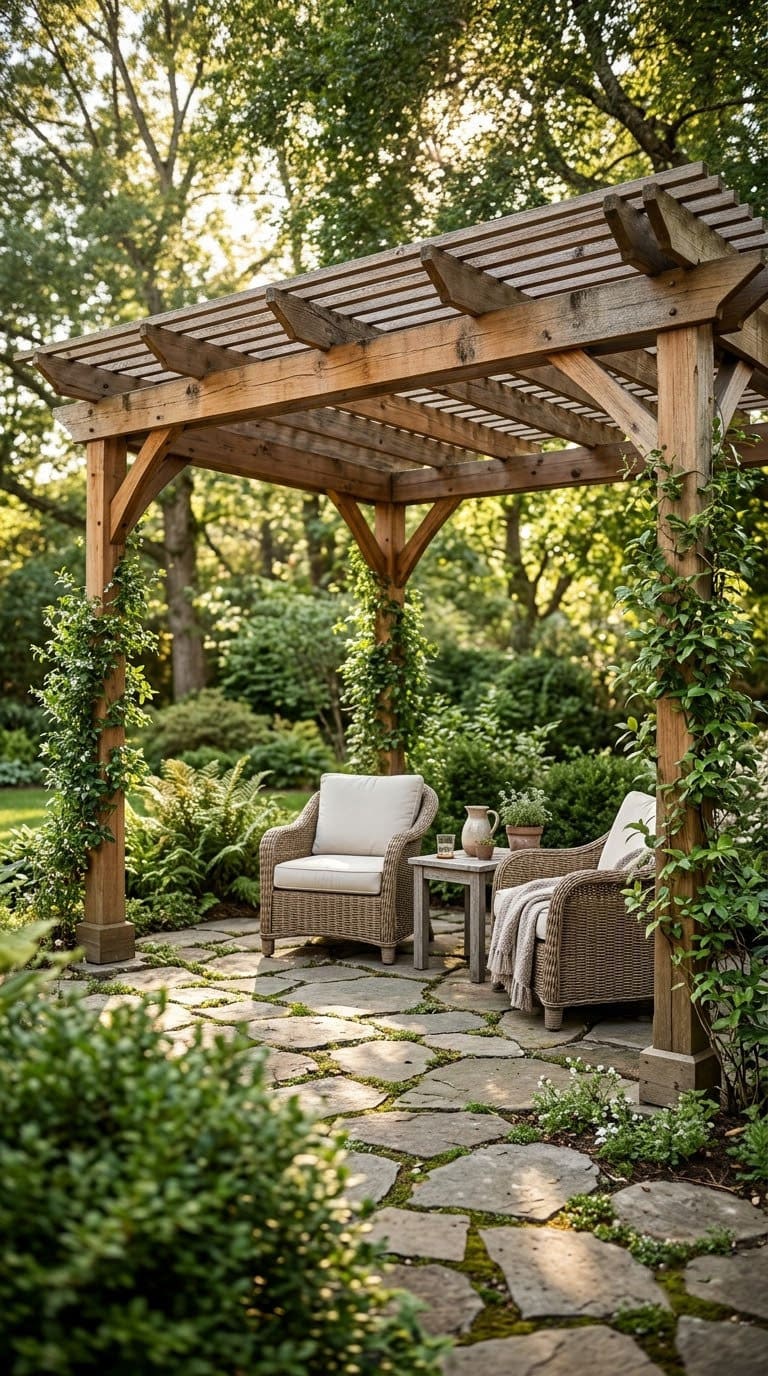
A pergola gives you shade and a clear edge for the seating area. It’s also the project most likely to need a permit.
Check the threshold first. If it’s attached to the house or over the size your city sets, you’ll probably need drawings. If you dig post holes, you’ll need an 811 call too.
We don’t give post sizes or footing depths here, because those depend on your soil, wind and snow loads. Use a plan from a lumber supplier or ask a licensed contractor or engineer to size it. For layout and styles, see pergola ideas and the guide to building a pergola attached to a house.
6. A Garden Trellis
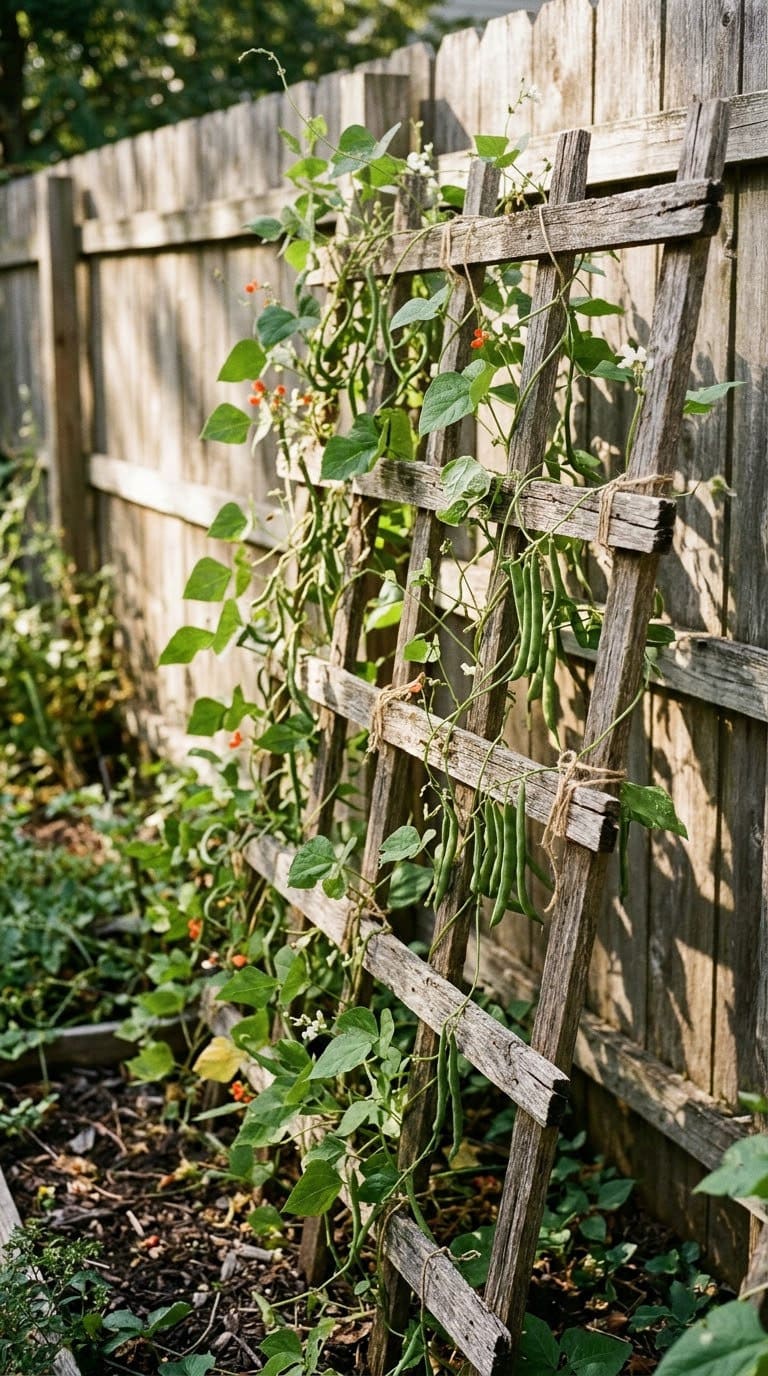
A trellis is a one-afternoon project that adds height and privacy. Climbing plants cover it faster than most people expect.
Anchor it to something solid, either a post set in the ground or a bracket on a wall. Leave a small gap behind it so the vines can circulate air. Pick a plant first, because beans and clematis need different spacing.
See fence trellis ideas for designs that mount on existing fences.
7. A Storage Deck Box
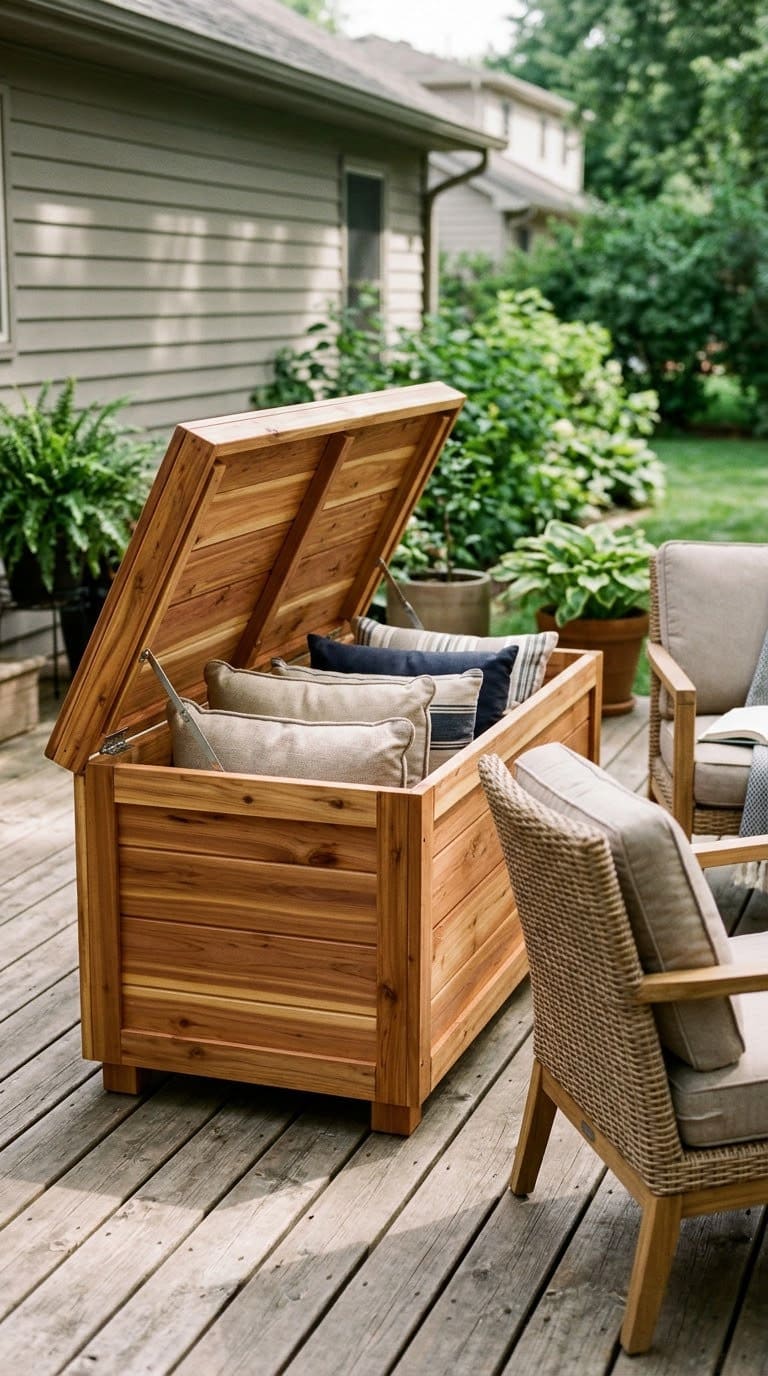
A deck box hides cushions, toys and garden tools. Build it to shed water, or everything inside will smell like mildew.
Raise the base off the ground on small feet so air moves underneath. Leave a gap along the bottom boards for drainage, and slope the lid slightly so rain runs off. Use hinges rated for outdoors.
Keep it near the seating area and line it with a plastic bin for cushions. For more patio storage, see these DIY outdoor furniture projects.
8. An AC Unit Screen
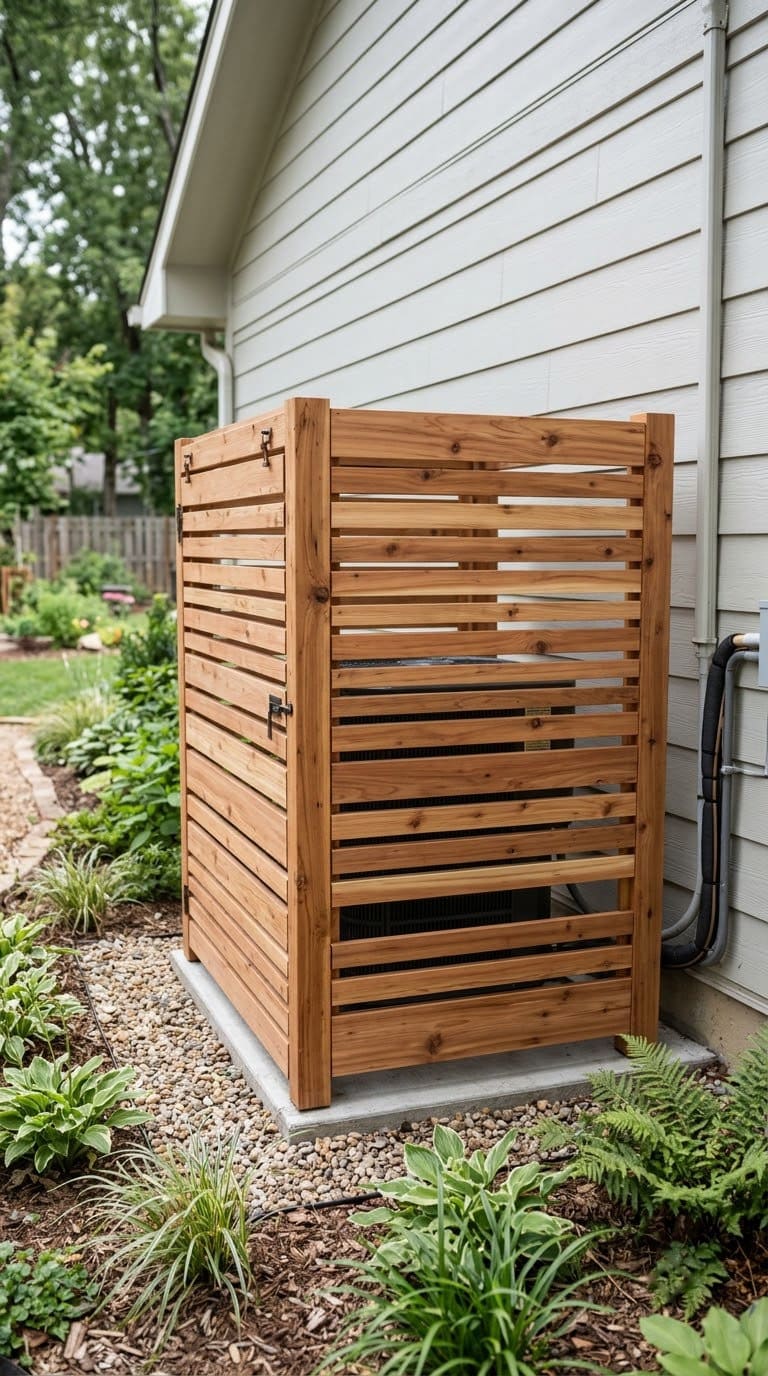
A slatted screen hides the condenser without hurting its airflow. The key word is airflow.
Your air conditioner needs open space on all sides and above it. Check the manufacturer’s clearance in the manual, and build the screen to sit outside that space. Leave the access side easy to open for service.
Use slats with gaps rather than a solid panel, and skip any lid over the top.
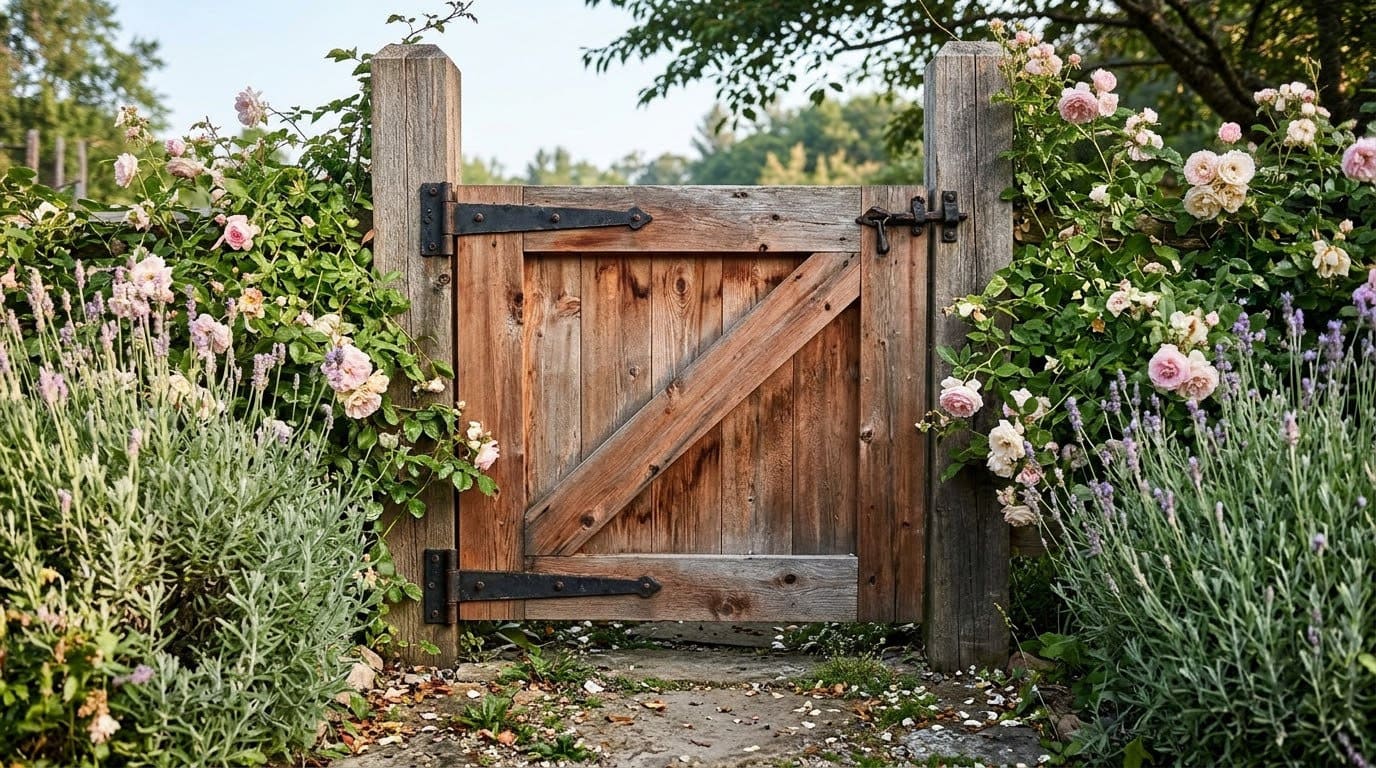
9. Stone Edging
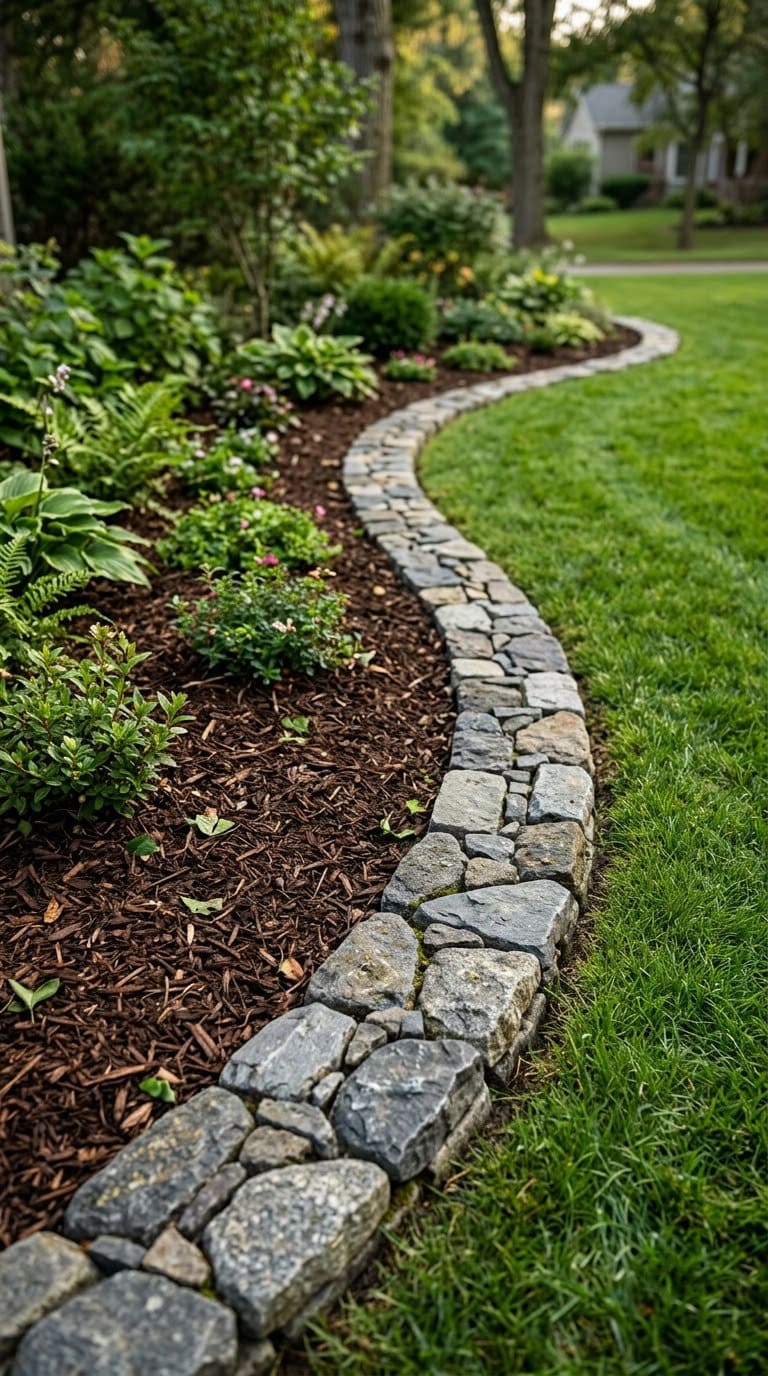
Stone edging gives beds a crisp line and keeps mulch in place. It’s a one-day project with a big visual payoff.
Cut a shallow trench along the bed edge, add a thin layer of sand or gravel and set stones tight against each other. Backfill behind them and tamp it firm. Check level every few stones.
Choose stones of similar height so the line doesn’t look wobbly. More styles are in the guide to stone edging ideas.
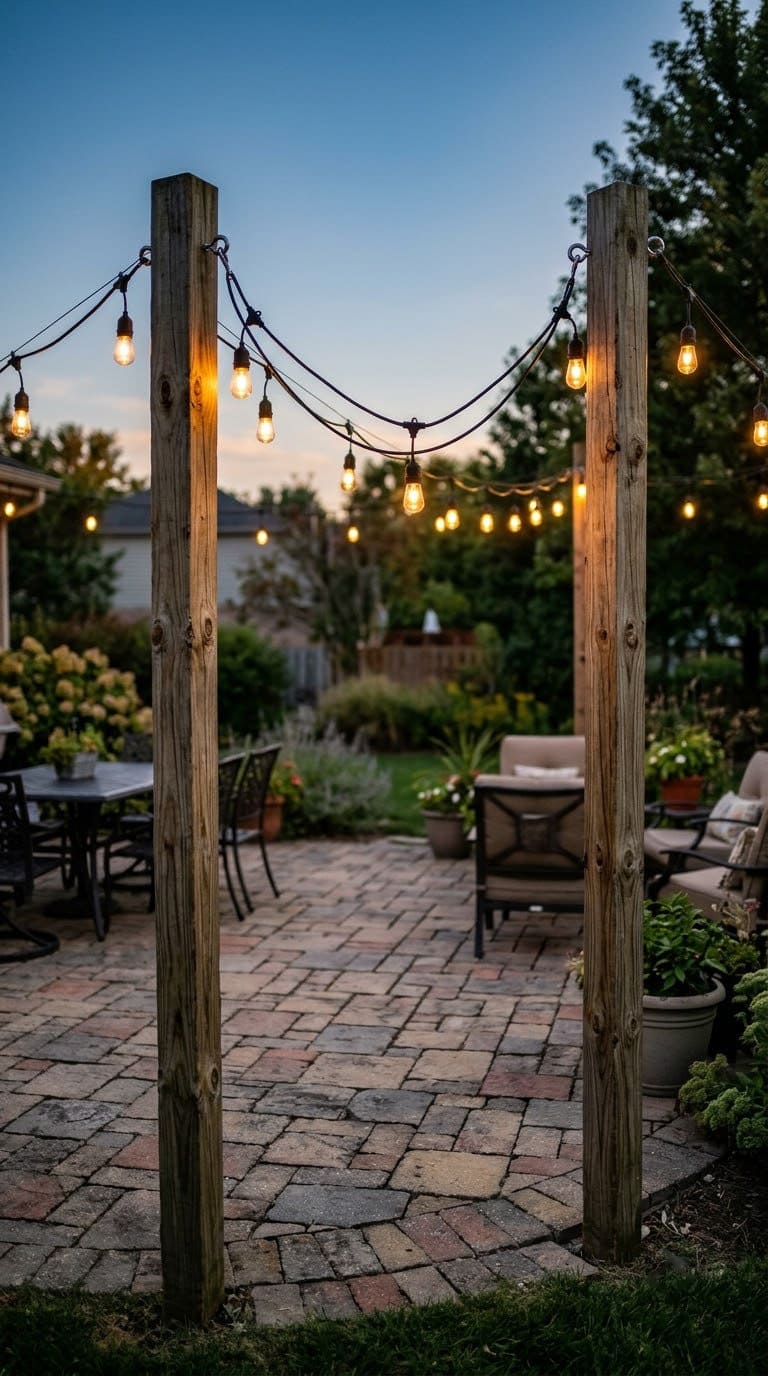
10. String-Light Poles
String lights make a patio feel finished. The poles are the part that takes planning.
Plan where the poles go before you dig, then call 811. Use outdoor-rated lights and cords, plug them into a GFCI-protected outlet and keep connections off the ground. Hang the strands loosely so wind doesn’t pull the poles over.
Not sure how to space the strands? See backyard string light ideas for layouts.
How Much Material Do You Need?
Run the math before you order. Here are two examples worked out with simple geometry.
A gravel path 3 feet wide and 20 feet long. Using Cook’s 4 to 6 inch compacted base, take 6 inches, which is 0.5 feet. That’s 3 x 20 x 0.5 = 30 cubic feet, or about 1.1 cubic yards of base gravel. Add the 1 to 2 inch top layer separately.
A 10 by 10 foot brick patio. That’s 100 square feet. At about five bricks per square foot, you need around 500 bricks, plus roughly 10 percent for cuts, so order about 550.
Gravel compacts as you tamp it, so many people order a little extra for the base. Your supplier can confirm how much for your stone. When in doubt, round up by a small amount and keep the leftovers for the next project.
Common Mistakes to Avoid
Most failed projects trace back to the same few mistakes.
Skipping the base. This Old House lists poor base compaction as a main reason pavers shift. A thin base looks fine for one winter.
Skipping the 811 call. The free call covers every project that involves digging, even a small one.
Building too close to the house or fence. Fire pits and pergolas have setback and clearance rules that your city sets.
Forgetting drainage. Slope paths and patios away from the house, as This Old House advises.
Buying materials before measuring. Order about 10 percent extra for cuts, and measure twice.
A Two-Weekend Plan
Here’s a simple way to sequence the work.
Weekend 1: Call 811 early in the week. Then build the path, the patio base and the edging while the ground is clear.
Weekend 2: Add the raised bed, trellis and deck box. Finish with the fire pit ring or string lights once permits and clearances are confirmed.
Save the pergola for a longer window, since it needs drawings and approvals.
FAQ
Do I need a permit for DIY outdoor projects?
Sometimes. Pergolas, sheds and fences are the usual triggers, and rules differ by city. Many places draw the line near 120 square feet or any attachment to the house, so call your building department.
How far should a fire pit be from the house?
It depends on your city. Common guidance says 20 to 25 feet, and some local rules are shorter. Ask your fire department for the written rule.
How deep should a gravel path base be?
This Old House quotes Roger Cook on 4 to 6 inches of compacted gravel after removing 6 to 8 inches of topsoil. A basic path can use a shallower dig of about 4 inches.
Is 811 free?
Yes. The call is free, and utilities mark their lines for you.
What’s the cheapest project on this list?
A gravel path, a trellis or a raised bed. They need few materials and no special tools.
Related Posts
Never miss an update — choose FarmFoodFamily as your preferred source on Google.
How it works: Tap the button below to open Google's settings page, then check the box next to FarmFoodFamily.
Tap the checkbox to turn it blue — that's how you know it's set.