25 Cool and Easy Spray Paint Ideas to Transform Your Home and Garden
A can of spray paint can turn thrift-store finds and tired fixtures into custom decor in one afternoon, but only if you match the paint to the surface and let it cure.

Never miss an update — choose FarmFoodFamily as your preferred source on Google.
How it works: Tap the button below to open Google's settings page, then check the box next to FarmFoodFamily.
Tap the checkbox to turn it blue — that's how you know it's set.
A can of spray paint can turn thrift-store finds and tired fixtures into custom decor in one afternoon, but only if you match the paint to the surface and let it cure.
Products We Recommend
This post contains affiliate links. We may earn a commission on qualifying purchases at no extra cost to you.

Rust-Oleum Universal All Surface Spray Paint and Primer in One
Furniture, hardware, baskets, lamps
Shop Now

The best spray paint projects use thin coats, the right primer, and patient drying. Start with small, forgiving items like cabinet hardware, terracotta pots, and vent covers. Each one costs about a single can of paint.
Match the paint to the surface. Use a rust-inhibiting primer on bare metal.
Use a bonding primer or a plastic-safe formula on glass and plastic. Sand glossy finishes lightly first.
Answer 4 quick questions and get matched to the exact fix for your yard — drainage, budget, layout, or something else entirely.
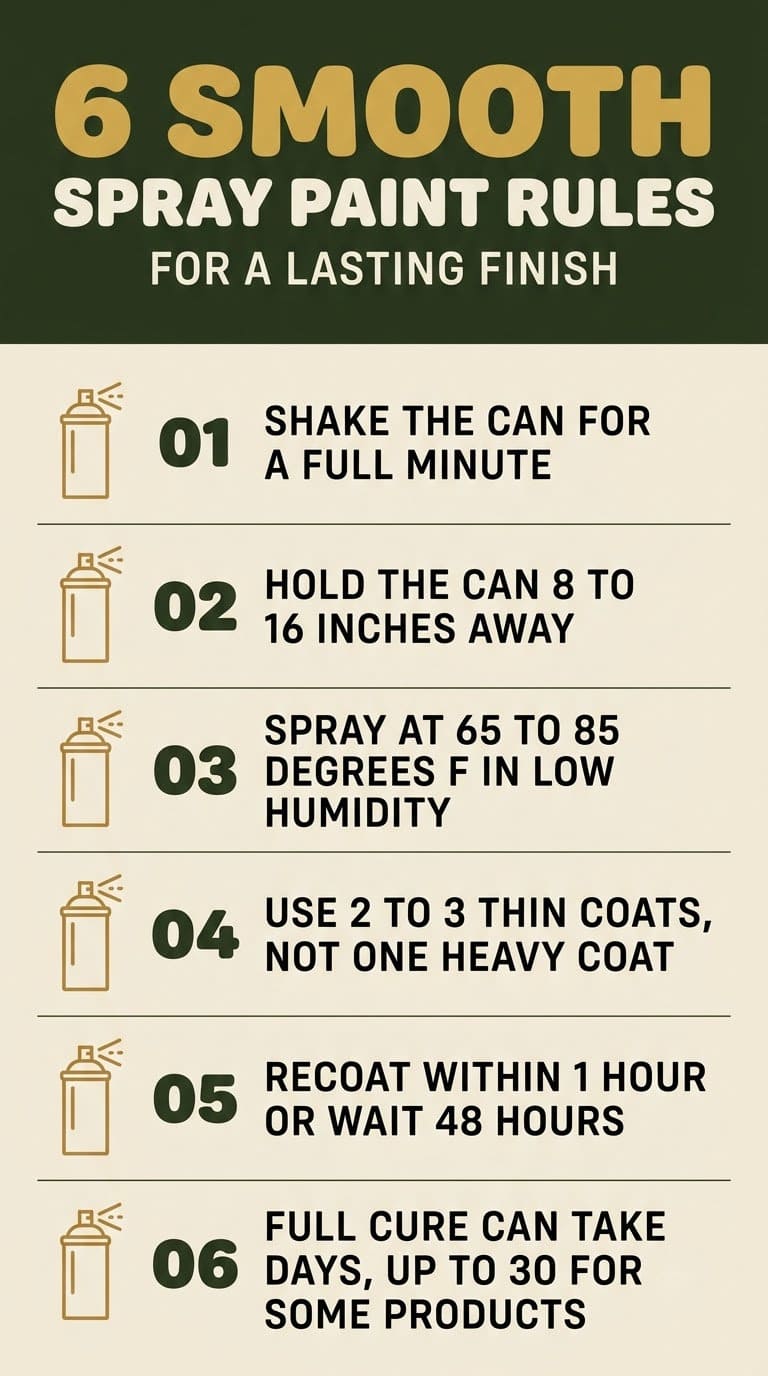
Take the Free QuizSpray when it is 65 to 85°F with low humidity. Hold the can 8 to 16 inches away.
Apply two or three light coats instead of one heavy coat. Recoat within an hour, or wait 48 hours.
Cure time matters most. Paint may feel dry in an hour but can take days to harden fully. Work outdoors, wear a respirator, and never paint electrical outlets or surfaces that touch food.
Spray paint is a cheap, fast way to add color to a home and garden. This guide covers 25 projects, from a $6 can of bronze paint on door handles to a full patio set. Each idea tells you what to buy, how to prep, and where people slip up.


What Kind of Spray Paint Should You Use on Wine Bottles and Glass?
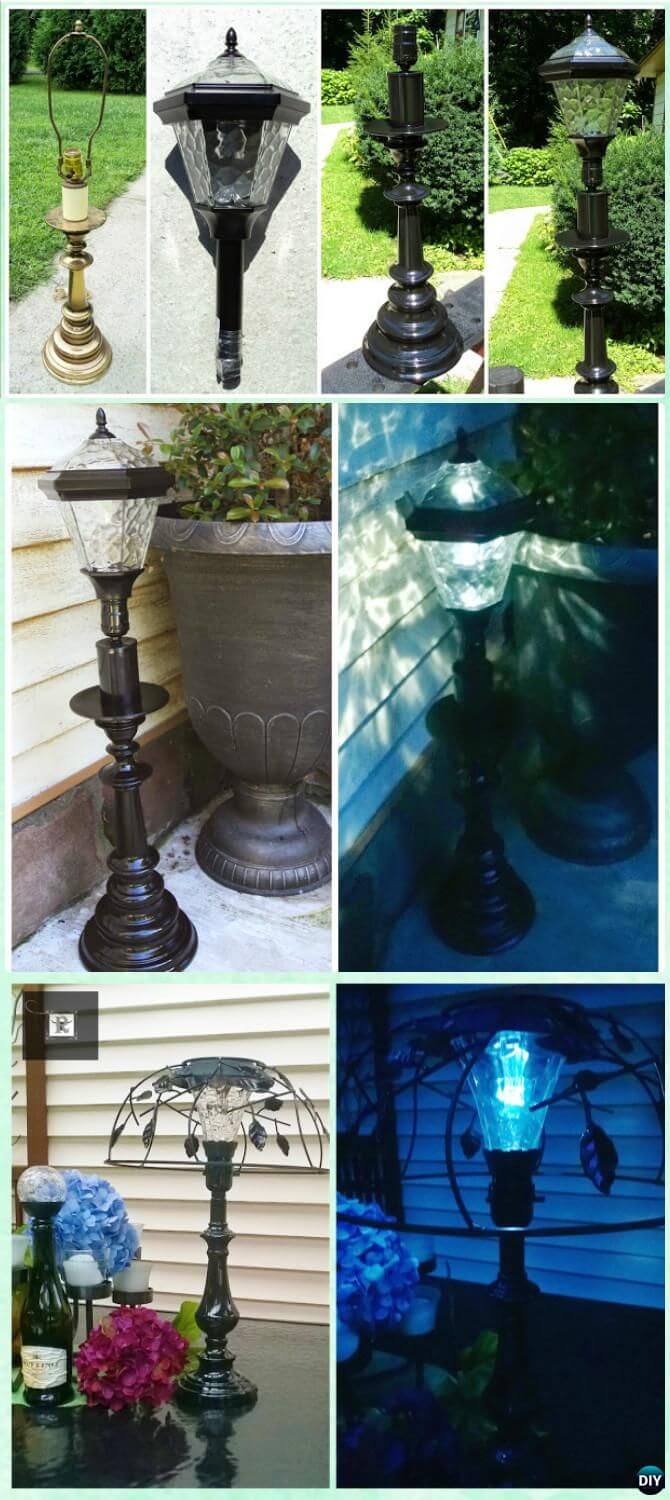
General-purpose and decorative spray paints can stick to glass. An all-surface formula usually bonds better. Sand the bottle lightly so the paint has something to grip.
Most yard problems trace back to one specific, fixable cause. Find yours in 4 quick questions.
Take the Free QuizWipe it clean and let it dry before you spray. If you like painted glass, our painted rock ideas use many of the same color tricks.
How Do You Spray Paint Designs?
Reusable stencils save time. Cut them from acetate or cardstock so they do not go soggy. For design inspiration, browse DeviantArt or follow the WikiHow stencil guide.
Which Spray Paint Patterns Work Best?
Repeating patterns look best on small, flat areas. Leaves and other found objects make free templates. Premade stencils give you cleaner edges.
For more pattern ideas outdoors, see our patio and garden pattern decor guide.
Spray Paint Basics for Every Project
- Shake the can for a full minute, then shake it again every few passes.
- Hold the can upright, 8 to 16 inches from the surface.
- Use long, overlapping strokes and several thin coats.
- Work between 65 and 85°F in low humidity.
- Paint outdoors or in a ventilated space, and wear a respirator.
- Handle painted pieces gently until they cure.

What Kind Of Spray Paint To Use On Wine Bottles?
General purpose spray paint and decorative spray paint can be applied to glass.
However, if you want to be confident that your spray paint will stick to the surface of your wine bottle, All Surface Spray Paint may be a better option.
Furniture, hardware, baskets, lamps
Shop NowThis post contains affiliate links. We may earn a commission on qualifying purchases at no extra cost to you.
When applying spray paint to a glass wine bottle, always lightly sand the surface. This helps the paint stick better.
How To Spray Paint Designs
Spray paint stencils allow you to repeat designs again and again. It’s a great way to create a wallpaper effect, or to add floral patterns to furniture.
The average homeowner spends $616/year on yard fixes that don't address the real problem. Find out what yours actually is — before you spend another dollar.
Take the Free QuizYou can make your own spray paint stencils. Use acetate or cardstock to prevent your stencils from getting soggy. When designing your stencils, get some spray paint inspiration from DeviantArt.
Follow this WikiHow guide to make your own spray paint stencils.
Spray Paint Patterns
Repeated patterns are easy to recreate with spray paint and stencils. You can also create cool shapes out of ordinary objects like leaves.
Remember, you don’t need to create your own stencils, you can buy them premade.
25 Best DIY Spray Paint Ideas
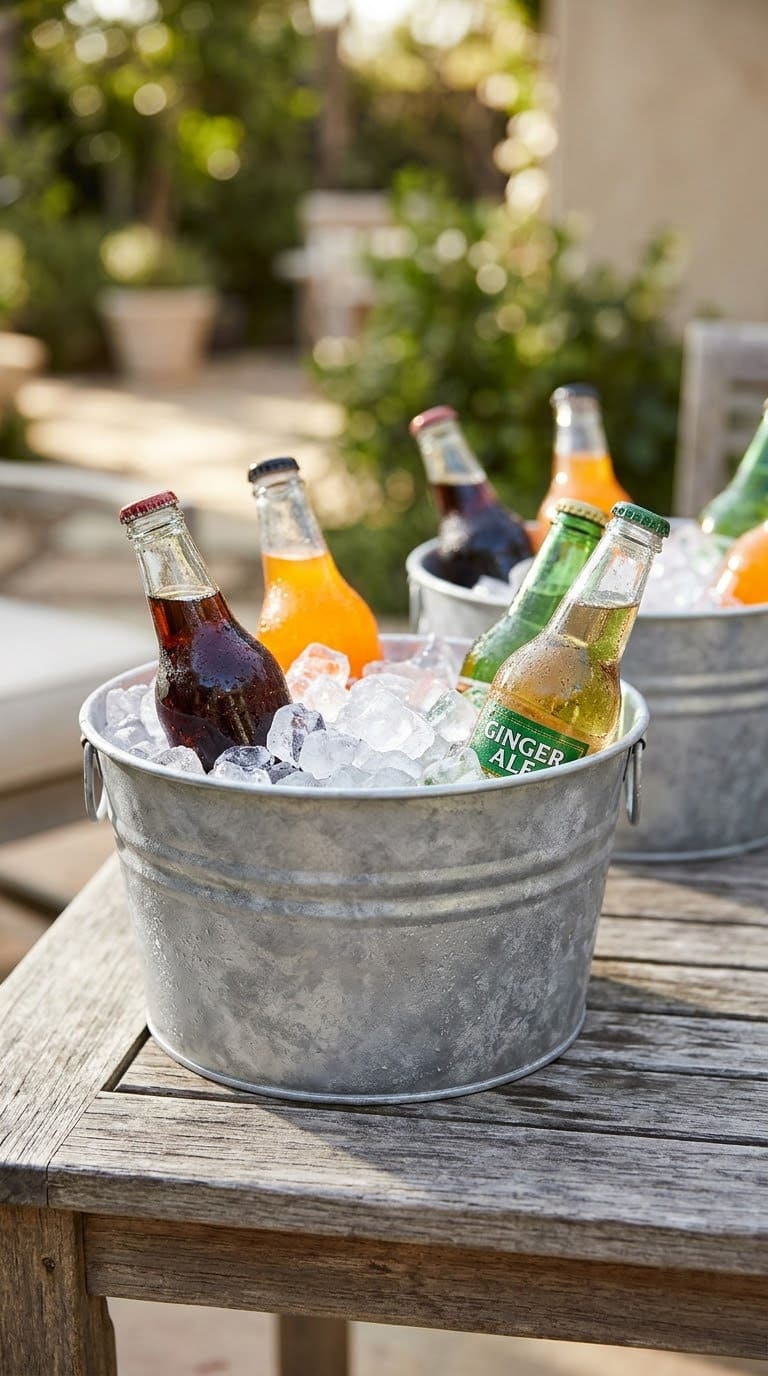
1. Make a Plastic Tub Look Galvanized
Dollar-store plastic tubs can pass for rustic galvanized metal. Use a hammered silver paint that lists plastic on the label, such as Rust-Oleum Universal Hammered Paint & Primer in One.
Spray one coat and let it dry overnight. Add a second coat the next day. Fill the tub with ice for a party, but expect condensation.


Plastic will not hold the cold as long as metal. Source
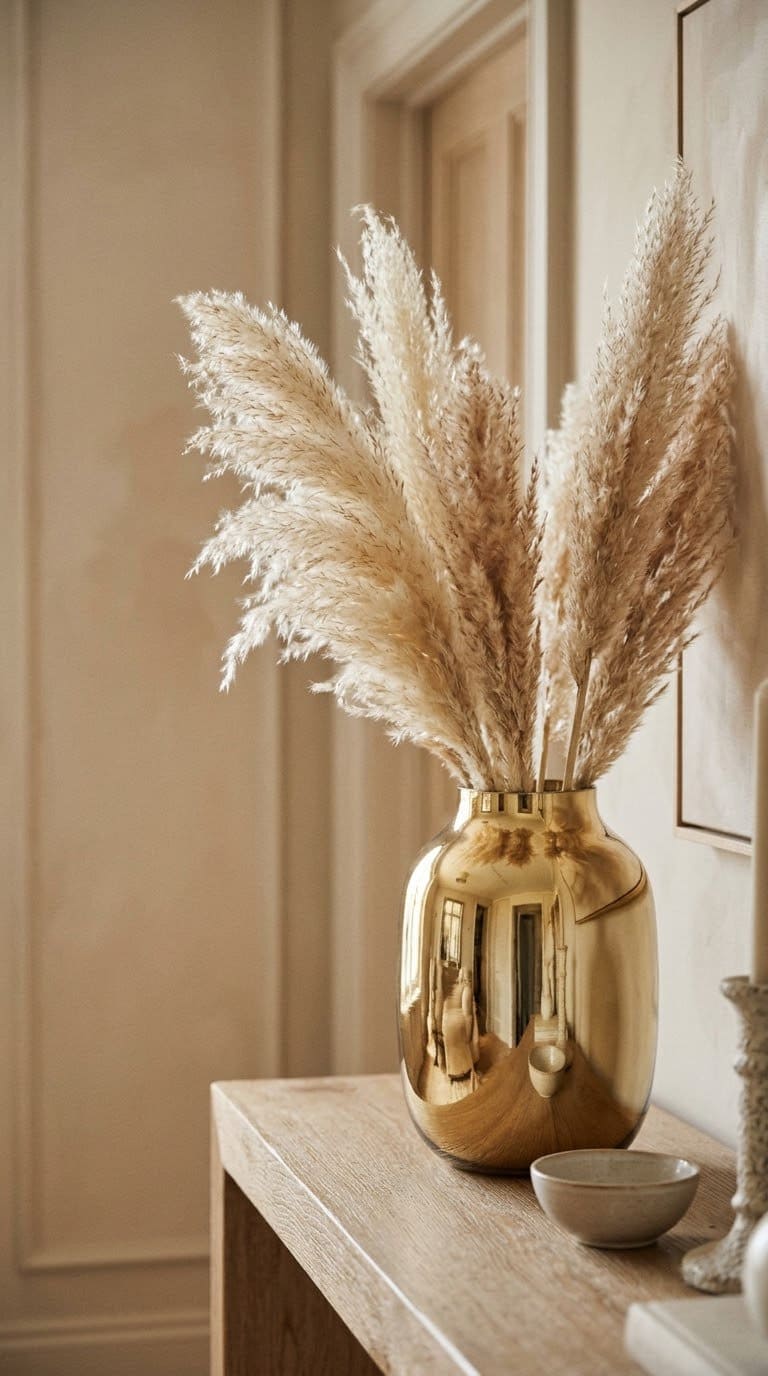
2. Transform a Glass Vase Into a Mirror
Mirror-effect paint goes inside a glass vase, so the shine shows through the front. Clean the inside until it is spotless. Tape off the outside.
Spray light coats a minute apart, up to five for full shine. For an aged look, mist the wet paint with water and vinegar and blot it. Seal with matte clear spray.
Rust-Oleum warns against soaking mirror-painted items or using them with edible plants, so choose dried or faux stems. Source
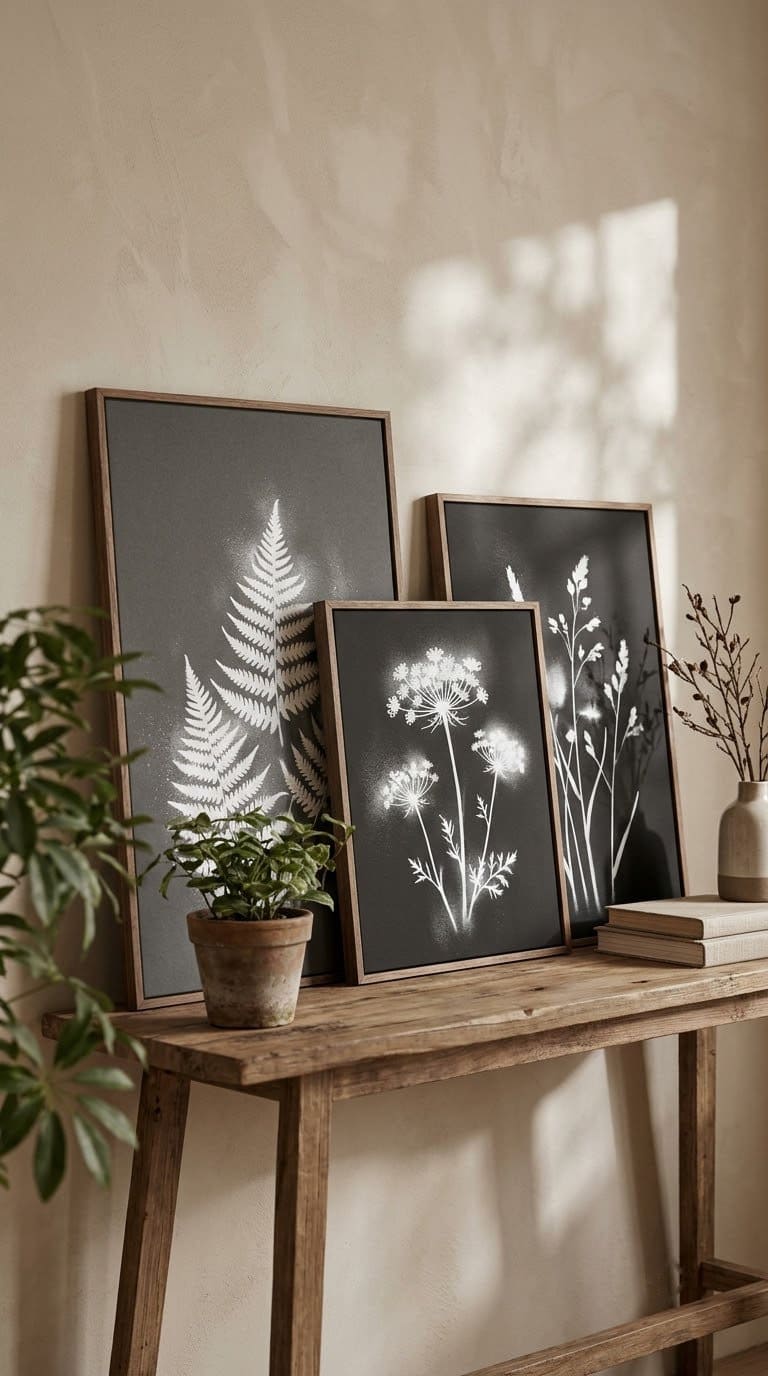
3. Spray Paint Flower Art
This is the quickest idea on the list. It takes under half an hour. Lay a flower flat on an art board, canvas, or paper.
Spray straight down from top to bottom, then lift the flower away. Use one coat only. A second coat blurs the outline.
Let the print dry about 15 minutes, then frame it. Source
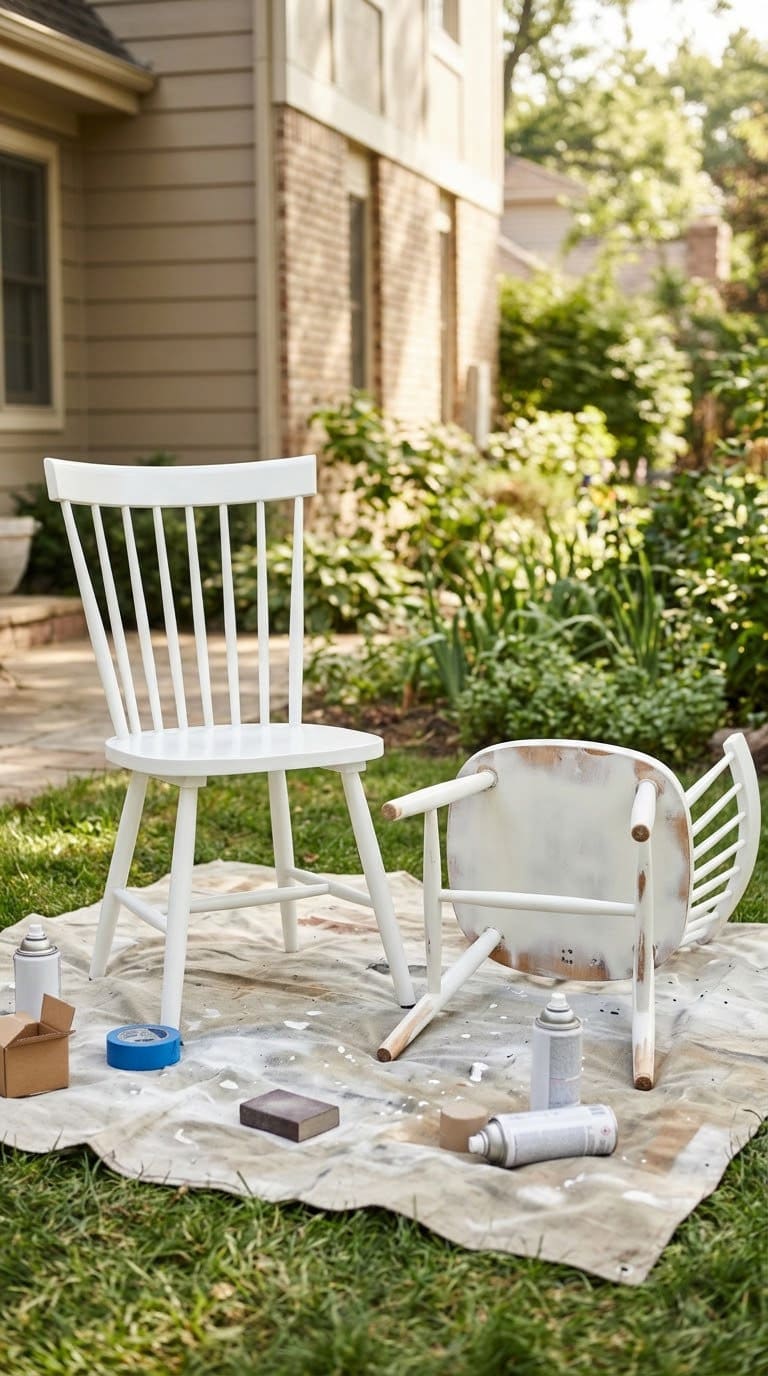
4. Flawlessly Spray Paint Your Furniture
A smooth finish starts with prep. Clean with TSP or a vinegar-water mix. Patch dings and sand the surface.
Dark or stained wood needs a shellac-based primer to stop bleed-through. Build color in light passes, with at least 30 minutes between primer coats. Flip the piece to spot missed areas.
Large tables work better with a brush or paint sprayer. Source
5. Stencil Pretty Patterns Onto Furniture
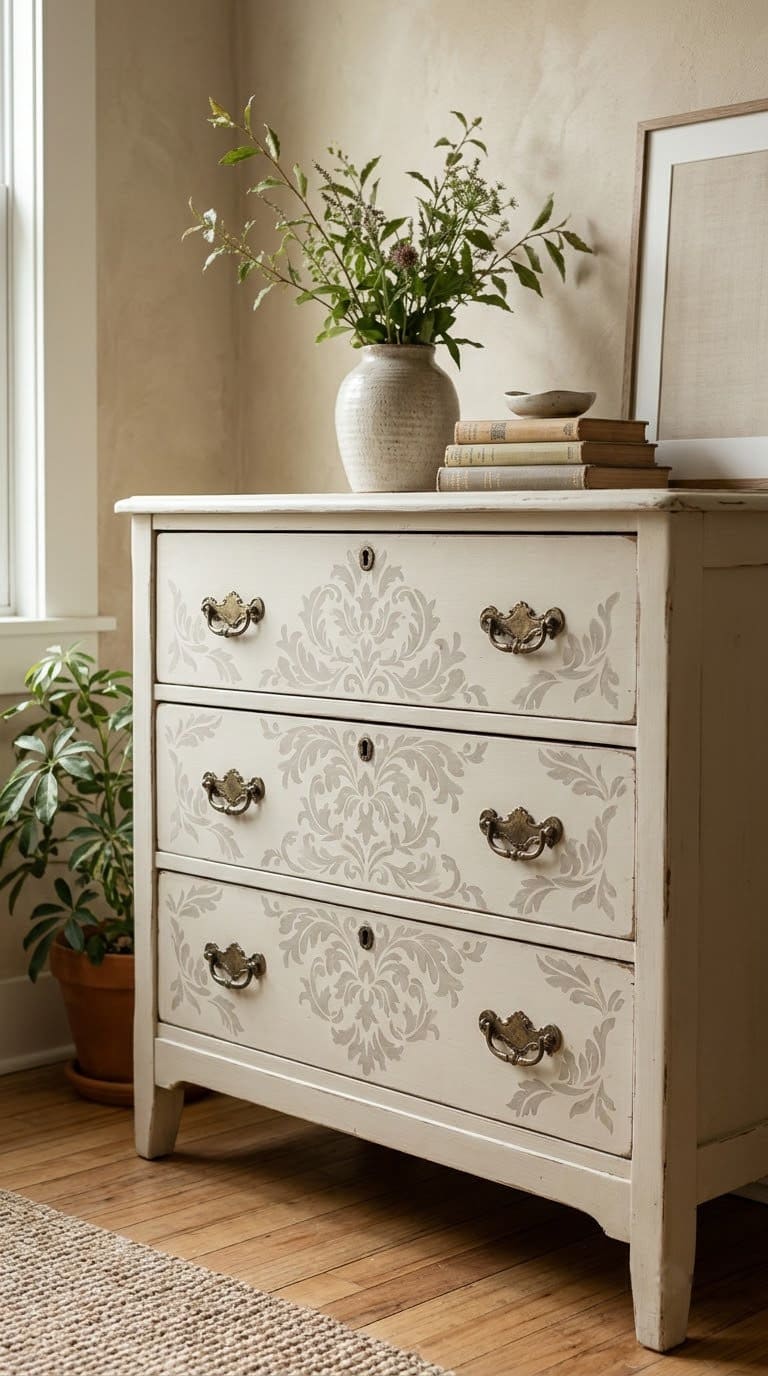
Paint the dresser first. Add the pattern once the base is fully dry. Clean it, then sand with 150-grit and 220-grit paper.
Test for stain bleed on reddish wood. If it shows, use two coats of oil-based primer and wait 24 hours. Apply two coats of paint, or three on dark wood.
Tape a stencil to the drawer fronts and finish with clear wax or a water-based topcoat. Source
6. Give Your Mailbox a Makeover
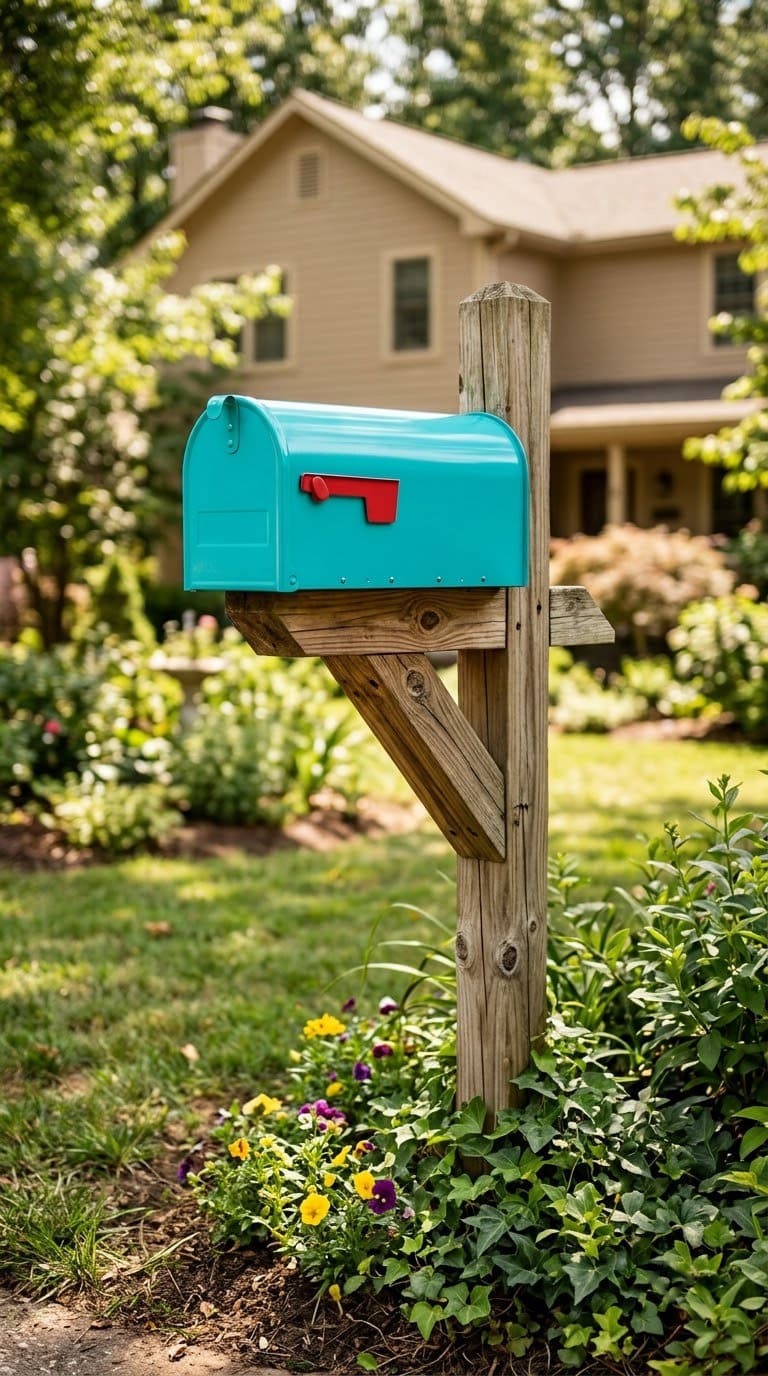
A metal mailbox takes bold color well. Scrub off dirt and sand away any rust. Use a rust-inhibiting primer on bare metal.
Pick an exterior enamel and spray thin coats. Mask the flag or house numbers if you want a contrasting color.
Let it cure before you close the door on fresh paint. Source
7. Upcycle Your Own Caddy
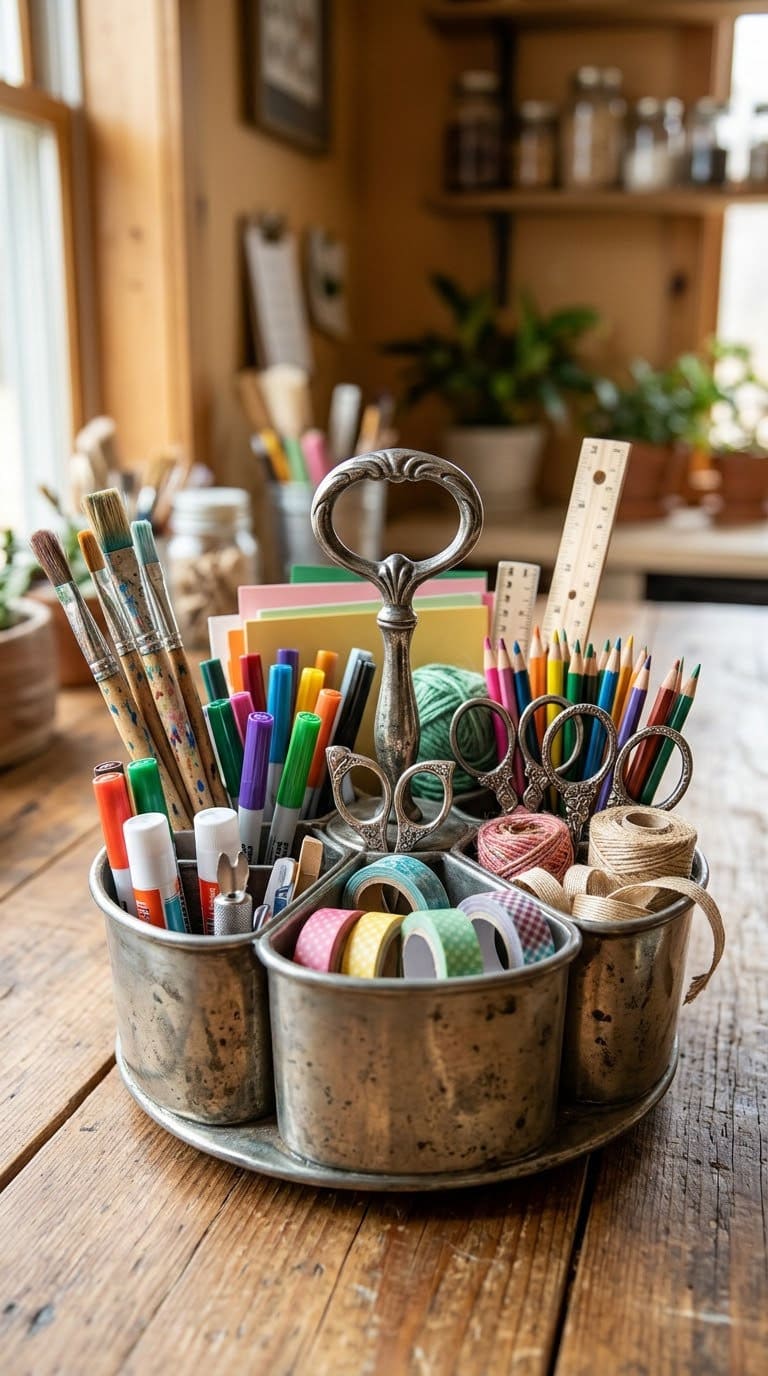
A thrifted spinning caddy cost about $6 in this project. Wipe it with a 50/50 vinegar-water mix. Sand with 220-grit paper and wipe again.
Spray paint-and-primer in a hammered pewter finish. Work in sections from top to bottom, with about 30 minutes between sections.
A pop-up spray tent keeps overspray off your floor. Source
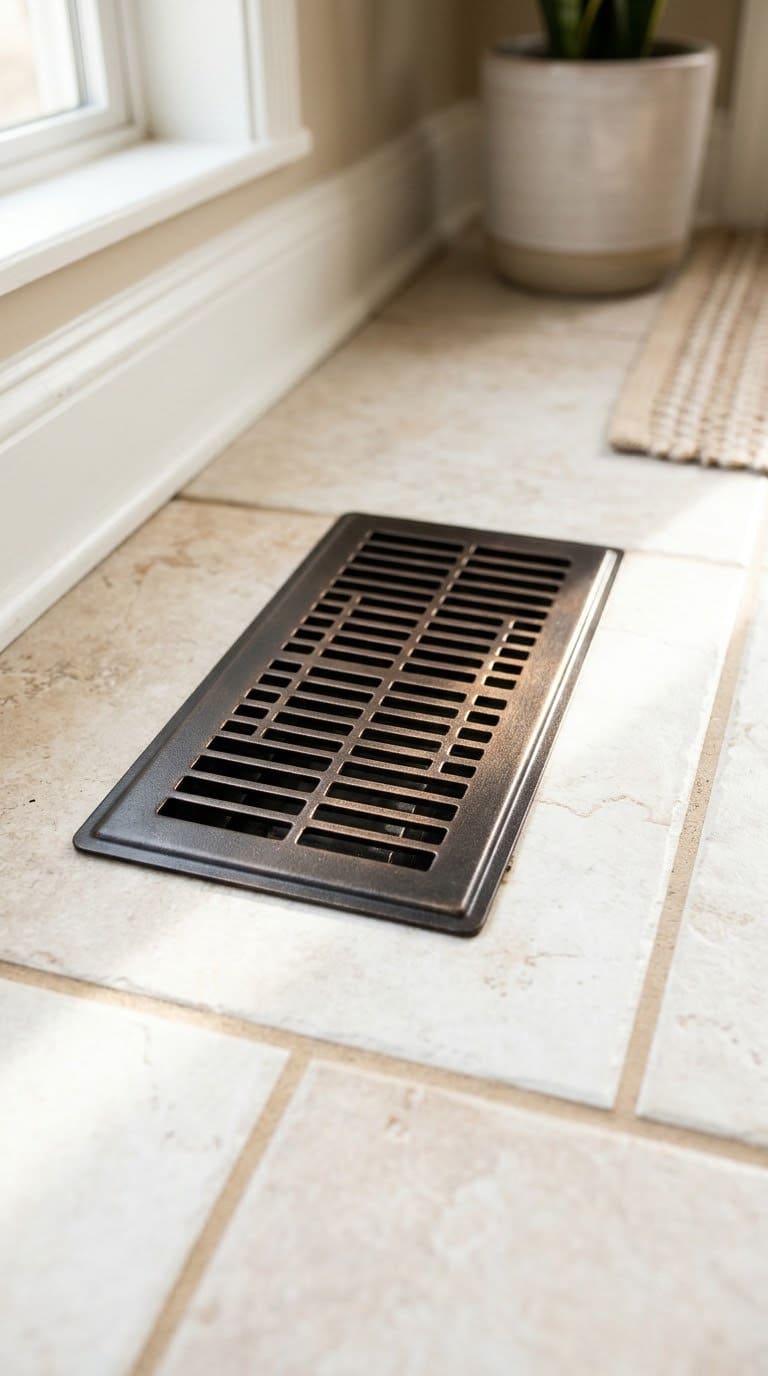
8. Update Your Vent Covers With Spray Paint
Remove the floor vent covers and scrub them. Let them dry fully. Vacuum the opening while you wait.
Paint outdoors in several light coats from all angles. One blogger used oil-rubbed bronze and saw no chipping after a year. Block the open duct so pets and debris stay out.
Skip hinges and damper parts, and use heat-rated paint on any vent that gets hot. Source
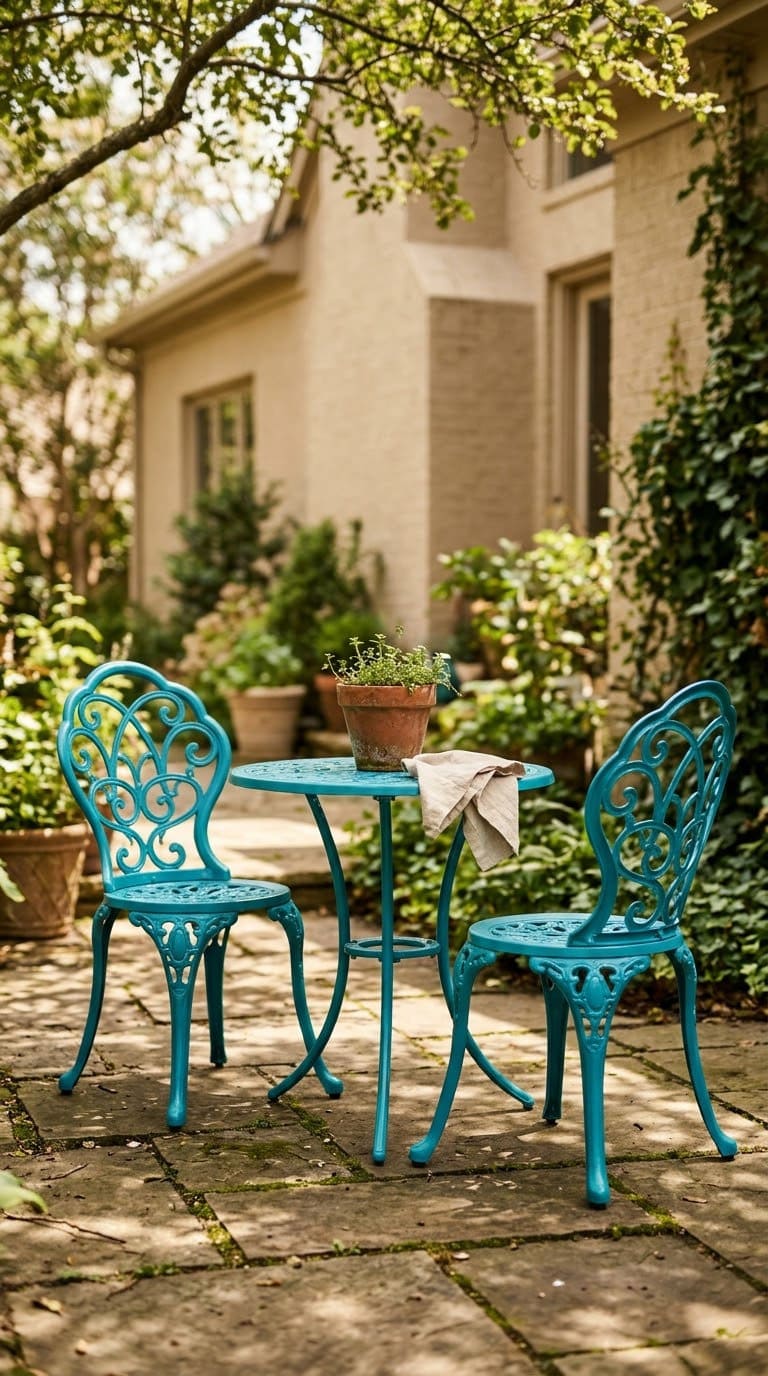
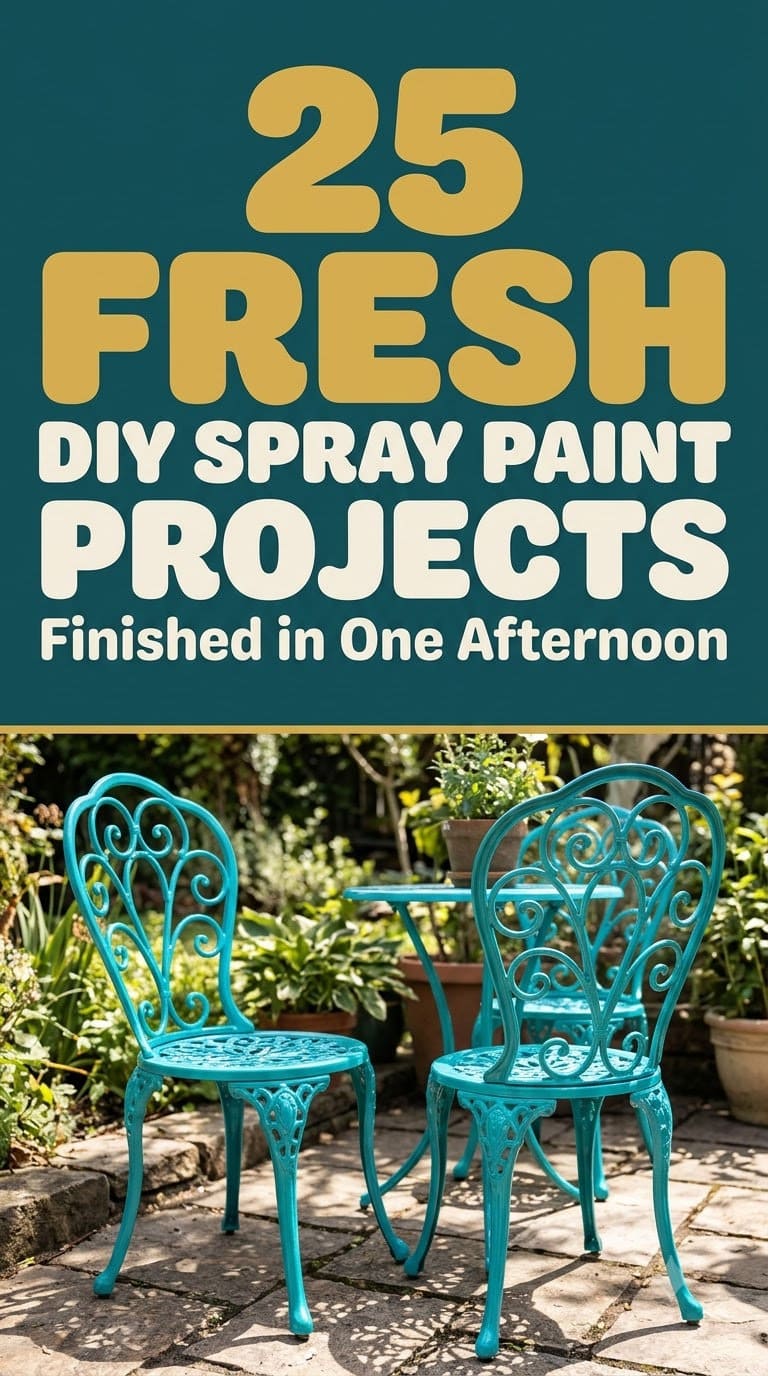
9. Spray Paint Patio Furniture
Old metal chairs last years longer with a proper coating. Wash with TSP and scrub off loose rust with a wire brush. Prime with a rust-inhibiting primer.
Follow with exterior enamel in light coats, sprayed from several angles. A spray handle saves your finger on big jobs. Check the can for cure time before the cushions go back.
Our decorative fence ideas pair well with a refreshed patio set. Source
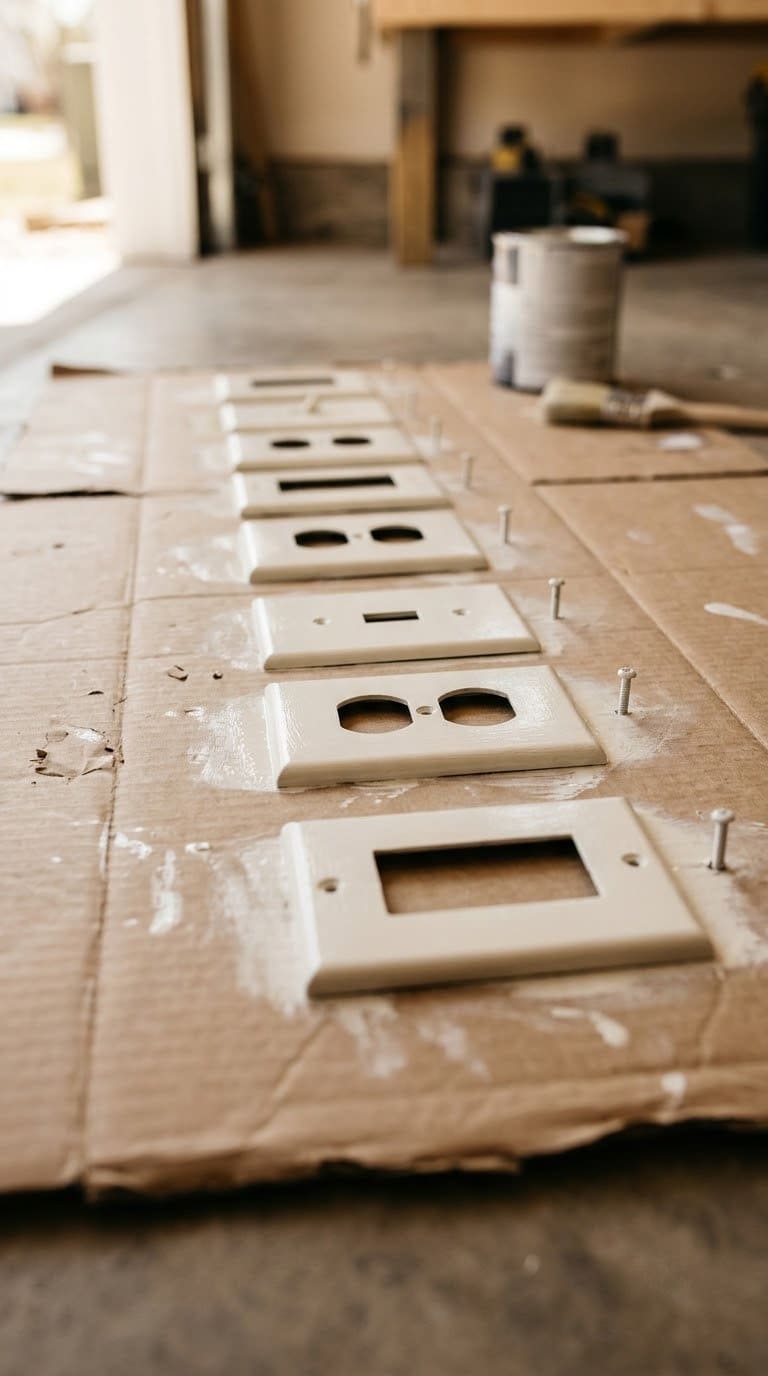
10. Refresh Outlet Covers the Safe Way
Skip painting the outlet itself. Electricians warn that paint can affect the contacts and cause heat. Painted outlets can also fail inspection.
Turn off the breaker, remove the cover plates, and paint only the plates. Replace any outlet that was painted before. Want a custom color?
Buy outlets and plates in that color. For anything more, call a licensed electrician. Source
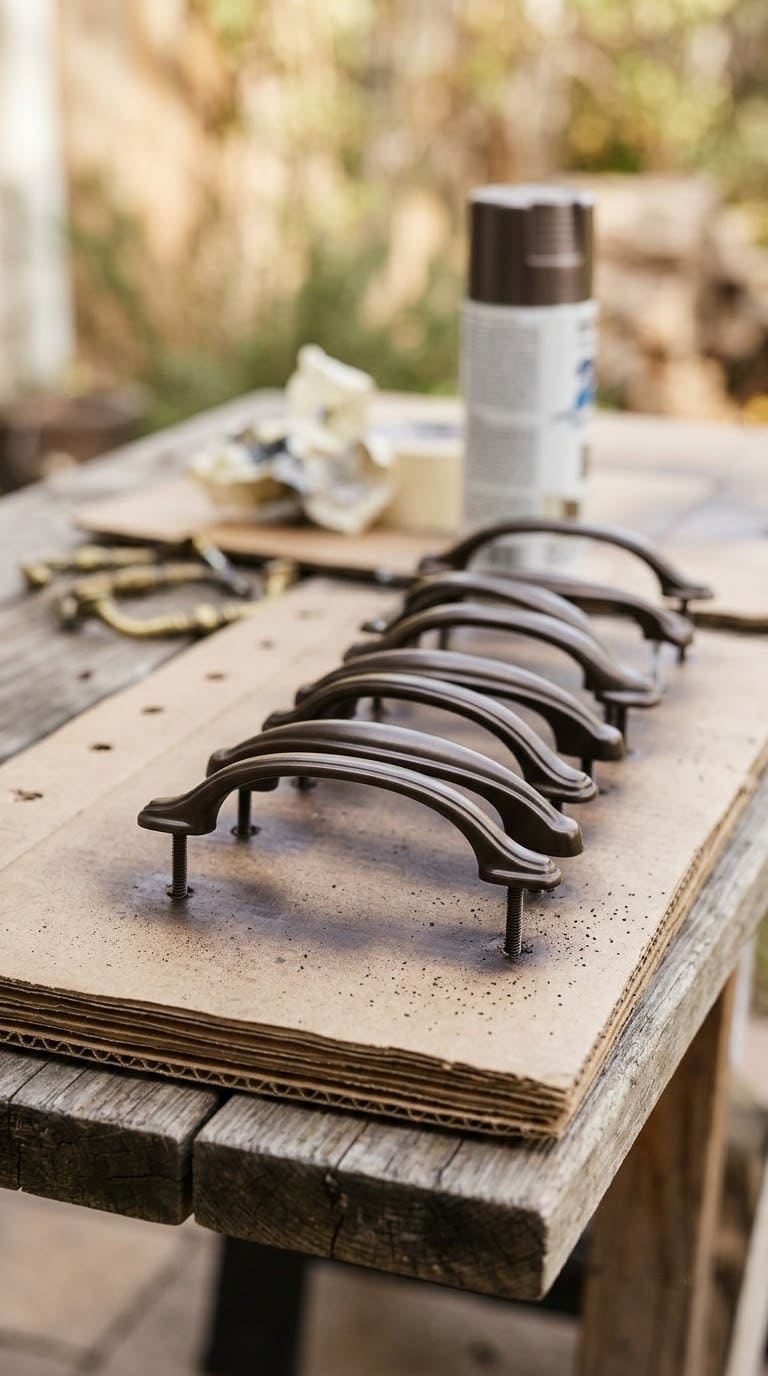
11. Upgrade Old Brass Handles
New hardware can cost hundreds of dollars across a kitchen. One DIYer spent about $6 on paint and $4 on deglosser. Remove the hardware and wipe it with deglosser.
Stand the pieces on cardboard and spray three thin coats about 20 minutes apart. Move latches between coats. Let them cure about six hours before reinstalling.
Coarse sanding left scratches on the gold finish, so skip it. Source
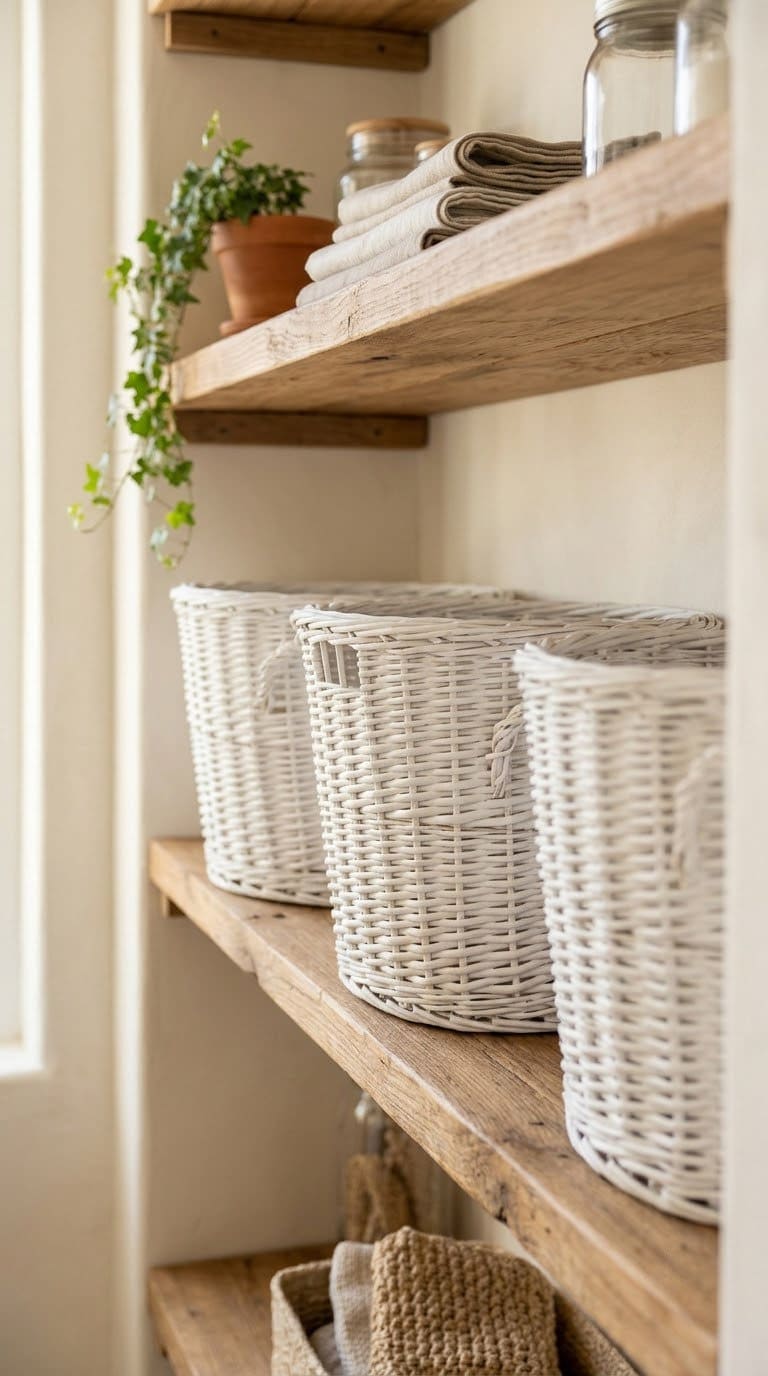
12. Spray Paint Your Wicker Baskets
Wicker has many tiny gaps, so spray from several angles. Go upside down, upright, and sideways. Use paint-and-primer in white or any color you like.
Finish all coats within an hour, or wait 48 hours before recoating. Recoating too soon can wrinkle the paint. Turn small baskets on a lazy Susan.
Cure them outdoors on a dry day to cut odor. Source
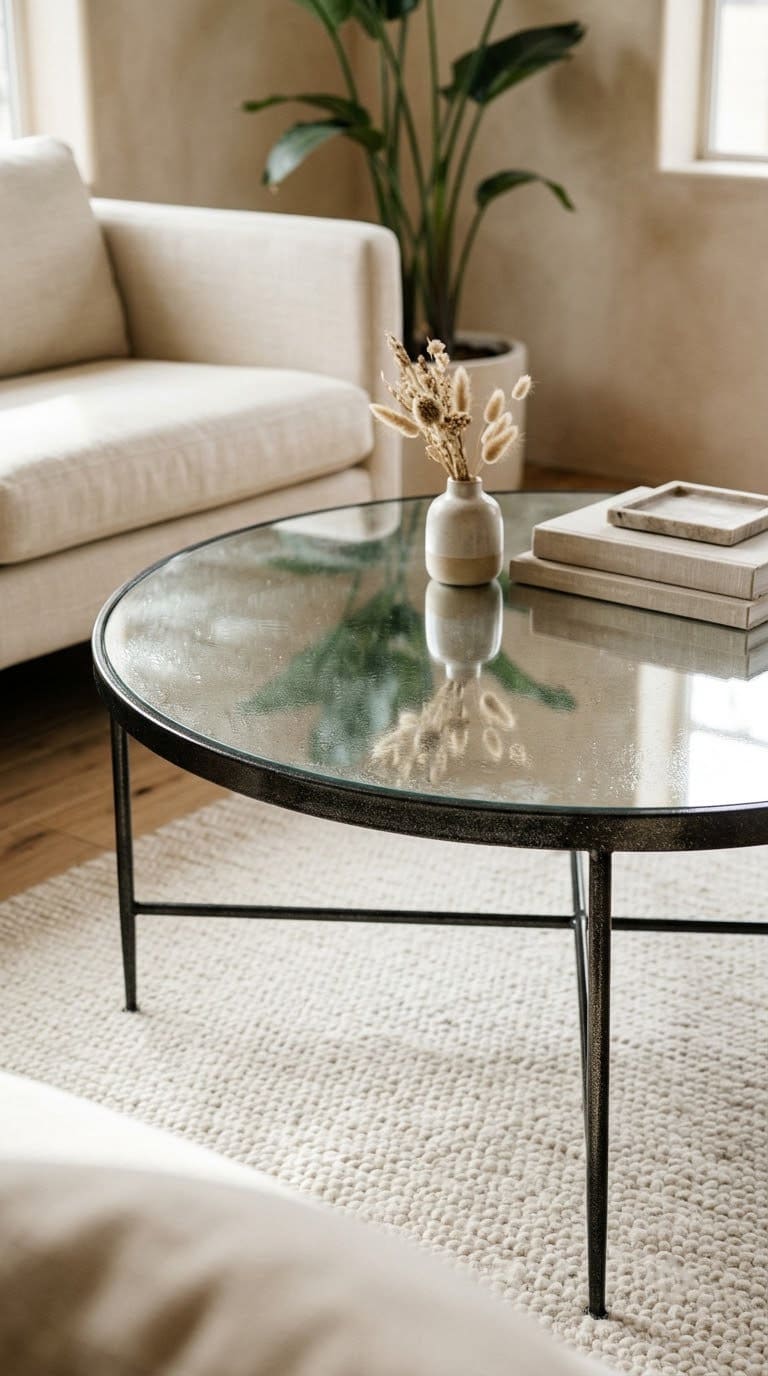
13. Create a Mirrored Glass Table With Glass Spray Paint
Krylon Looking Glass Paint goes on the underside of a glass tabletop in thin coats. Wait one minute between coats. Wipe the glass with alcohol first and keep the top flat.
Dull the legs with steel wool, prime them, and paint them in a shimmer metallic. Krylon lists the project at 4 to 6 hours of work.
Allow 48 hours of cure before reassembly. Source
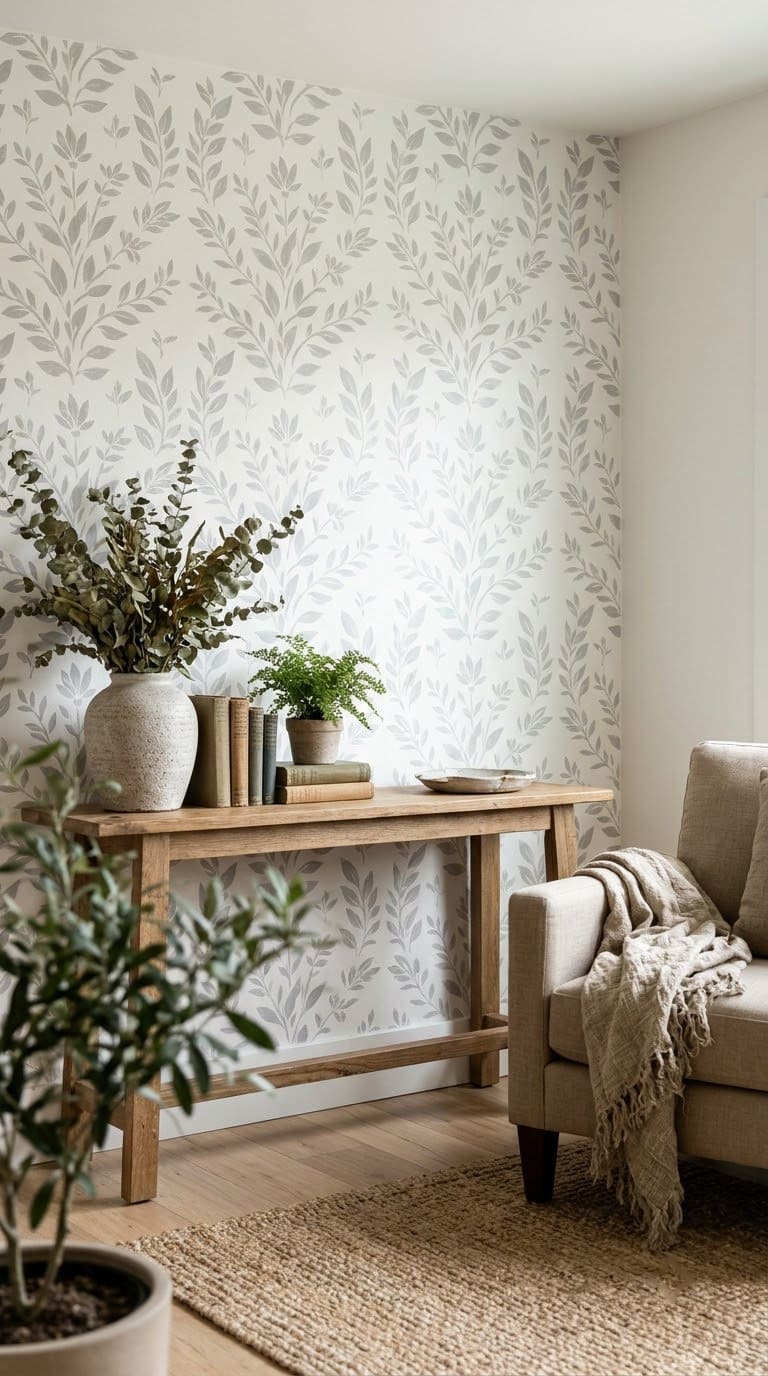
14. Create Faux Wallpaper With Spray Paint
Spray paint and a stencil can mimic wallpaper on a small accent wall or panel. It costs less than wallpaper and is easier to undo. Test your pattern on cardboard first.
Mask the edges and keep coats light so vertical surfaces do not drip. Ventilate the room and wear a respirator. Source
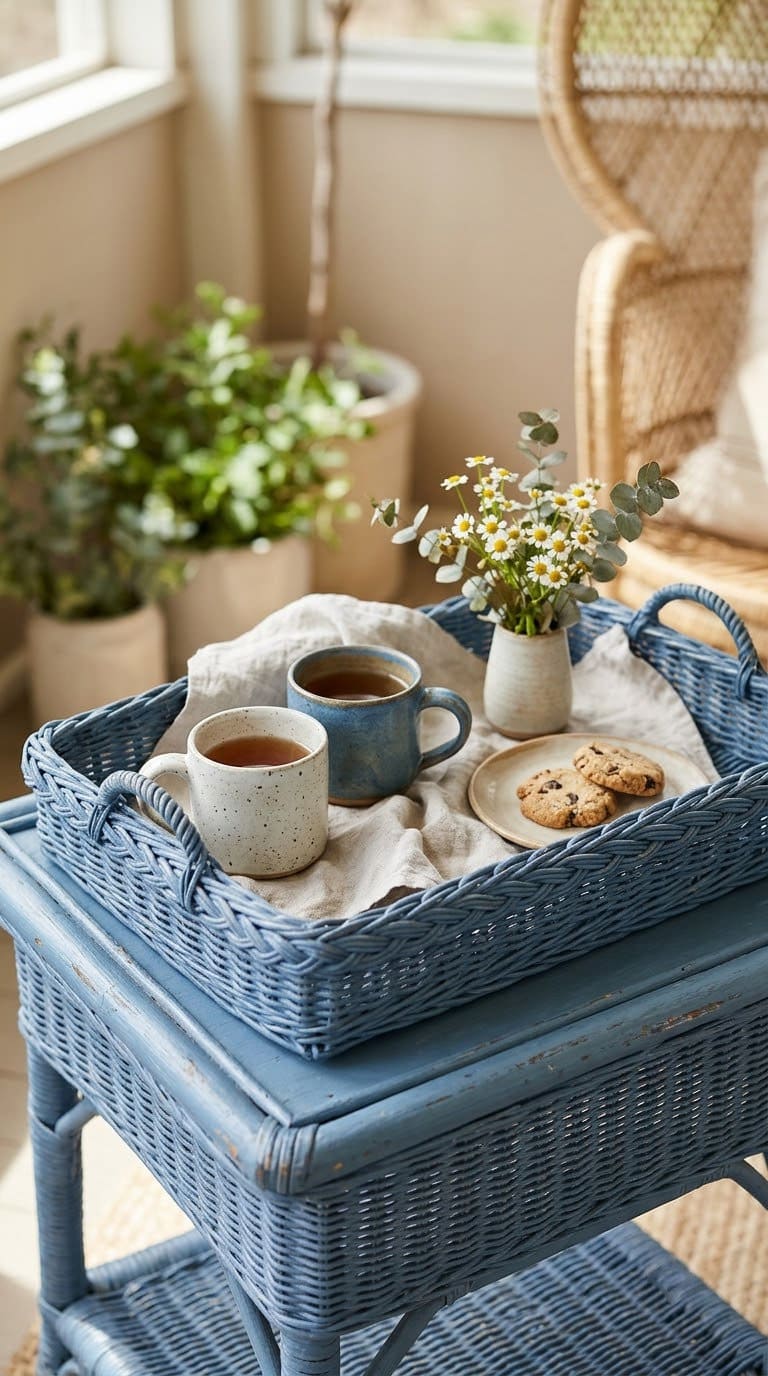
15. Transform Wicker Trays
Pick a color that matches a nearby table. Prop the tray on cans or foam blocks. Spray it from every angle in thin coats.
Seal with a water-based clear coat, because oil-based sealers can yellow light colors. Handle the tray gently while it cures.
Full cure can take up to 30 days. Source
16. Spray Paint Nicer Table Legs
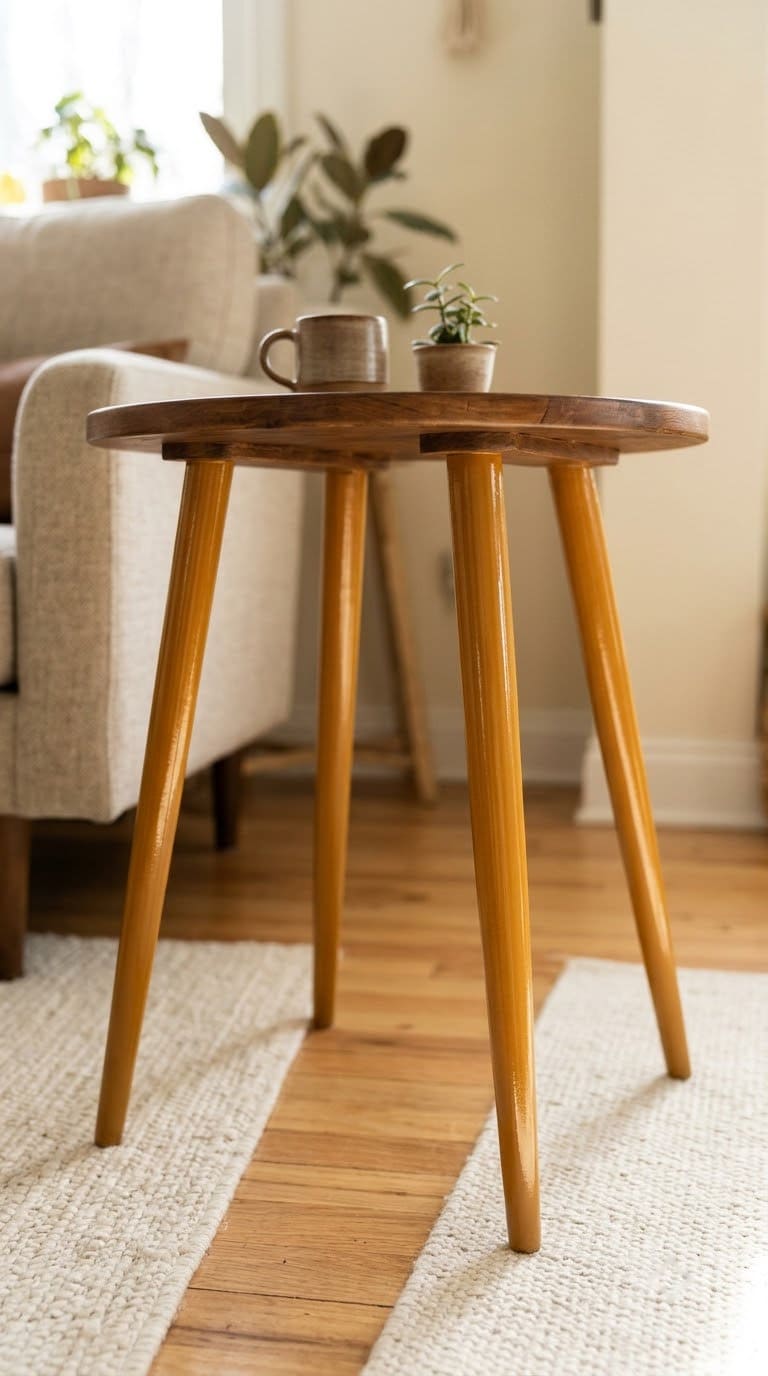
Painting only the legs is a quick way to modernize a table. Clean with oil soap and sand lightly. Tape off the top.
Spray the lighter color first if you use two. Two coats were enough on the legs here. A clear gloss topcoat sealed the flat colors.
Wipe drips right away and respray. Source
17. Give Your Shower Features New Life
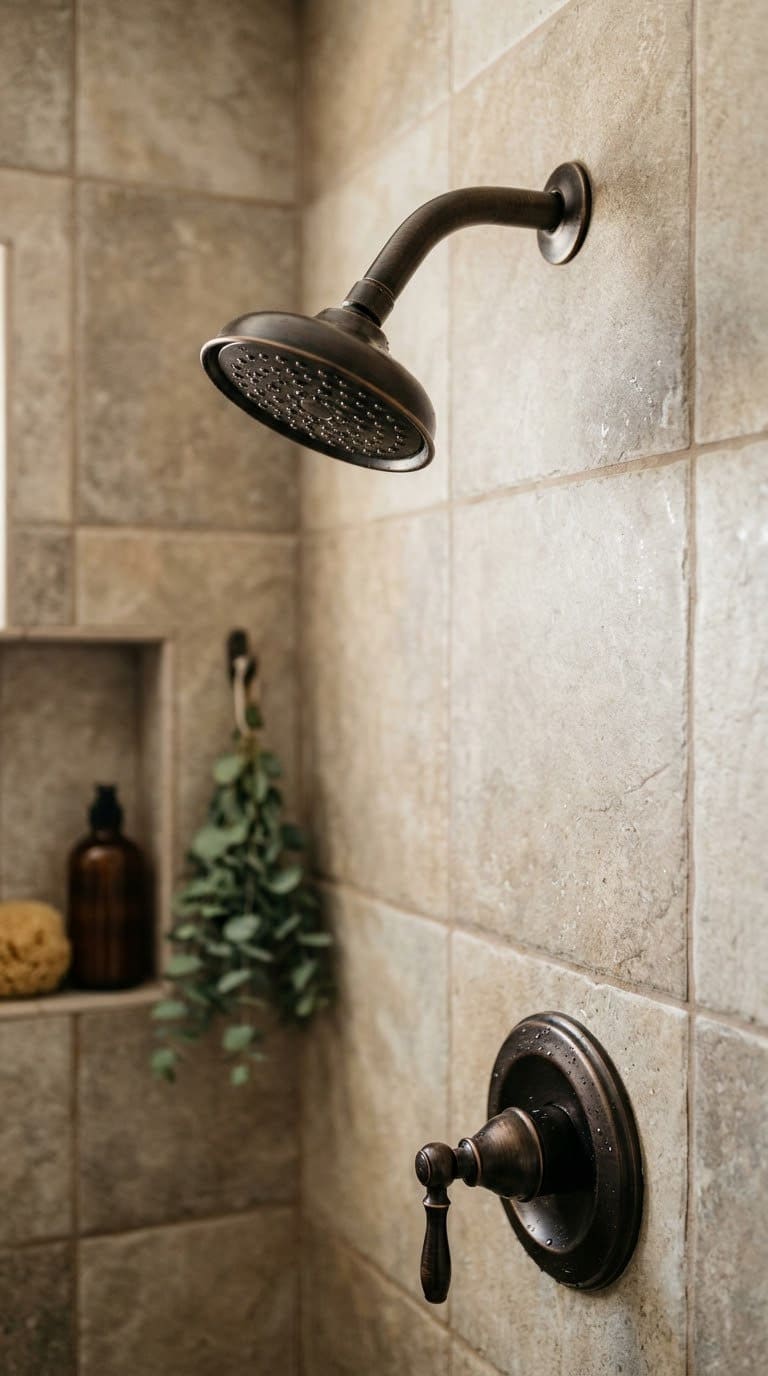
Tape off the wall and sand the chrome well. Cover the area with plastic. Wear a respirator and safety glasses.
Apply two light coats of primer, three of oil-rubbed bronze paint, and two of clear lacquer. Score the tape edges before you peel. Cure for 24 hours and keep the shower dry for 48.
The blogger saw the finish last six years, though hard water may shorten that. Materials cost about $35. Source
18. Spray Paint Terracotta Pots
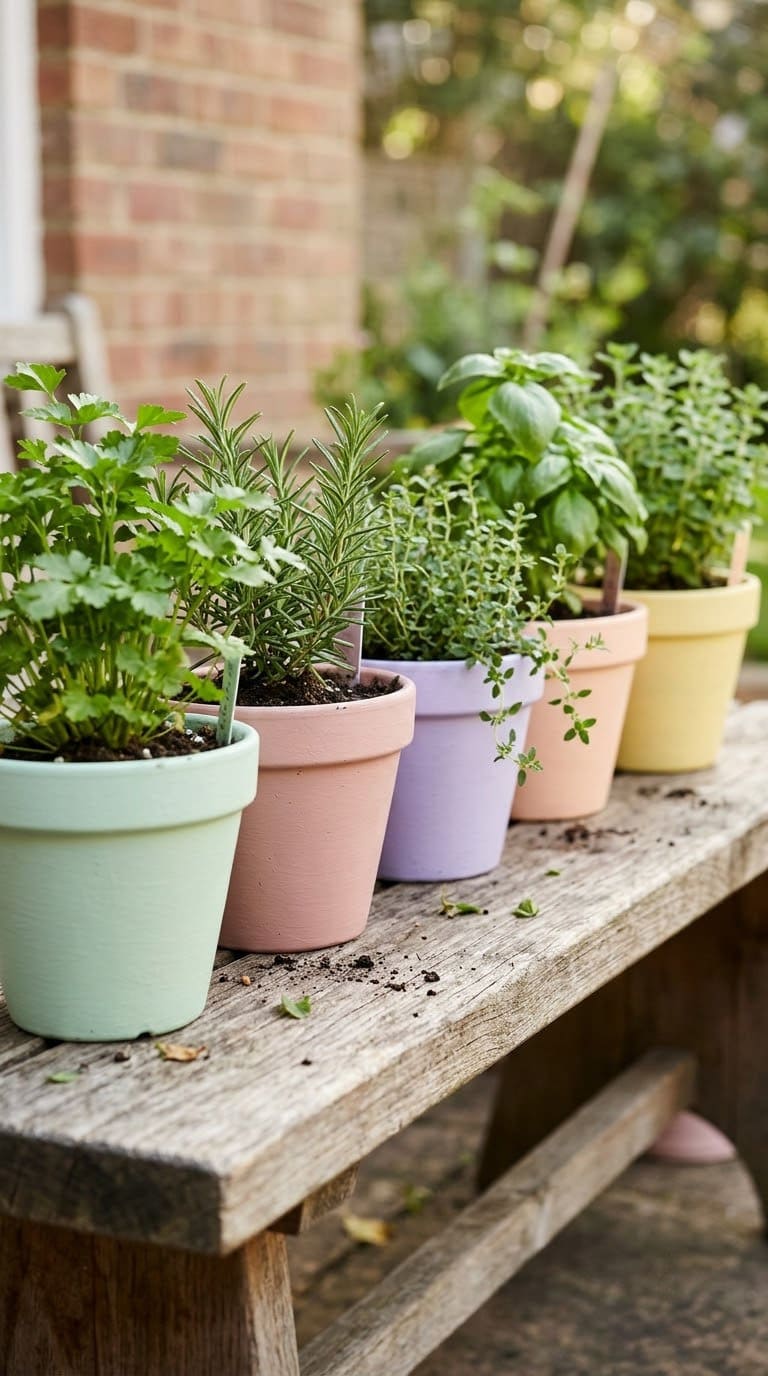
Terracotta must be fully dry first. Wait 24 to 48 hours after any wetting. Spray two light coats of white primer, then two of color.
Flip the pots to paint the bottoms and under the rim. Painted clay breathes differently, and paint can peel over time. Sealing the inside protects the paint but may slow plant growth.
Hang a few in our outdoor hanging planter ideas for a colorful display. Source
19. Revolutionize Your Silverware (For Display Only)
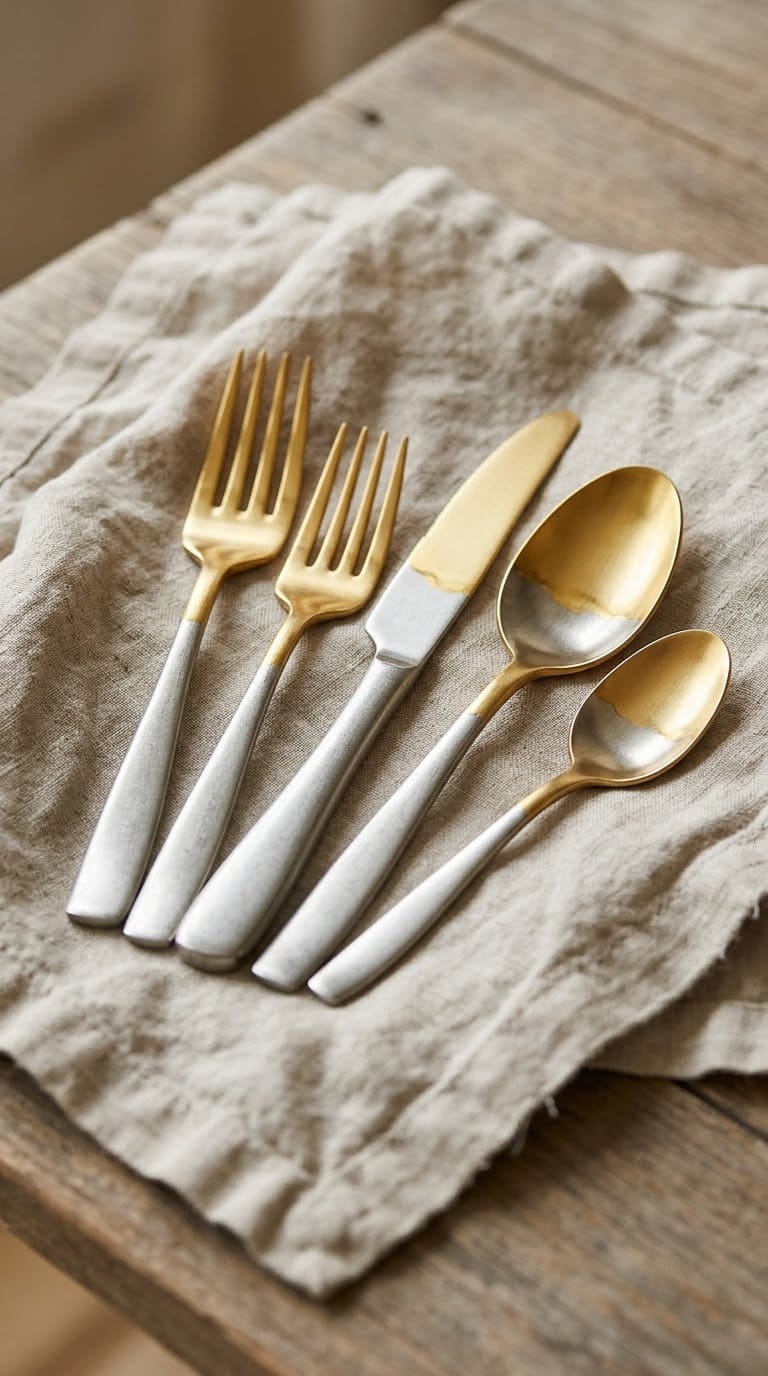
Gold-dipped handles look great. Push each clean utensil through a slit in a cardboard box. Spray three coats from 8 to 10 inches away, waiting 10 to 15 minutes between them.
The blogger seals with a clear coat and hand-washes the pieces. The post never says the paint is food-safe. Treat these as decor, and keep painted areas away from your mouth.
The project cost under $10. Source
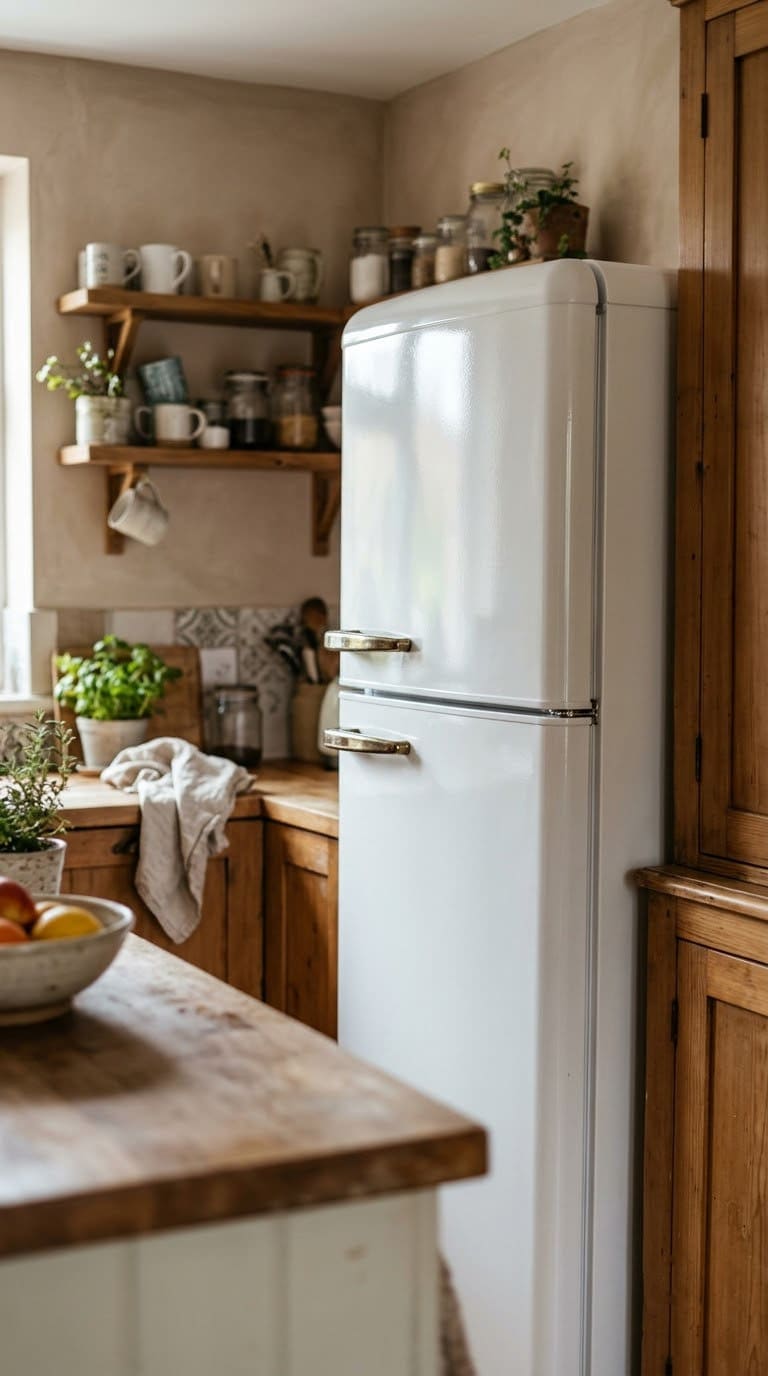
20. Spray Paint Kitchen Appliances
Use an appliance epoxy paint, such as Rust-Oleum Appliance Gloss White Epoxy. General paint is not the right match. Remove the hardware, clean well, and roughen the surface.
Test a small patch first. Peel-and-stick contact paper is a no-spray option in stainless or black.
The guide does not mention heat, so check the label before painting a range or oven. Source
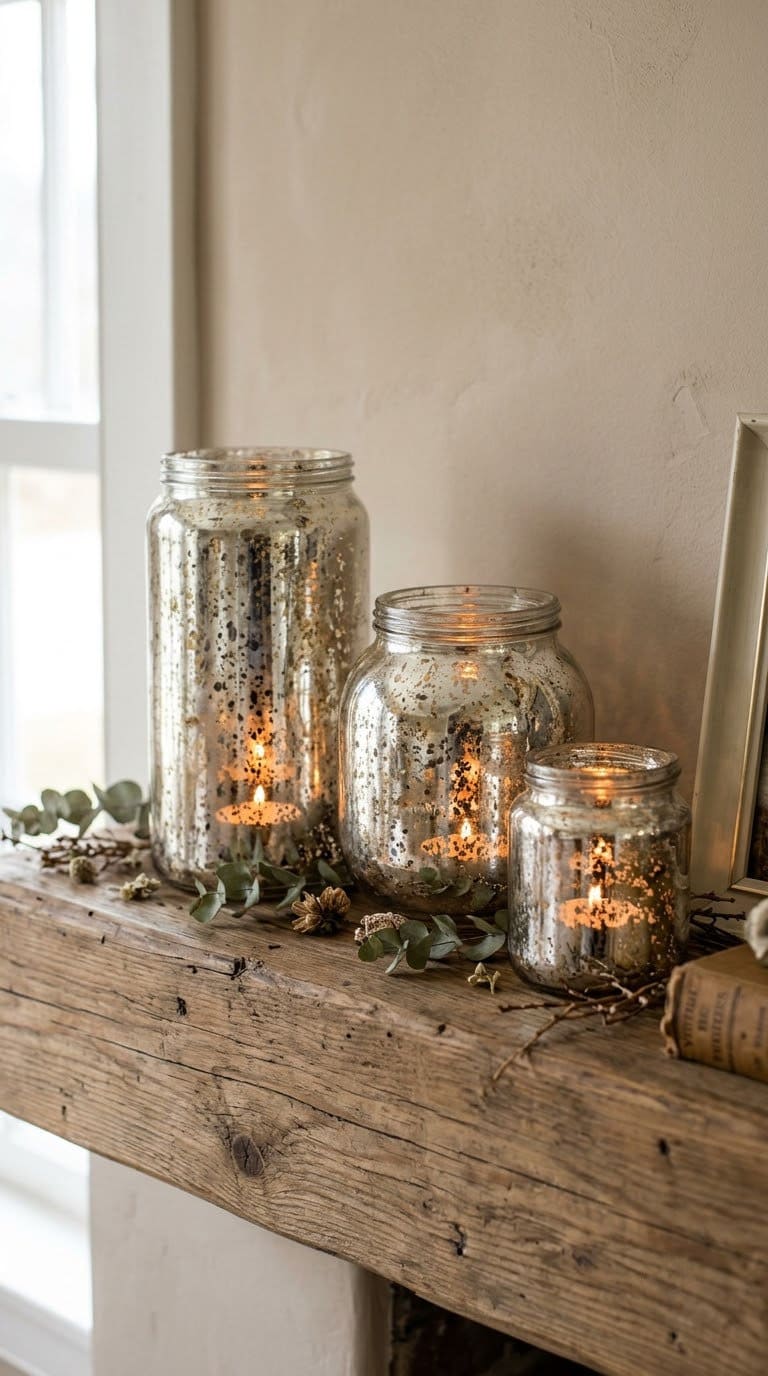
21. Make Faux Mercury Glass Candle Holders
Mercury glass has a soft, speckled silver look that costs a lot in stores. Spray mirror-effect paint inside a clear jar. Mist the wet paint with water and vinegar, then blot.
Seal with matte clear spray. Use LED candles, since heat and open flame are not part of the tested use.
Line a few up on a mantel, like our fall mantel decorating ideas. Source
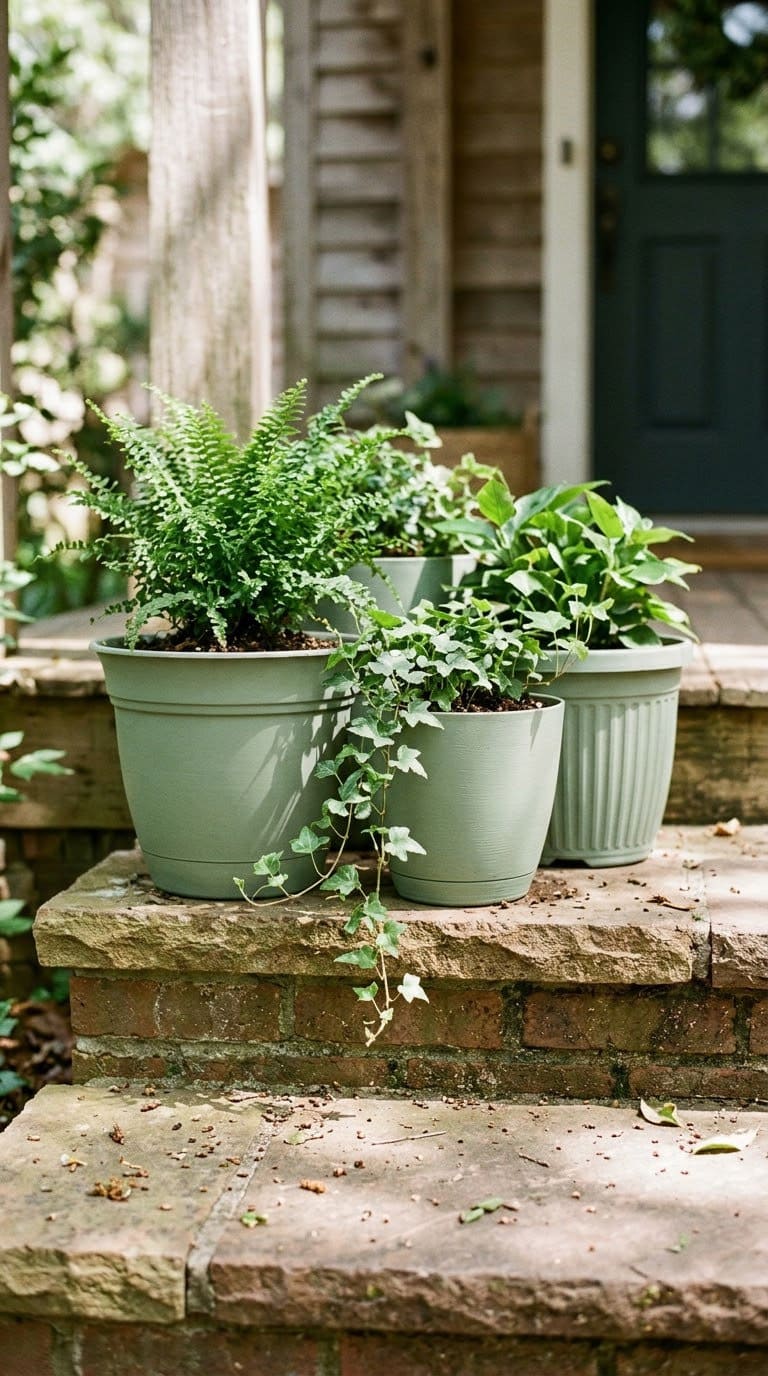
22. Repaint Plastic Planters
Faded plastic planters can look new again. Choose a paint made for plastic, such as Krylon Fusion All-In-One or Rust-Oleum Paint for Plastic. Neither needs a separate primer.
Wipe off dirt and cover the soil with plastic. Hold the can about 8 inches away. Spray two or more light coats a few minutes apart.
Krylon says the finish resists chips after seven days. Source
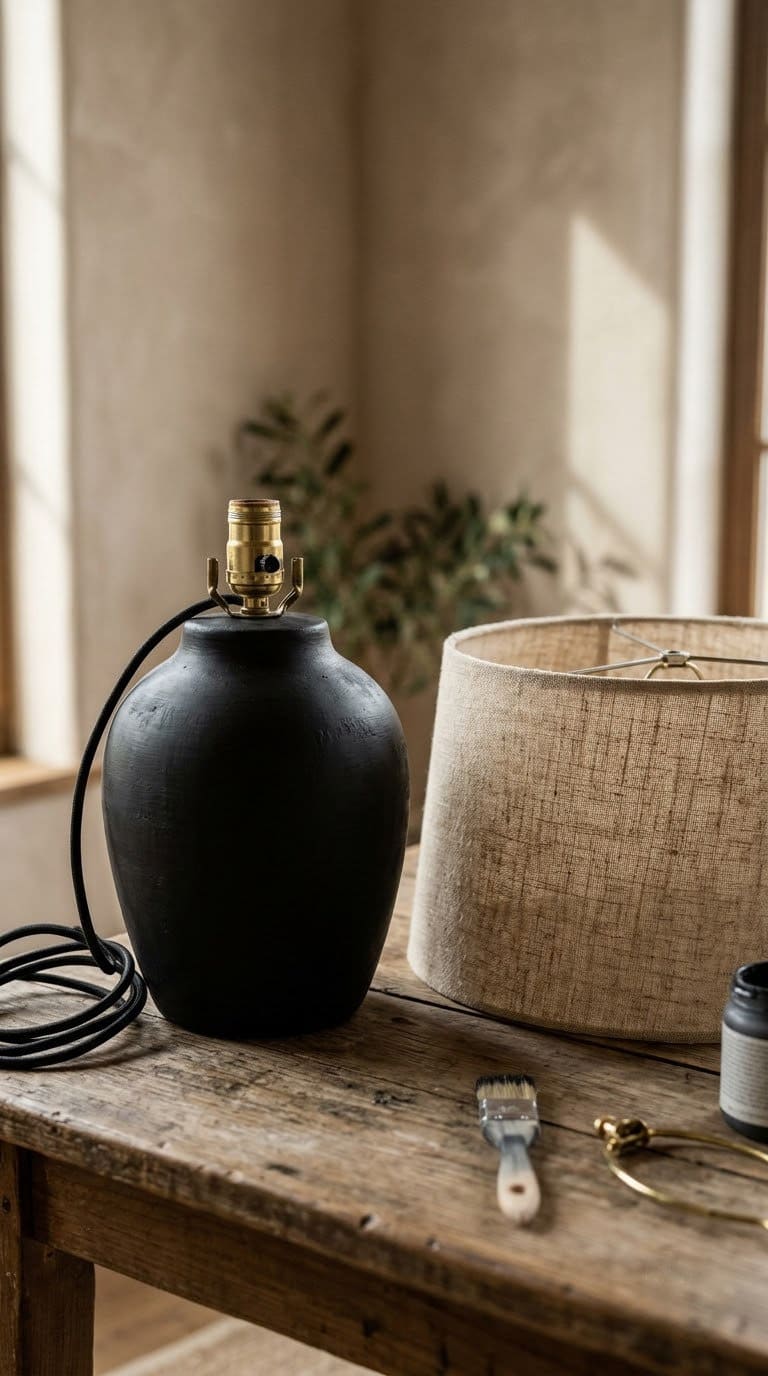
23. Refresh an Old Lamp Base
A thrifted lamp can match any room with one can of paint. Sand with about 220-grit paper and clean it. Use a bonding or self-etching primer on glazed ceramic, glass, or metal.
Cover the socket and cord with a bag or tape. Apply two light color coats. Heavy coats run fast on a curved base.
Let each coat dry before the next. Source
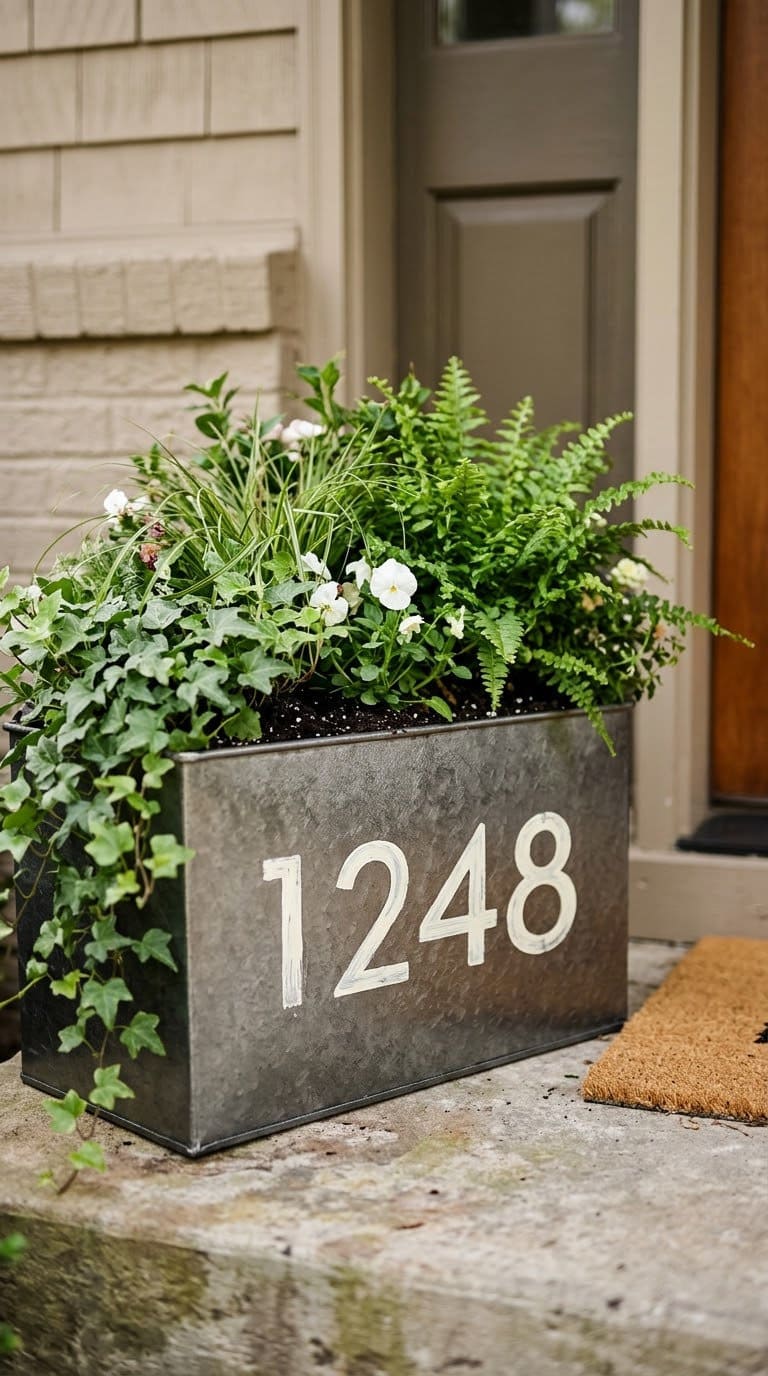
24. Build a Painted Address Planter
Rust-Oleum’s address planter uses a rust-stopping metallic spray on both the planter and the numbers. A coat of spar urethane adds outdoor protection. A lazy Susan makes spraying easier.
Plastic or galvanized planters need a bonding primer first. Sand any rusty or painted surface before you begin. Source
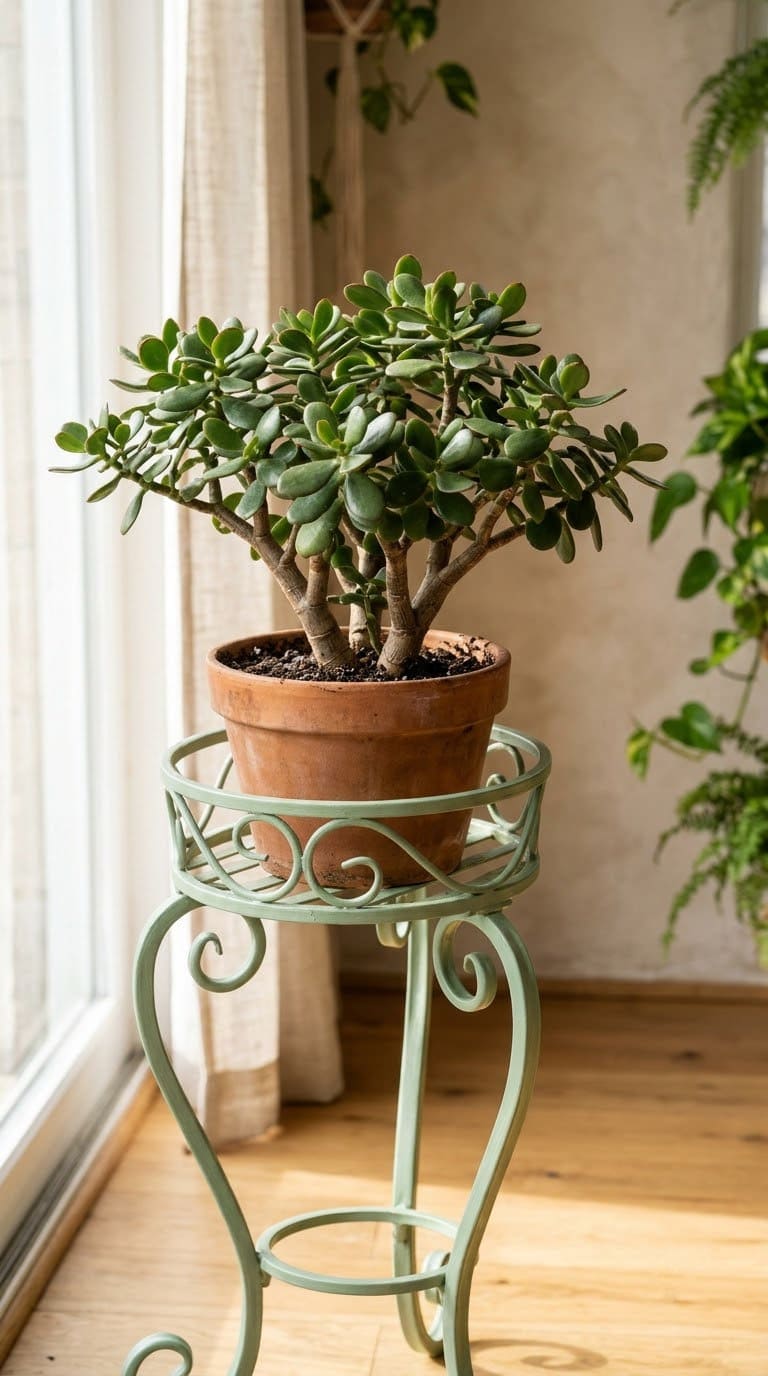
25. Paint a Metal Plant Stand
Metal plant stands rust fast outdoors, so primer matters. Spray a rust-inhibiting primer and let it dry about an hour.
Then add the topcoat in thin, overlapping passes. Rust-Oleum suggests 48 hours of drying before the stand goes outside.
Old shutters make a nice backdrop, as in our old shutter outdoor decor ideas. Source
Common Spray Paint Mistakes to Avoid
| Mistake | What happens | Fix |
|---|---|---|
| Heavy coats | Runs, wrinkles, cracks | Spray 2-3 thin coats |
| No primer on metal or glass | Peeling, rust bleed | Use rust or bonding primer |
| Recoating too soon | Wrinkled surface | Recoat within 1 hour, or wait 48 hours |
| Cold or humid air | Grainy finish | Aim for 65-85°F, low humidity |
| Painting outlets or food surfaces | Safety risk | Paint cover plates only |
Frequently Asked Questions
Do I need primer for spray paint? Not always. Paint-and-primer formulas skip a step on many surfaces. Use a dedicated primer on bare metal, glass, glossy finishes, and dark wood that may bleed.
How long does spray paint take to cure? It may feel dry in 30 minutes to a few hours. Full cure can take days. Some products take up to 30 days, so handle pieces gently.
Can I spray paint plastic? Yes. Use a paint made for plastic or add a bonding primer. Krylon Fusion and Rust-Oleum Paint for Plastic are two options.
Is spray paint safe to use indoors? Work outdoors or in a well-ventilated space. Wear a respirator either way.
Never miss an update — choose FarmFoodFamily as your preferred source on Google.
How it works: Tap the button below to open Google's settings page, then check the box next to FarmFoodFamily.
Tap the checkbox to turn it blue — that's how you know it's set.